How to Make a Temperature Quilt, Part Two
Learn how to make a simple temperature quilt that chronicles daily high temperatures throughout the period of a year. In Part 1, you can learn more about temperature quilts, and how to plan to make this simple version that chronicles high temperatures daily through the period of a year.
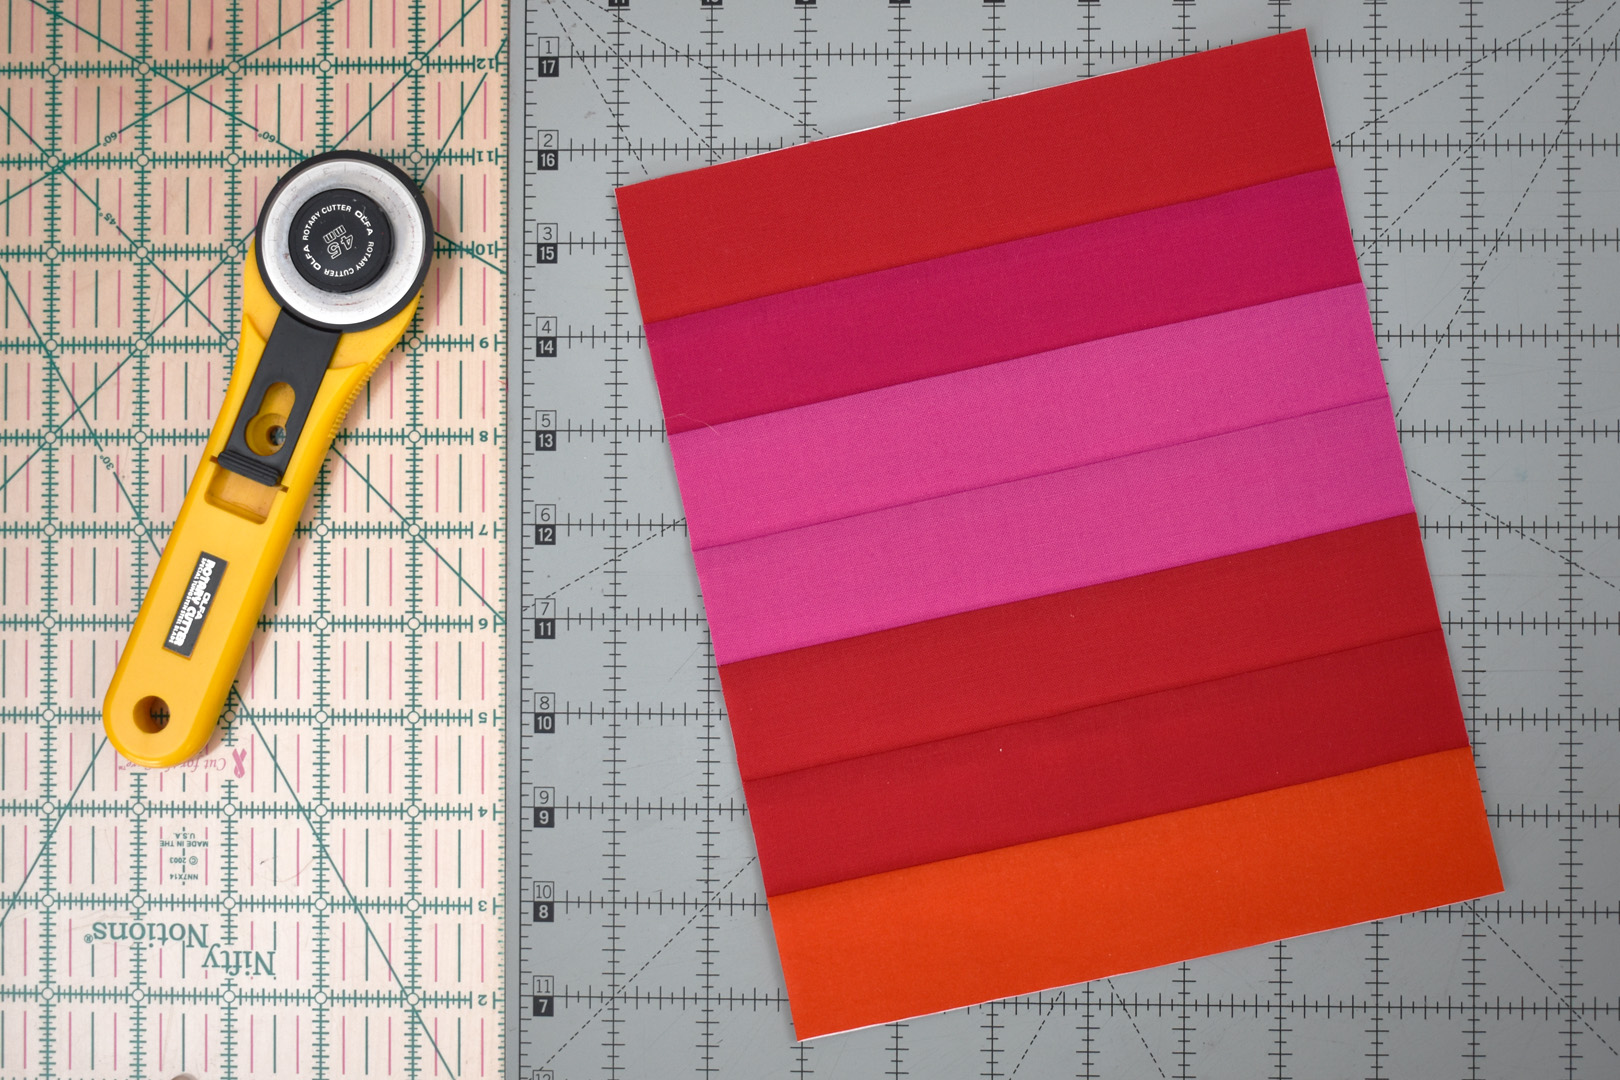
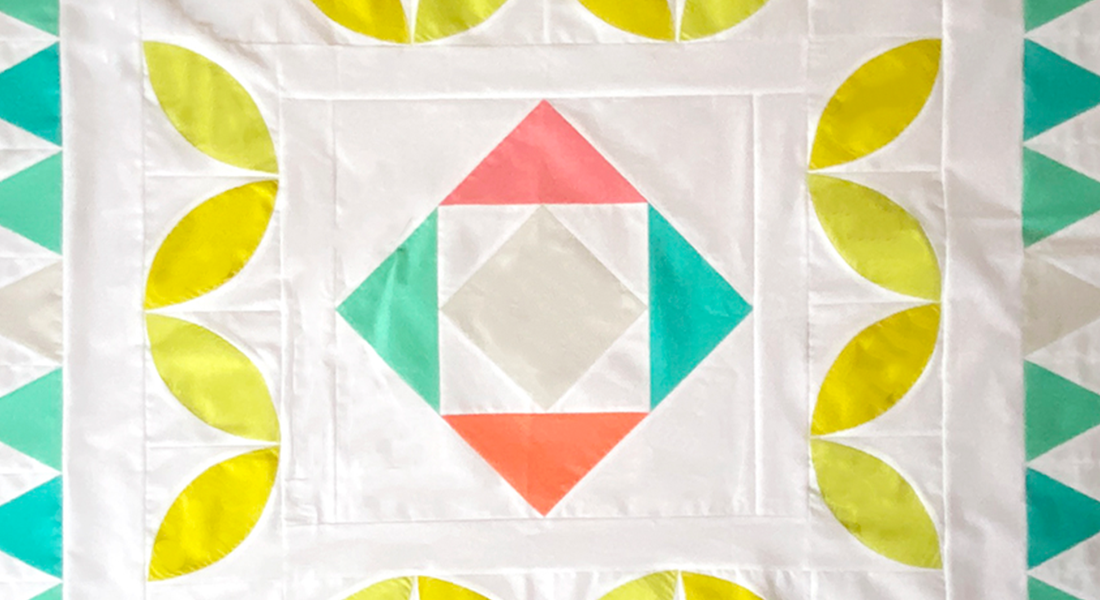
Once you’ve learned how to create the blocks for the quilt in Part 1, and have completed all 56 blocks for your temperature quilt, you’re ready to sew the top together.
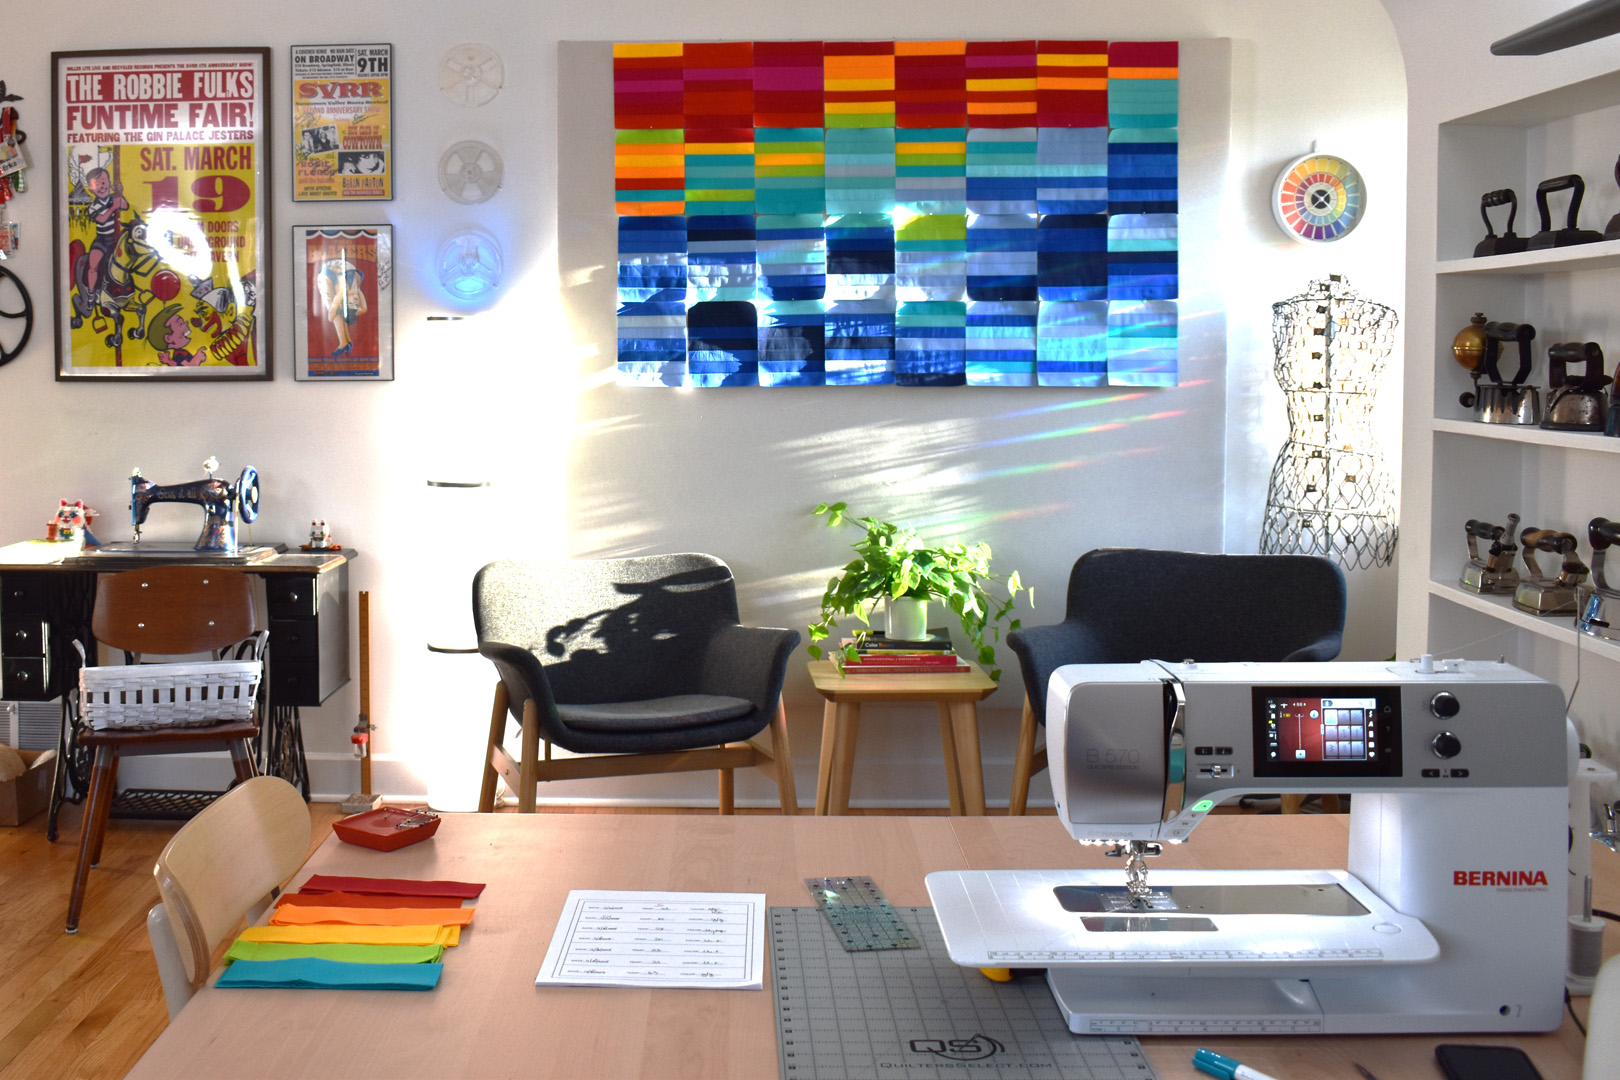
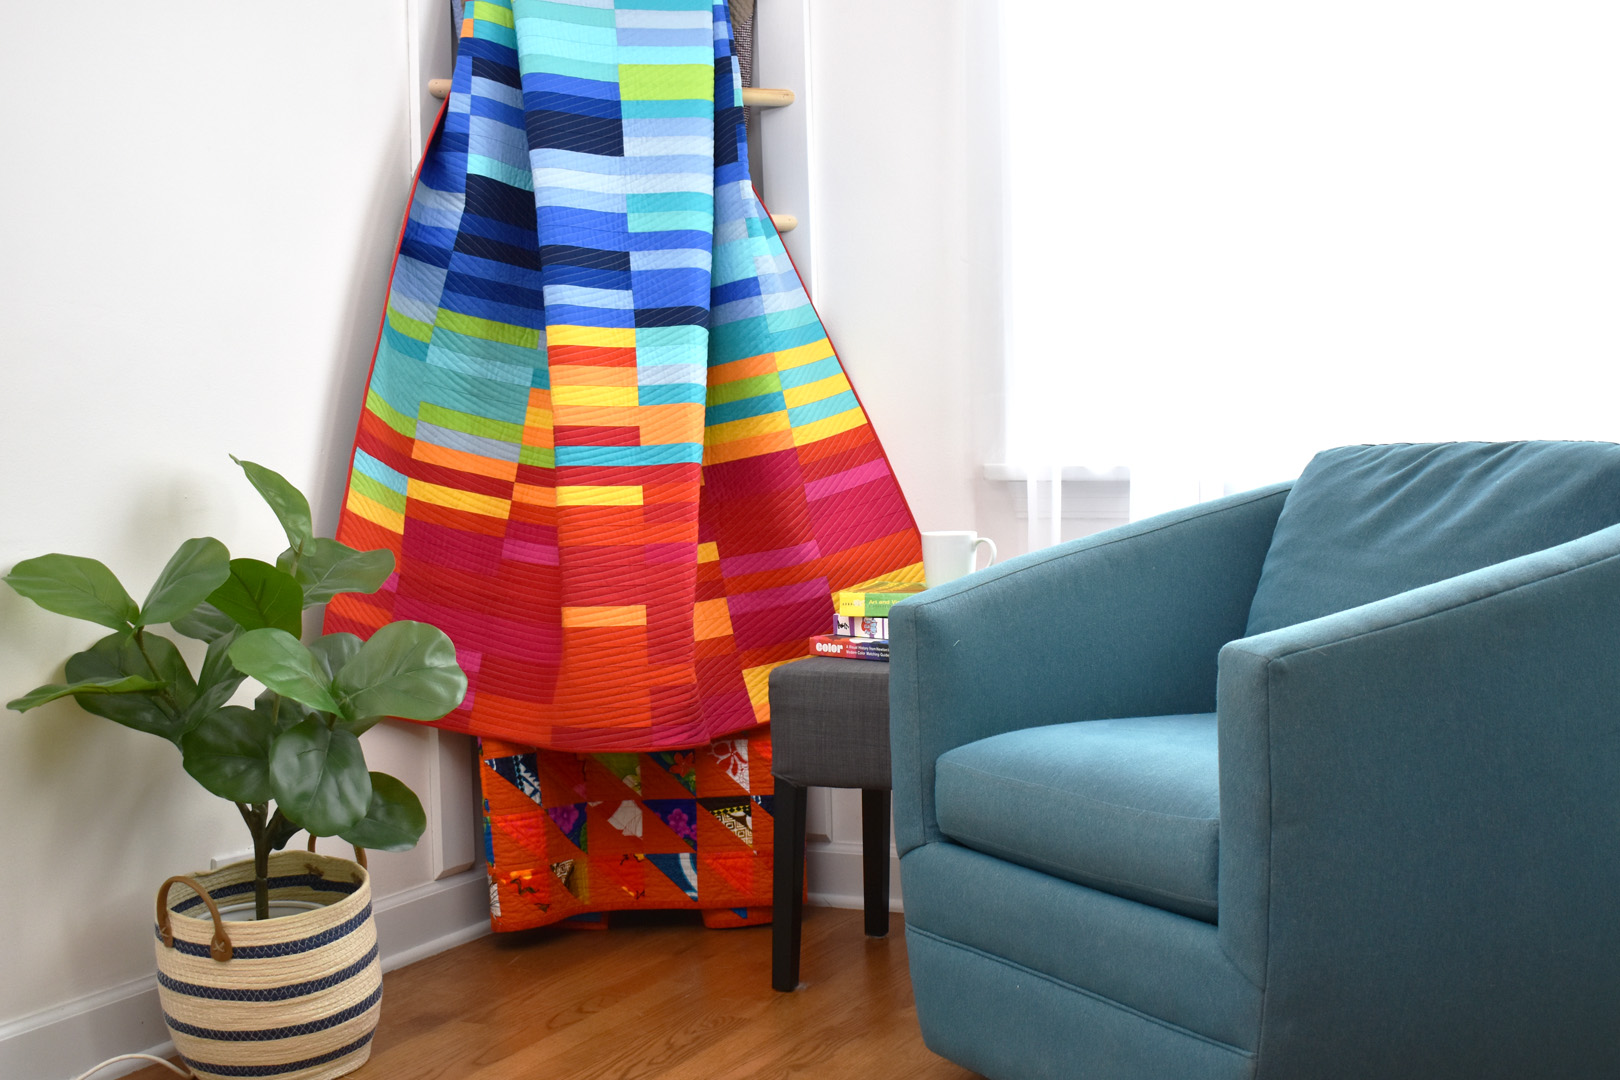
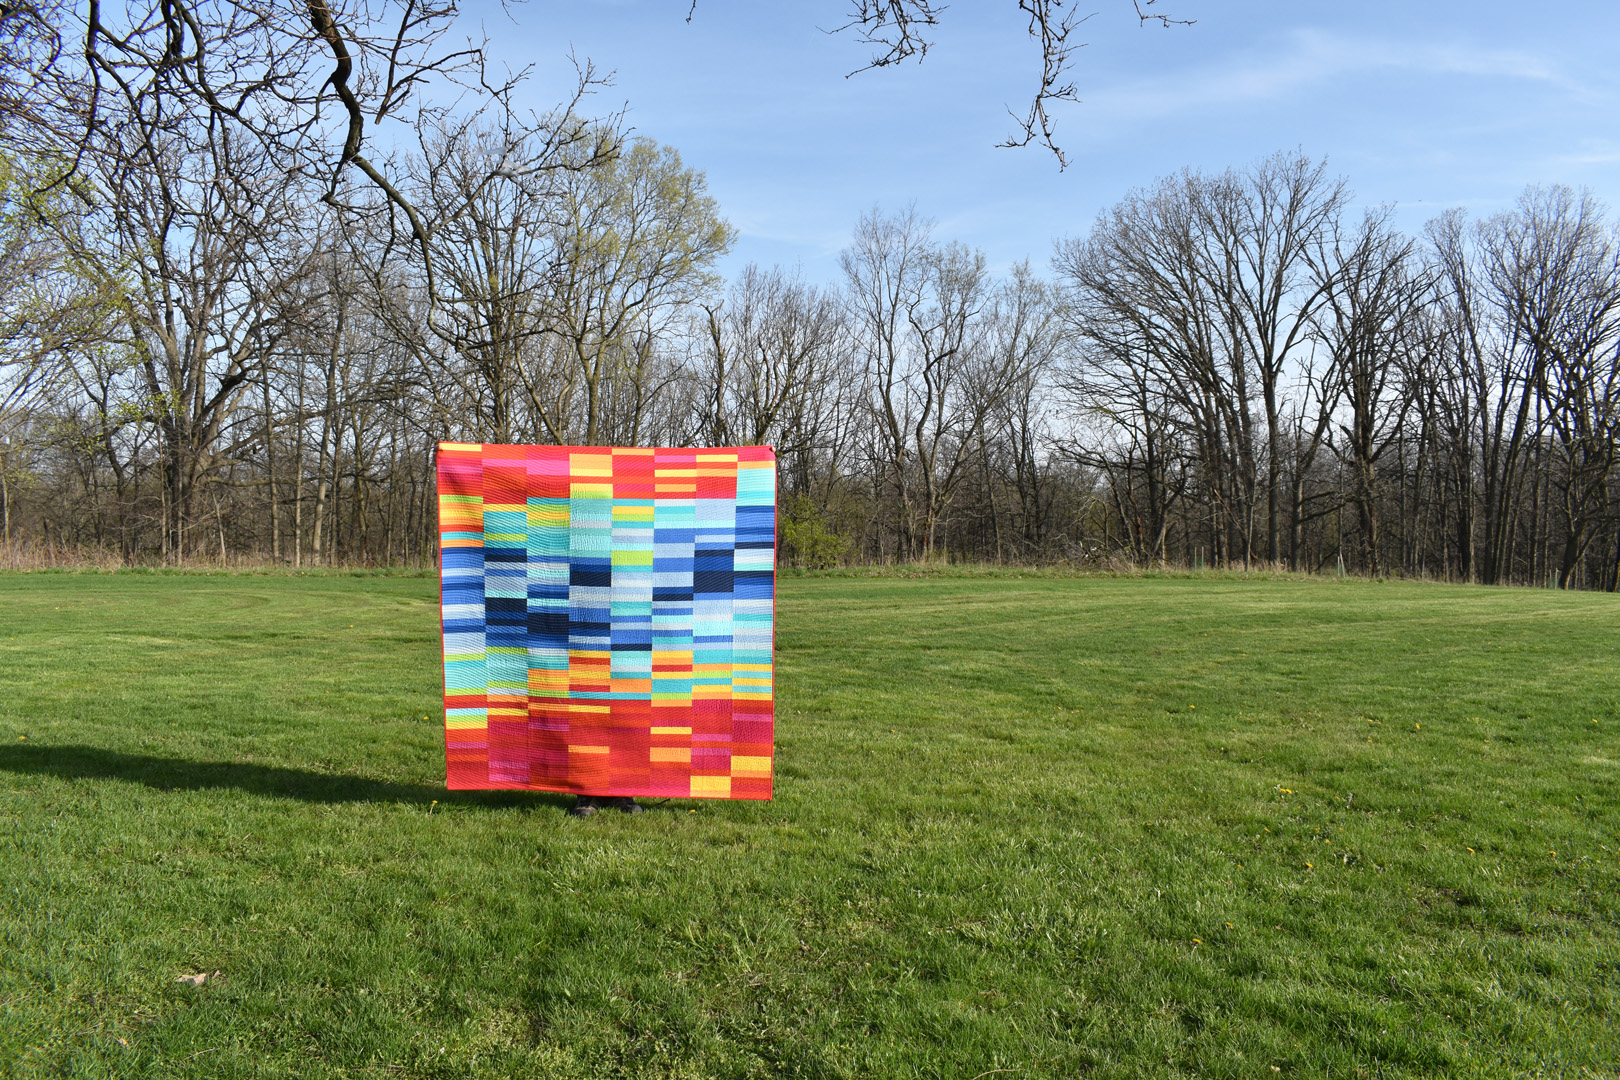
I arranged the finished blocks beginning at the top left corner and moving in order to the right. So, looking at the finished quilt, you can “read” the year starting at the top and seeing the representation of the changing seasons through each day for the duration of the year. My quilt is 8 blocks across and 7 blocks down, creating a finished quilt of 4 1/2′ wide by 5′ long – the perfect size for cuddling up on the couch or your favorite reading chair.

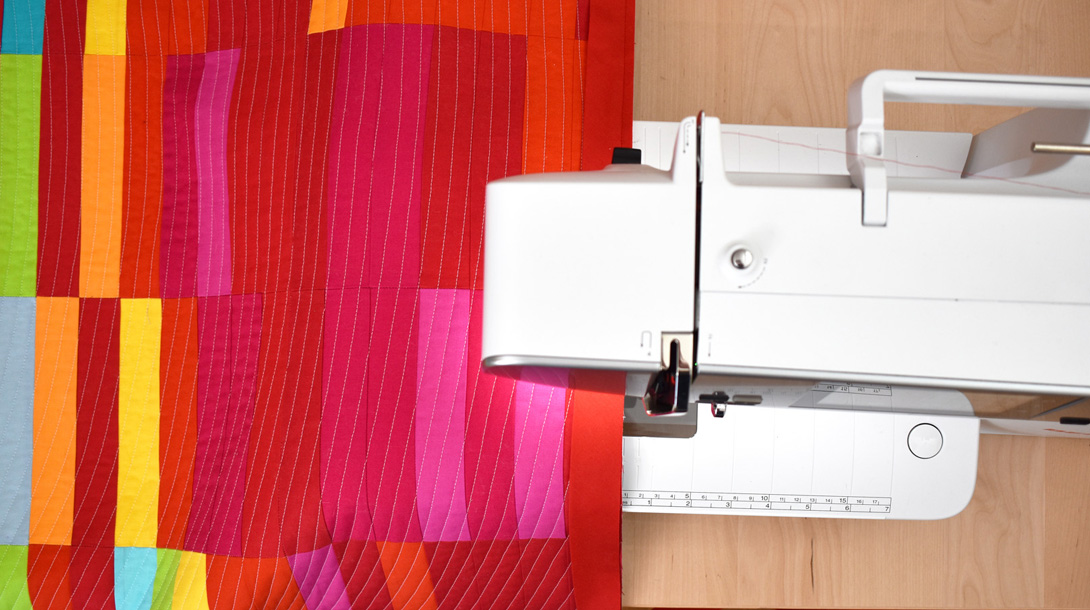
Use the same sewing machine set up as in Part 1 to stitch the blocks together.
Place the first two blocks together. When alternating between starting the blocks from the top and bottom, the seams were pressed in opposite directions. This allows the blocks to nestle together perfectly as you place them together as in the photo above.

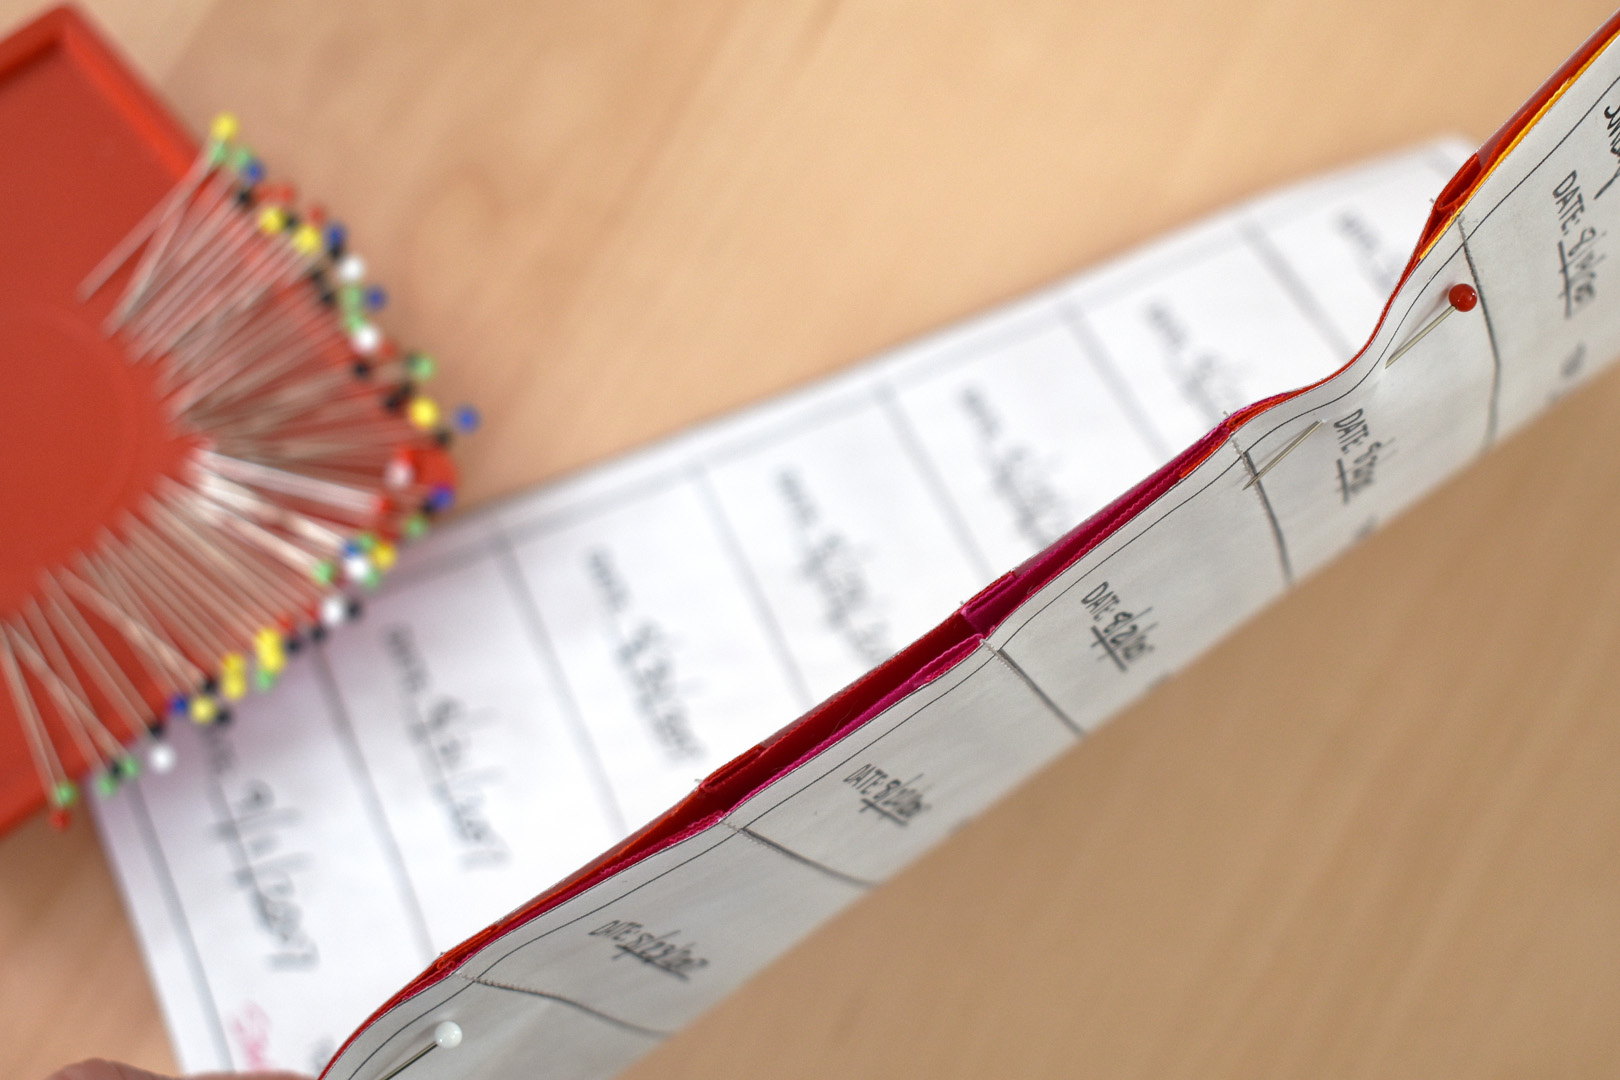
Pin close to the edge to keep the seams matched up.

Start stitching all the way from the bottom edge of the block, and sew along the inside, solid black line. Sew all the way through to the top end of the block.
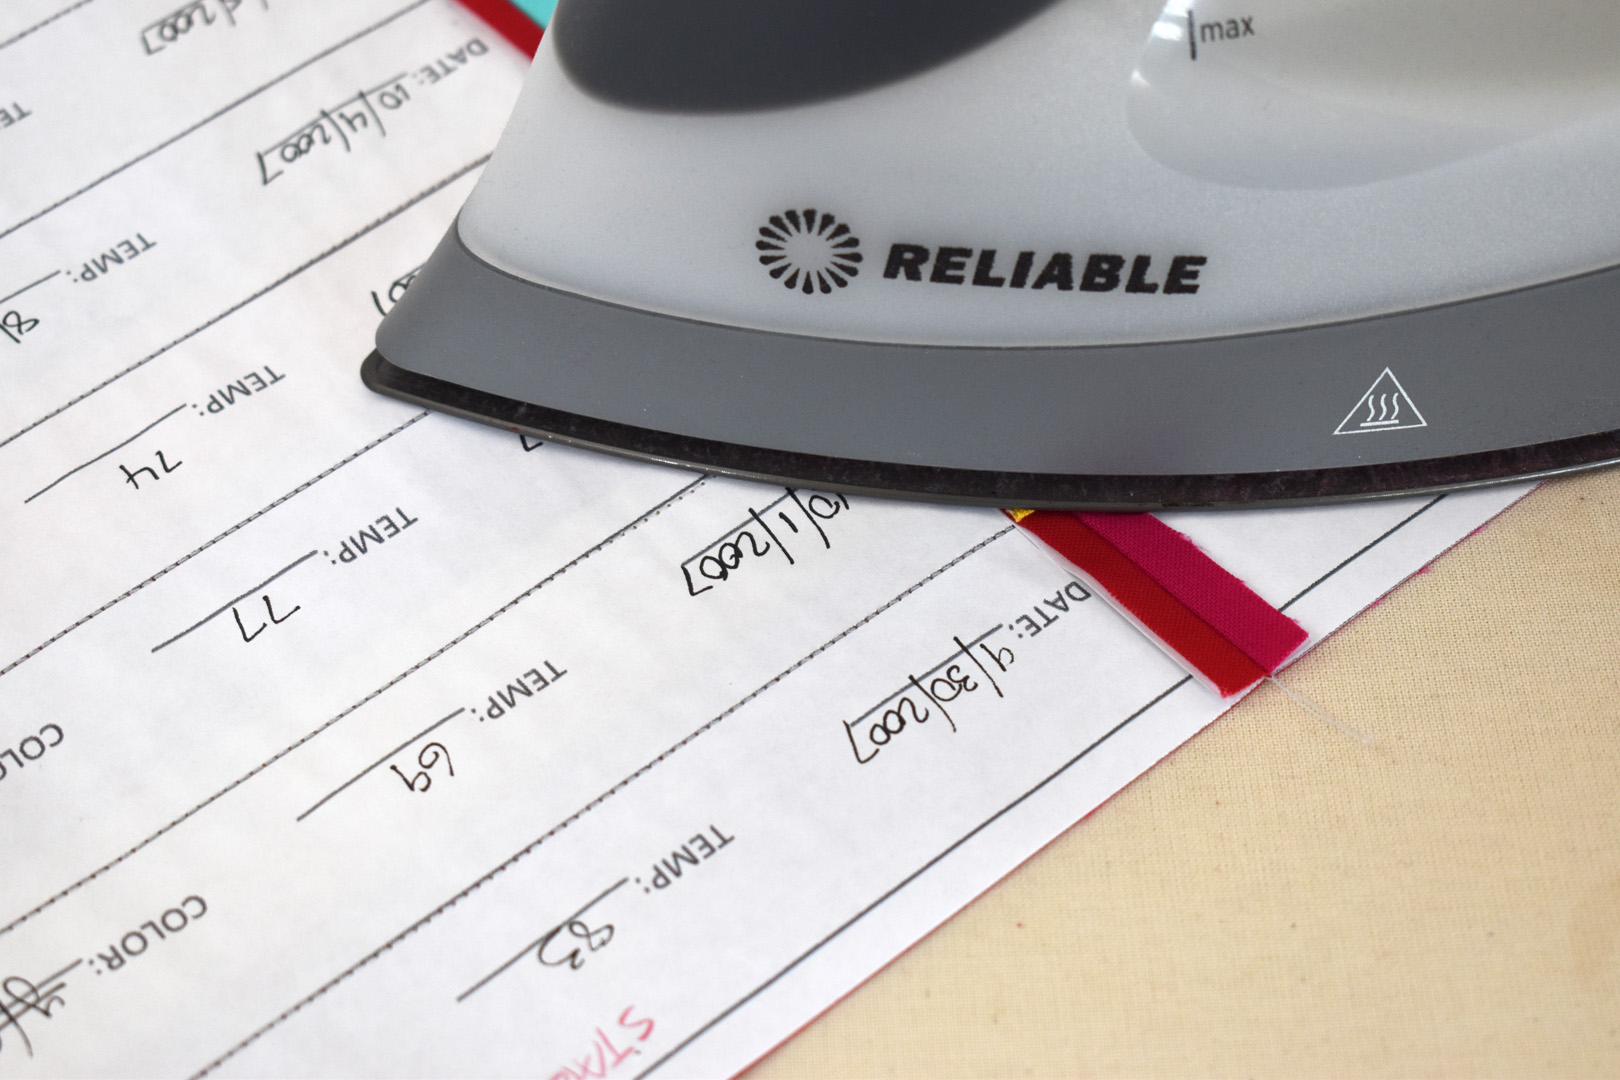
Press the seam open from the paper pattern side.
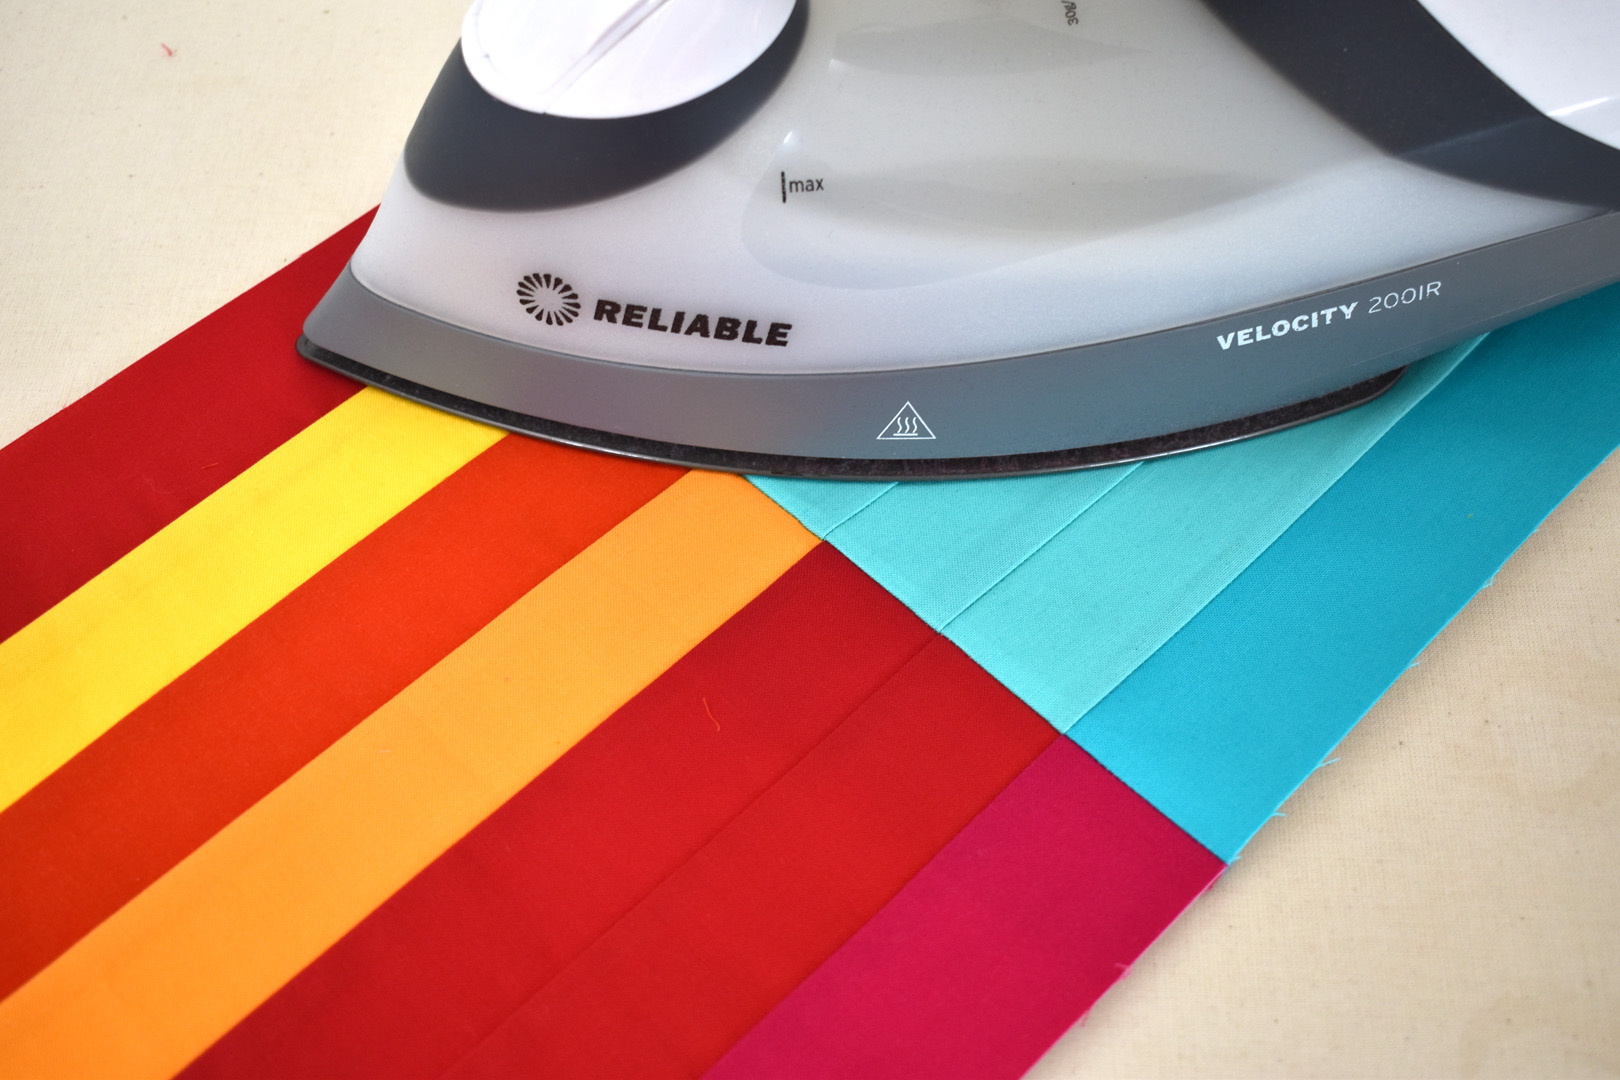
Flip over, and press from the front side. Then, continue sewing blocks together across all 7 rows.

When pinning the rows together, match the open seams together. Pin close to the seams to hold in place while stitching.
Press the seams open after sewing rows together. After the blocks and rows have been completely stitched together, press the whole top gently from the front.
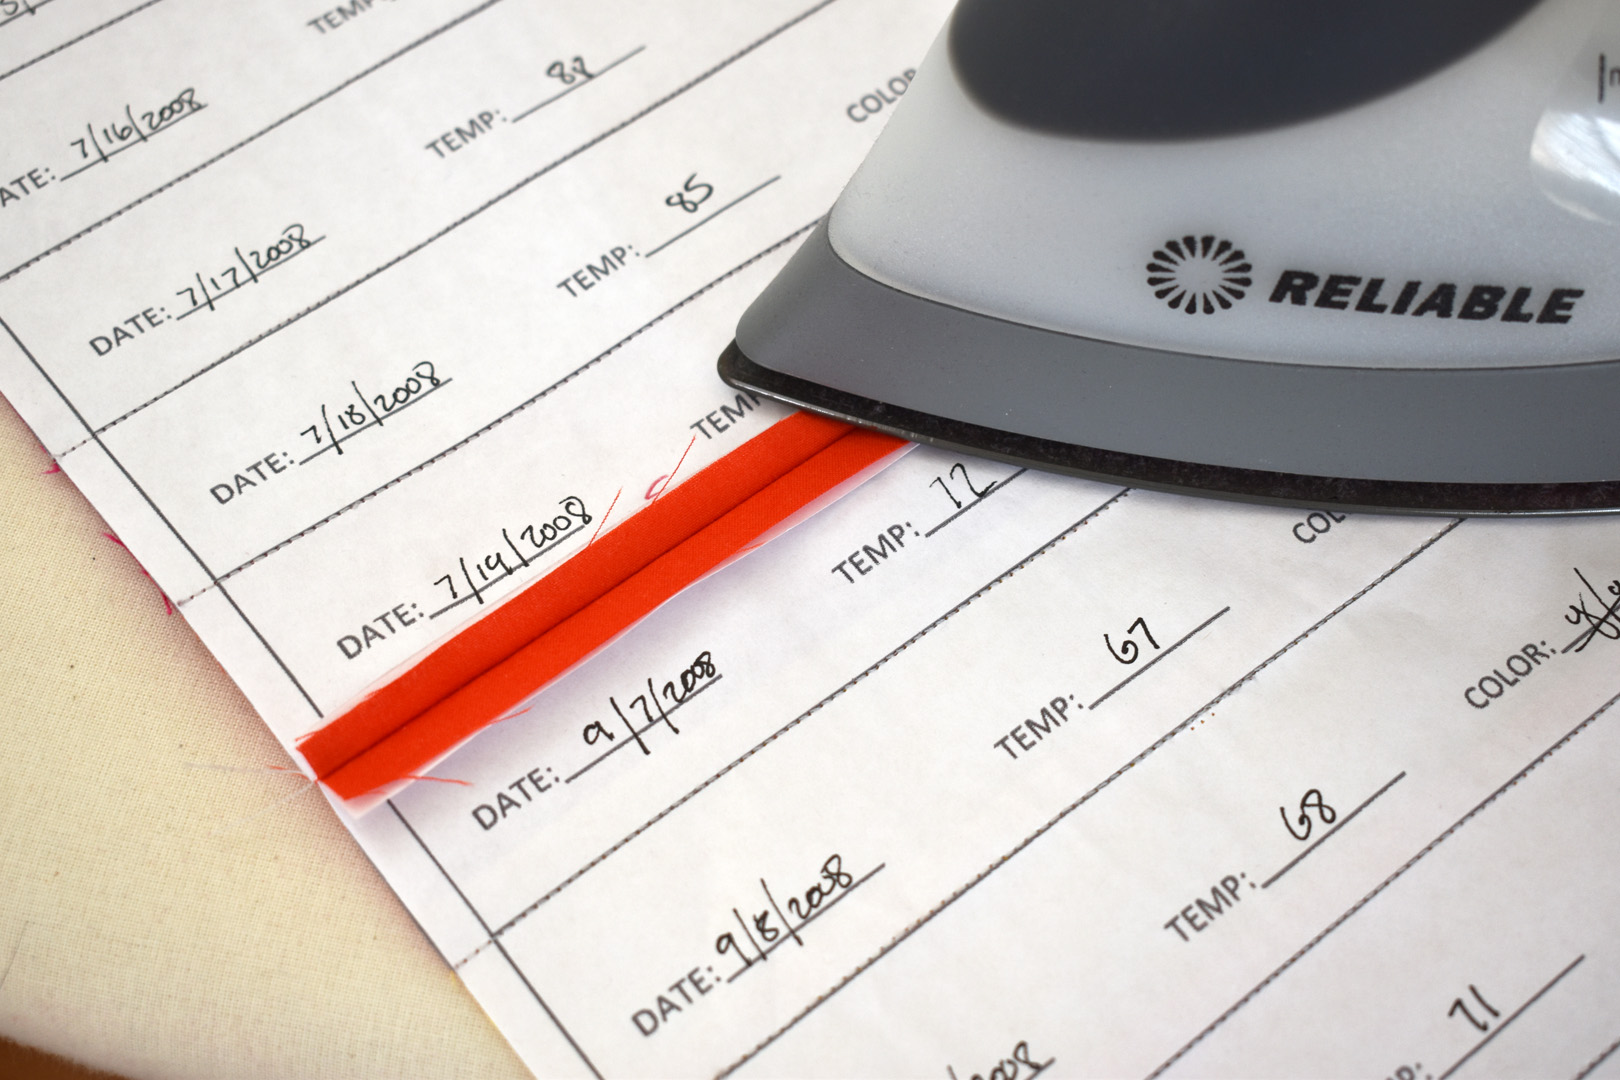
Now it’s time to pull the paper from the back side of the quilt. Helpful tools for this process include thread snips, tweezers, a bright task light, and a handy recycle bin. And a favorite podcast, TV show, or music helps pass the time while you’re ripping out the paper.
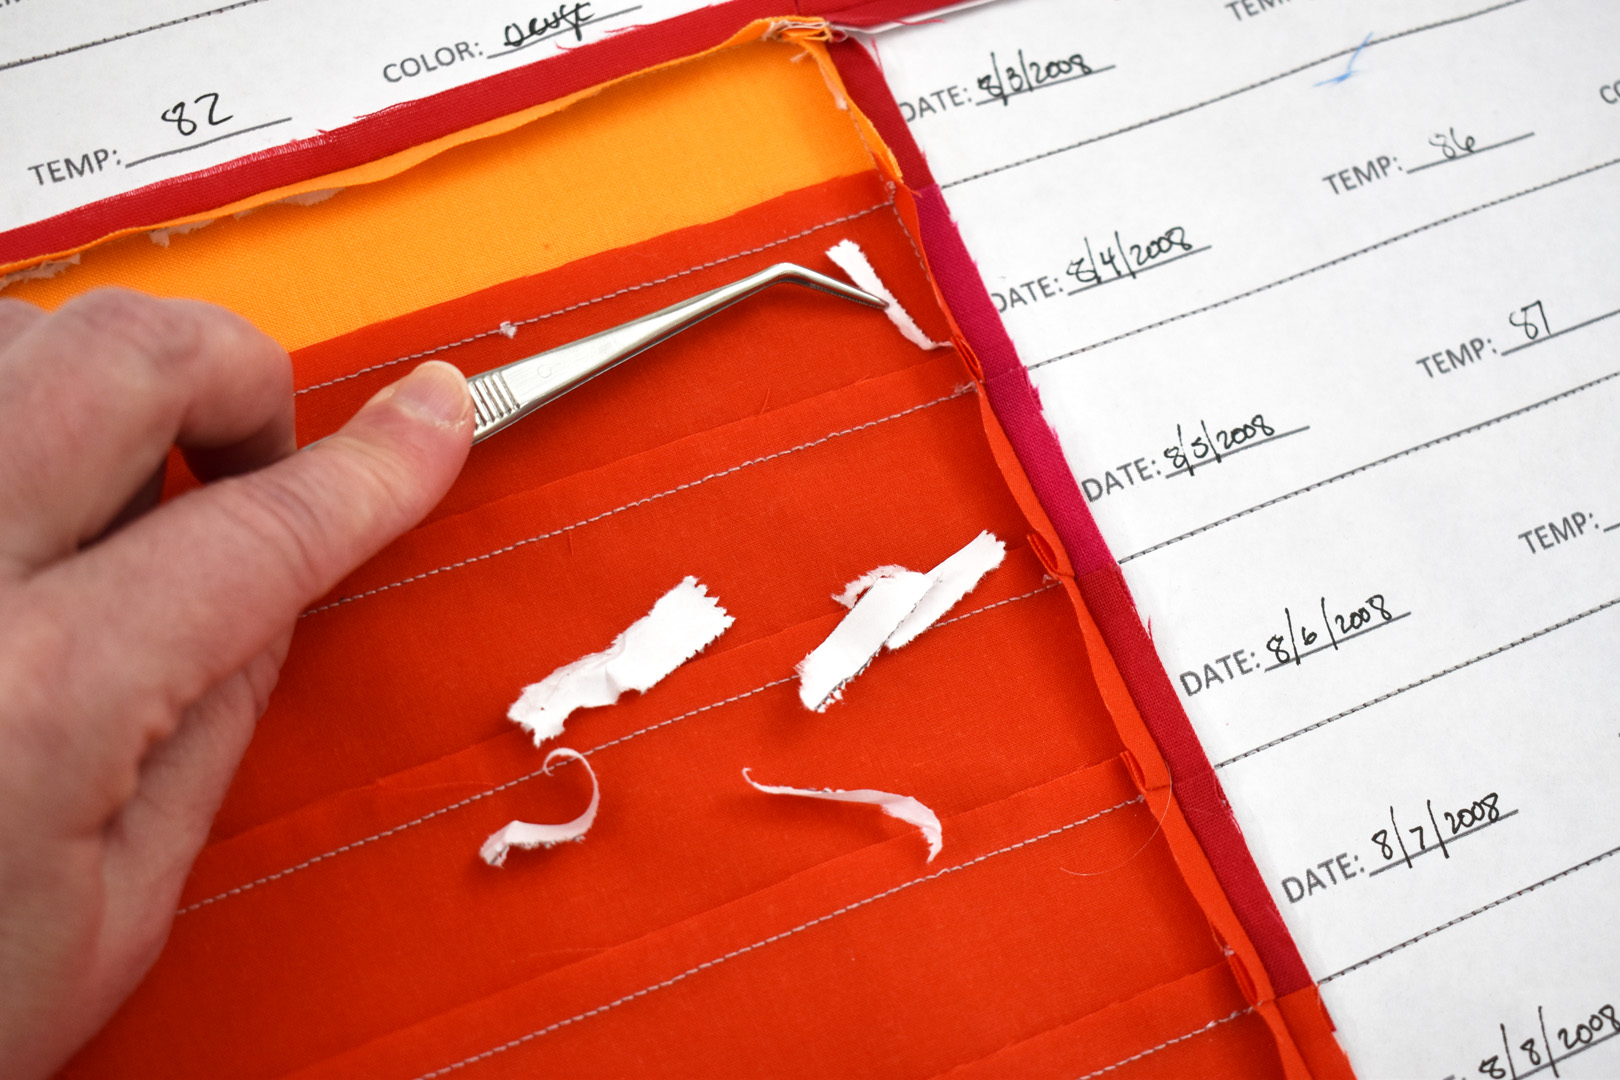
The goal is to remove as much of the paper from the back as possible. Once you remove the paper from a few blocks, you’ll find a good rhythm that works for you. My technique is to star at the top of one block, removing the seam allowance first. This will free-up the top of the next section, which I can wiggle free and rip out, moving my way down through the block. Then I move through with my tweezers, pulling out any little pieces that are left.
The goal in this process is to remove the paper carefully without damaging the stitches. Try using one hand to tear the paper away from a row of stitching while holding the other hand down firmly near the stitches to support the stitches. Tear in small sections, and avoid yanking a whole piece out at once.

The cleaner you can create a tear in the paper pattern, the fewer little bits and pieces you’ll need to pull out with tweezers.
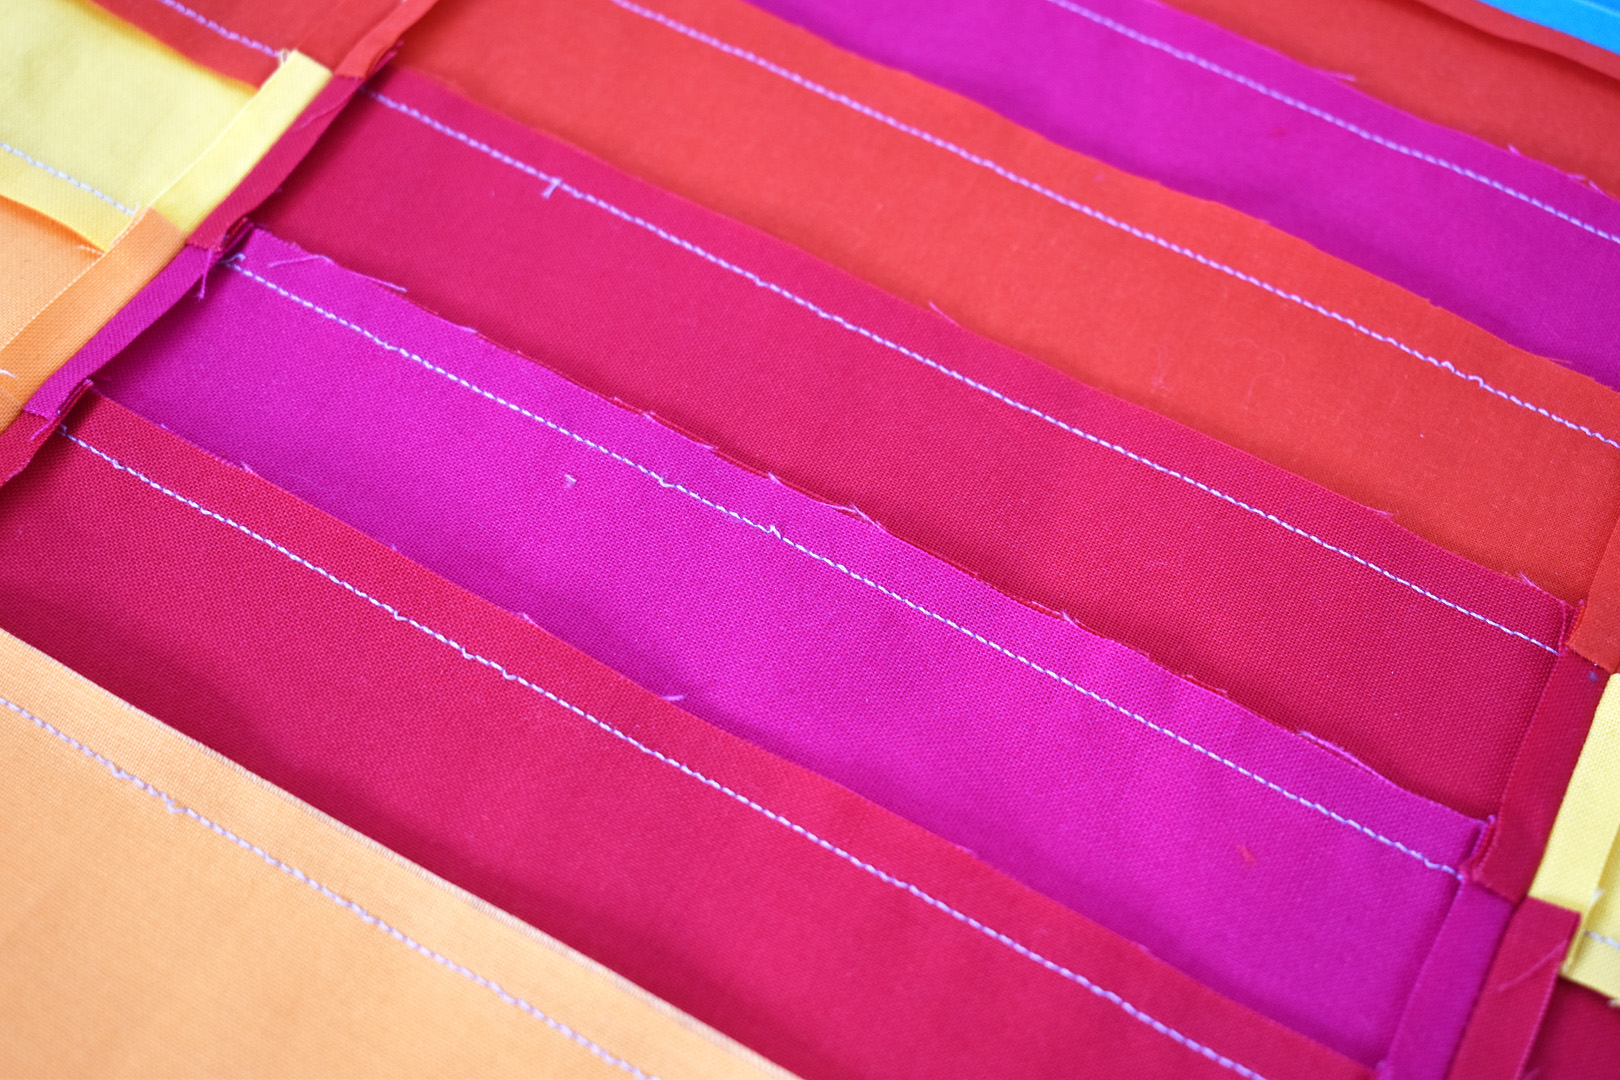
Notice you may see a few stitches that look a bit loose here and there (see photo above). What you don’t want to see are rows of really loose stitches that may result from pulling too hard on the paper. The little bit of looseness in the stitches is an inherent part of this process. The paper adds additional bulk to the seam when sewing, and once removed that bit of extra space still exists in the stitches. Some of this will be helped with a really good steam pressing of the quilt top after removing all of the paper.
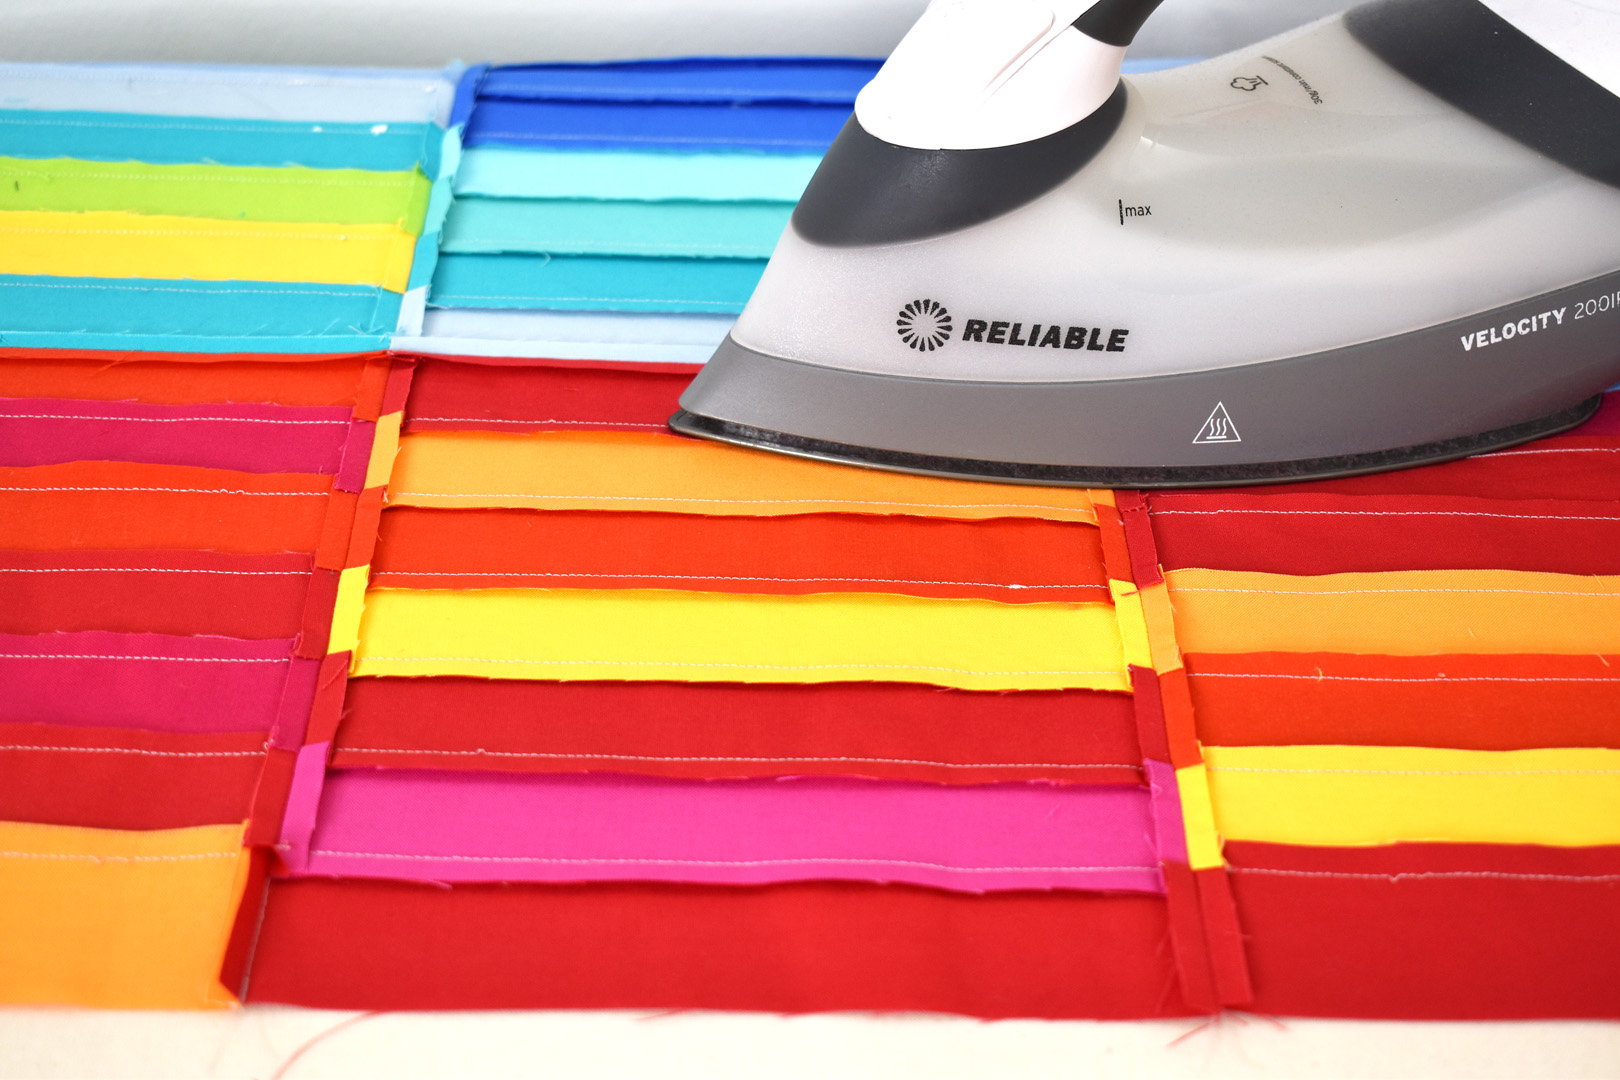
When giving the top a final press, make sure you are simply pressing and not ironing. Pressing means lifting the iron straight up, moving to a new area, and pressing the iron straight down. Let the steam work a bit in this area, then pick the iron straight up and move again. Ironing is a process of moving the iron back-and-forth on top of the fabric, and this process would start to warp those nice, straight lines you’ve just sewn in this patchwork top.
Once well pressed, set the top aside and get ready to baste and quilt in Part 3 of the tutorial!