Insert a Zipper with a Serger and Sewing Machine
Sewing in a zipper has a reputation for being a scary or challenging technique. But fear not! With the right tools, zippers can be easy on any machine — not just your sewing machine but on sergers too!
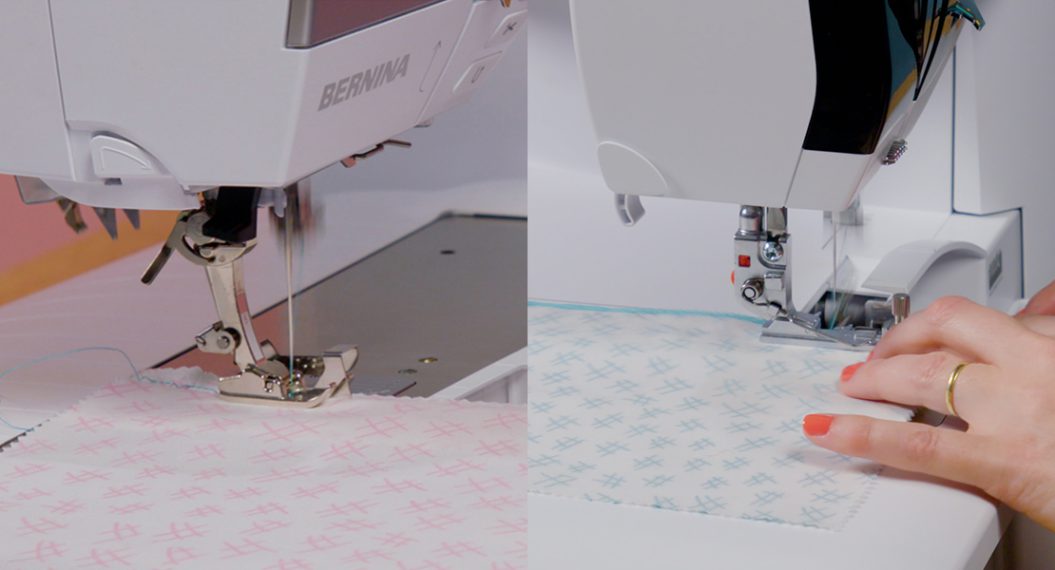
Let’s take a look side by side:
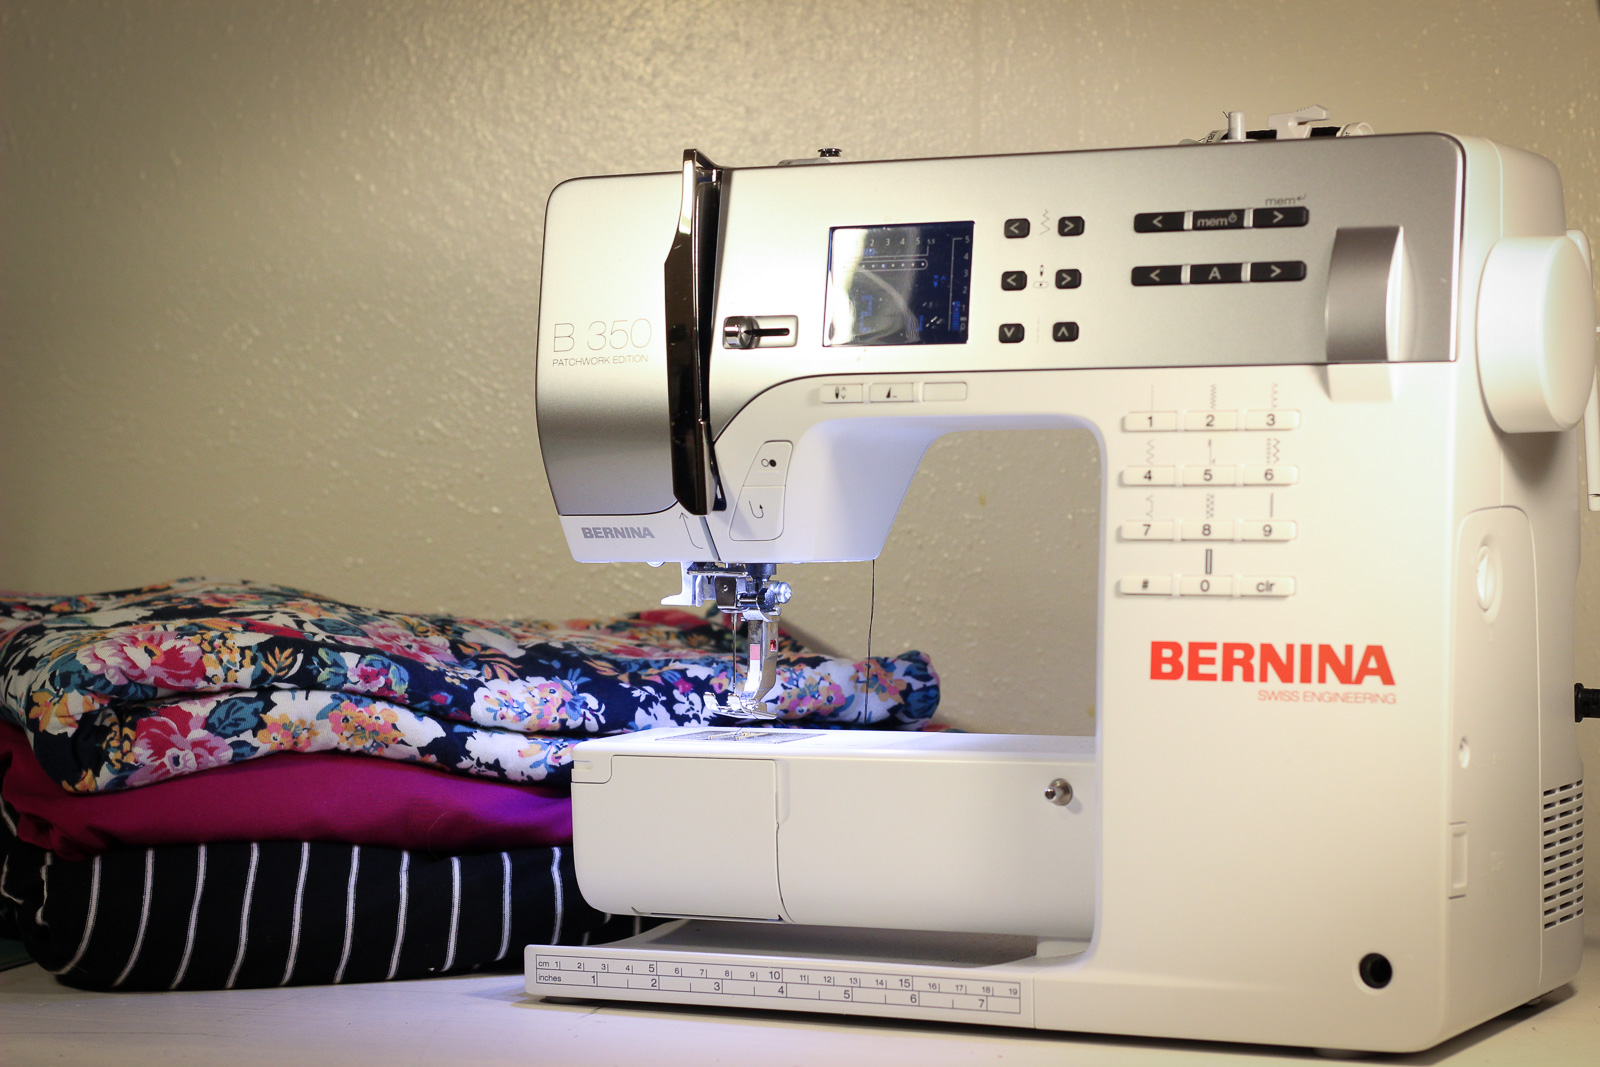
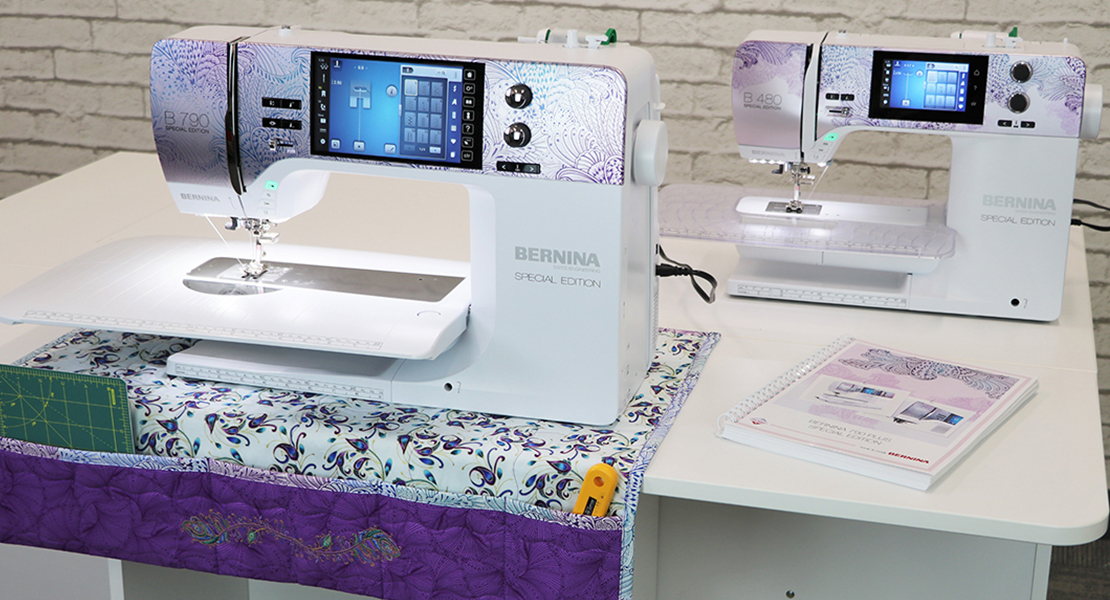
Machines Featured
First Things: Feet
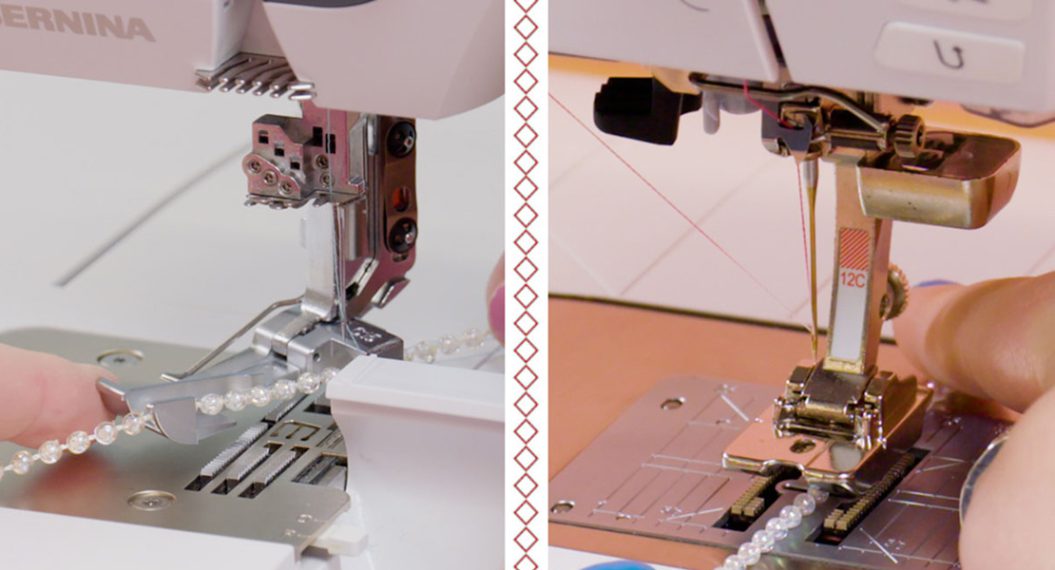
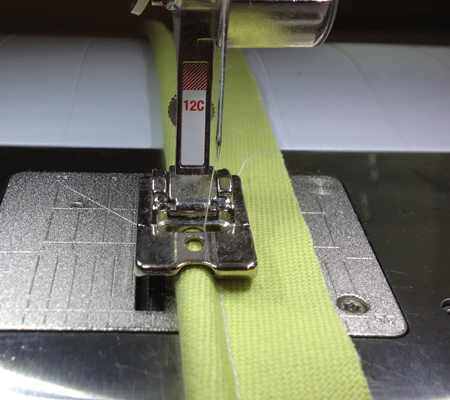
Serger — Piping Foot #C16 L
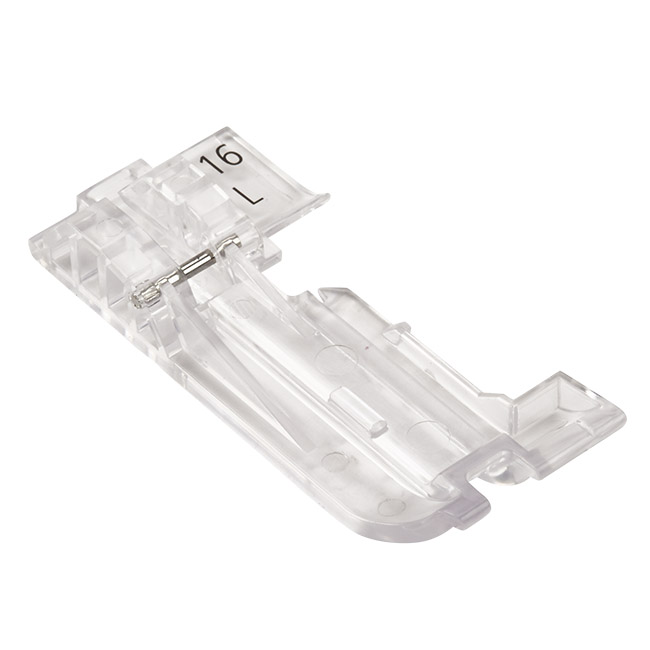
There are technically two versions of Piping Foot #C16 — an L (Large) and an S (Small). The Large version, which I recommend for zippers, has a larger 5 mm channel that can accommodate the width of a zipper coil. This foot is also clear, which gives you better visibility to make sure everything is stitching exactly where you want it.
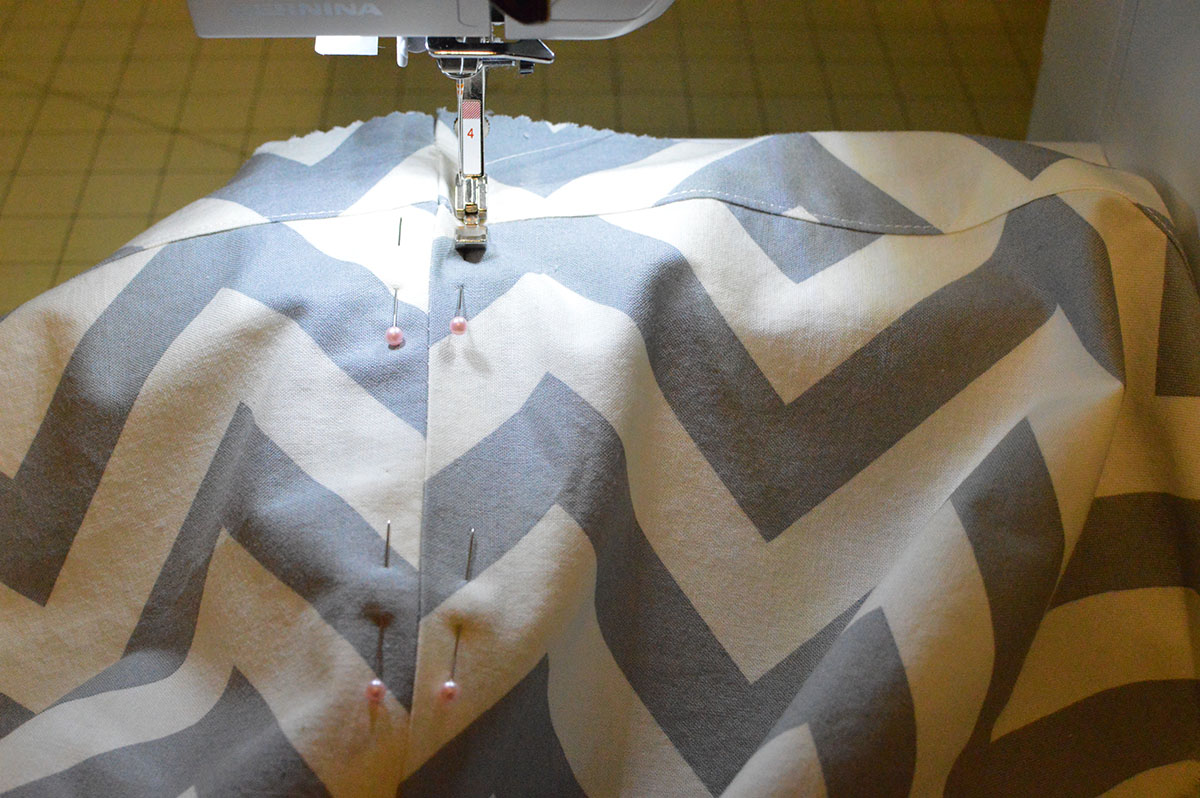
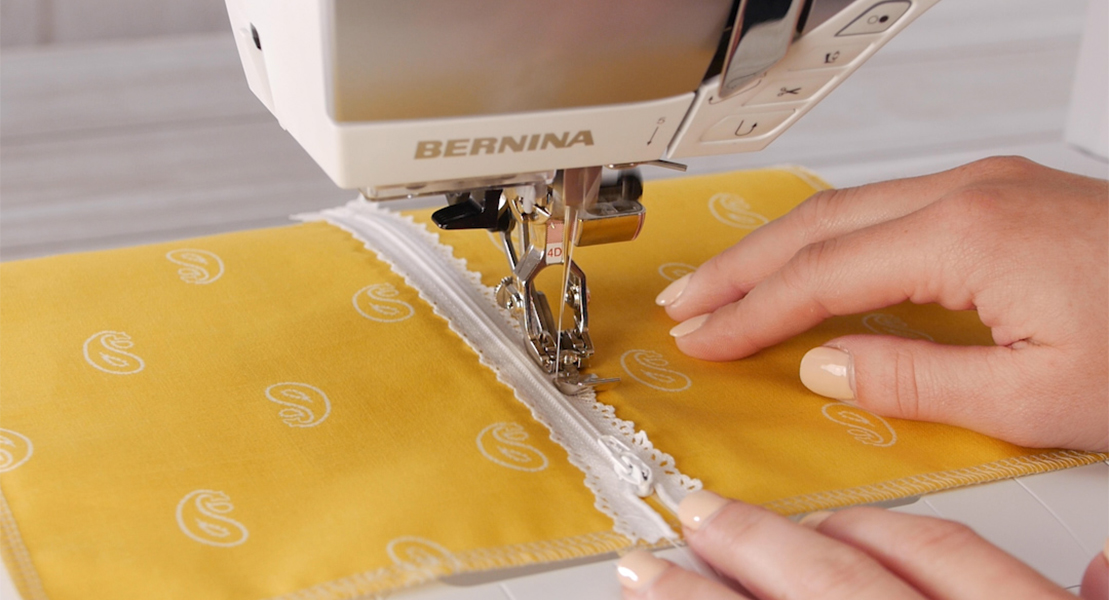
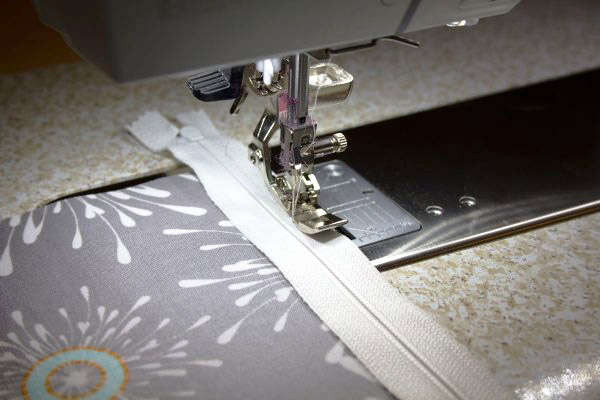
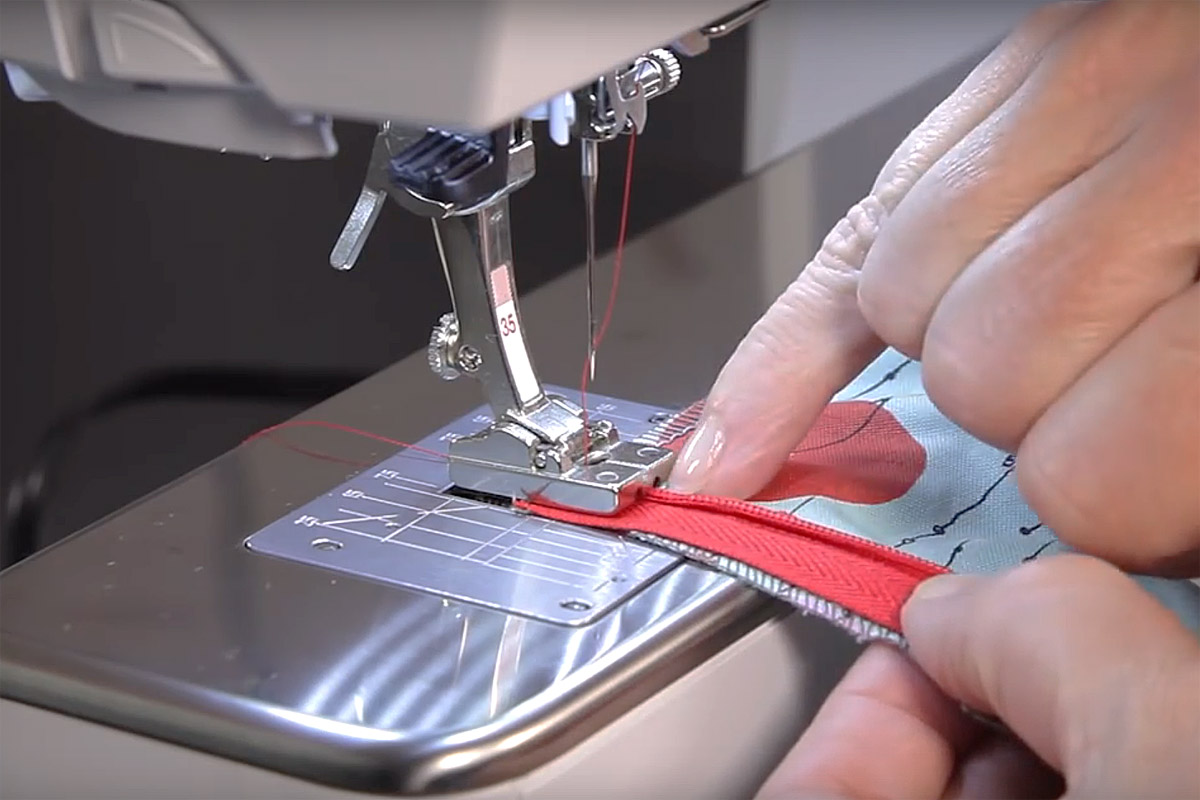
Sewing Machine — Zipper Foot #4D
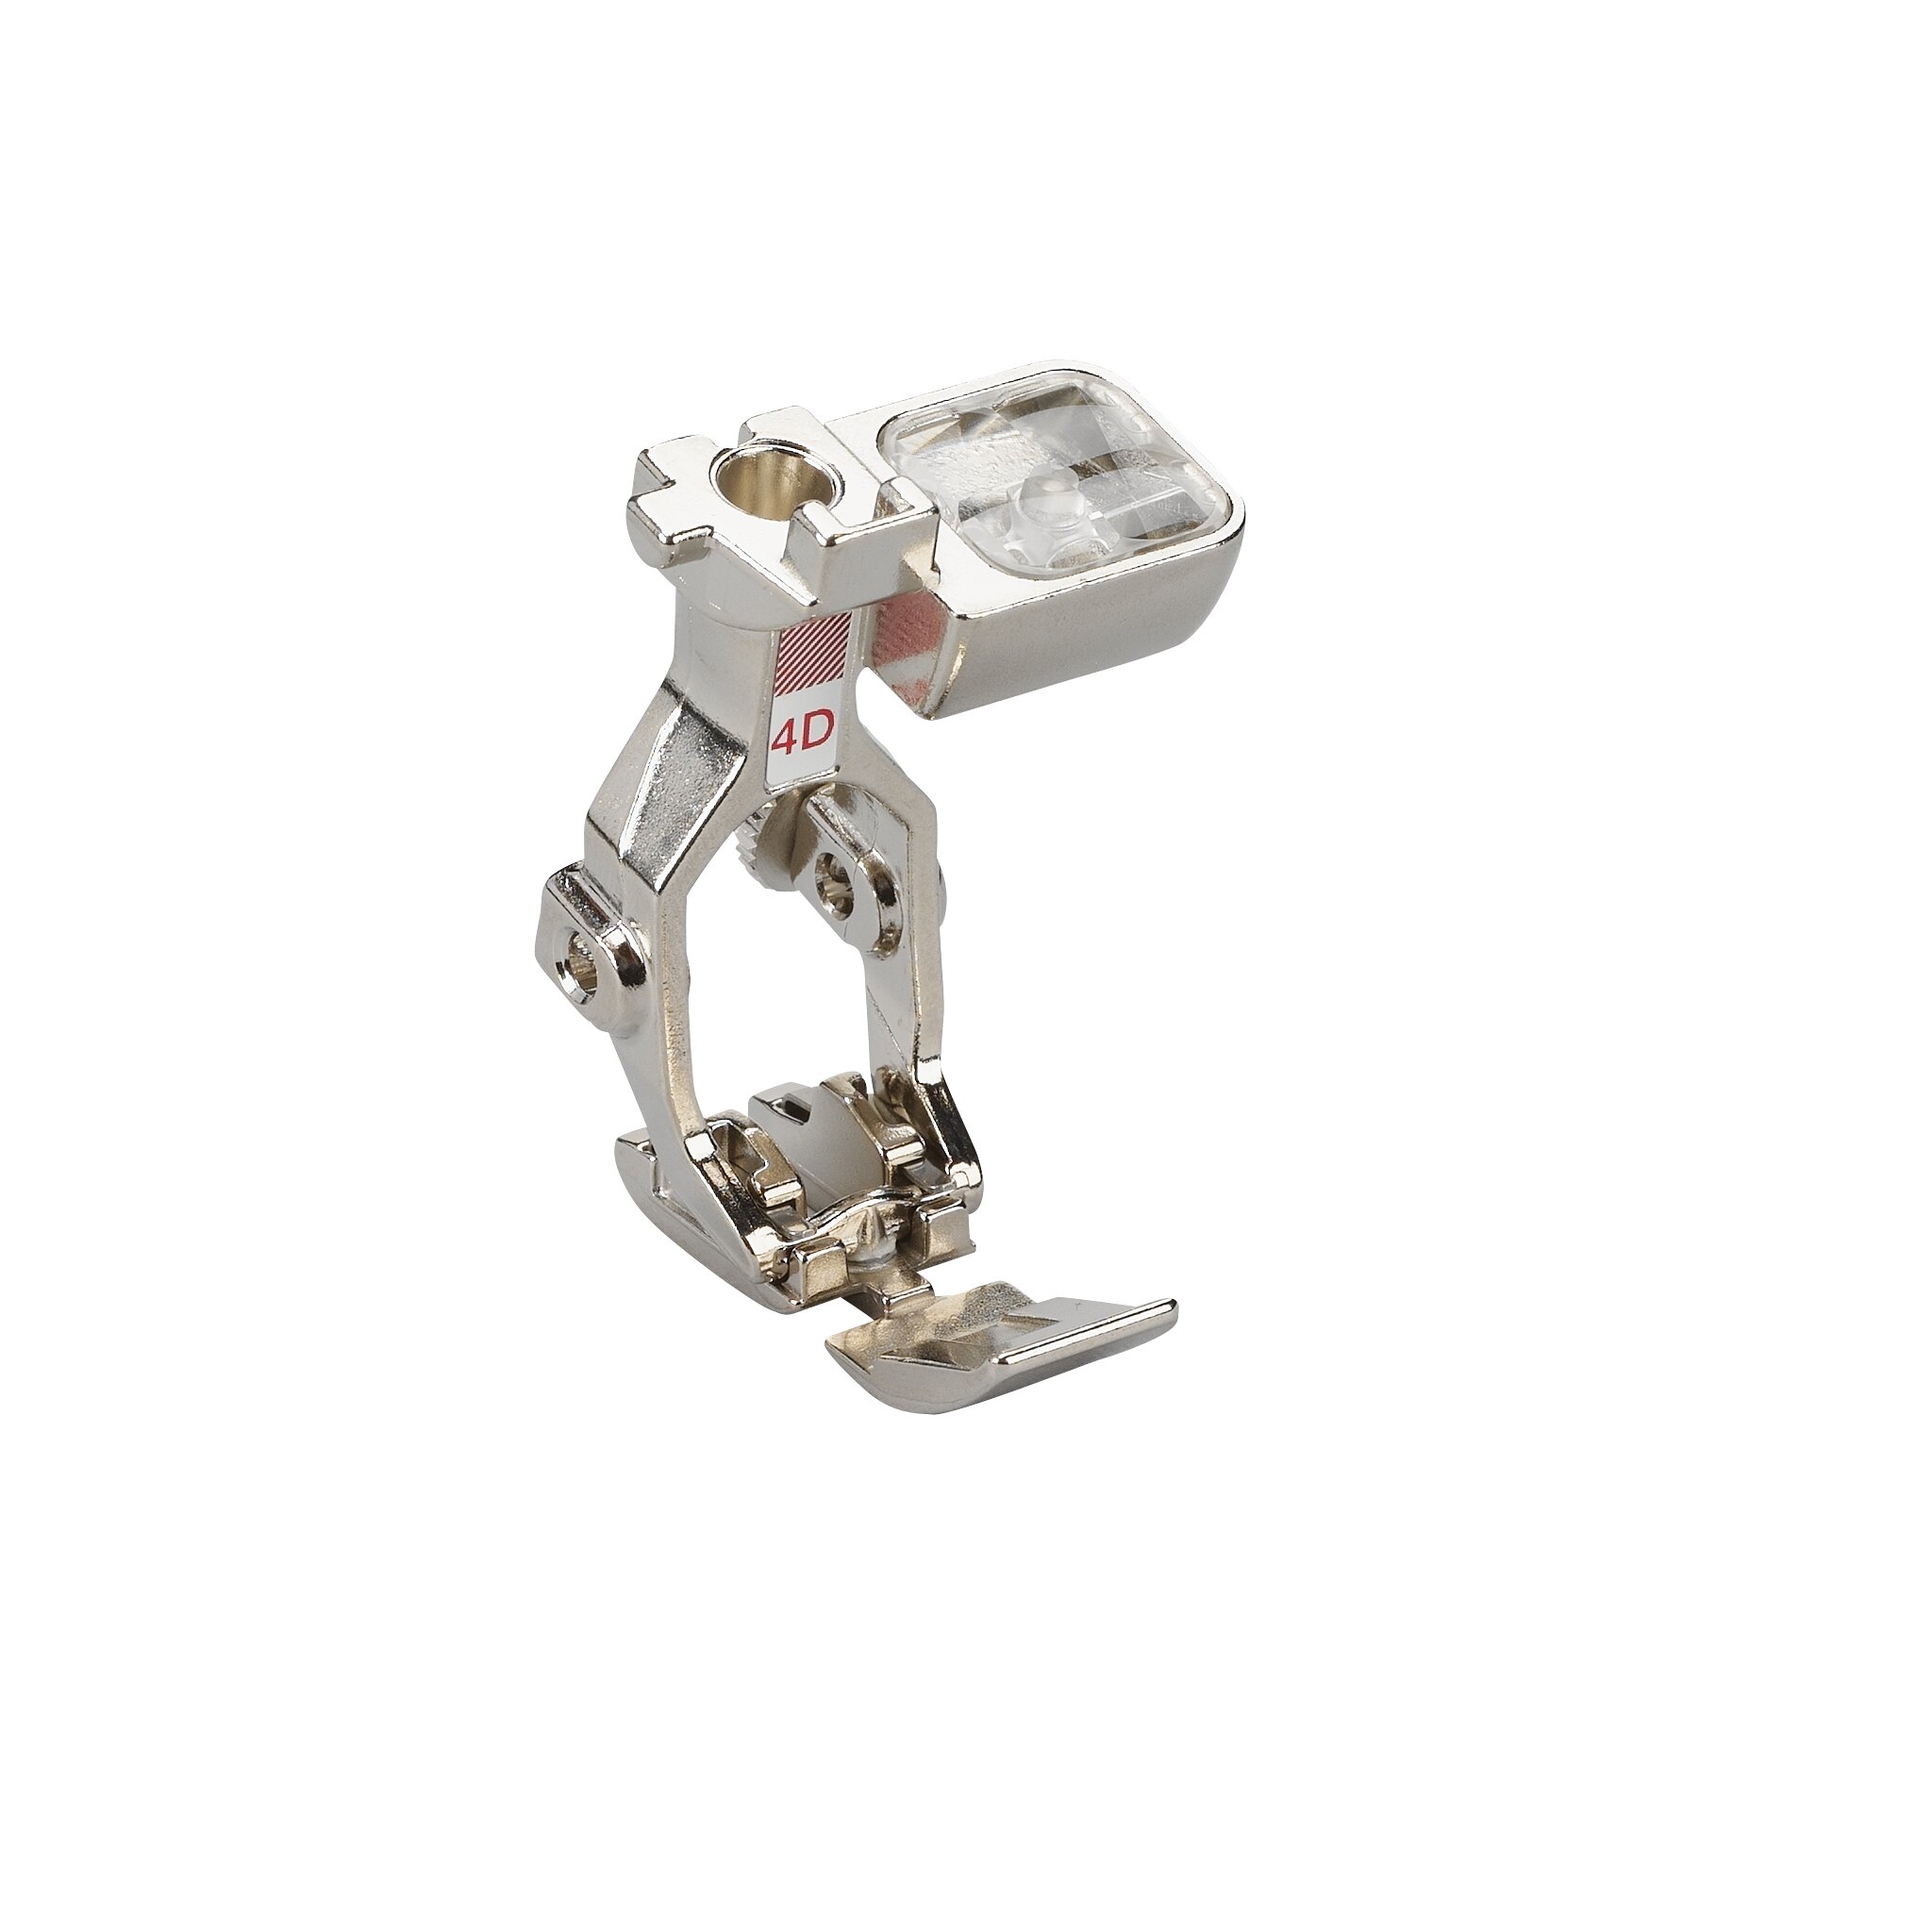
This presser foot is engineered specifically for sewing zippers. It allows you to position your zipper as close as possible to the needle area for a clean finish. This version in particular (indicated by the code D) also allows you to use Dual Feed, which can help your layers of fabric feed more evenly.
Set Up for Success: Machine Settings
Serger
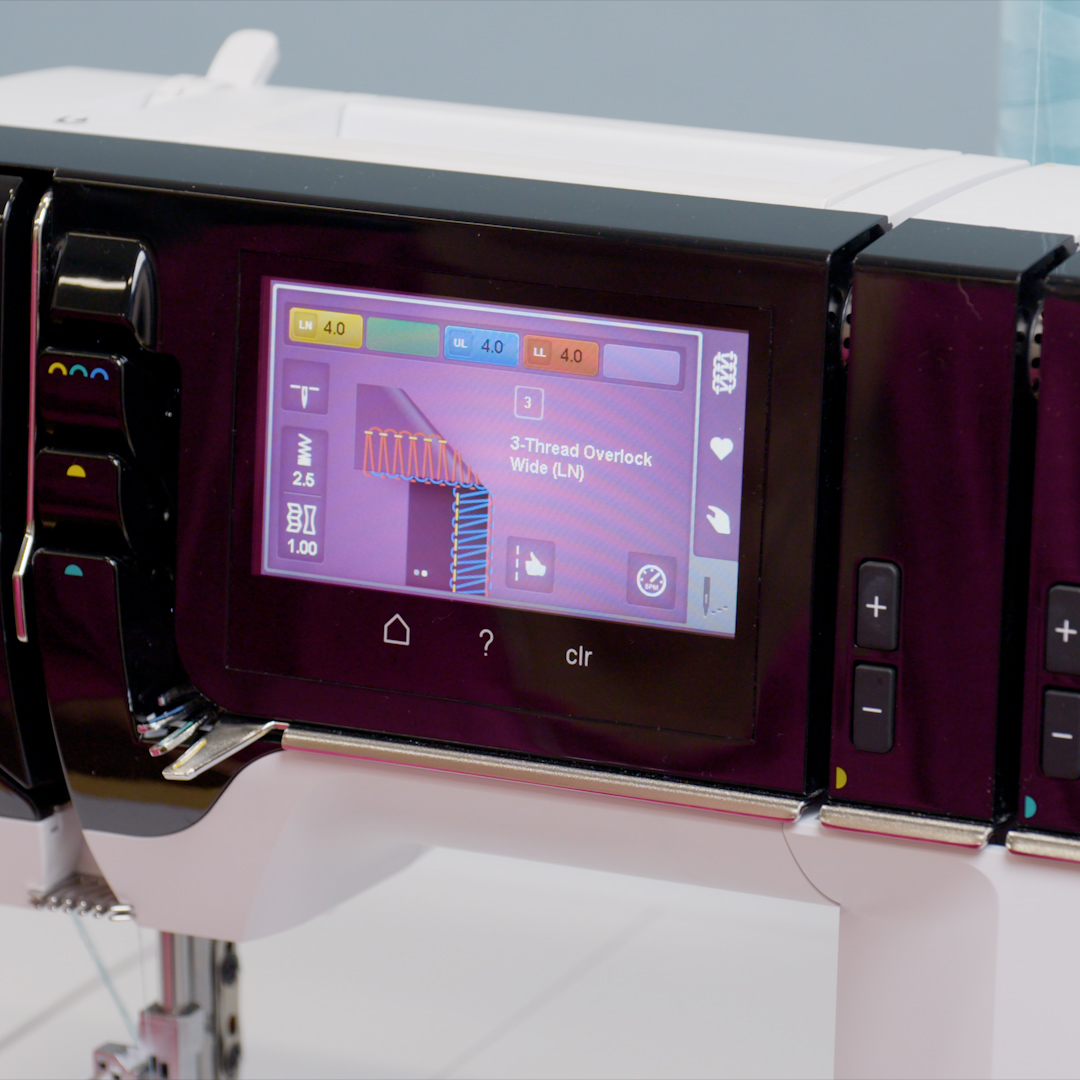
The 4-thread Overlock Stitch #1 is used to sew in the zipper. This stitch uses two needle threads and two looper threads to create a very strong seam, which is important considering the stress we put our zippers under!
Set your needle to Stop Down.
Sewing Machine
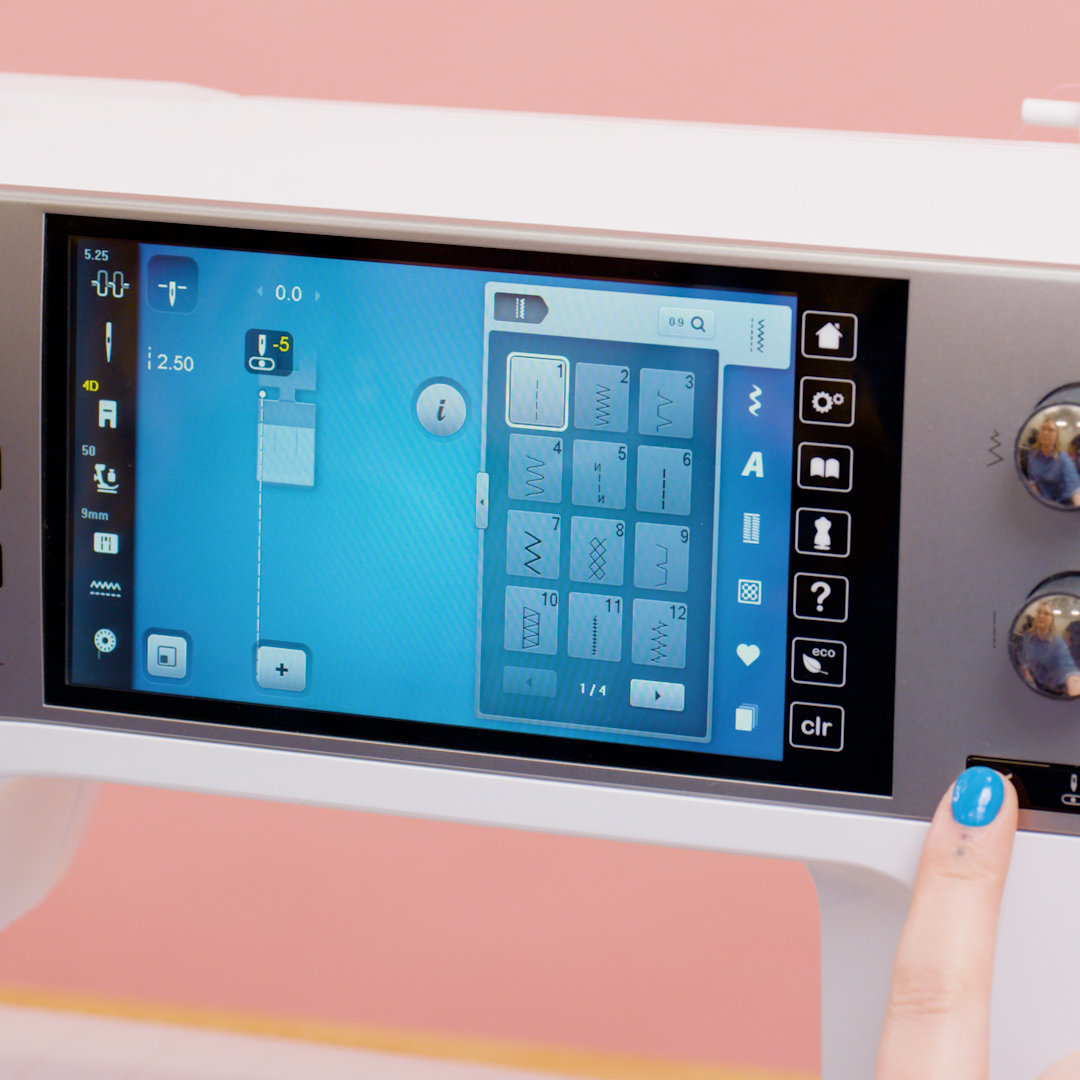
The basic Straight Stitch #1 is used to sew in the zipper. However, be sure to adjust the needle position, moving it to the left in position -5. This will allow you to stitch right alongside the zipper coil.
Set your needle to Stop Down on the sewing machine as well.
Tried and True: Technique
The process of stitching in the zipper is pretty much the same for both serger and sewing machine!
To sew the first side of your zipper, place the zipper right-side down and align with the raw edge of your fabric. Use pins or Wonder Clips to hold the two layers together. Then unzip the zipper about halfway.
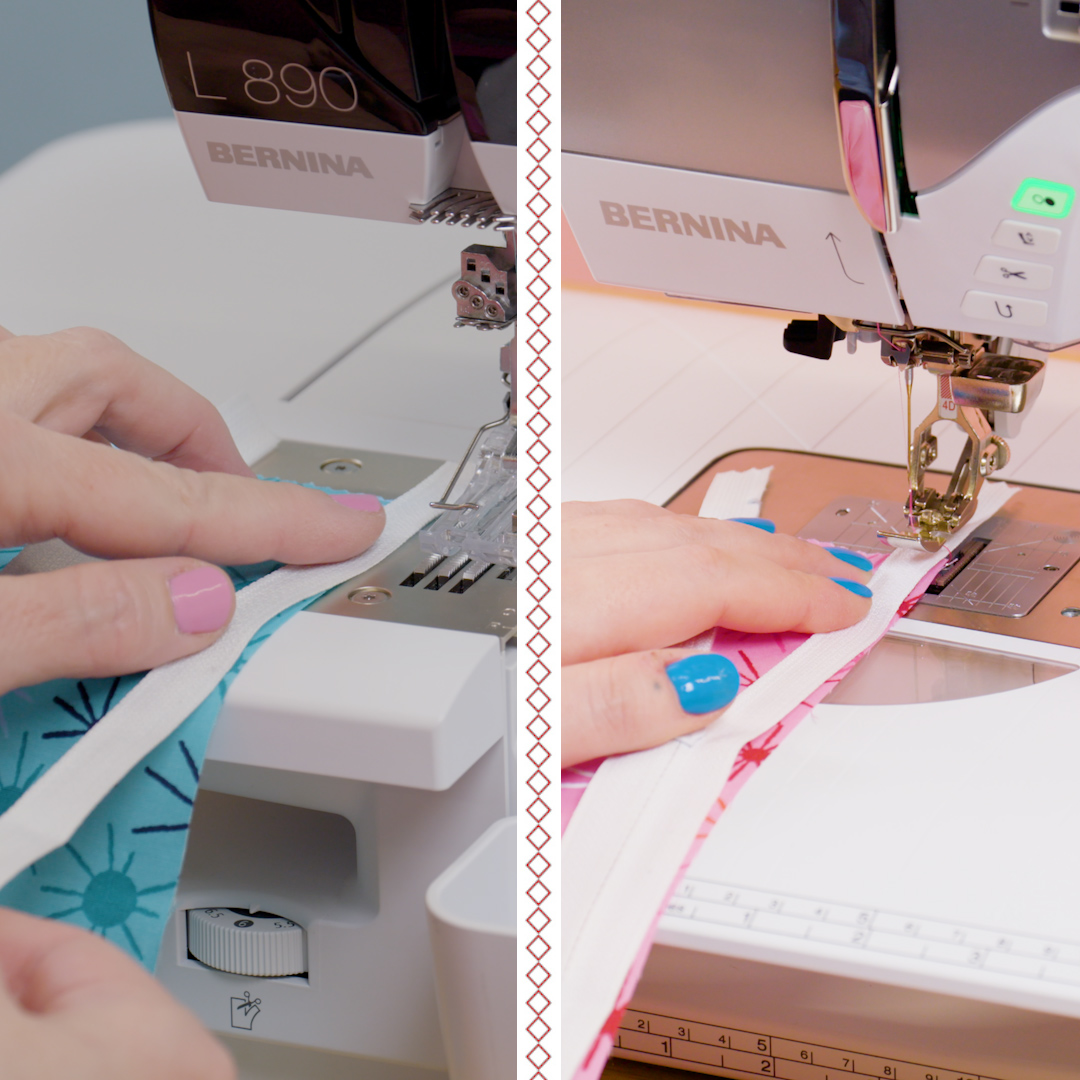
Place your fabric under the presser foot, starting at the open end of the zipper.
- On the serger, you will nest the zipper coil into the groove on the foot.
- On the sewing machine, align the raw edge of the fabric and zipper tape with the right side of the presser foot.
Start stitching down and stop with your needle down when you reach the zipper pull.
With the needle down in the fabric, use the Free Hand System to lift the presser foot, then pull the zipper pull up or to the back to close the zipper.
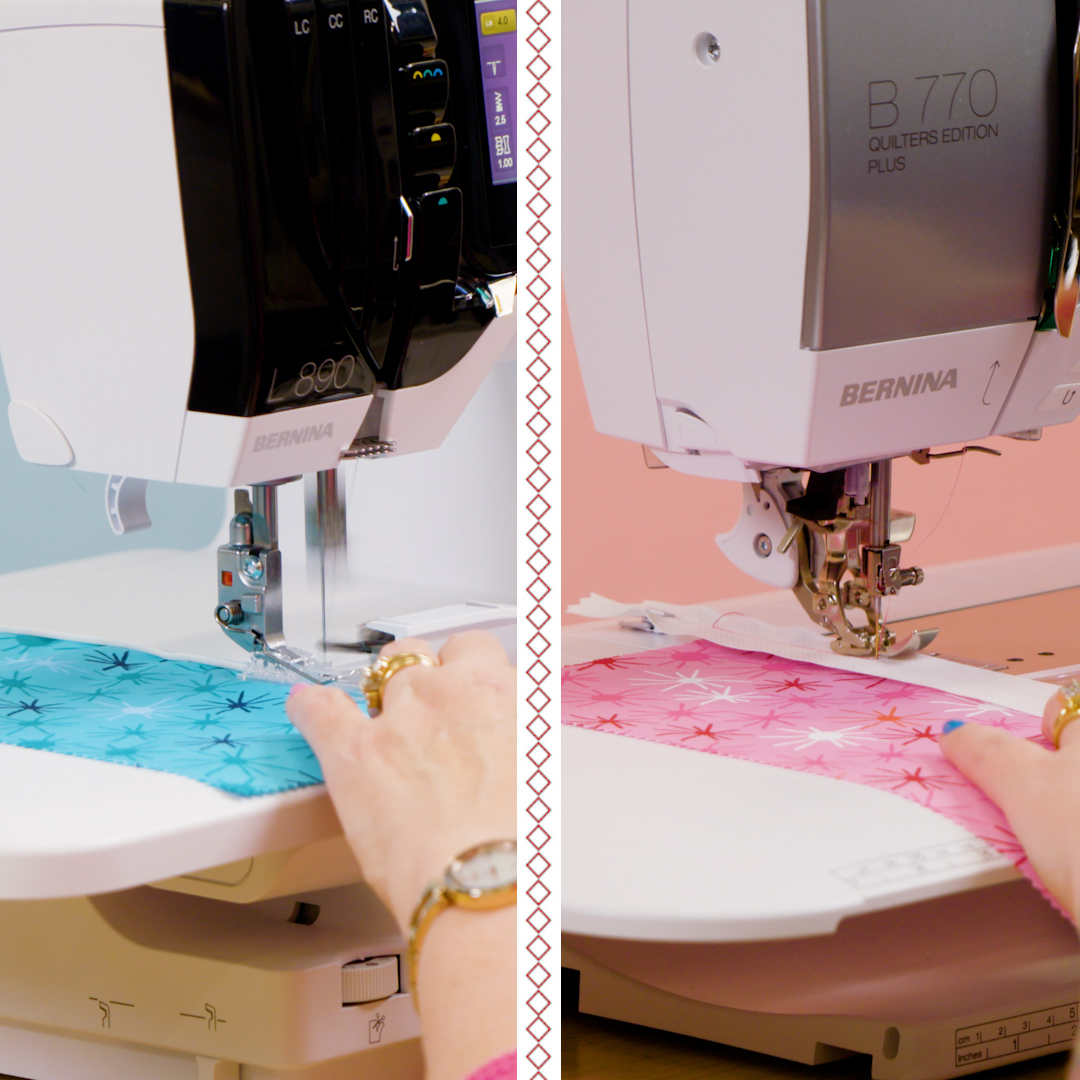
With the zipper pull out of the way, you can continue sewing the remaining length of the zipper.
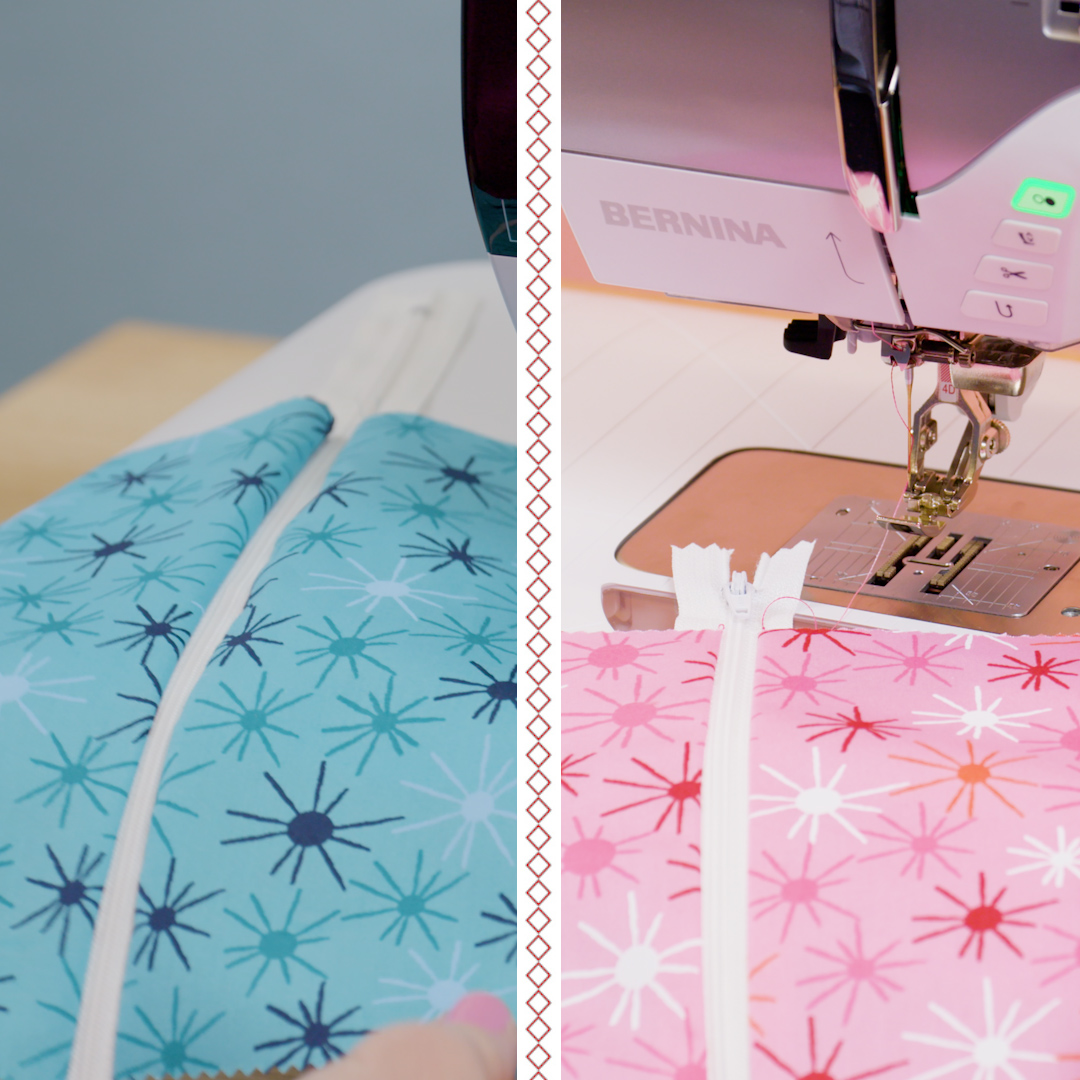
Repeat this process with a second piece of fabric on the other side of the zipper.
Tips & Tricks
If you struggle to grab the zipper pull from under the presser foot, try securing a large safety pin through the zipper pull before sewing. This can make it easier to get a hold of and give you more leverage to pull where you need it between layers of fabric.
After stitching each side, I recommend pressing your fabric away from the zipper coil with a warm iron. Not too hot though! You don’t want to melt a nylon or plastic zipper!
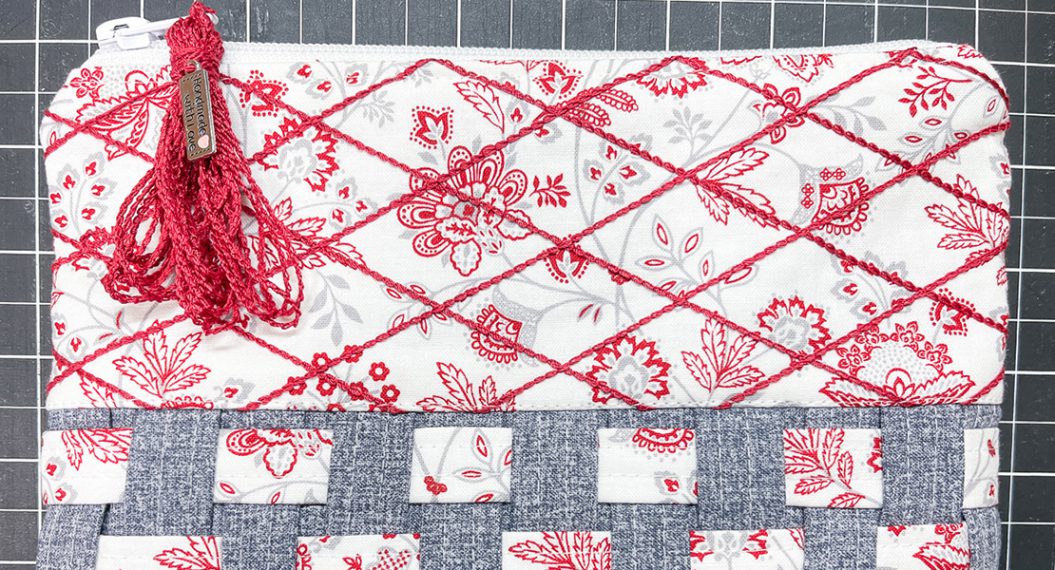
Add topstitching to either side of the zipper coil for an extra secure and polished look. Use an edgestitch foot for this. Don’t worry — there are both serger and sewing machine options for that too!
Sum of it All: Results
So, what do you think — which variation was easiest for you?
Both machines give beautiful results!
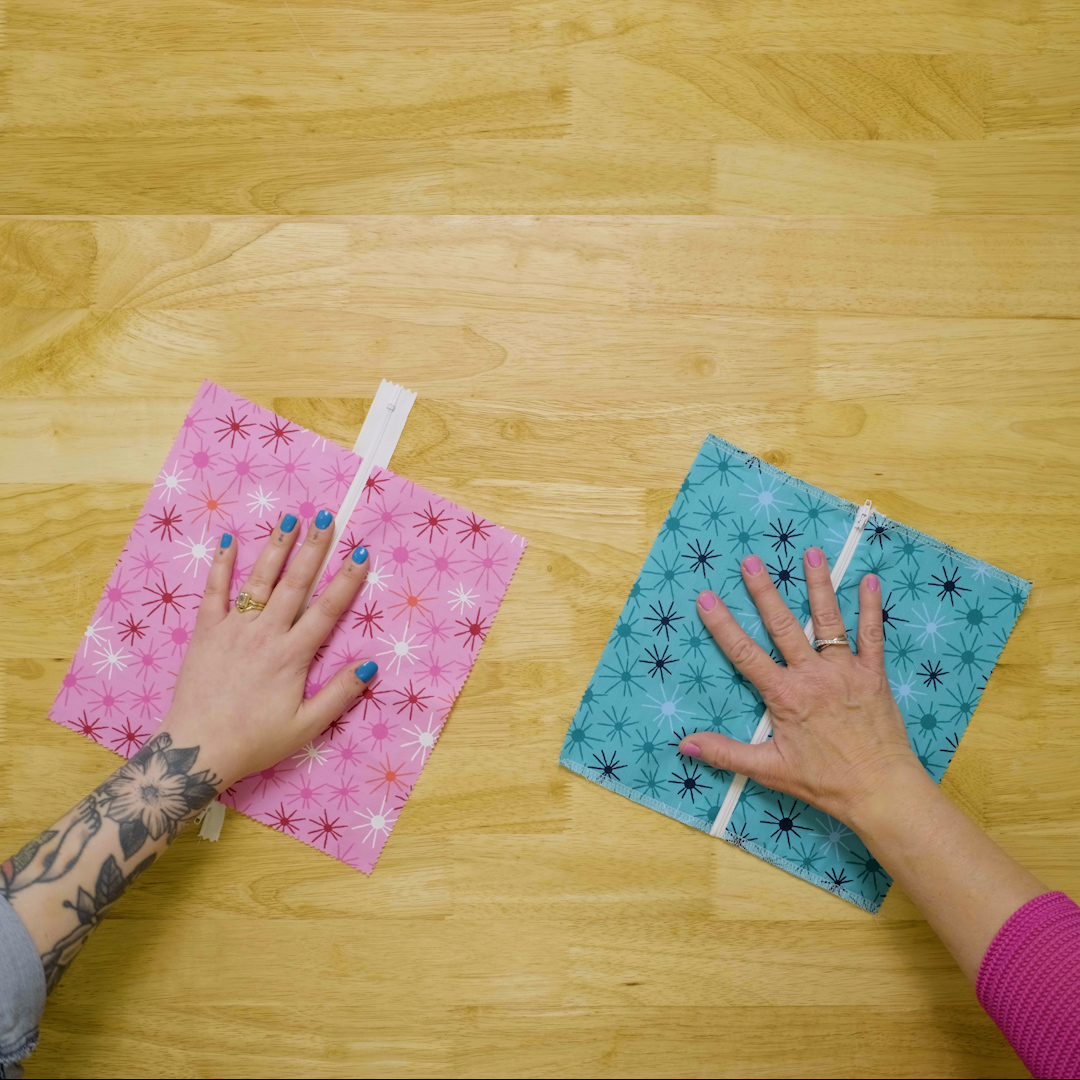
Serger
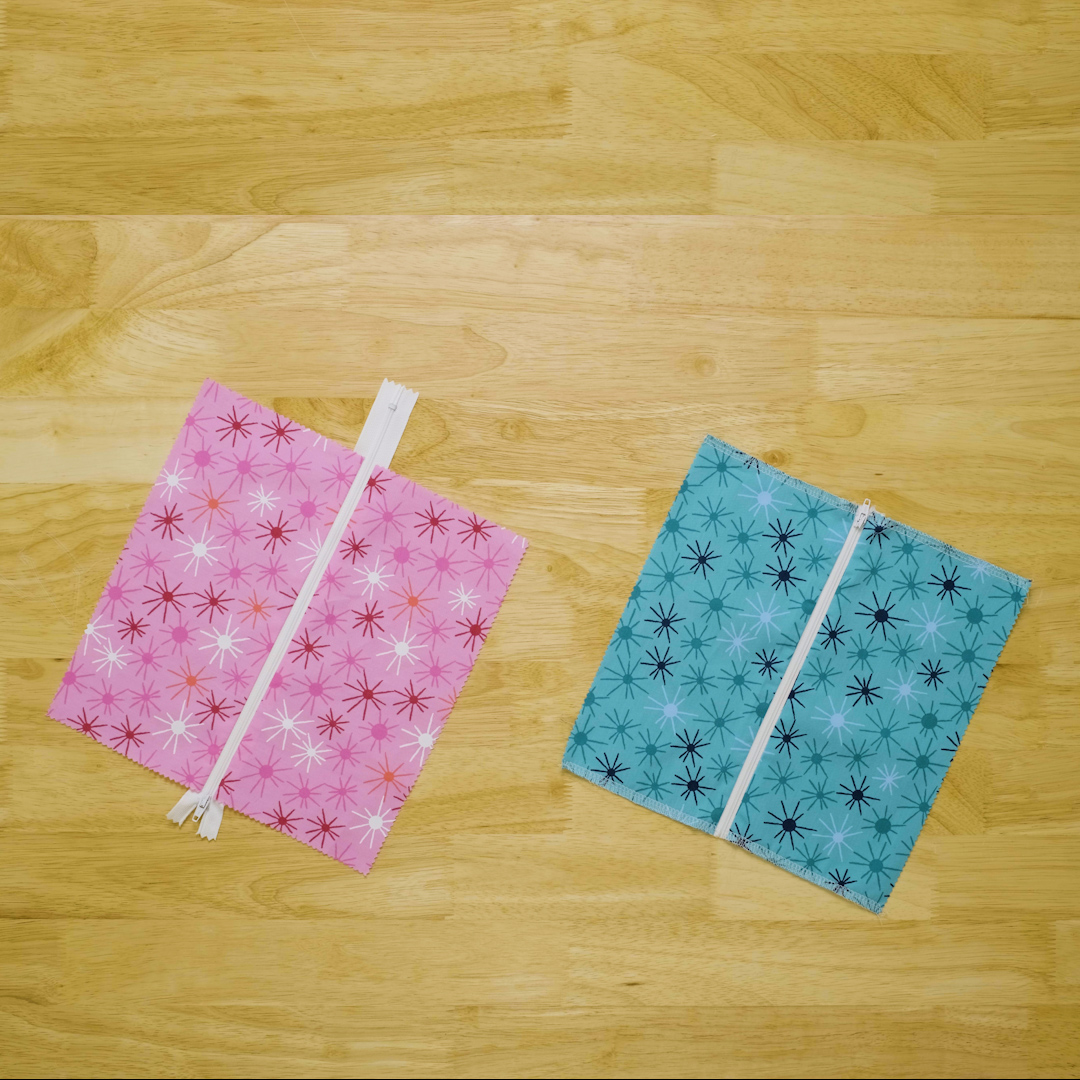
The serger creates a quick, secure, and incredibly clean finish. The blade on the machine will trim your fabric and zipper tape to the same size and neatly wrap that raw edge in threads. That seam allowance looks tidy and pretty even without adding a lining!
Sewing Machine
Adding a zipper on the sewing machine is much simpler than it seems. The Zipper Foot #4D gives you so much control over how your fabric feeds and how close that seam comes to the zipper coil. Plus, it likely comes as a standard accessory with your machine!


