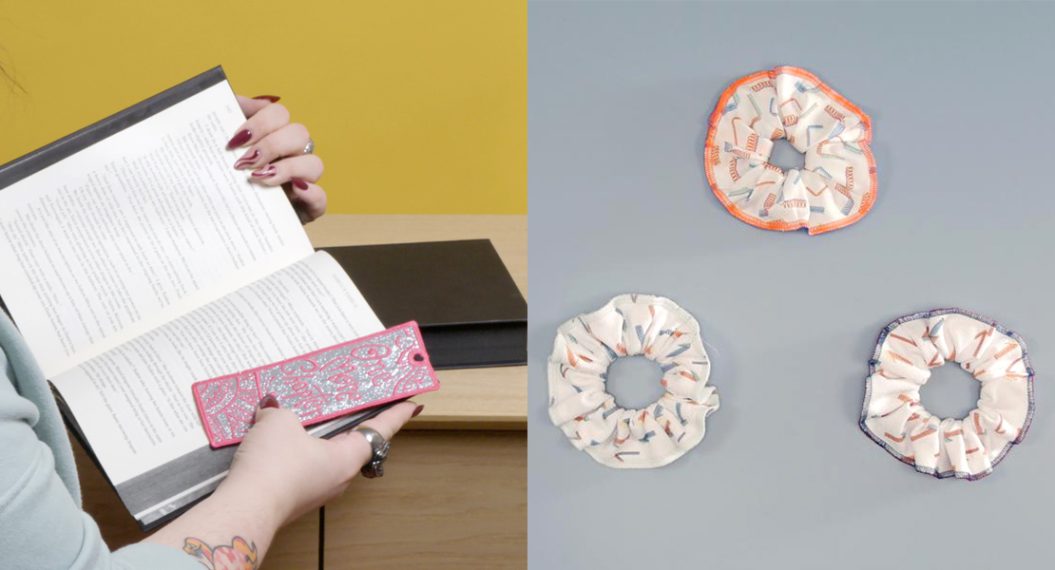
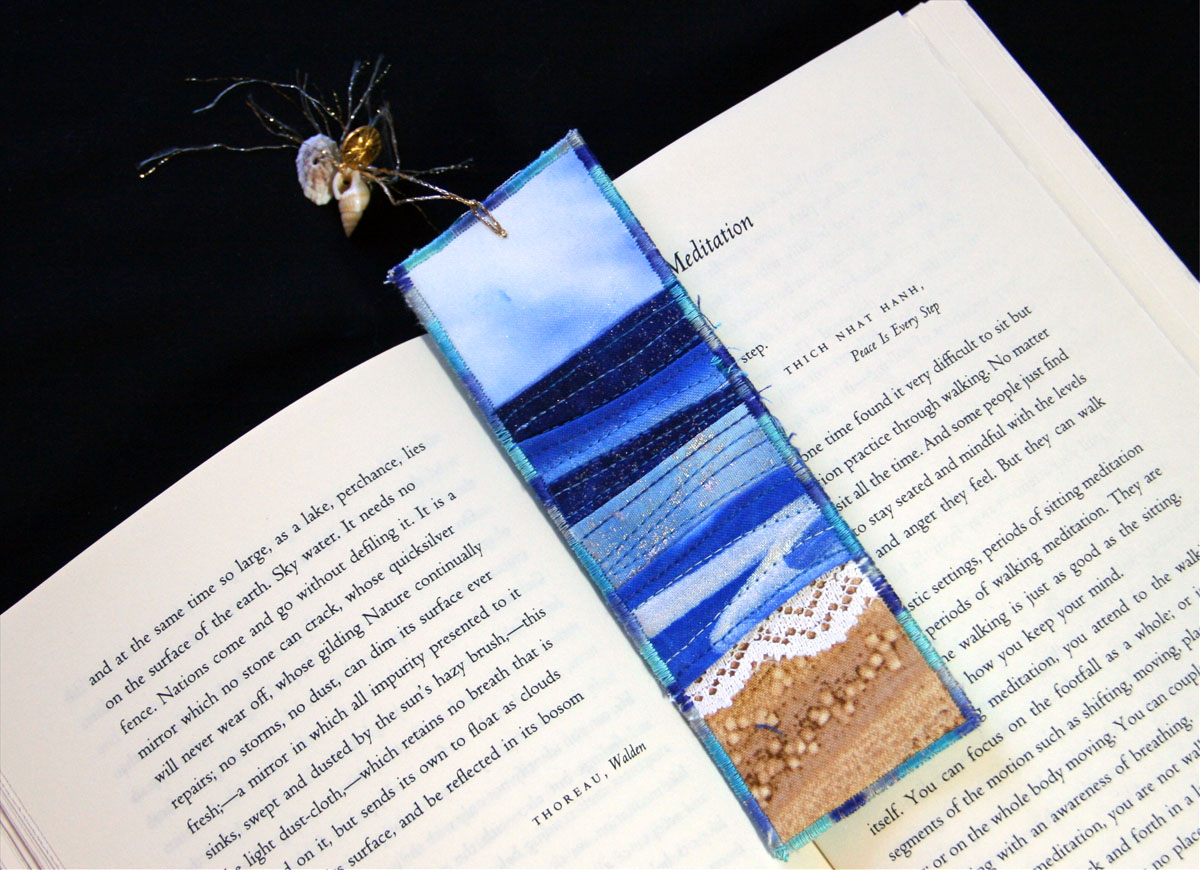
Machine Embroidered Bookmark
There are two things I am always on the hunt for: my next great read and quick, thoughtful gifts for the people in my life. I love this machine embroidered bookmark with sparkle vinyl because it touches on both topics and makes a really heartfelt gift for the readers in your life.
You can even whip up a couple of cute bookmarks for yourself this evening!

Let’s gather our supplies and get stitching.
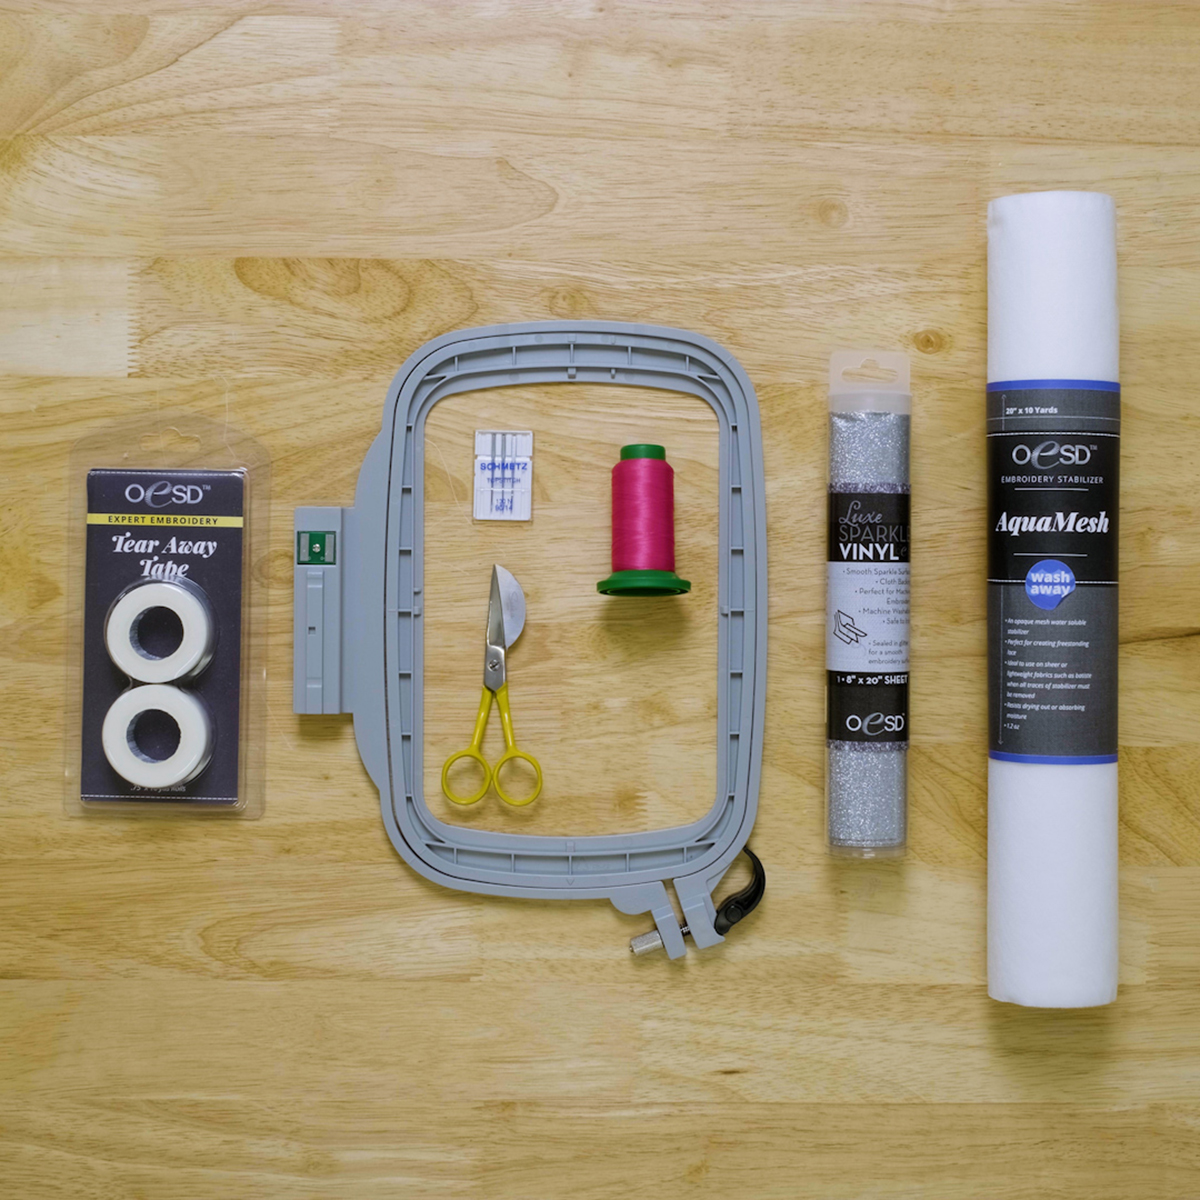
Materials for Machine Embroidered Bookmark
- bernette 79 (I also highly recommend the bernette 79 Yaya Han Edition because it comes with the BERNINA Creator software and additional feet that are great for embellishing fabric and creating garments)
- Embroidery Foot
- Embroidery Hoop M
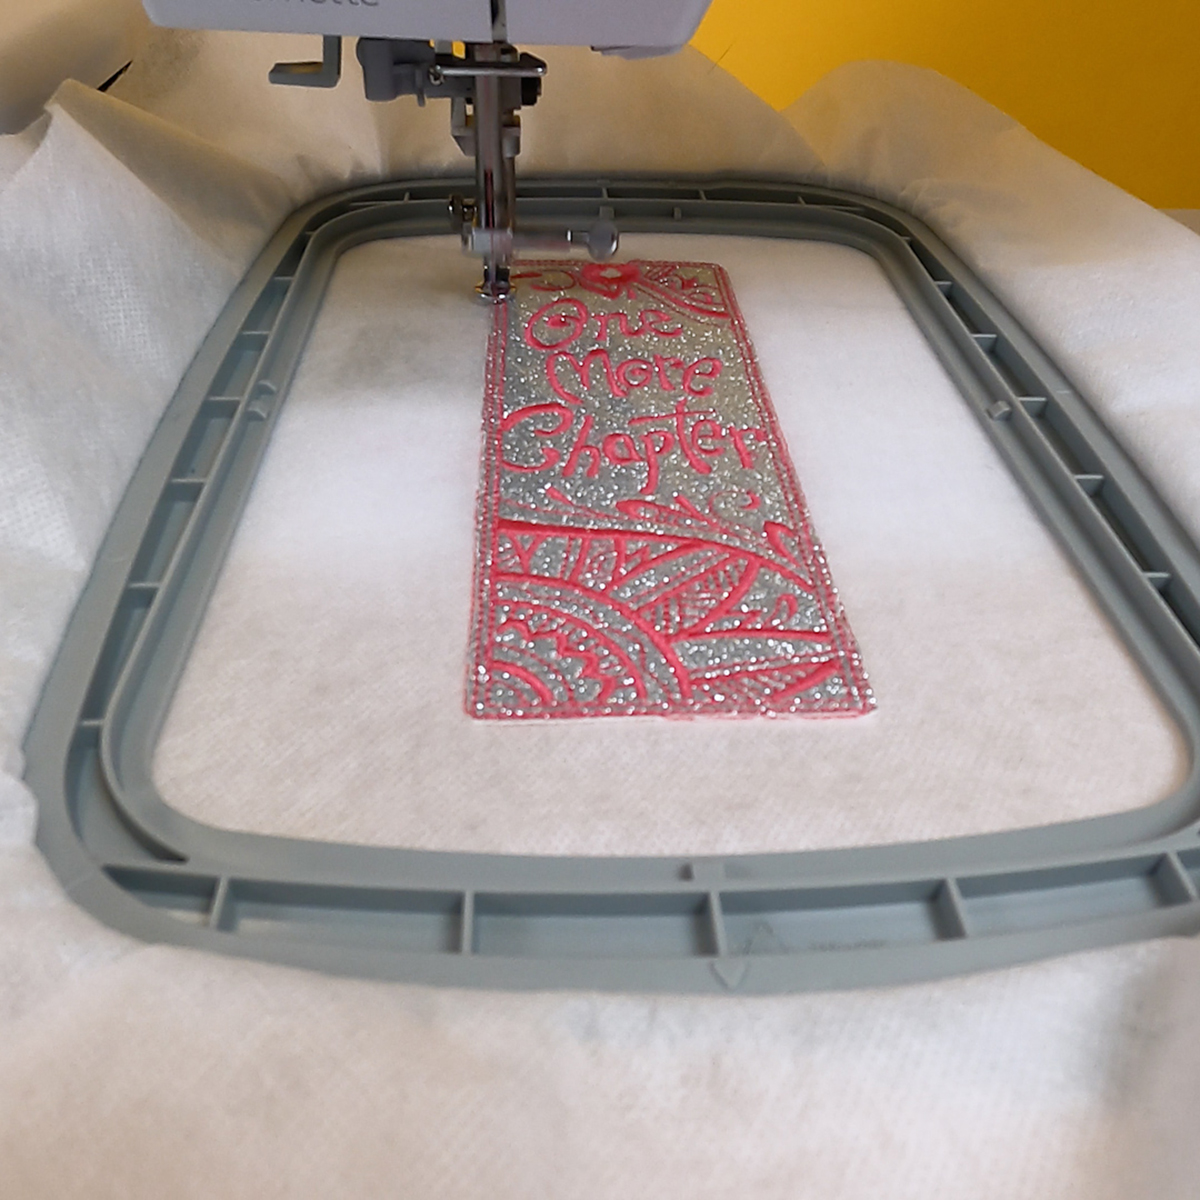
- OESD’s Zen Bookmarks #12832 Embroider Collection (I used the “One More Chapter” design)
- OESD Expert Embroidery TearAway Tape
- OESD AquaMesh WashAway
- OESD LUXE Sparkle Vinyl
- Embroidery thread
- Embroidery needle 80/12
- Duckbill Appliqué Scissors
- All Purpose Scissors
- Rotary Cutter
- Cutting mat
- Acrylic ruler
Optional:
- OESD Fiber Form (this can be added to the bottom layer of the embroidery for added stability)
Step 1: Preparing for Embroidery
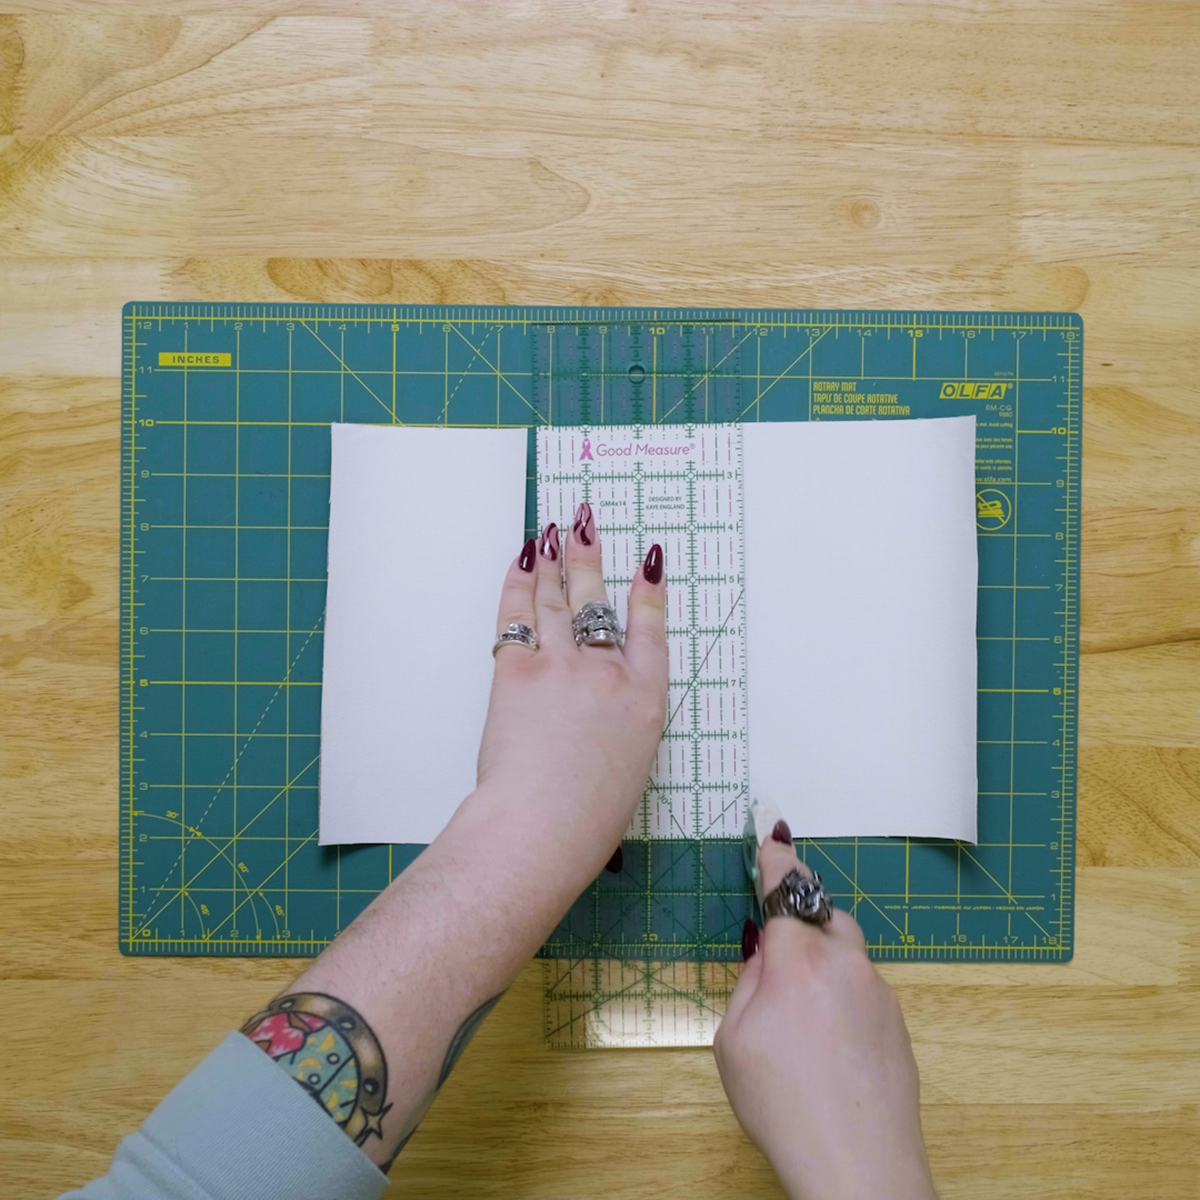
Cut two 3” x 8” pieces of LUXE Sparkle Vinyl.
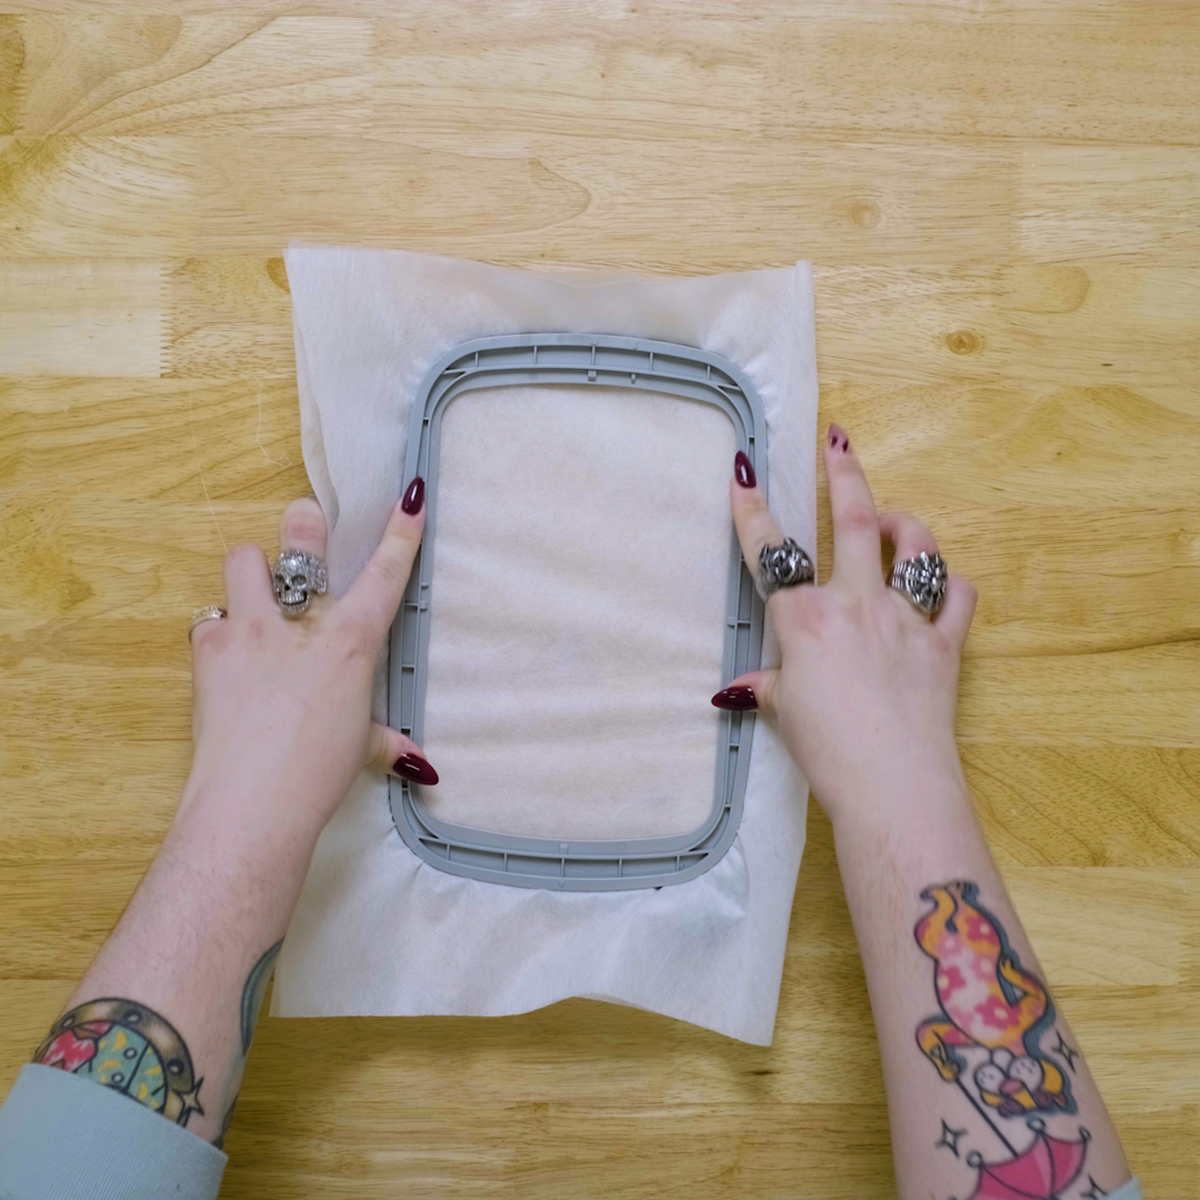
Hoop two layers of OESD AquaMesh.
Step 2: Embroidering the Bookmark
Wind a bobbin with the embroidery thread to you will use for the top of the design.
Prepare your embroidery machine by installing an 80/12 embroidery needle, embroidery thread in the needle, inserting the bobbin, and uploading the desired embroidery design into the machine.
Stitch out the placement line.

Remove the hoop from the machine, but do not remove the embroidery from the hoop.
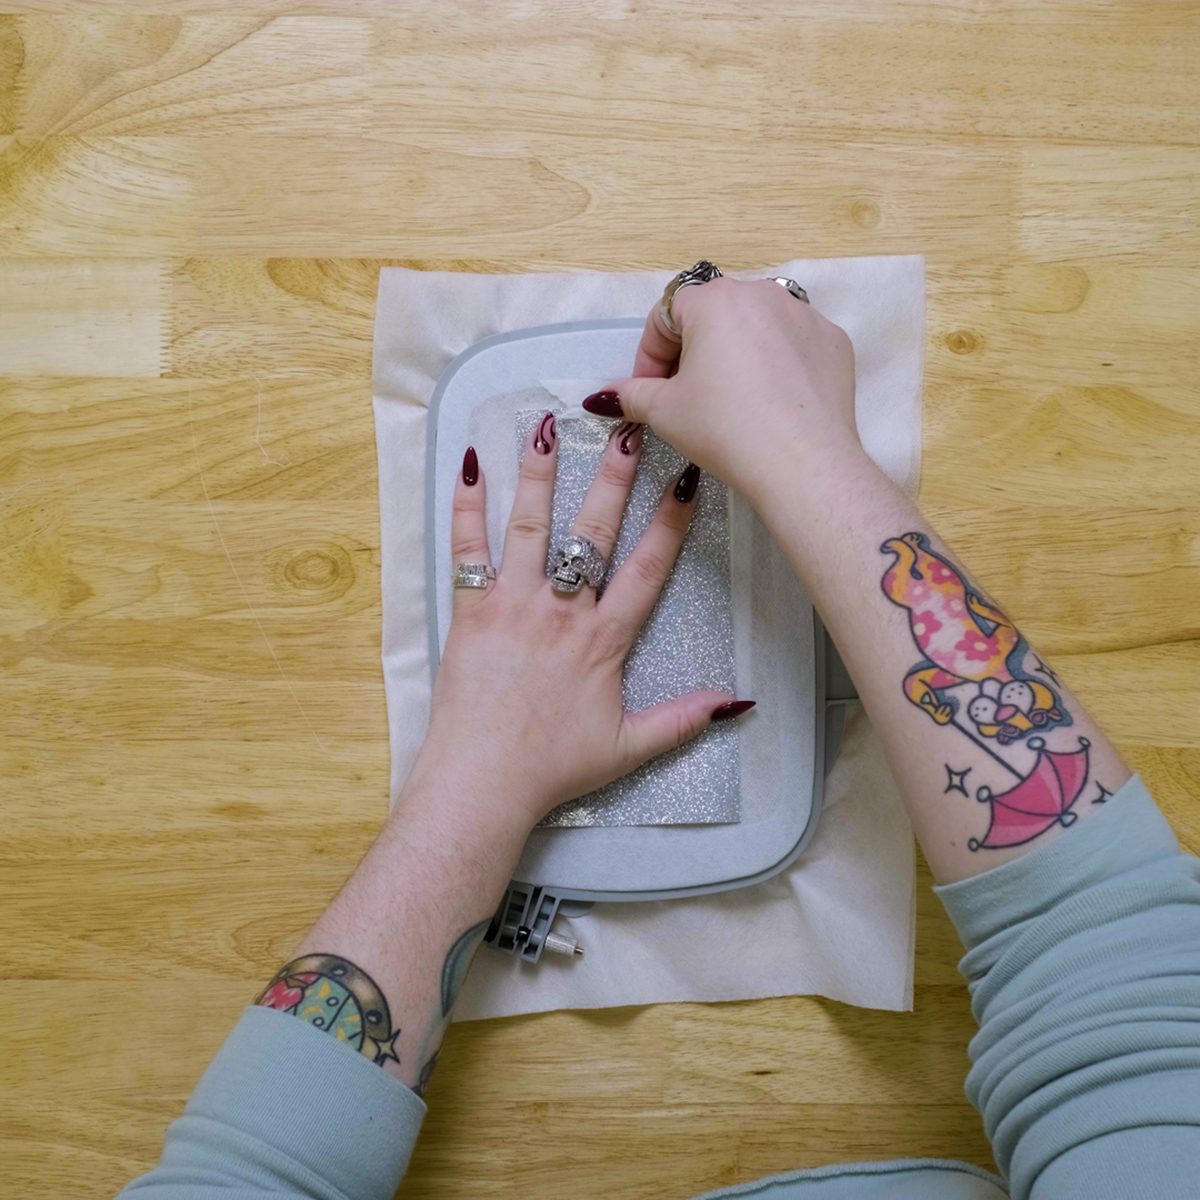
Tape one piece of sparkle vinyl on top of the placement line, being very careful to cover the whole design.
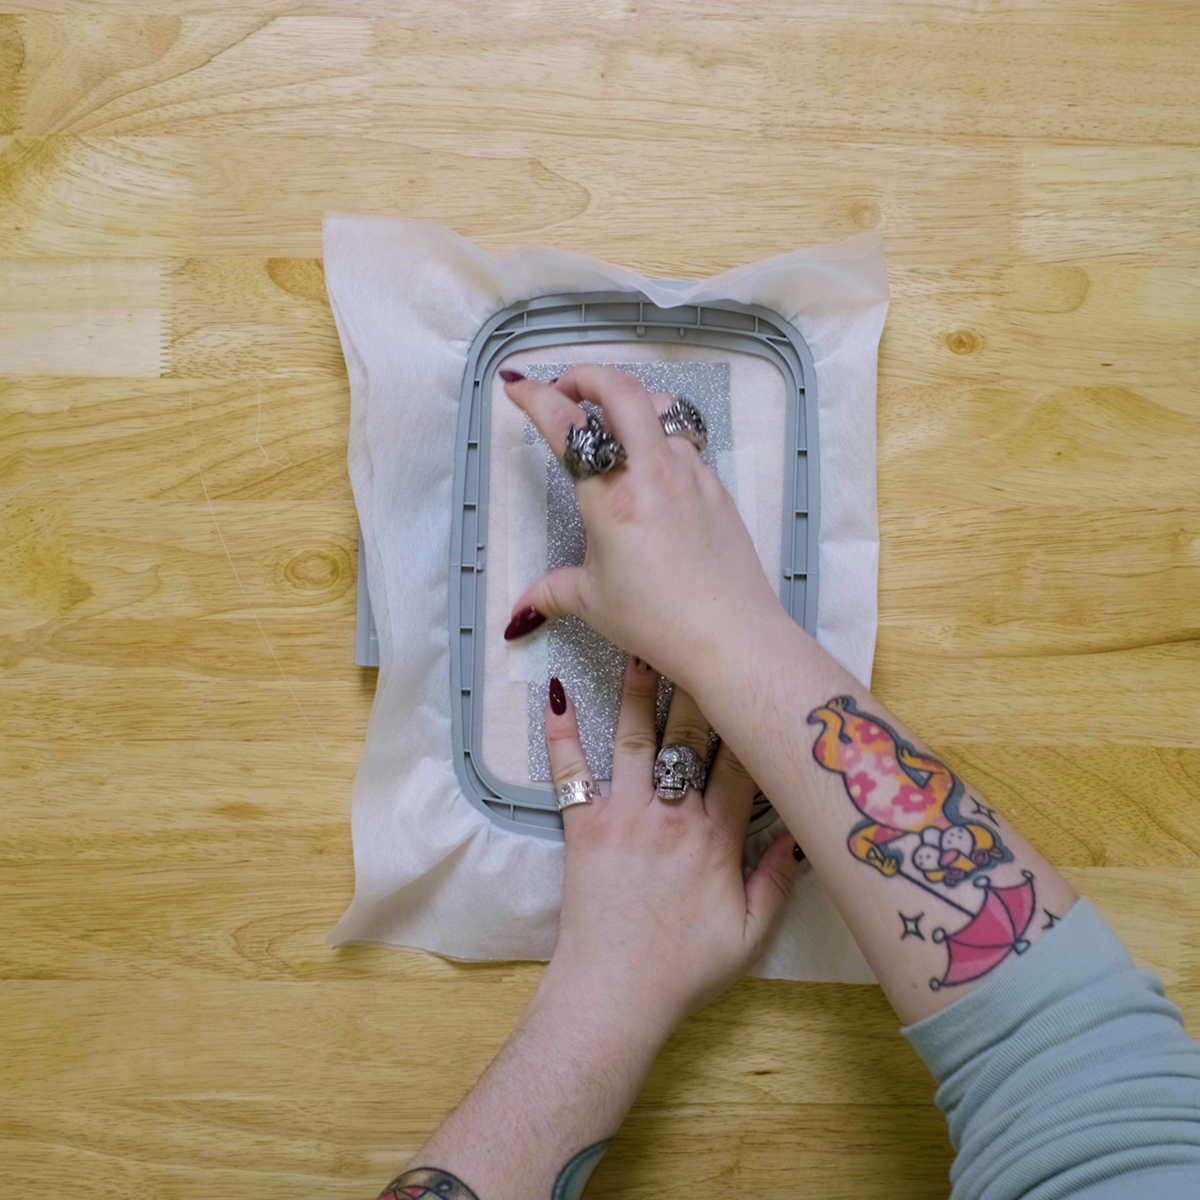
Turn the hoop over and repeat, being very careful to ensure the sparkle vinyl covers the whole placement stitch. Make sure the piece is well secured, and the tape stays close to the outside of the vinyl, to ensure the tape will not be stitched over.
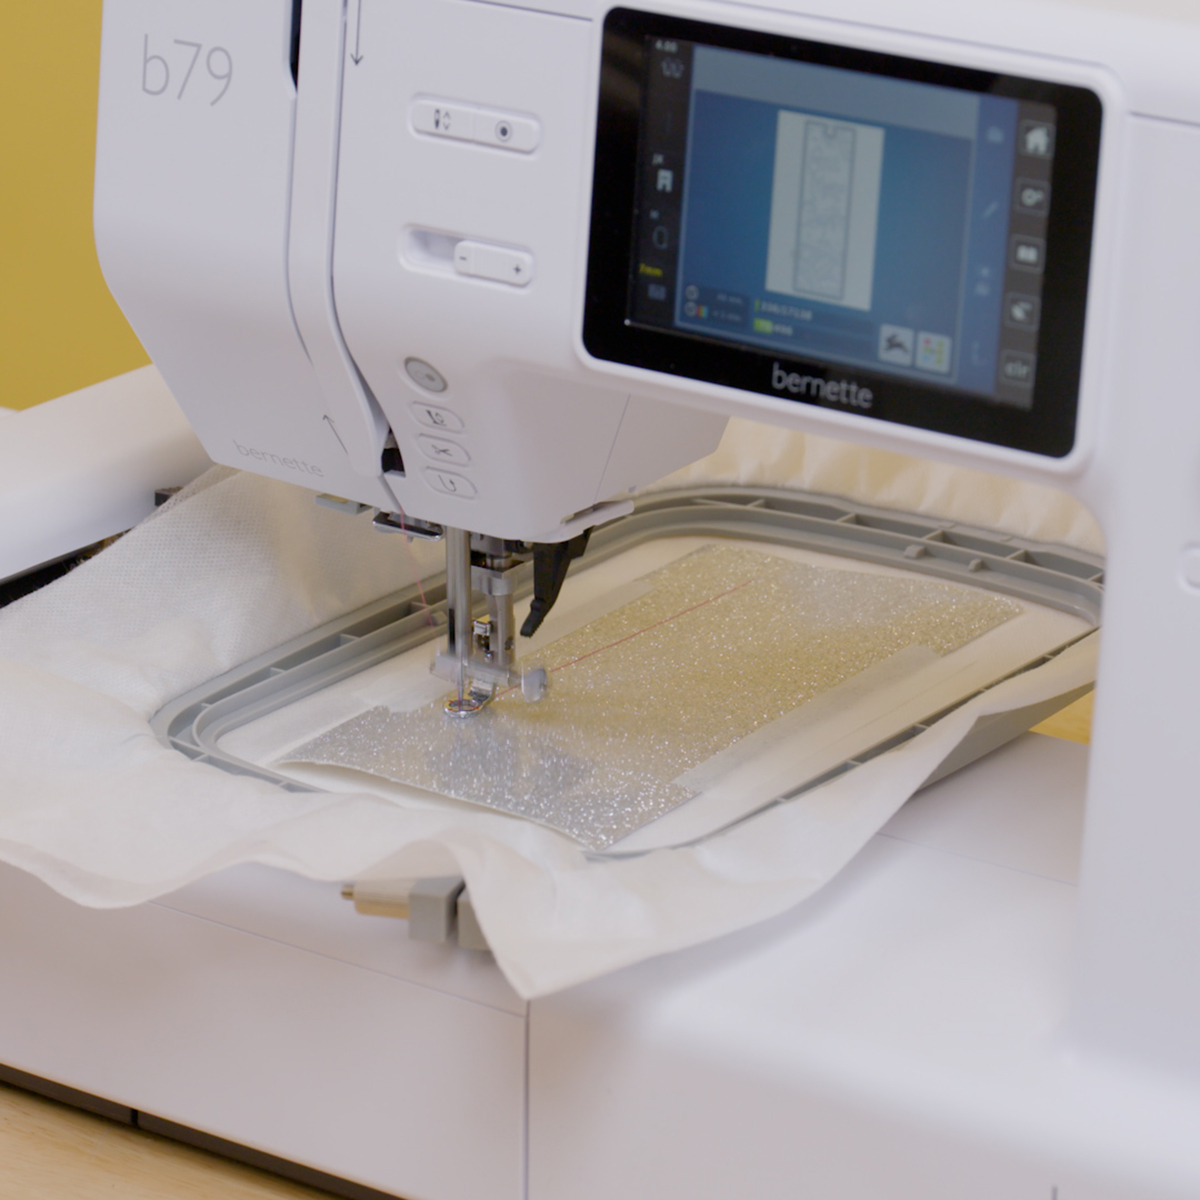
Return the hoop to the machine and stitch out the cutline.
Once again, remove the hoop from the machine, but do not remove the embroidery from the hoop.
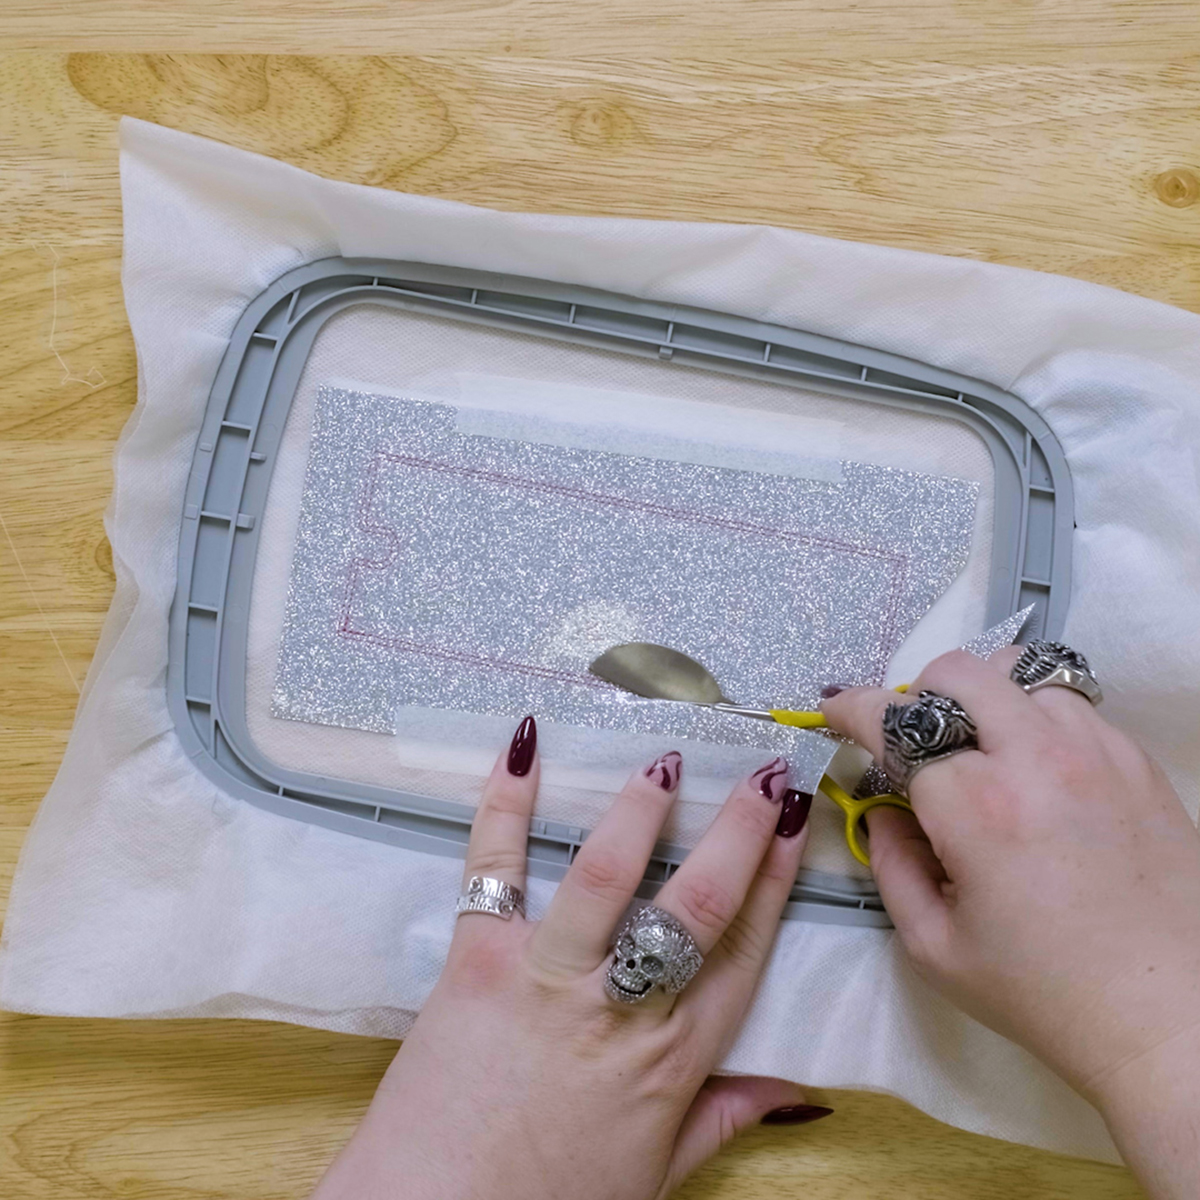
Remove the hoop from the machine and gently trim away excess vinyl from the cutline using the duckbill scissors.
It’s important to do this on a flat, sturdy surface to ensure you do not poke through the stabilizer or accidentally trim the cutline stitches.
Return the hoop to the machine and continue the embroidery until finished.
Once finished, remove the hoop from the machine and un-hoop the project.
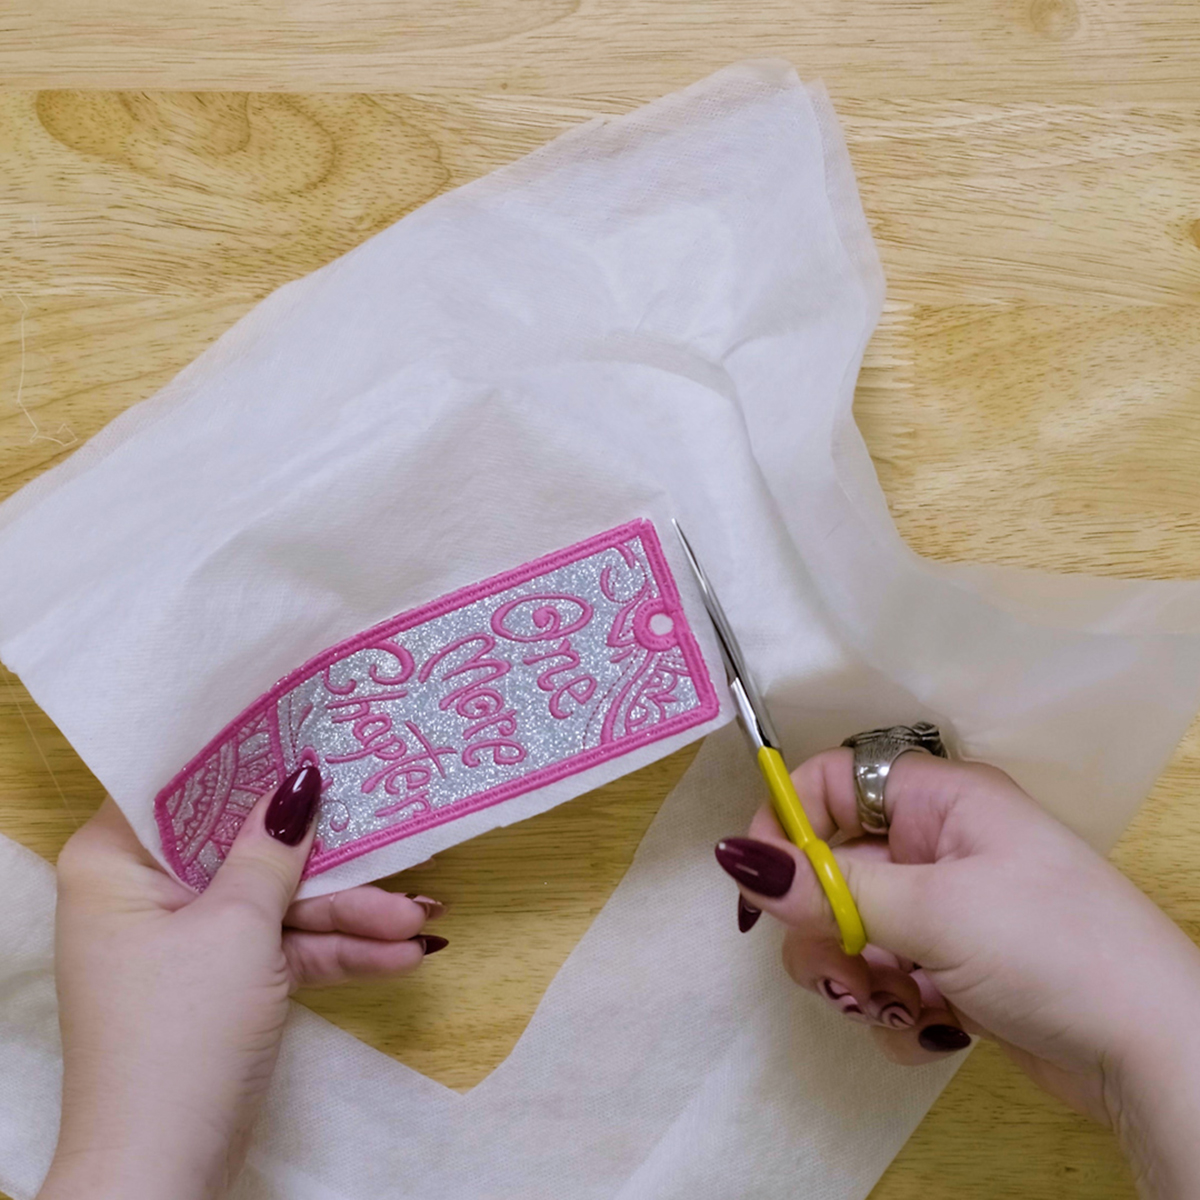
Cut out the bookmark leaving about 1/4” of stabilizer around the edges.
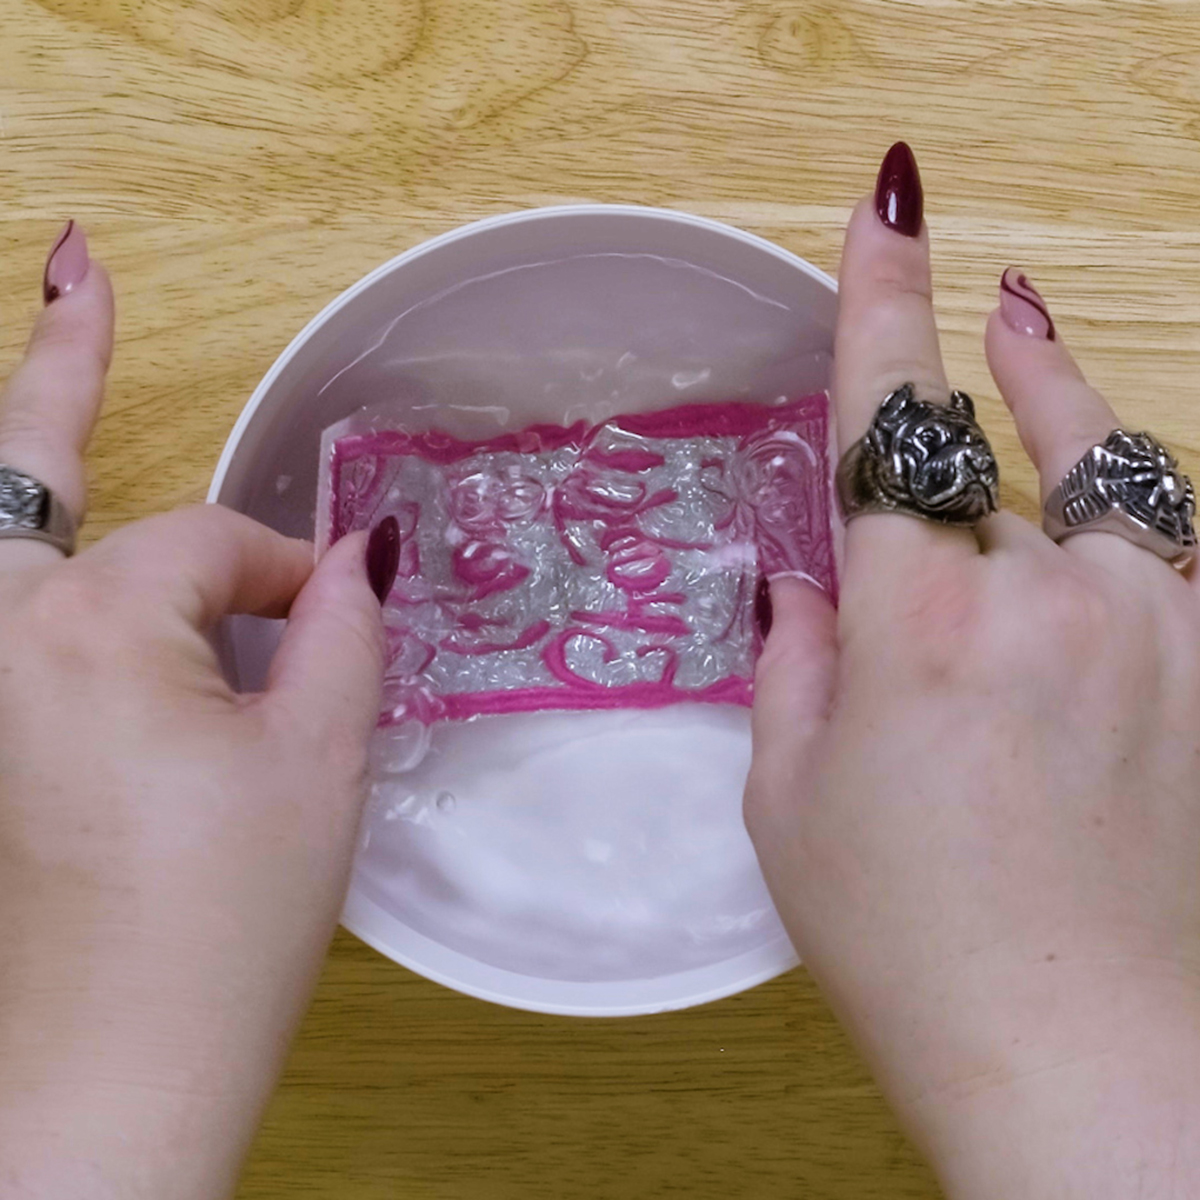
Submerge the bookmark in water, rinsing away all the excess stabilizer from the project.
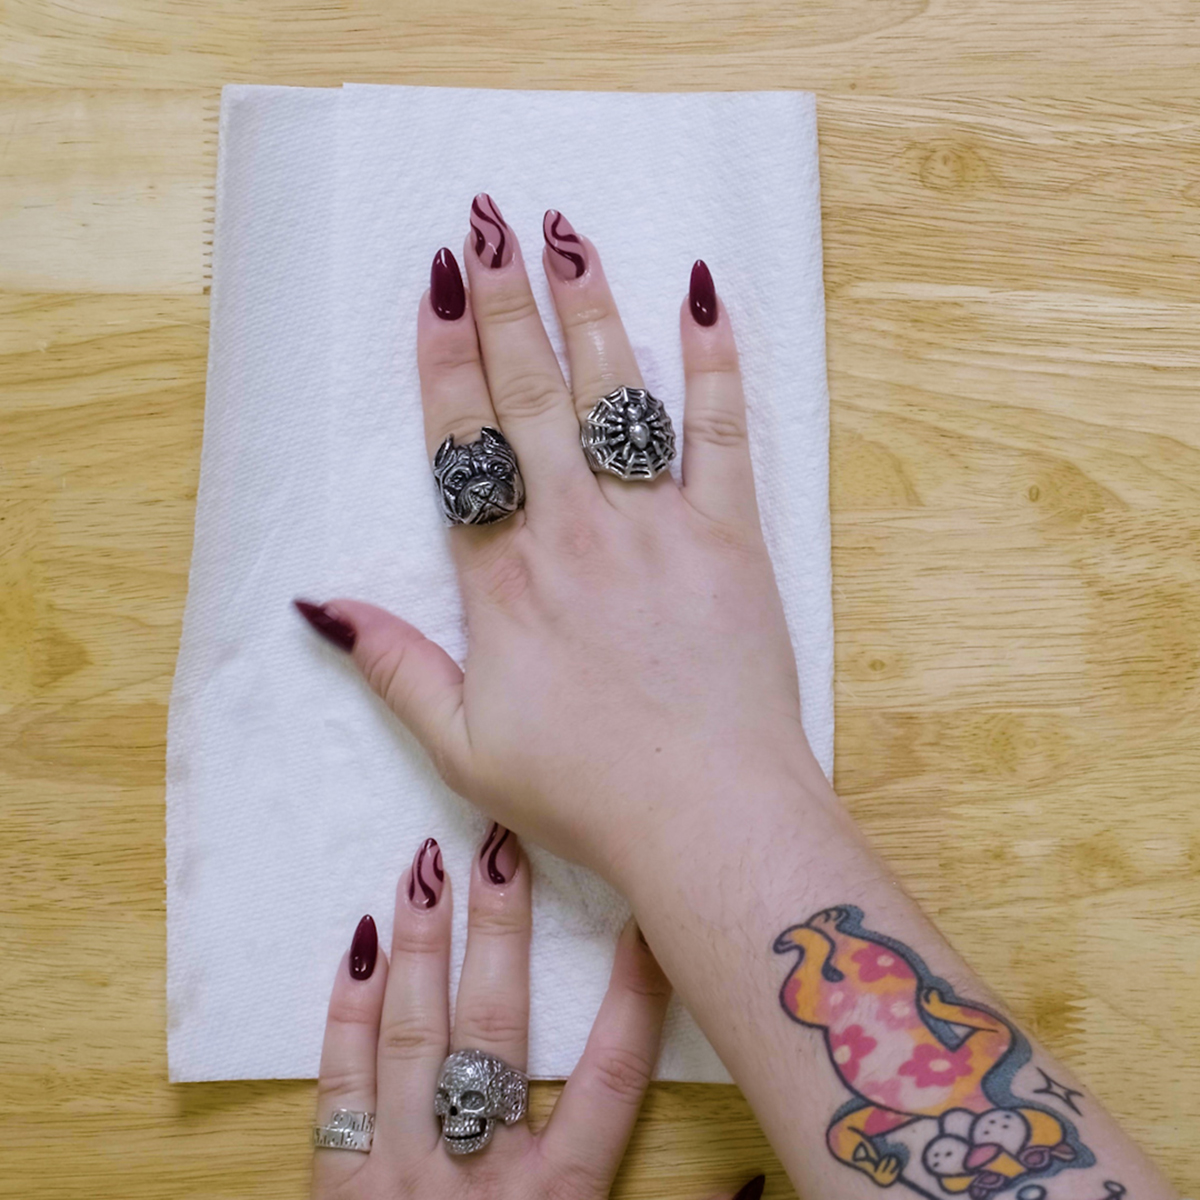
With a clean cloth or paper towel, pat the bookmark dry.
Allow the bookmark to dry completely before using it in a book. I like to lay my bookmarks flat under a fan for several hours to ensure there is no excess moisture behind to ruin the book pages.
And that’s all! You can add yarn, embroidery floss, or even fabric to make a tassel if you’d like.
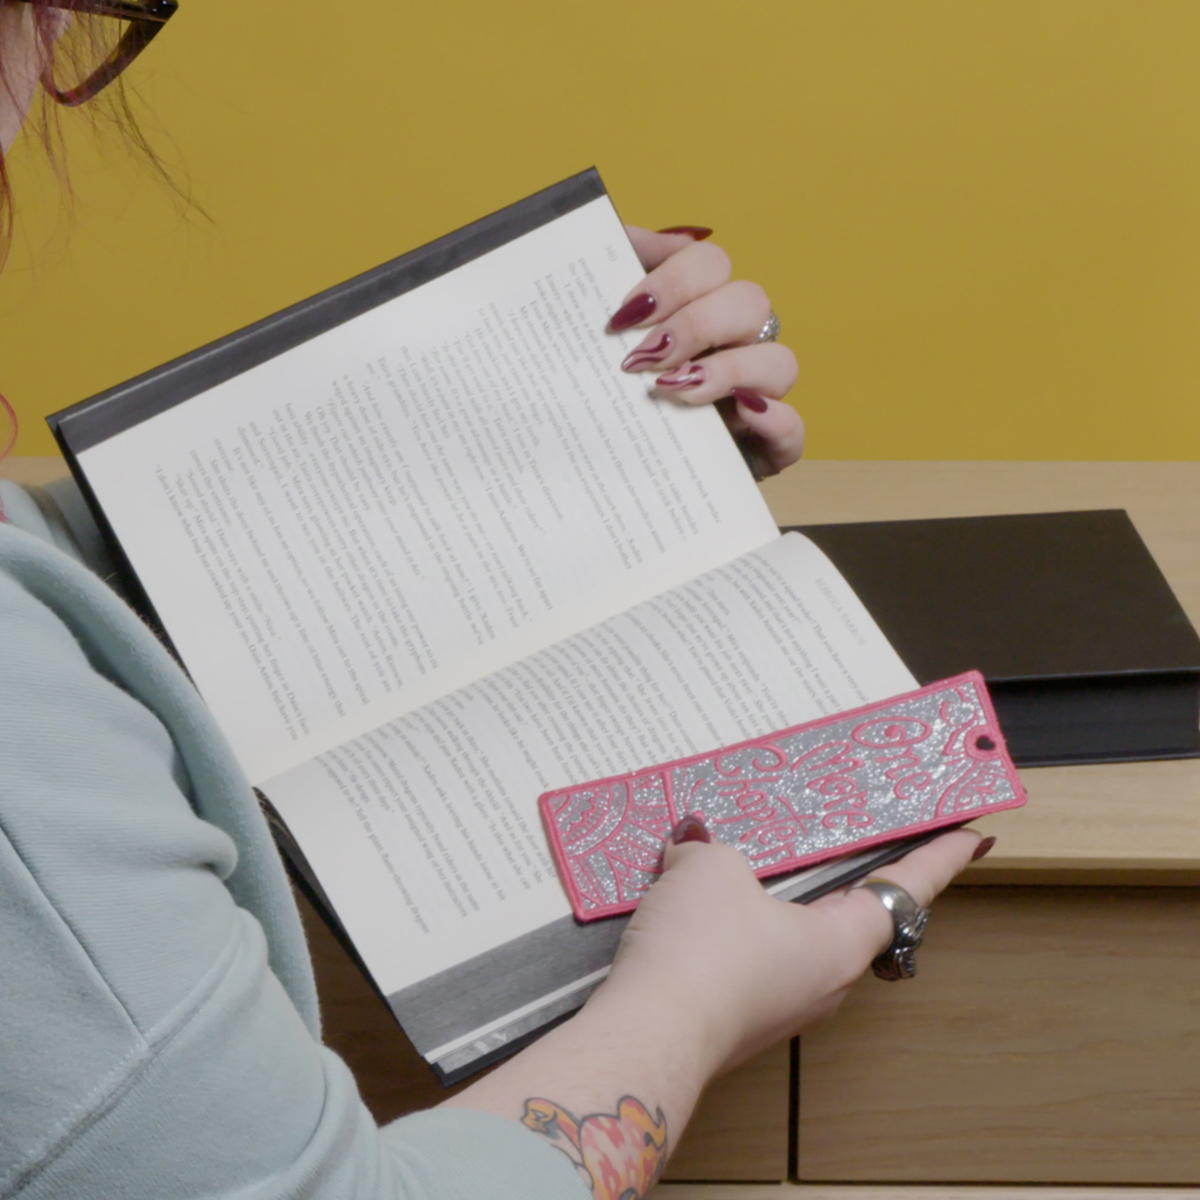
These machine embroidered bookmarks are so fun to stitch out and make the best gifts for the readers in your life. When making them for a gift, I like to make sets of them in a fun array of colors because they are so quick to stitch out.
Want another fun way to make bookmarks? Check out Kymona Tracey’s great post on How to Make Quilted Fabric Bookmarks.
Happy Reading!