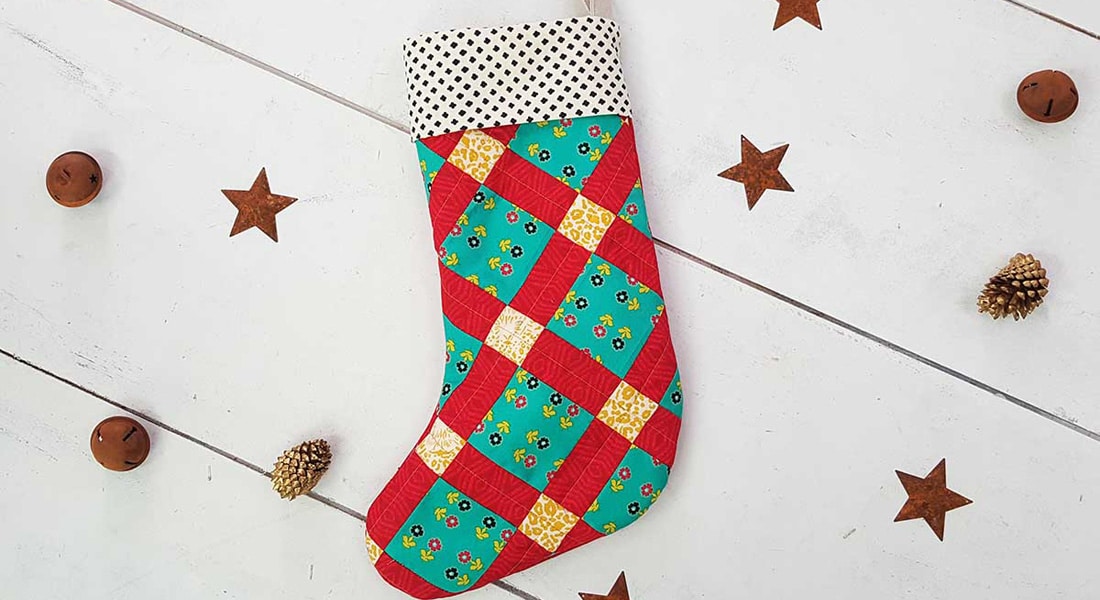
Machine-embroidered Christmas Stocking, Part 1: Sew the Stocking
Hi, I’m Kate from Tough Kitten Crafts! I empower sewists to transform from frustrated to fearless with machine embroidery via online education and fun tutorials, like these cute and quick machine-embroidered Christmas stockings.
In this three-part series, I am going to teach you how to sew an adorable Christmas stocking and personalize it with machine embroidery!

Machine-embroidered Christmas Stocking Series
- Part 1: (This post!) Learn to sew this adorable stocking.
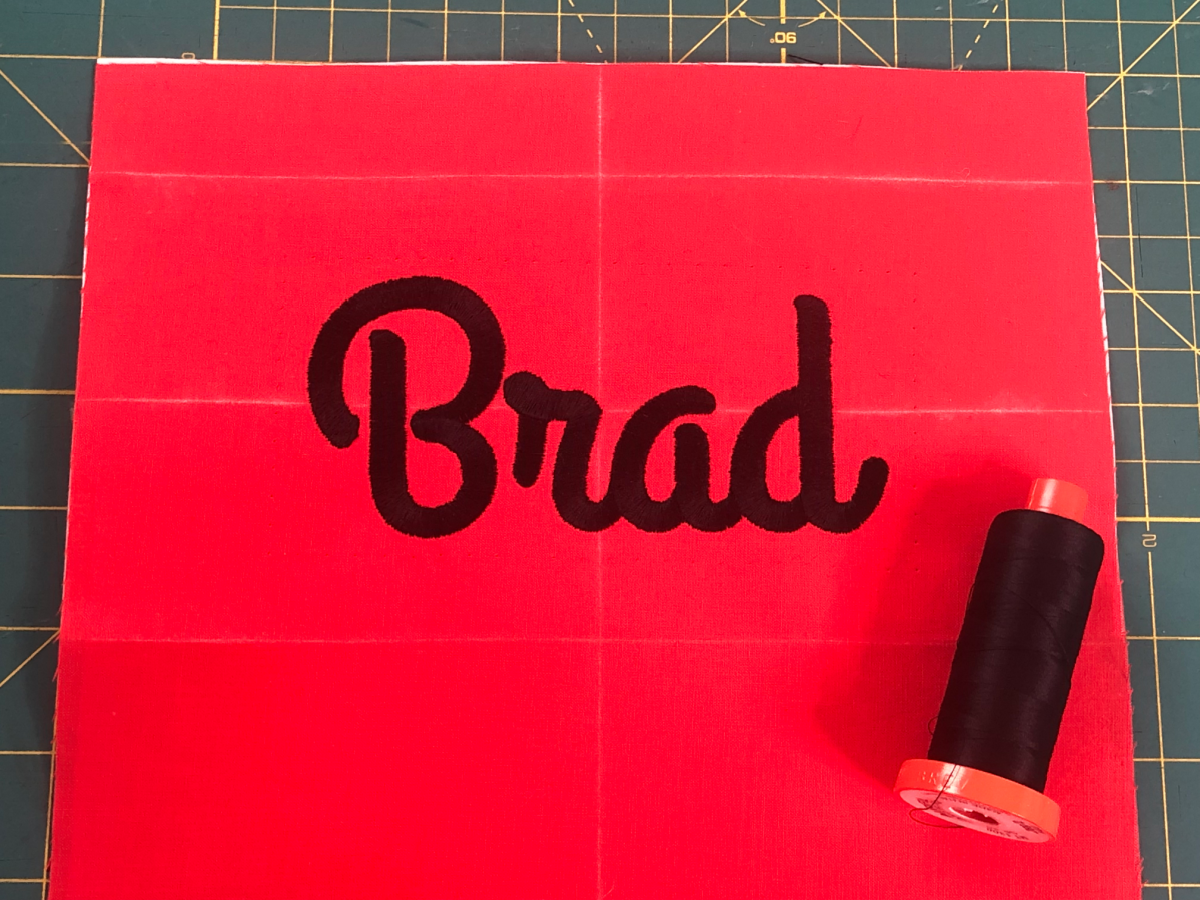
- Part 2: Add an embroidered name to the cuff.
- Part 3: How to embroider a cameo for your stocking.
This stocking makes up really fast, even with the embroidery, so you can have new, personalized stockings for the whole family in no time.
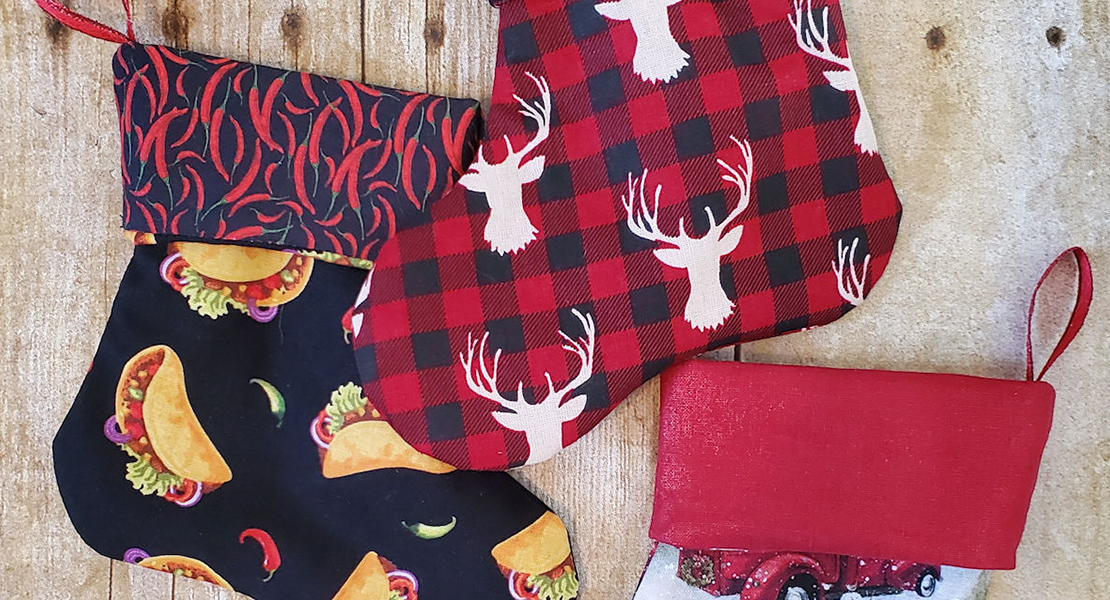
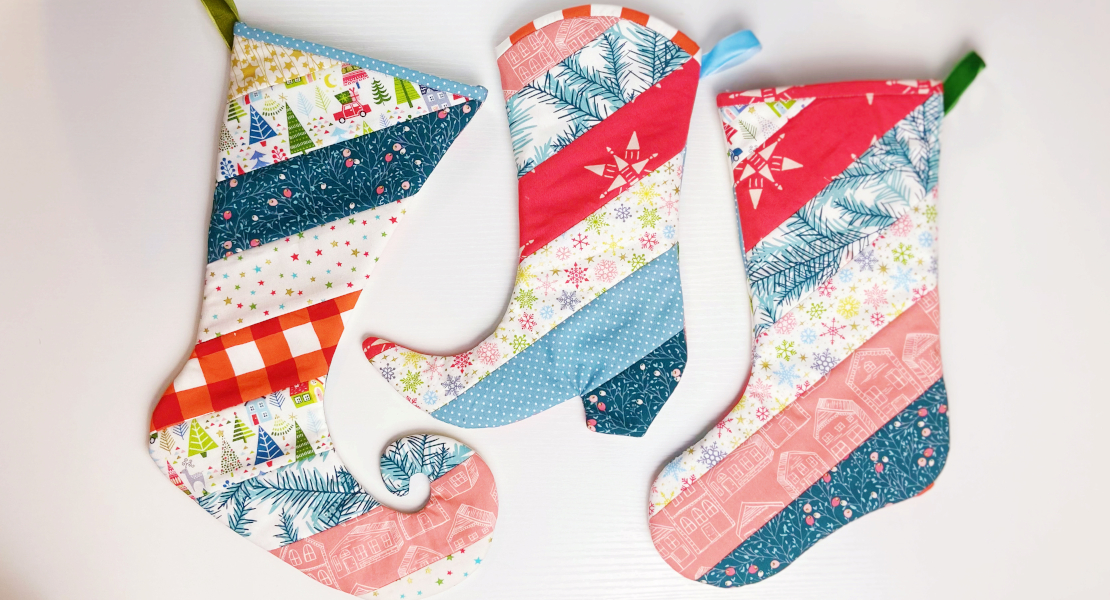
They’re a little addictive too—I found myself thinking up new ideas and just kept adding tutorials! Hop over to Tough Kitten Crafts Blog to see even more ways to personalize your stockings.
Well, let’s dive in!
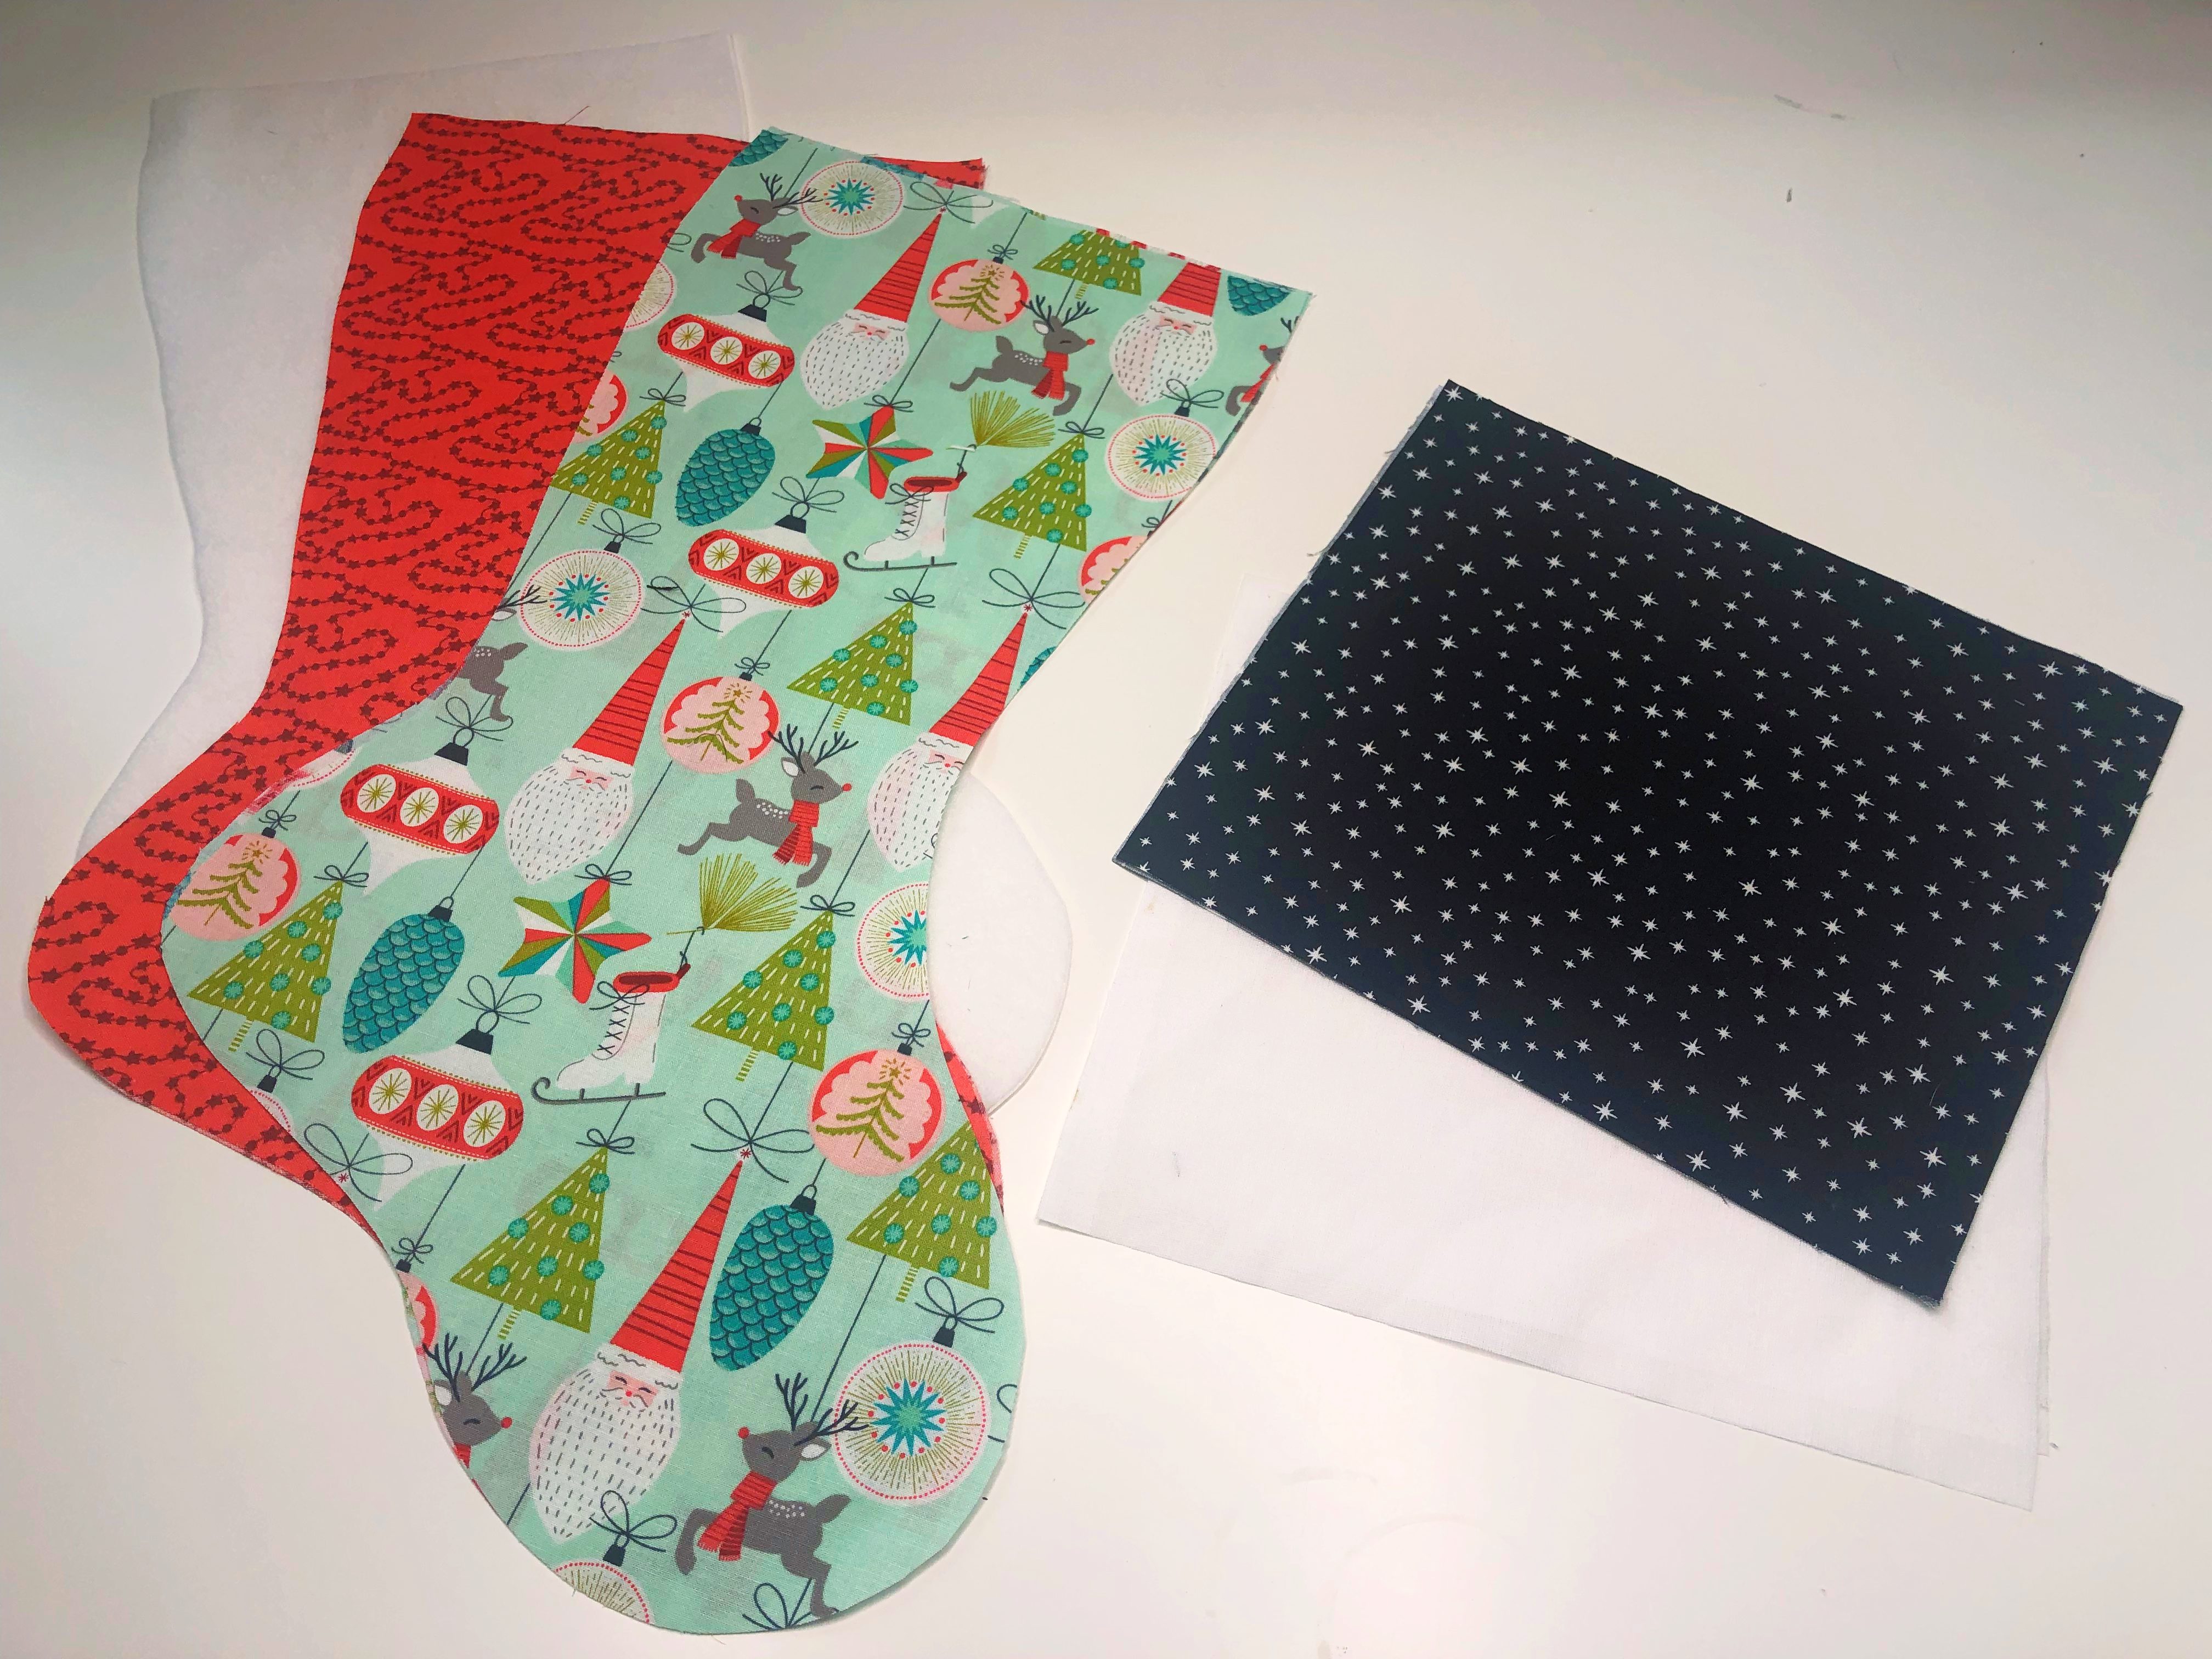
Supplies to Make a Machine-embroidered Christmas Stocking
- Free Christmas Stocking Pattern Download
- Tape to piece together the pattern
- 1/2 yd quilting for exterior (2/3 yd if using directional fabric)
- 1/2 yd quilting for lining (2/3 yd if using directional fabric)
- 1 FQ for cuff
- OESD Fuse and Fleece
- OESD Fusible Woven
- 6″ of Ribbon
- 50wt Aurifil thread to match fabric
- 80/12 Microtex Needle
- Patchwork Foot #97D
- Clover Wonder Clips
- Iron
- Scissors
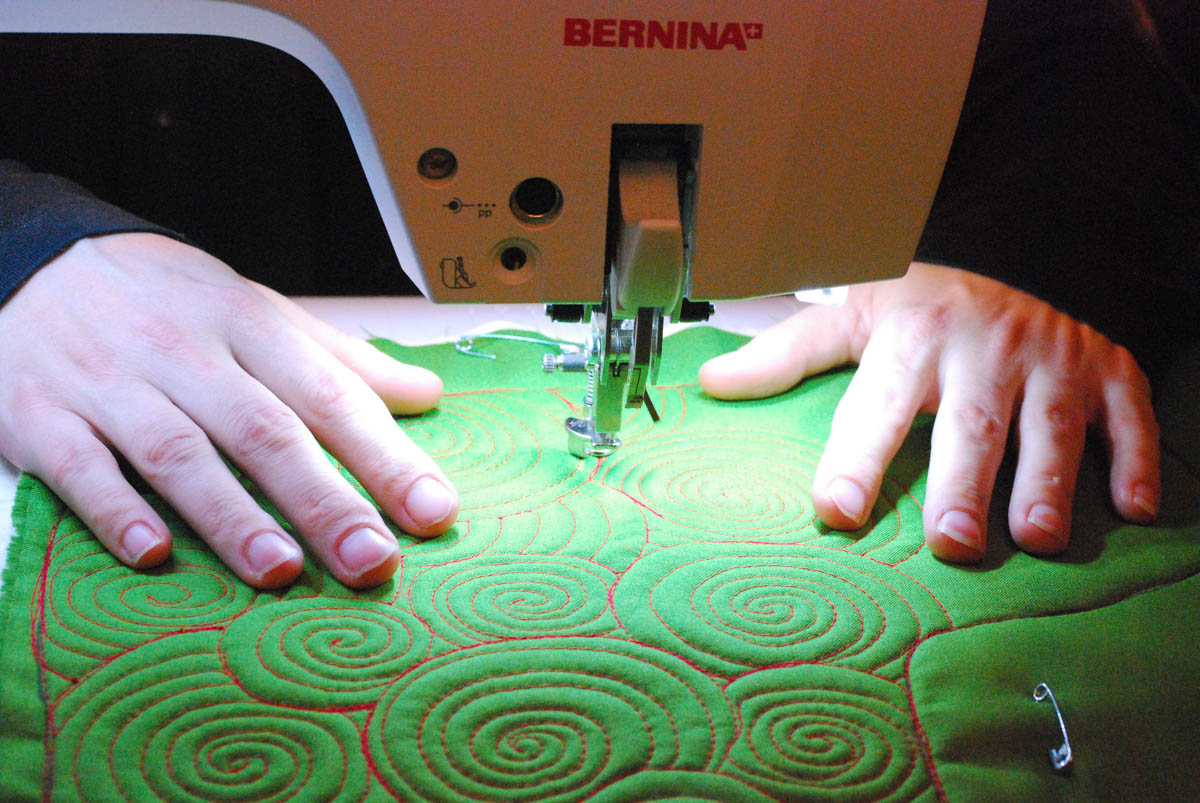
- BERNINA 790 PLUS Sewing and Embroidery Machine

Optional Supplies
- BERNINA L 890 Overlocker
- 4 spools of serger thread
Instructions to Sew the Christmas Stocking
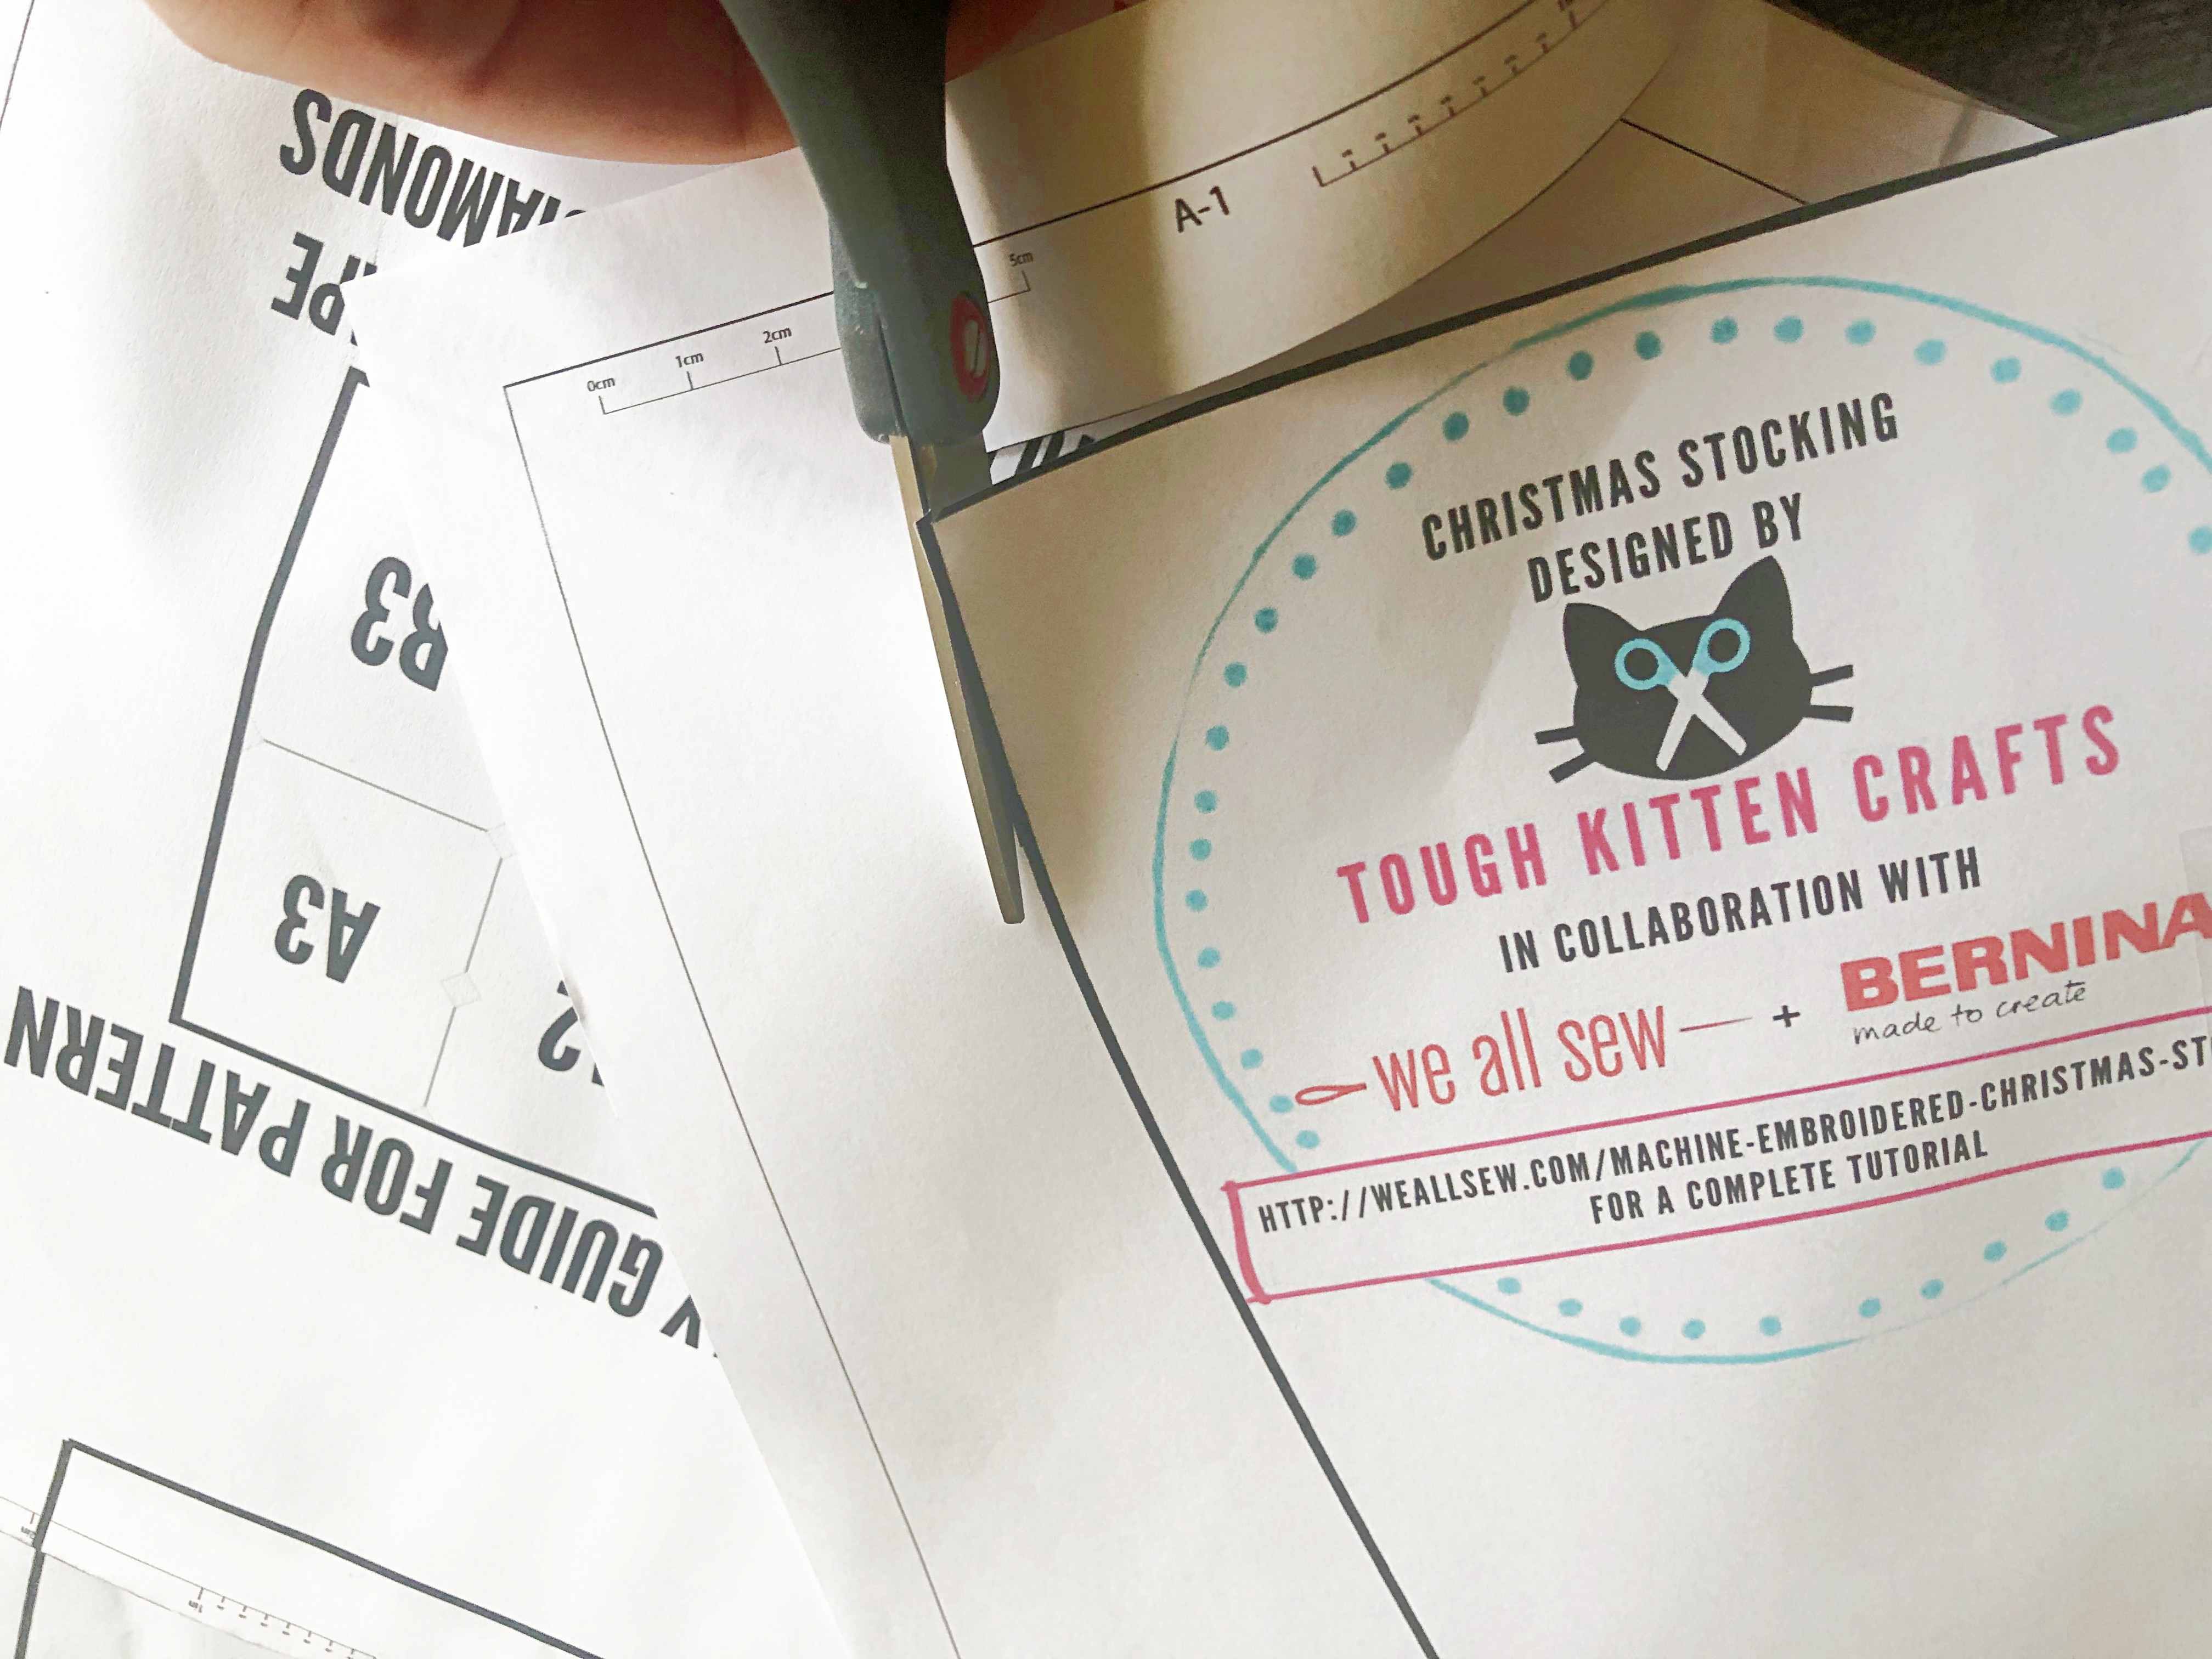
1. Print out the pattern pieces and tape them together according to the diagram on the pattern. Cut out the pattern pieces.
Need help assembling the pattern? Check out this video tutorial from Jen Beeman on how to prep a pattern.
2. Starch and press all the fabric before cutting out pattern pieces.
You will need the following:
- (2) Stocking Body pieces from exterior fabric
- (2) Stocking Body pieces from lining fabric
- (2) Stocking Body pieces from Fusible Fleece
- (2) Stocking Cuff pieces from cuff fabric
- (2) Stocking Cuff pieces from Fusible Woven.
3. Fuse your Fusible Fleece pieces to the wrong sides of the exterior fabric according to instructions on the fusible fleece packing. Fuse the fusible woven to the wrong side of the cuff fabric.

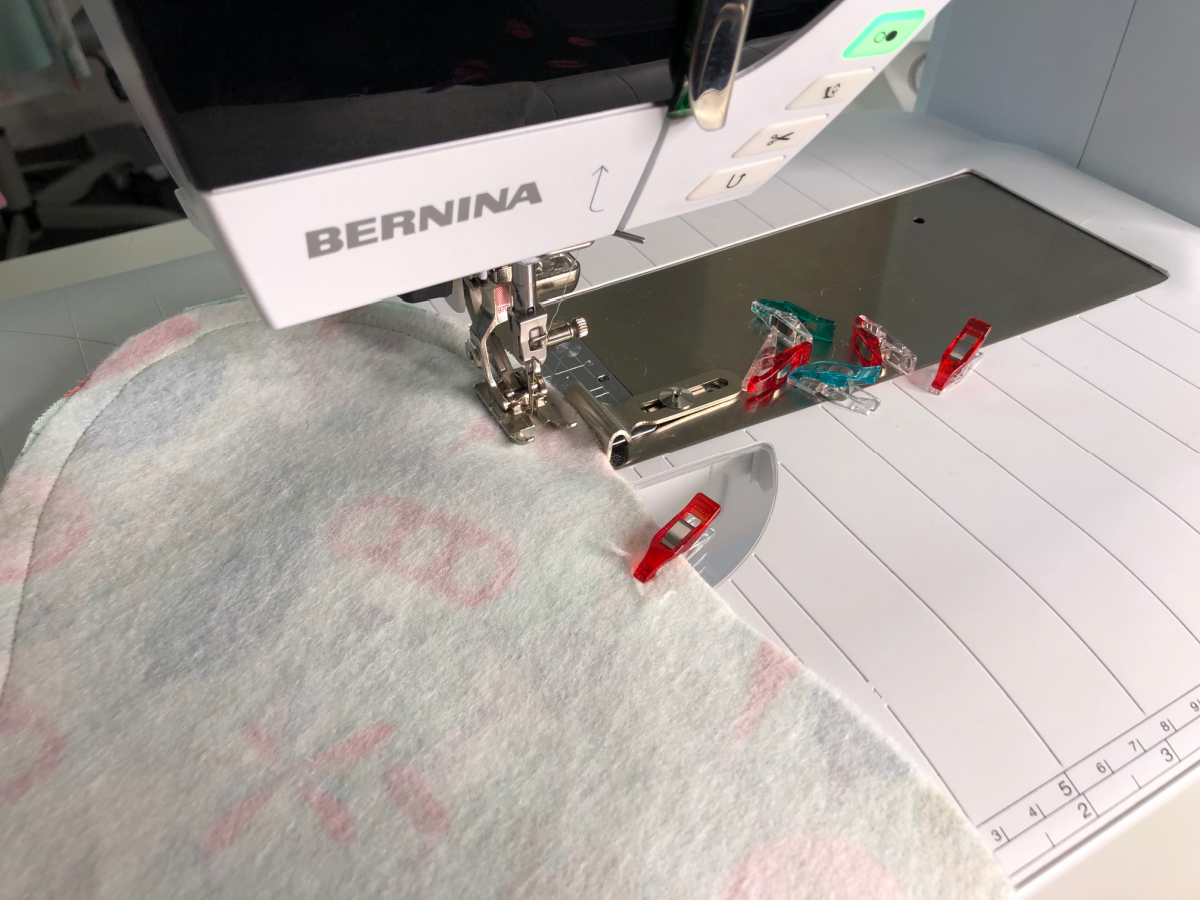
4. Prep the sewing machine for sewing:
- Clean and oil the machine.
- Install a new 80/12 Mictrotex Needle.
- Put the Patchwork Foot #97D foot on the machine and engage your Dual Feed.
- Thread with your Aurifil thread in the needle and bobbin.
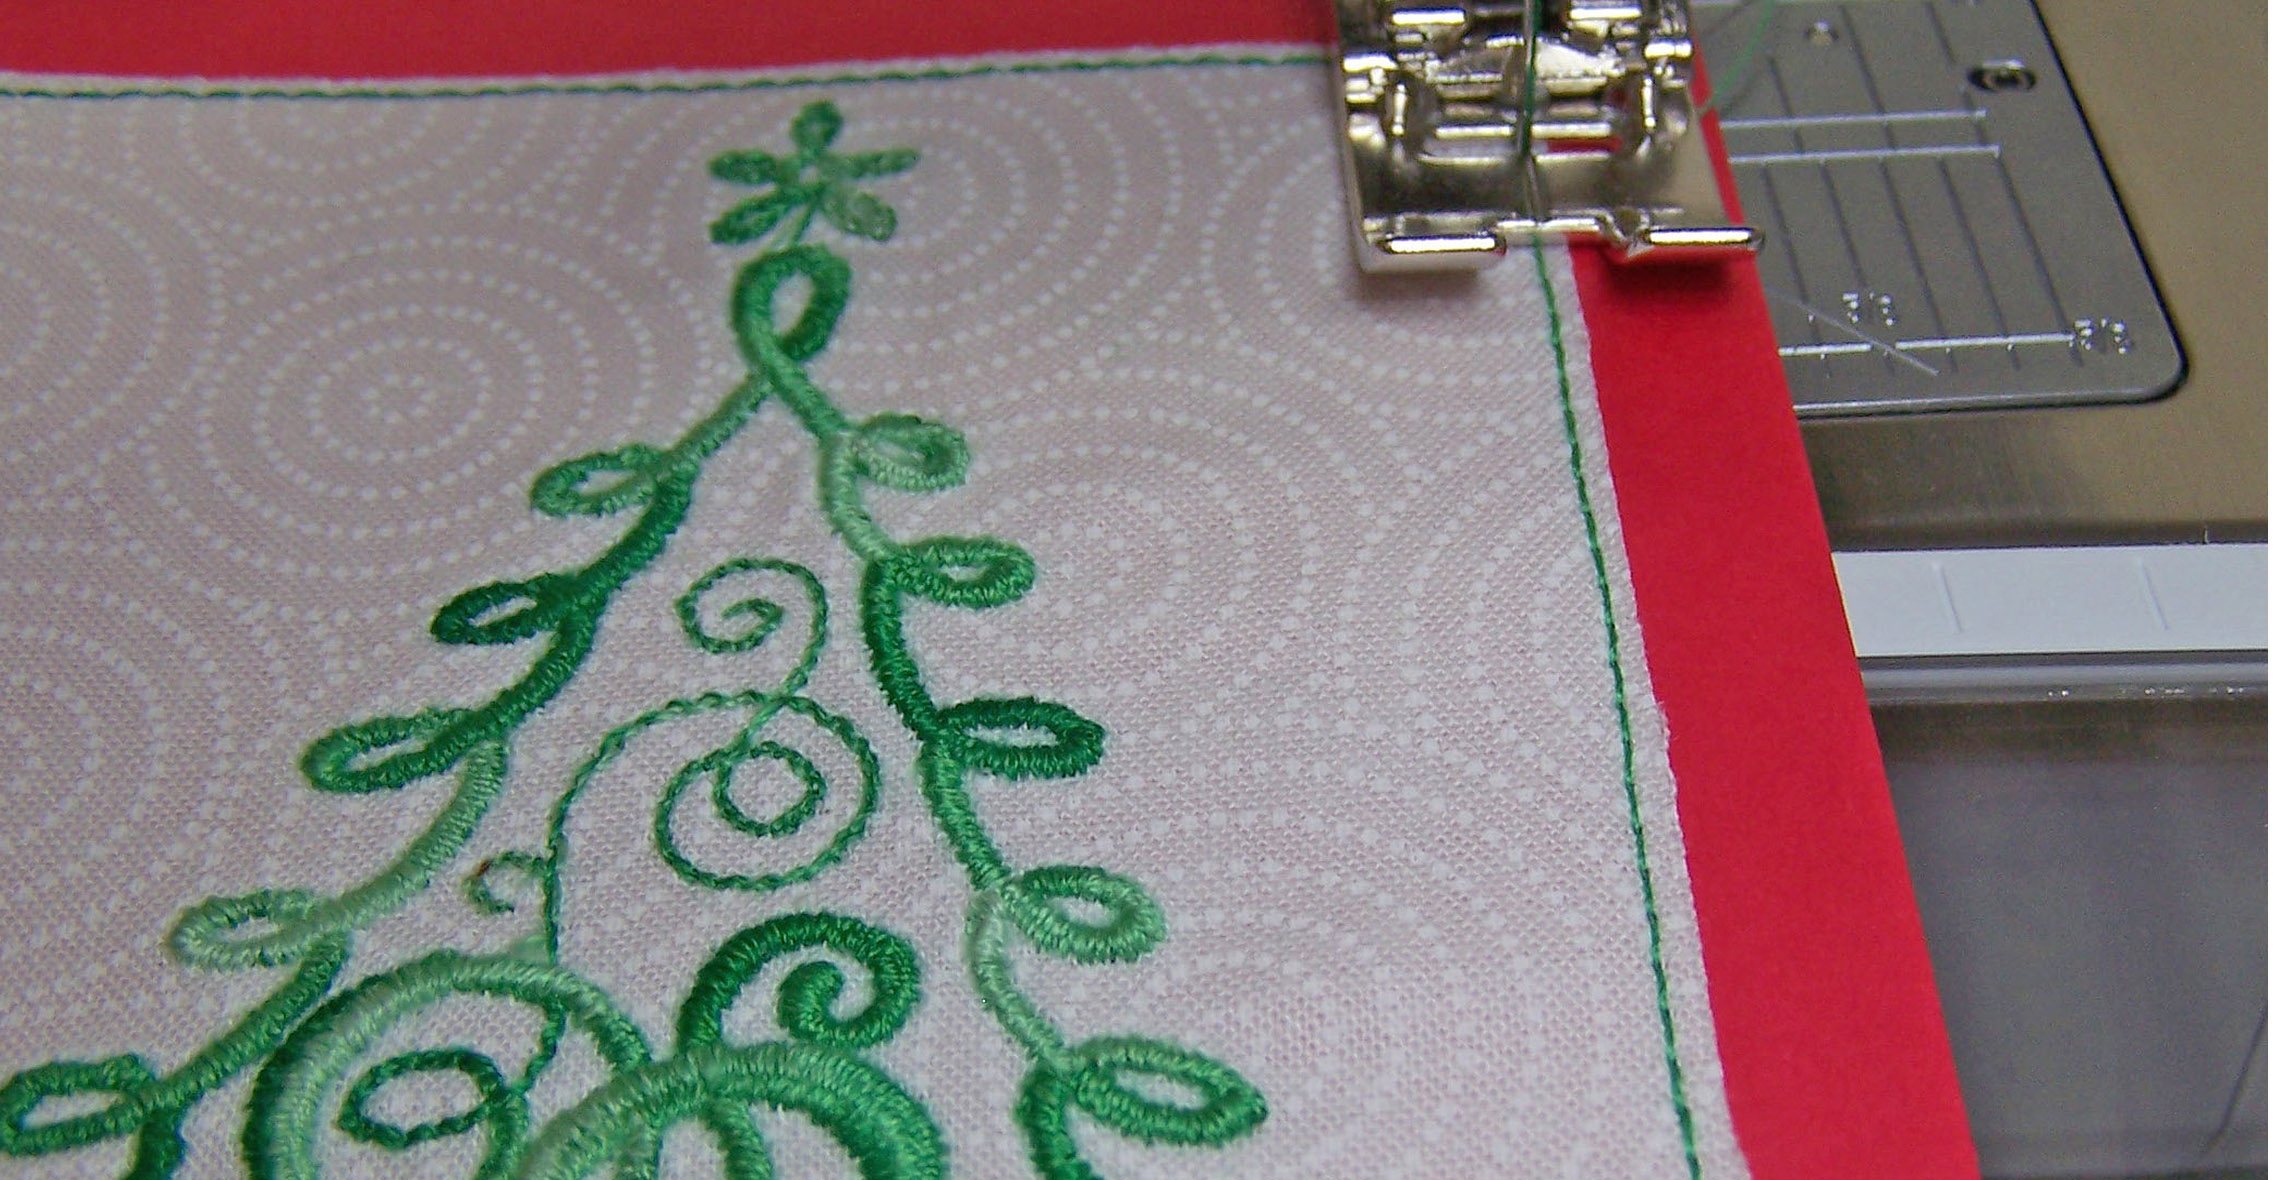
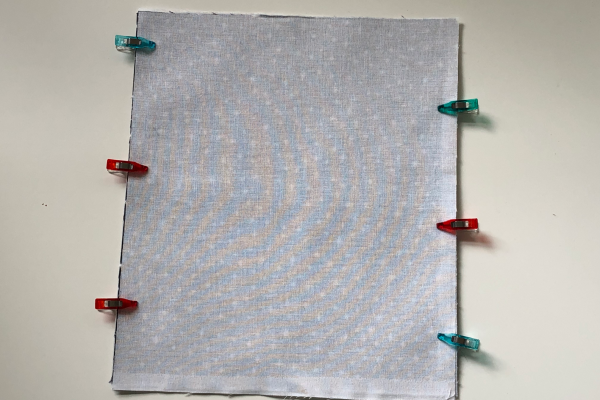
5. Use the Wonder Clips to clip together the 2 exterior pieces, wrong sides together. Sew using a 3/8″ seam allowance.
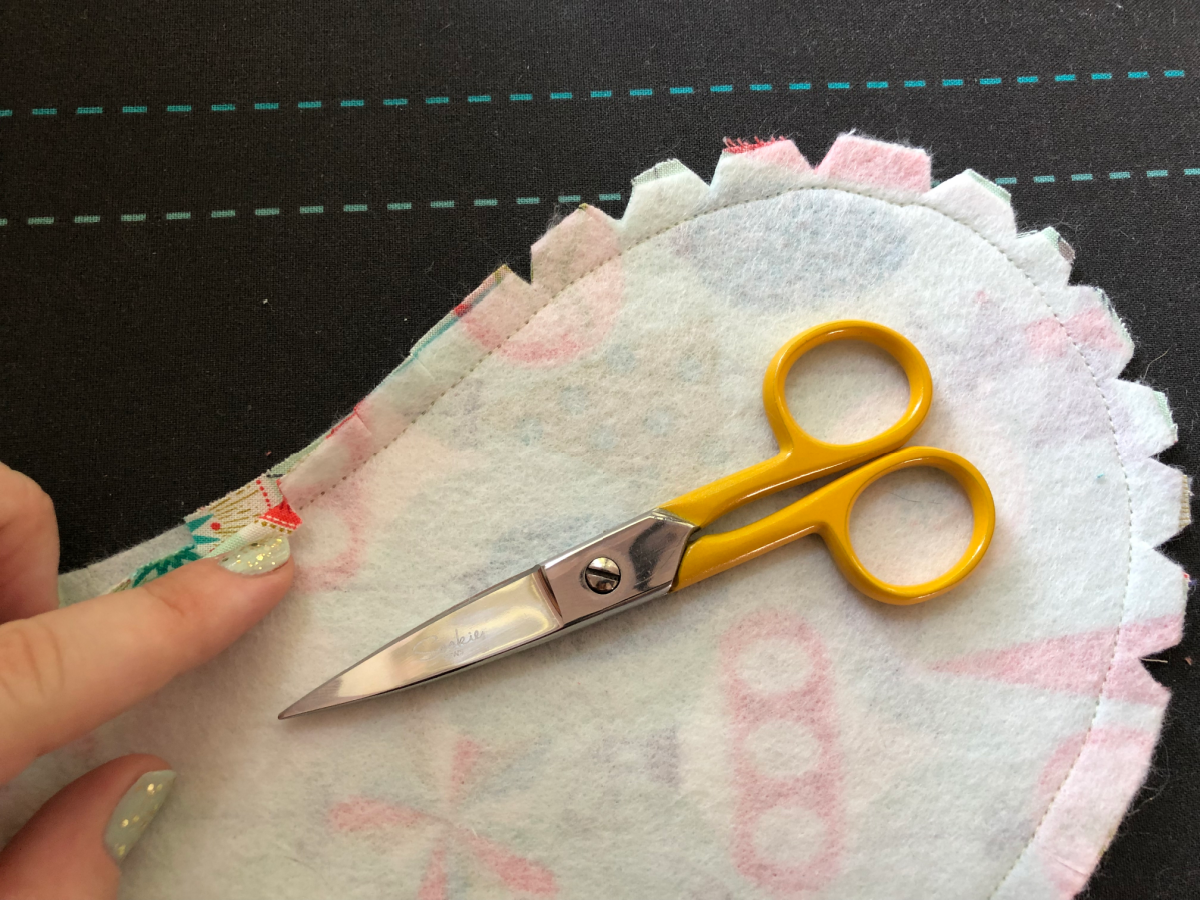
6. Clip the inside curves of the stocking and notch the outside curves as shown in the photo. This will help with turning/pressing the stocking smoothly. Be careful when you do this step to ensure that you DO NOT snip your sewing threads.
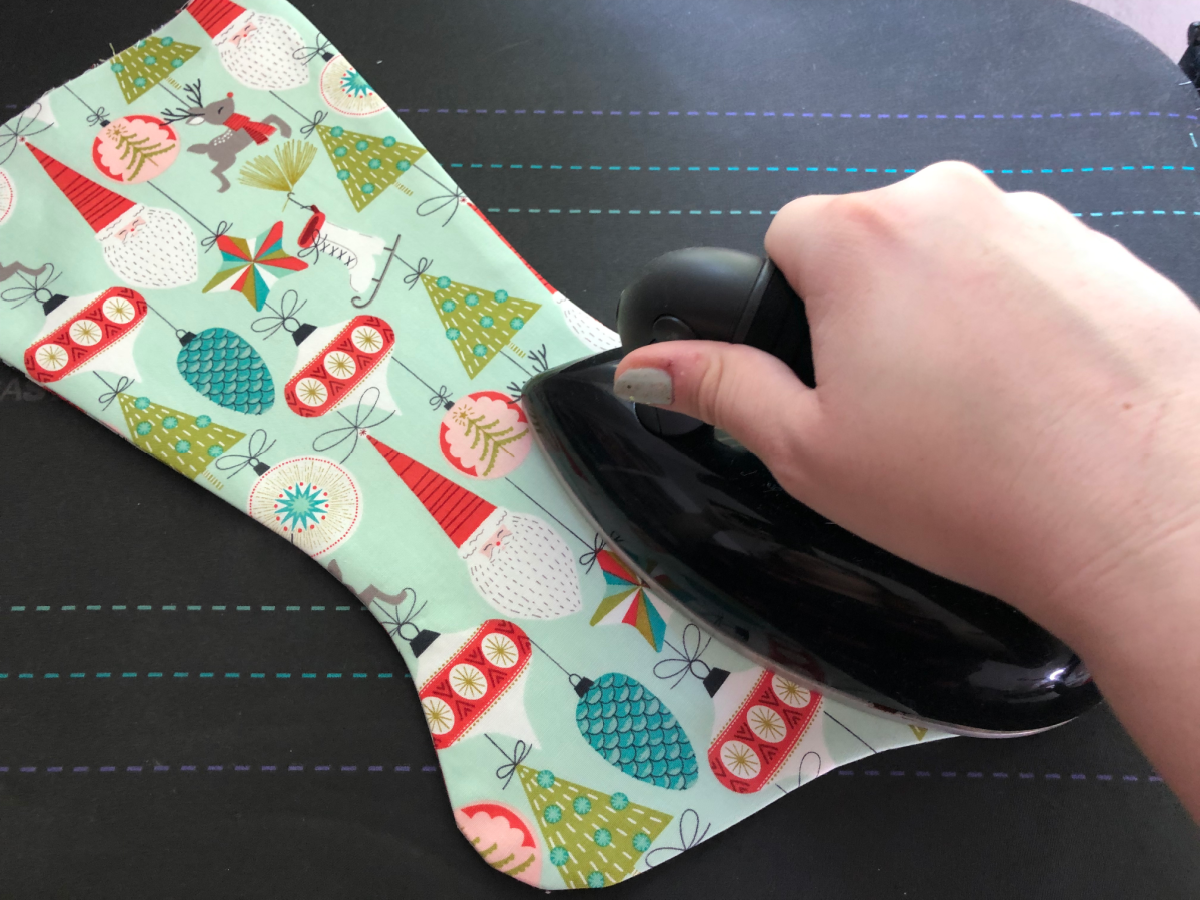
7. Press seams open, this is a little bit tedious because of all that snipping but the end result will be worth it. I use a Clover Stiletto for this to help with the pressing.
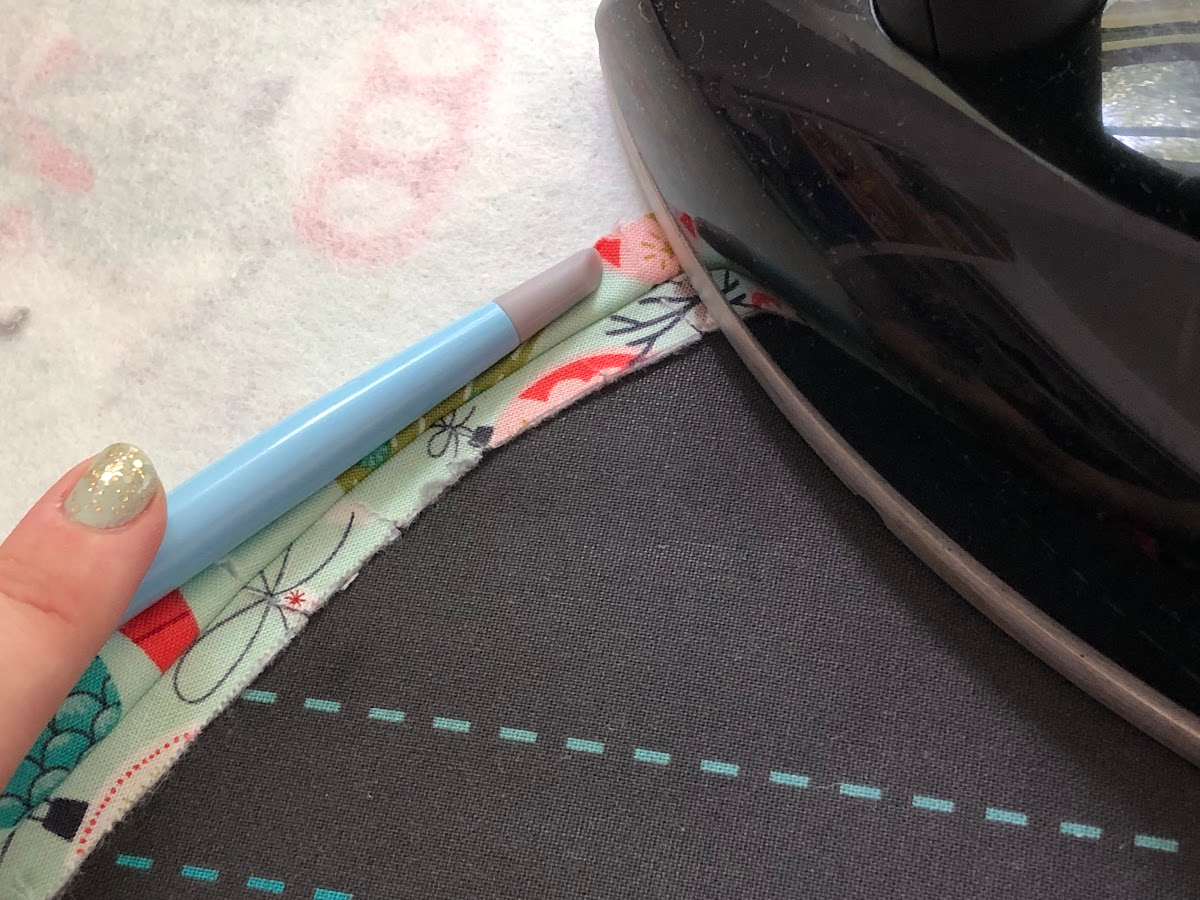
8. Turn the stocking and press flat. Use the stilleto to help smooth out the corners. Set aside.
Repeat steps 5-7 with the lining pieces then set it aside.
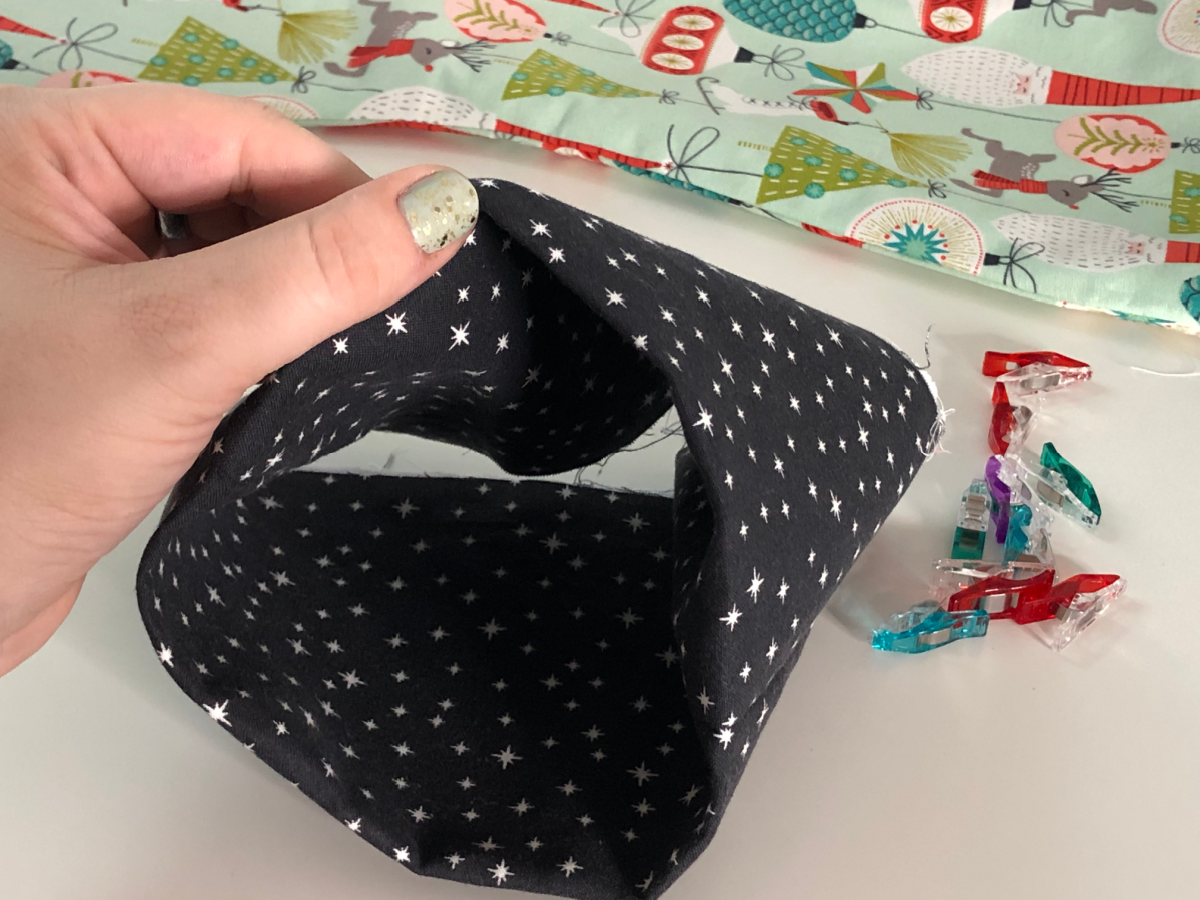
9. Clip together the 2 cuff pieces with right sides together. Sew with 1/2 seam allowance on the two long sides of the pieces.
10. Press seams open then fold the cuff in half, right sides out, aligning the raw edges.
11. Place the lining inside the fabric inside the exterior stocking, wrong sides together. Take your time to ensure the top edges are aligned and that the lining fills the stocking.
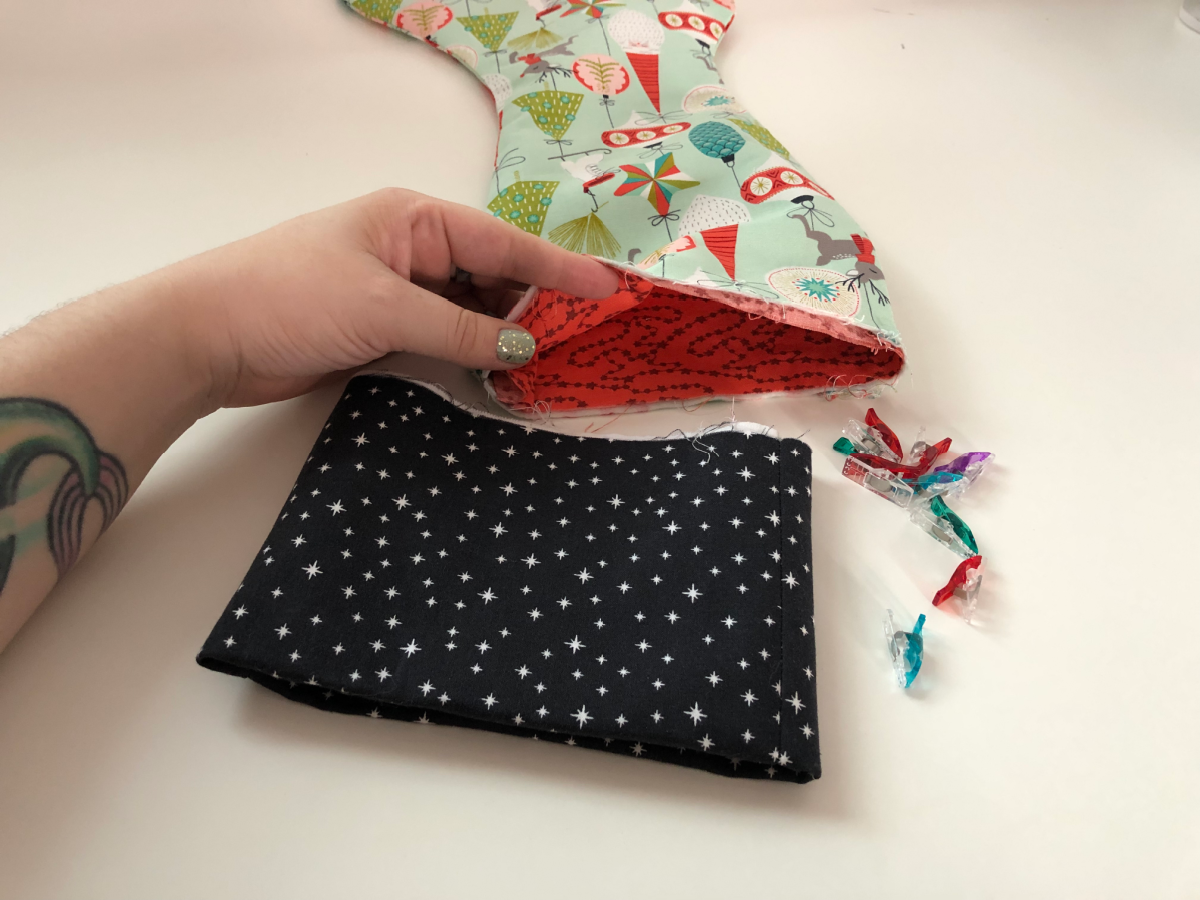
12. Insert the cuff inside the stocking pieces, aligning all the raw edges and holding the layers with the clips. Take your time to ensure there are no wrinkles in the exterior fabric and everything is aligned correctly.
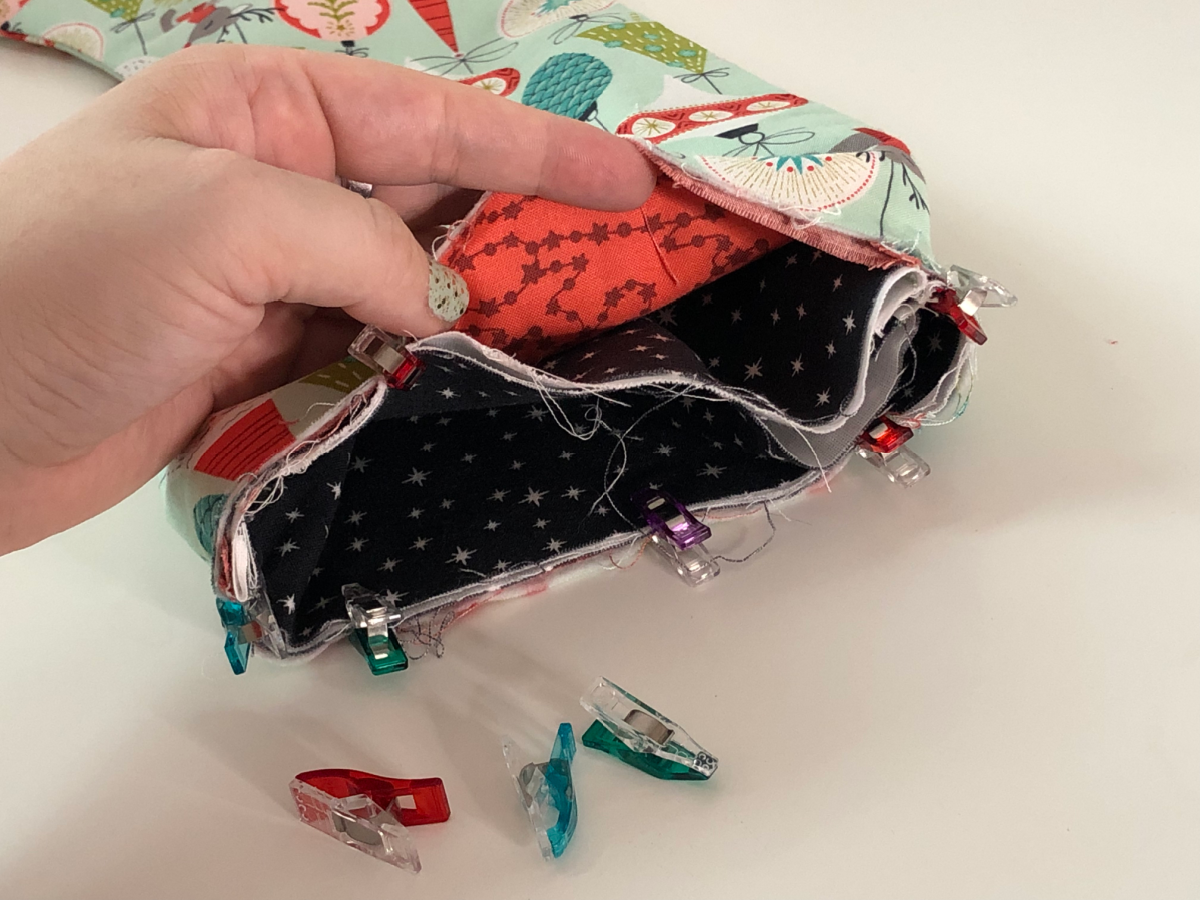
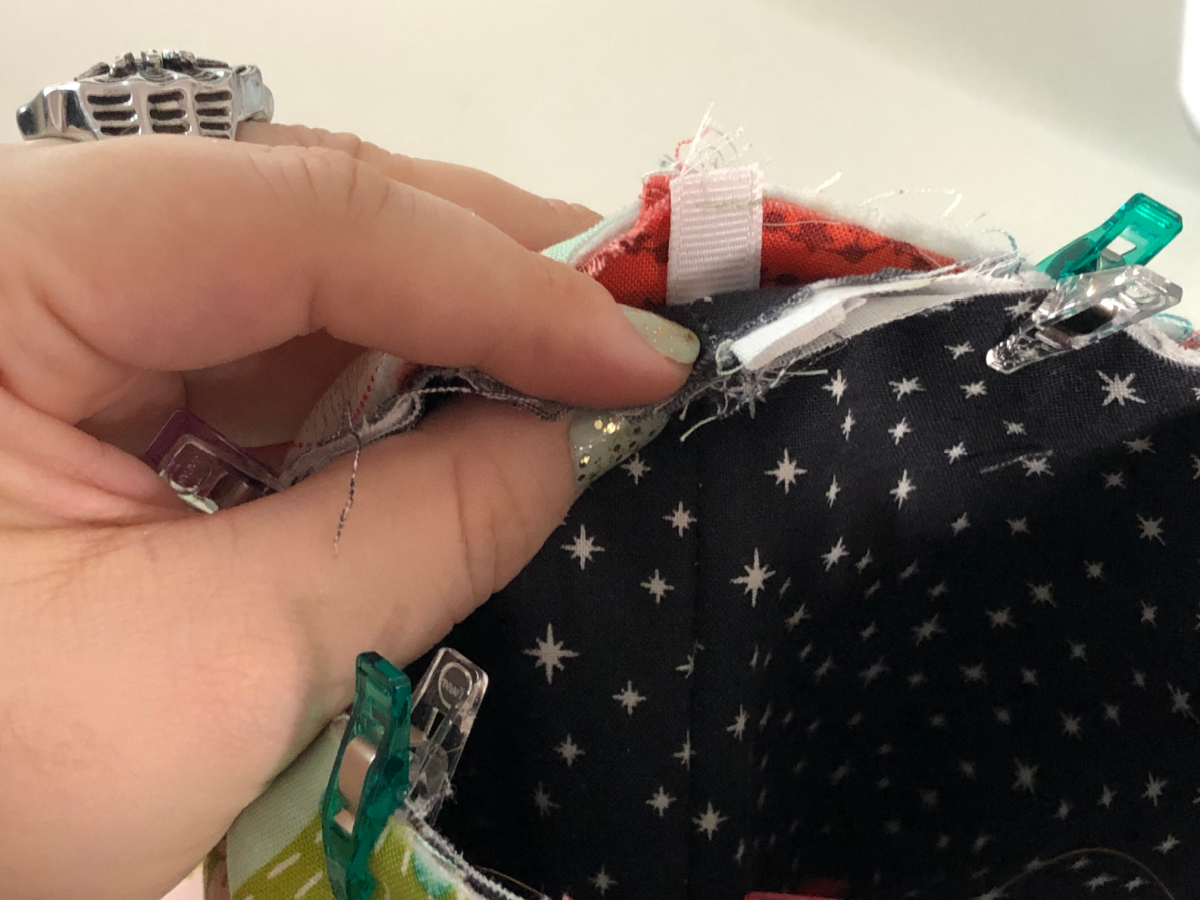
13. Take the 6″ Ribbon and sew the raw edges together close to the raw edge, roughly 1/8″. This is just to ensure they stay together during the next step.

14. At the back of the stocking, place the ribbon between the cuff and stocking. Aligning the raw edges with the stocking and cuff raw edges, tucking the loop into the stocking.
If using an overlocker:
15a. Baste the layers with a 1/4″ seam allowance.

15b. Take over to the L890 and using a 4- or 3- thread overlock, serge the layers together with a 1/2″ seam allowance.
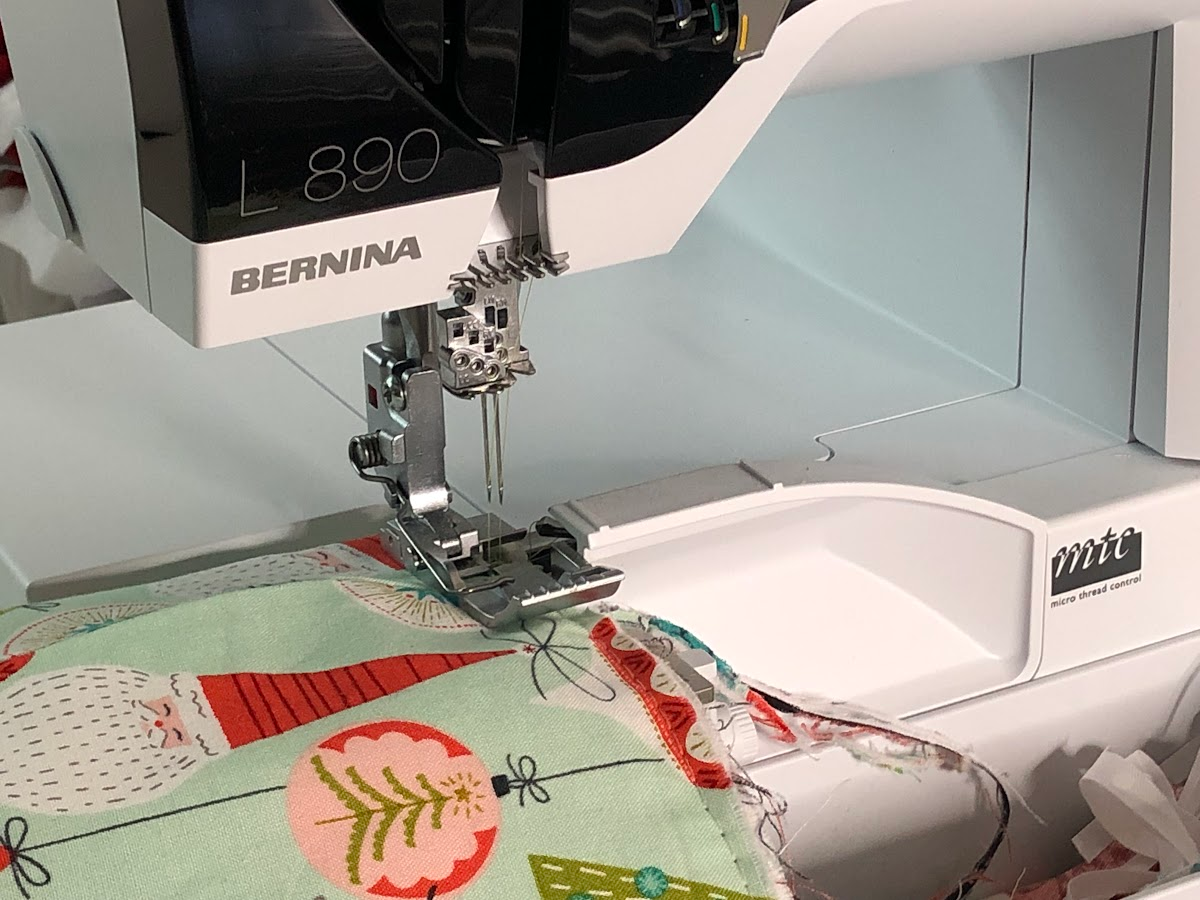
15c. Finish your thread ends.
If not using an overlocker:
15. Sew the layers with a 1/2″ seam allowance. Zigzag the raw edges around the stocking.
16. Pull the cuff up, out of the stocking and press steams toward the stocking.
17. Fold down the cuff, leaving about 1/4″-1/2″ of cuff inside the stocking. Press the stocking flat.
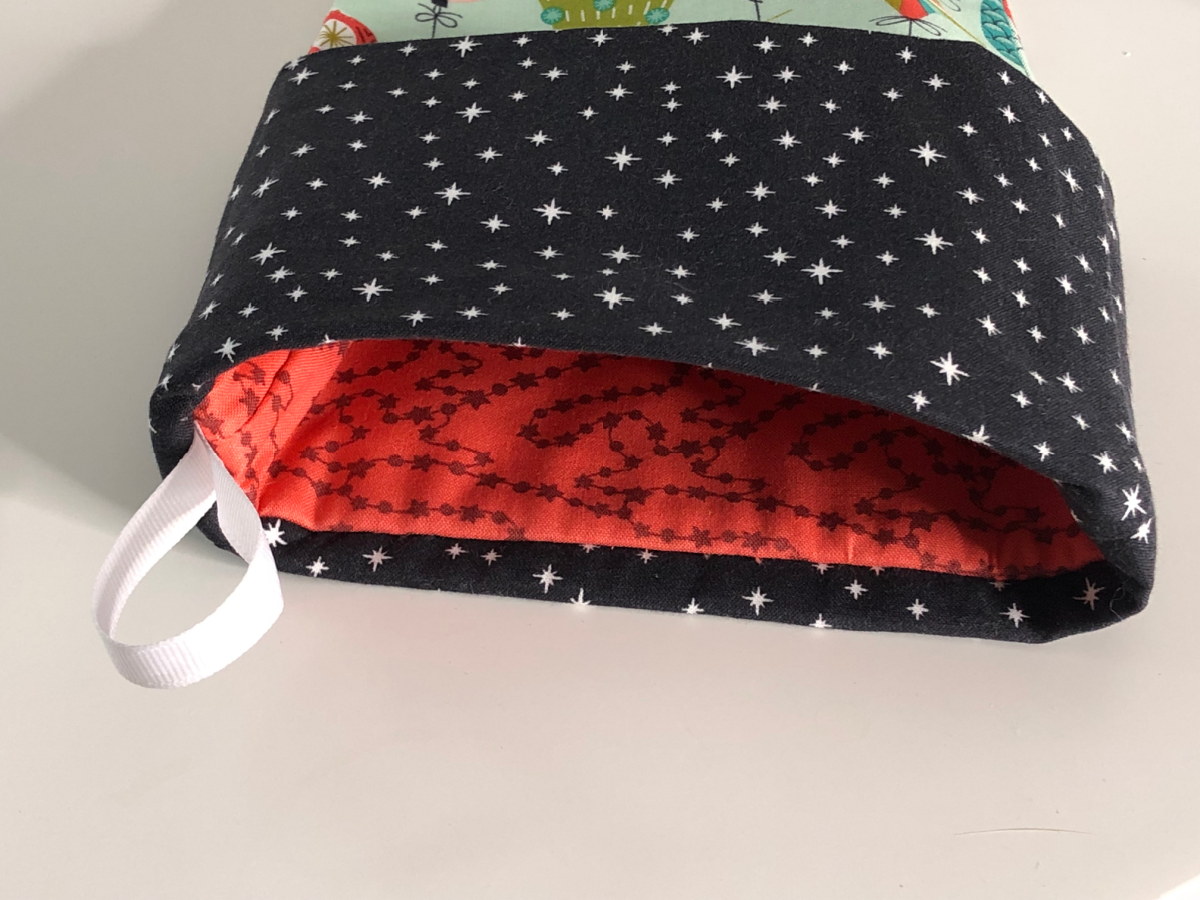
You’re finished! Hang that beauty up for all to see, because you did a fantastic job!

If you share pictures of your stockings don’t forget to tag @BERNINAUSA and @ToughKittenCrafts so we can see the awesome stockings you have made!
Next time we will go over how to add an embroidered name to the cuff.
Don’t forget to tag @ToughKittenCrafts and @BERNINAUSA when you share your stockings on Instagram! We’d love to see what you make!
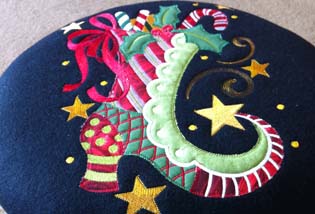
Head over to to the Tough Kitten Crafts blog for more Christmas Stocking pattern hacks, including how to use knapped fabric like Minky for the cuff, and how to add toe and heel accents to your stocking!
I also have a 5-part blog series called Machine Embroidery for Beginners that is wrapping up next week where I cover everything from machine recommendations to how to download and organize designs to stabilizer basics! This series has been so much fun and there’s even more information on the Tough Kitten Crafts Instagram.
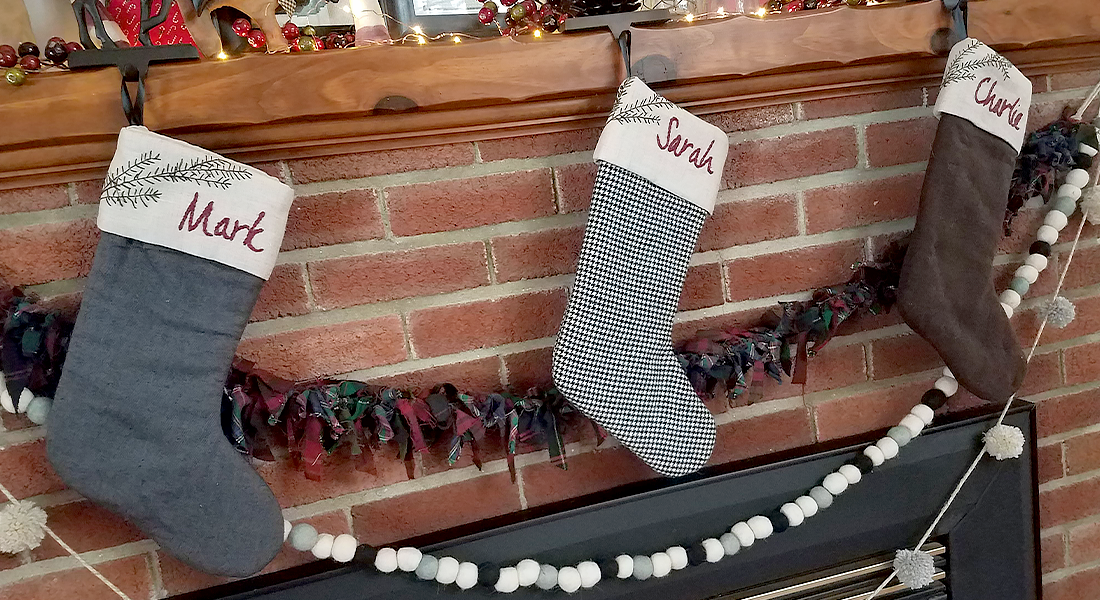
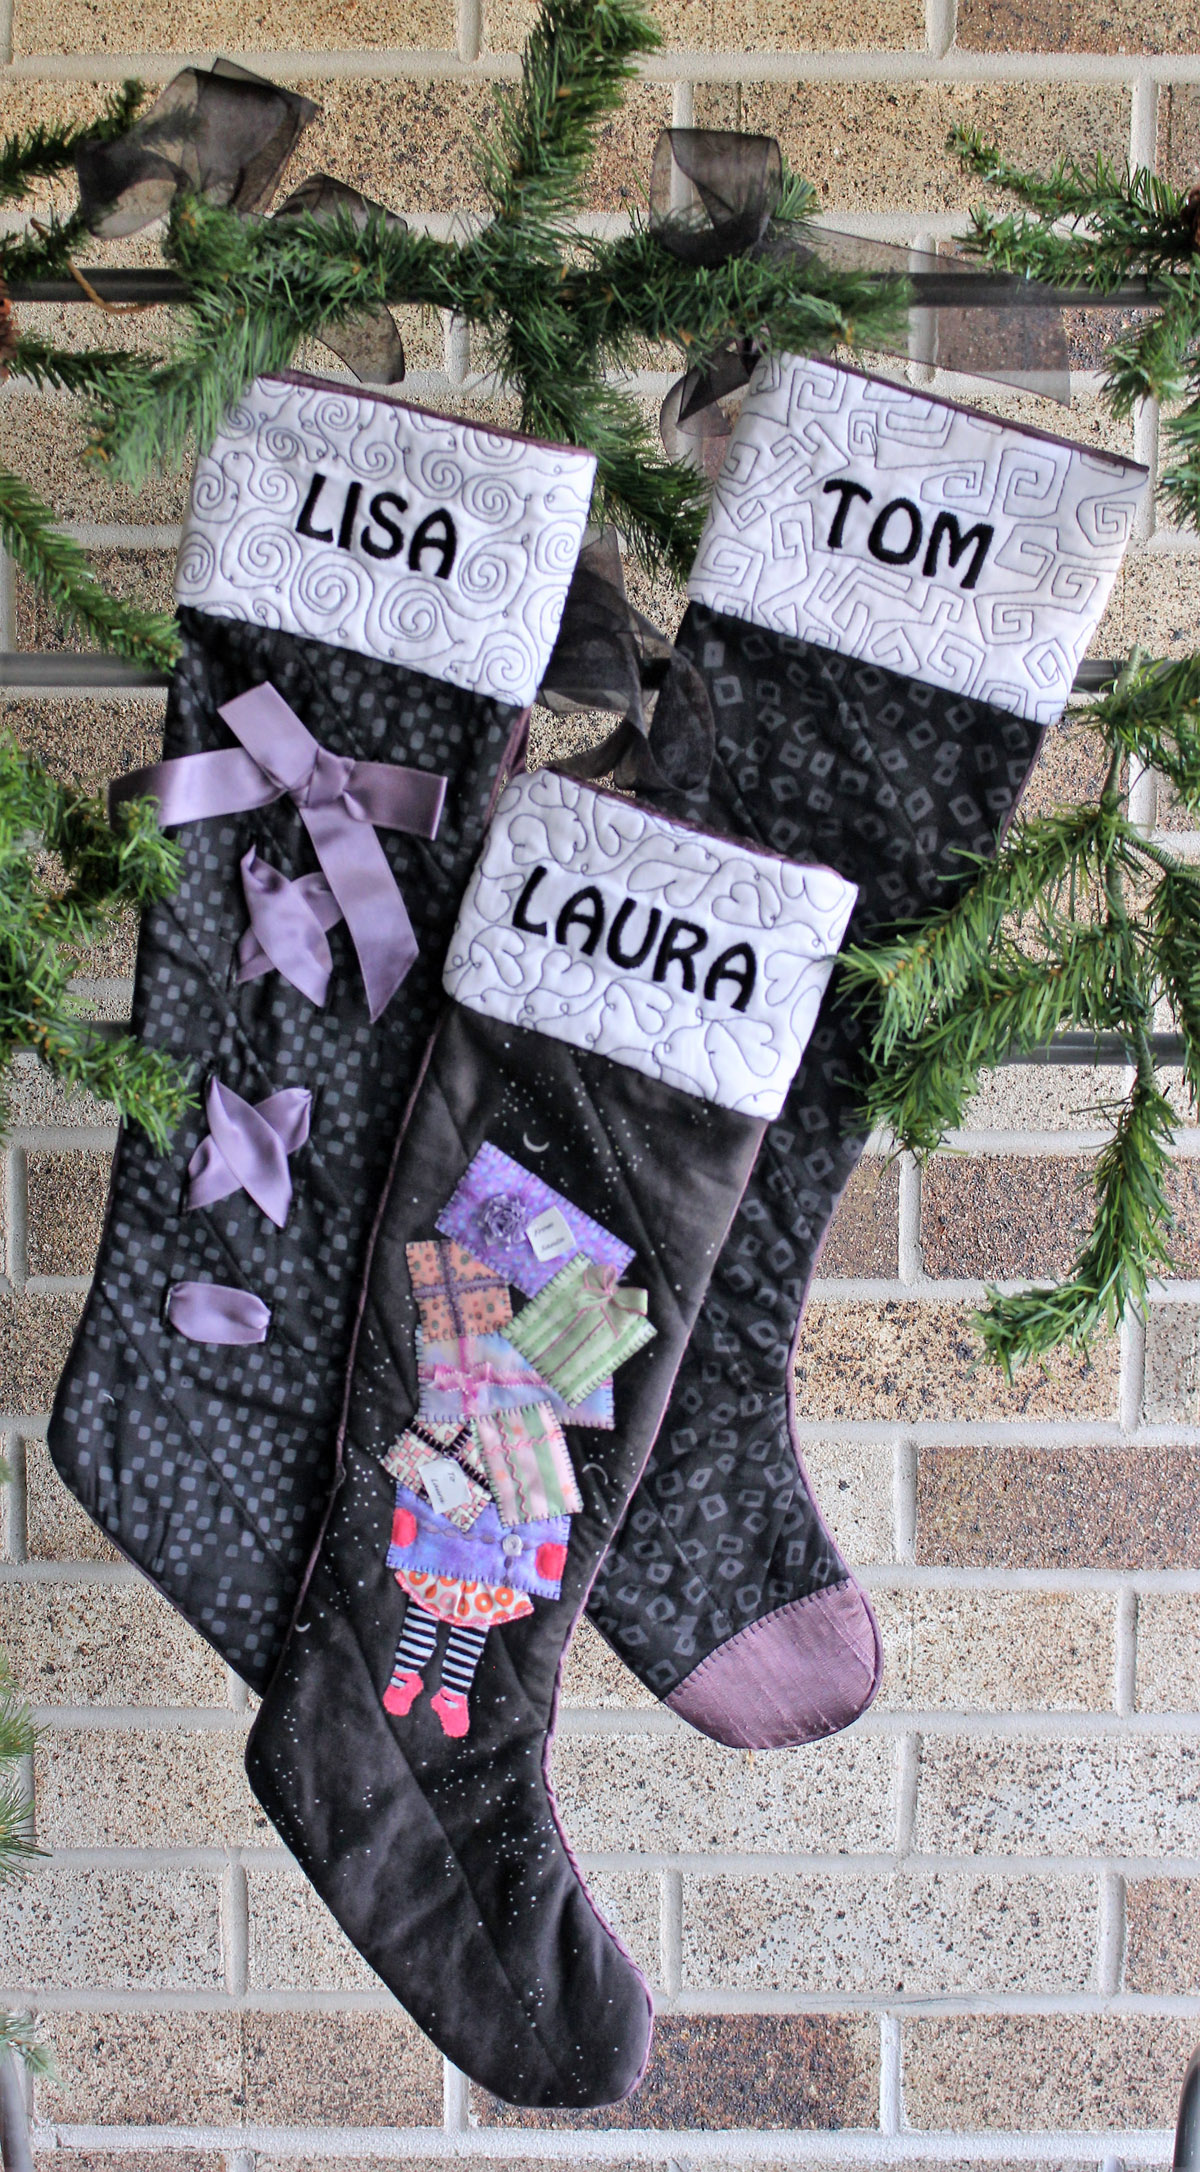
I couldn’t decide if I wanted solids or patterns for our new family stockings.
What kind of fabric will you use in your stockings?
Are you making them for your house or as a gift to family?
Tell me all about it in the comments! I can’t wait to hear about them.