PaintWork Sampler: How to Test Fabric Markers for PaintWork
Our friend and BERNINA Ambassador Sarah Vedeler has been playing with the PaintWork Tool and Software. Having an analytical engineering-type brain, she devised a very thorough way to test the suitability of different types of pens – and she’s sharing her results with WeAllSew readers.
I’m getting ready to start using PaintWork in a new design collection and decided to create a sampler to get to know the settings and see the variation in results using different pens. Here are the results!
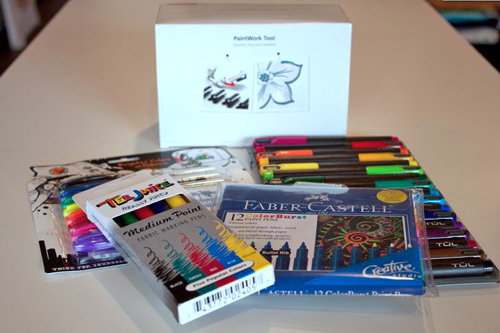
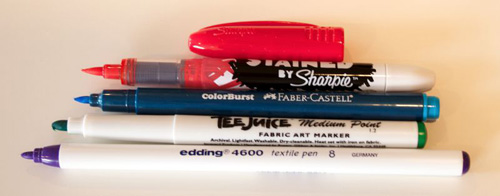
The pens I wanted to try are:
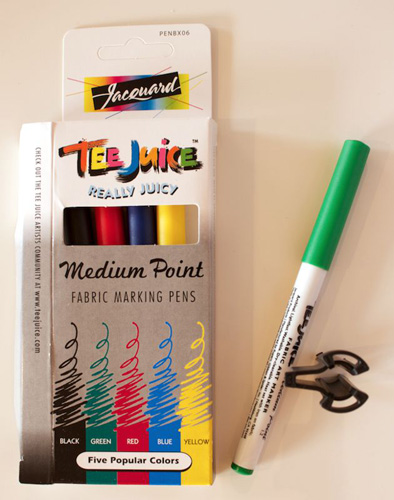
- Tee Juice Really Juicy Medium Point Fabric Marking Pens (the name all by itself makes these pens sound really good!)
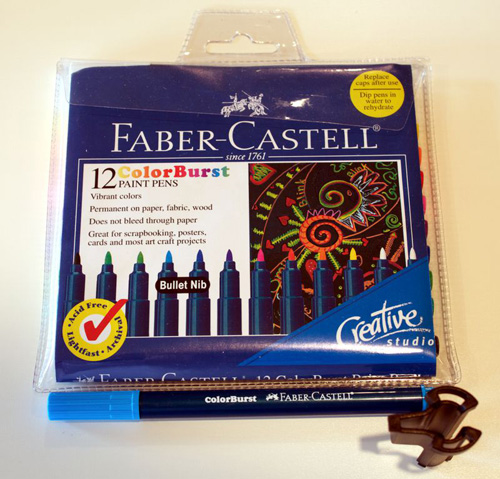
- Faber Castell Color Burst Paint Pens
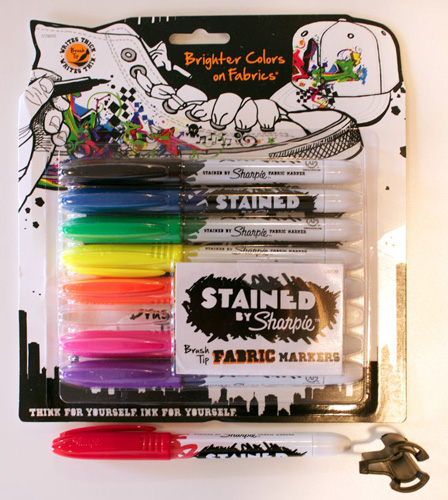
- Stained by Sharpie Brush Tip Fabric Markers
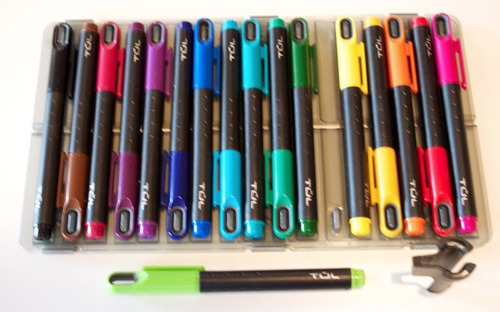
- TUL Permanent Markers Fine Point
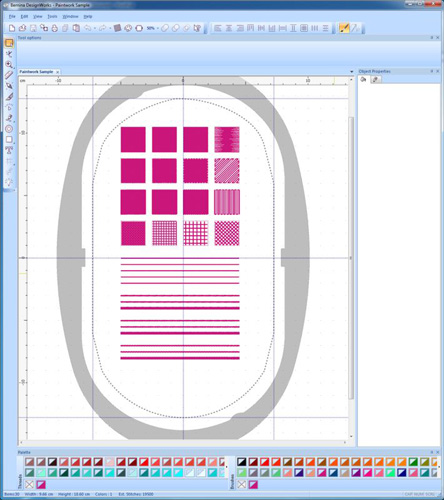
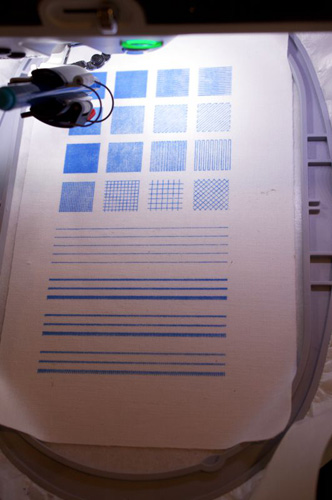
In the DesignWorks software, there are 4 different fill types for PaintWork and 2 different line types. For the sampler that I created, the settings are as follows:
- ZigZag fill
- Density = 0.5mm, 1.0mm, 1.5mm, 2.5mm
2nd row
- Fill fill
- Density = 0.5mm, 1.0mm, 1.5mm, 2.5mm
3rd row
- Row-Fill fill
- Density = 0.5mm, 1.0mm, 1.5mm, 2.5mm
- Use Short/Long checked
4th row
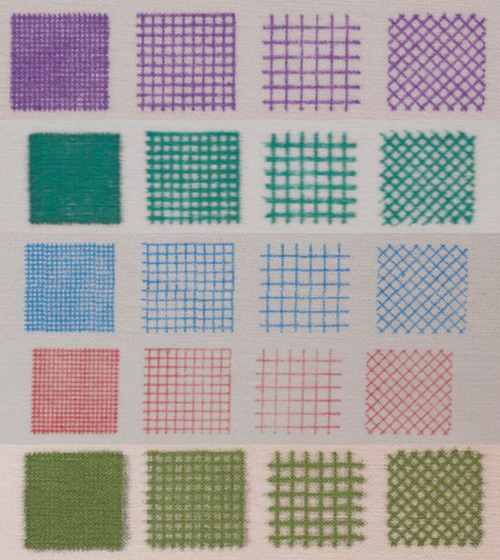
- Paint net fill
- Cell size = 1.0mm Offset = 0.0mm Angle = 0
- Cell size = 2.0mm Offset = 0.0mm Angle = 0
- Cell size = 3.0mm Offset = 0.0mm Angle = 0
- Cell size = 2.0mm Offset = 0.0mm Angle = 45
1st set lines
- Line Height/Outline = 0.2mm, 0.4mm, 0.6mm, 0.8mm, 1.0mm
2nd set lines
- ZigZag Height/Outline = 0.5mm, 1.0mm, 2.0mm
- Density = 1.2mm
3rd set lines
- ZigZag Height/Outline = 0.5mm, 1.0mm, 2.0mm
- Density = 1.5mm
4th set lines
- ZigZag Height/Outline = 0.5mm, 1.0mm, 2.0mm
- Density = 2.0mm
Setting Up
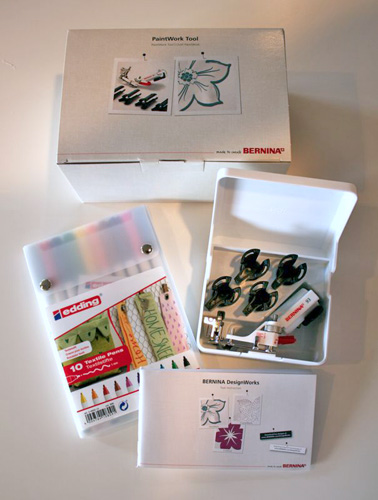
The first thing to do is open the PaintWork Tool box!
Inside you will find:
- The actual PaintWork Tool in a smart storage container. As well as the PaintWork “foot” there are 4 different pen holders, allowing you to successfully use pens of varying sizes.
- The BERNINA DesignWorks Tool Instructions booklet – invaluable for getting started (especially if you don’t have the benefit of reading this!)
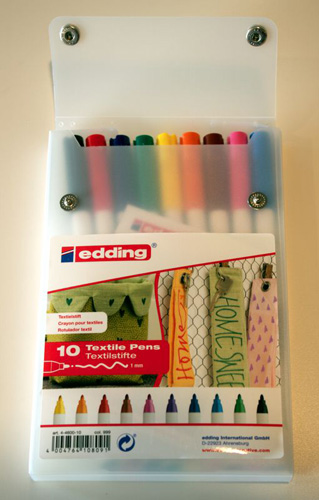
- A package of Edding 4600 Textile Pens. This was actually an unexpected find and a nice surprise! Of course I added these to my list of pens to try.
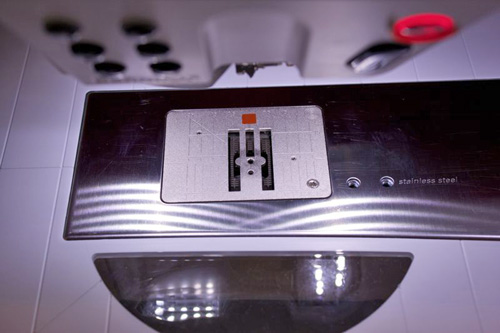
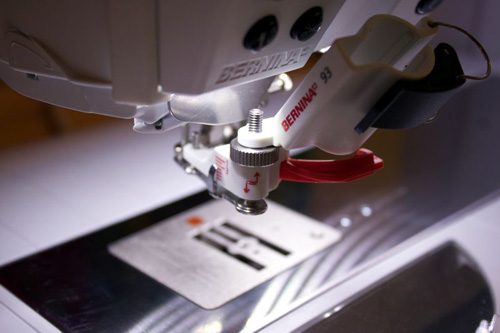
You will need to use the CutWork stitch plate with the PaintWork Tool. This is identified by an orange square at the back, and has a single stitch hole in it.
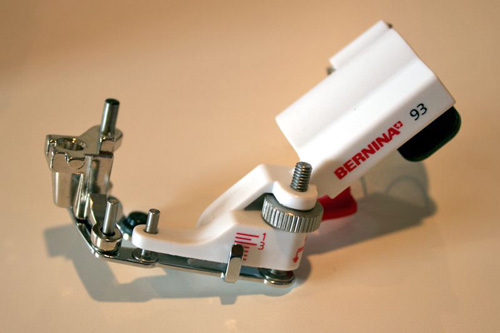
The PaintWork Tool is presser foot #93. It attaches to the machine just like any other presser foot, although there is a lot more “foot” sticking out at the front of the machine when it has been attached!
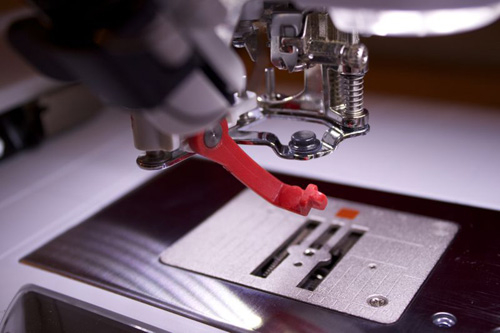
The pen holder part of the tool sits at an angle at the front of the machine.
Before inserting a pen, you need to flip the red pen guide into the “down” position.
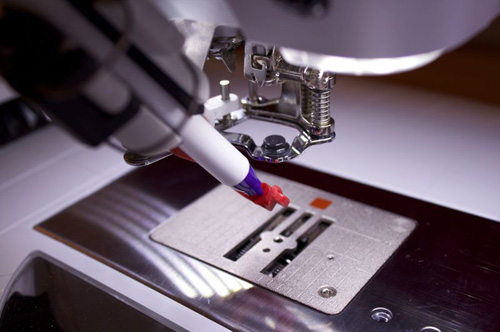
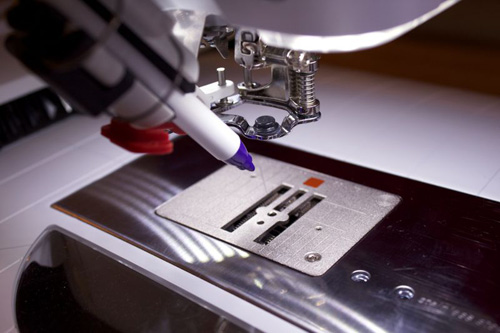
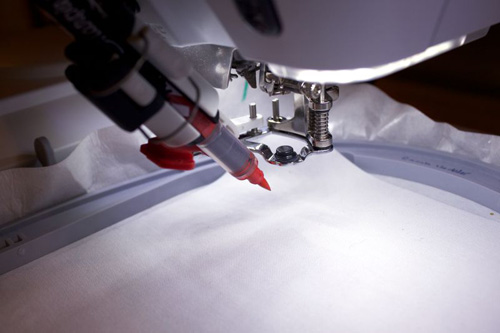
Making sure that you are using the correct size of pen holder for the pen that you are using, first insert the pen holder into the PaintWork Tool, and then insert the pen, nib down. Push the pen in until the point of the nib just touches the red pen guide.
When the pen has been inserted you can flip the red pen guide back up and out of the way.
Now it is time to load the PaintWork design into the machine. The BERNINA DesignWorks software creates a .DRAW file when you create a design. There are two ways to generate the .EXP file that is needed by your embroidery machine:
- Choose File > Save As… and then select “Bernina (*.exp)” as the Save As type. This allows you to save the design as a file on the hard drive of your computer.
- Choose File > Export >Bernina (or click on the Export to Bernina button). This allows you to save the design directly onto a USB stick.
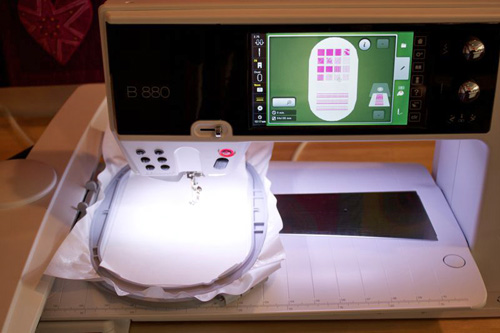
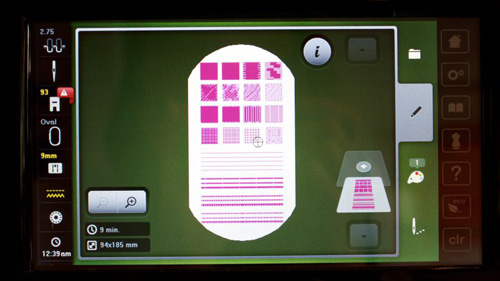
The embroidery machine will not automatically recognize that you have loaded a PaintWork design; you will need to tell it. This is done by specifying that you are using the #93 presser foot – see the red warning sign on the left side of the screen in the image below.
Now you are ready to start painting!
Edding 4600 Textile Pens
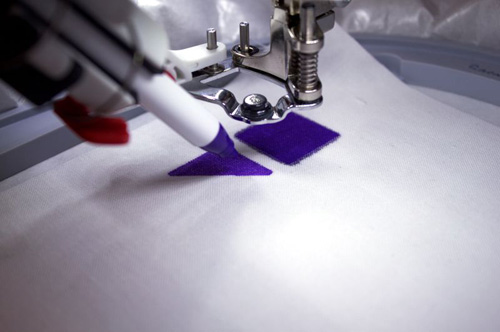
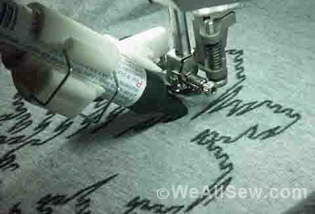
The Edding 4600 textile pen has been loaded into the PaintWork tool as shown above.
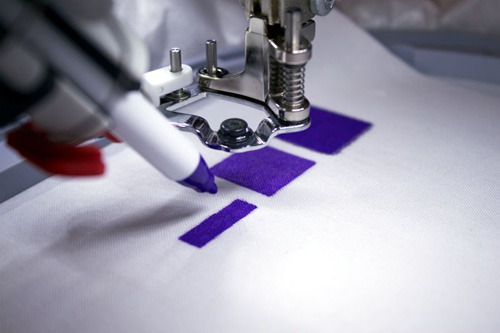
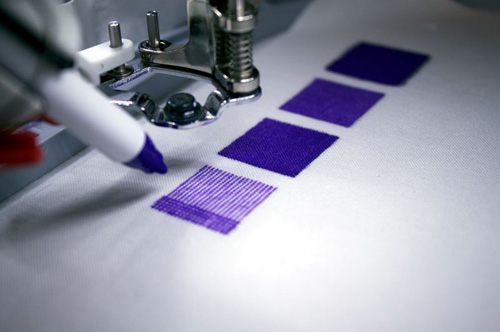
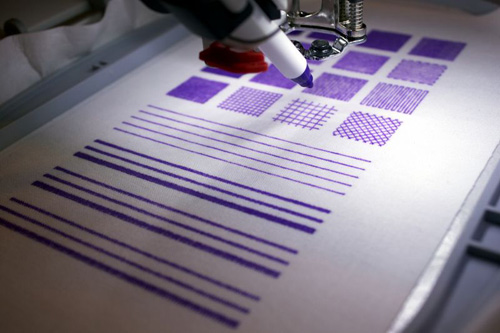
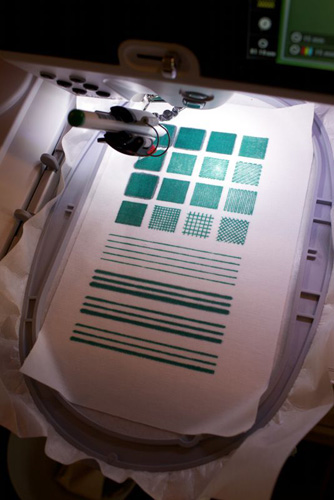
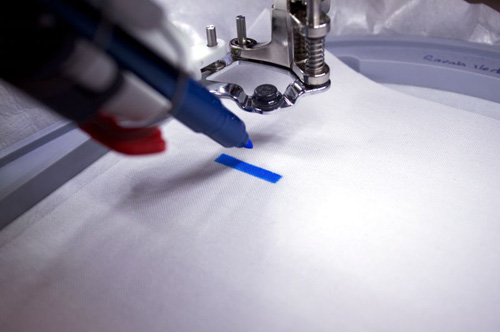
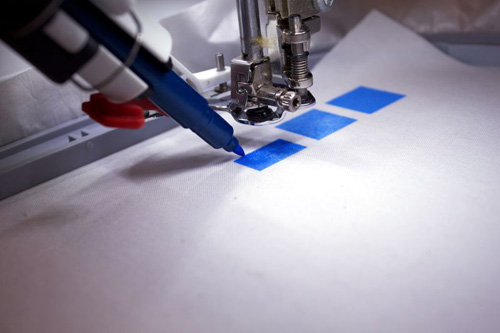
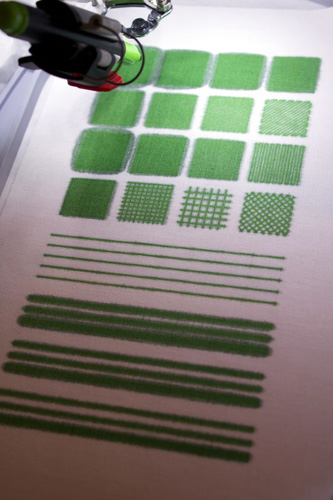
The sampler “stitches out” the first column of each row of squares, then the second column, the third column and the fourth column, and then stitches out the lines from top to bottom.
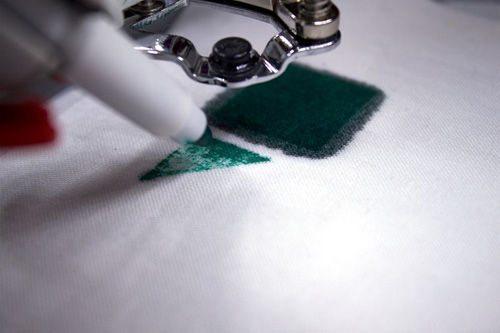
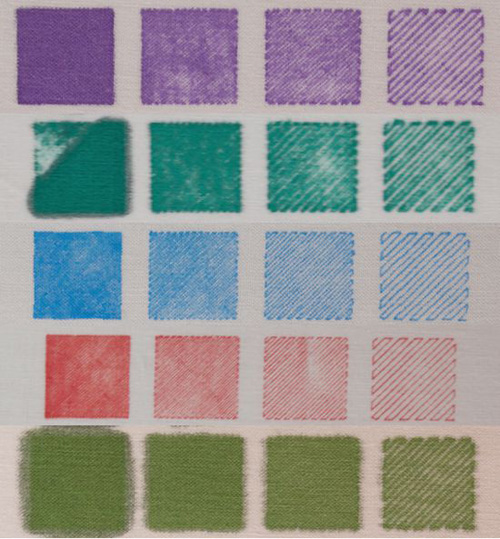
The first row is the ZigZag fill, which actually paints from side to side within the square. The Edding 4600 pen had quite a lot of bleeding while painting the first square.
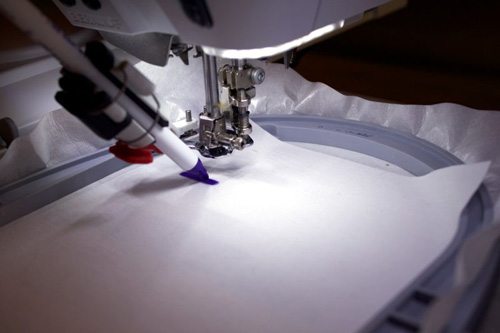
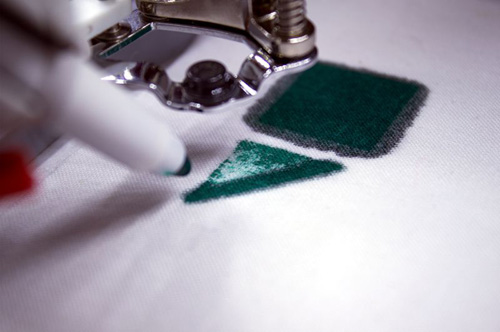
The second row is the Fill fill which paints diagonally within the square. There was no bleeding for this fill which resulted in a nice clean and sharp painted square.
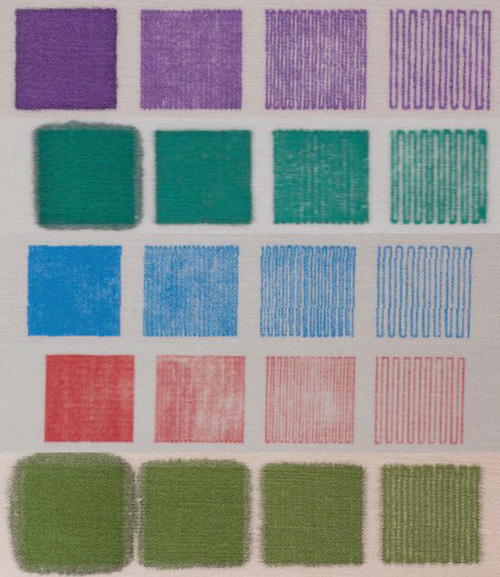
The third row is the Row-Fill fill which paints up and down within the square. No bleeding here either.
The fourth row is the Paint Net fill. First are the up-down lines…
… then the side-to-side lines.
Here’s the finished sample for the Edding 4600 textile pen.
The first square is the only place that bleeding occurred.
Apparently specifying the height/outline size of a line in the DesignWorks Software does not make a difference in the finished result. For the five lines immediately below the squares, each line was one stroke across the hoop from left to rigth – with no visible difference in the drawn line thickness.
To change the line thickness, using a ZigZag line is the method of choice. Changing the density of the line does make a difference, although it’s not very clear in the image above.
Tee Juice
These pens are a little chunkier than the Edding 4600 pens, so I used a slightly larger pen holder in the PaintWork Tool.
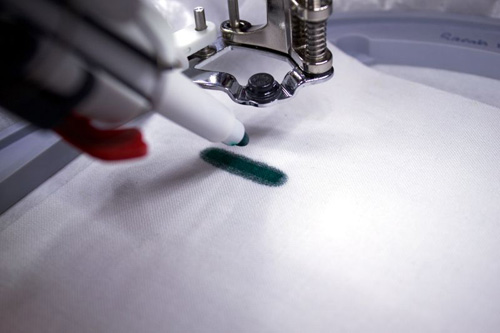
A lot of bleeding occurred using these pens for the first square.
And then for the Fill fill, the coverage was not very good at all.
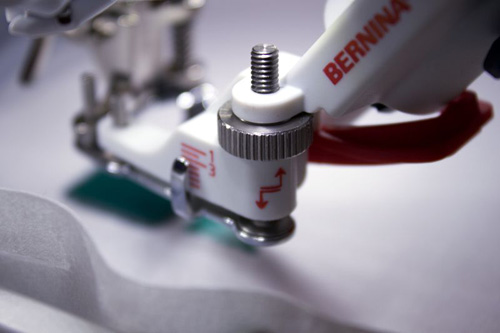
It’s easy to fine tune the height of the pen in the PaintWork Tool using the adjustment wheel on the left side of the tool.
In this case I lowered the pen slightly to provide more contact between the pen and the fabric, hence giving me better coverage.
As it happens, I’m not convinced that adjusting the pen height was such a good idea having seen the finished result. There was a lot of bleeding on the third row first square, on the first row second square and also on the ZigZag lines.
Faber Castell Color Burst Paint Pens
Despite the package saying the these pens have a “bullet nib,” I found them to have a very nice fine point to them!
There was not a single sign of bleeding while painting the first square, in contrast to the other two pen types, which both had a significant amount of bleeding while painting this same square.
Coverage continued to be good, with no bleeding.
These pens created the cleanest results so far.
Stained by Sharpie
It pays to really examine the package that pens come in to determine exactly what you are getting.
If a pen could have a beautiful tip on it, then these pens definitely do!
Coverage was good with no bleeding, and lines were nice and fine. I suspect that the lines would have been a lot thicker if the pen had been lower in the PaintWork Tool.
TUL Permanent Markers
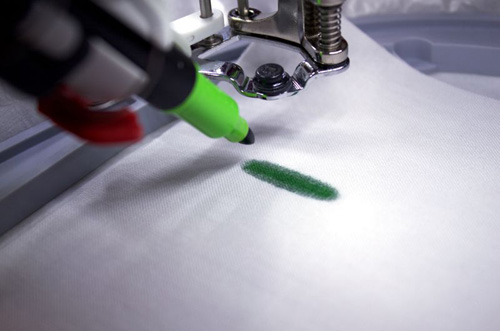
Of all the pens I tried, these were the only ones that are not specifically designed for painting on fabric. I think you will agree that this shows up in the results!
Lots of bleeding – and this is definitely not a “fine” pen in my way of thinking.
Lots and lots of bleeding. The moral of this particular trial is make sure that the pens you are using were designed for drawing and painting on fabric (unless of course you are using the PaintWork Tool to draw on something other than fabric – in which case a “regular” permanent marker may be a good choice).
How did the pens fare?
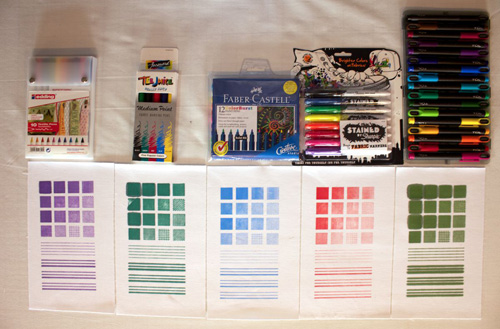
All of the pens picked up some “fuzz” from the fabric (which was STOF Quilter’s Solid White). The tips on the Faber Castell and Sharpie pens retained their points nicely.
The End Results
The Faber Castell and Stained By Sharpie pens gave the best results (in my opinion!) and would be my first choices, espeically if I needed to paint fine lines. The Edding 4600 pens also created good results – but with too much bleeding when the density of the fill is smaller than 1.0mm.
It seems to me that doing a test like this is a good plan before embarking on a new project, so I am happy to make this sampler available for you to use. Experiment with different types of fabric as your background, and also experiment with fine-tuning the height of the pen in the PaintWork Tool (using the cog dial on the left hand side of the tool) to create results that are to your liking.
Happy painting!
Sarah 🙂
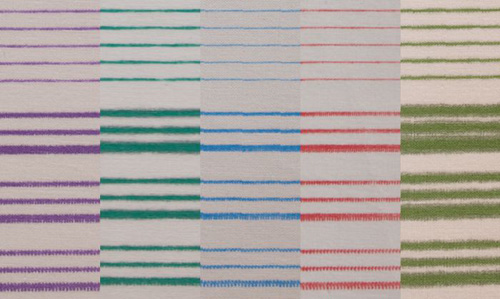
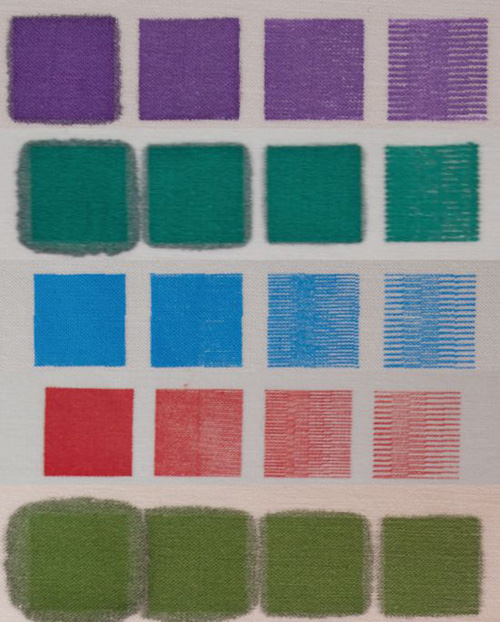
P.S. Thought you might like to see some closeups of the results for a better comparison.
Row 1: Zigzag fill
Row 2: Fill fill
Row 3: Row-fill fill
Row 4: Paint net fill
Lines
Click HERE to download Sarah’s PaintWork Sampler to try with your own markers.
What you might also like
3 comments on “PaintWork Sampler: How to Test Fabric Markers for PaintWork”
-
-
Thank you Sarah. This is a great sampler to start working with the Paint Work tool and software.
I really enjoyed your blog post a few years back about stipple fill using software. I learned a lot from that . Would like to see that appear on we all sew too. -
This is very helpful. Thank you! Purchased my 880 SE in December and am working through all of the tools.
Leave a Reply
You must be logged in to post a comment.







What a great idea, you have saved a lot of work for the rest of us.