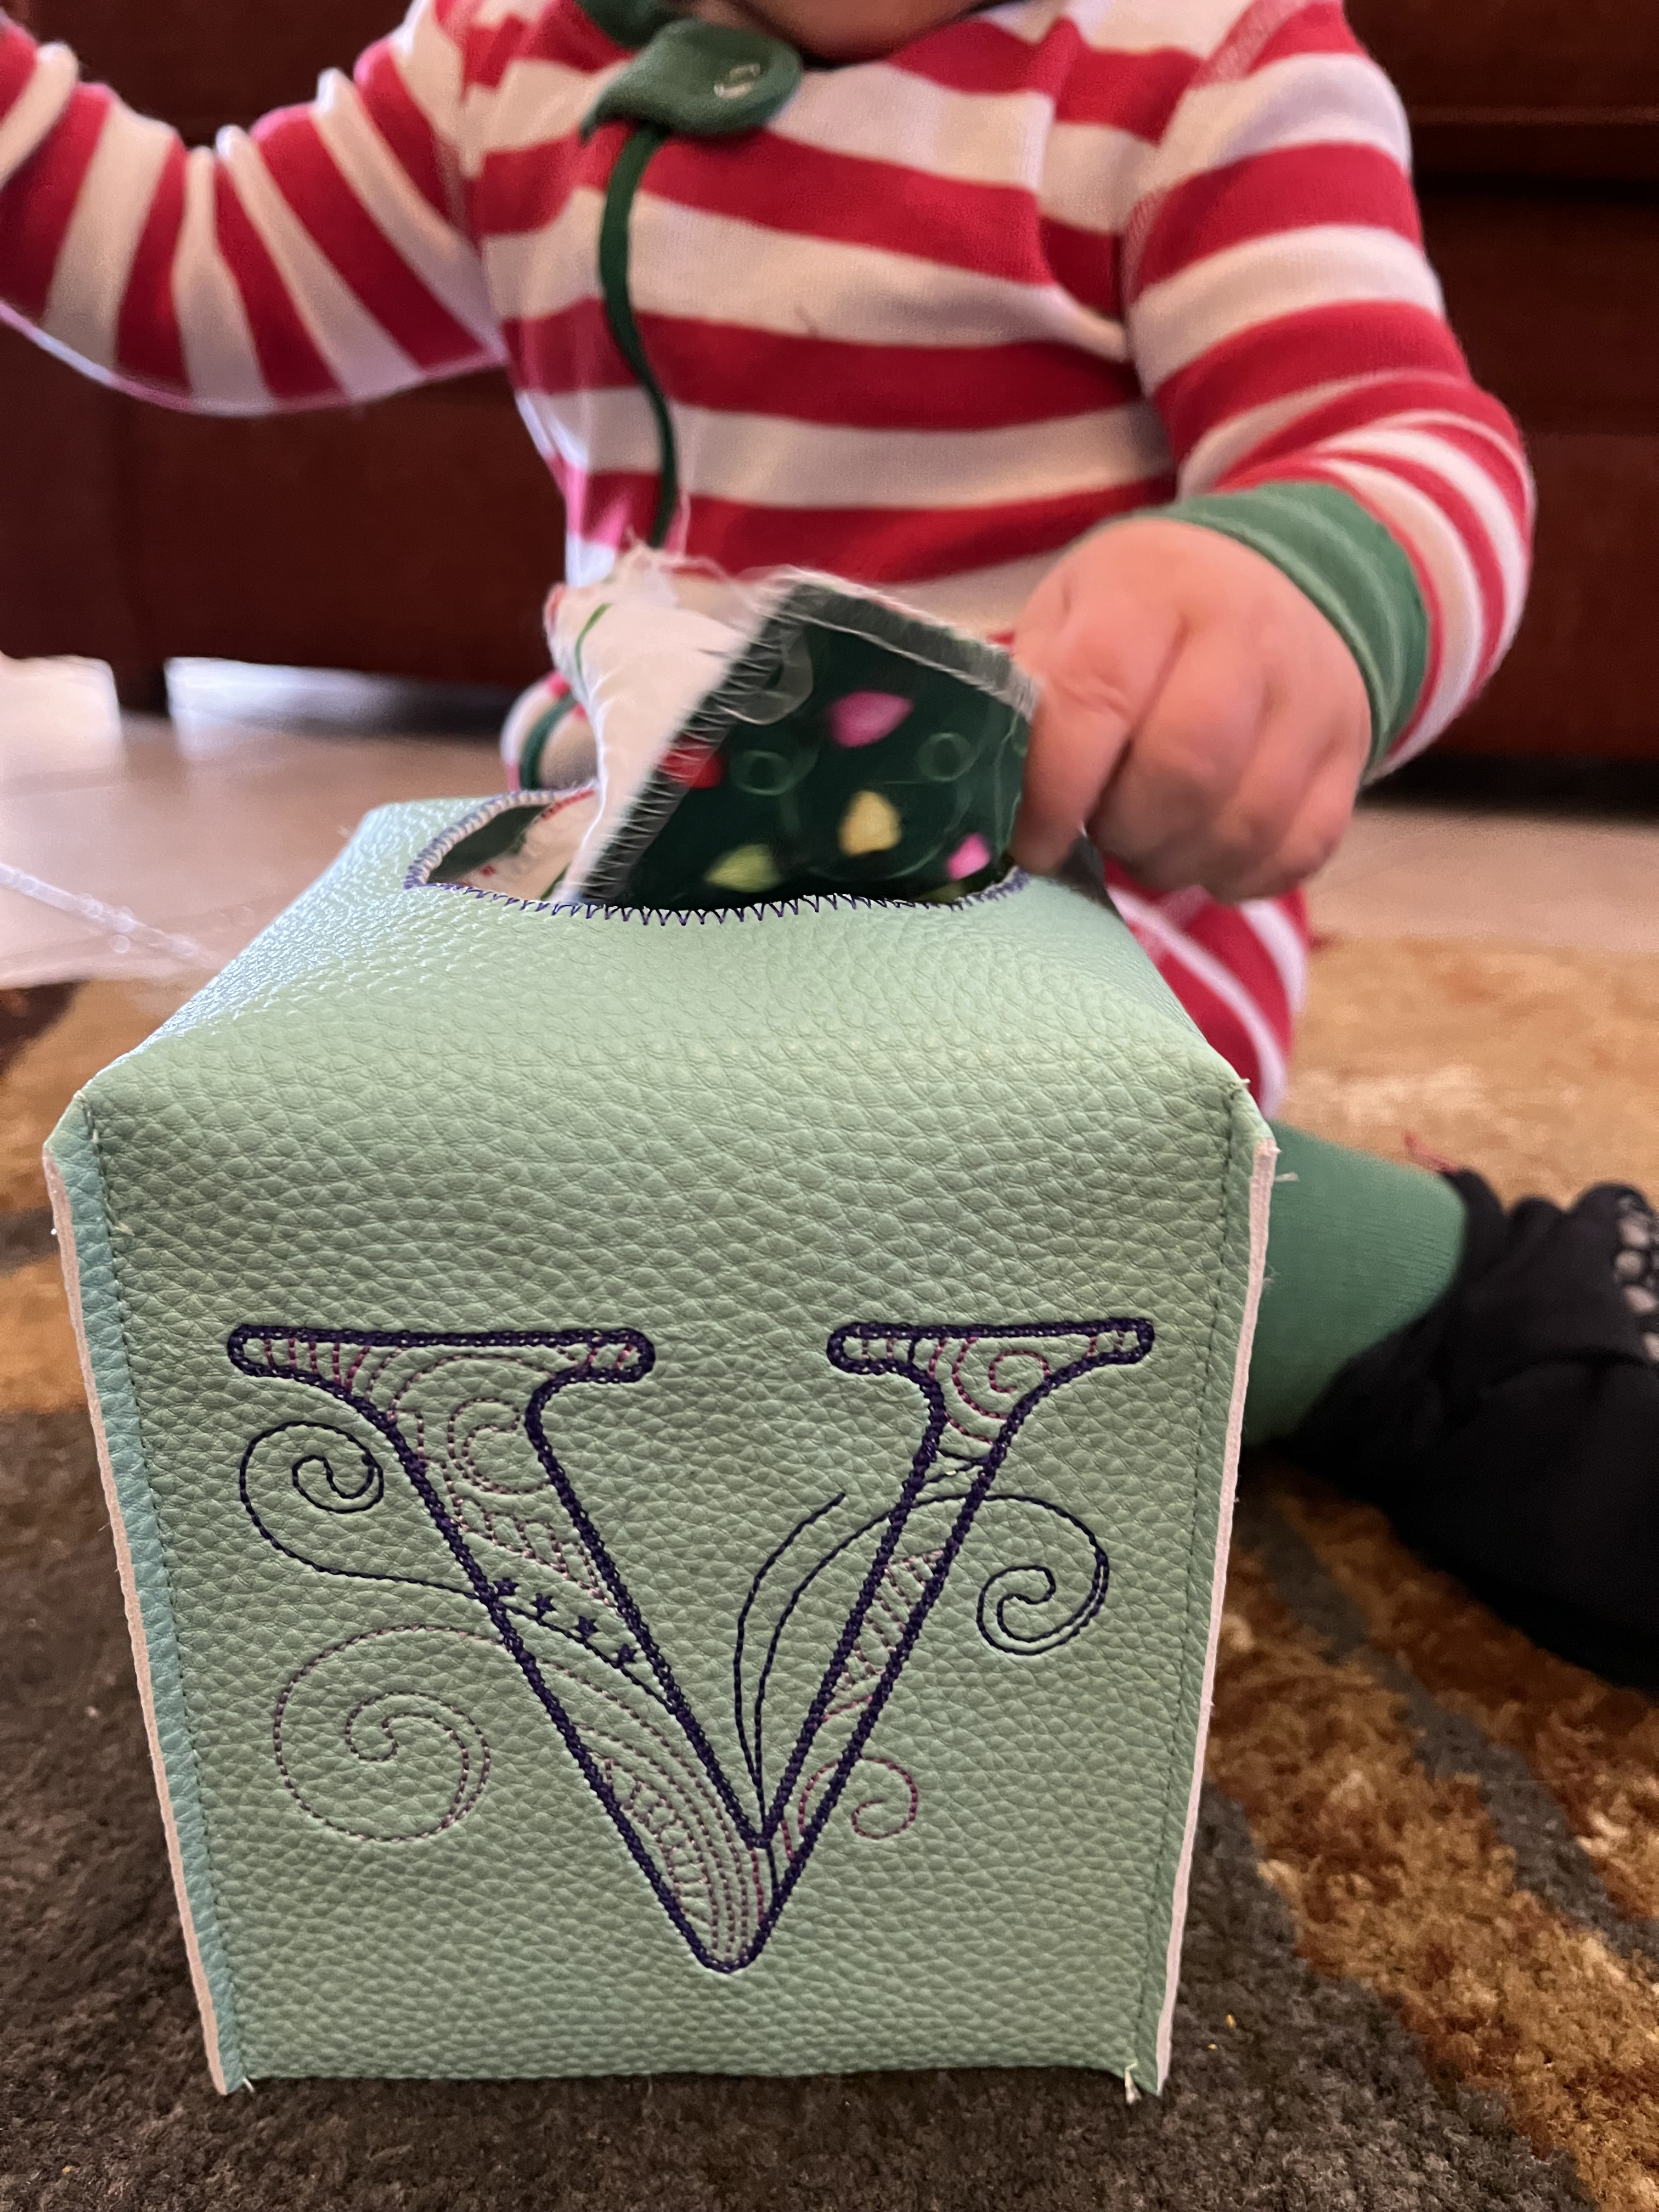
Sensory Box Toy for Baby, Part One

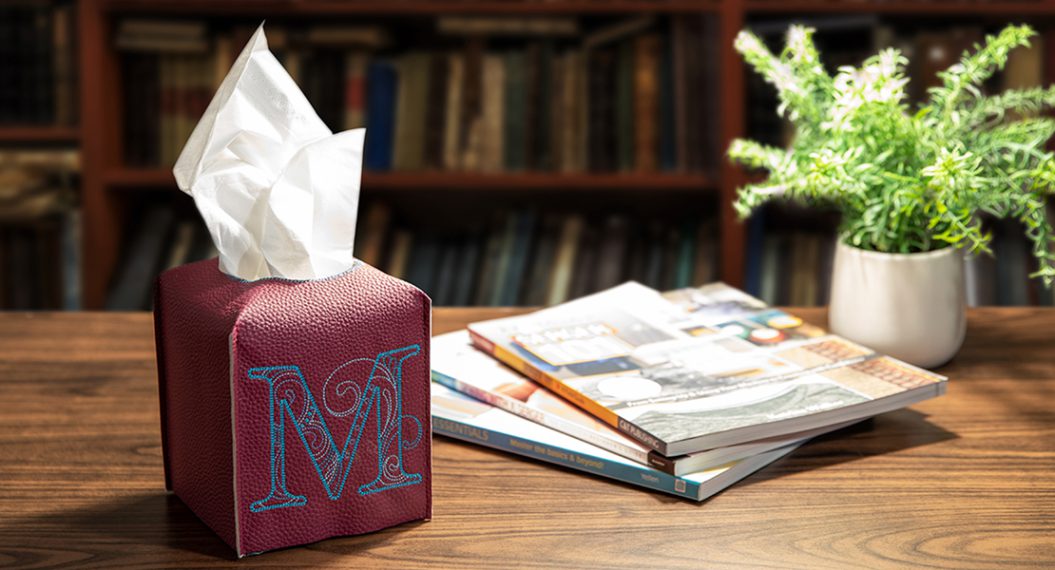
Babies love to empty containers. They even like to put things back inside! The idea for this project began when my daughter wanted to put assorted fabric squares into an empty tissue box for her baby to play with. I knew I could create something cuter and more personal than a cardboard box for my sweet granddaughter! Let me show you how I did it so you can make one, too. (PS I made a second one just for me to cover a tissue box at my desk!)
This is a two-part post. Part One (this one) will cover making the pattern, setting up the embroidery design, and digitizing a CutWork line. Part Two will put it all together. All the supplies for both parts are listed below.
Materials for Making the Sensory Box Toy
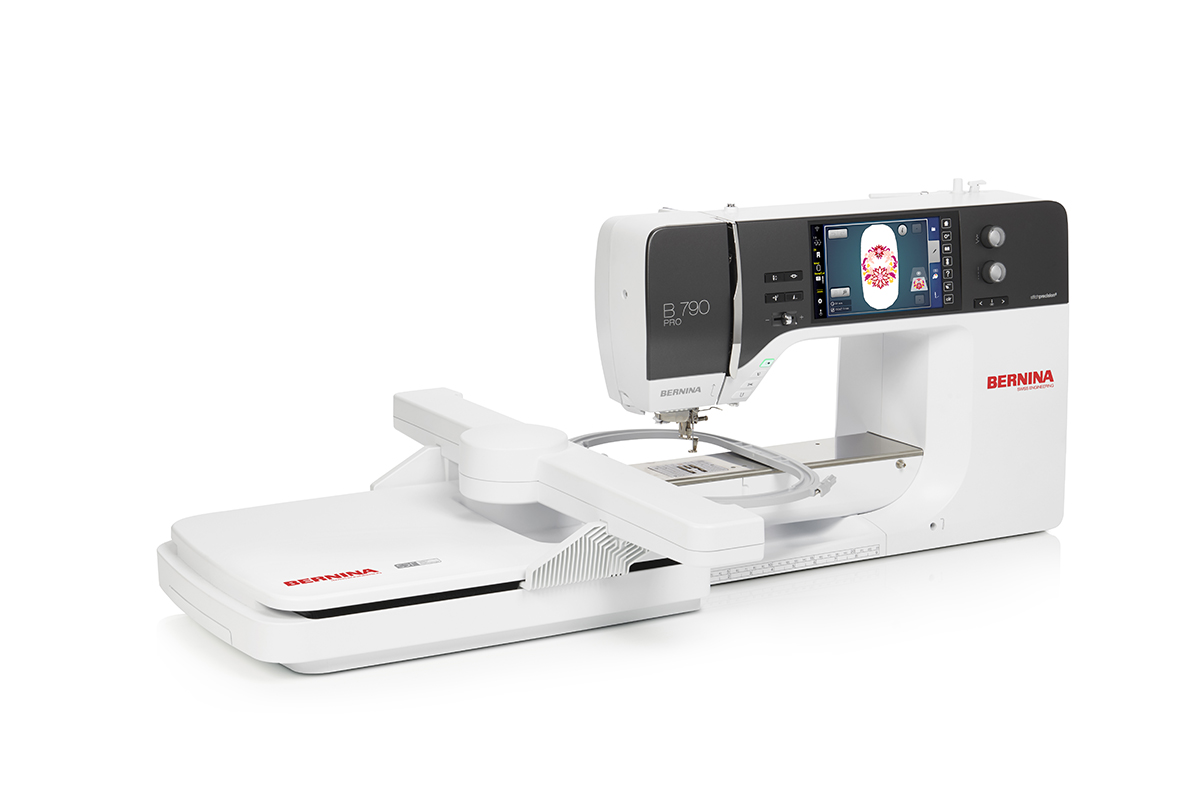
- Sewing and Embroidery Machine (I used the BERNINA 790 PRO)
- Overlocker (I used the BERNINA L 460 Overlocker)
- BERNINA Embroidery Software 9 DesignerPlus or Creator*
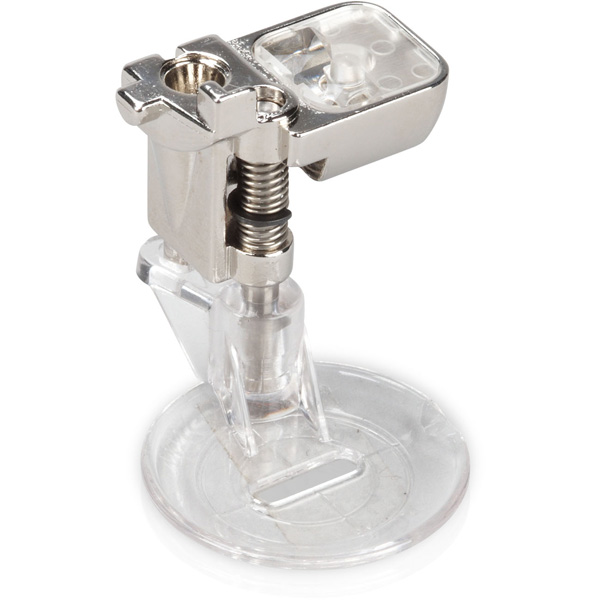
- Drop-shaped Embroidery Foot #26
- BERNINA CutWork Tool and Echo Quilting and CutWork Foot #44C
- Straight Stitch Foot with Non-stick Sole #53
- Large Oval BERNINA Embroidery Hoop
- Vinyl – 1/2 yard (Note: I used 0.8 mm thick vinyl with a fabric-like backing and a faux leather look)
- Assorted 5″ fabric squares (choose as many different colors and textures as you like)
- Pattern tracing paper, such as Pellon Easy Pattern 830
- Pellon Shape-Flex Fusible Interfacing – 1/2 yard
- Empty cube-shaped tissue box
- OESD StabilStick TearAway Stabilizer
- OESD AquaMesh Plus WashAway Stabilizer
- OESD Expert Embroidery TearAway Tape
- An alphabet embroidery collection light in stitch count and not too dense (I used the Scrollwork Alphabet #12511 embroidery collection from OESD)
- Isacord embroidery thread
- Sewing thread to match vinyl
- Serger thread to overcast edges of fabric squares (I used Seracor white)
- Crinkle material
- Basic sewing, embroidery, and serging supplies
*NOTE: Software is required if you are going to use the CutWork Tool. Otherwise, it is optional.
Step 1: Make the Pattern
A cube-shaped tissue box is the base and gives stability to the toy. Measure one side of the box. Mine is 5″ tall and 4 1/2″ wide. That’s probably fairly standard, but measure yours to make sure. The seam allowances are 1/4″ on the vertical sides, so add that to the side measurements, resulting in a new measurement of 5″ wide.
Before committing to cutting the vinyl, I recommend making a test from pattern tracing paper. Then you can place it around your tissue box to make sure your measurements are correct.
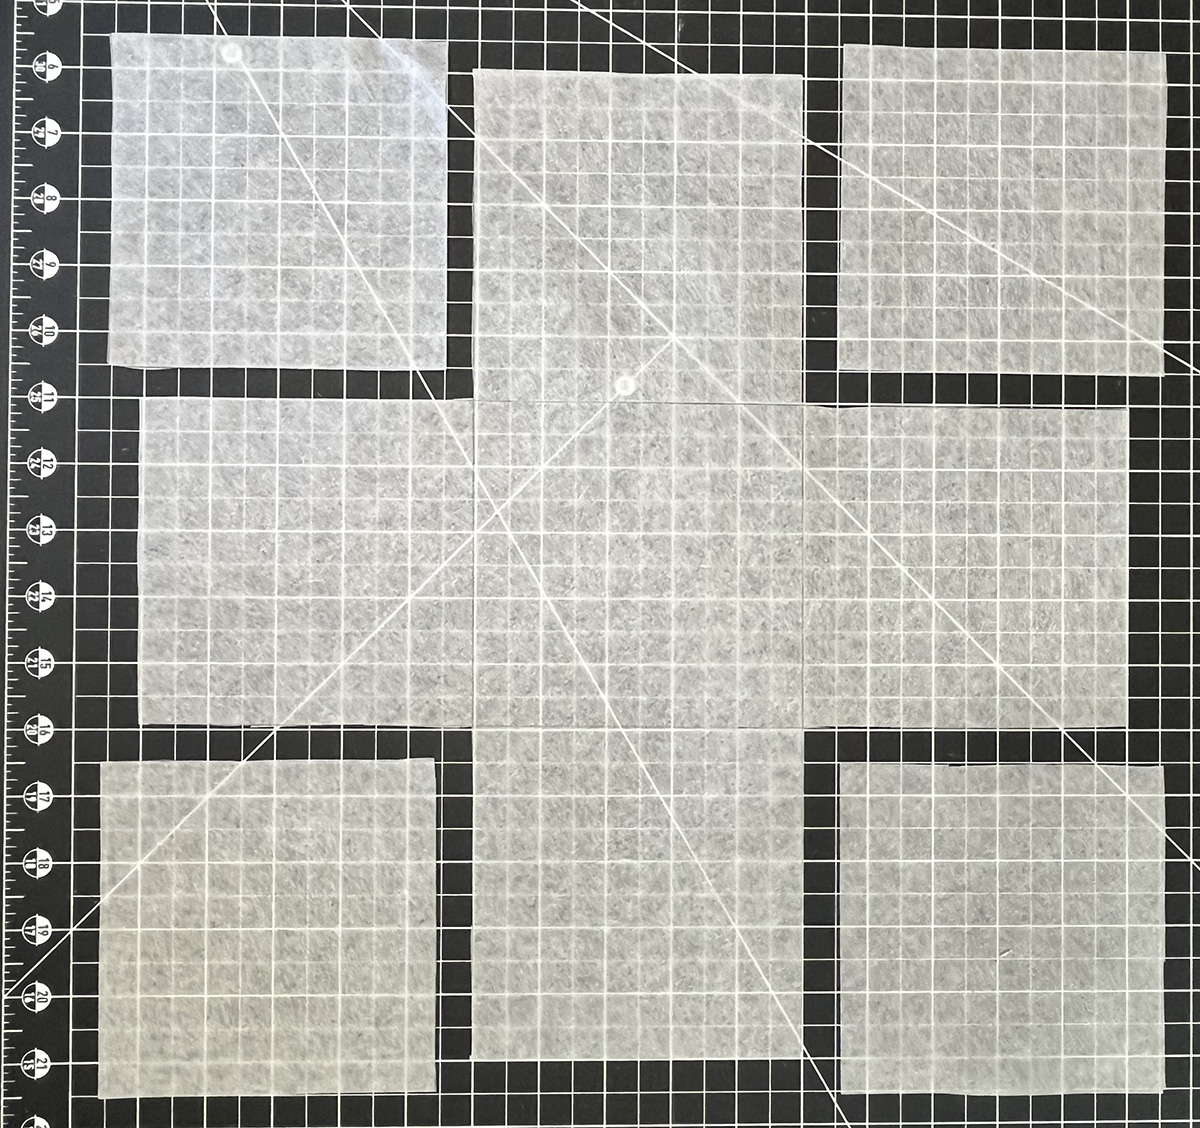
For my box, I cut a 15″ square. This is equal to the height x 3 (5 x 3=15″) and the width x 3 (5 x 3=15″), including the seam allowances. Draw a 3 x 3 grid with each square measuring 5″ for a total of 9 squares. Cut out the four corners so that your pattern looks like a large “plus”.
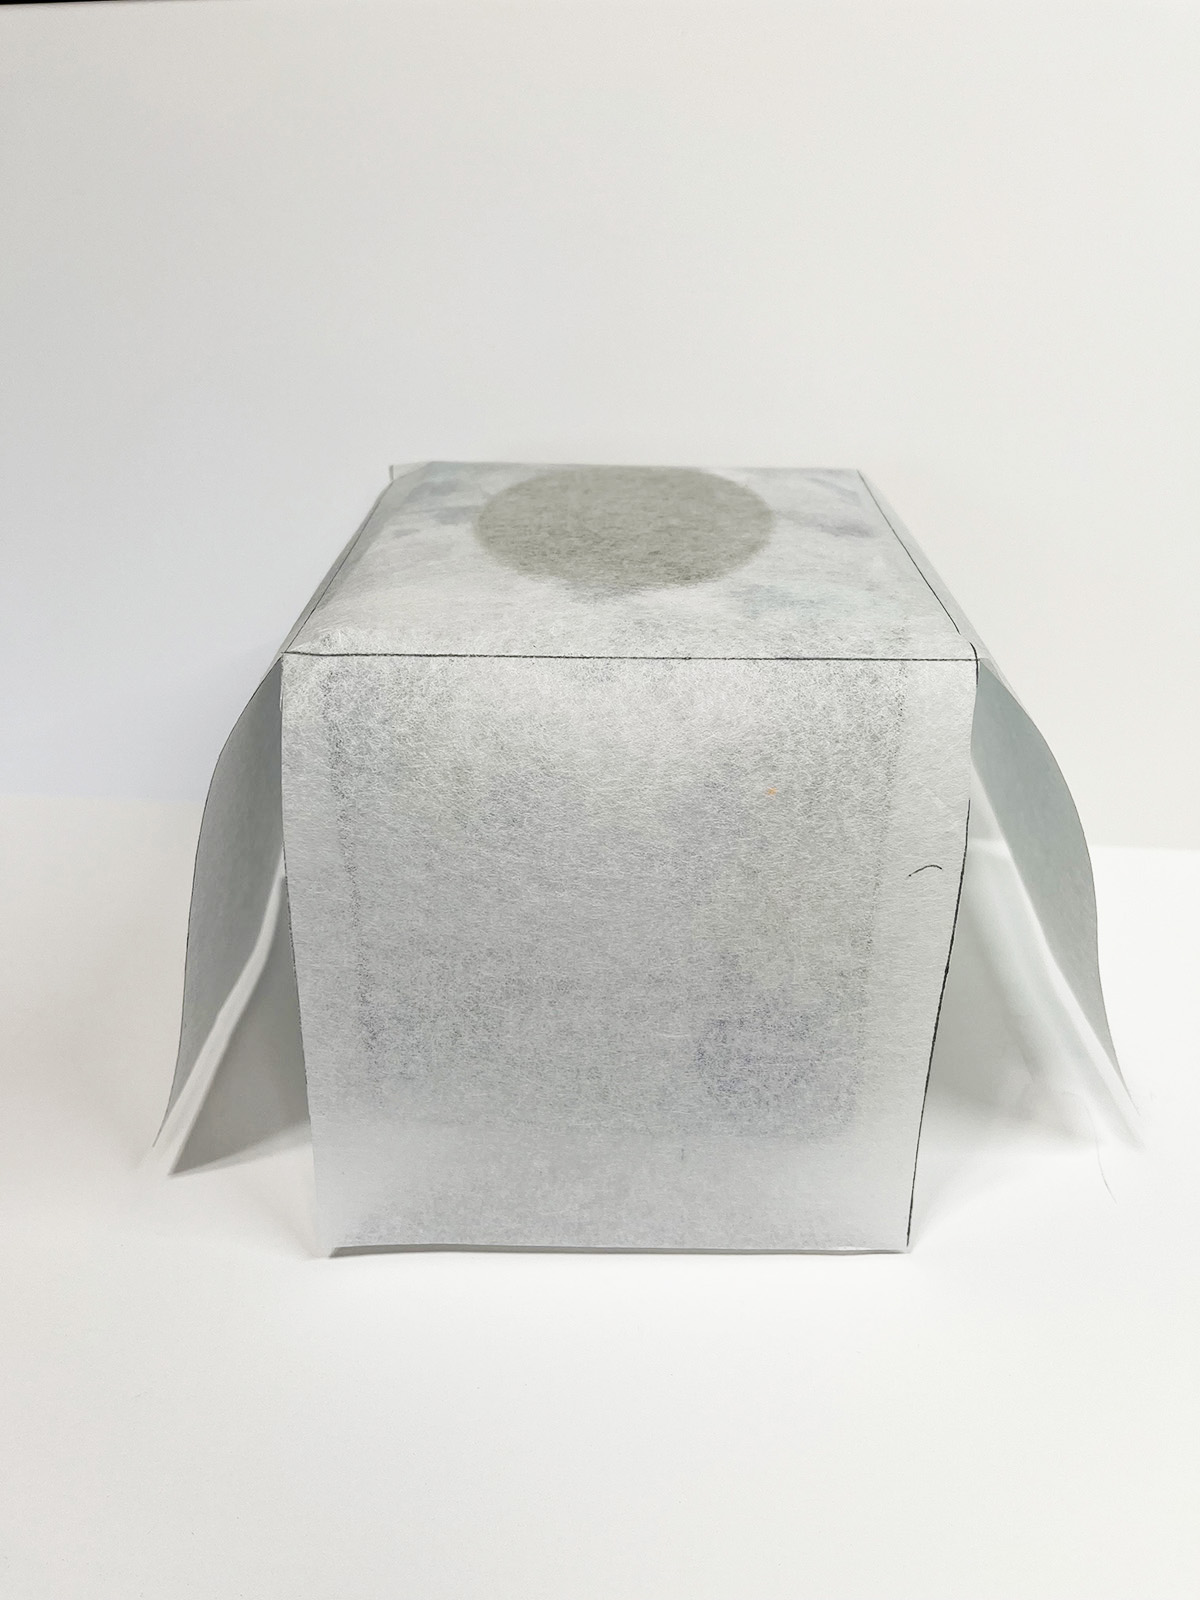
Wrap the pattern around your tissue box to check your measurements.
Set the pattern aside.
Step 2: Embroidery Preparation
Software is required if you are going to use the CutWork Tool. You can use either BERNINA V9 DesignerPlus or V9 Creator. My pictures show DesignerPlus. A benefit of software is the ability to change the background color so that you can visualize how the thread colors will look on your project before you start stitching. Let’s begin with that.
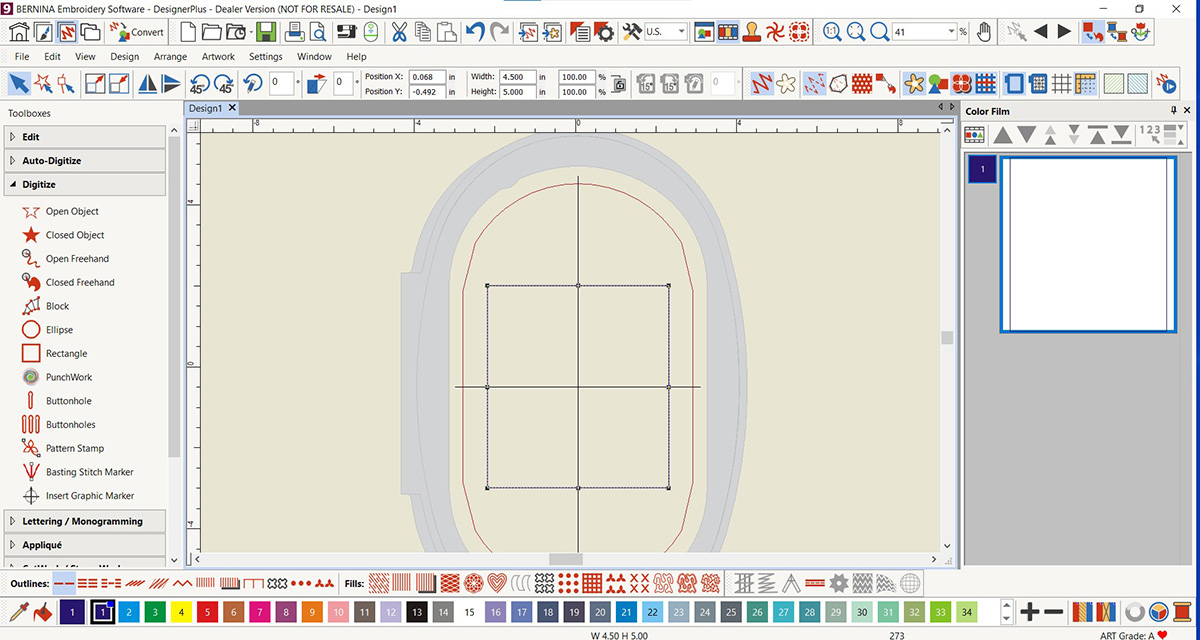
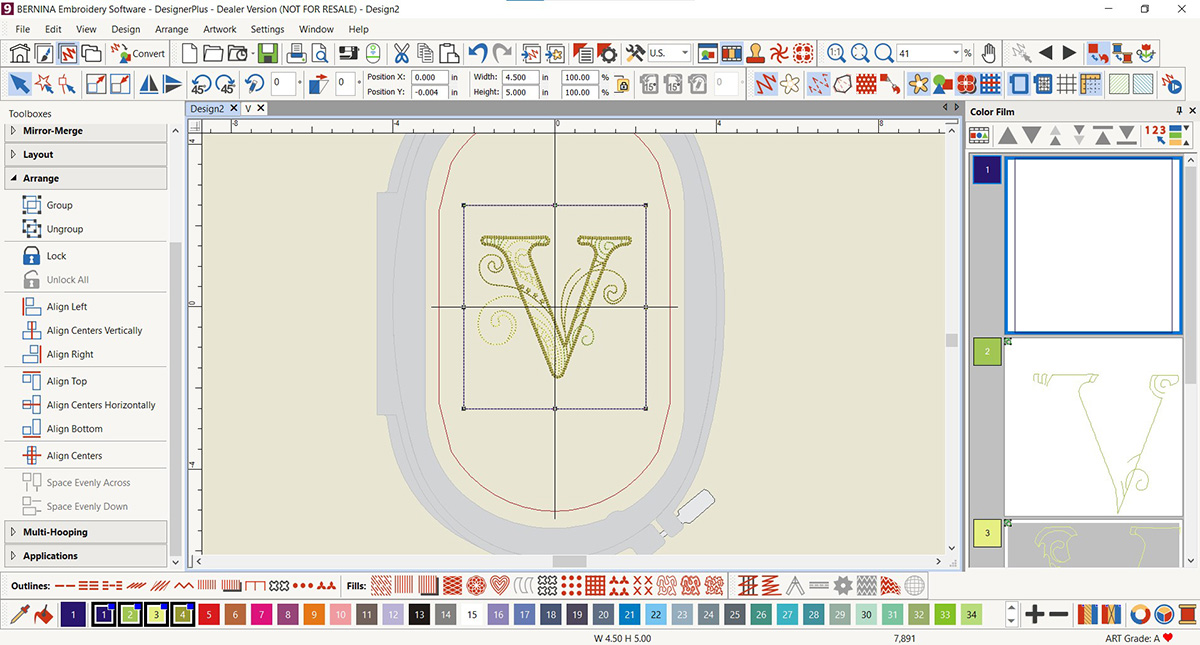
Open a new blank design. Activate the Large Oval Hoop. Digitize a rectangle 5″ tall and 4 1/2″ wide, the finished size of a box side (use your measurements if different).
Insert the desired letter. Group the letter elements and center the letter in the rectangle. Adjust the size as desired. Allow at least 1″ of space all around. My “V” is 3 1/2″ tall.
On the upper left of the screen, select “Design”. From the drop-down menu, choose “Background and Display Colors”. Select a color that matches the color of your vinyl to show inside the hoop. Click “OK”.

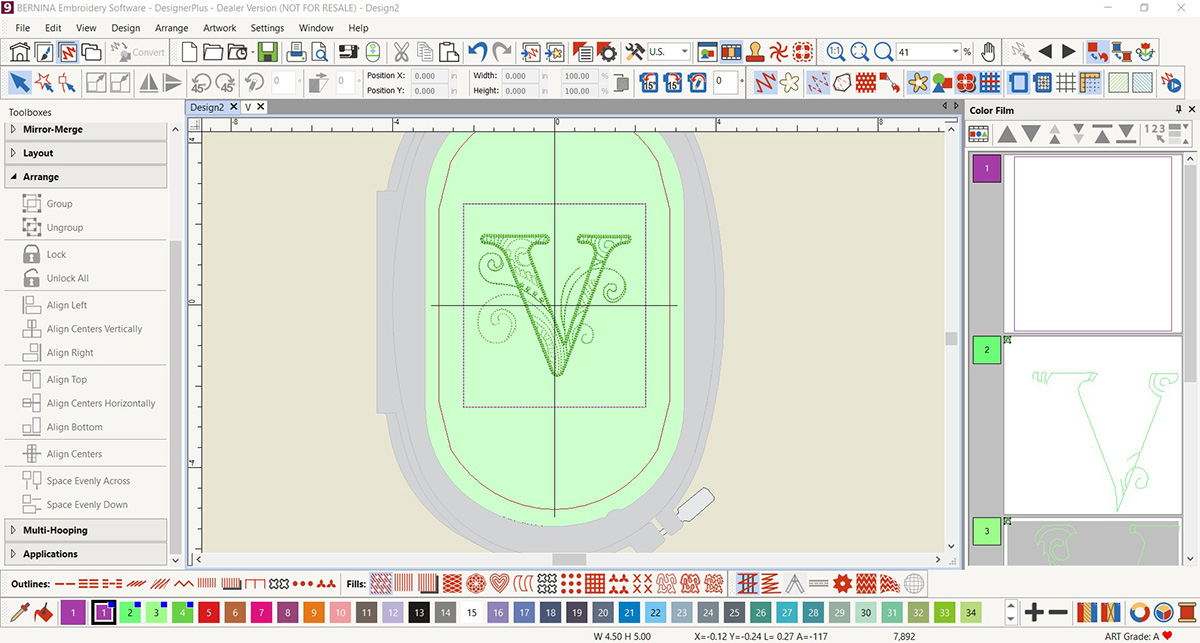
The next step is to change the colors. Software gives you multiple color-play options. Plus, you can see how the colors look on your new background color.
Right-click on the Color Wheel icon in the lower right of your screen. Here is how my letter started.

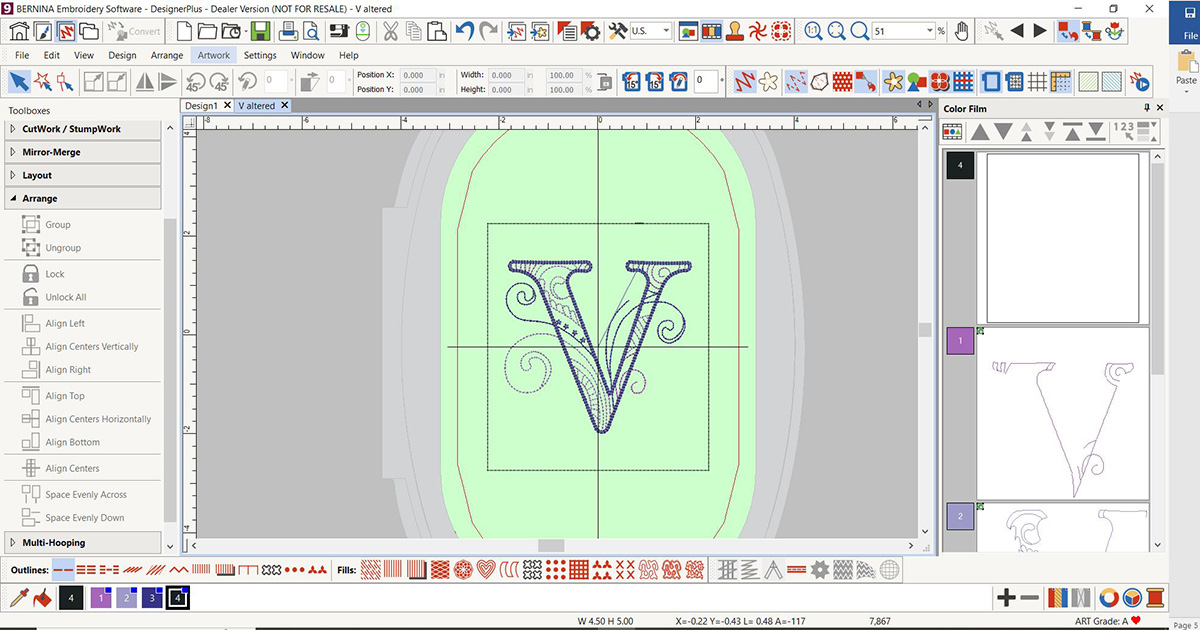
In this dialog box, you can change the color scheme and adjust the brightness. Move the small circles around inside the colored circle for more variations. You will see the changes in the box on the right. There are no wrong choices … play until you have something you like! Here is how mine ended up.
Save the design with a unique name to avoid saving over the original.
Step 3: CutWork Preparation
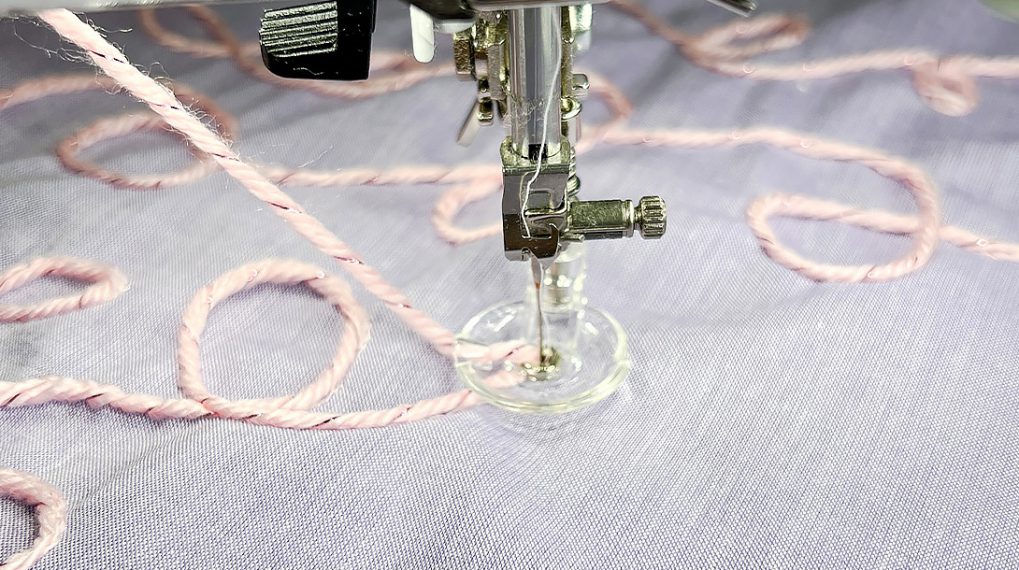
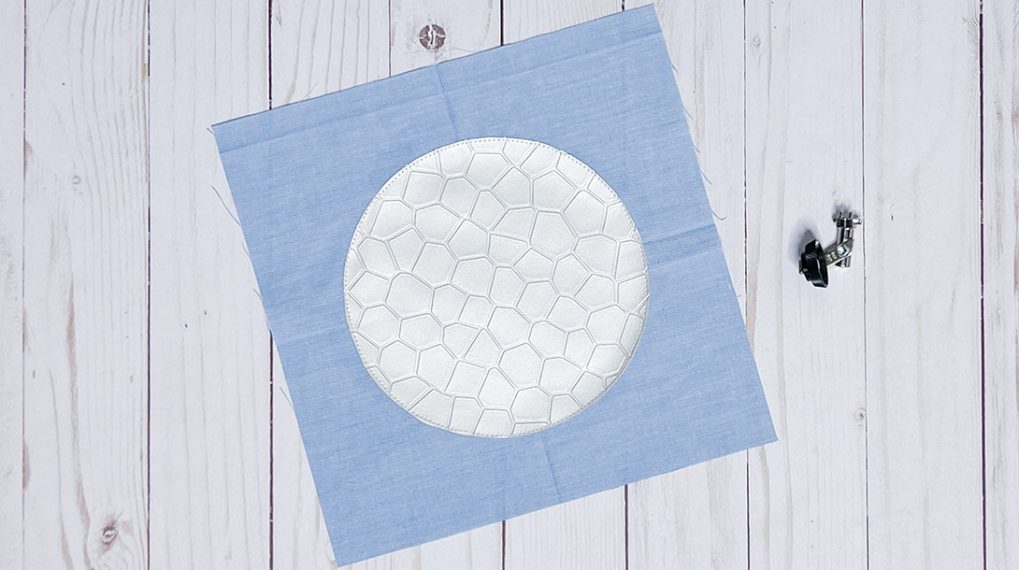
Now let’s work on digitizing the CutWork circle for the top of the box. This is optional. You can cut the circle with scissors and sew around the opening or you can do this with the embroidery machine. I did it both ways and found that I liked the neatness of the cut lines using the CutWork Tool and the convenience of letting the embroidery machine do the stitching. It’s easy to do, so let’s get started.
Open a new blank design. Digitize a circle using a single outline stitch. Resize to 3″ in diameter.
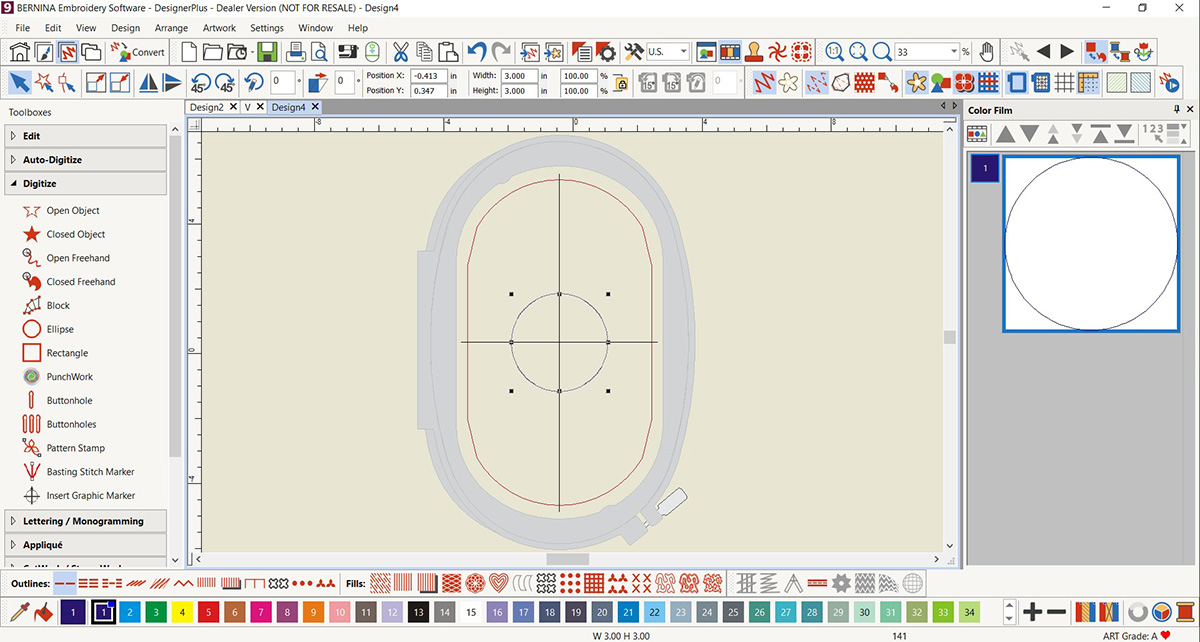
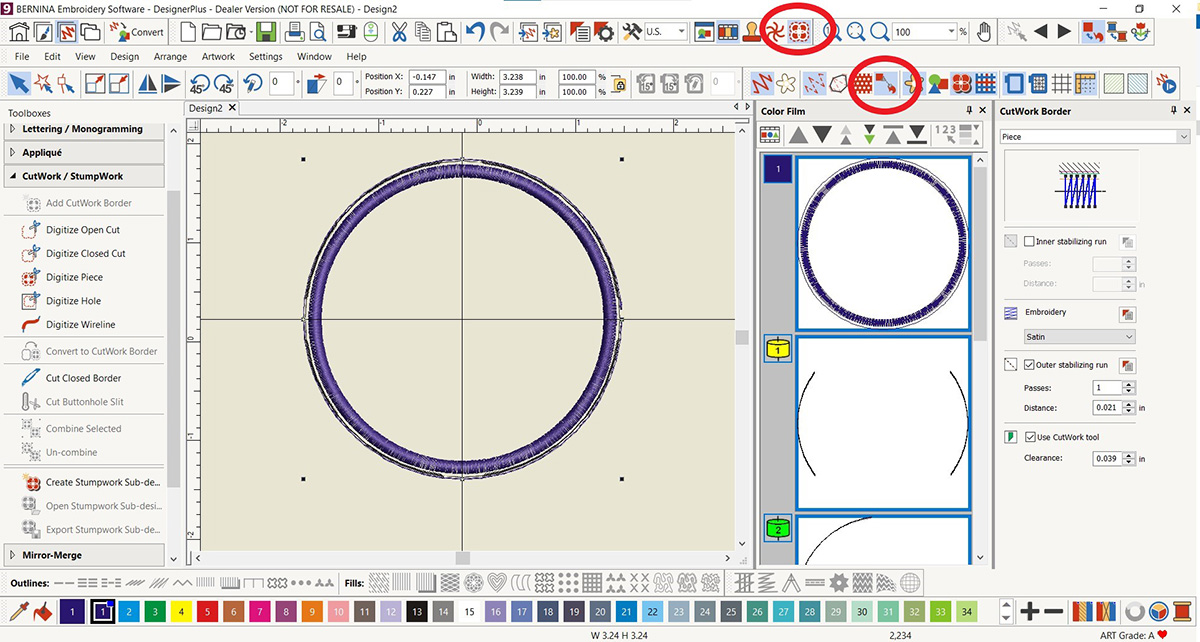
In the CutWork/StumpWork Toolbox, select “Convert to CutWork Border”.

The design should now look like this. Make sure the CutWork Border docker is open. To see the cutting lines in the design, select “Show Connectors”.
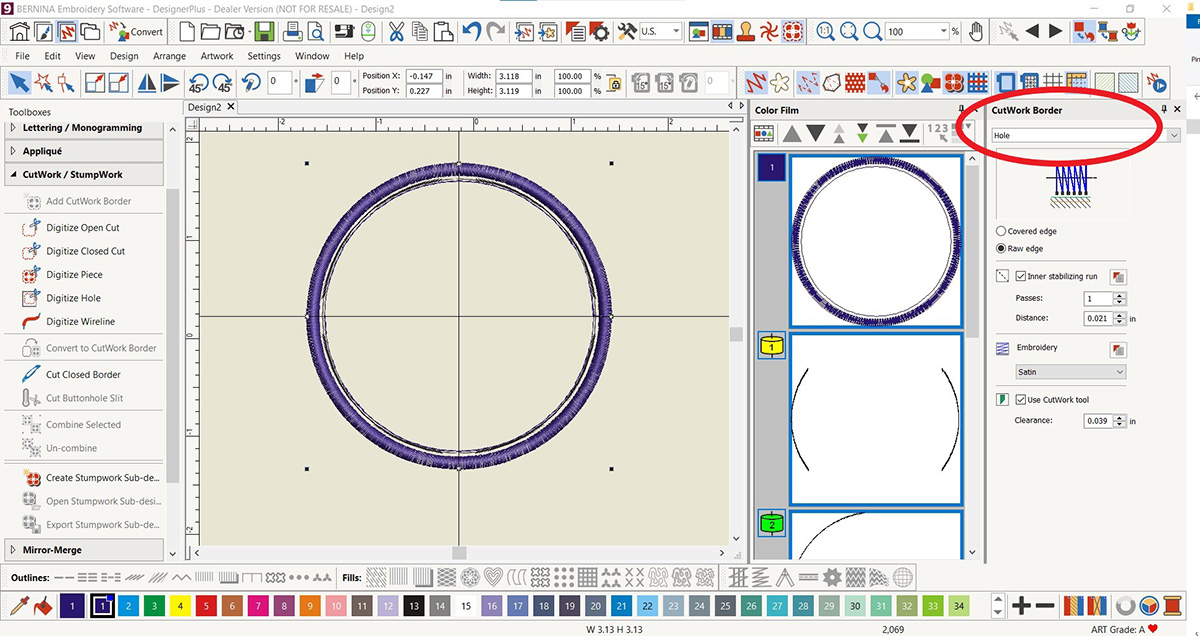
In the CutWork Border docker, select “Hole” in the upper drop-down menu box.
In the CutWork Border docker, select “Covered edge”. Deselect “Outer stabilizing run”, “Tack-down run”, and “Net fill”.
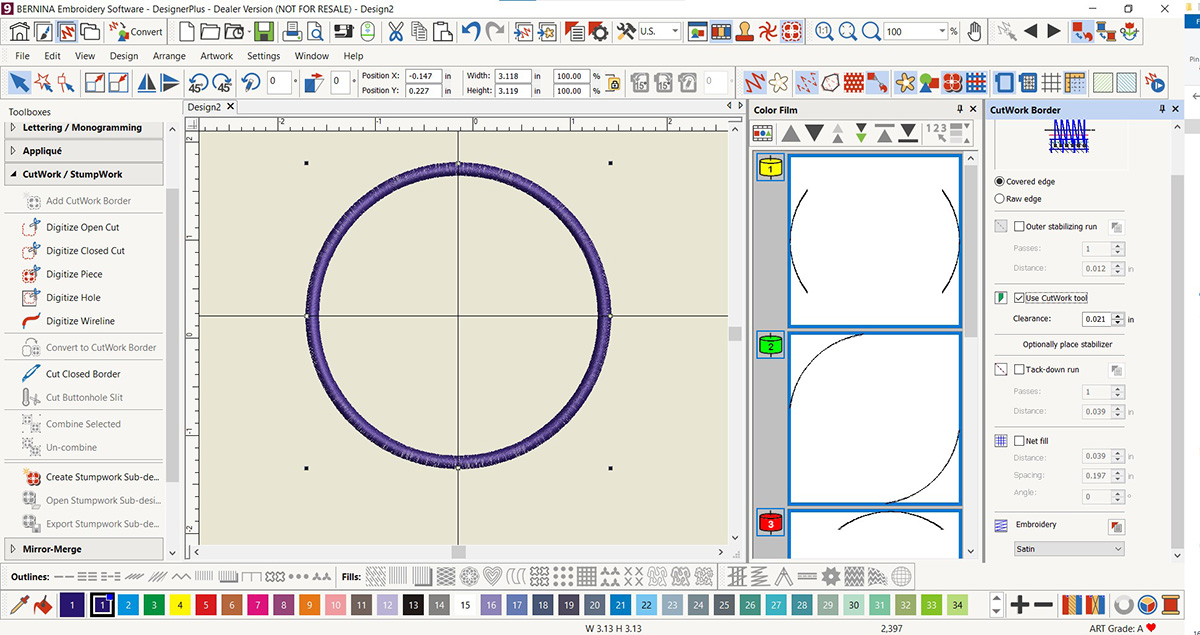
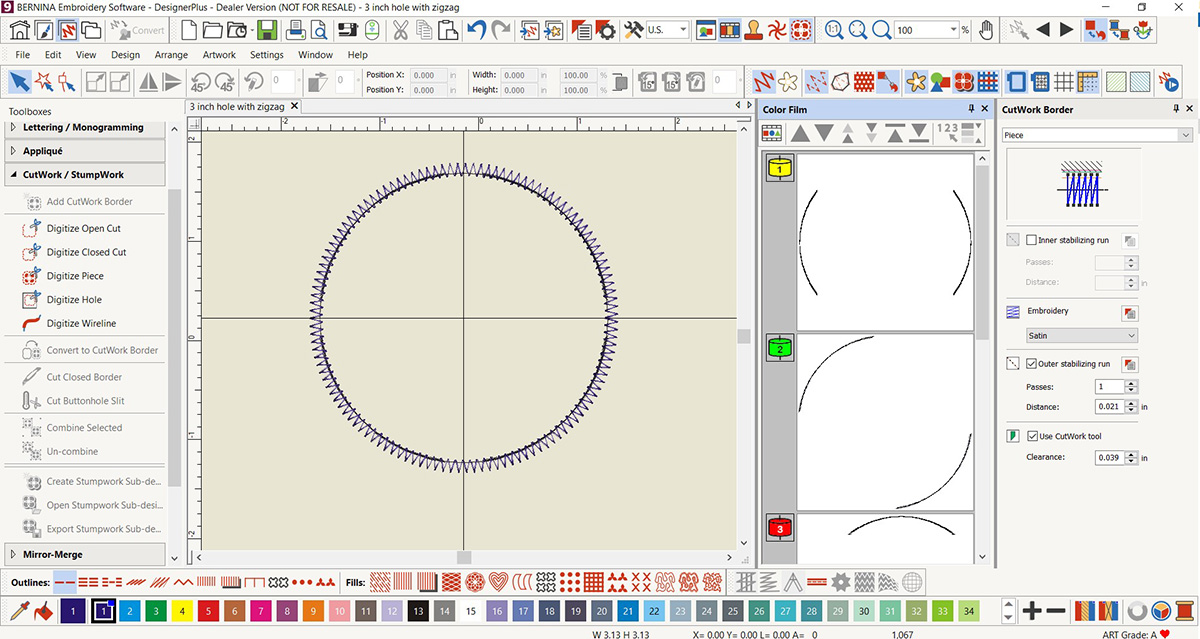
Change “Embroidery” to Zigzag. Open Object Properties.

Open “Effects” and deselect “Underlay” to remove it. Click “OK”.
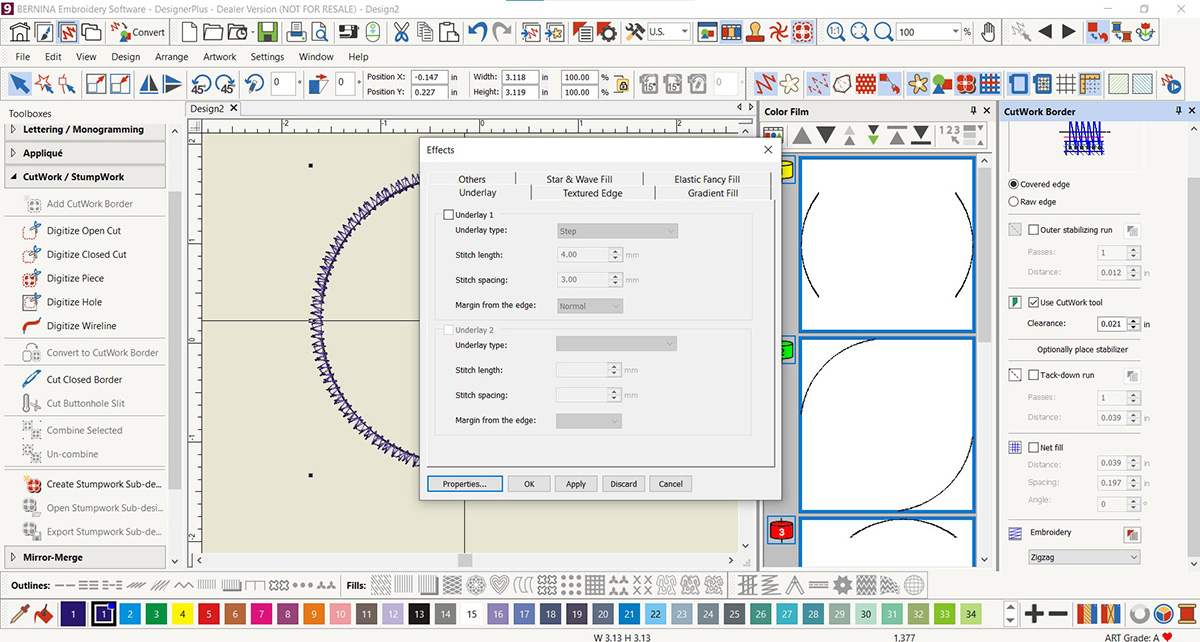
Your design should now look like this. Save as “3 inch hole with zigzag”.
Your pattern is ready, and you have prepped your embroidery and CutWork designs. I’ll see you next time when we stitch everything together!