Square in a Square Zipper Bag
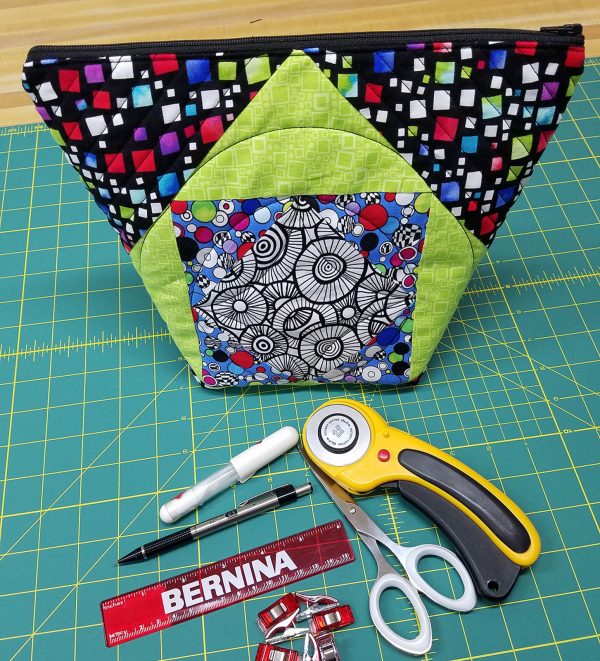
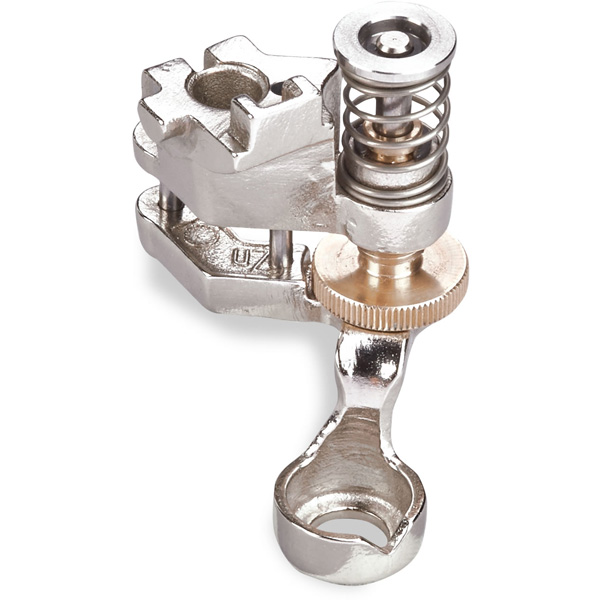
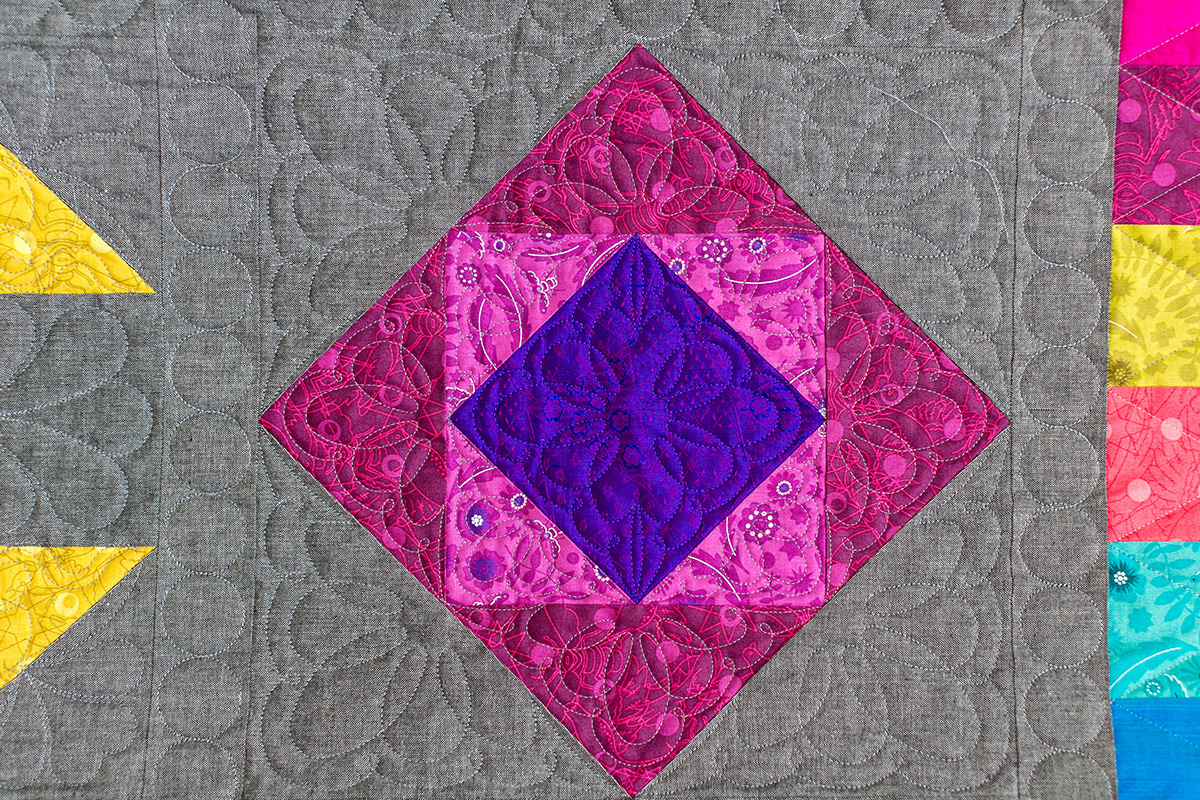
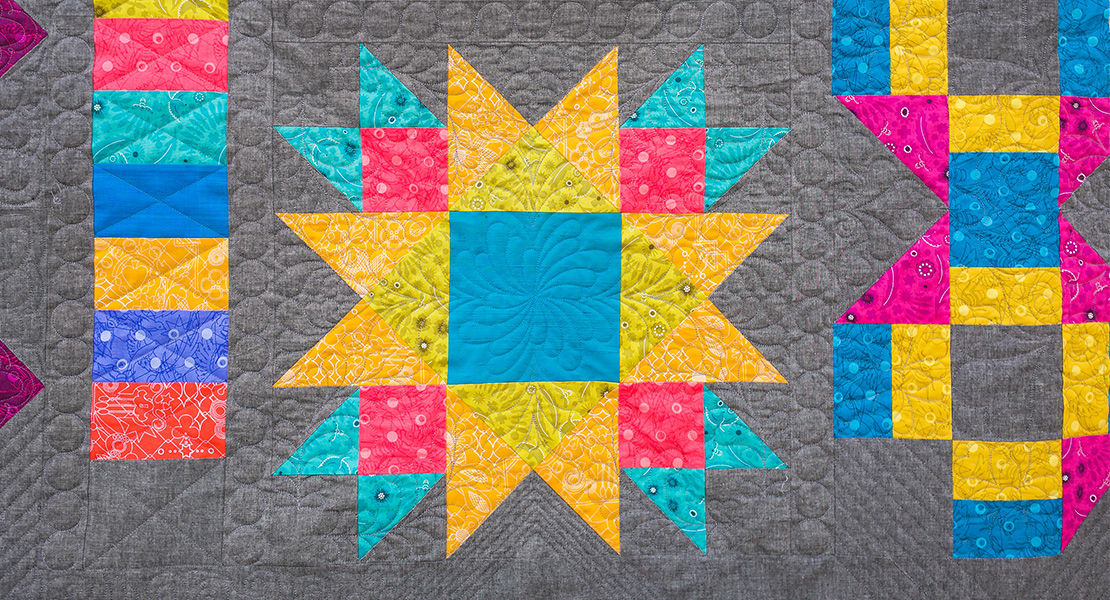
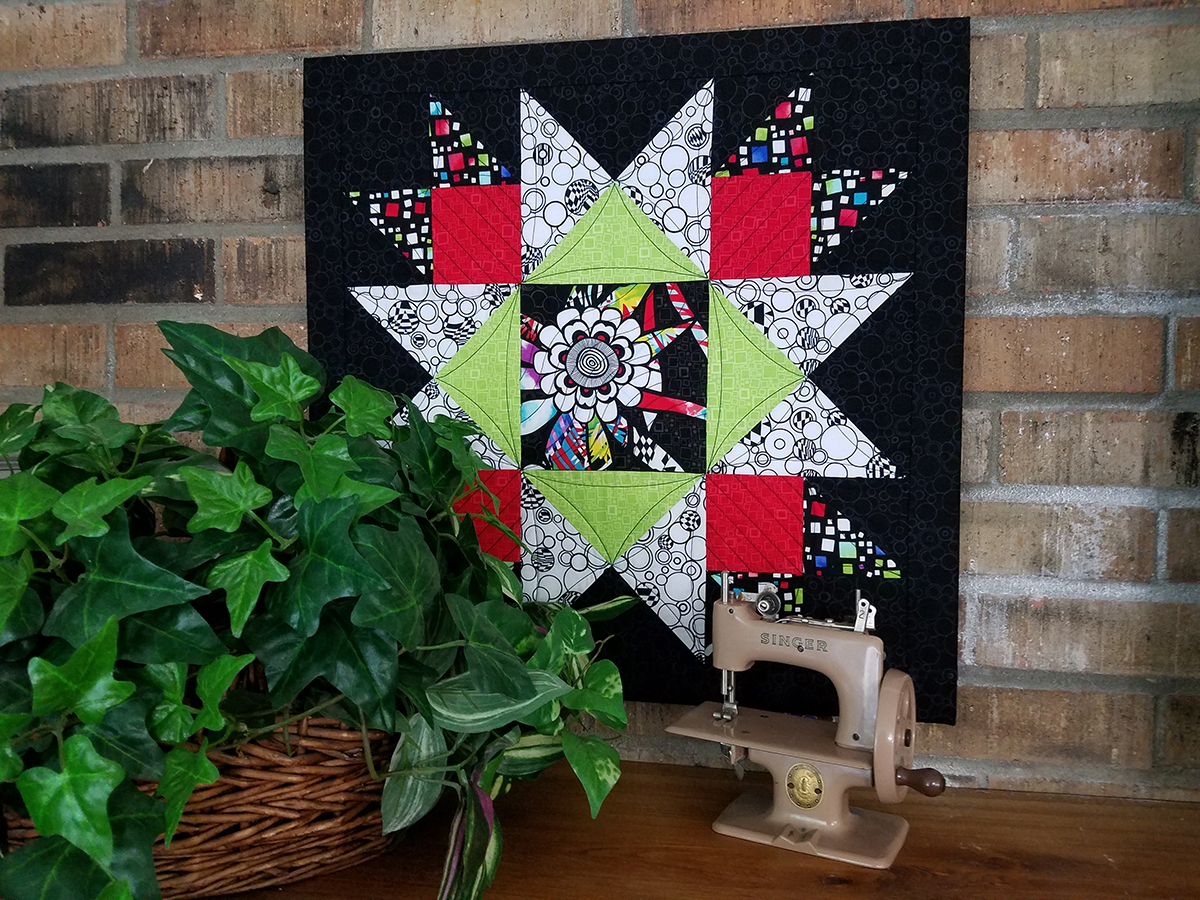
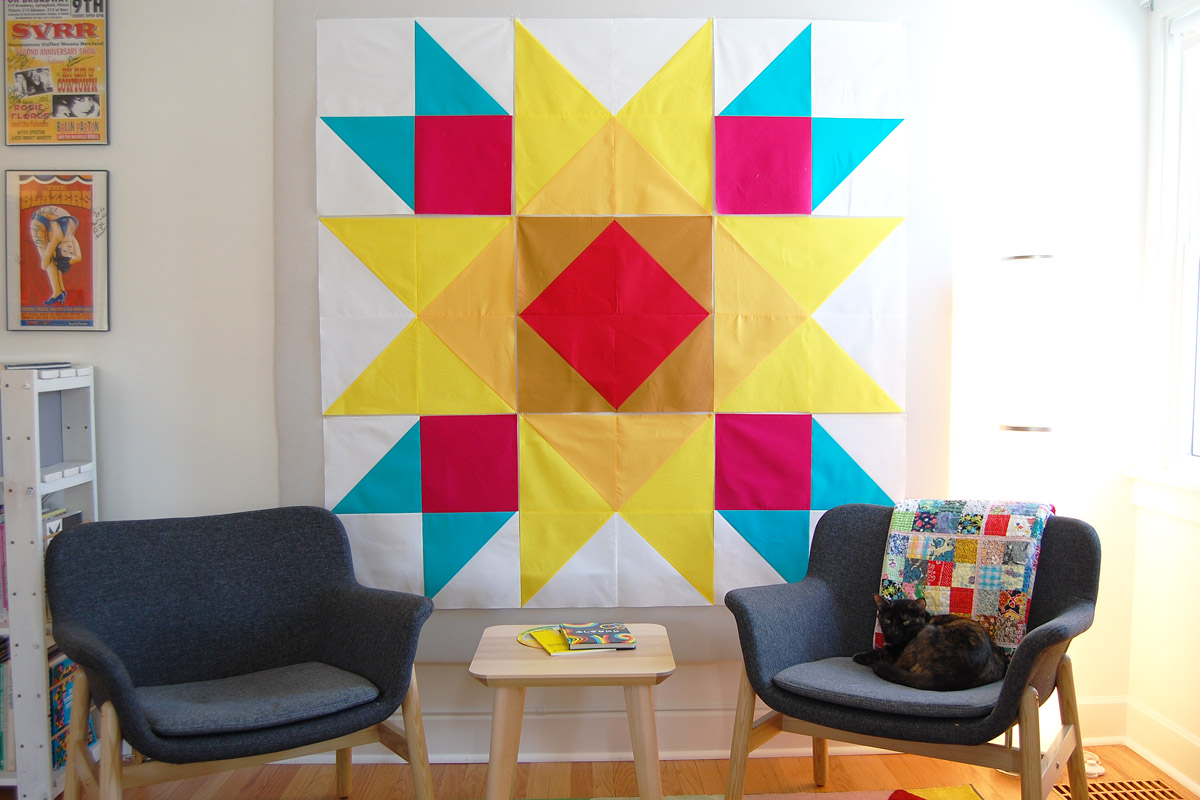
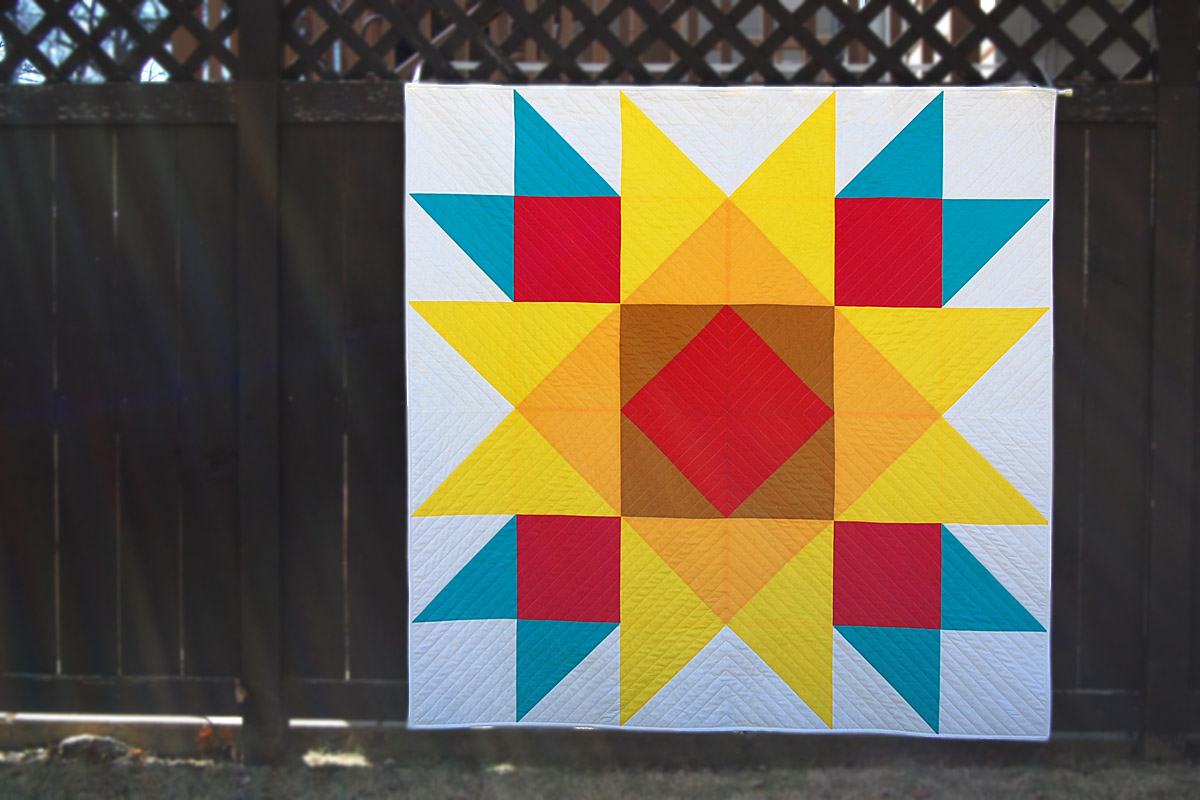
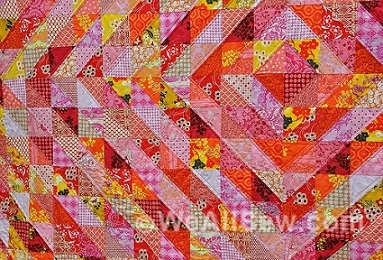
I hope you are enjoying the BERNINA Block Party as much as I am! Block 3, Square in a Square is not only a fun block to stitch, but it is the perfect block for this month’s project. You will need to create two Square in a Square blocks to make this unique Zipper Bag. Using BERNINA’s new Ruler Foot #72 for quilting the layers together makes the project even more fun!
Supplies to Create a Square in a Square Zipper Bag
Four of your favorite fat quarters (I used the Anything Goes fabric collection by Benartex Fabric)
16 inch zipper with nylon teeth to match or coordinate with your fabric
Batting: Cut 15” x 27”
Backing fabric: Cut 16” x 28”
Creating the Zipper Bag
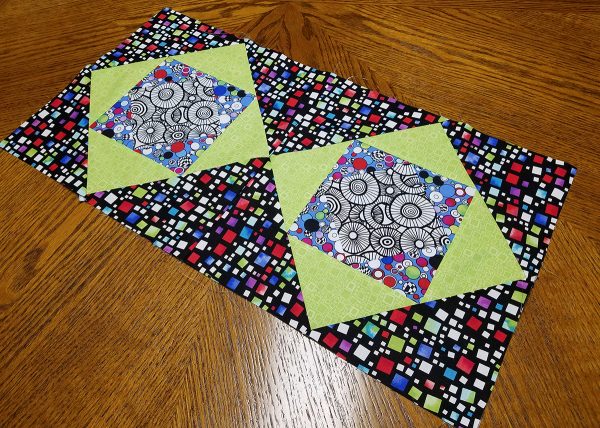
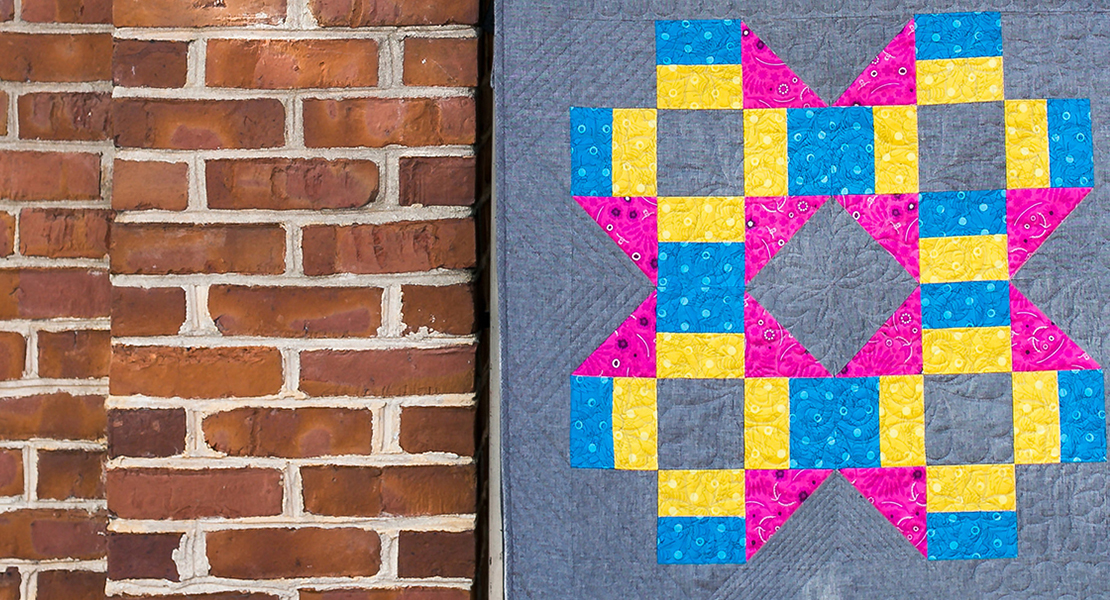
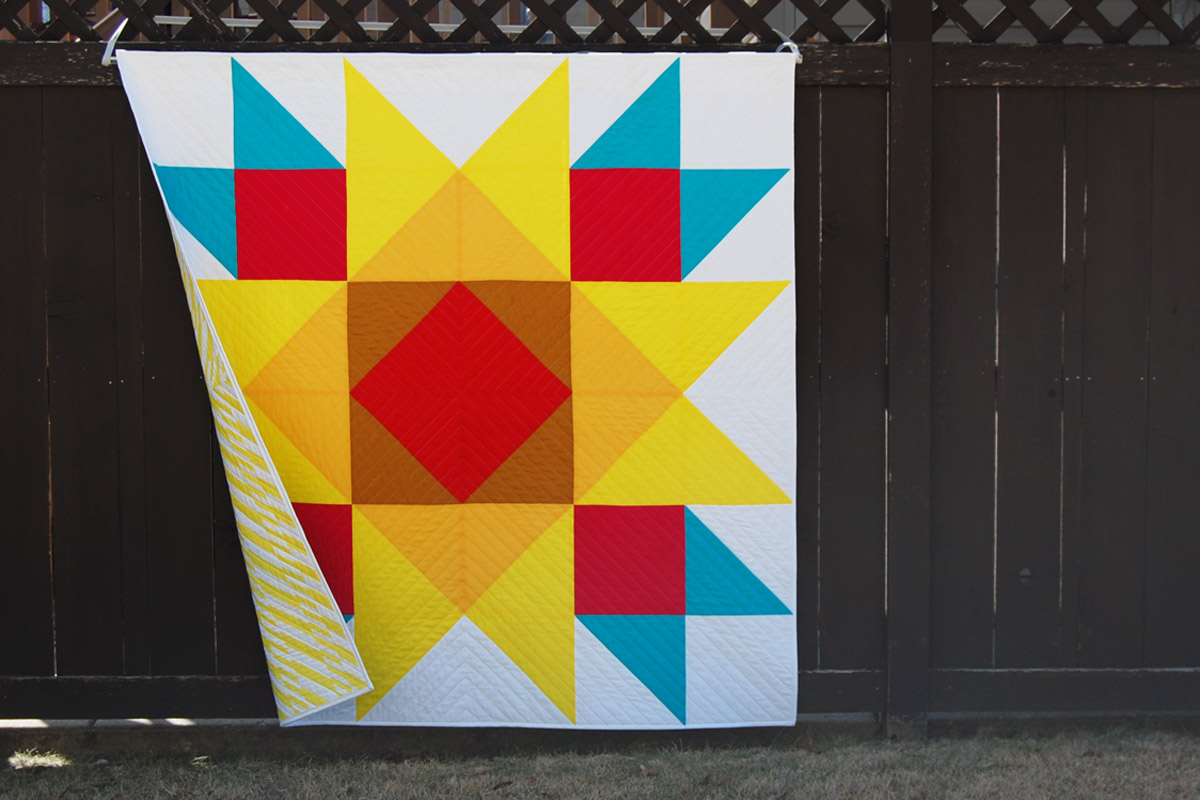
Create two Square in a Square blocks following BERNINA Block Party Square in a Square instructions.
Stitch the two blocks together creating a 12 ½” x 24 ½” block.
Make your quilt sandwich by layering the 16” x 28” backing fabric (right side down), 15” x 27” batting, and then the stitched-together blocks (right side up).
Use the new Ruler Foot #72 and follow Nina’s square in a square quilt block tutorial to quilt the layers together.
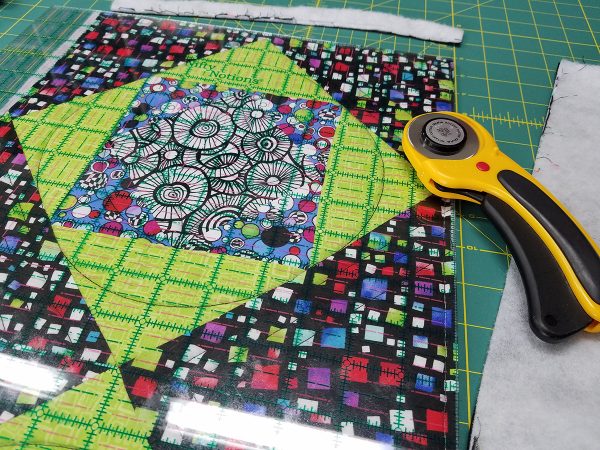
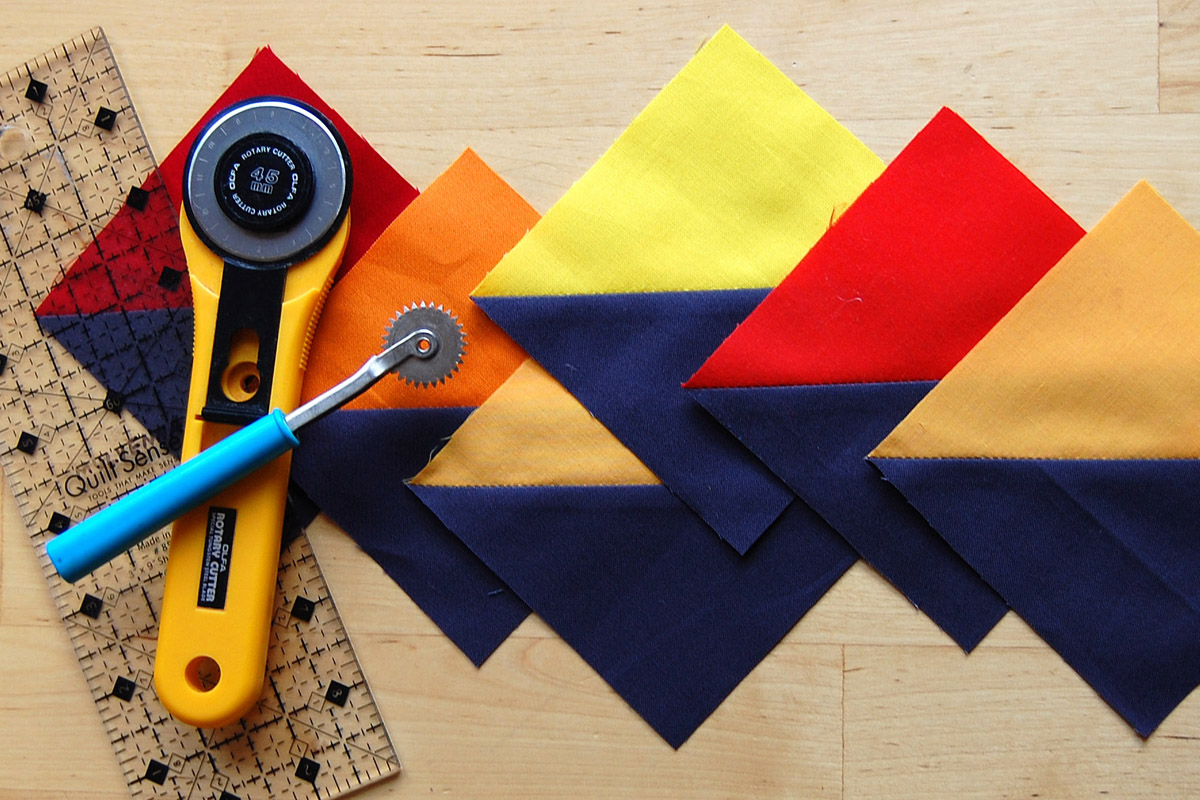
Use a clear ruler and a rotary cutter to square the block up.
You will now be inserting a zipper into the two short ends of your quilt sandwich. The oversized zipper and exposed zipper technique will make the zipper so much easier to insert!
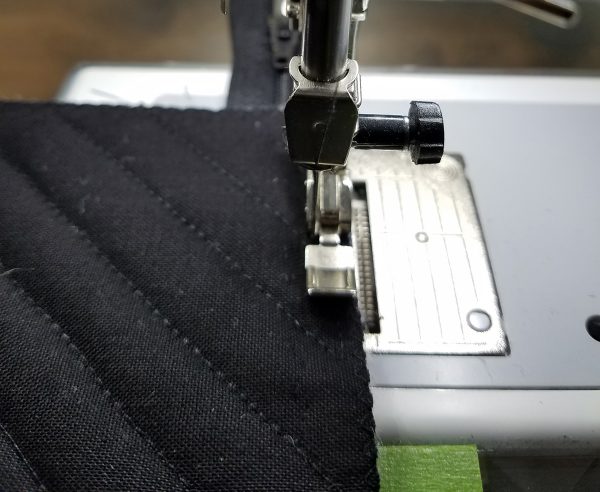
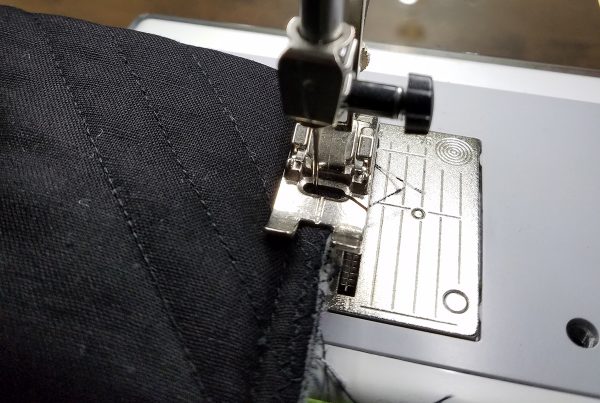
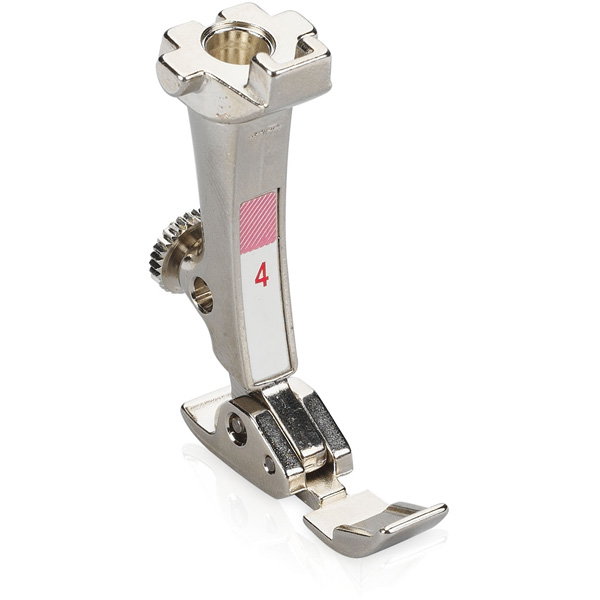
Attach Zipper Foot #4/4D to the machine.
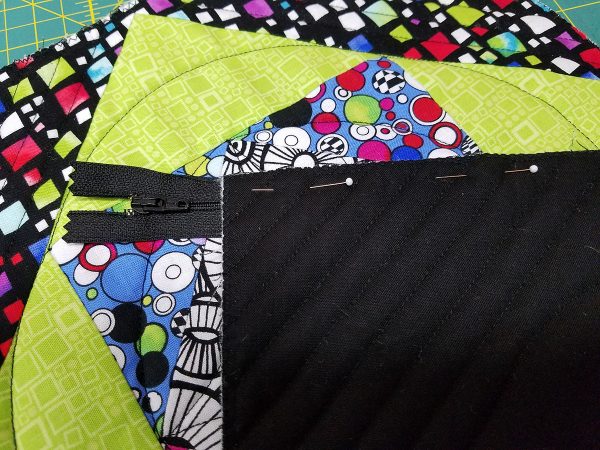
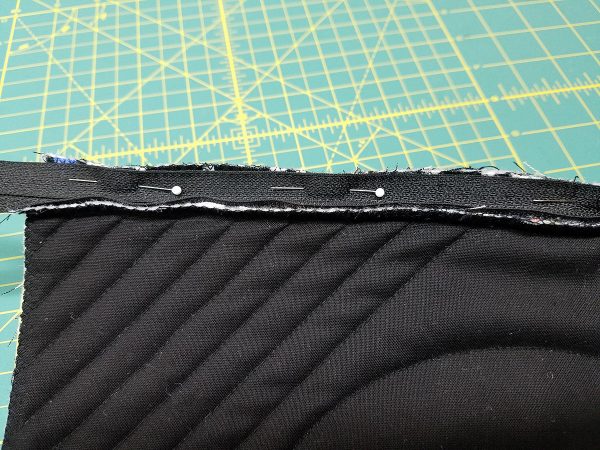
Place the right side of the zipper on the right side of one of the short ends of the quilt sandwich. Since the zipper is longer than needed, allow equal lengths of the zipper to extend on each end of the sandwich.
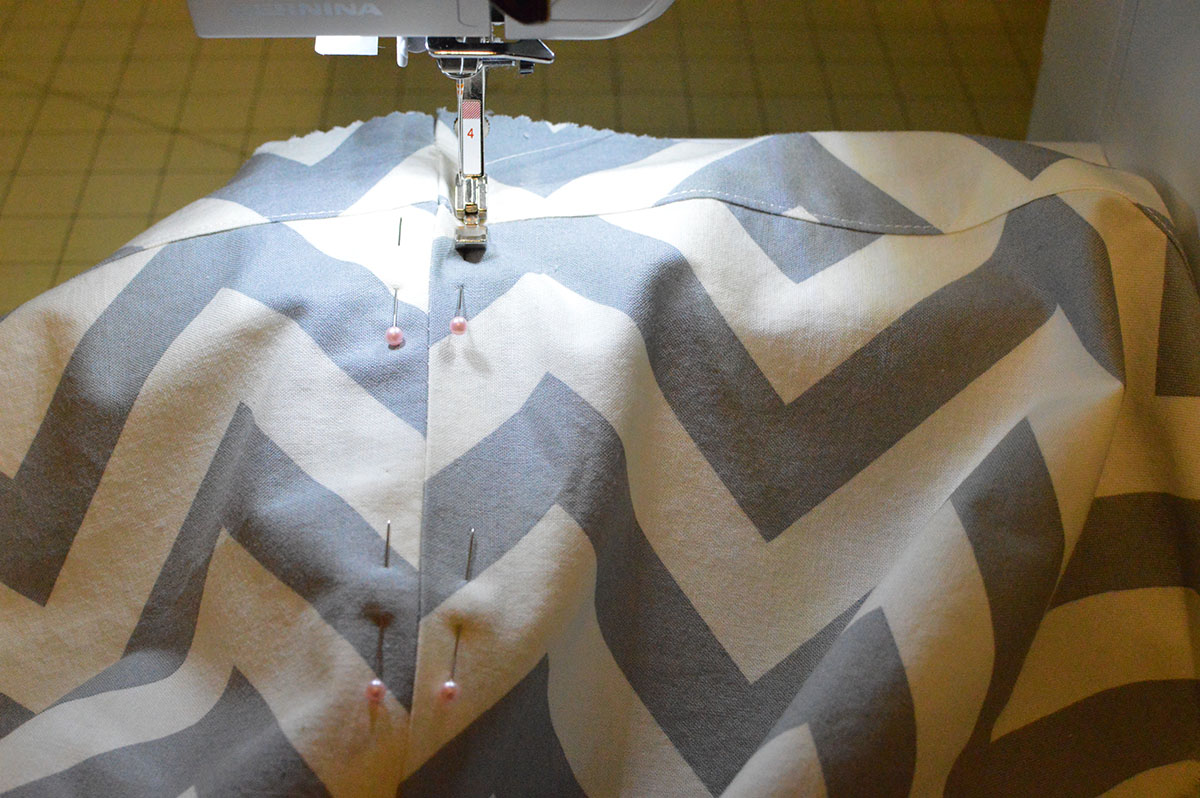
Pin the zipper in place.
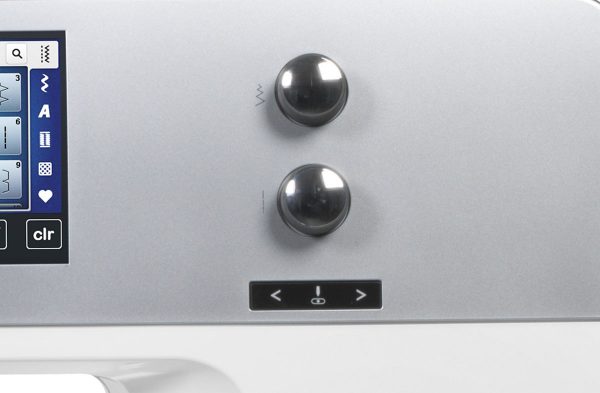
Use the buttons on the head frame of the machine to adjust the needle position 3 or 4 positions to the left so the needle does not hit the center of the foot and is closer to the zipper teeth.
Stitch the zipper in place.
Now pin and stitch the other side of the zipper to the other short end of the sandwich.
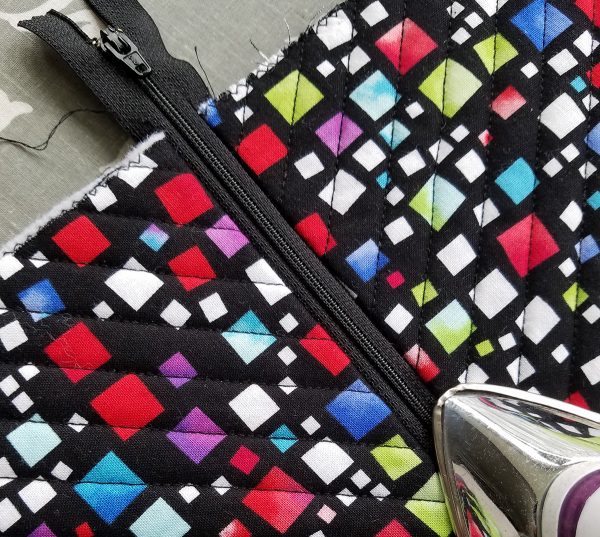
Turn right side out and press the seams of the zipper away from the zipper teeth.
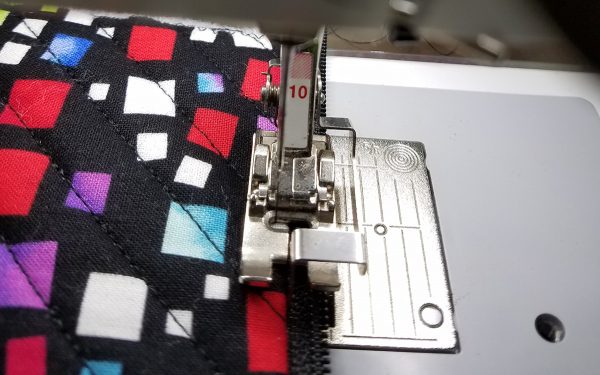
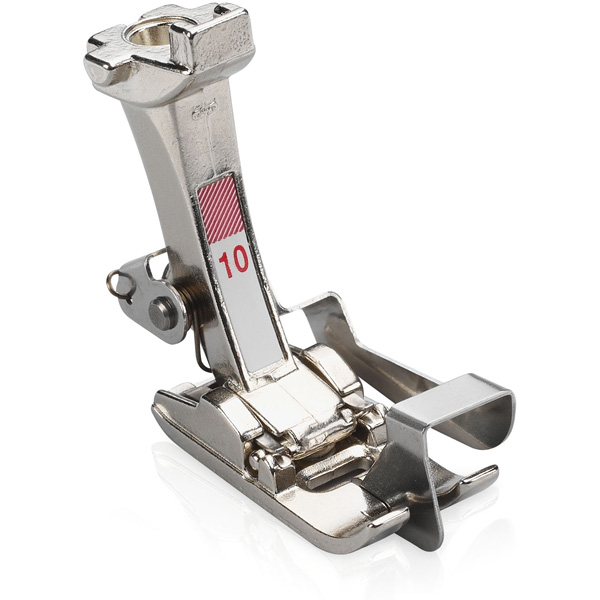
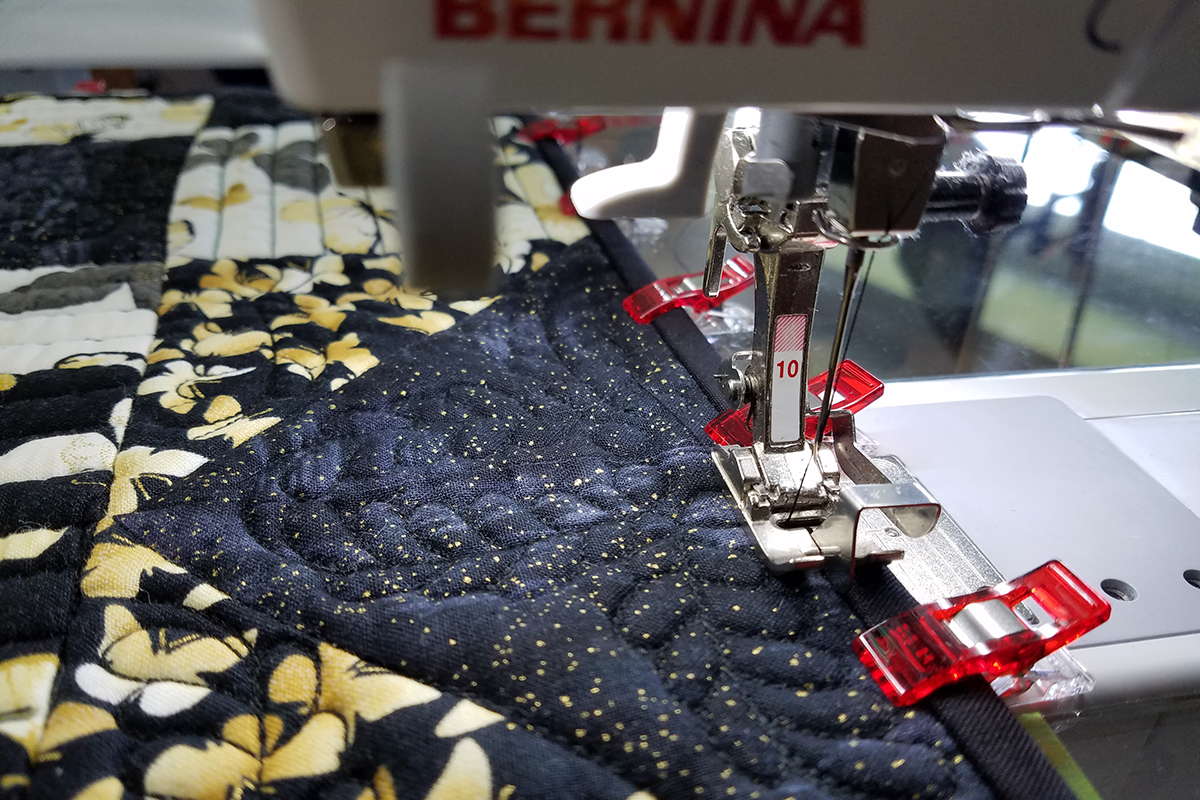
Unzip the zipper and attach Edgestitch Foot #10/10C/10D to the machine.
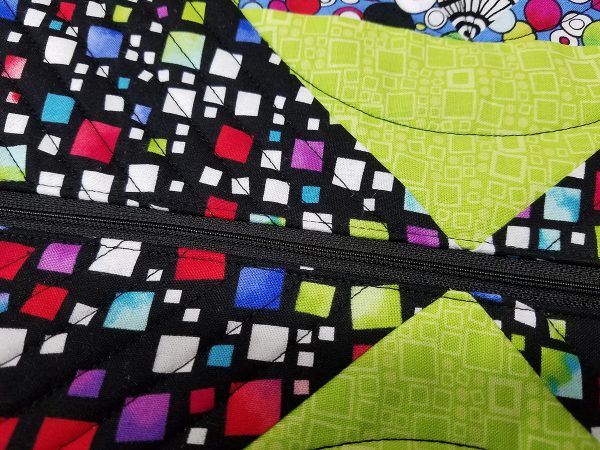
Place the front guide of the Edgestitch Foot along the zipper’s seam line. Move the needle position to the left two to three positions and edgestitch the first side of the zipper. The Edgestitch Foot #10 makes stitching perfectly straight rows of stitching so easy! Repeat the process with the second side of the zipper. Zip the zipper up and press.
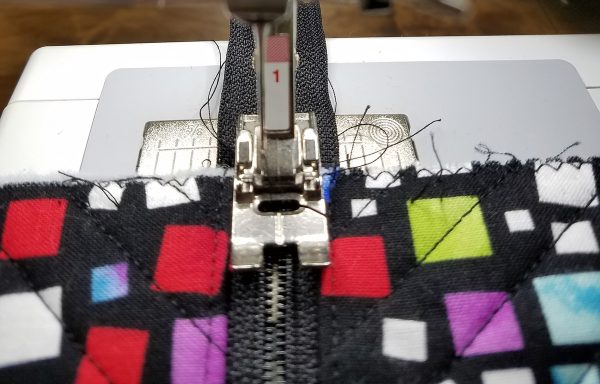
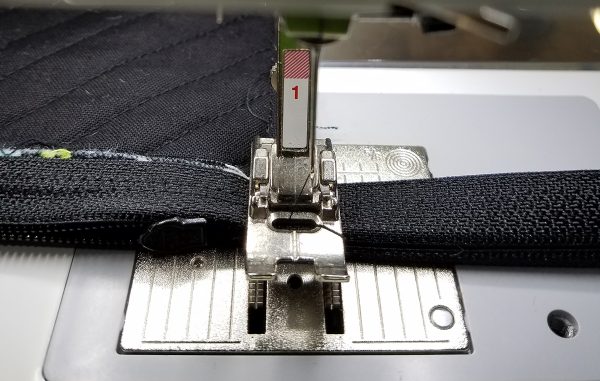
You will need to make a bartack at each end of the zipper before cutting the excess length away. Attach Foot #1/1C/1D to the machine, and select the Bartack program #25, which is available on most BERNINA machines.
Unzip the zipper so that the zipper pull is between the cut edges of the quilt sandwich.
Center the foot over the zipper teeth so that the needle is about ½” in from the cut edge.
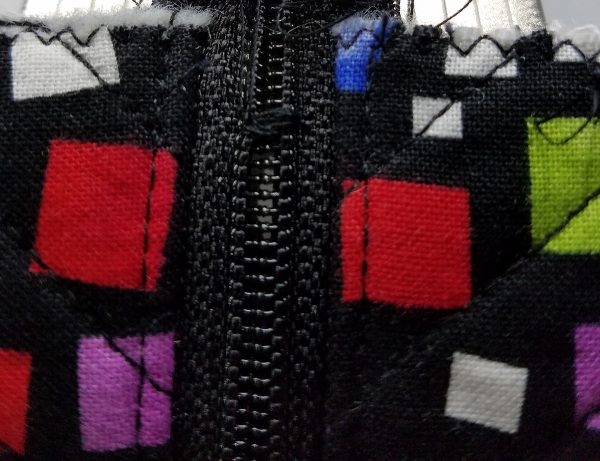
Stitch a bartack at each end of the zipper. Note: when stitching a bartack, the machine will take a securing stitch on the left and then take several zigzag stitches in place. Then the machine will take another securing stitch and stop stitching.
Turn the bag wrong side out. Find the bottom seam (where the two blocks are sewing together) and fold the bag with wrong sides together.
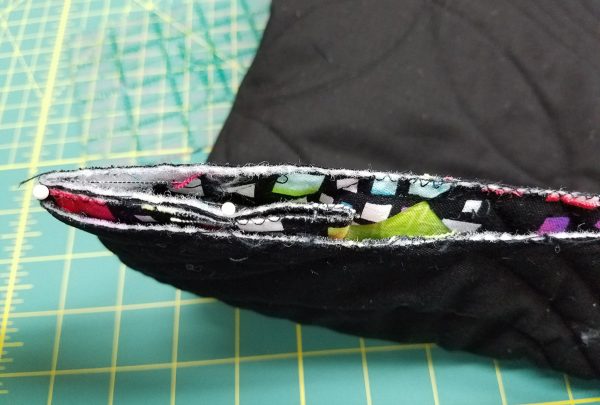
Place a pin at the fold and another pin approximately 2 ½” down from the fold.
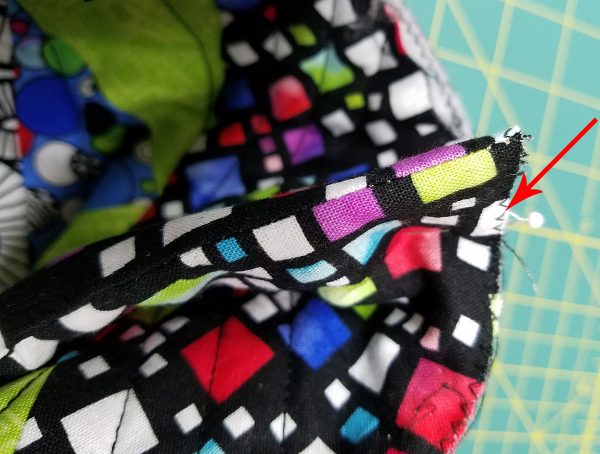
Place right sides from the pin to the zipper top. This will form a pleat along the lower side edge, and will box the bottom when the bag is turned right side out.
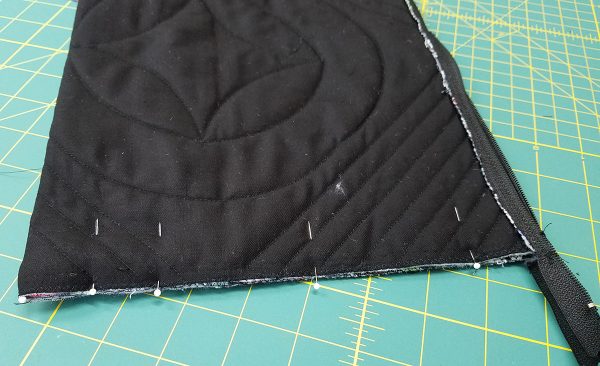
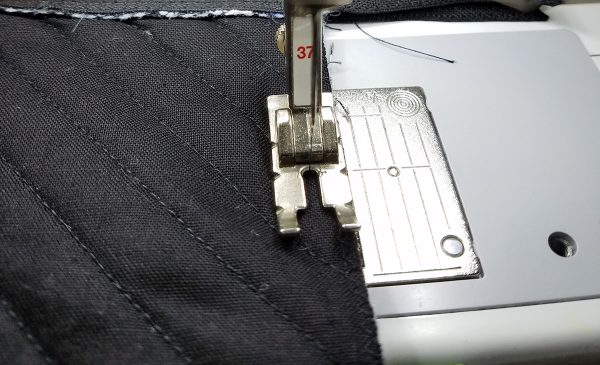
Unzip the zipper about halfway. Fold so that the teeth are along the top edge and pin in place. Attach Patchwork Foot #37/37C/37D and stitch the sides all the way from the bottom and through the zipper teeth at the top with a quarter inch seam.
When both sides are stitched, use the Reverse Pattern Foot #1 and a zigzag stitch to overcast the raw edges and make a cleaner seam. Alternatively, if you have an Overlocker (Serger) you can finish the side seams with that instead.
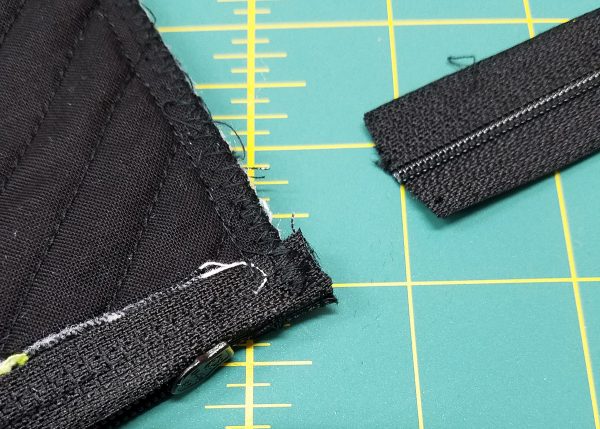
Cut the zipper ends off.
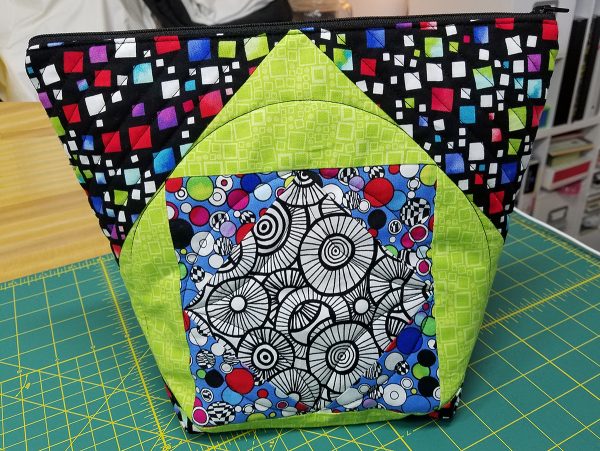
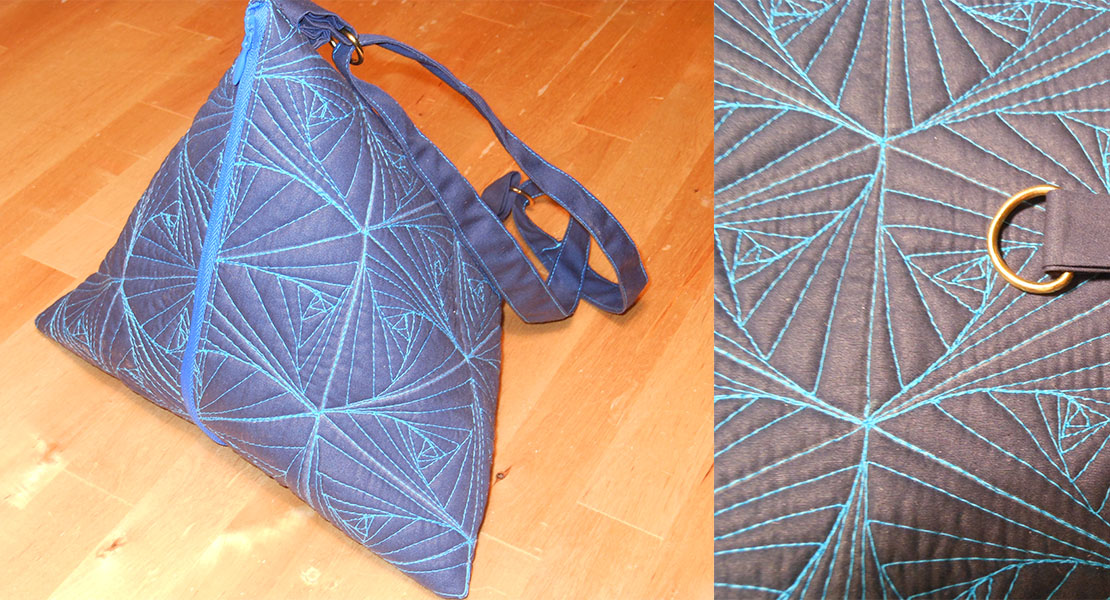
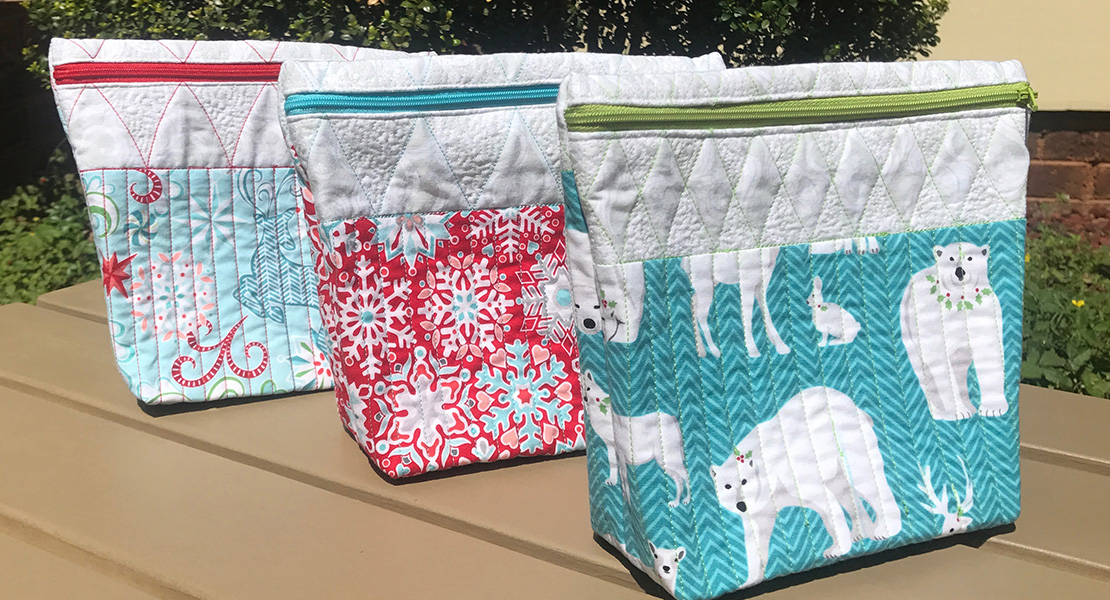
Turn right sides out and you are finished. What a fun bag to have for your sewing tools.
