Circle Marks the Spot, Part 1: Mark Making
What we are doing today is to play with some mark making. I find that with making a quilt top I am often daunted by the actual quilting part. Once I have made something that I am super-excited about with all my favorite fabrics I get worried about the stitching… maybe I’ll do something I won’t like.
So lets play without that pressure.
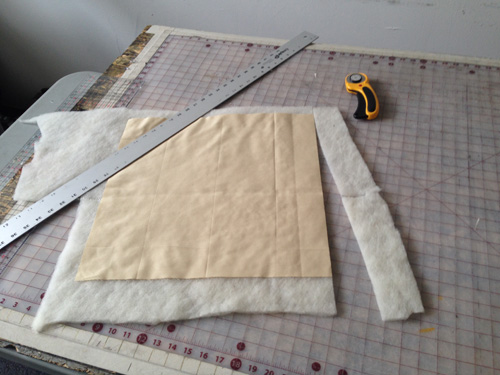
Grab two fabrics that are at least 17″ square and batting for between.
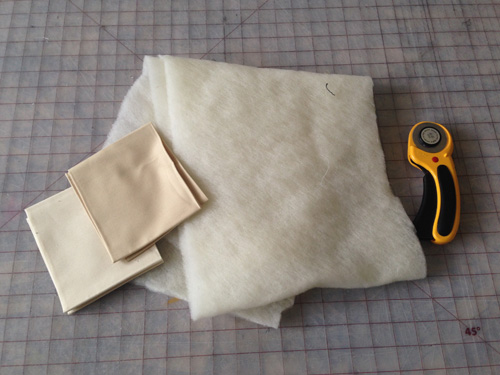
Cut the fabrics down to 17″ squares
For this we can use anything you have, I advise using scraps.
I am even using batting scraps.
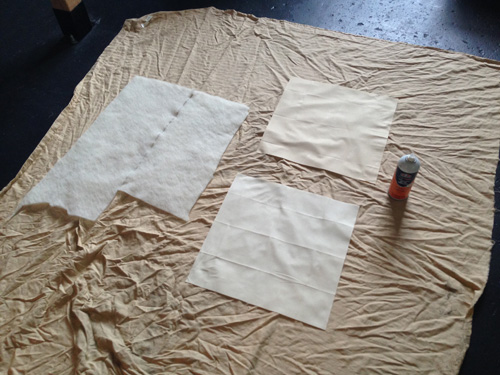
Make them into a fabric sandwich. I use spray glue to baste them together easily and quickly. (You could also baste them with stitches or pins if you have an aversion to glue.)
Tip: Make sure your glue says “acid free”! That is the important thing – if it says that you can use it with impunity. The acid in some glues can eat the fabric over time.
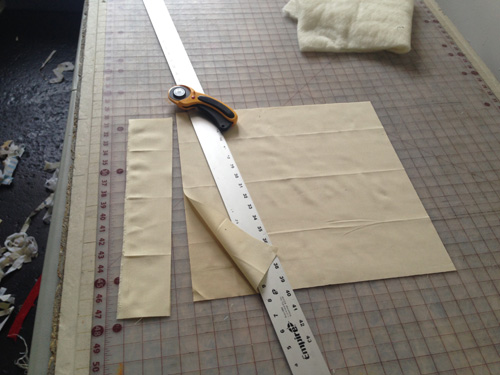
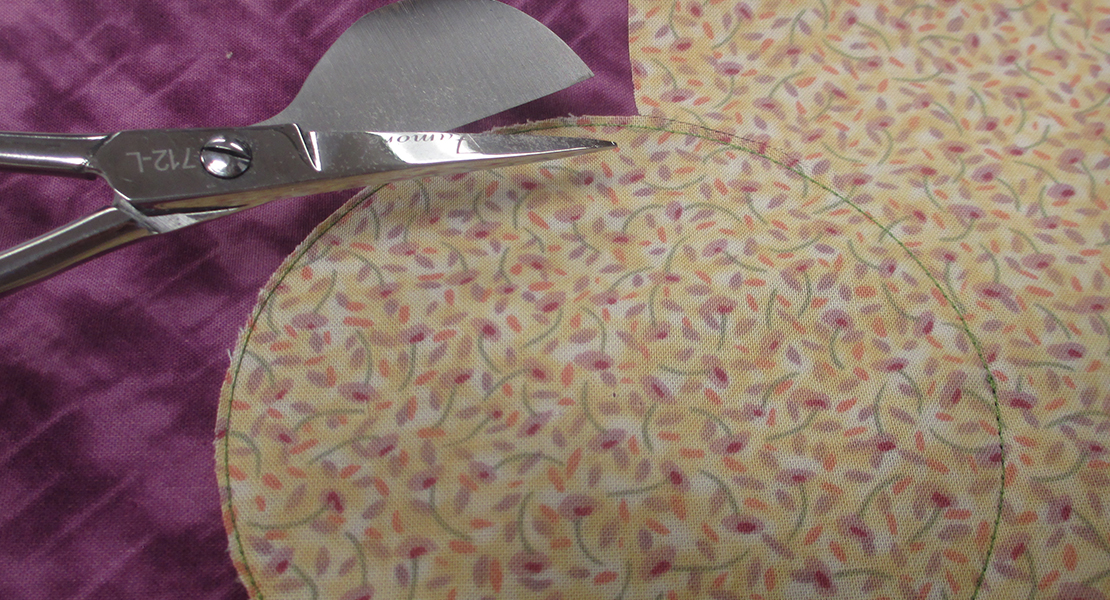
Trim it down to a 17″ square.
Our goal is to make a 16″ finished square. We are giving ourselves a bit of extra at the edges to trim later just in case, plus the edges often migrate a bit causing a bit of uneven sides so we will want that extra to trim to make it lay square.
Why a 16″ square? Because then you can submit it my Quilting Contest!
It will be a good way to show off your trials and to get a good excuse to try something new!
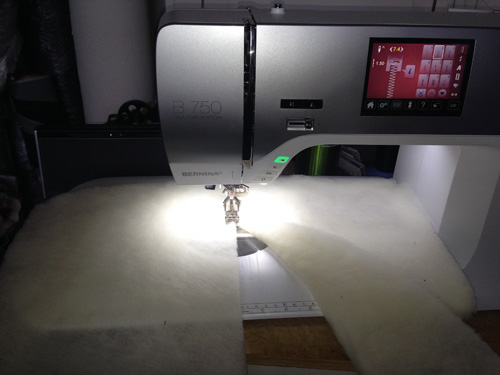
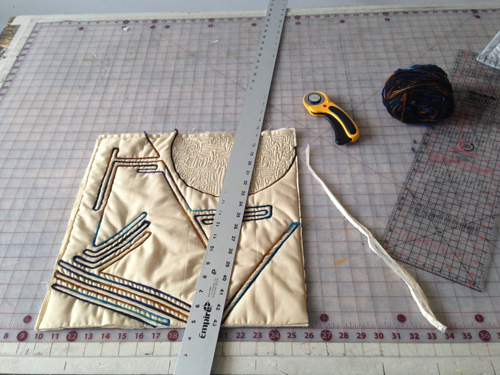
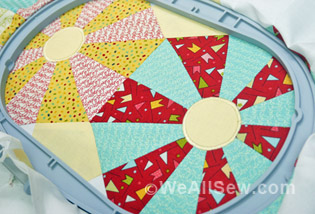
So now lets make some marks! I am going to use a big couching foot – BERNINA Braiding Foot #21– so I can make some really big marks. The reason for this is that I want to get bold fast with my marks. It allows me to not get too precious with my lines so I can make this whole thing quickly and learn a few things from it.
Choose a yarn that is a contrast to your fabric top – again I am playing with things I just happen to have in my studio. You wont need an entire skein. I chose a yarn that contrasts with my fabric so it will create a strong visual.
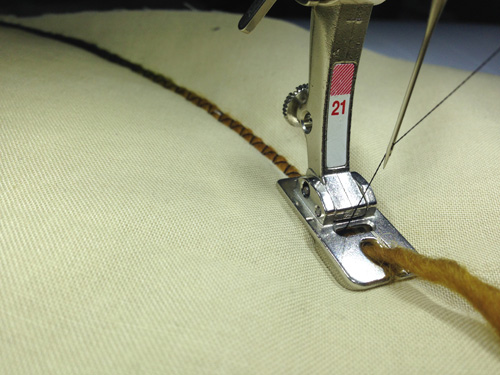
With the foot we can let the machine do the work. We can sew just as we want and it will feed the yarn through making nice lines or arcs as you choose. I am making parallel linesm guiding with the side of the presser foot so I know they are straight.
You can use either a straight stitch or a zigzag depending on whether you want the yarn to look “raw” or “contained.” If you want a bit of a fuzzy raw look go straight stitch and it will stitch through the center of the yarn.
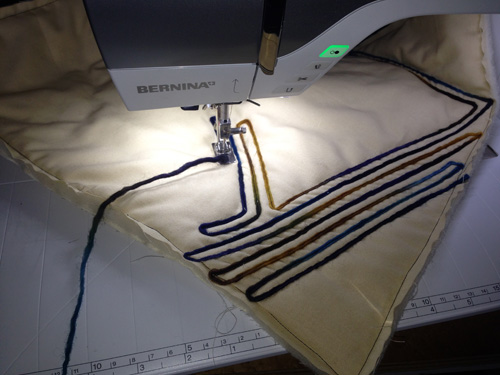
After making a few lines I decided to put a big arc in there to give it some curved form, too.
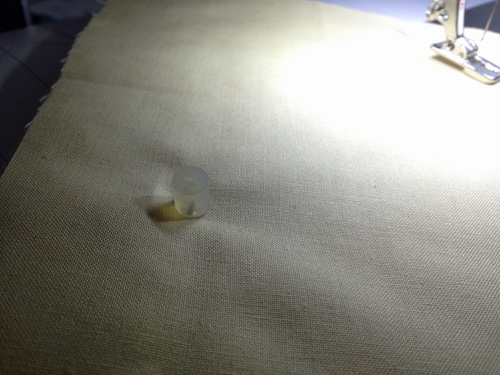
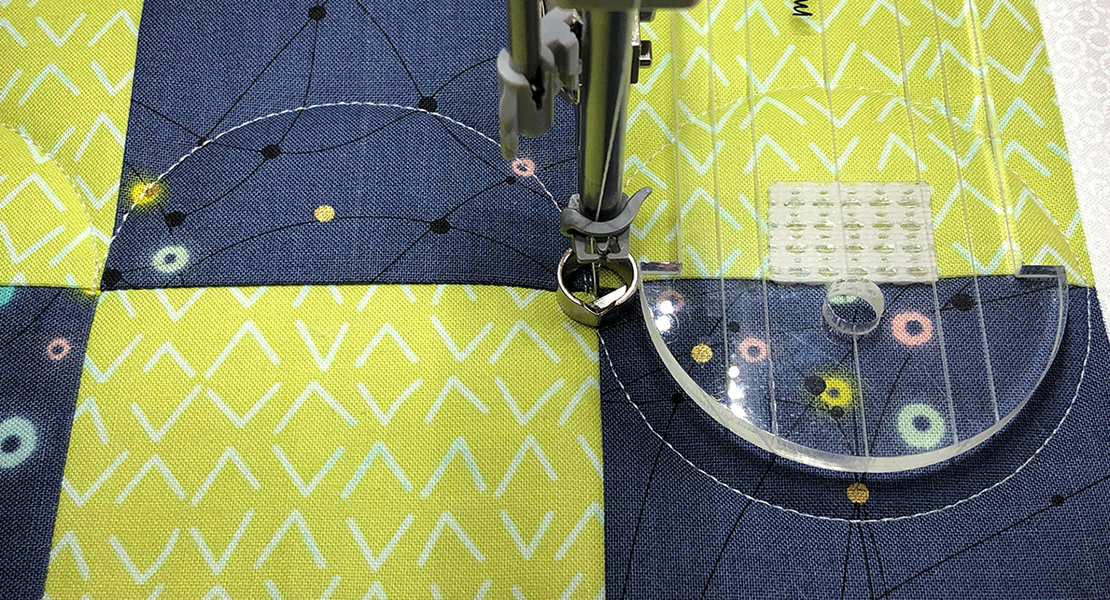
So I used a circular attachment (BERNINA Circular Embroidery Attachment #83).
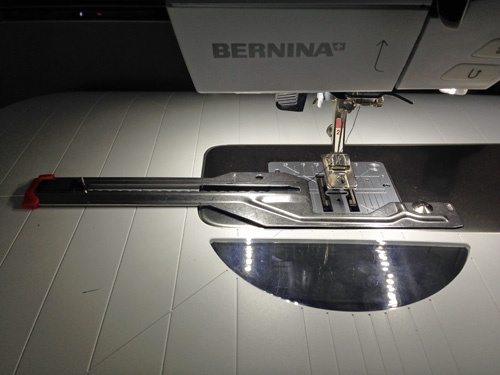
Make SURE you put the little cap back on the needle after positioning the quilt. That will help you guide your fabric BUT ALSO save your arm a few nasty scrapes. Ouch!!
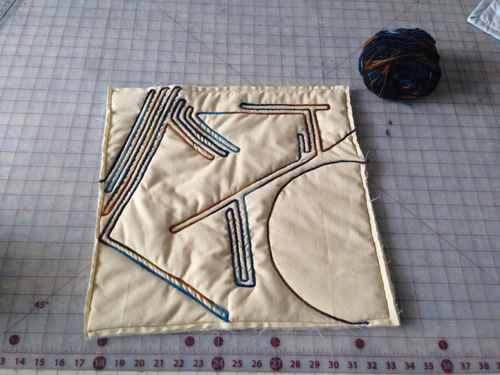
So I have made some lines and an arc on there. It is starting to look good. I am filling up the space and have played with the yarn and a few different ways of making some marks.
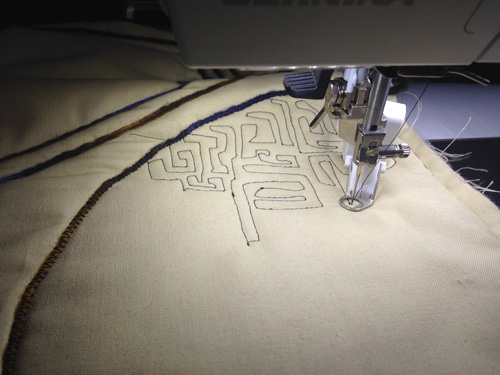
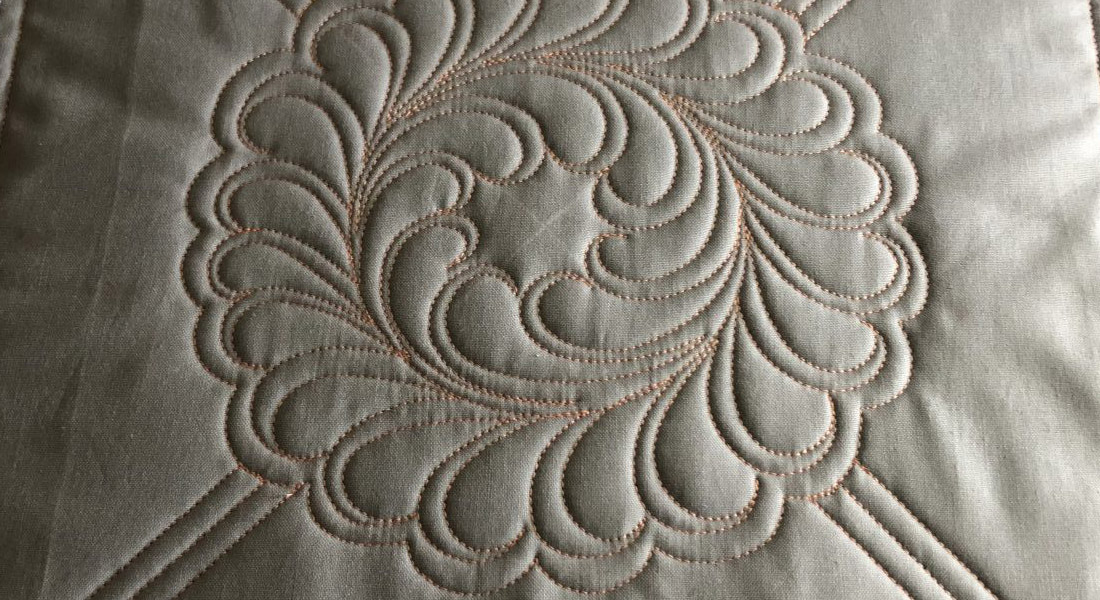
I want to now get in there and give it a little detail. I am going to pick a big blank spot and play with some stitch work. Change out your foot so you don’t have the yarn in there anymore. Use a free-motion foot. You can use the BERNINA Stitch Regulator if you like that. I tend to just let it go – it isn’t as even of a stitch, but it makes me go a little faster and helps me practice my technique.
You don’t have to use free motion, but I would say try it at least twice before you say you don’t like it.
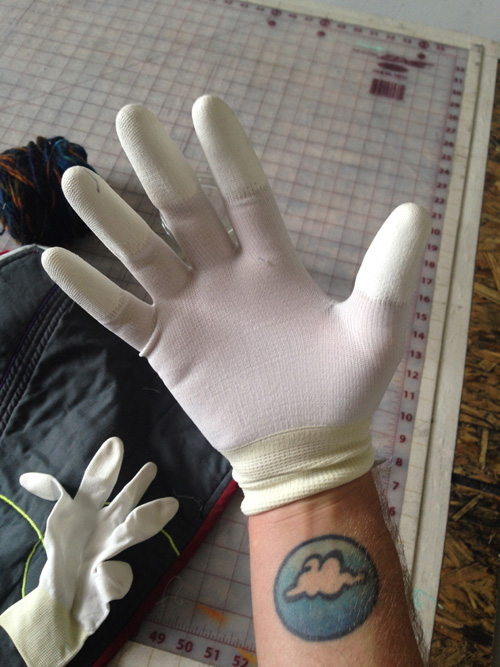
I use rubber-tipped gloves for free-motion so I can get a good grip on the quilt top.
[Don’t judge me!!]
I would say maybe pick two or more spots you feel need a little more detail after those first large marks with the yarn. Once you feel you have enough lines, we’ll finish our play project.

Once you are happy with it (or even not totally but want to be done with it and try another one), trim it down to 16″ square.
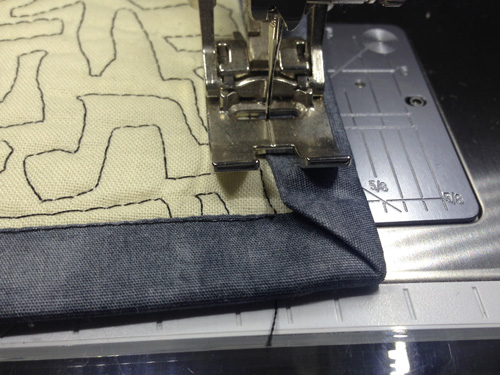
Come back next Thursday and I’ll show you how to bind your quilt!


One comment on “Circle Marks the Spot, Part 1: Mark Making”