Thread Storage Tip
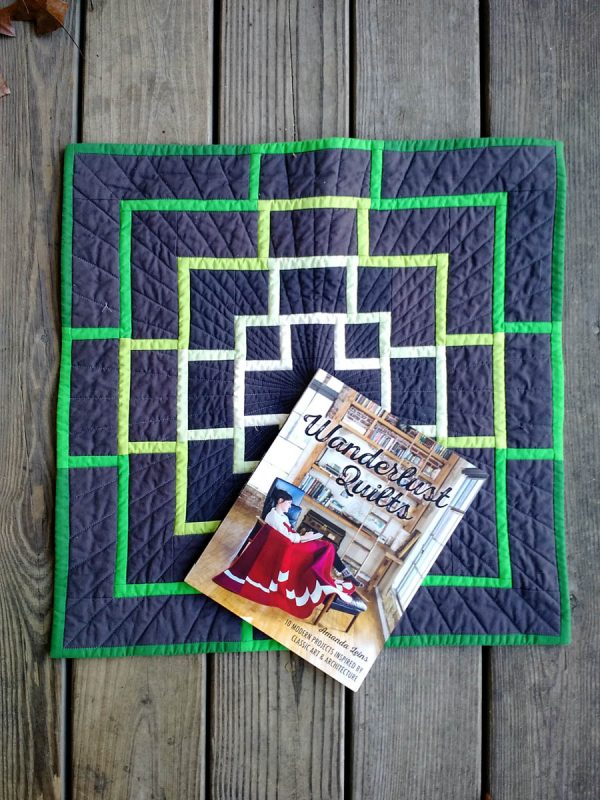
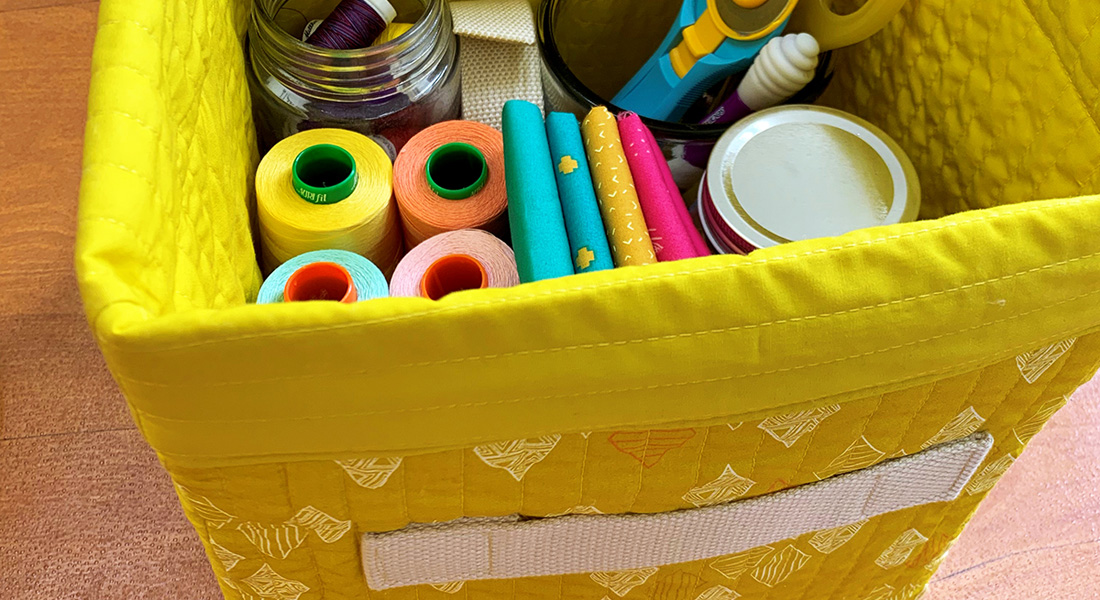
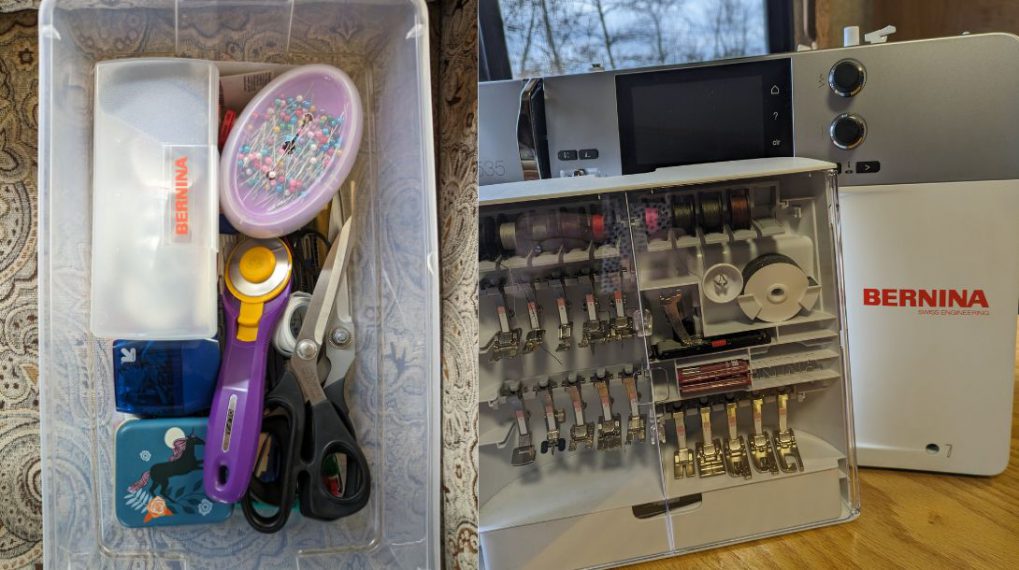
Welcome! My name is Mandy Leins of Mandalei Quilts. I am a professional longarmer and quilt designer, and I’ve recently published my first book Wanderlust Quilts. I love using my BERNINA Q 24 Longarm Quilting Machine and BERNINA 790 for a huge variety of projects, and couldn’t be happier with the M-class bobbins because of the quantity of thread I can load them up with. I have quite a few for the BERNINA Q 24, and quite a few for embroidery, piecing, or quilting, on my domestic machine, and after a while the threads can slip off and become tangled. While I have tried other ways of holding threads in place, I want one that allows me to easily see the thread on the bobbin. What to do?
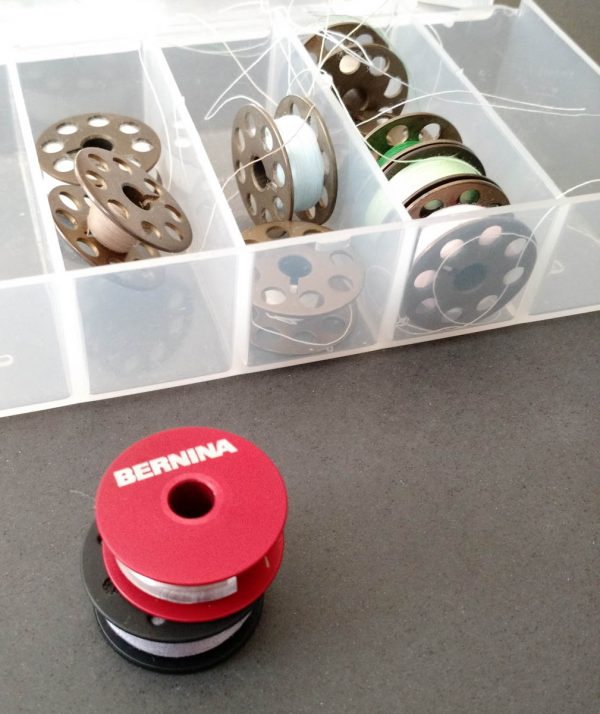
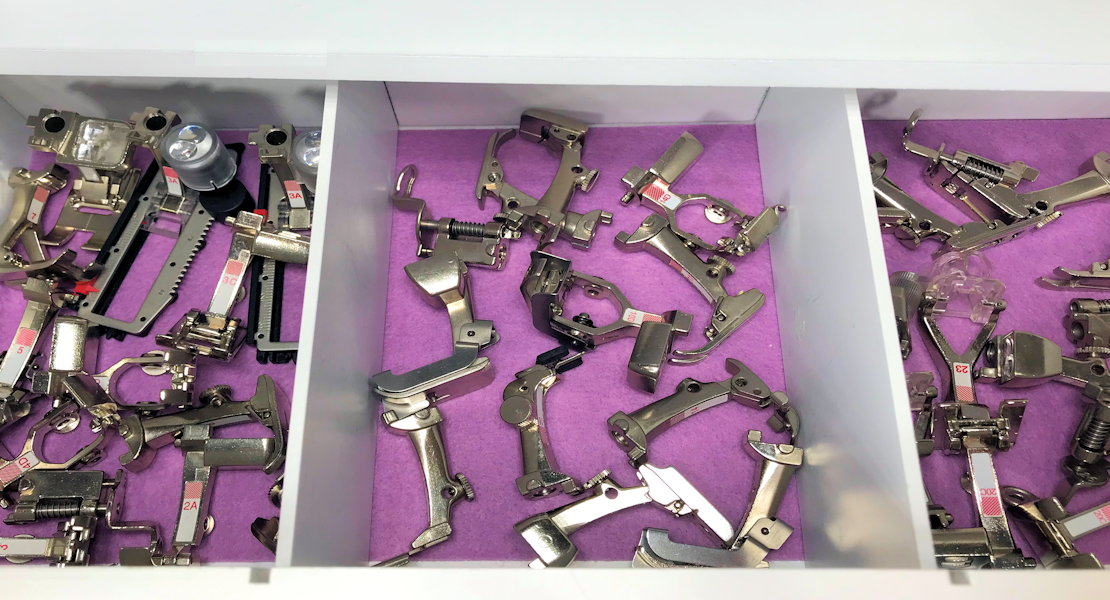
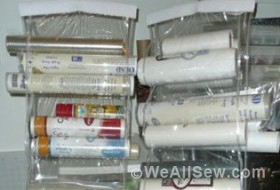
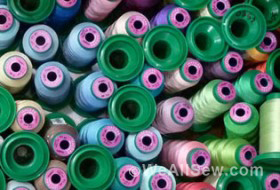
This is a bobbin box leftover from before I upgraded to the BERNINA Q 24. It’s gotten to be quite a mess!
If you follow me on Instagram or on my blog, you may recall one of my favorite places to look for quilting supplies is at the hardware store, and that’s where I went to find a thread storage solution for these loose threads. For less than $ 25, I was able to pick up two items that are the answers to my needs: a coil of vinyl tubing (make sure to get the size you see in the photograph!) and a 1 1/4″ All-Purpose Ratcheting Cutter.
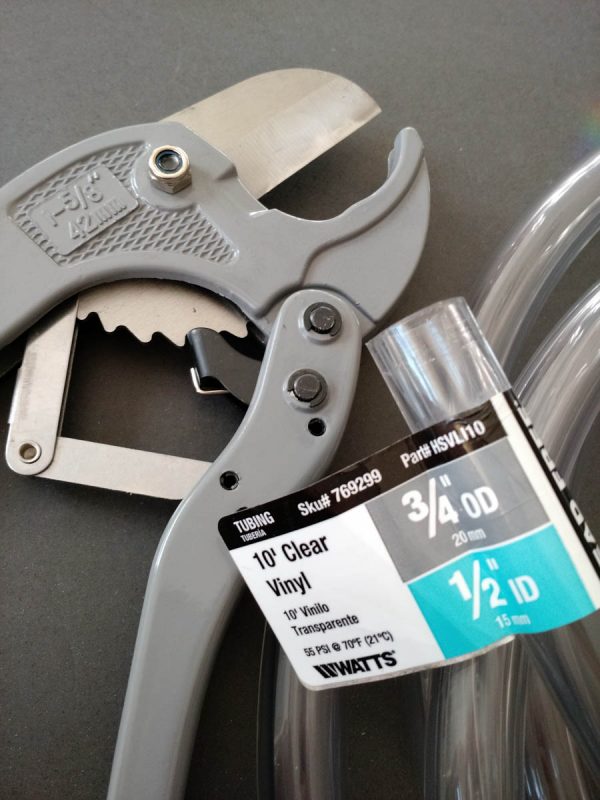
The tubing has an outer diameter of 3/4″ and an inner diameter of 1/2″. The ratchet looks scary, but it works very slowly and I feel there is little danger for your fingers. Still, use caution!
The other item you will need is a pair of heavy duty shears. I used my kitchen shears for this.
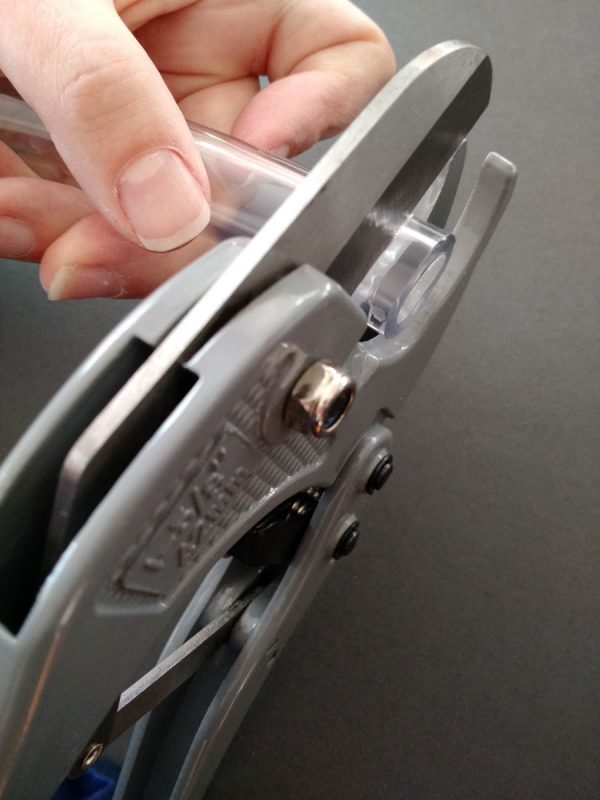
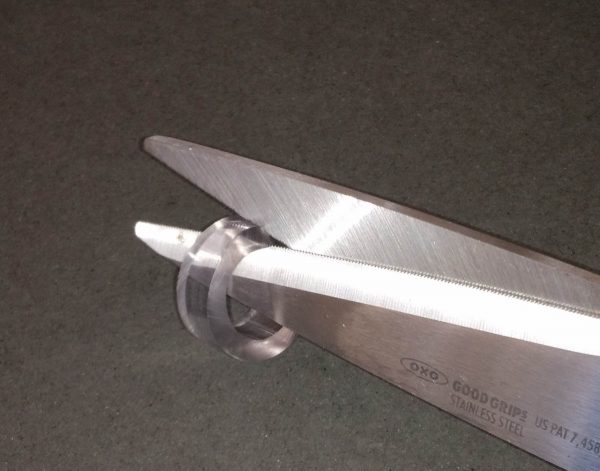
Take the tube in your non-dominant hand and set it up so that the tube comes across the cutting surface of the ratchet totally perpendicular. I don’t measure how wide a piece I need, but just kind of eyeball it. It needs to be wide enough to hold your thread ends, but thin enough to fit inside the outer edges of your bobbin.
Cut through the tubing as neatly as possible. You can use your heavy duty shears for this, but it leaves the edges wonky.
The ring on the left was cut with the ratchet cutter, and the piece on the right was cut with kitchen shears.
Once you have your ring, use your kitchen shears to make a neat slice. This will allow you to open up the ring.
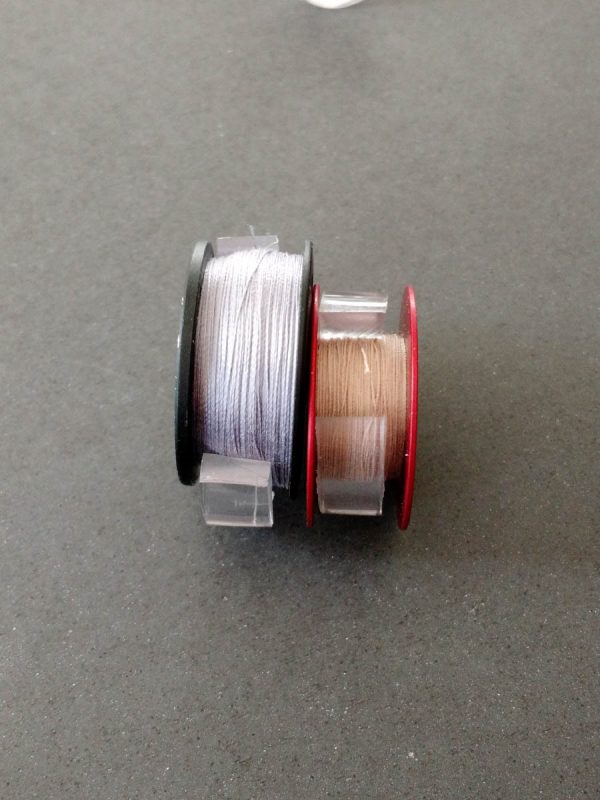
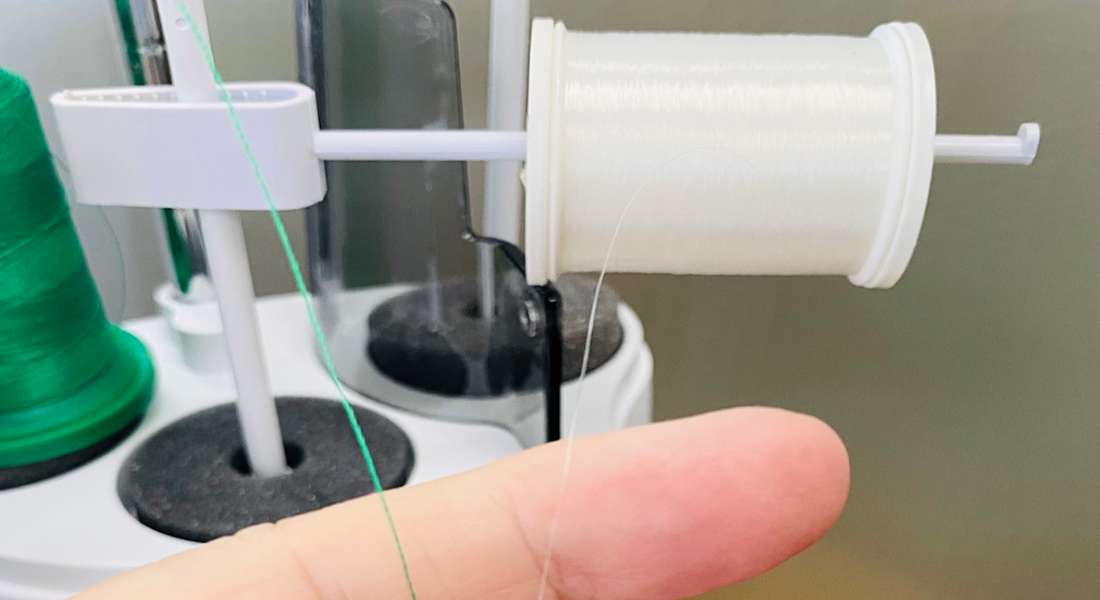
Slide the now-open ring over the thread on your bobbin. I like to make sure that the thread is firmly underneath the ring. For very full bobbins, the vinyl ring will not sit inside, but for bobbins that are half-full, it will set neatly inside.
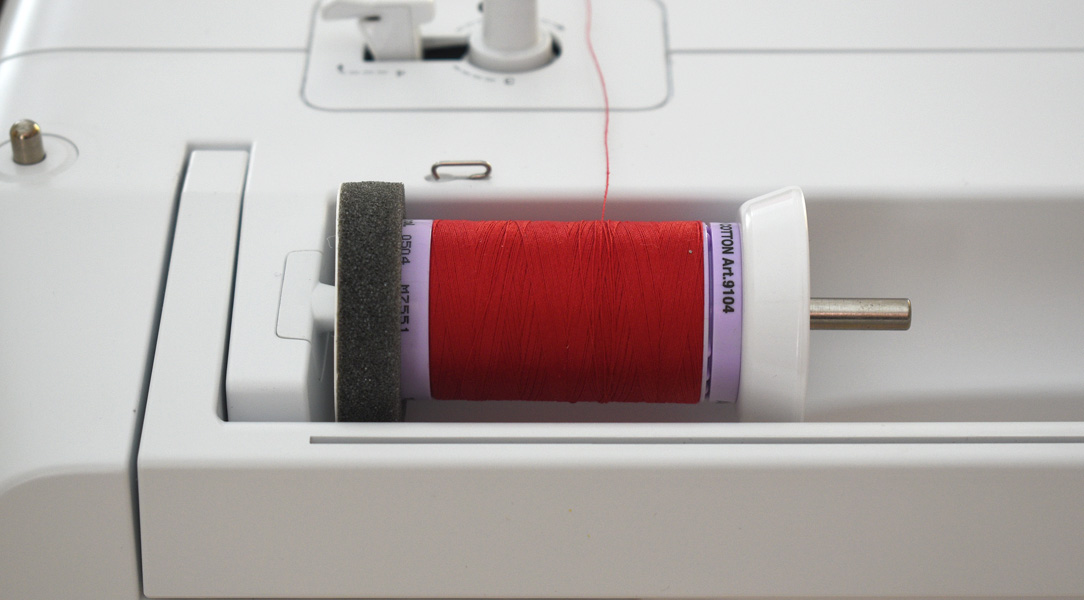
The red bobbin is for the Q24 and the black bobbin underneath is for the 7 and 8 series machines.
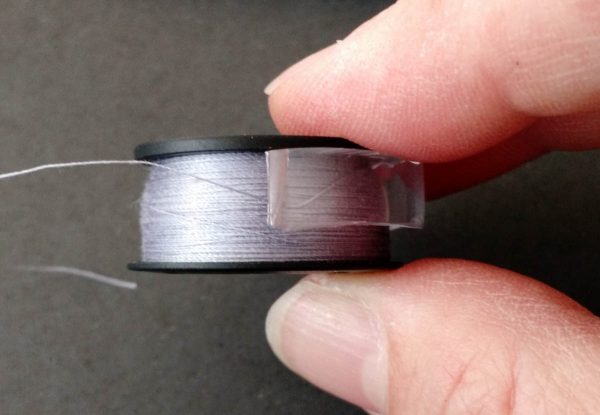
You can see that the thread is neatly caught under the clear vinyl. If you wish, you can trim off the tail so that it does not stick out.
This is a great project for a group of friends to do together, splitting the cost and the tasks among everyone. I make these for my friends as useful little gifts, as well, since one 10-foot length of tubing lasts a very long time. This tubing does work for L-class bobbins, as long as they are full of thread, but if you are thinking of using it for L-class bobbins that are only partially filled, you may wish to find the next size of tubing down.
Happy quilting!
Used Products


What you might also like


12 comments on “Thread Storage Tip”
-
-
Very clever!
-
I use tiny children’s hair scrunchy things to secure bobbins – only a half inch circle – they stretch just enough to go around the bobbin, stay on even if the bobbin is filled. These can usually be found at a dollar type store and come in multiple colors, the container I have has white, yellow, red, blue, purple, orange and green colors. Very inexpensive – just toss when the stretch wears out.
-
Scrunchies work for me, too. Although I like the idea of being able to see the thread in the bobbin clearly.
-
-
I think this is a great idea, and I do plan to use it because I like to see the color also. Thank you.
-
Love this idea. Thank you.
-
Tried this more than 10 years ago. The plastic discolors in a few years, turning a yellow color which prevents you from seeing the true color of your thread. The bobbin boxes with the foam liners work much better for bobbins, but they are too small for the larger bobbins.
-
I’ve been doing this for years. So inexpensive great idea
-
I’ve done this for years.
-
Handi Quilter makes a foam bobbin box for M class bobbins. Amazon has it.
Leave a Reply
You must be logged in to post a comment.

Brilliant!