4 Tips for Better Buttonholes
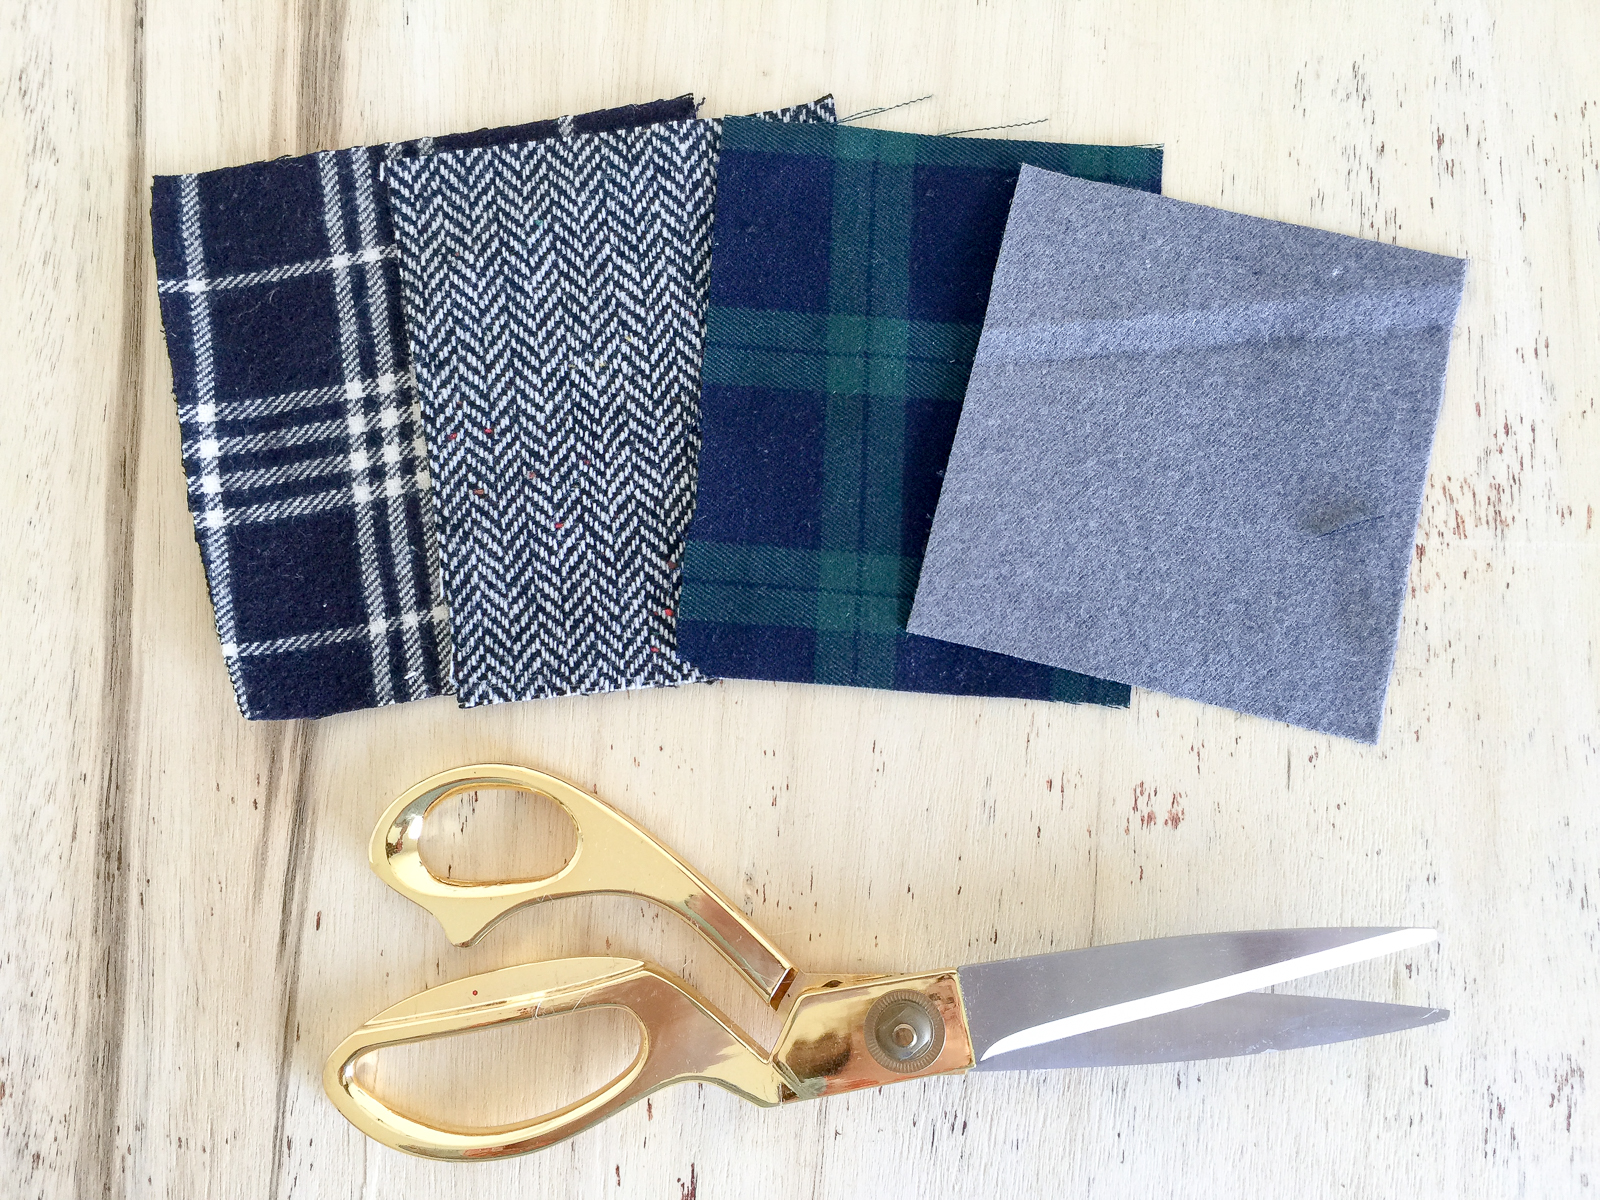
Fall has brought many wonderful sew-alongs among the online sewing community. In my real life sewing group, we are currently working to improve our wardrobe by sewing the Classic White Shirt. With the holiday season, winter months, and snow storms upon us, some of you are gearing up or have begun making coats, jackets and warm weather fare. (Not for me!) But for you guys up north. I have a few important tips you may want to consider when working with the difference fabrications, as with woolens, corduroy, and “OH, Yeah!” fleece.
Here are 4 tips for better buttonholes on any fabric
Tip 1
First and foremost: Use an interfacing that compliments the weight of your fabric!
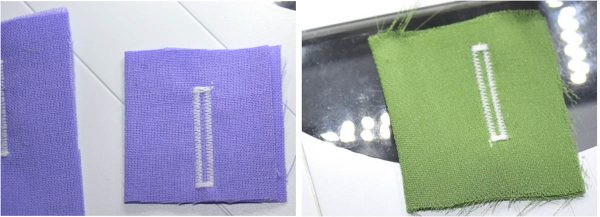
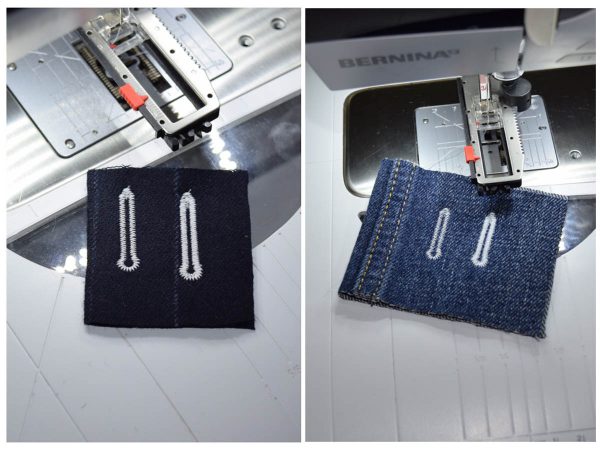
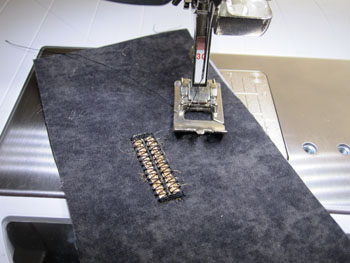
This is what happens without the interfacing.
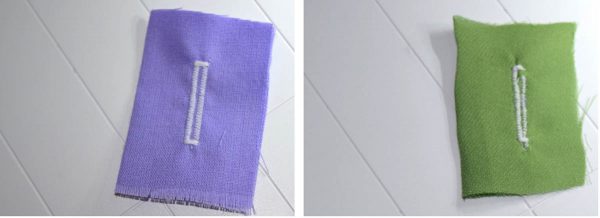
The difference when sewn with the proper interfacing, stabilizer of backing is like night and day.
 Tip 2
Tip 2
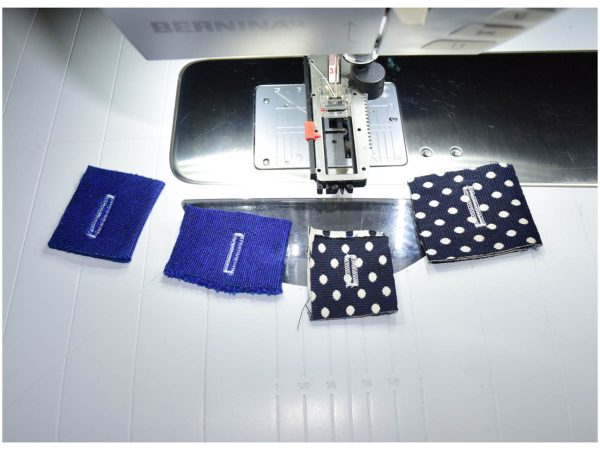
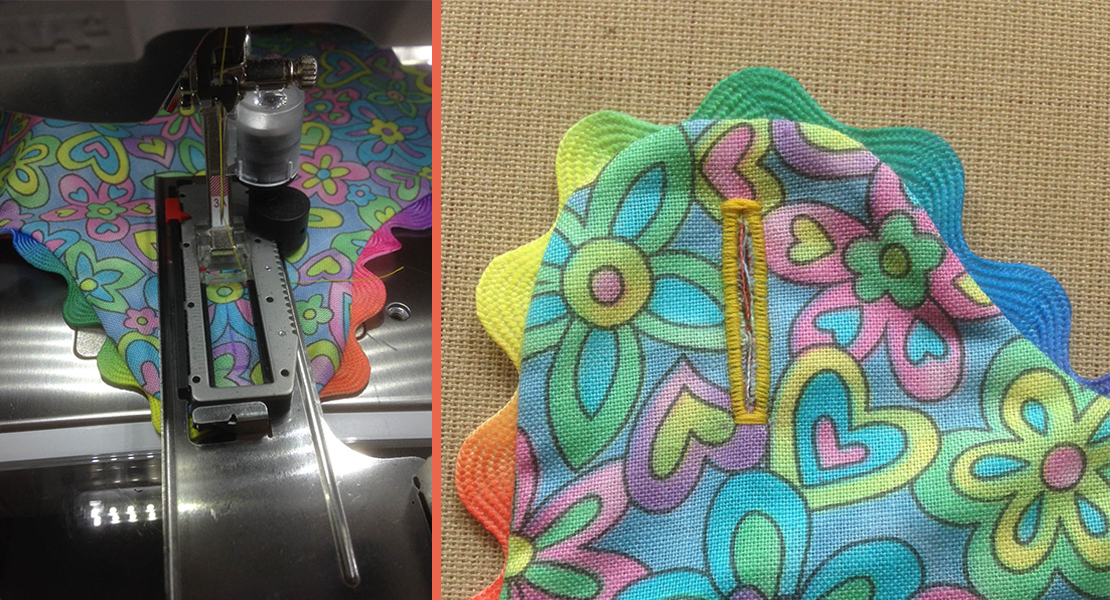
Another important thing to remember is to always test several different styles of buttons on your chosen fabric, before making the final decision—there are some really great buttonhole options on our machines.
Here are a few:
Buttonholes on cotton fabric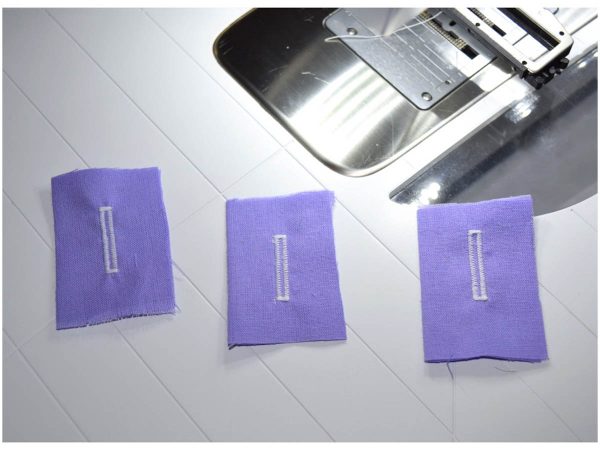 Buttonholes on silk fabric
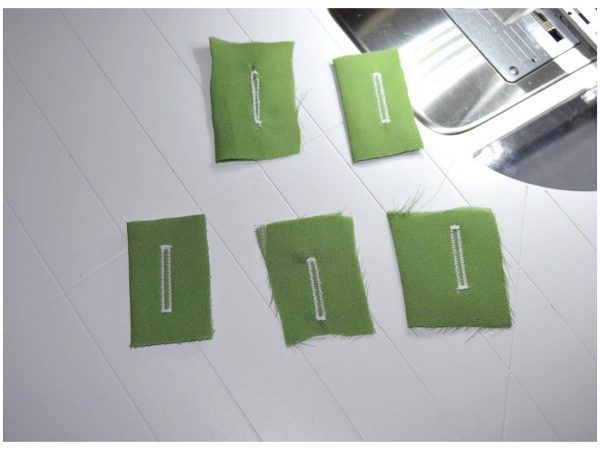 Buttonholes on knit fabric
 Tip 3
Tip 3
Place the grain of fabric for your test buttonhole in the same direction as the final garment placement
Designer Details:
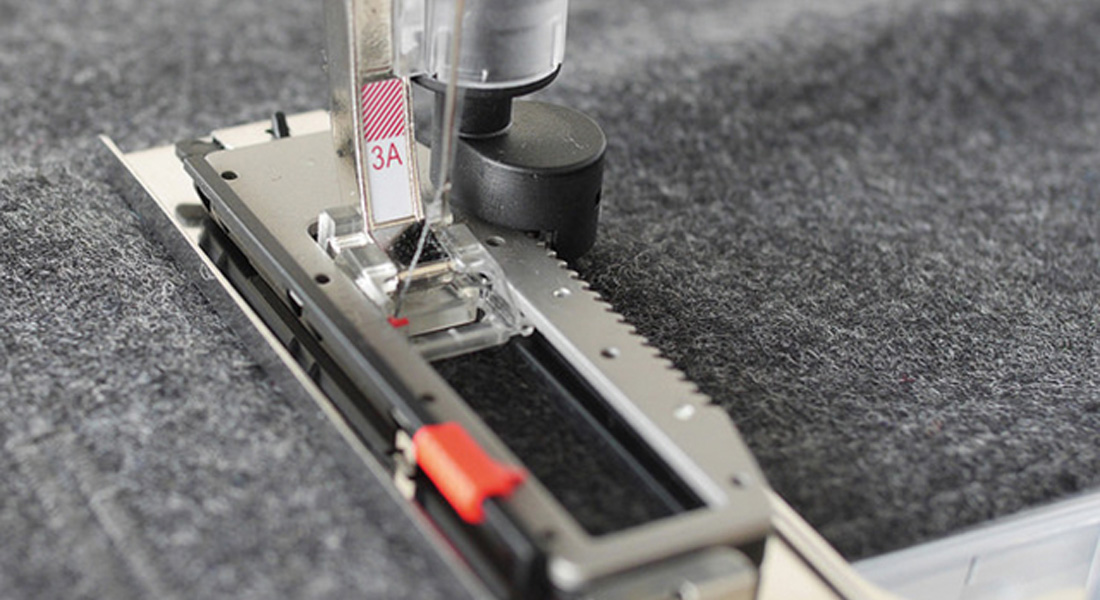
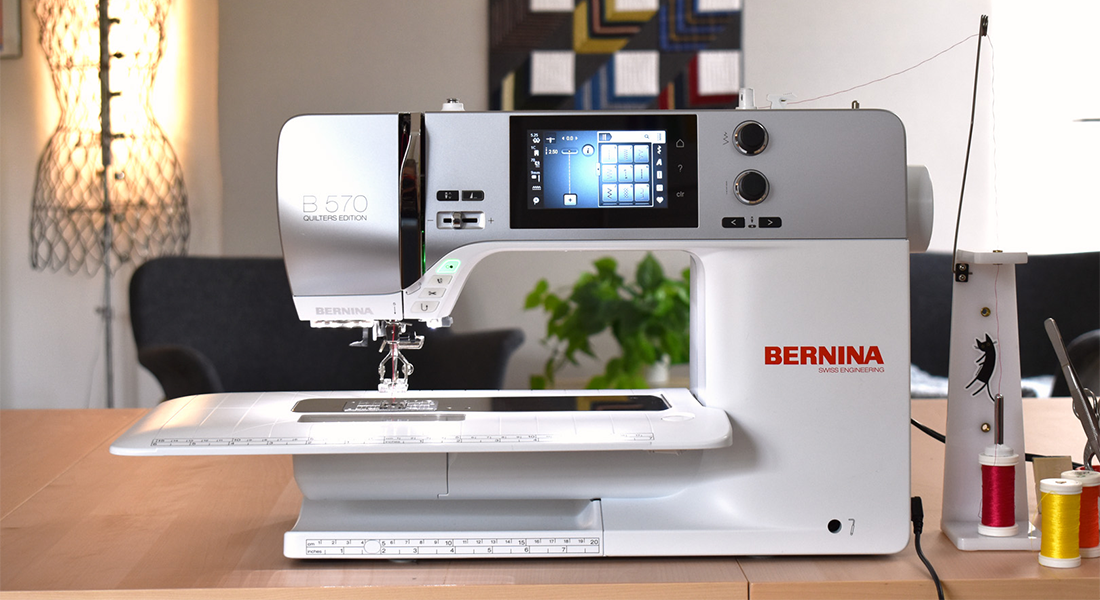
A great extra feature, and to have more precision—when using wool, corduroy, fleece, or denim, is the Slit Width adjustment option found only on some BERNINA machine models. I sew on the BERNINA 780.
- Use the 9 mm stitch plate for wider buttonholes on more tightly woven, thick fabrics.
- Lower the presser foot pressure when working with lofty fabrics, such as thicker wools and fleece.
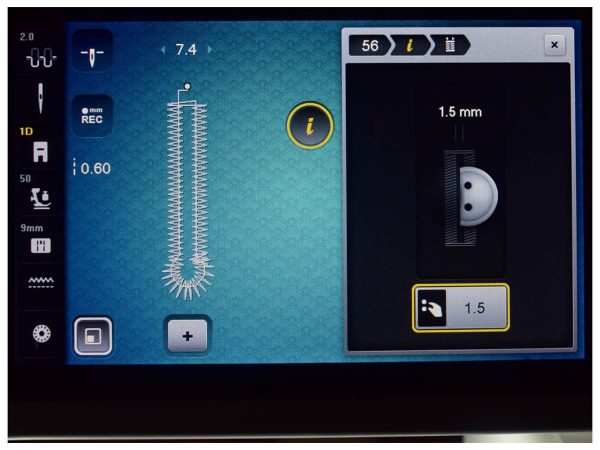
As you begin to experiment with all these nice features and different buttonholes for your coat projects. Remember, that as the slit width is increased, the bead width (the long satin stitch) decreases or becomes thinner. This stitch width setting can be adjusted more precisely later. Keep in mind that a single millimeter change will make a world of difference when you cut open the buttonhole.
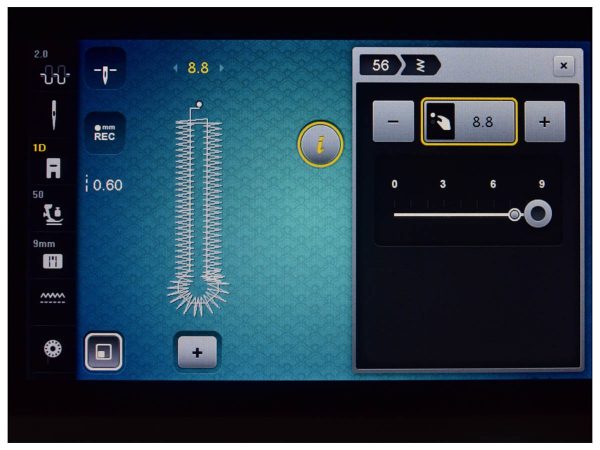
After you are satisfied with the “slit width”, then you should concentrate on bead density.
Tip 4 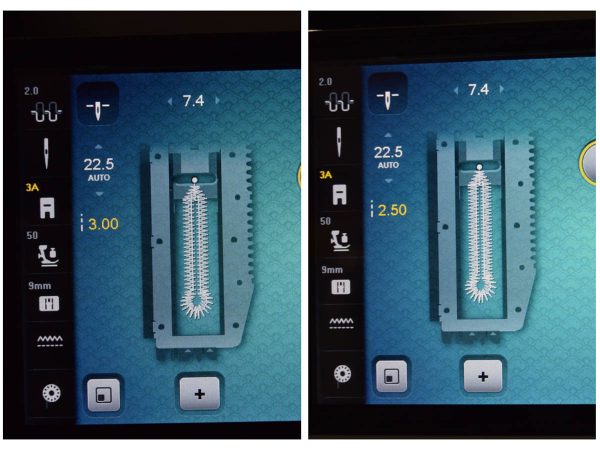
The exact duplication of the auto function makes it easy to create very dense “double” sewn keyhole buttonholes for wool coats, denim, and other thicker fabrics.
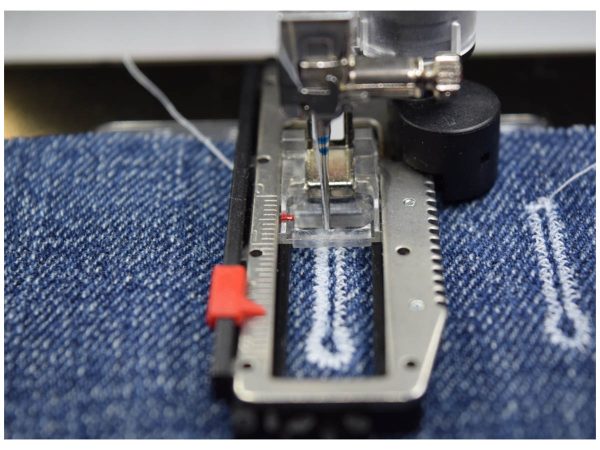 Here is all you need:
- Use a longer stitch length for the first pass of the buttonhole.
- After the first—leave the work as is, do not remove from under the foot.
- Reduce the stitch length to sew run a second buttonhole over the original.
Fitting Tip:
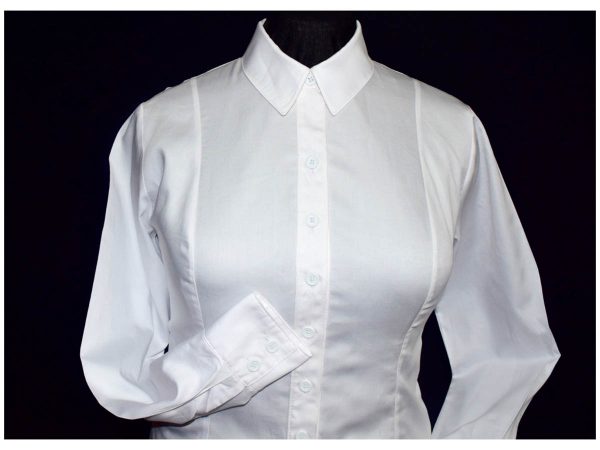
When adding buttonholes to your shirts and blouses, avoid any “gaposis” down your front closure by aligning your first button at your bust line, and another at your stomach protrusion. Then space the remaining buttonholes accordingly. I personally like my buttonholes spaced no more than 2″ inches apart. It is okay, to choose the number of buttons you desire, not what the pattern suggest.
YOU ARE the DESIGNER!! Have Fun!
You are welcome to follow along with Andrea’s Wardrobe Fit-Along. As a Certified Pattern Fitting Instructor, in her video series on YouTube, Andrea shows you how to take full advantage of the tissue fitting method of pattern fitting. Join her on her blog to find out how you can fit your garments and avoid Fitting Disasters, and Sew-To-Fit with more confidence, and find out more about choosing the correct pattern size and how to fit your Classic White Button-down shirt.






One comment on “4 Tips for Better Buttonholes”