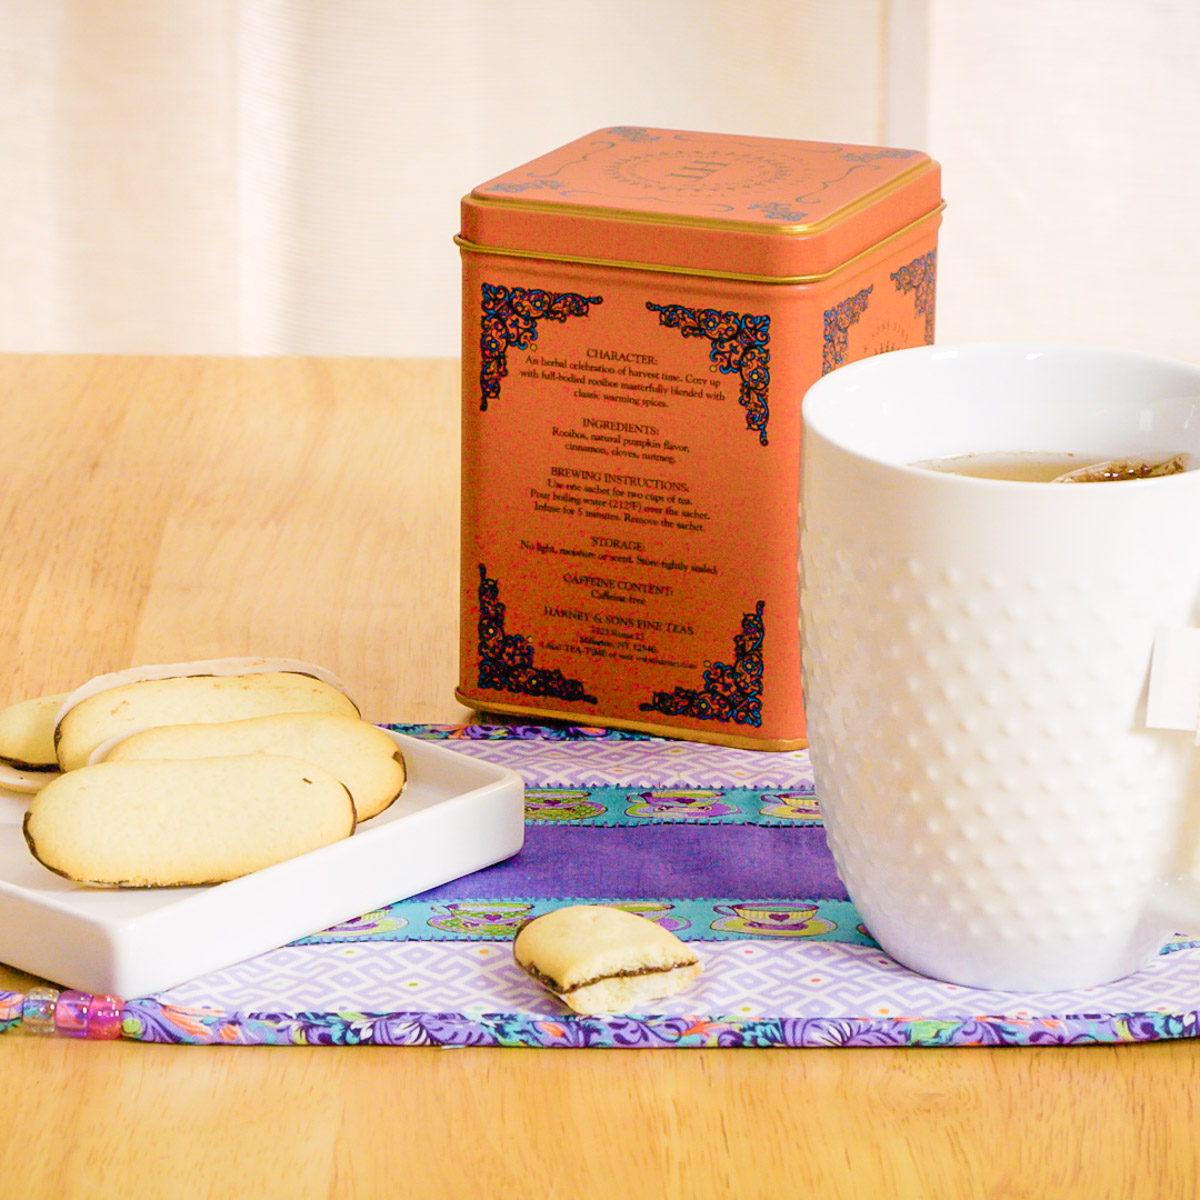
How to Make a Flatlock Snack Mat
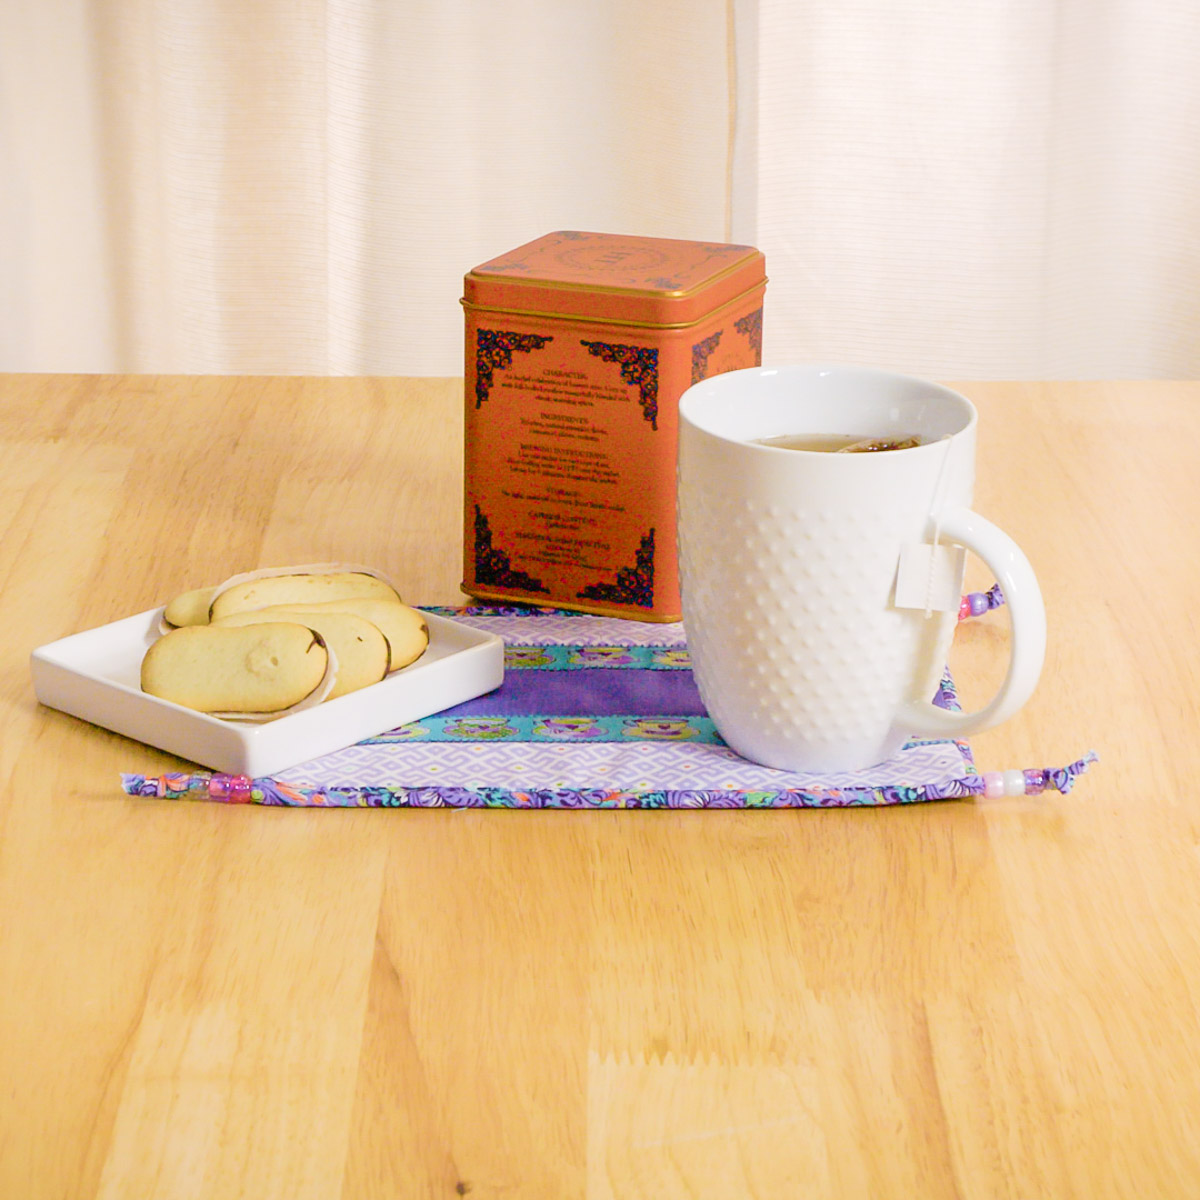
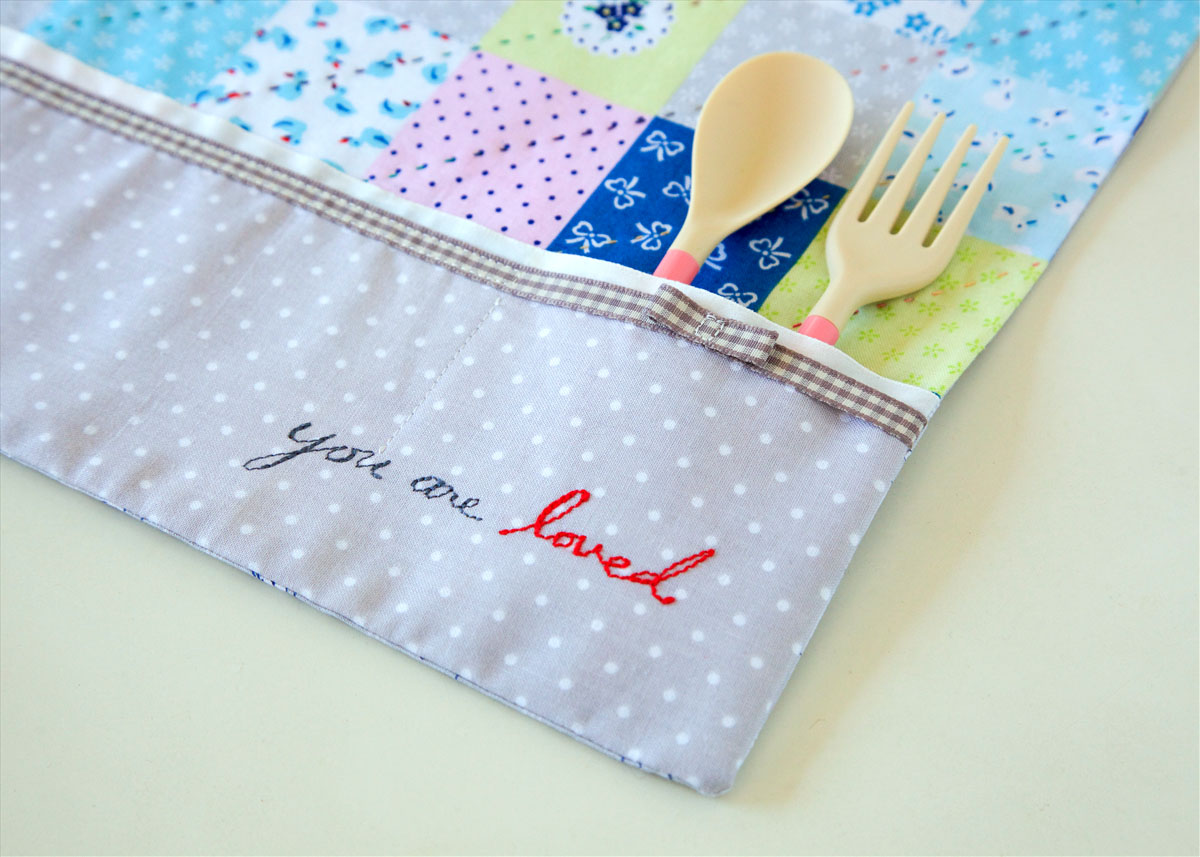
You are probably familiar with mug rugs, those handy oversized coasters for your favorite beverage. I find I also like a little snack with my mug of something, so I’m renaming this a snack mat! It’s a great scrap project and I’m adding fun details with ribbon and beads from my crafting stash.
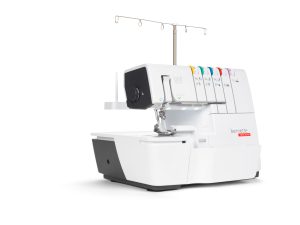
I stitched mine on the bernette 68 AIRLOCK, which is an air threading combo machine. It made the construction easy breezy.

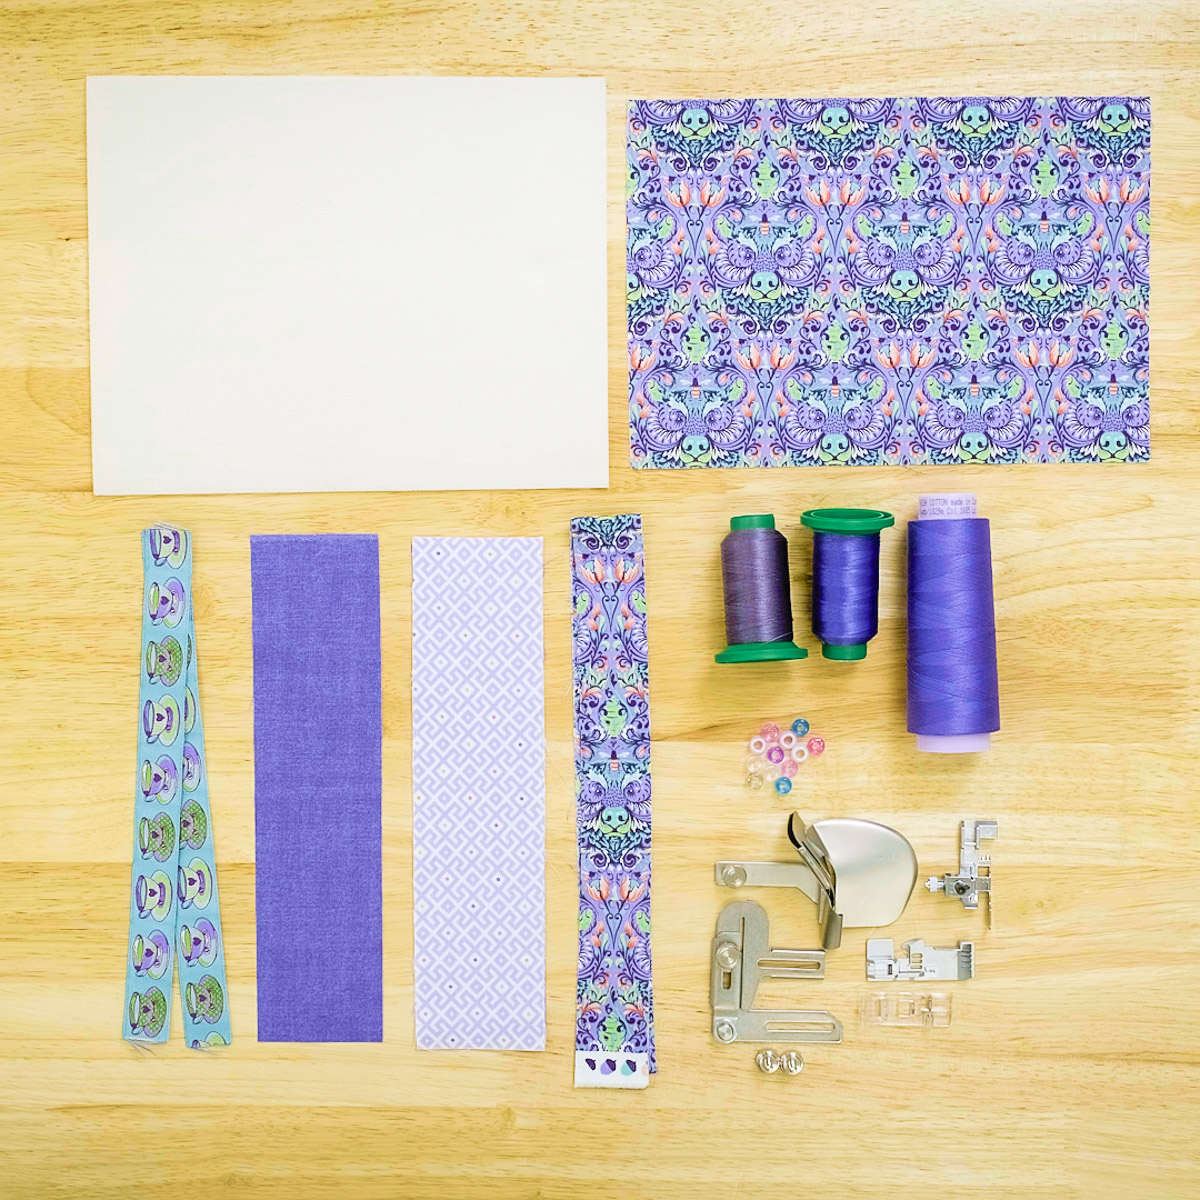
Materials for Making a Flatlock Snack Mat
- bernette 68 AIRLOCK
- Blindstitch Foot
- Presser Foot Spring (if using bernette 64 or bernette 68)
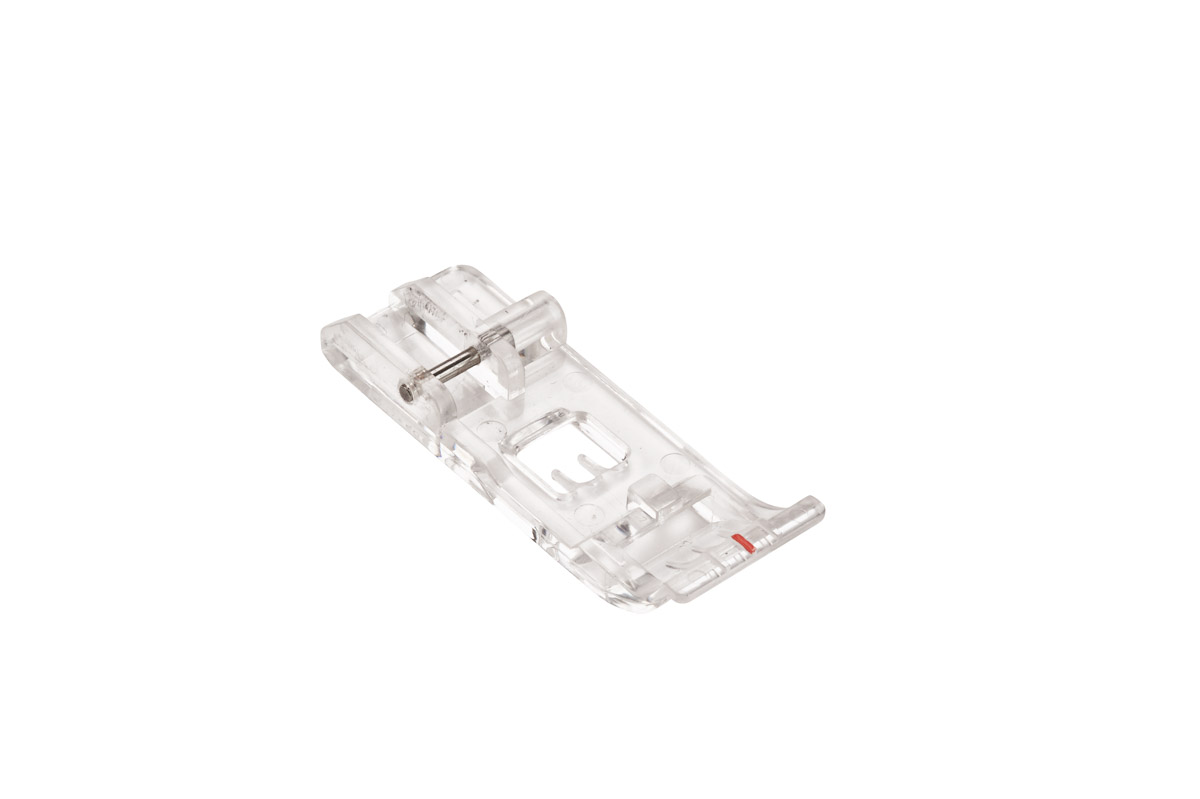
- Standard Presser Foot with Clear Sole
- Double Fold Binder Attachment #C21 and Accessory Holder
- Three coordinating quilting cotton fabrics cut as follows:
- One 2 1/2″ x 10″ solid strip for center
- Two 2 1/2″ x 10″ print strips for borders
- One 1 3/8″ x width of fabric strip in a different print for binding AND
- One 7″ x 10″ print to match the binding for the back
- 20″ piece of 1″ wide woven ribbon, cut in half (two 1″ x 10″ pieces)
- 8″ x 10″ piece of In-R-Form Plus Double Sided Fusible Foam Stabilizer
- Three spools of thread to coordinate with fabrics
- 12 pony beads (available at your local craft store)
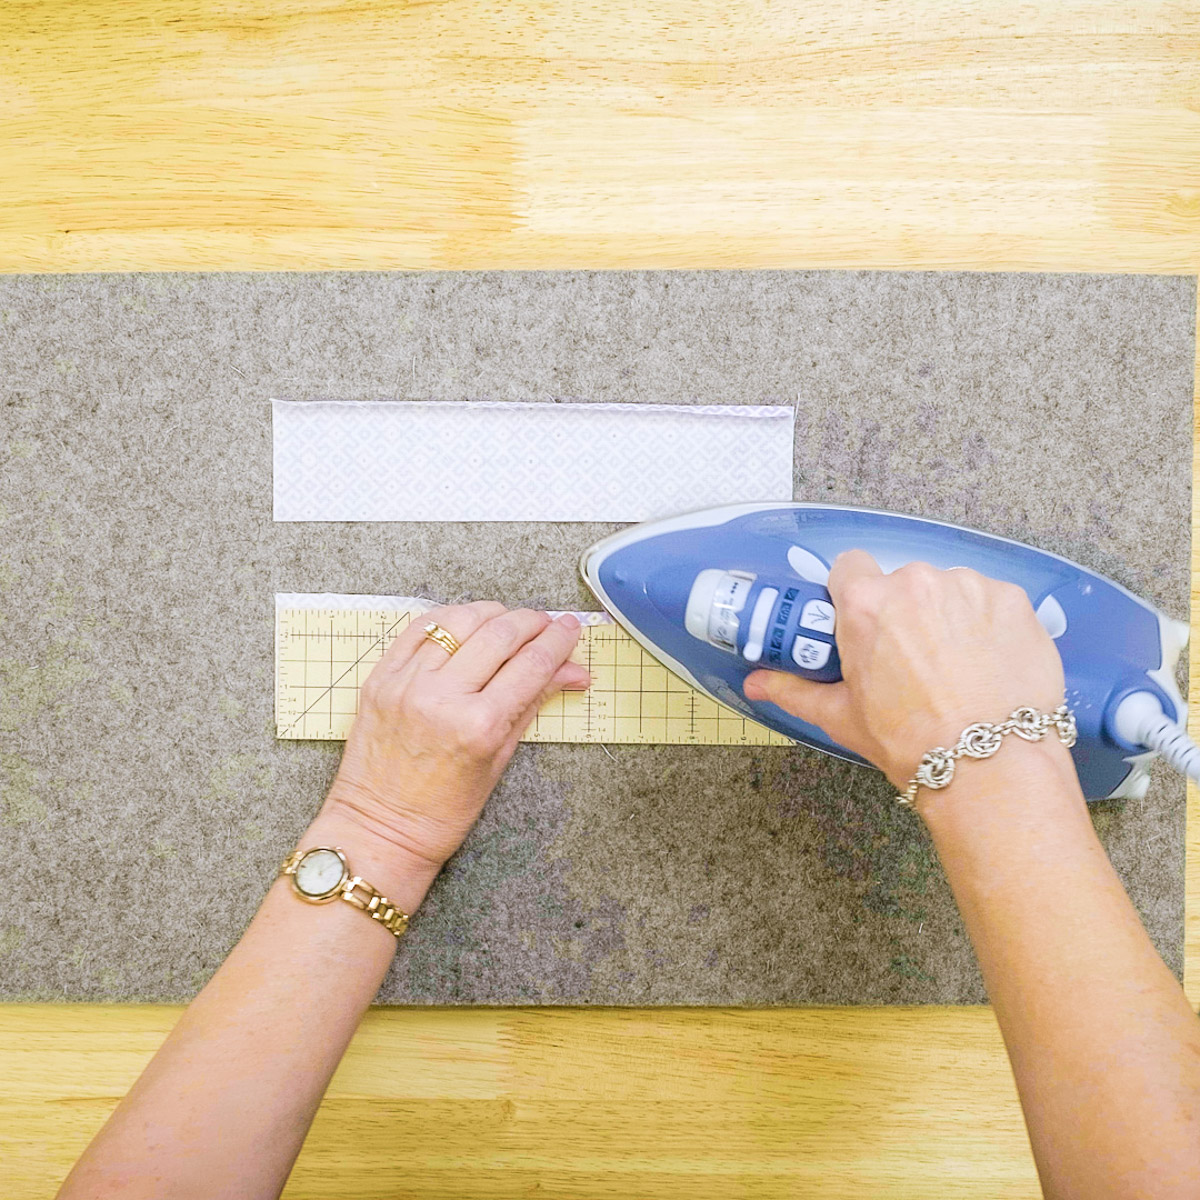
Step 1: Sew Center Strip
Let’s get started!
Begin by pressing 1/4″ to the wrong side on both long edges of the solid center strip. Press under 1/4″ on one long side of each print border strip.
Set your machine for a 3-thread Flatlock Narrow (RN).

Lower the knife. Increase the Cutting Width to 7 and move the Micro Thread Control (mtc) Lever to (+). These two adjustments move the stitch finger and allow for a flatter flatlock. The goal is to have the folded edge of the fabric lay right next to the edge of the ribbon when the flatlock is opened.
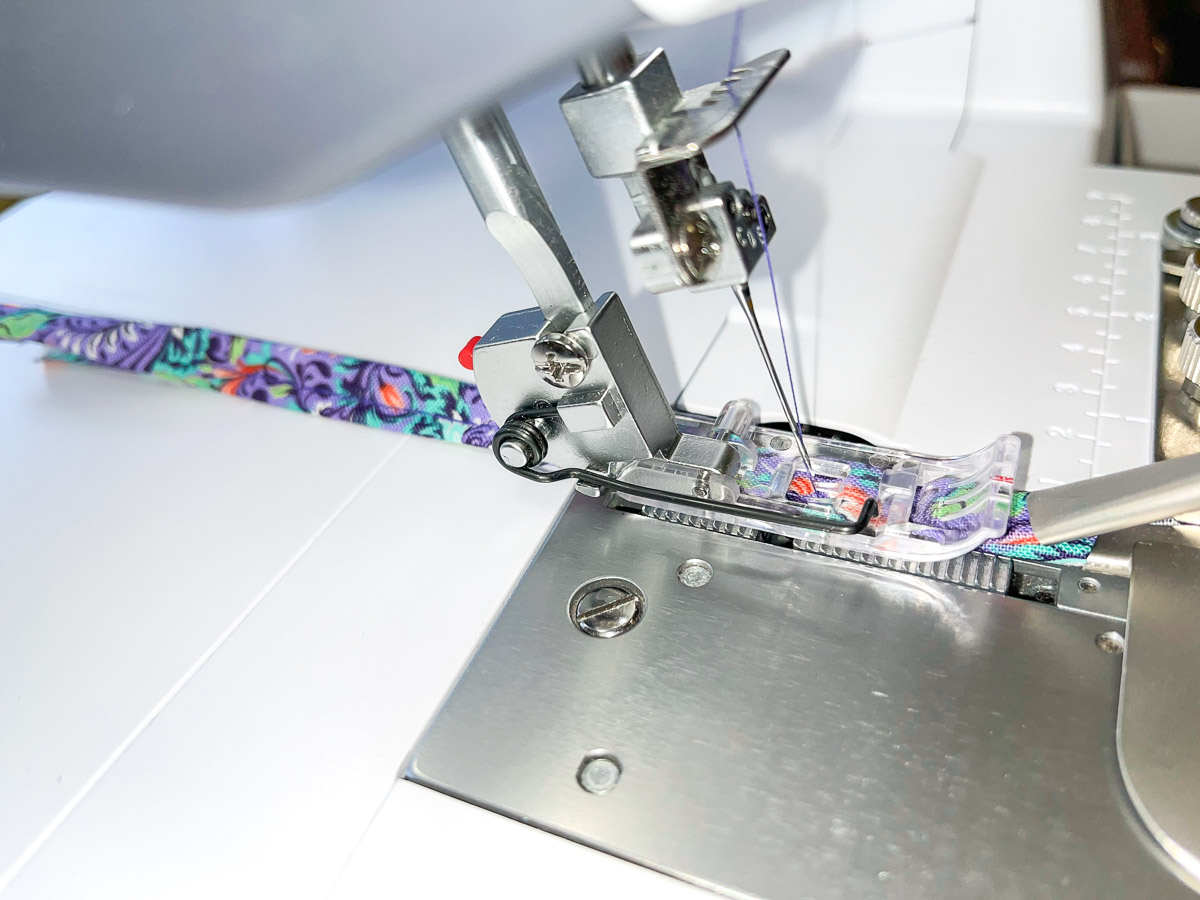
Attach the Blindstitch Foot. Note that on the b64 and b68 AIRLOCK machines, you will also need to change to the shorter presser foot spring for this foot. Click HERE for directions on how to do that.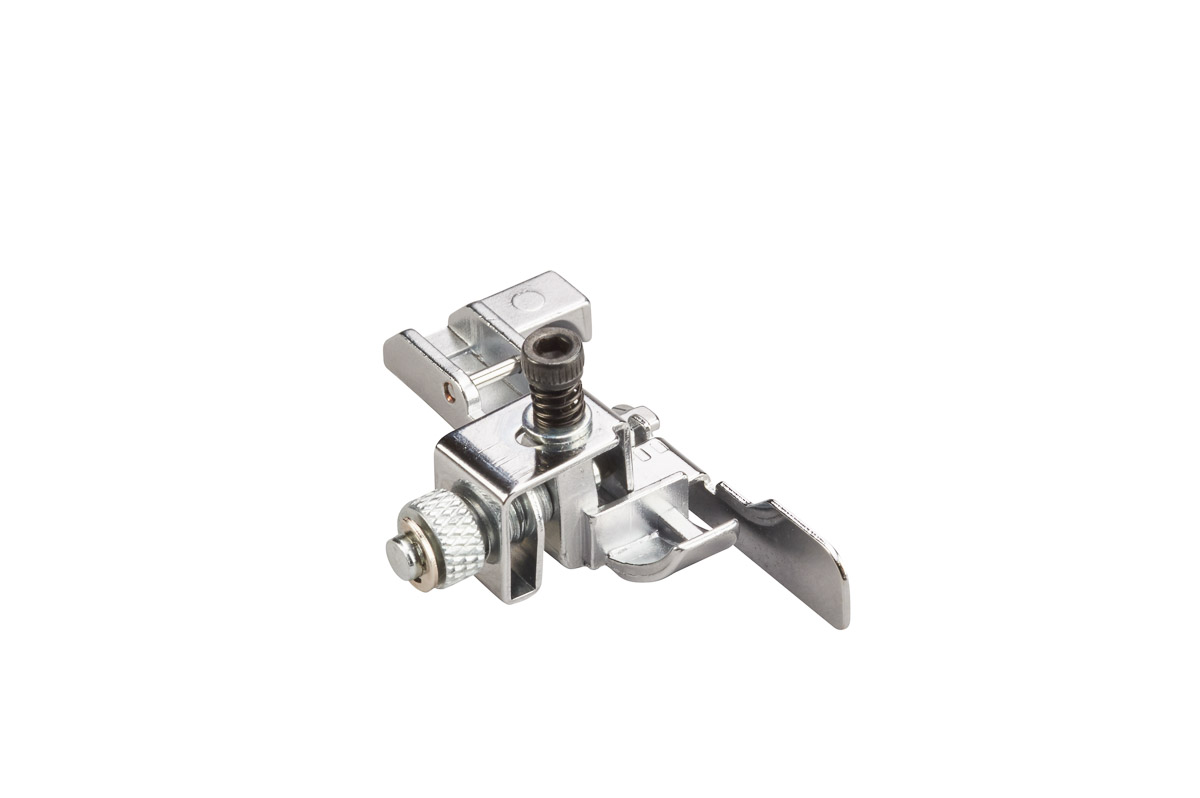
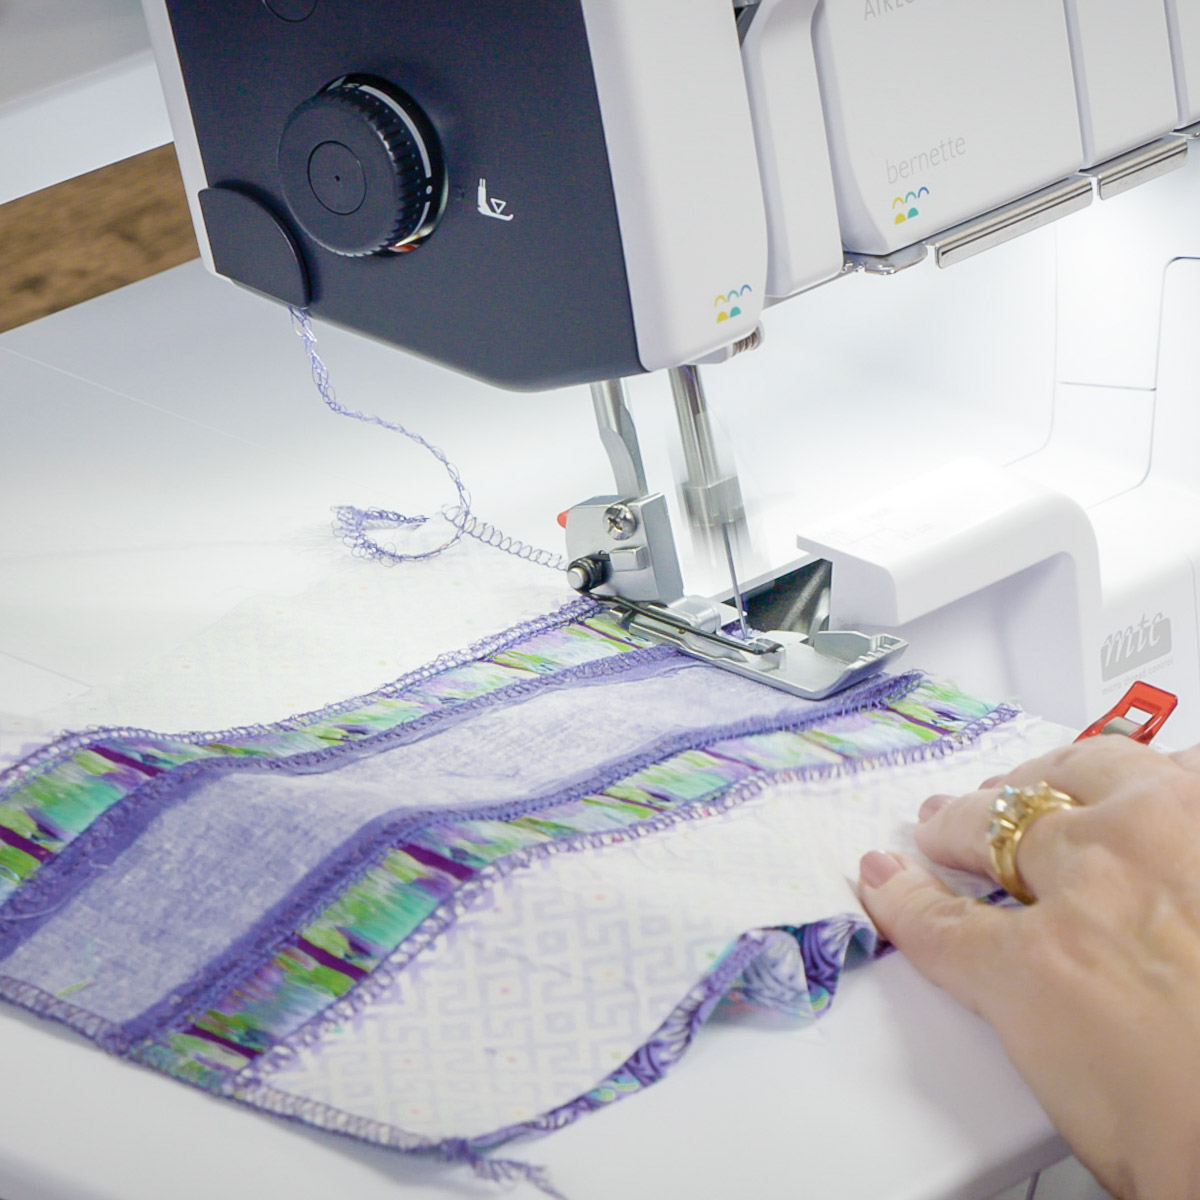
Adjust the guide on the foot so that it is as far right as it can go. I find this guide very handy for perfect placement of a flatlock stitch. The needle should be hitting close to the edge of the fabric.
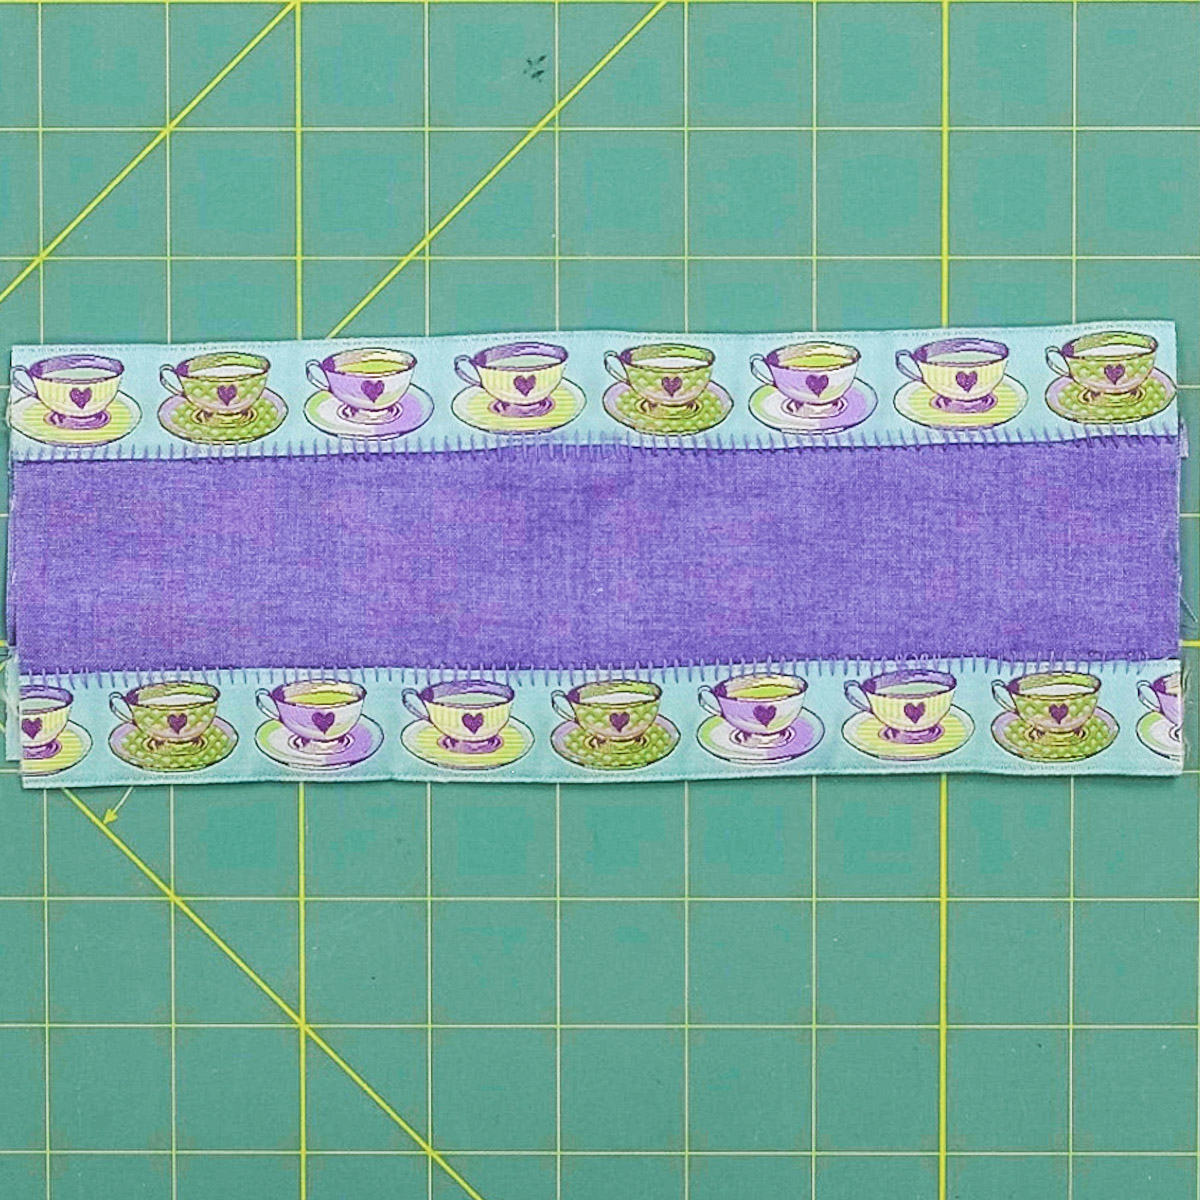
Place the ribbon right sides together with one folded edge of the solid center strip. Stitch the flatlock with the ribbon on top, guiding along the blade of the blindstitch foot.
Pull the fabrics apart to reveal a ladder stitch joining the fabric and the ribbon.

Repeat on the other side of center strip with the remaining piece of ribbon. Pay attention if using directional ribbon!
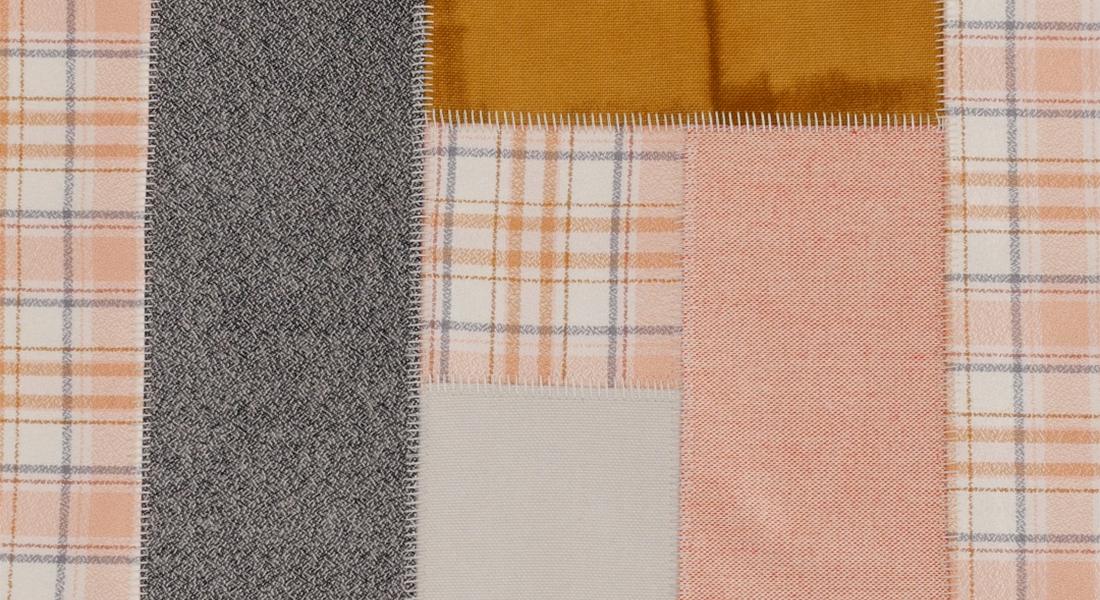
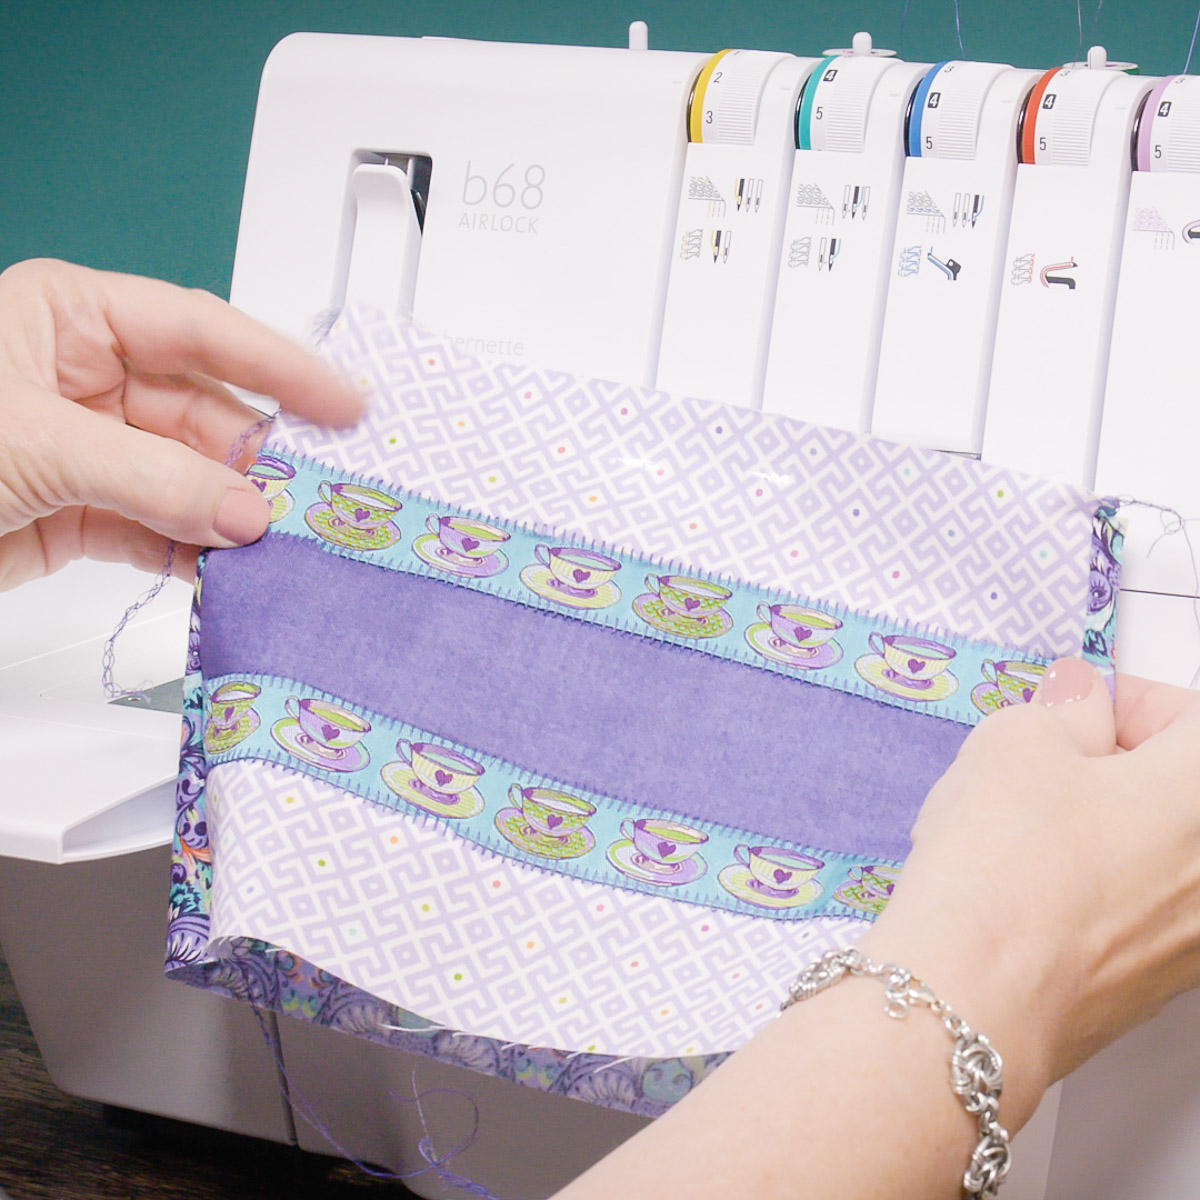
Step 2: Add Border Stripes
Add the print border stripes to ribbon, stitching with ribbon and fabric right sides together and the ribbon on top of the folded edge.
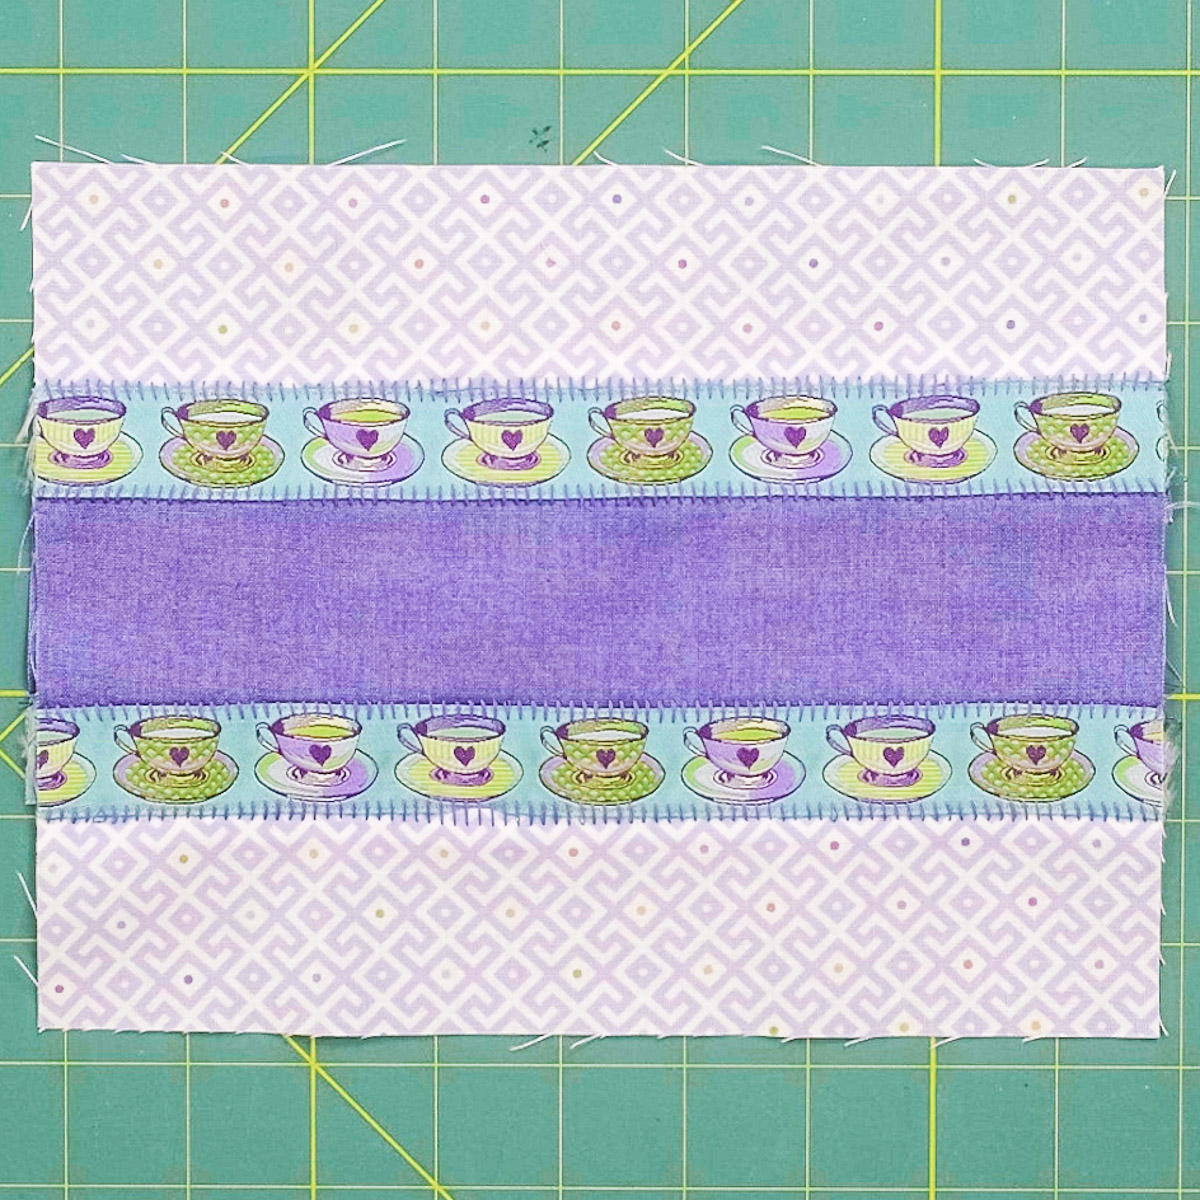
Press and trim to 7″ tall and 9″ wide. The backing fabric is 7″ x 10″ and is supposed to be longer than the front.
Step 3: Sew Front & Back Together
Set machine for a 3-thread Overlock Narrow (RN). Leave the Cutting Width at 7 and return the mtc to the default setting. Engage the knife. Attach the Standard Presser Foot with the Standard Presser Foot Spring.

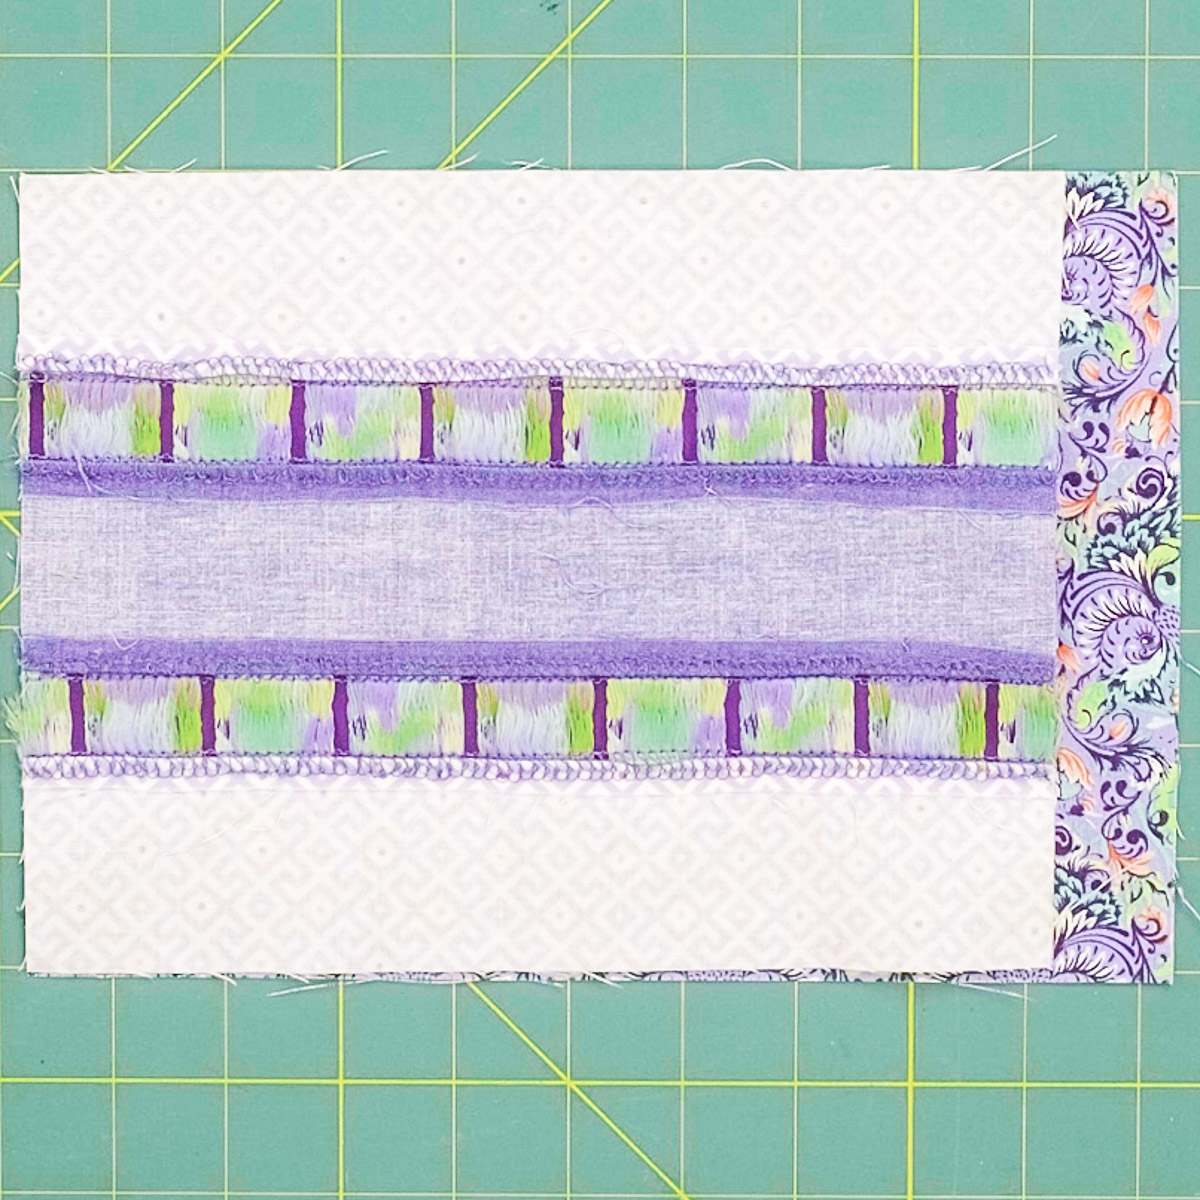
Place front and back right sides together, aligning the short edges on one side. Stitch, skimming the blade. Repeat on other short edge, aligning short edges of the front and back on the opposite side.
Turn right-side out and press. About 1/4″ of the back wraps over each short edge to the front side to create a faux binding. The seam allowances are in the binding.
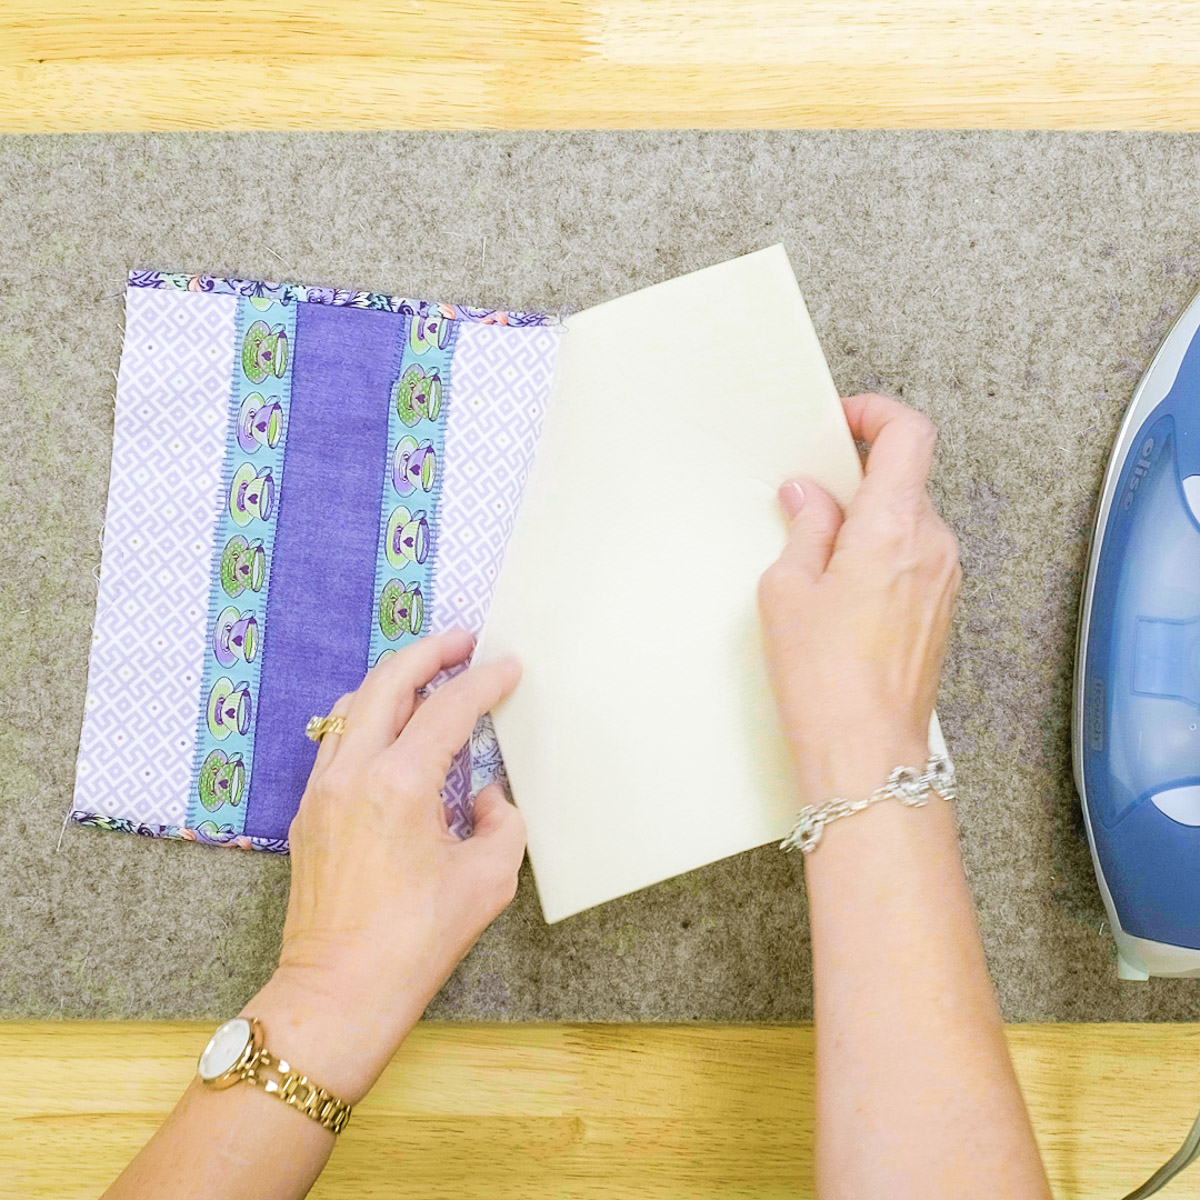
Step 4: Add Stabilizer & Binding
Trim the foam stabilizer to fit and insert between the layers. Press to fuse.
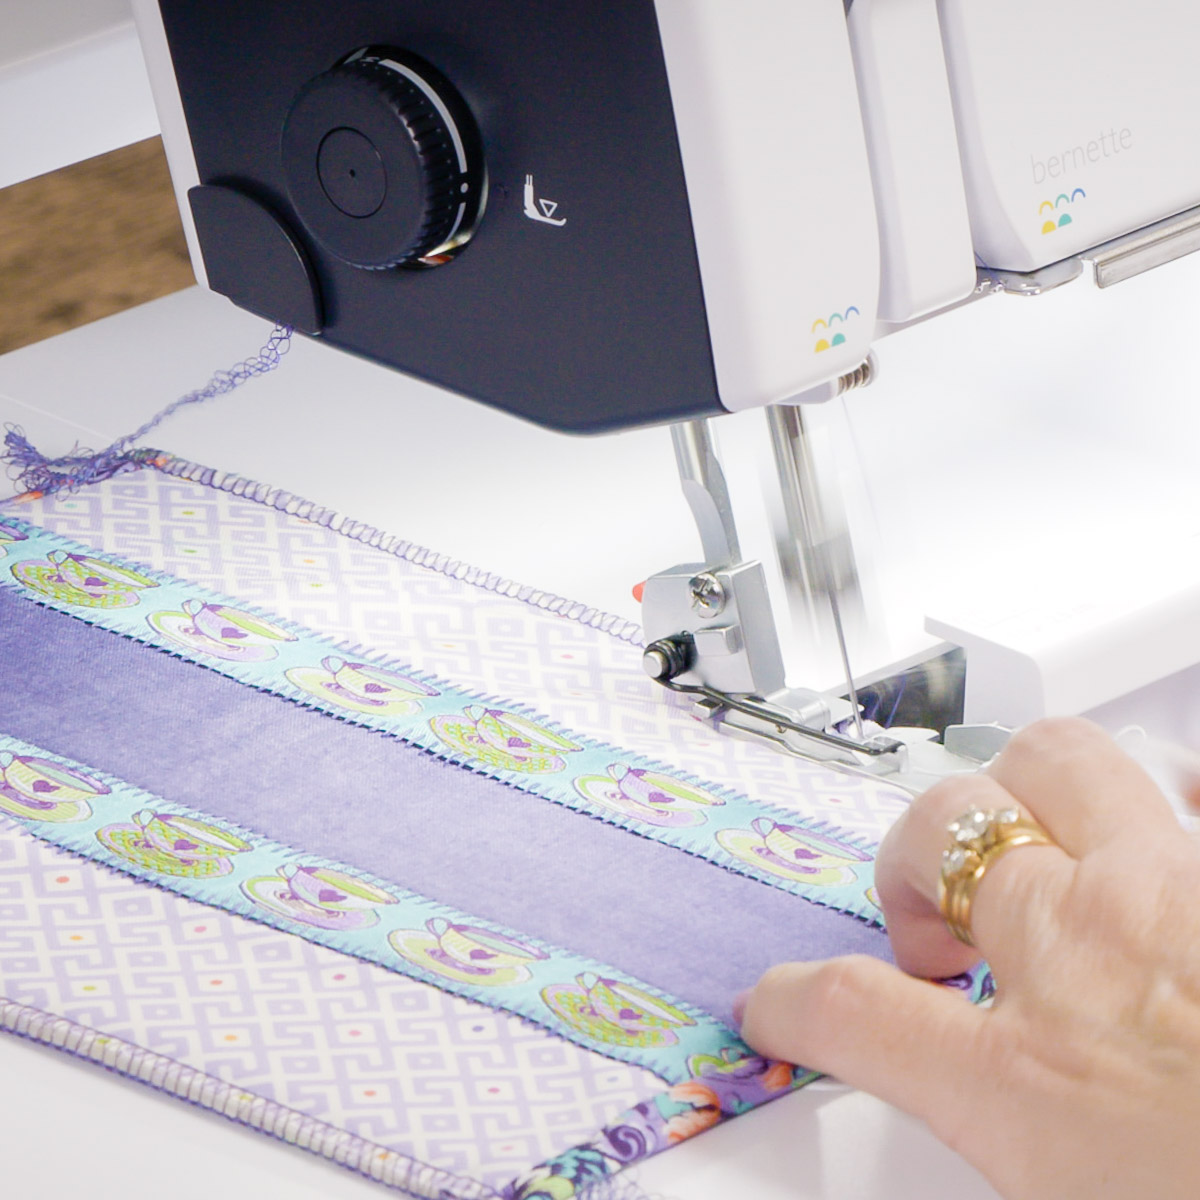
Decrease the Cutting Width to 6 and increase Stitch Length to 3. Stitch both long edges, skimming the knife. This will compress the edges together to make binding easier.
Set machine for a 2-thread Chainstitch CC.

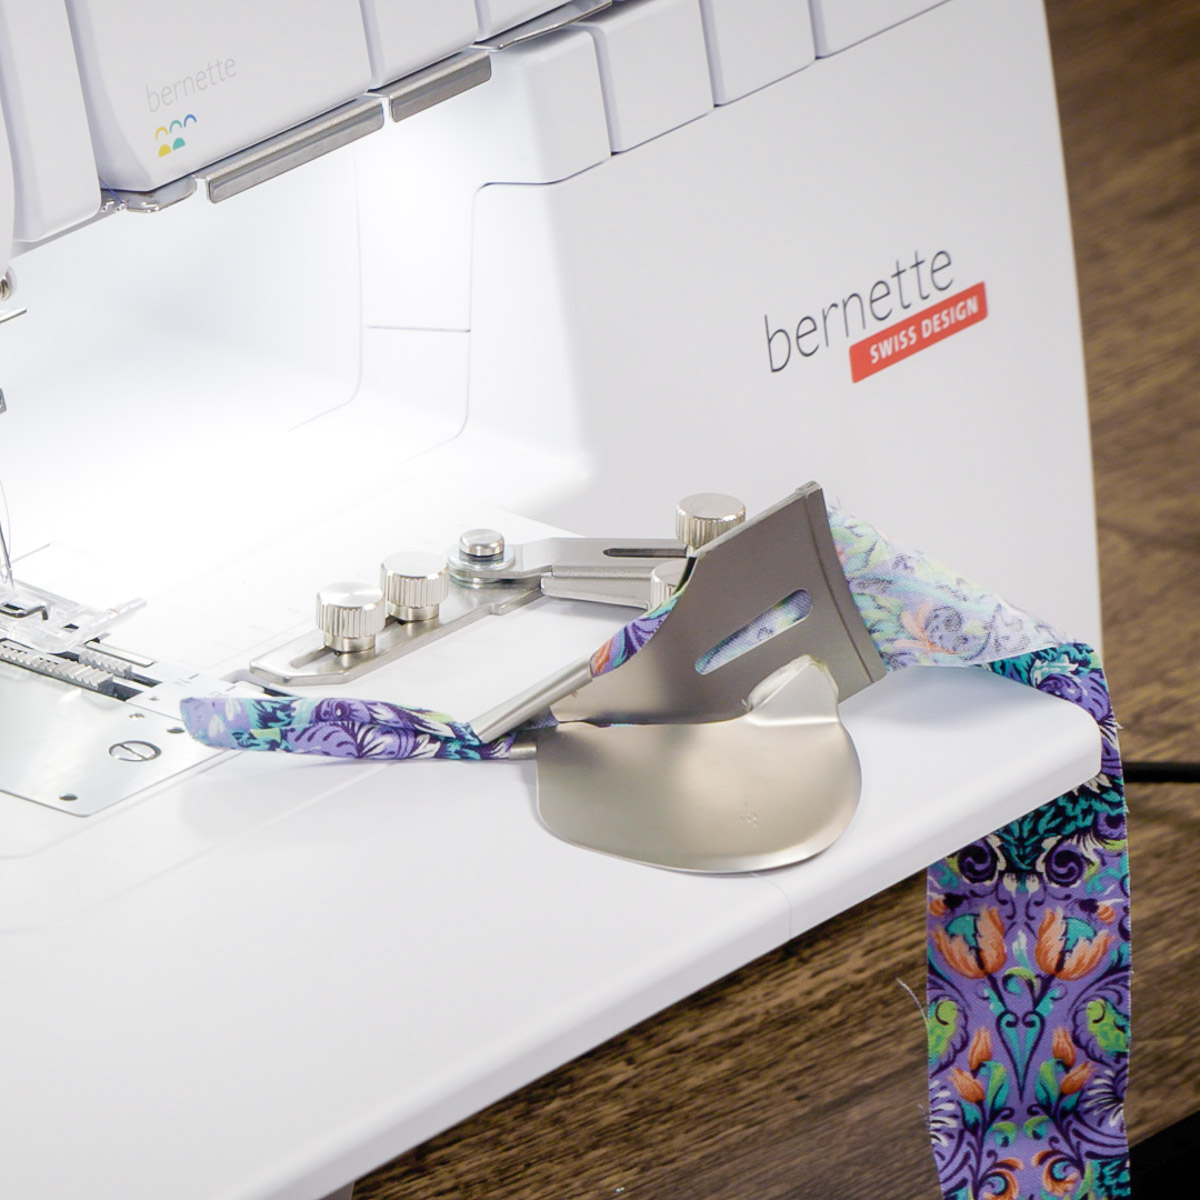
The binding on the long edges is going to be quick and easy using the Double Fold Binder Attachment #C21 and the Accessory Holder for the Binder Attachment.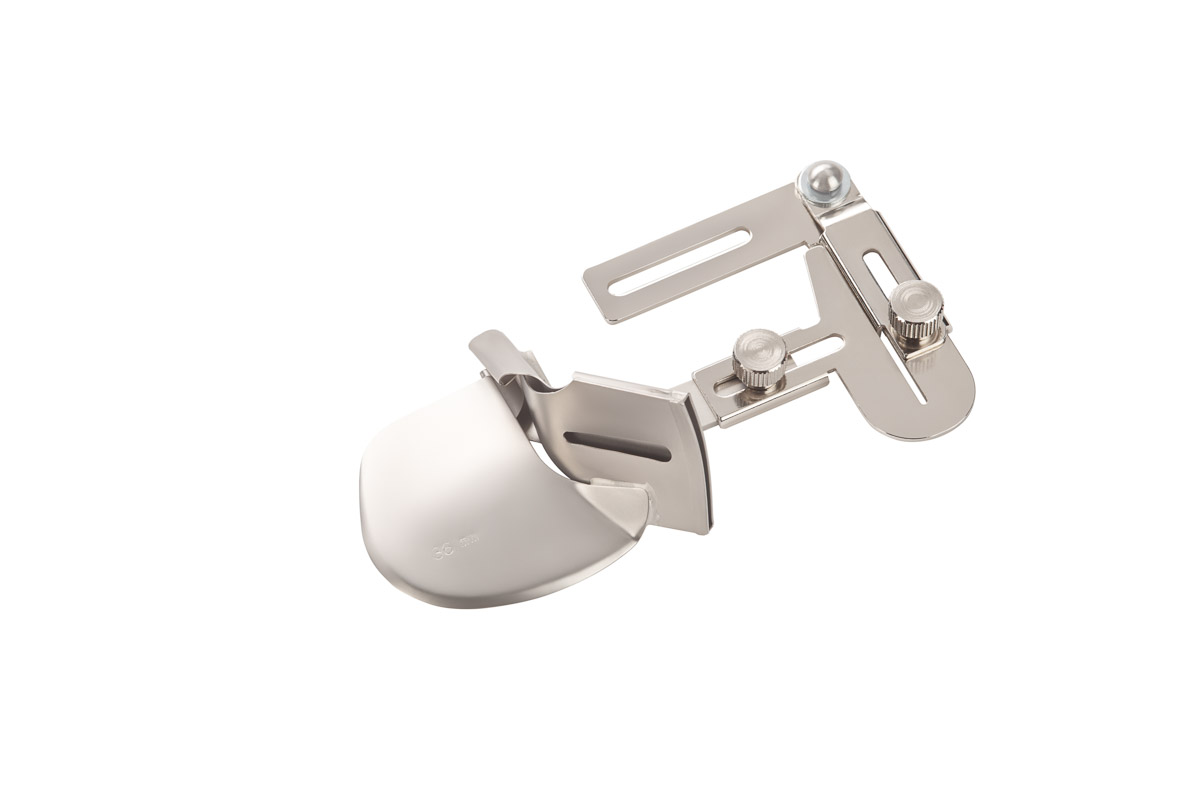
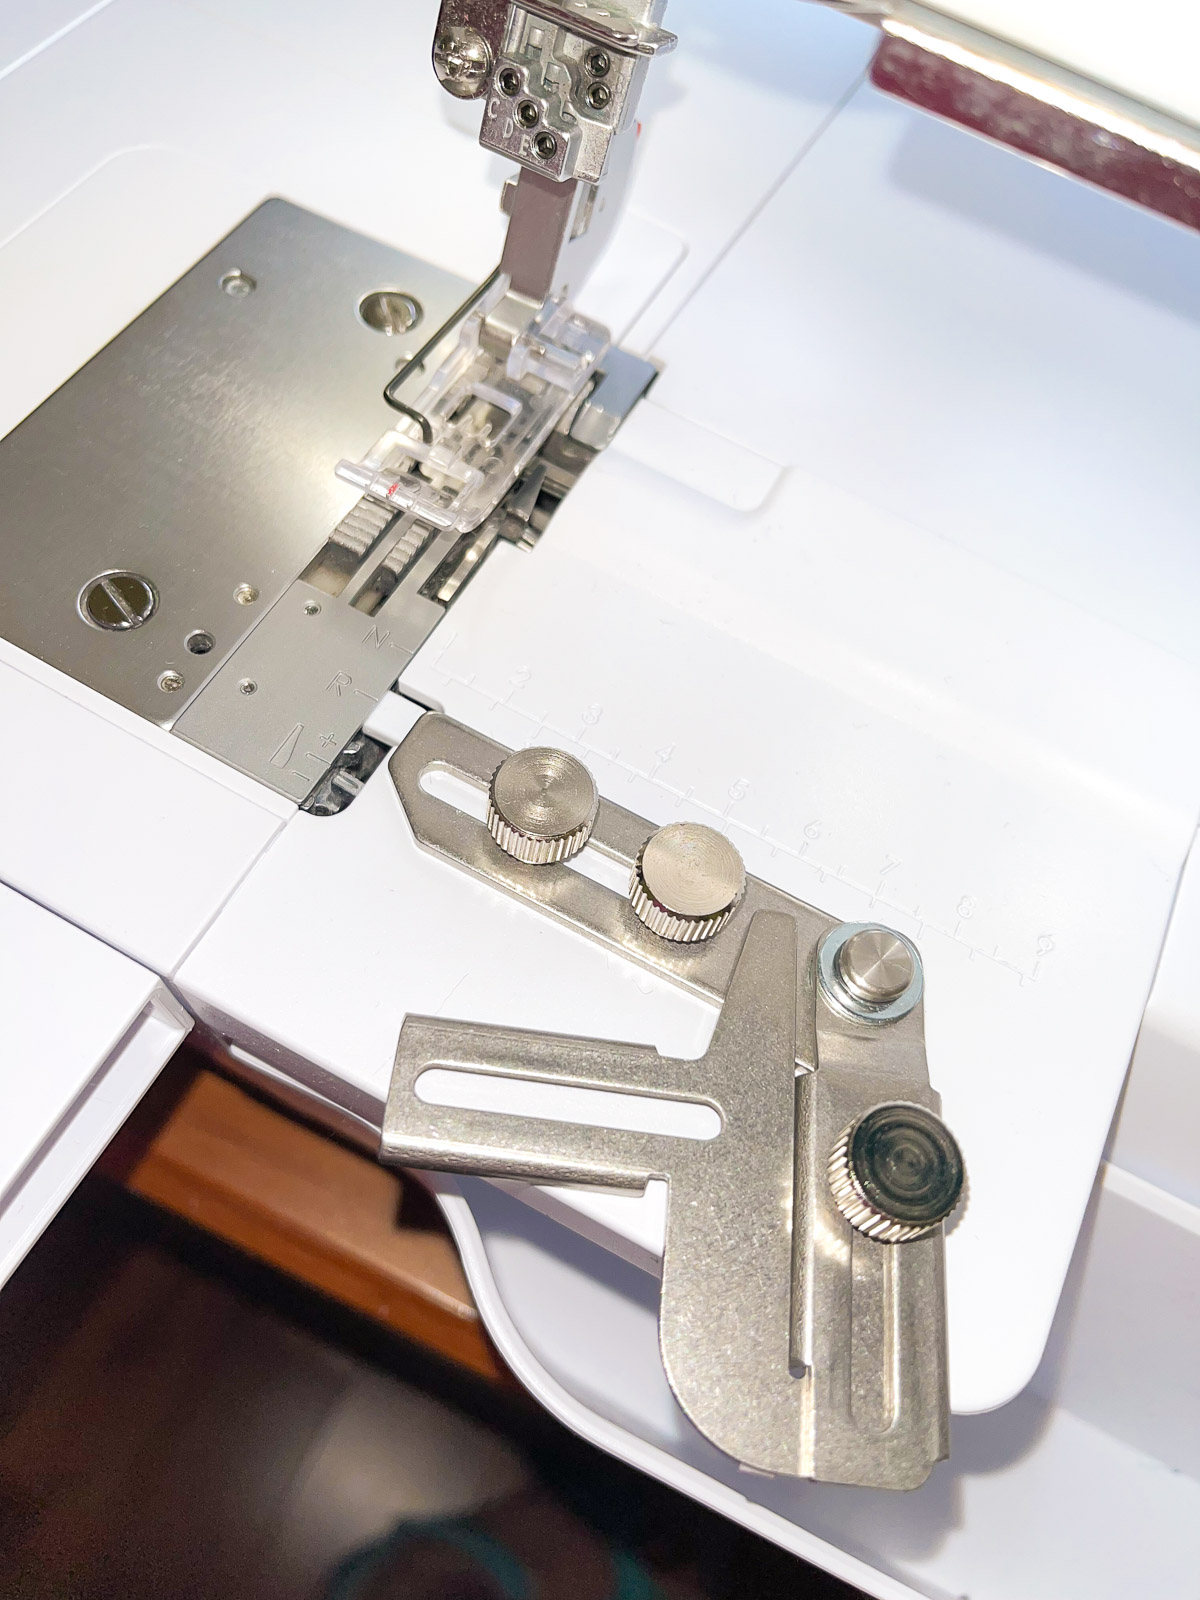
Attach the Accessory Holder to the bed of the machine. Use both included screws to secure. (You will notice a second set of screws. They are for use with the BERNINA L 890.)
Insert the Double Fold Binder Attachment #C21 into the Accessory Holder and center in front of the foot.
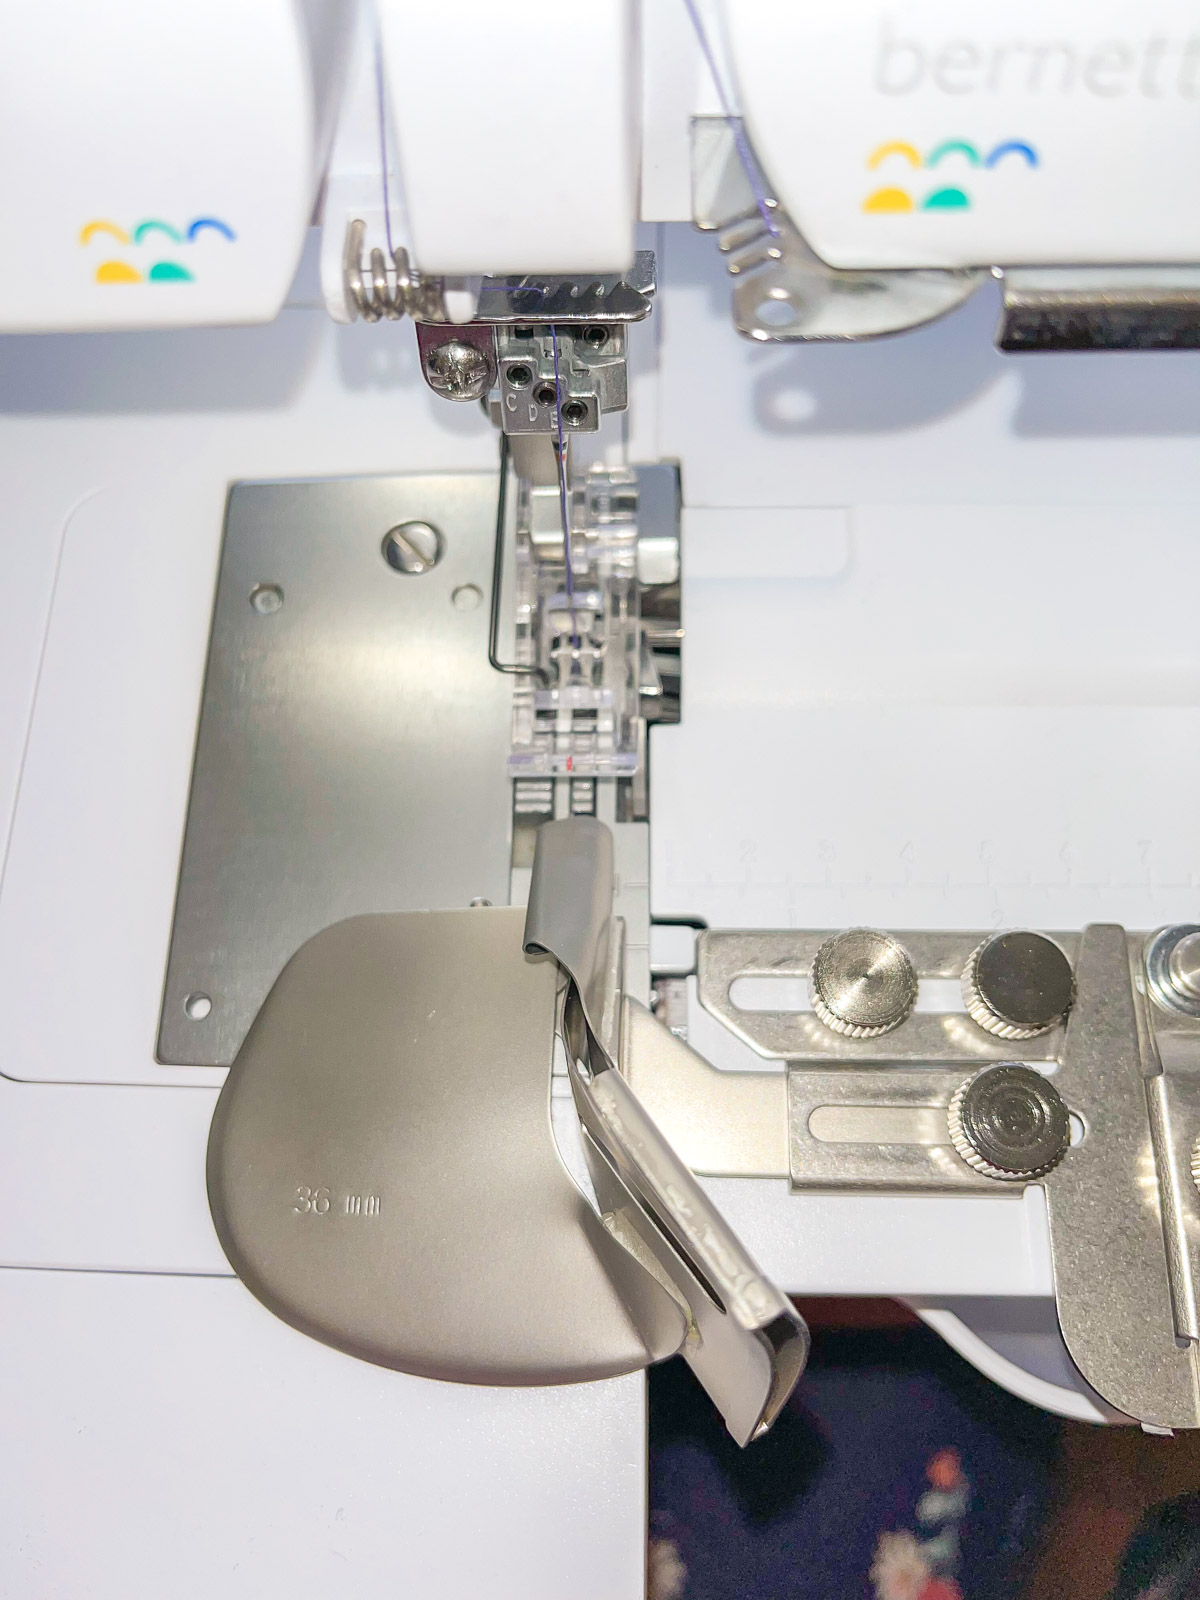
Use the Standard Foot with Clear Sole for better visibility.
Cut a point on the binding strip and insert into the binder attachment with the wrong side facing you. The attachment swings out to make this easy! Click HERE for more information on how to use the binder attachment on your overlocker.
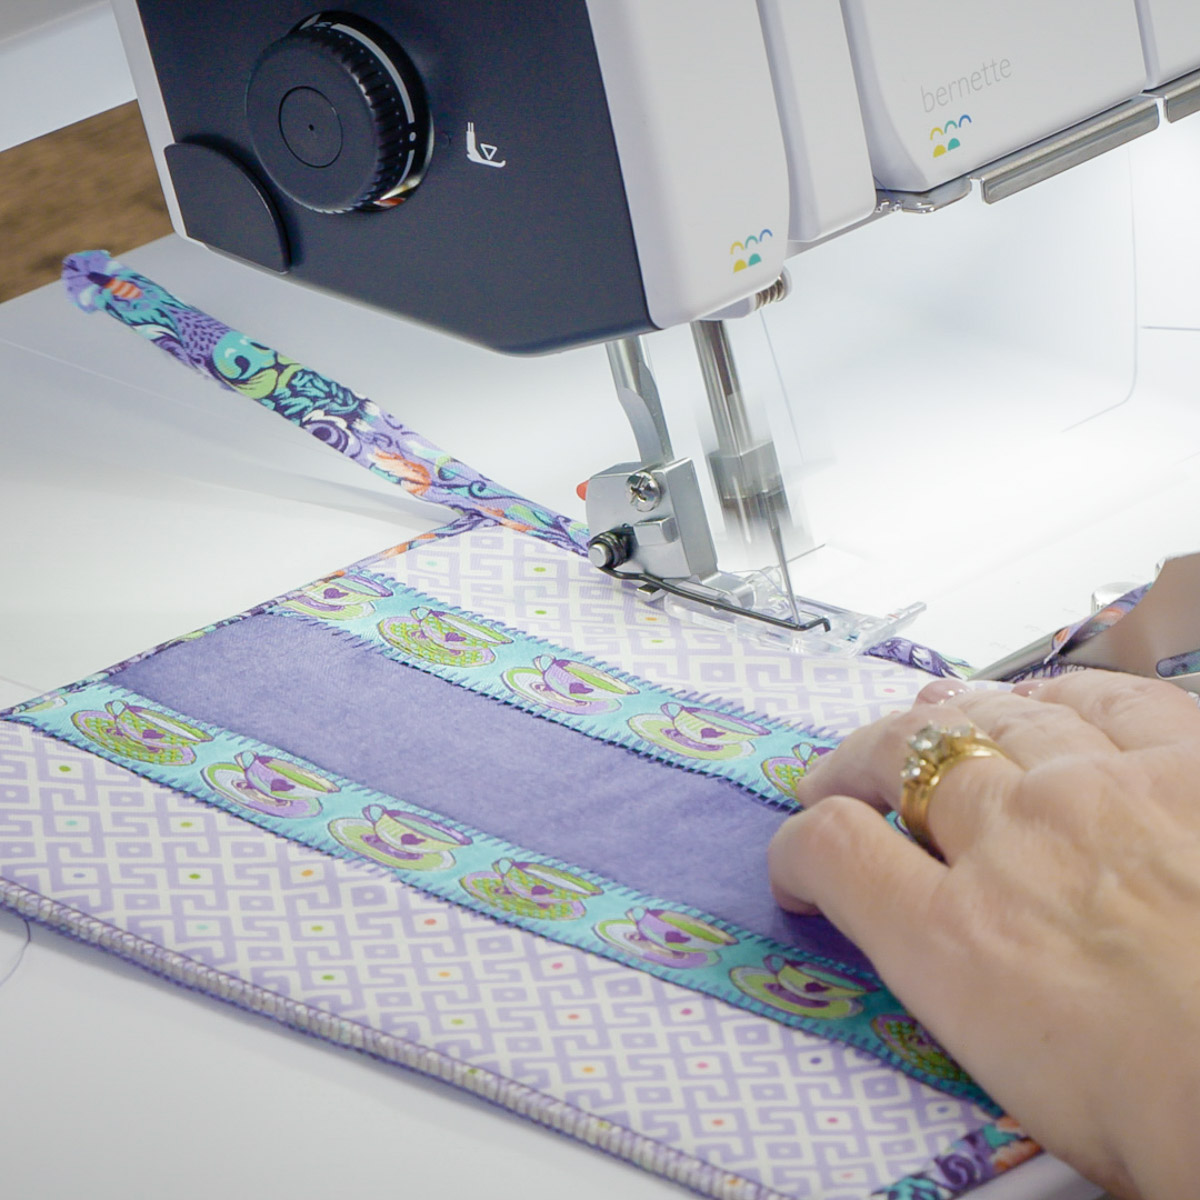
Sew just the binding for about 4″. The chainstitch should be about 1/8″ away from the left edge of the binding.
With the snack mat right-side up, snug it into the binder attachment up to the needle. Sew the binding to the long edge of the snack mat. Adjust the attachment placement as needed, especially if the needle gets too close to the edge of the binding fabric. Make sure that the binding fabric is feeding easily into the attachment.
Make a tail at the end by sewing about 4″ of just binding. Cut the binding BEHIND the foot.
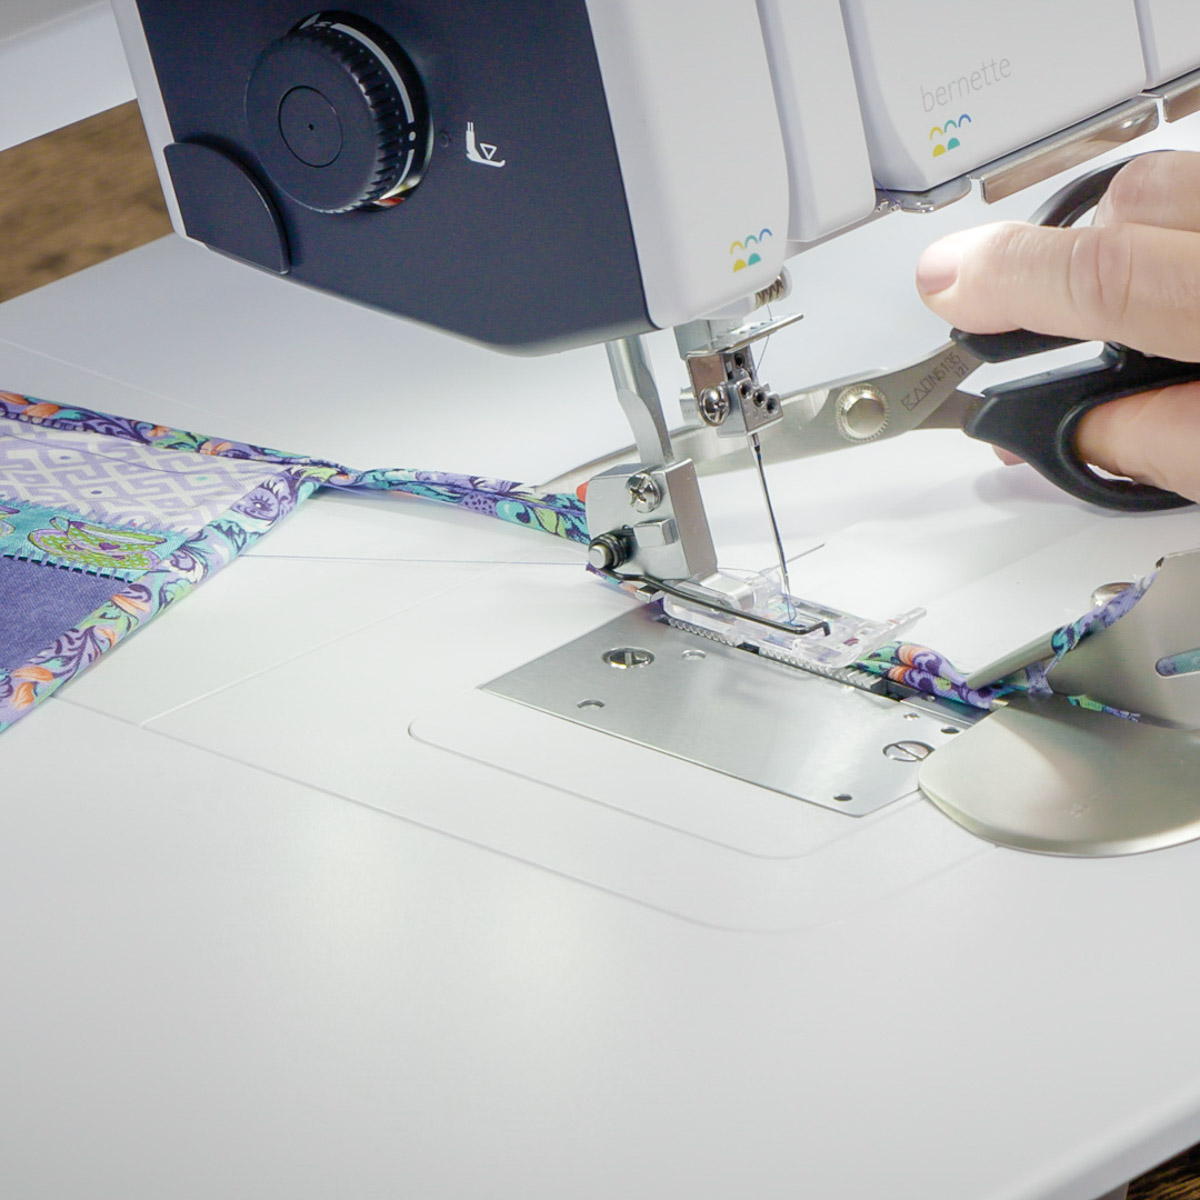
Repeat on the other side, starting with 4″ of stitched binding only. Then insert the snack mat and bind, leaving a 4″ tail at the end.

Step 5: Finishing
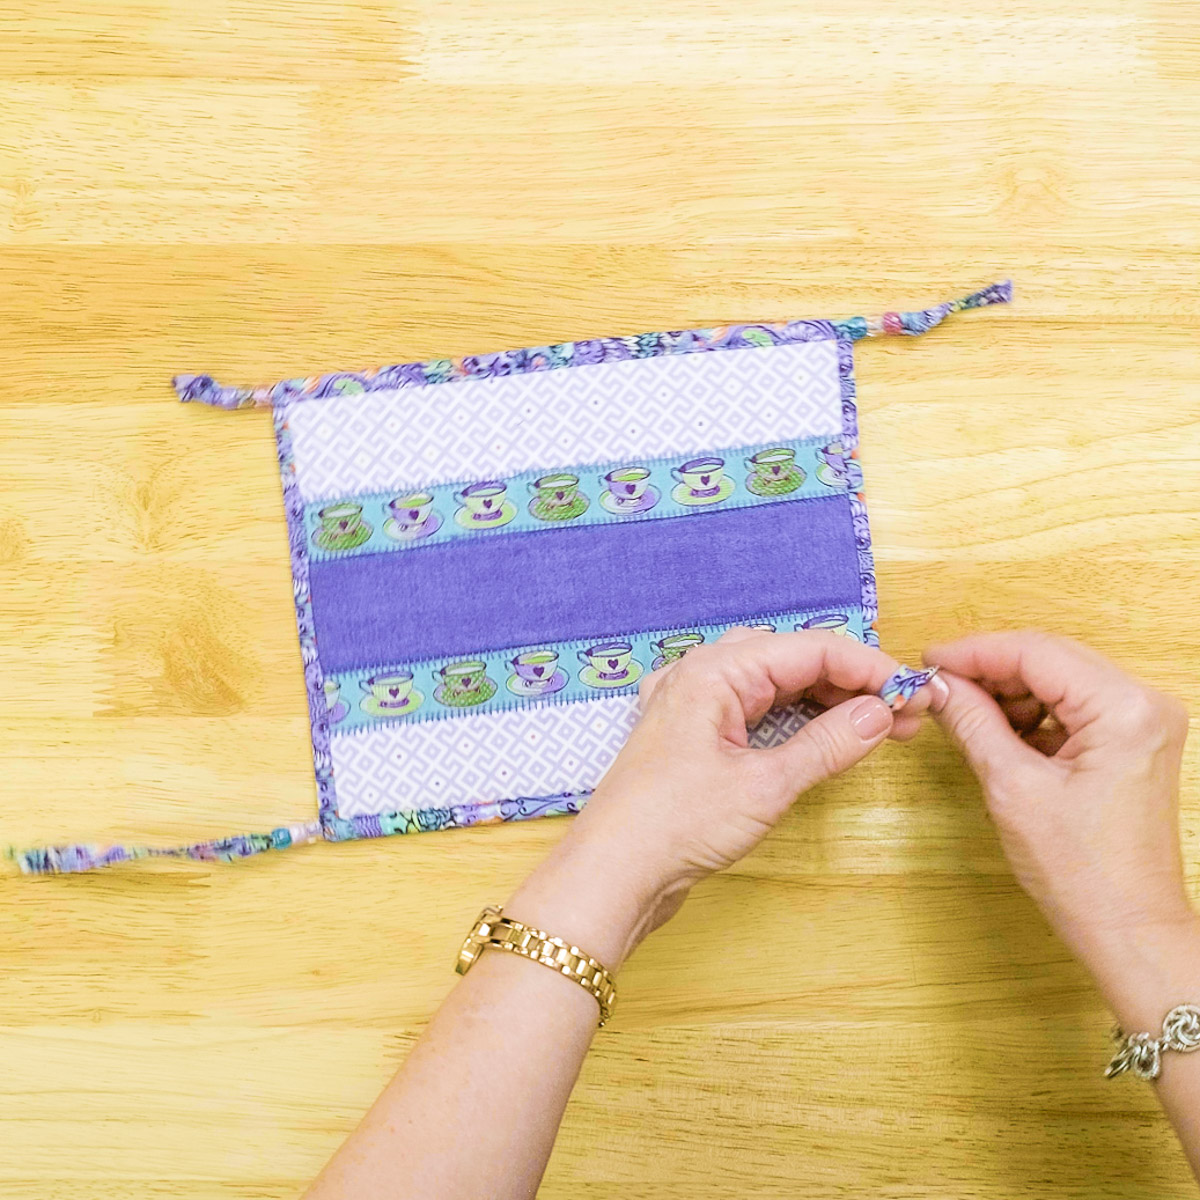
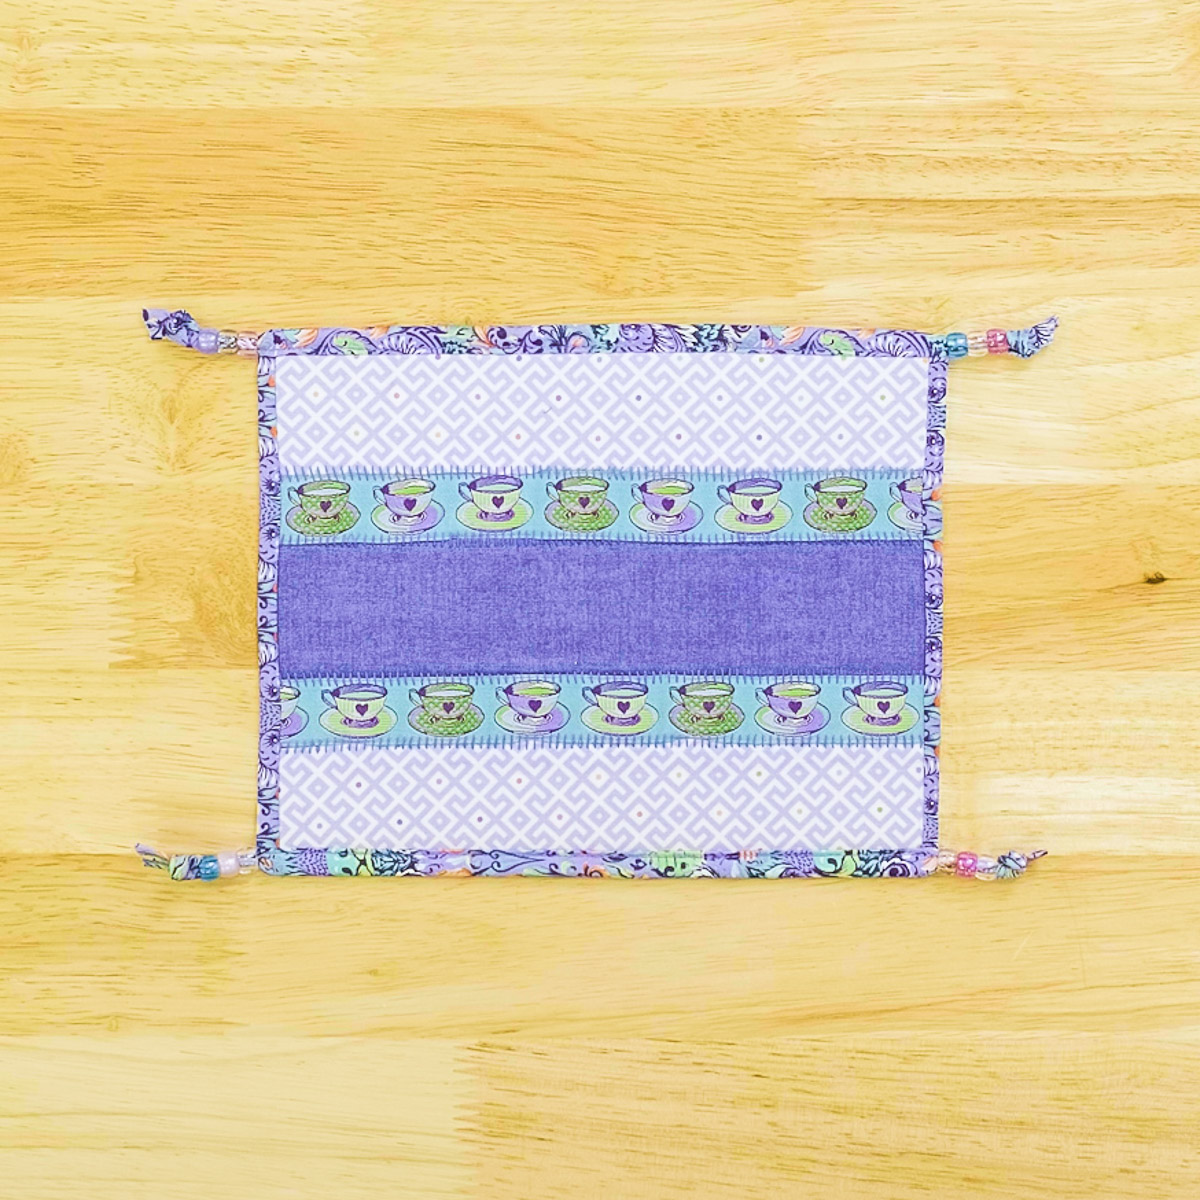
String three pony beads onto each binding tail. Then knot the ends and trim.
It’s time for a snack!
What creative fun will you have with YOUR overlocker? Until next time, happy serging!