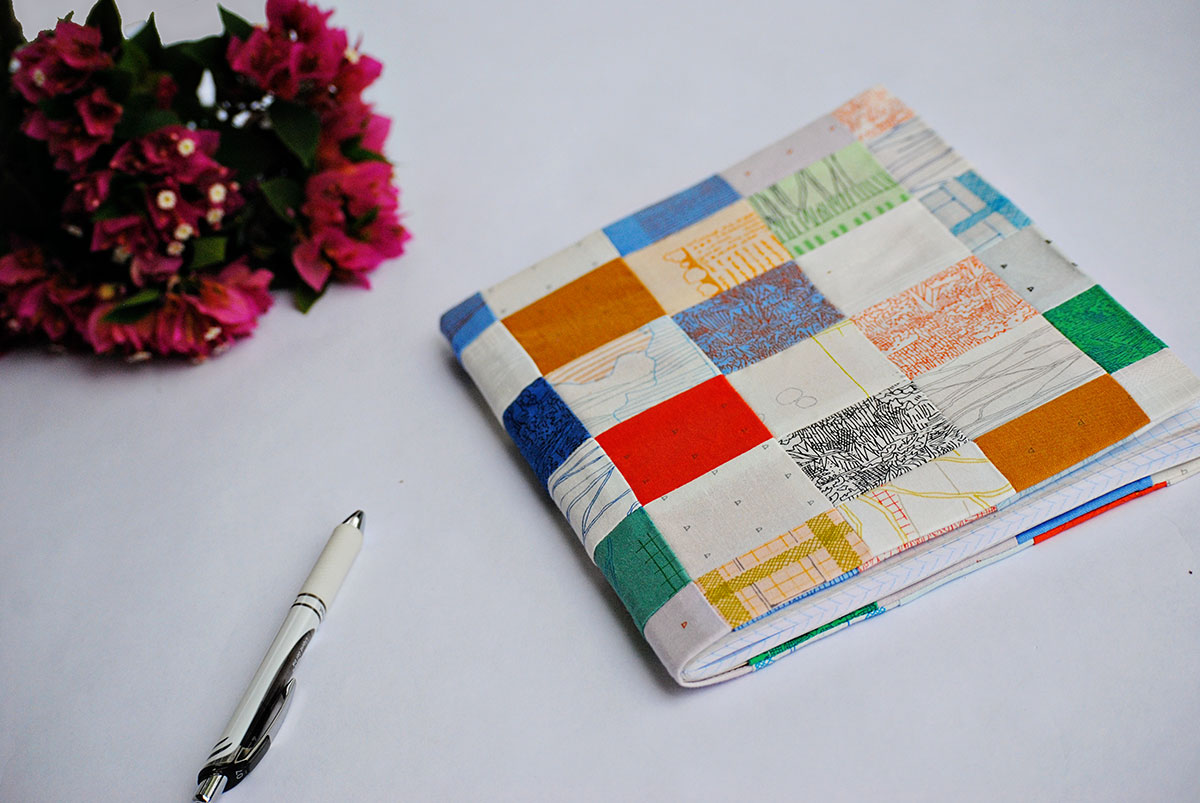
Notebook Wrap with the B 735 PE
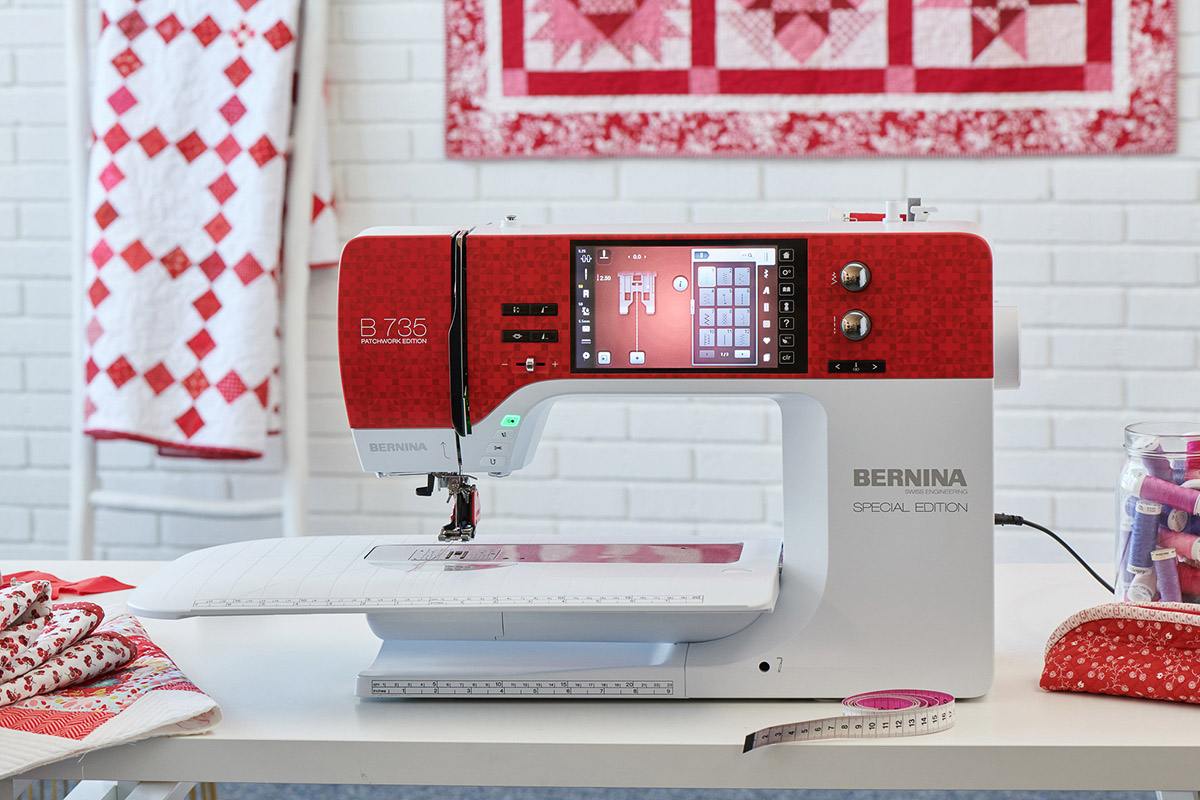
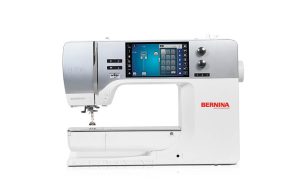
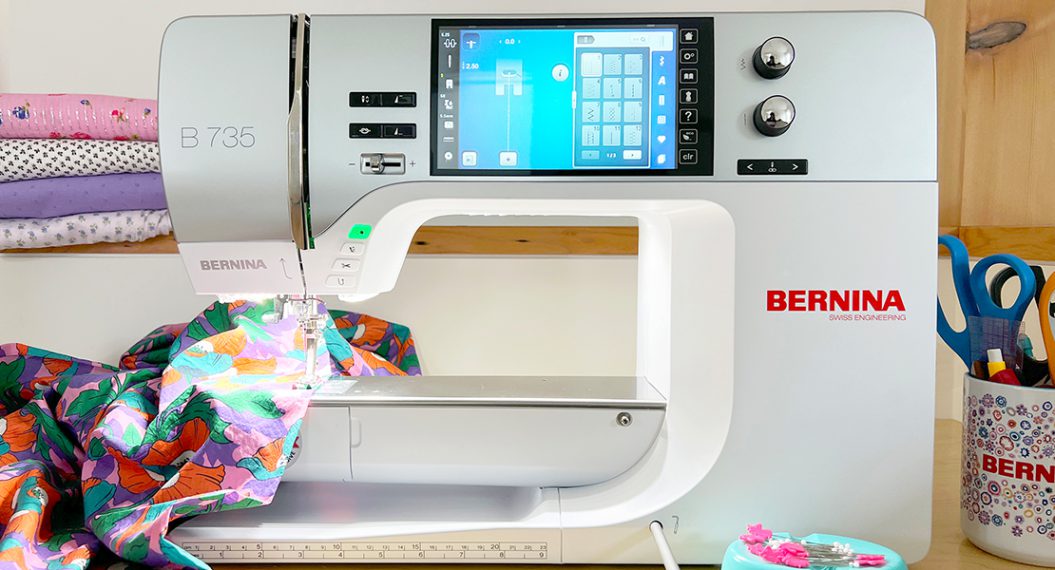
The BERNINA 735 Patchwork Edition has a beautiful patchwork faceplate in a stunning red that is calling my sewing room! With this machine, you get the benefits of a 5.5 mm feed dog and the features of a BERNINA 7 Series machine. And if that wasn’t enough, it also comes with the Patchwork Foot #37 and RED Walking Foot #50! Yep, I said RED! Oh, and there are three gift options with the purchase of this machine: embroidery, quilting, or sewing! Choose from an SDT embroidery module, a BERNINA Stitch Regulator with rulers, or an L 460. Your local dealer has all the info for you.
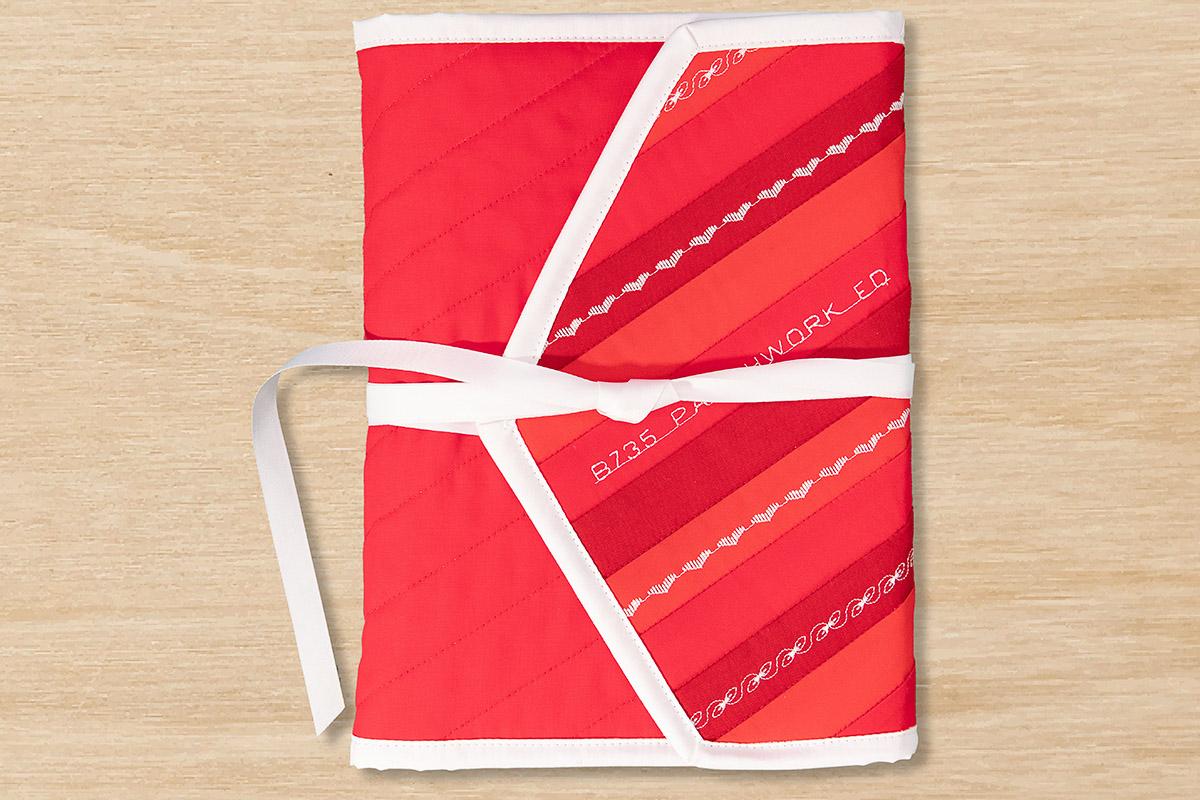
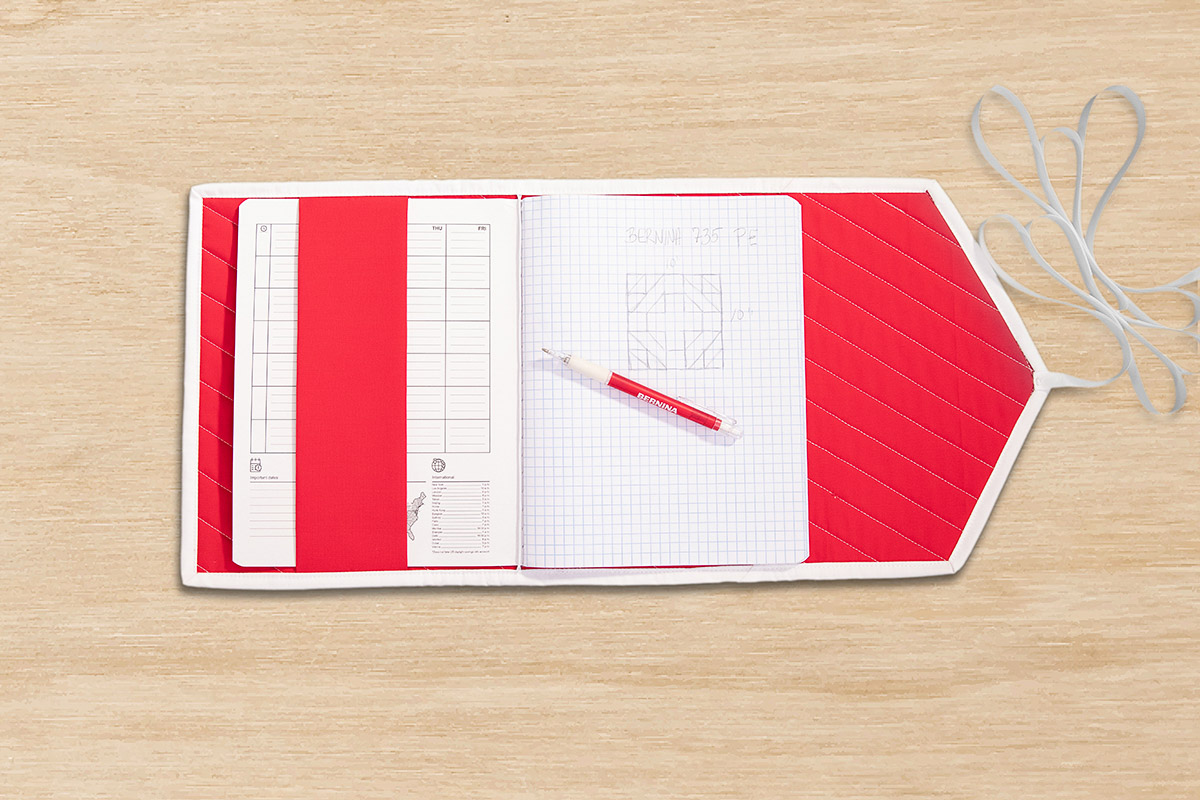
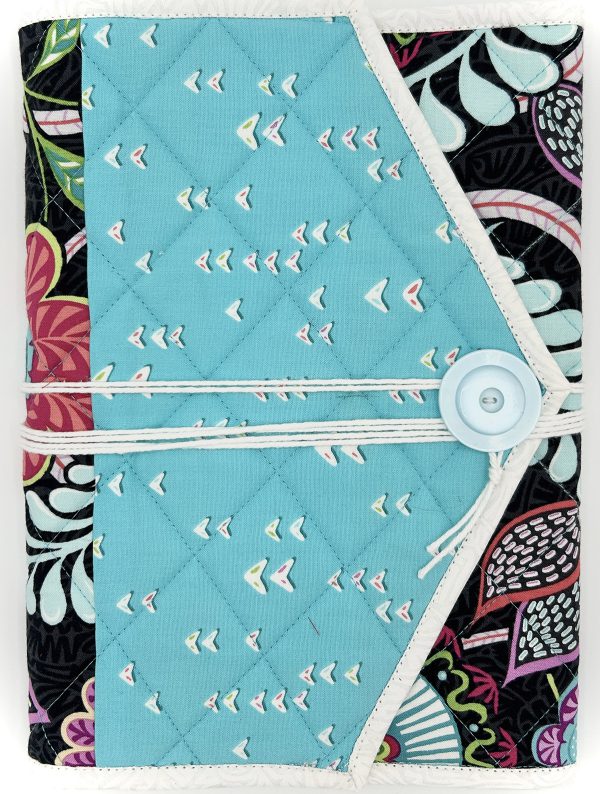
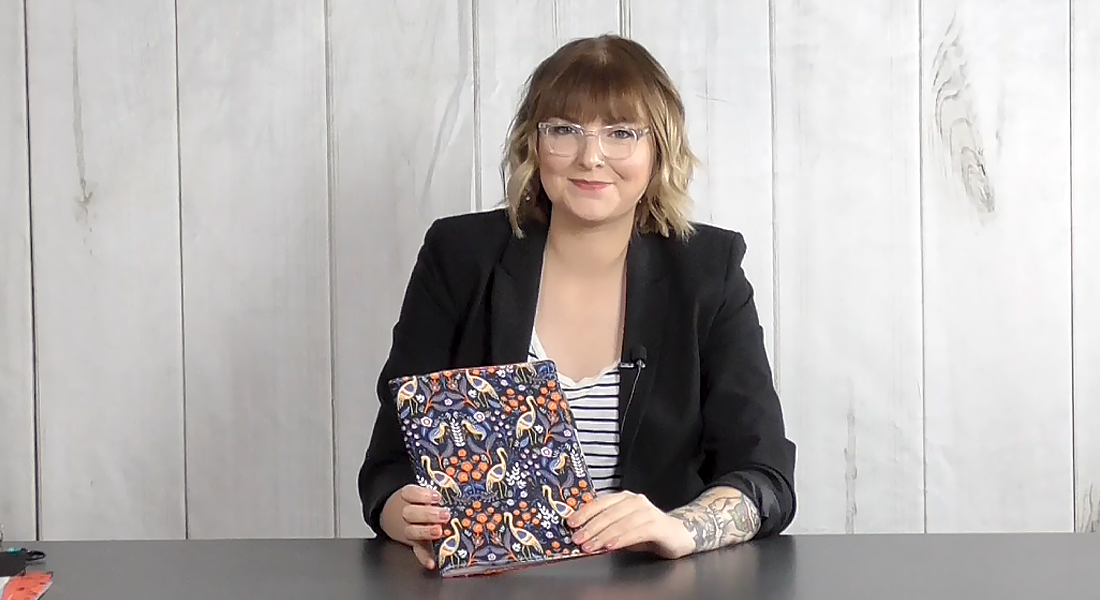
In this tutorial, we’re going to use the machine to make a notebook wrap that fits a composition notebook, perfect for all your ideas. The design of the wrap allows you to add more than one notebook and it’s easily altered to accommodate any size. Let’s get started!
Materials for Sewing a Notebook Wrap
- B 735 Patchwork Edition
- Patchwork Foot #37
- Open Embroidery Foot #20
- Red Walking Foot #50
- Fabric:
- Outside cover — (15) 1 1/2″ x 12″ strips in three different shades of red
- Outside cover — 17″ x 12″ red fabric
- Inside lining — 25″ x 13″ red fabric
- Band — 9″ x 10 1/2″ red fabric
- Binding — (2) 2 1/2″ white fabric
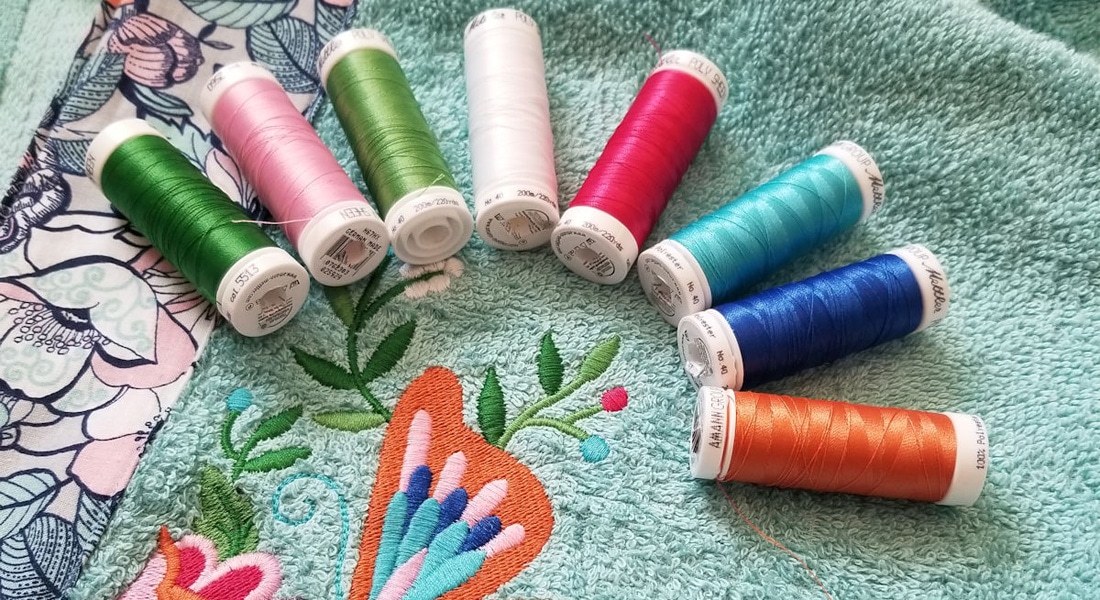
- 2 colors of Mettler Silk-Finish Cotton 50 thread, white and red
- Batting — 25″ x 13″
- Wrights 1/2″ Twill Tape, white
- OESD Heavyweight CutAway stabilizer
- White chalk or other temporary marker
- Notebook Wrap Templates

Step One: Piece the Cover
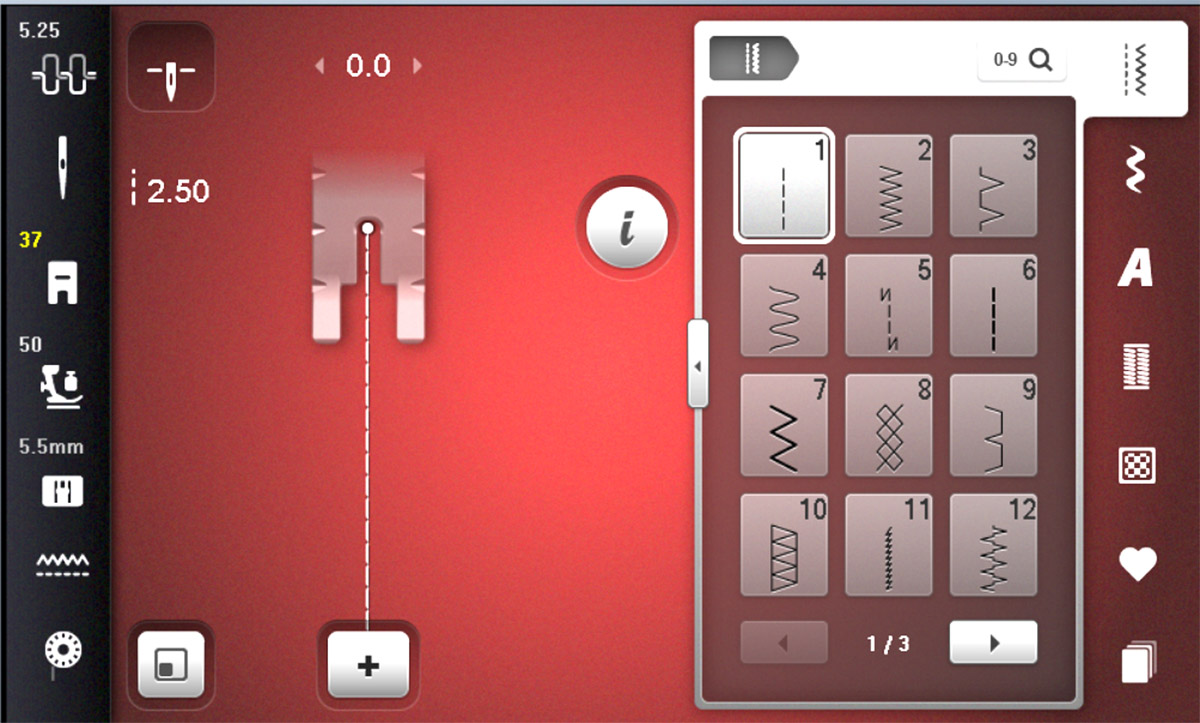
The B 735 PE comes with Patchwork Foot #37. Makes sense since this is the Patchwork Edition! Have fun and change your screen background color to red!
Attach the foot to the machine.
Add red thread to both the top needle and bobbin.
Select Straight Stitch #1.
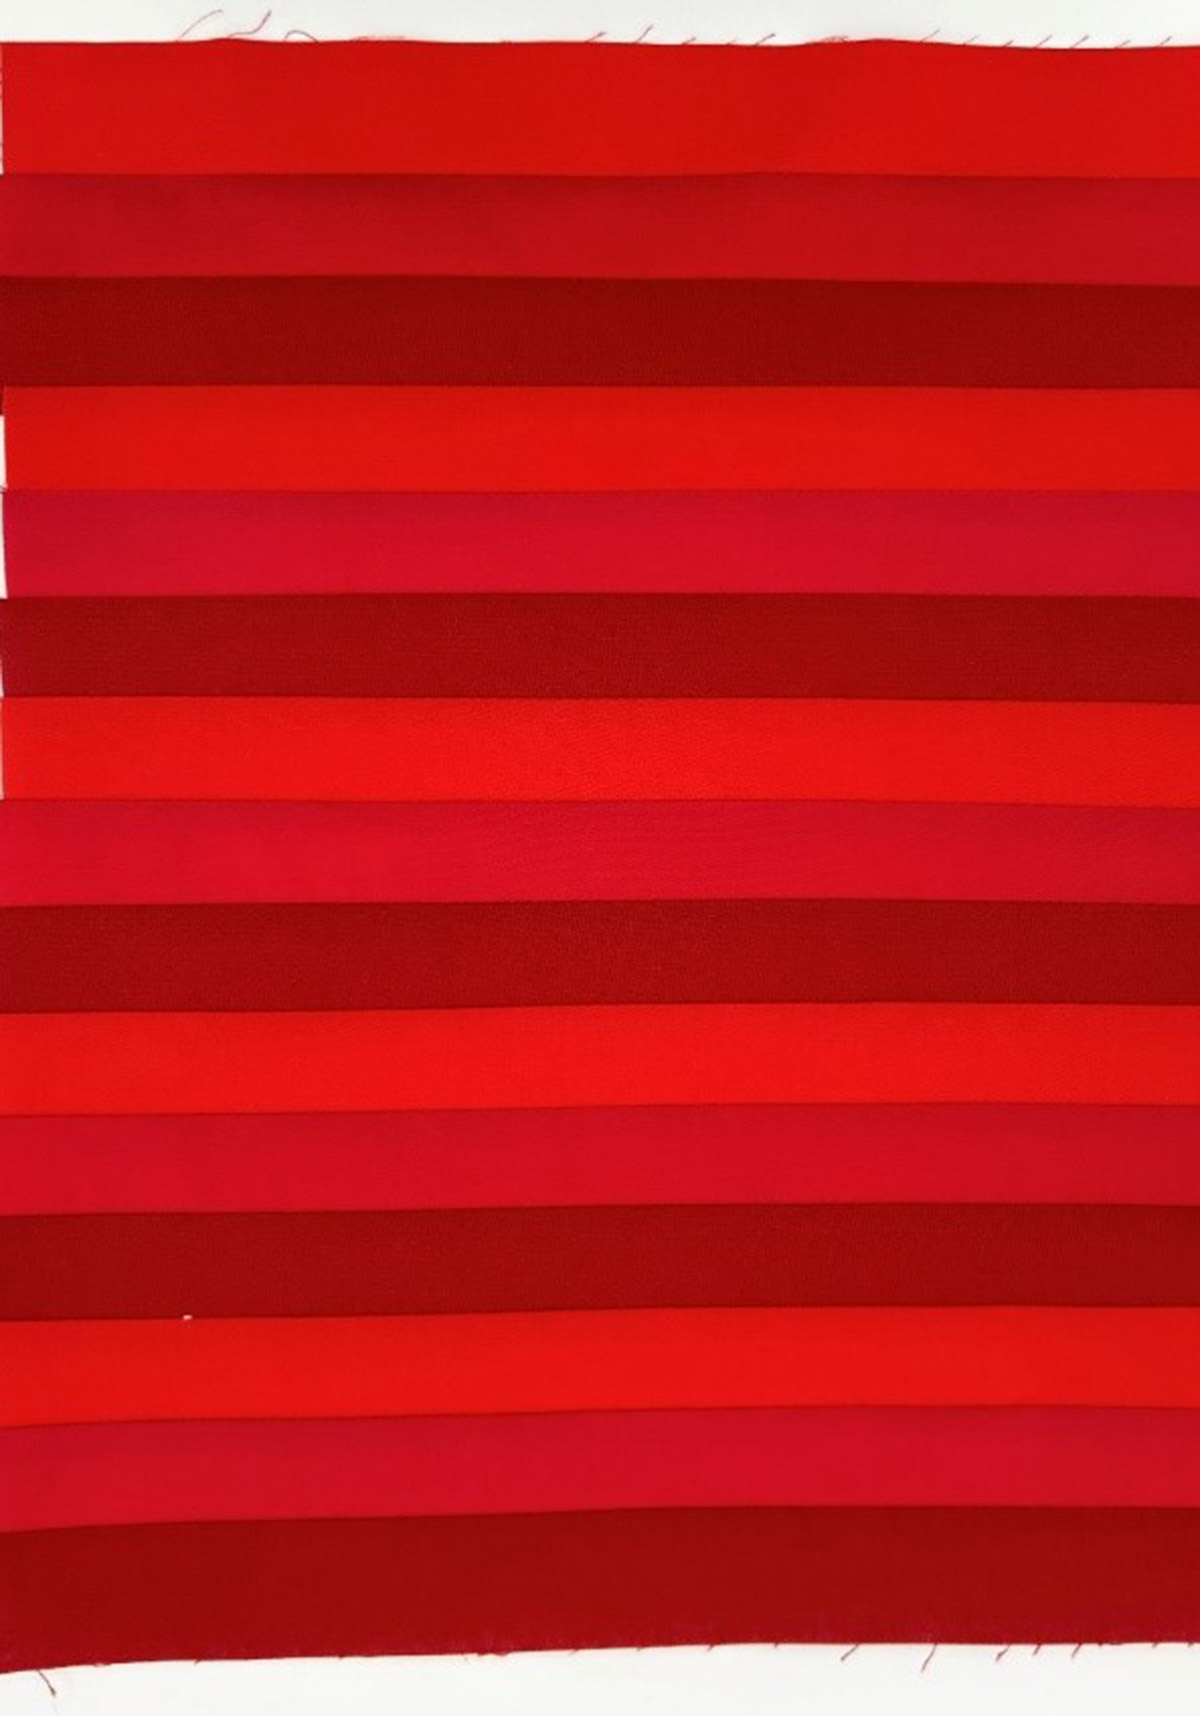
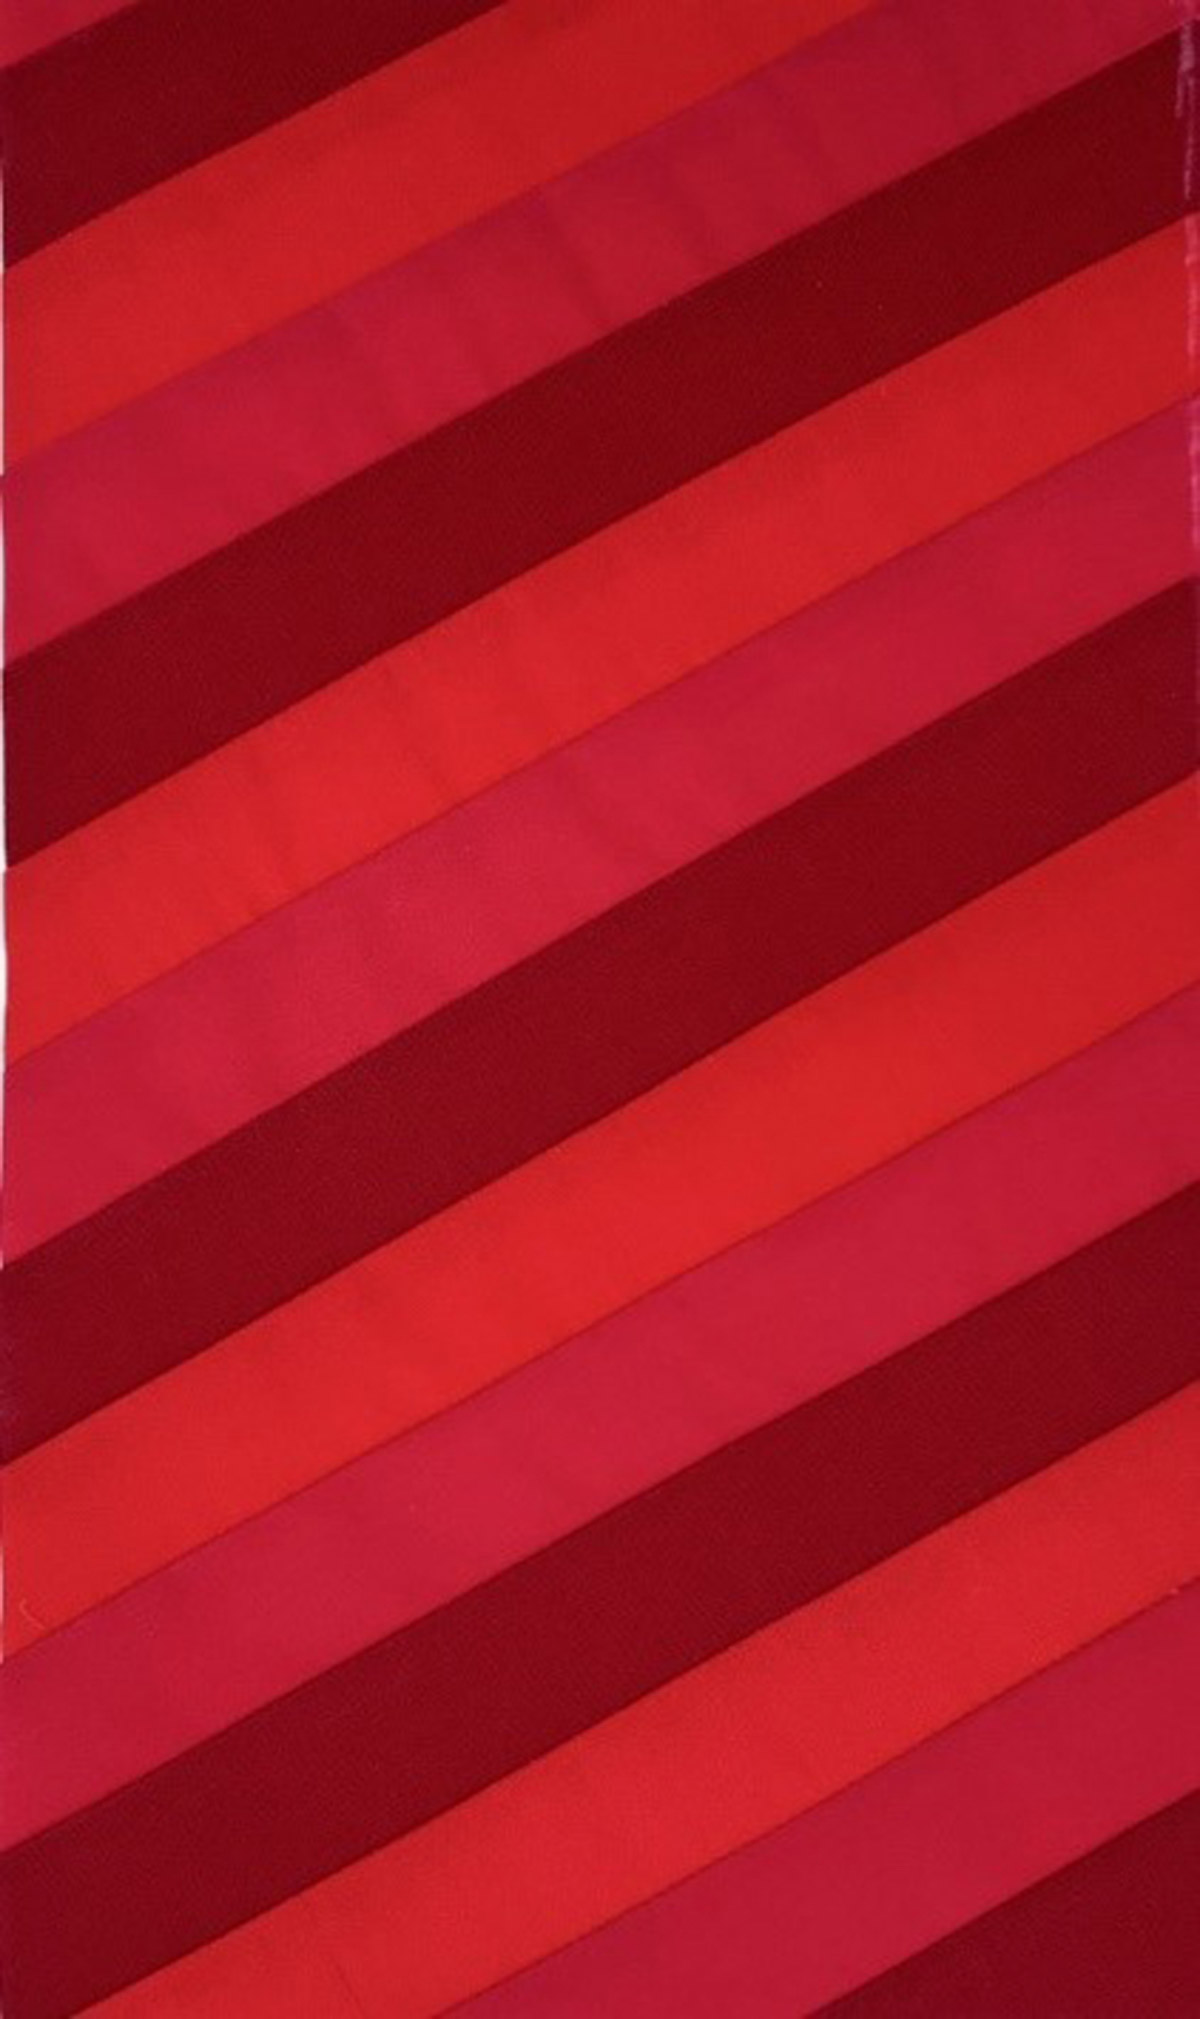
Divide the three shades of red into three piles: light, medium, and dark. Sew the strips together in that same order.
Press seams to one side.
Place Template A on top of the pieced fabric at an angle that looks pleasing to you.
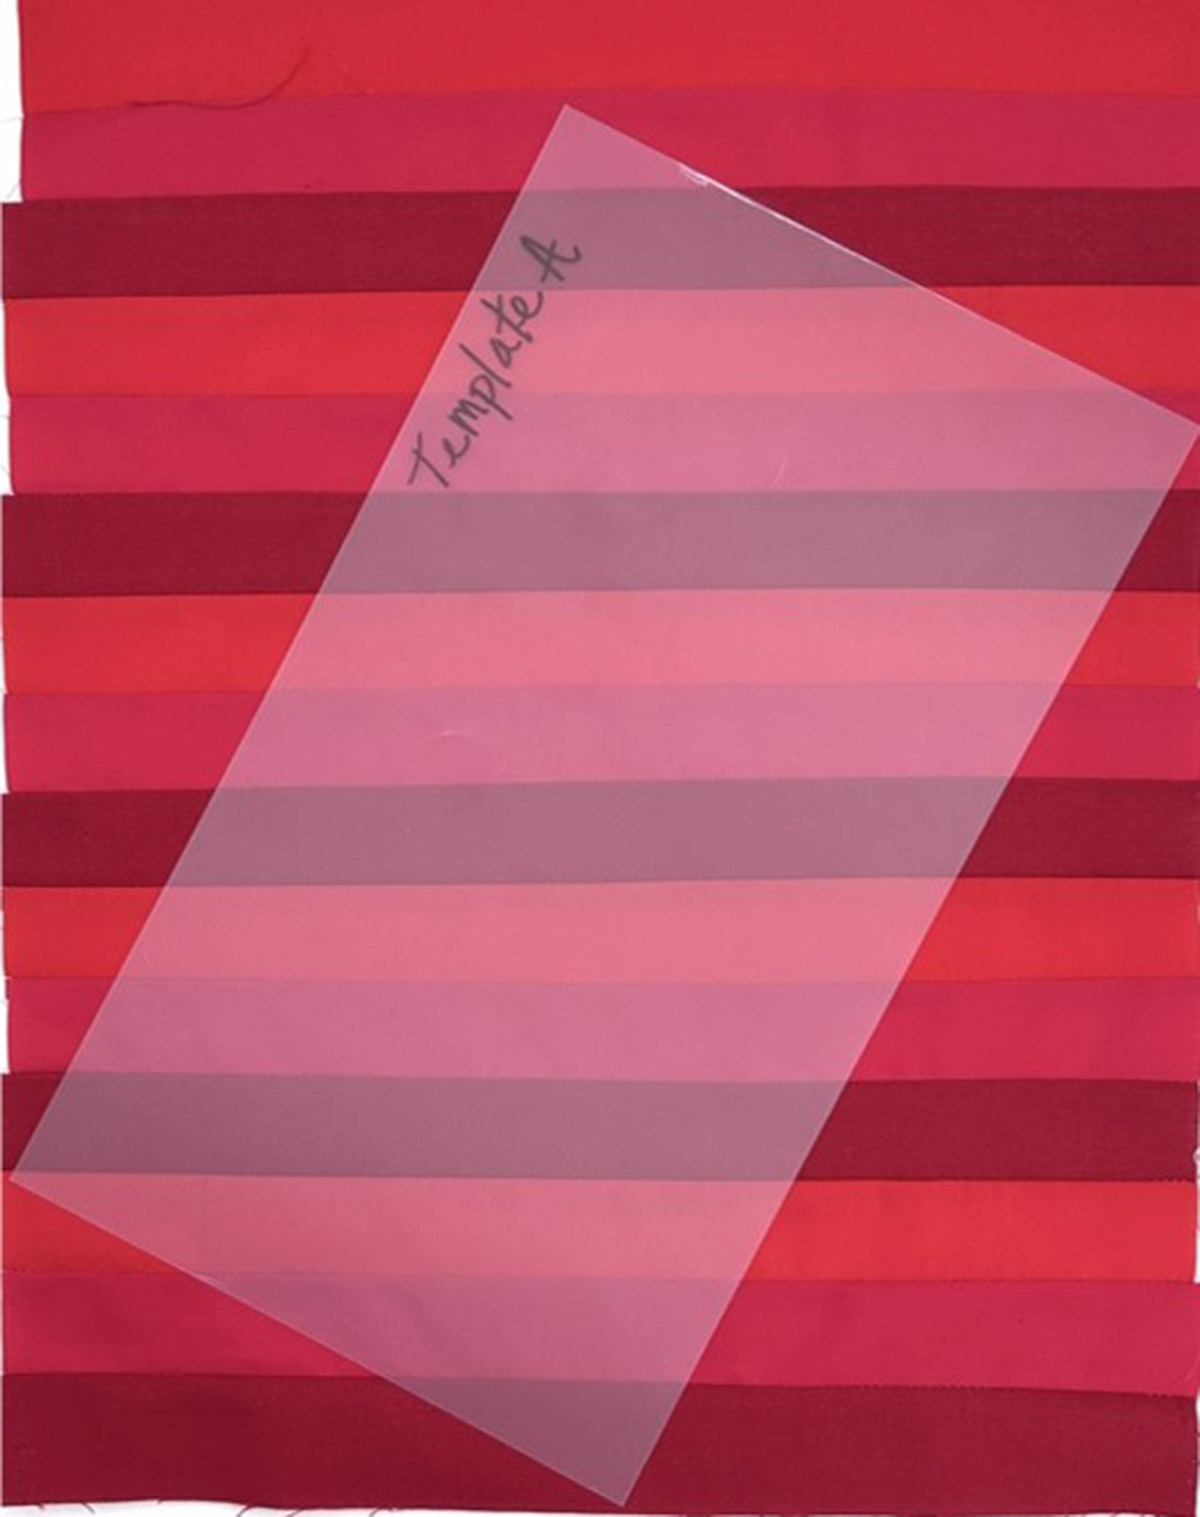
Trace around the template with white chalk. Trim.
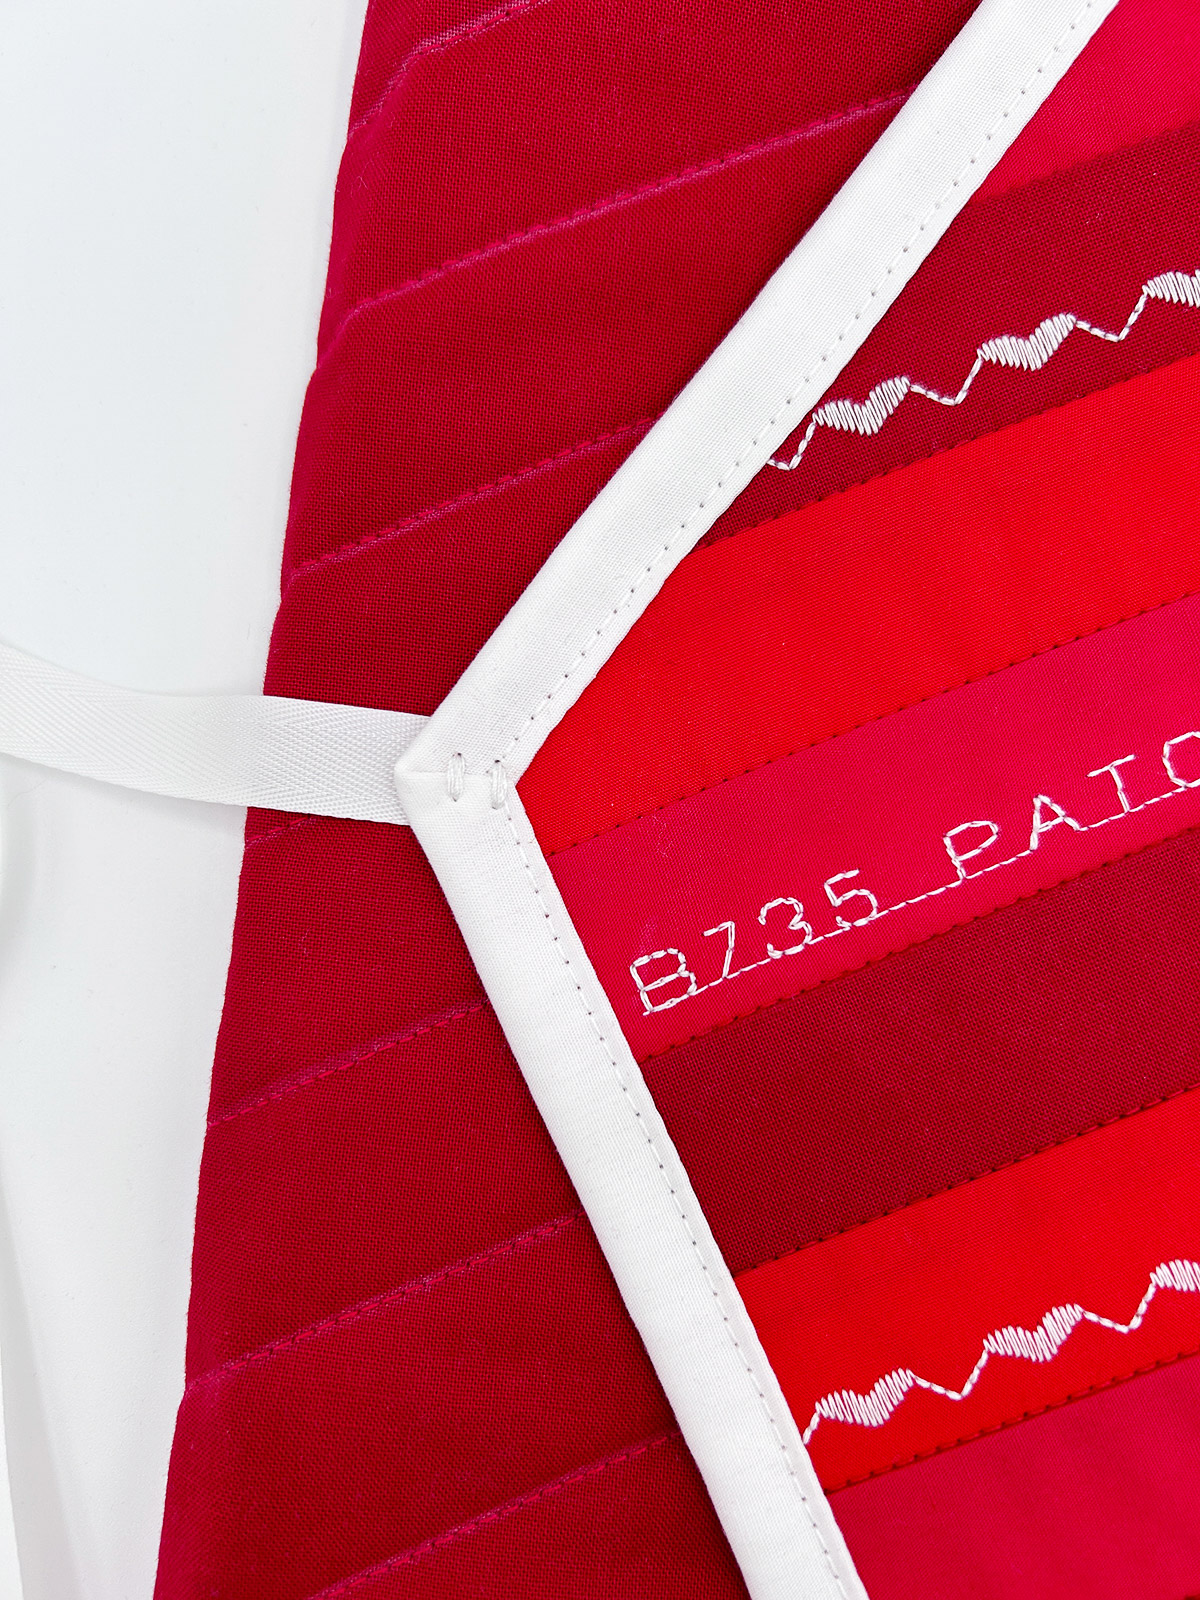
Step Two: Add Decorative Stitches
Change the top and bobbin thread to white.
Attach Open Embroidery Foot #20.
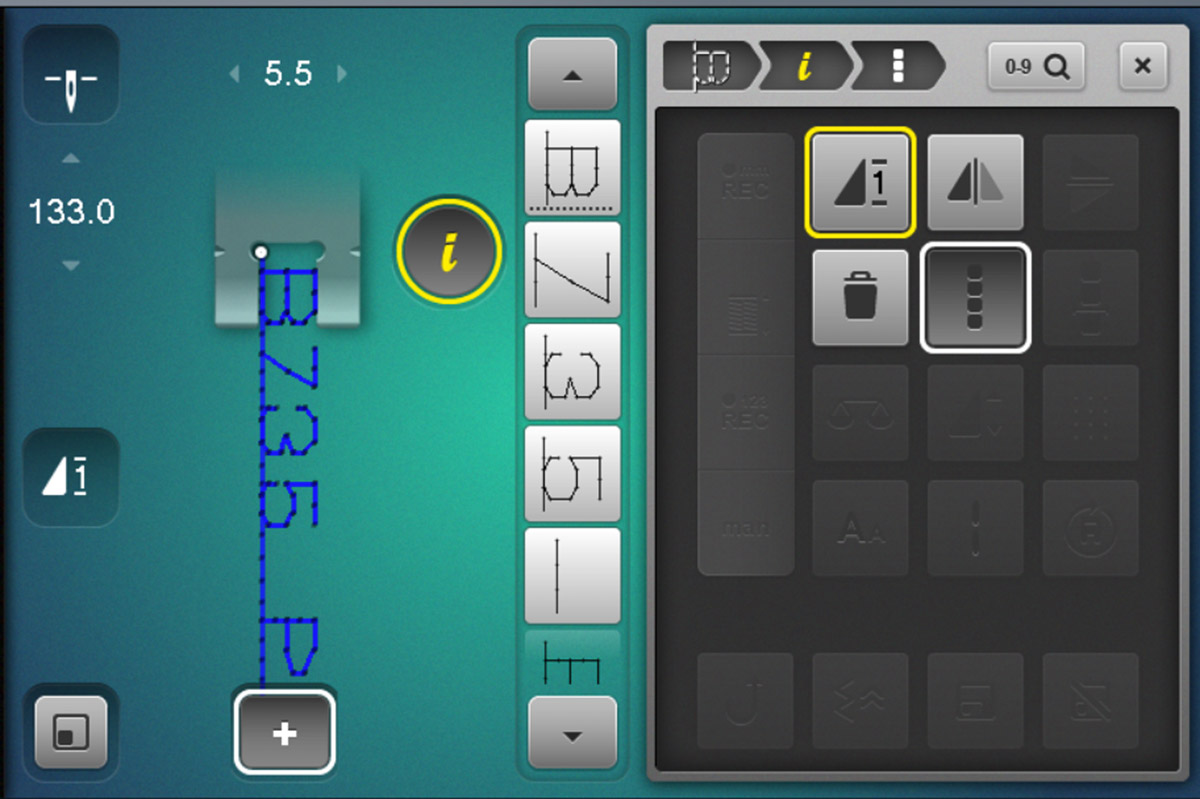
Select Combi Mode.
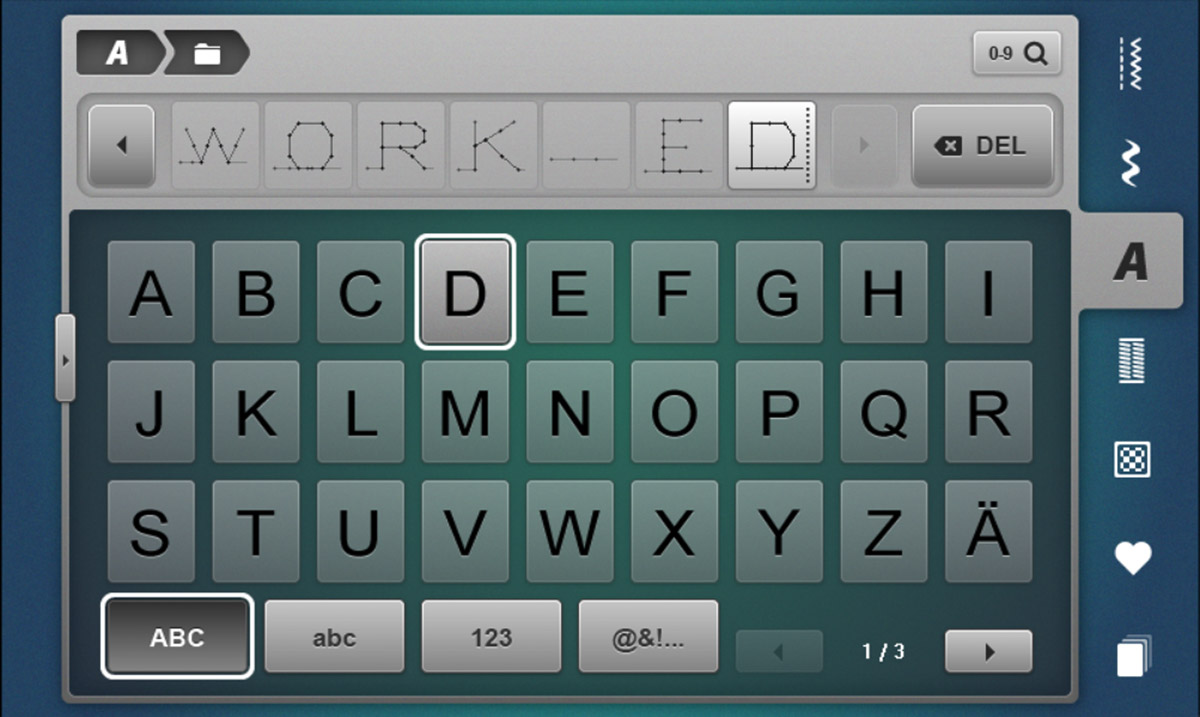
Go into the Alphabets Folder and select the first font, which is the Block Alphabet.
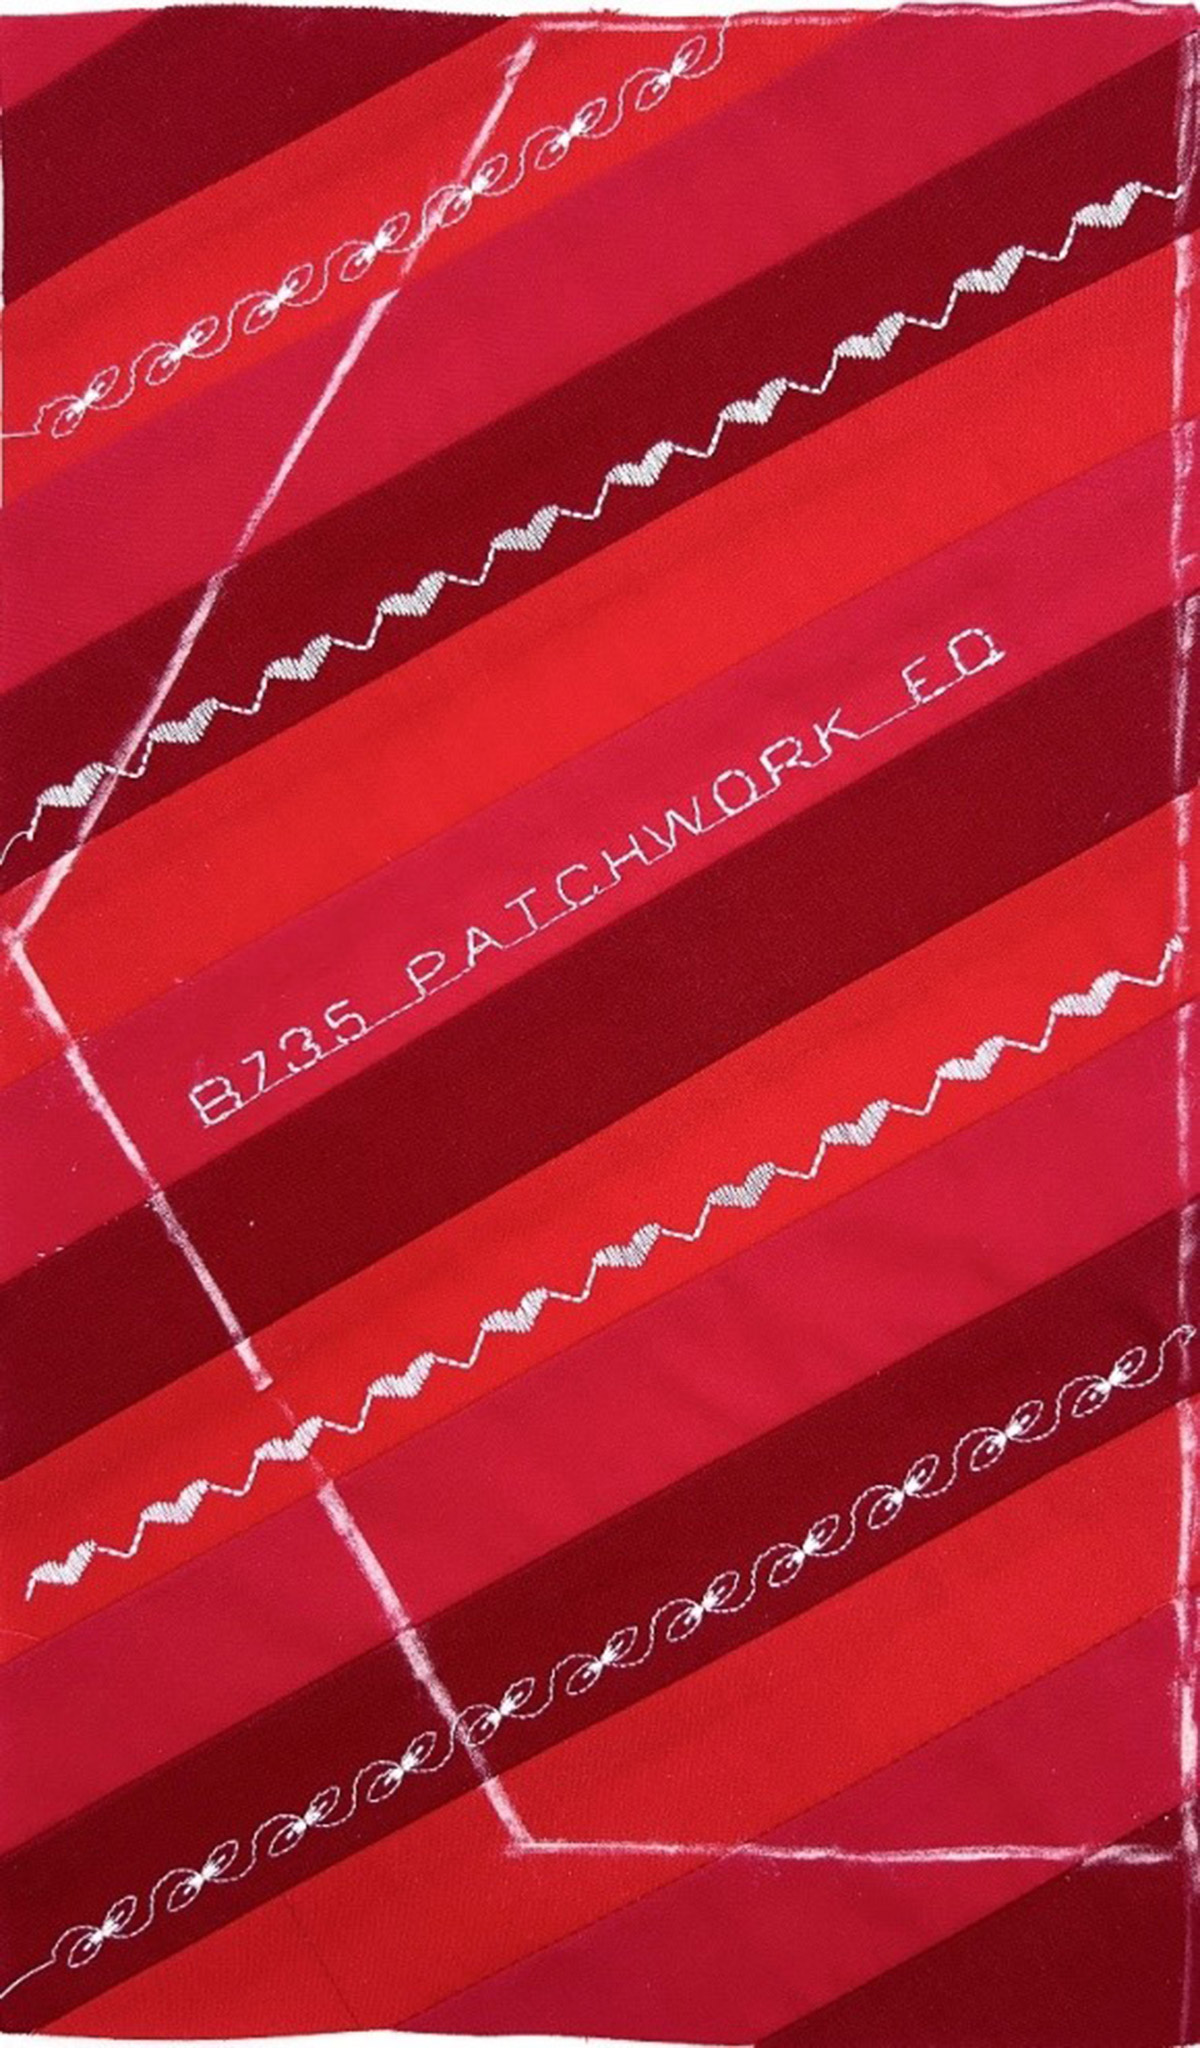
Enter “B735_PATCHWORK_ED.” I find it easier to do this in the Transition Bar.
Close the Transition Bar and select Edit, then Complete Combination. This will activate Pattern Repeat; select 1.
![]()
On the pieced fabric, locate a medium red strip somewhere in the middle. Make a mark 1 1/4″ from the left edge.

Place the stabilizer behind the fabric. Spray or glue baste to secure, if desired.
Position the fabric under the foot with the needle over the chalk mark and the left toe along the seam. Use the seam as a guide.
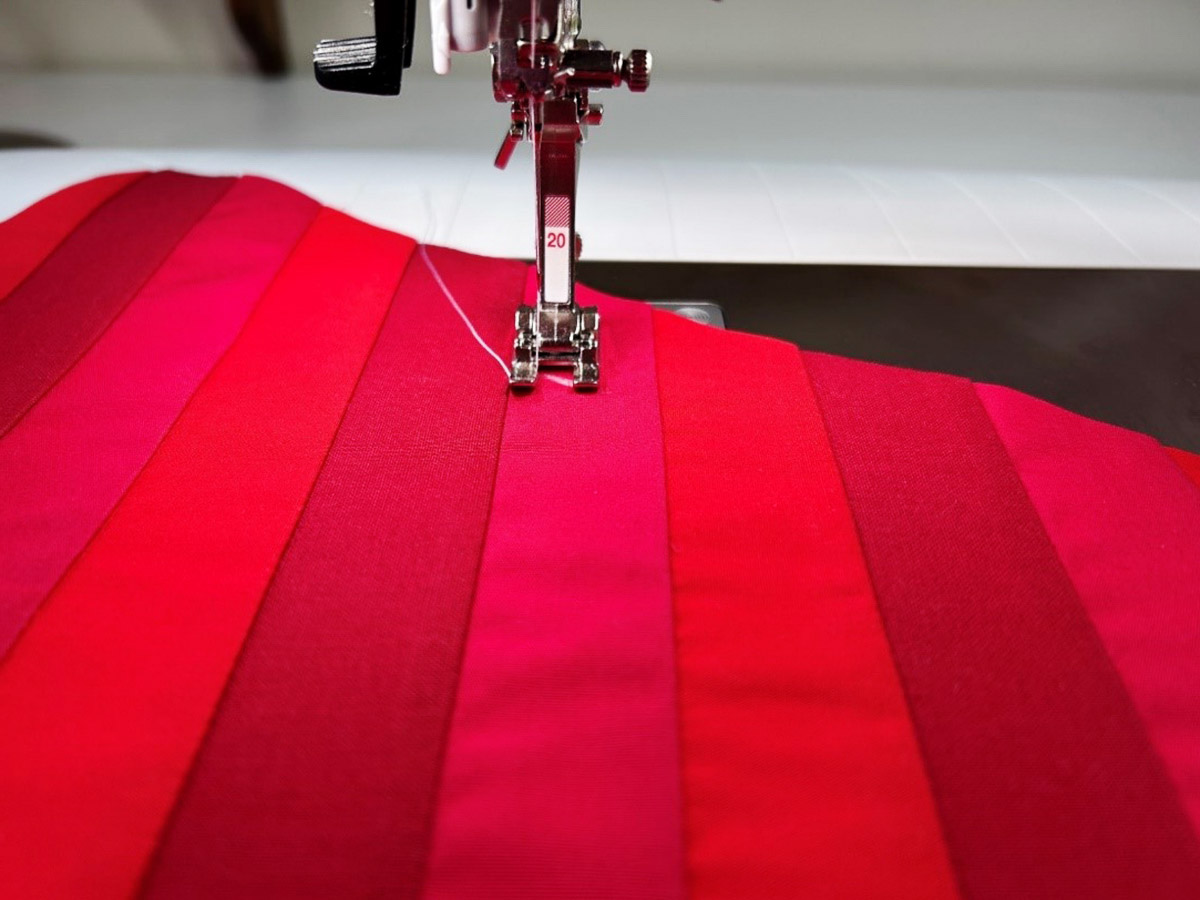
Stitch.

Go back to Single Mode and select Stitch #143.
Select the “i” icon and select Triple Stitch.
![]()
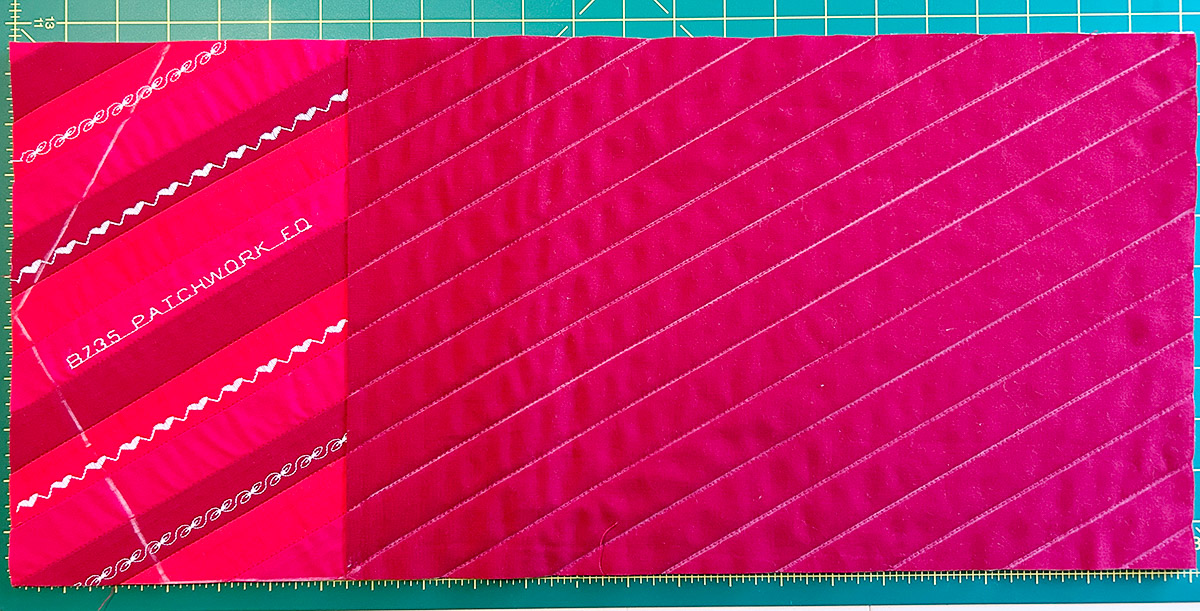
Stitch in the second row above and below the stitched words.
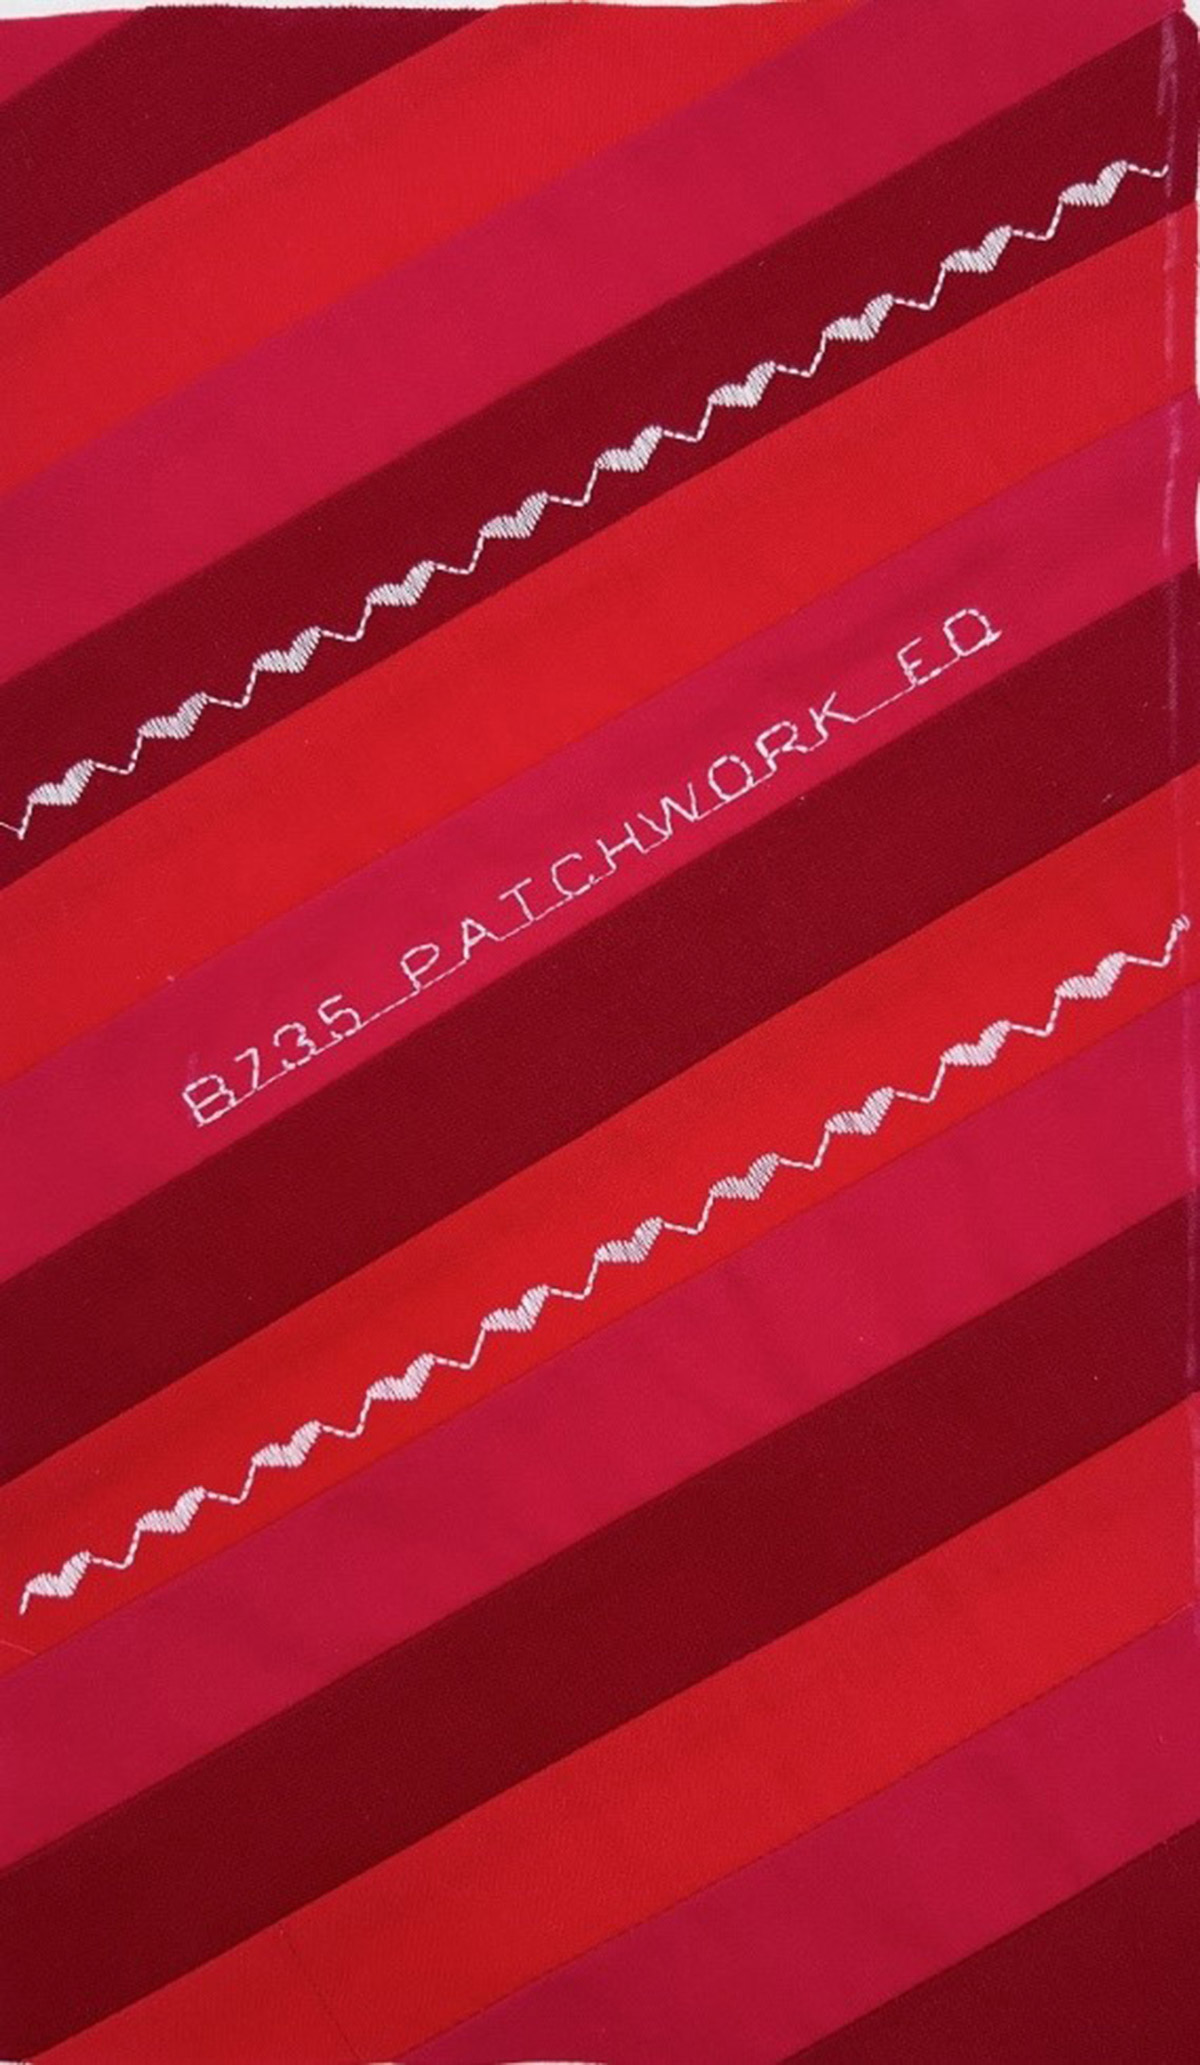
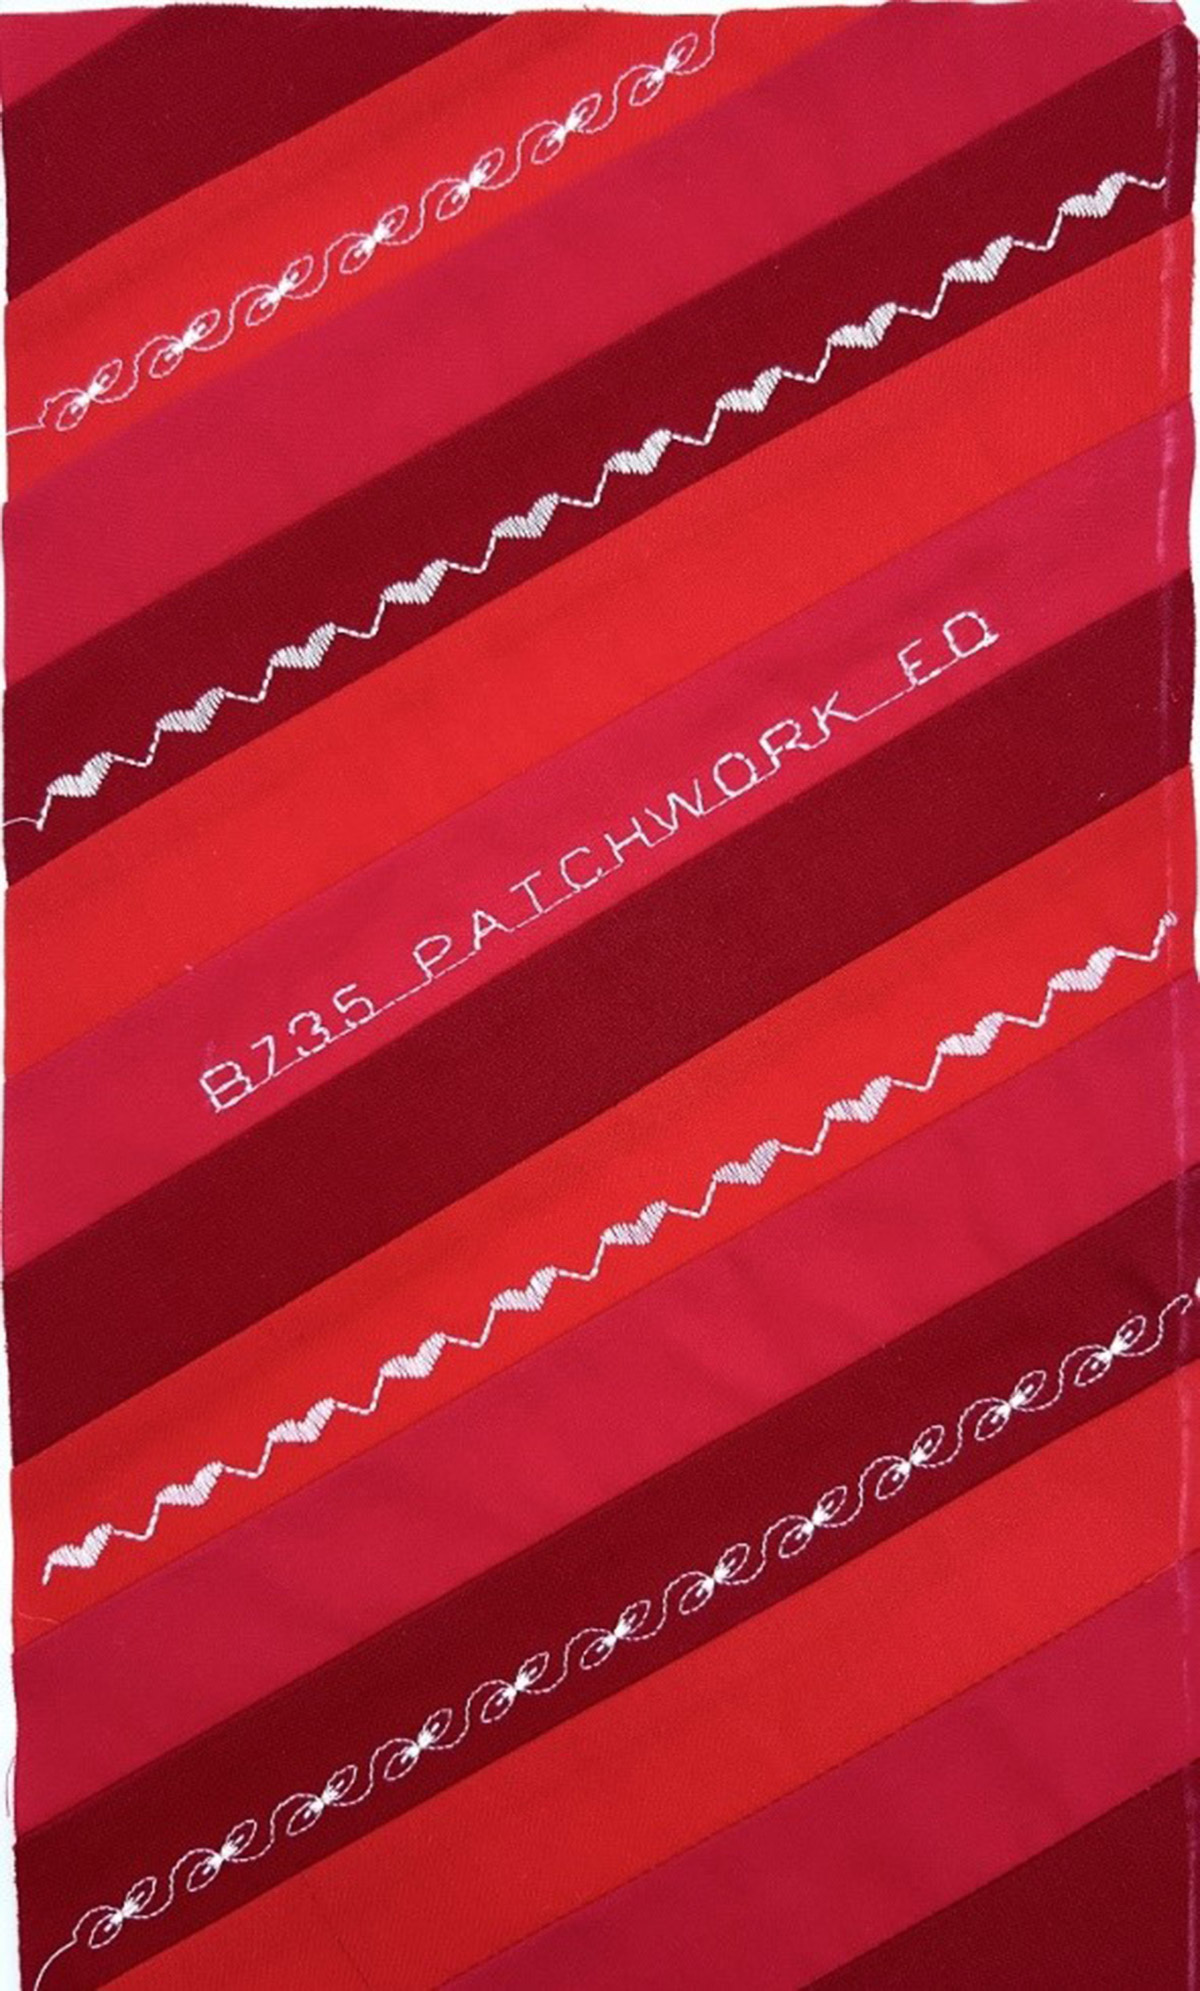
Select Stitch #717.
Stitch in the second row above and below the previous stitch.
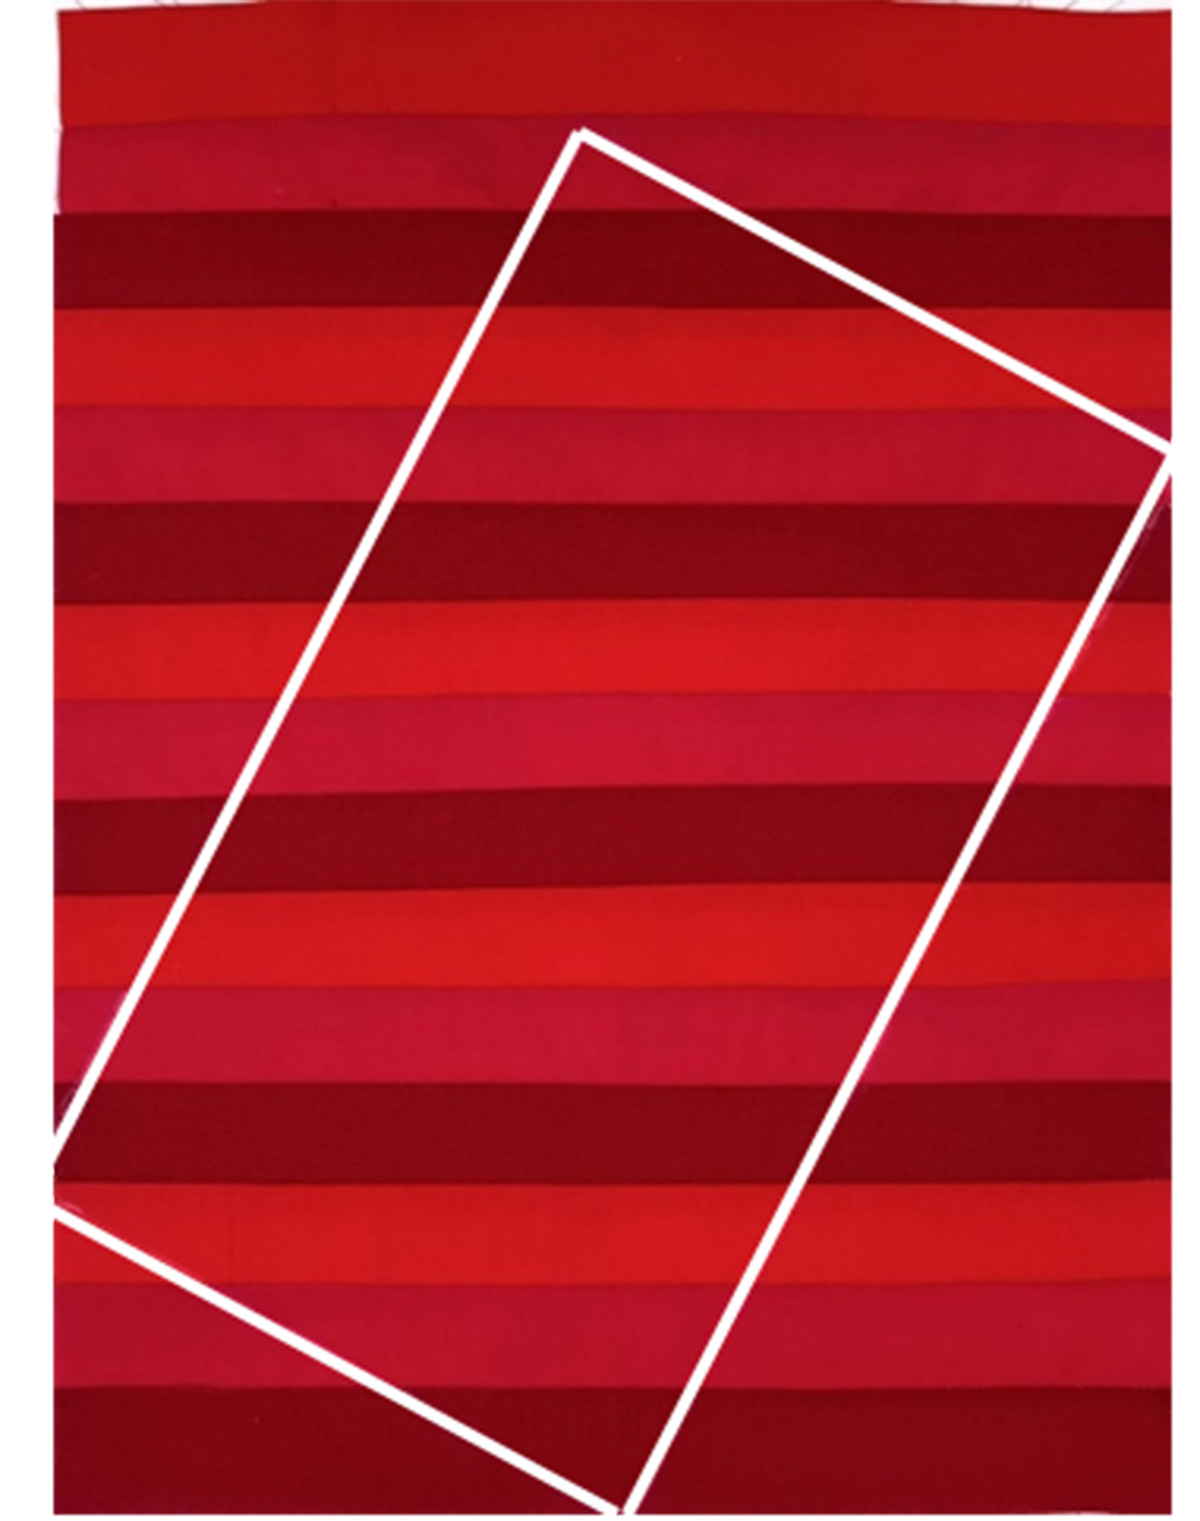
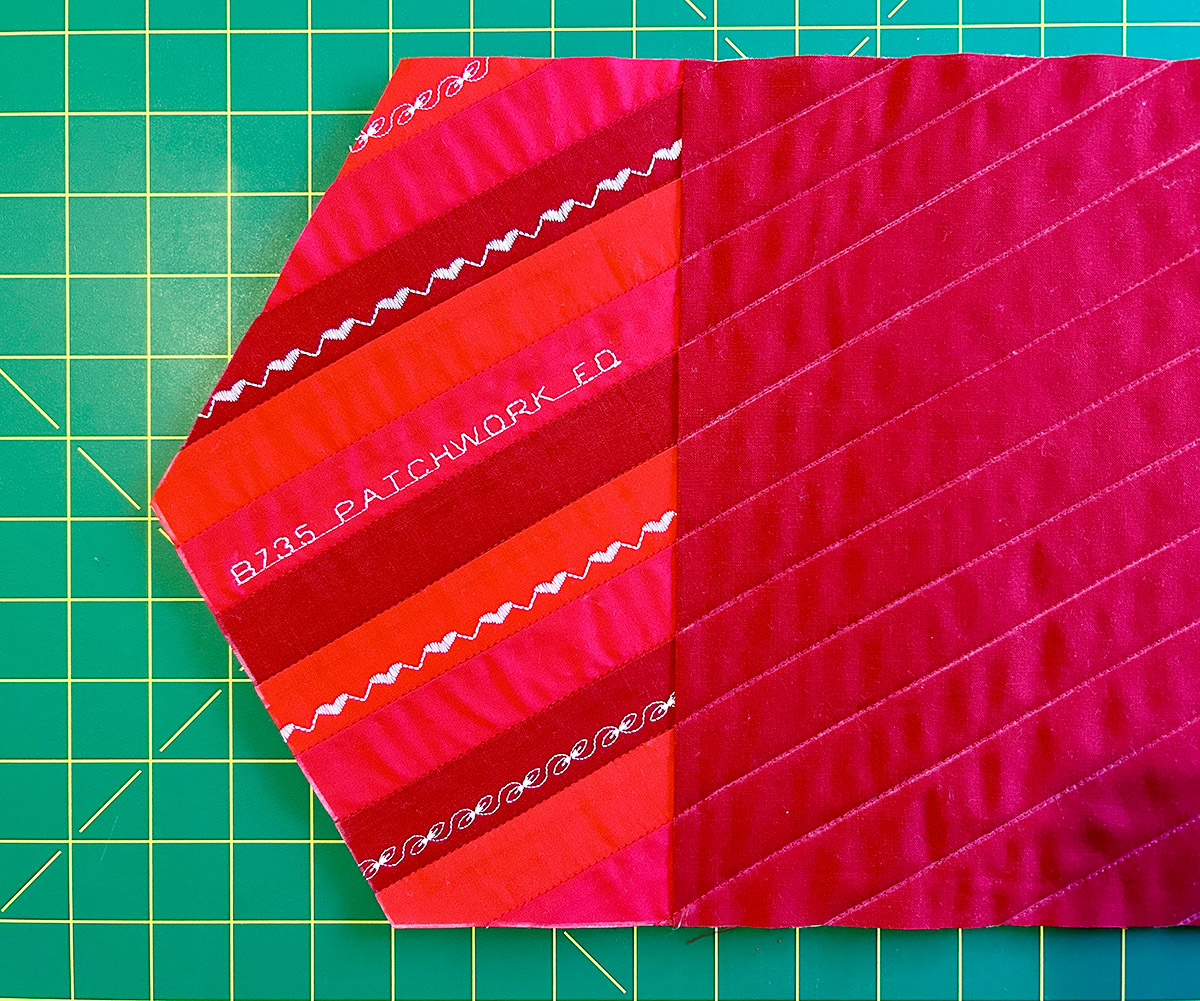
Place Template B over the fabric. Make sure there is at least 1/2″ from the letter B to allow for the binding. The placement of your template may differ slightly from mine.
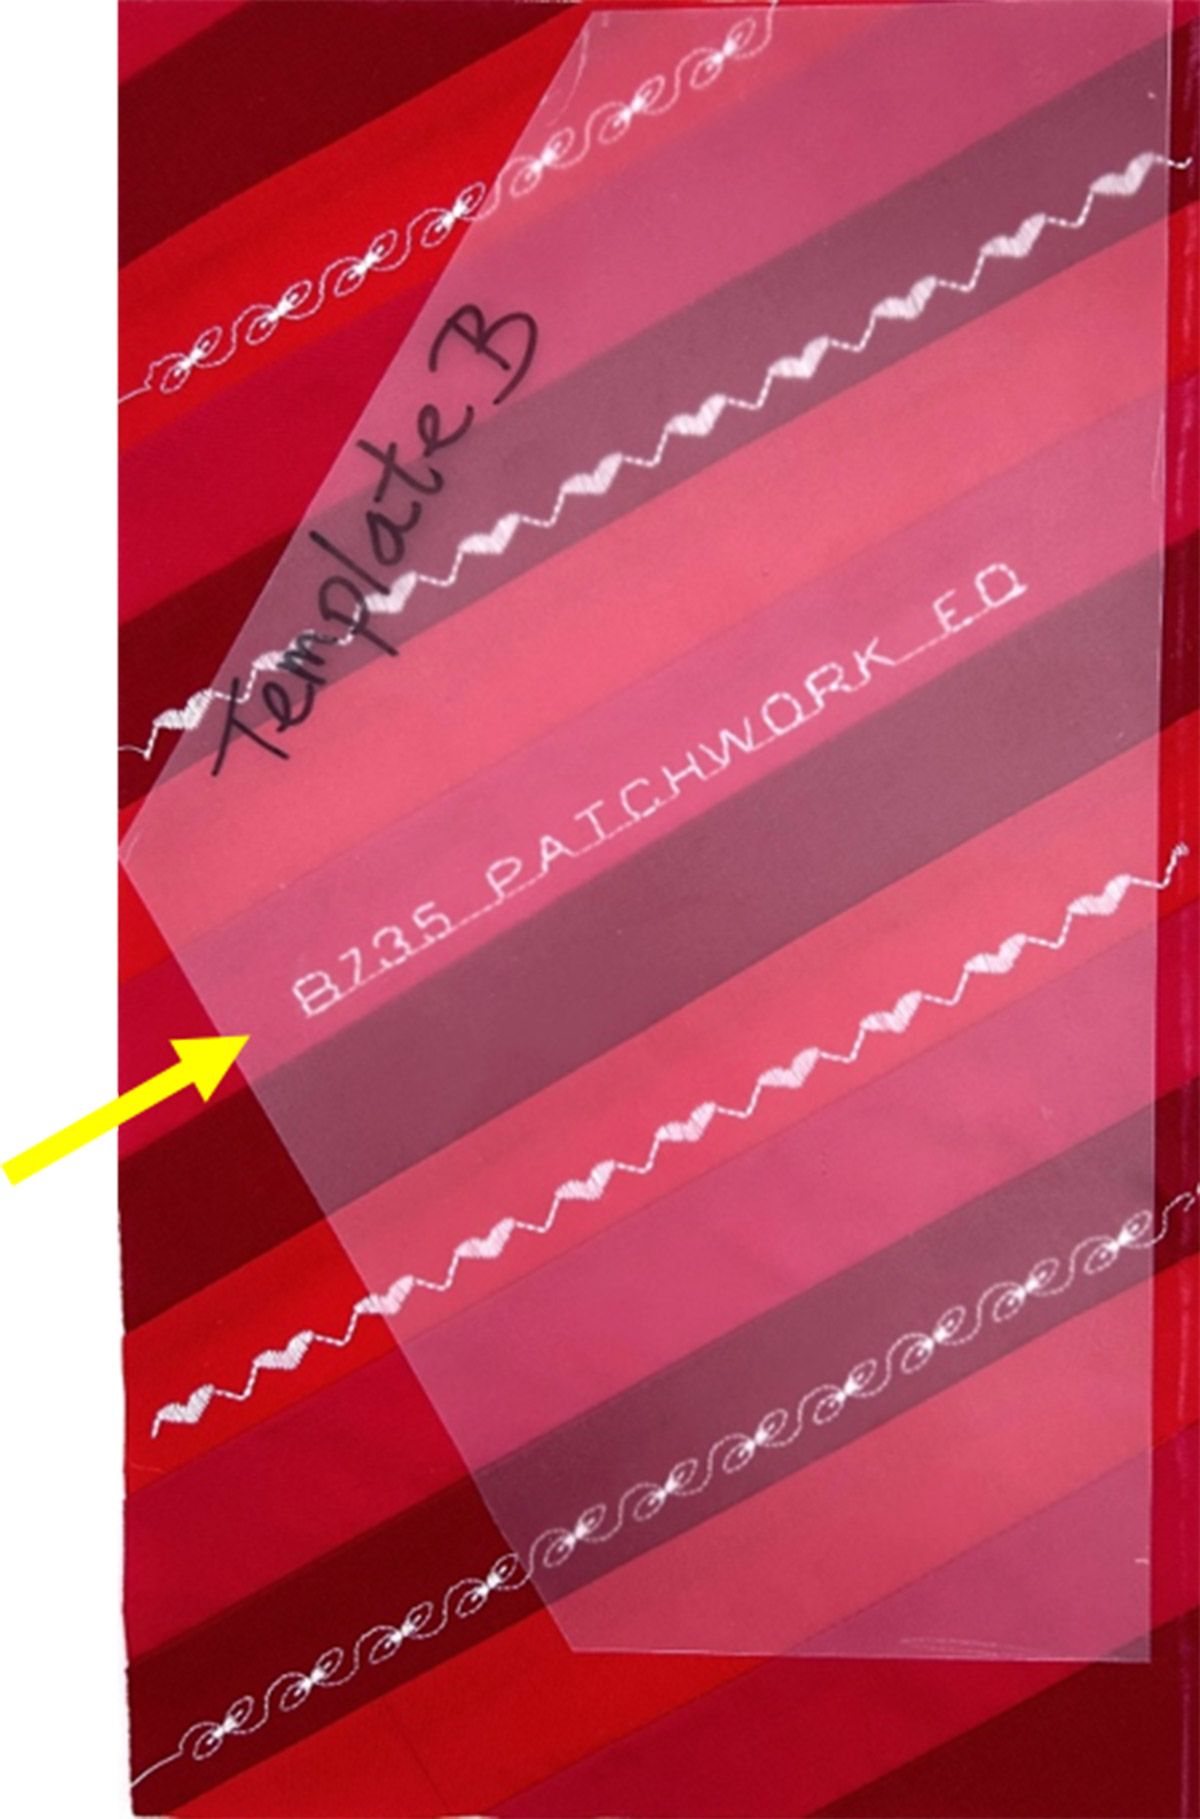
Trace around the template with chalk. Trim down the side, if needed. Do not trim anywhere else!
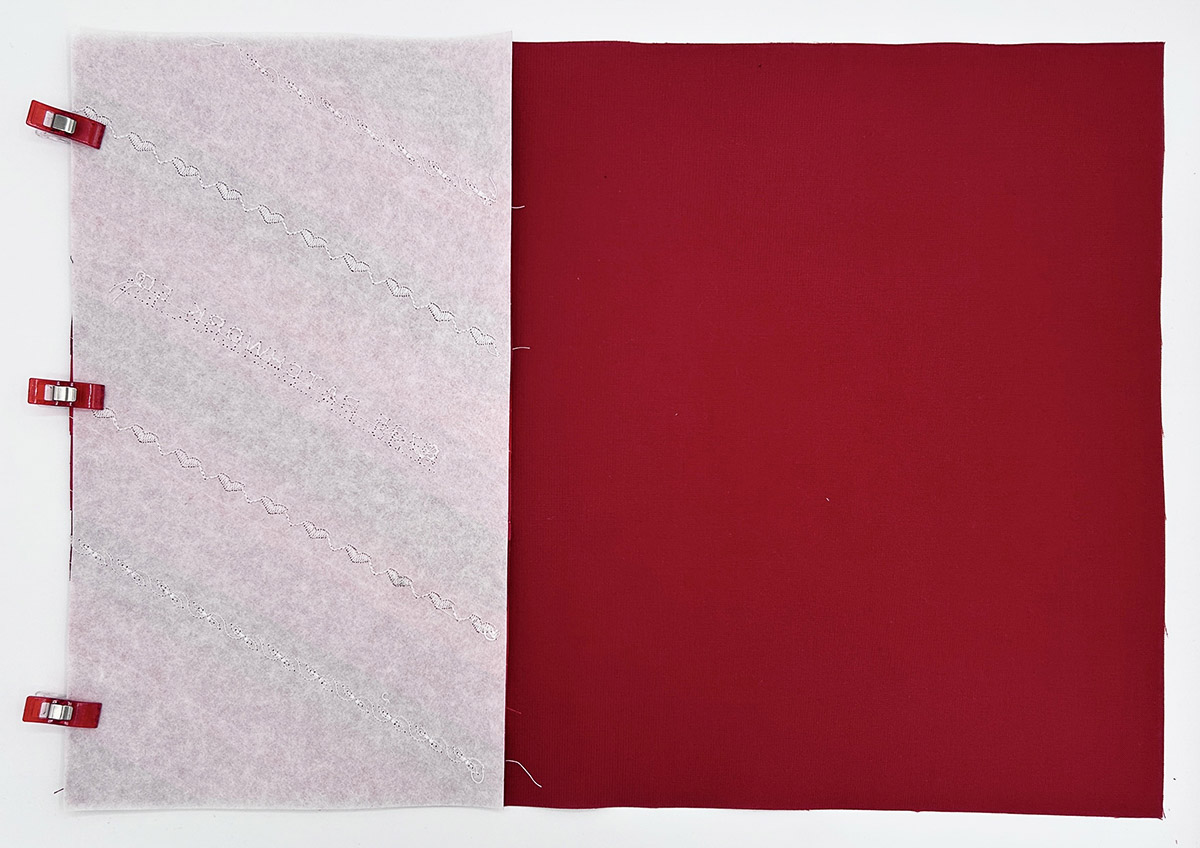
Place this fabric over the 17″ x 12″ red fabric, right sides together. Align raw edges on the left side and secure.
Attach Foot #37 and stitch a 1/4″ seam allowance down the left side.
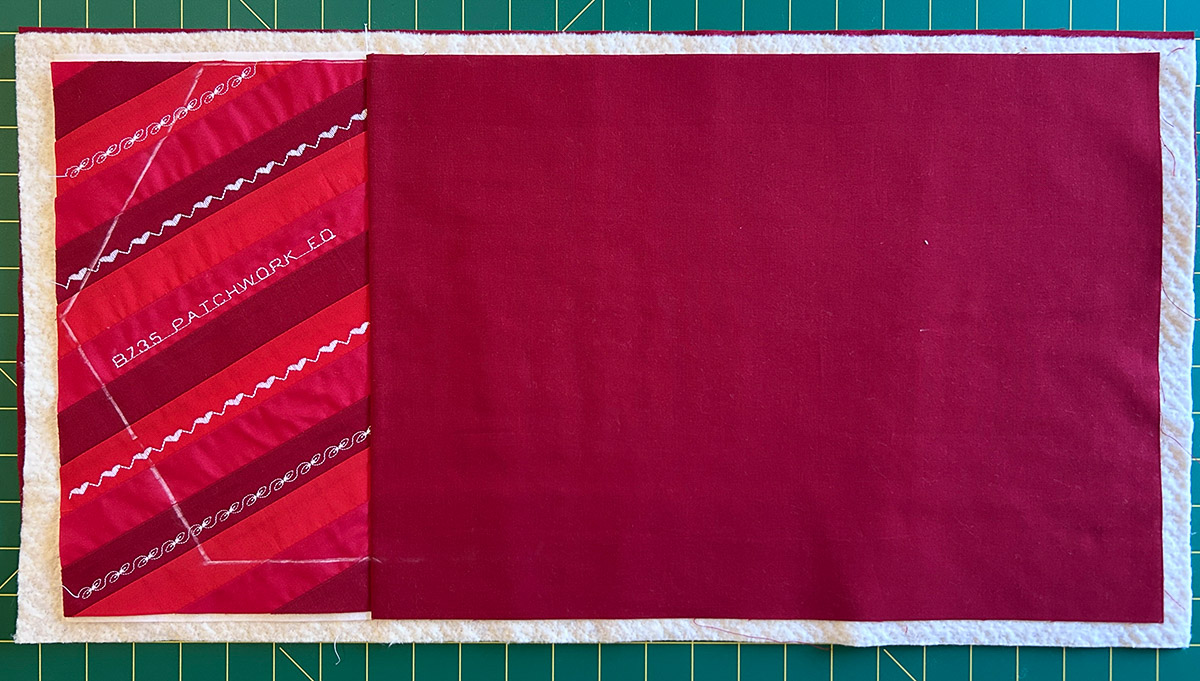
Press seam toward the solid red fabric.
Place this on top of the 25″ x 13″ red lining and batting, creating a quilt sandwich. Spray baste, if desired.
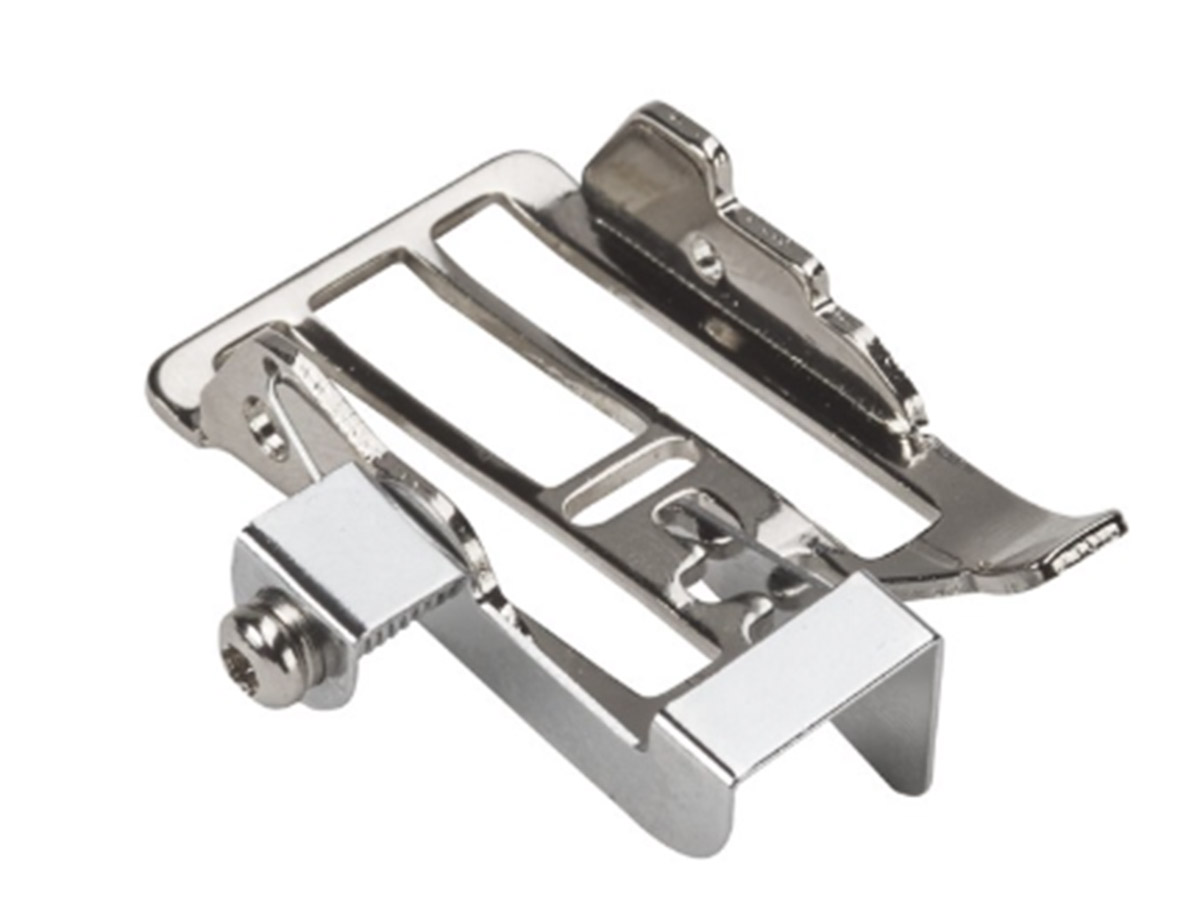
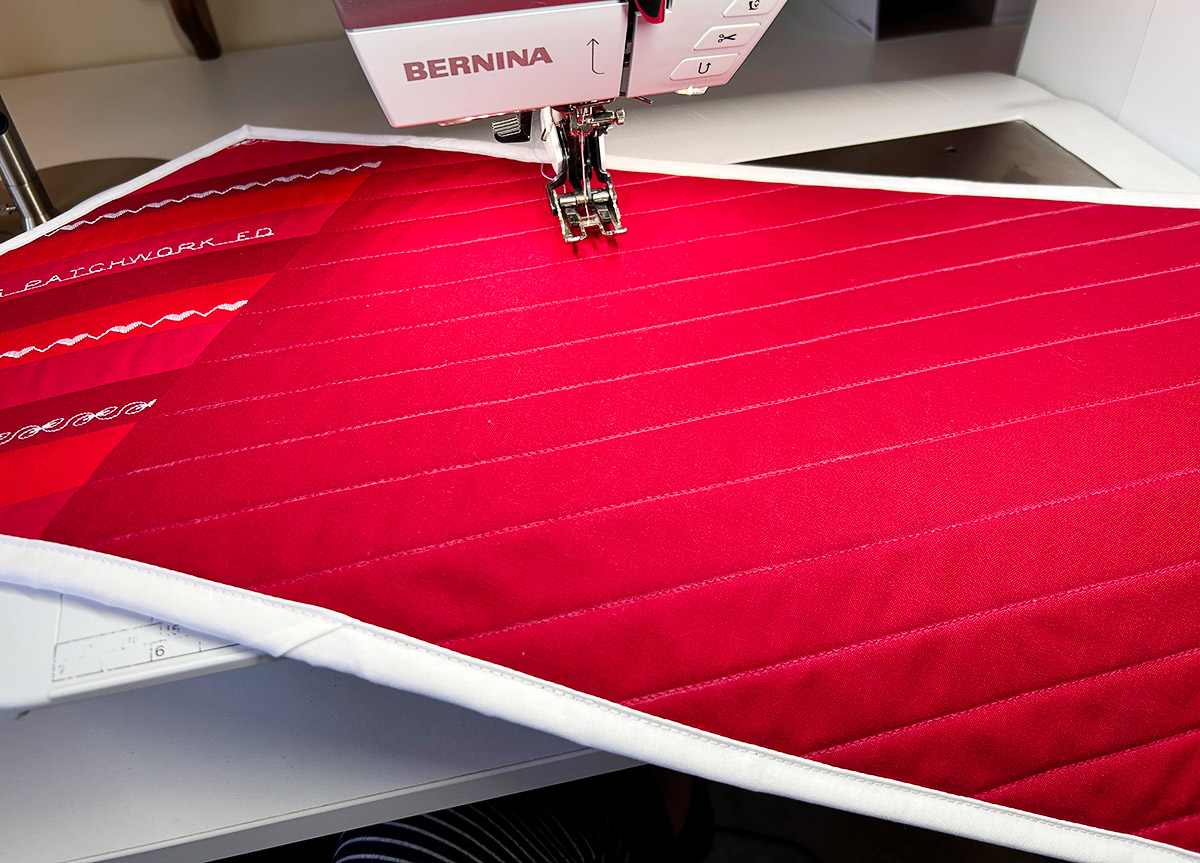
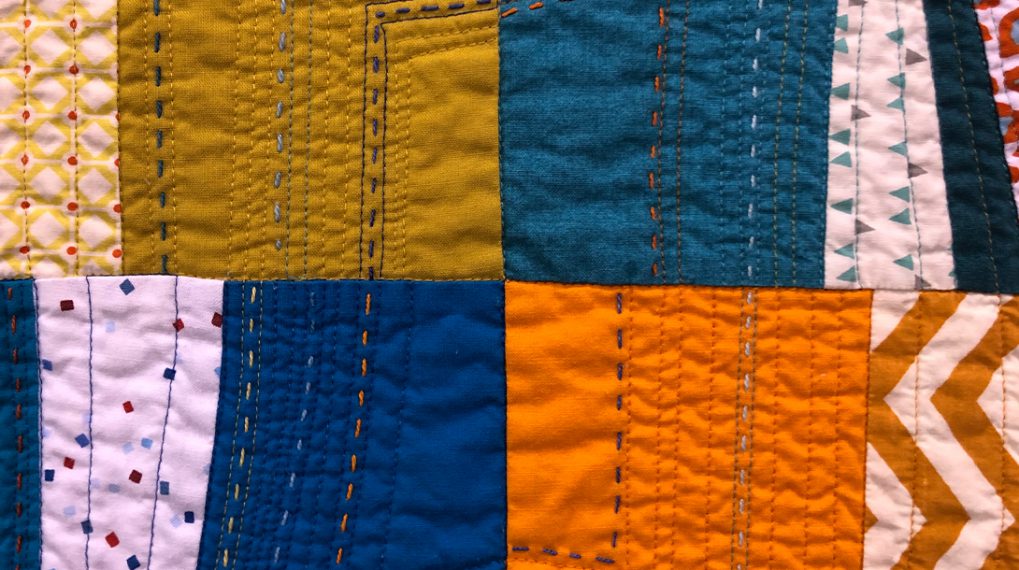
Step Three: Quilt with Red Walking Foot #50
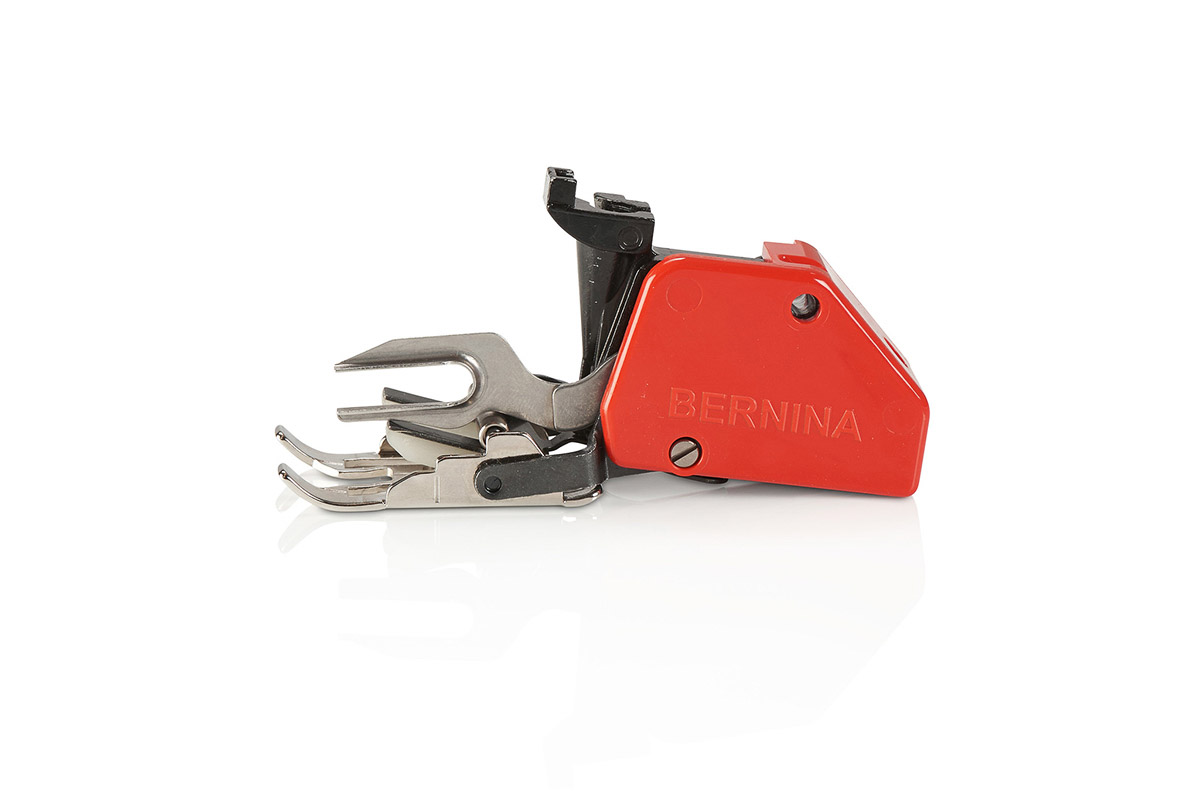
Don’t you love the new Red Walking Foot #50? It has the same three soles and seam guides that come with the regular Walking Foot #50 but RED!
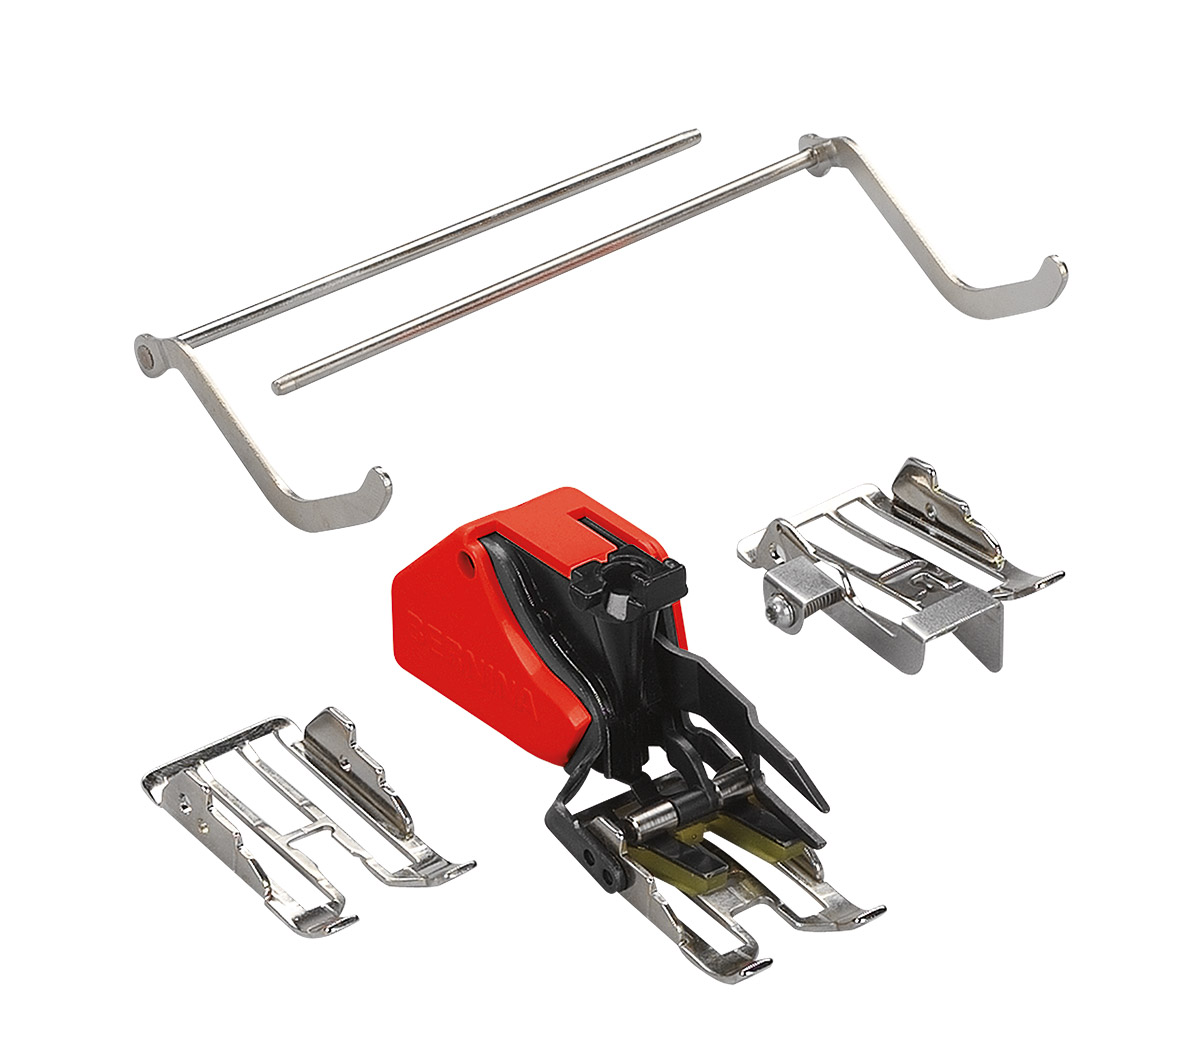
Attach the Center Guide sole to the foot. Attach the foot to the machine.
Increase Straight Stitch #1 to 2.75 mm.
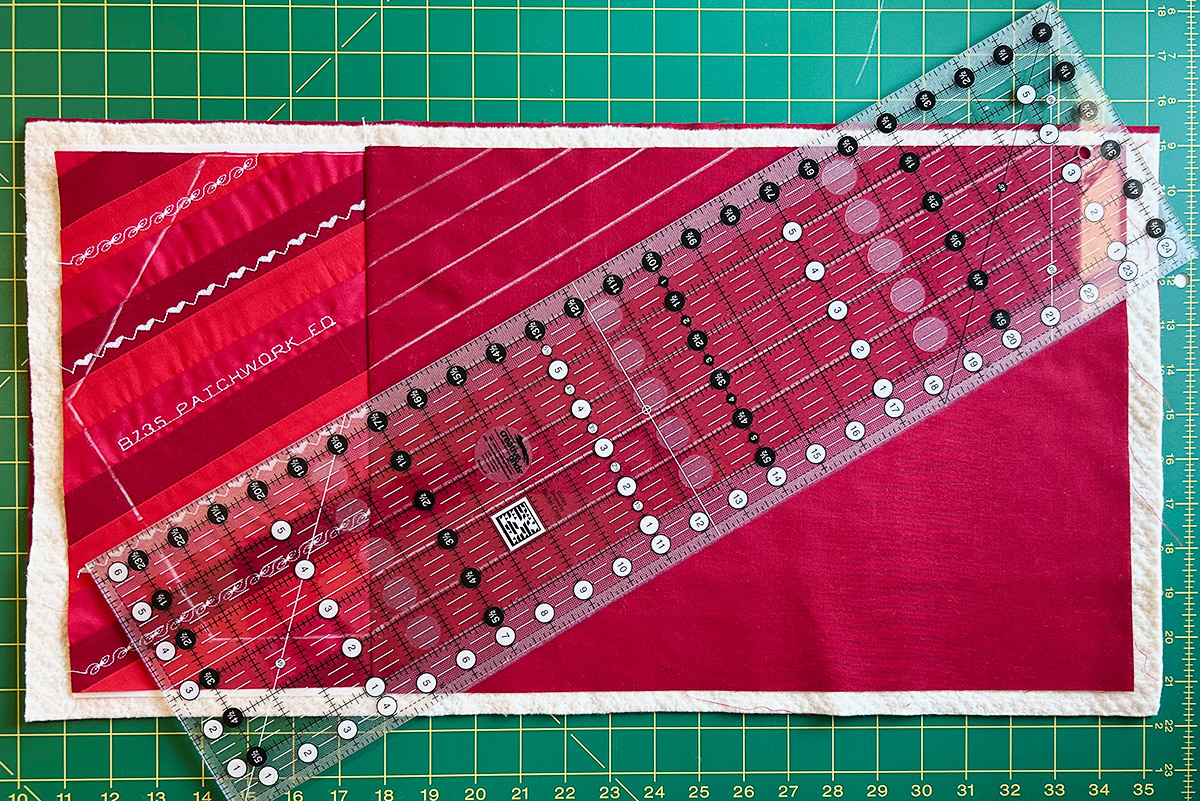
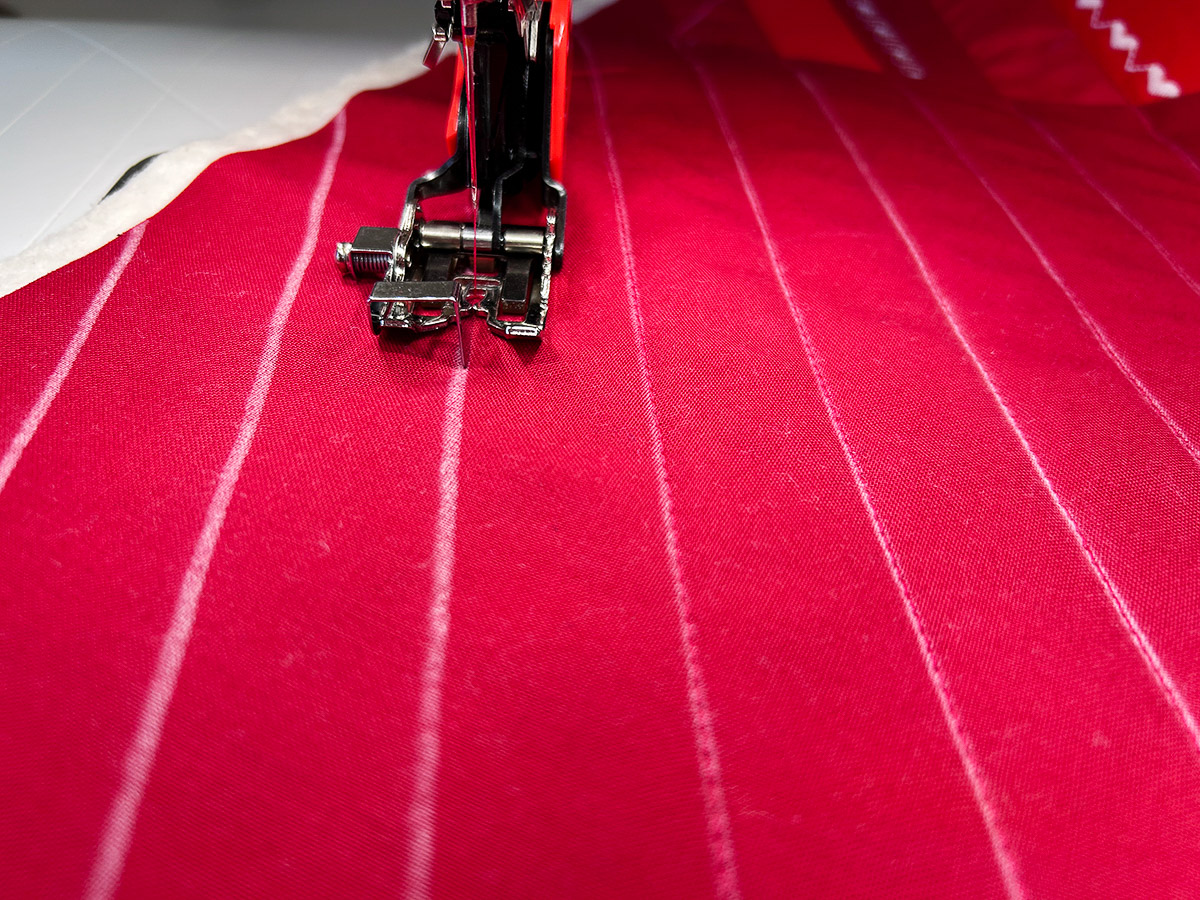
Change the top and bobbin thread to red. With your chalk and a ruler, extend the seam lines on the solid red fabric.
Here is a close-up view of the Center Guide Sole. The blade is a great guide for stitch-in-the-ditch. The needle lands directly behind the blade, so as long as the blade is in the ditch, the stitches will be in the ditch too.
Place the center blade up against the seam on the “ditch” side. Remember when I said to press seams to one side? Now we have all the seam allowance on one side for the blade to butt up against.

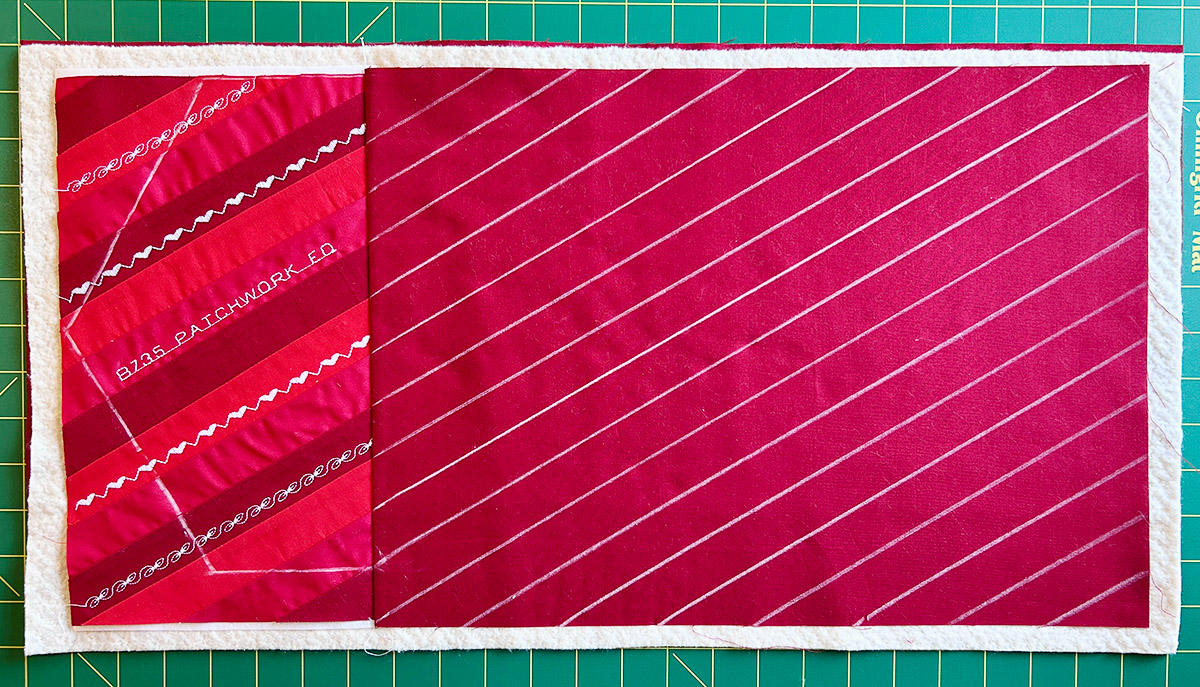
When you get to a chalk line, continue stitching with the blade on the marked line. Continue until all seams and lines are quilted.
Trim cover to 23″ x 10 1/2″ using the horizontal chalk marks from Template B as a reference.
Trim on the last two chalk lines making sure the “B” in B735 is at least 1/2″ from the raw edge.
Step Four: Finish the Wrap
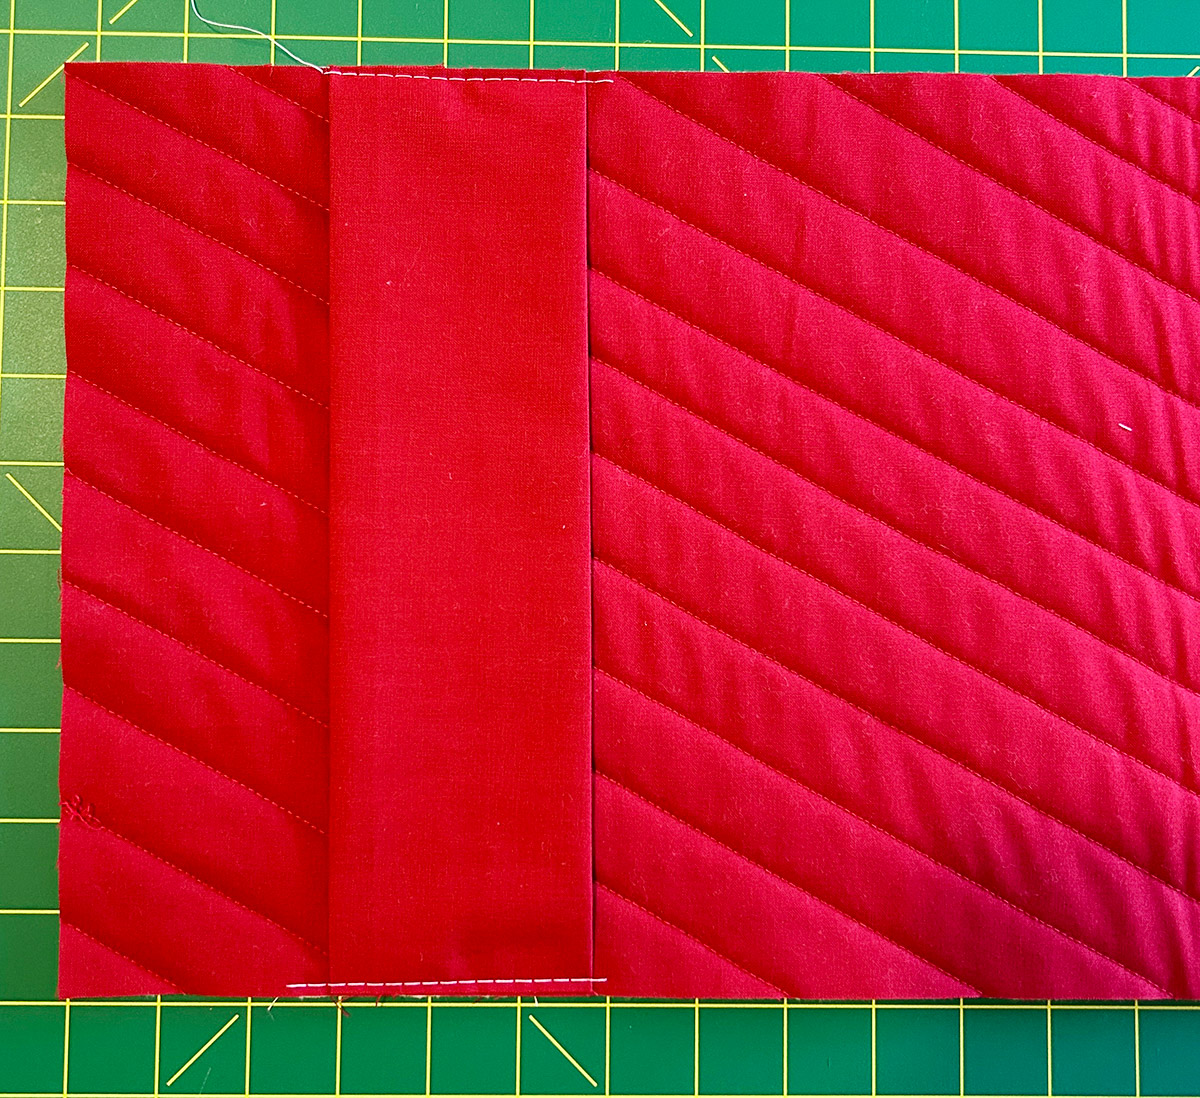
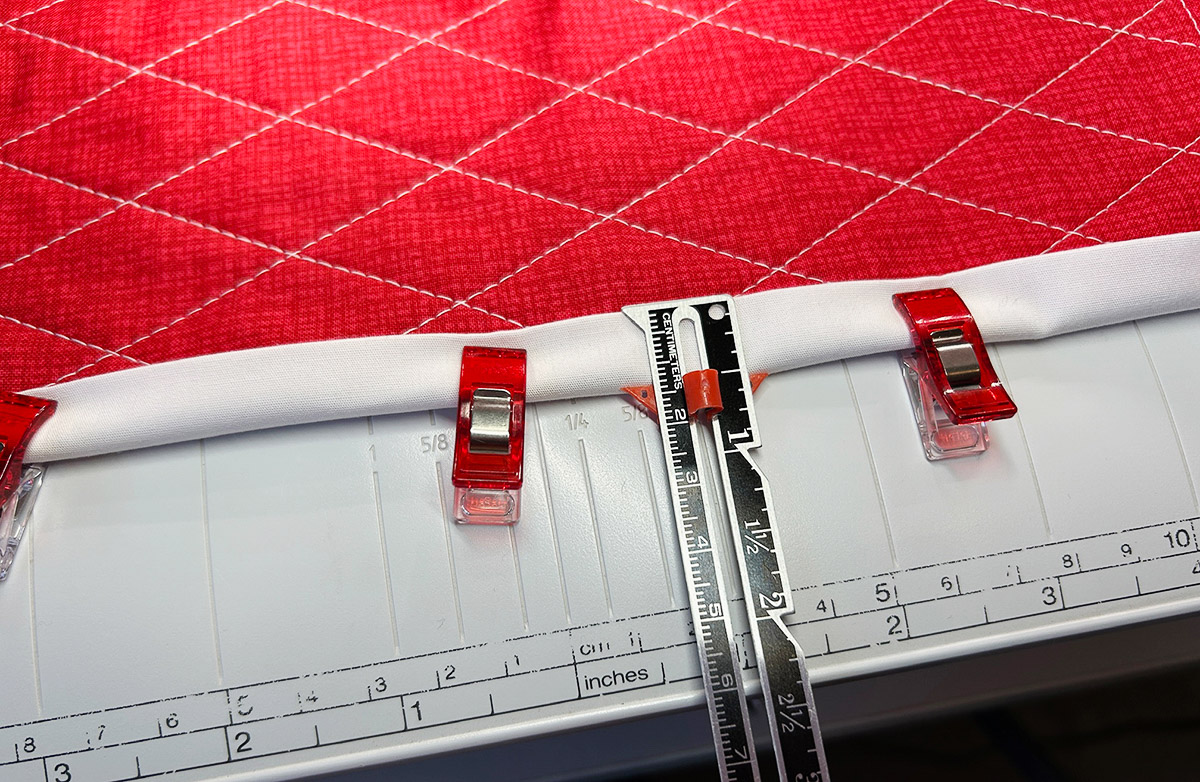
Press the 9″ x 10 1/2″ red fabric into thirds, lengthwise, to create a band.
Place the band 3″ from the left side of the wrap.
Baste into place using a 6 mm straight stitch.
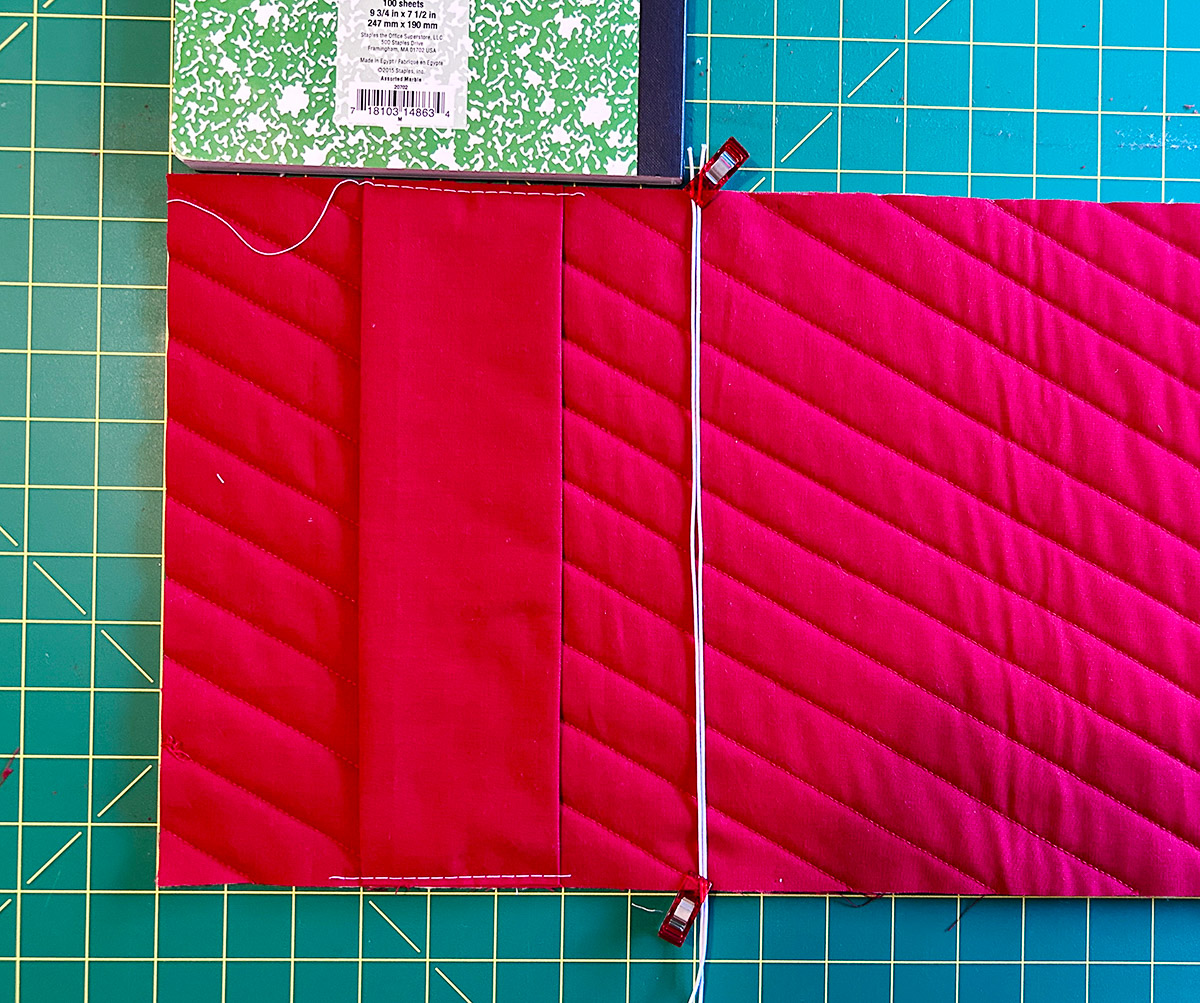
Option: add two pieces of elastic to hold two notebooks. Use a notebook to reference placement of elastic. Secure the ends of elastic with Stitch #11.
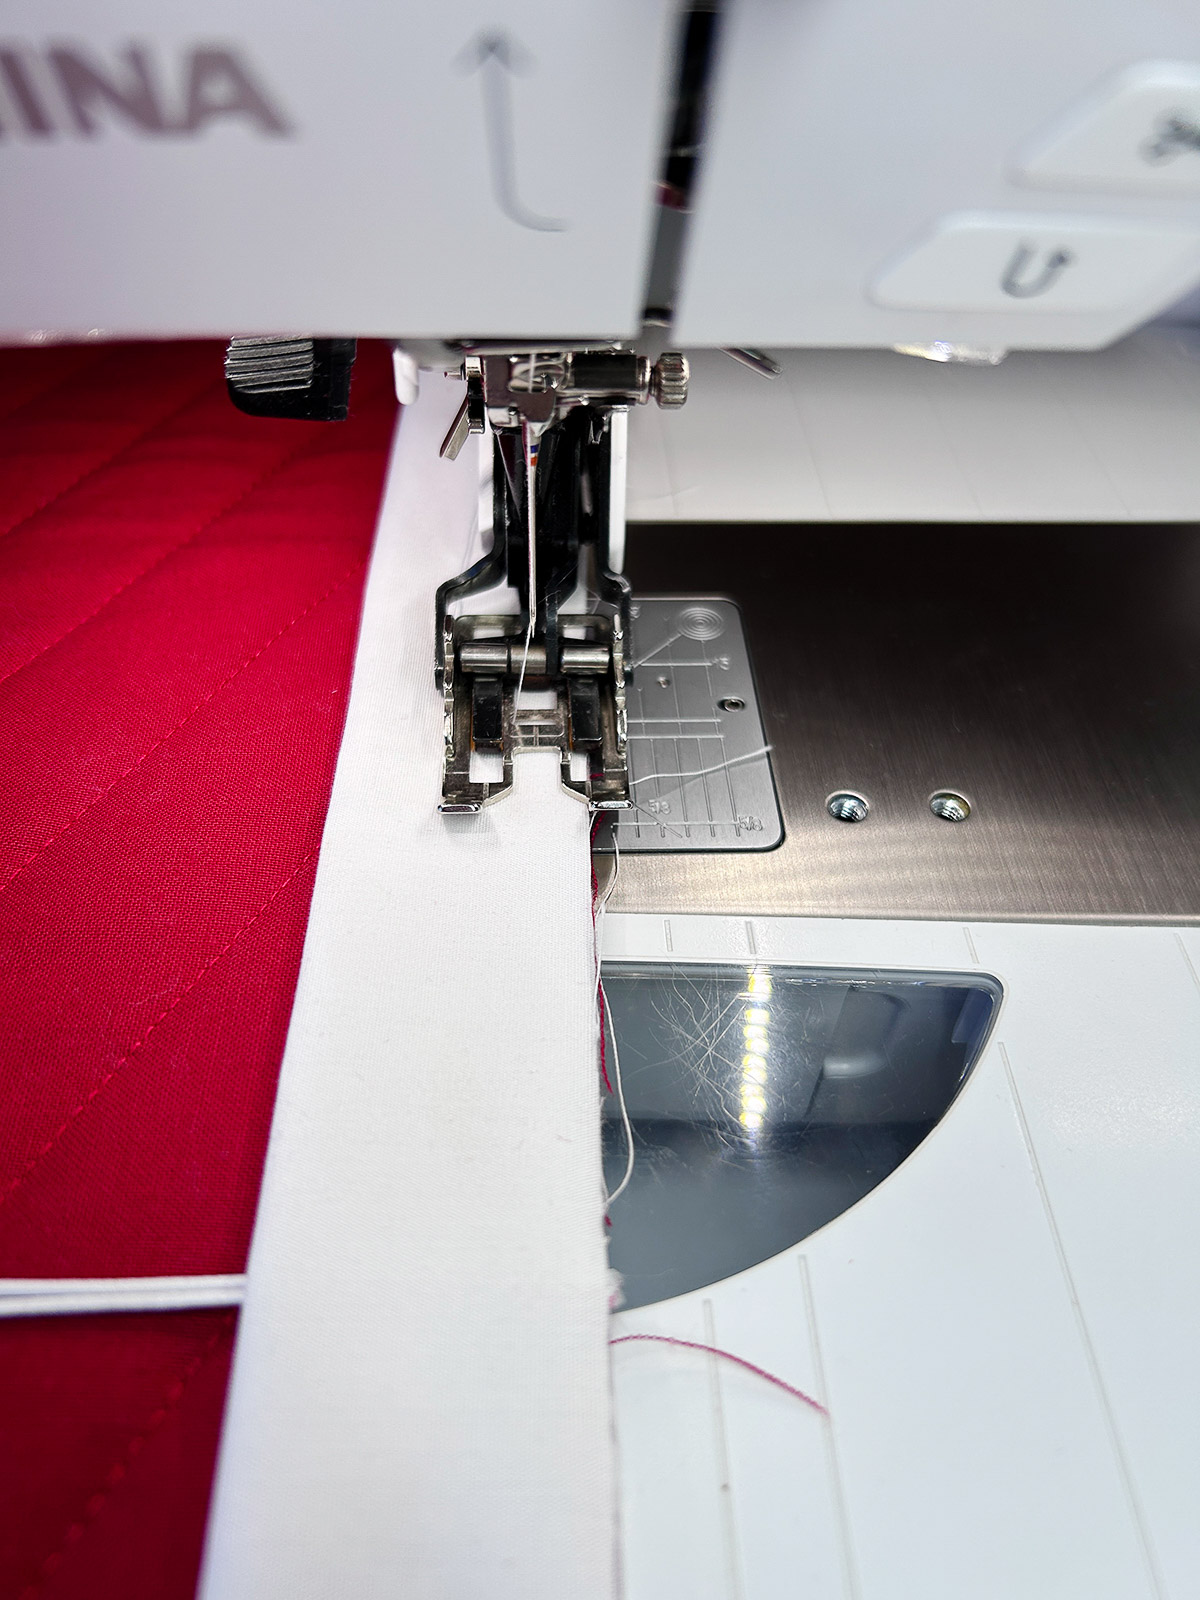
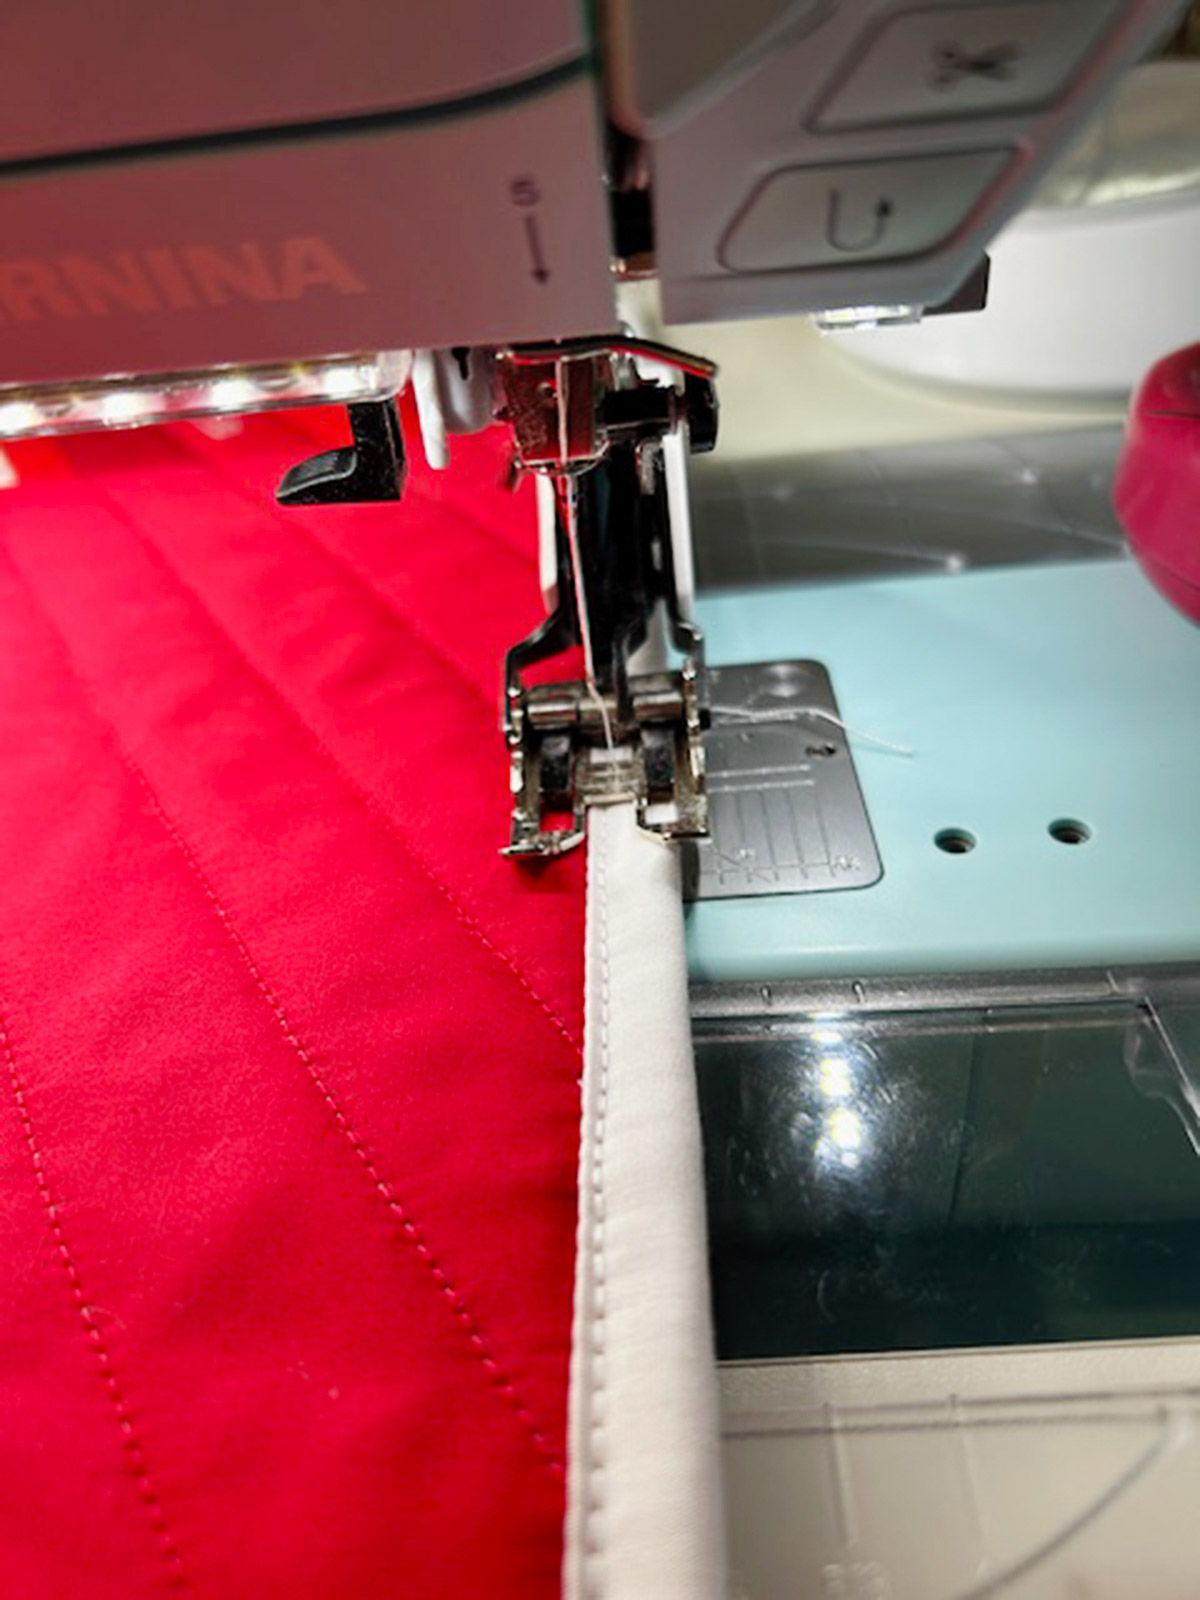
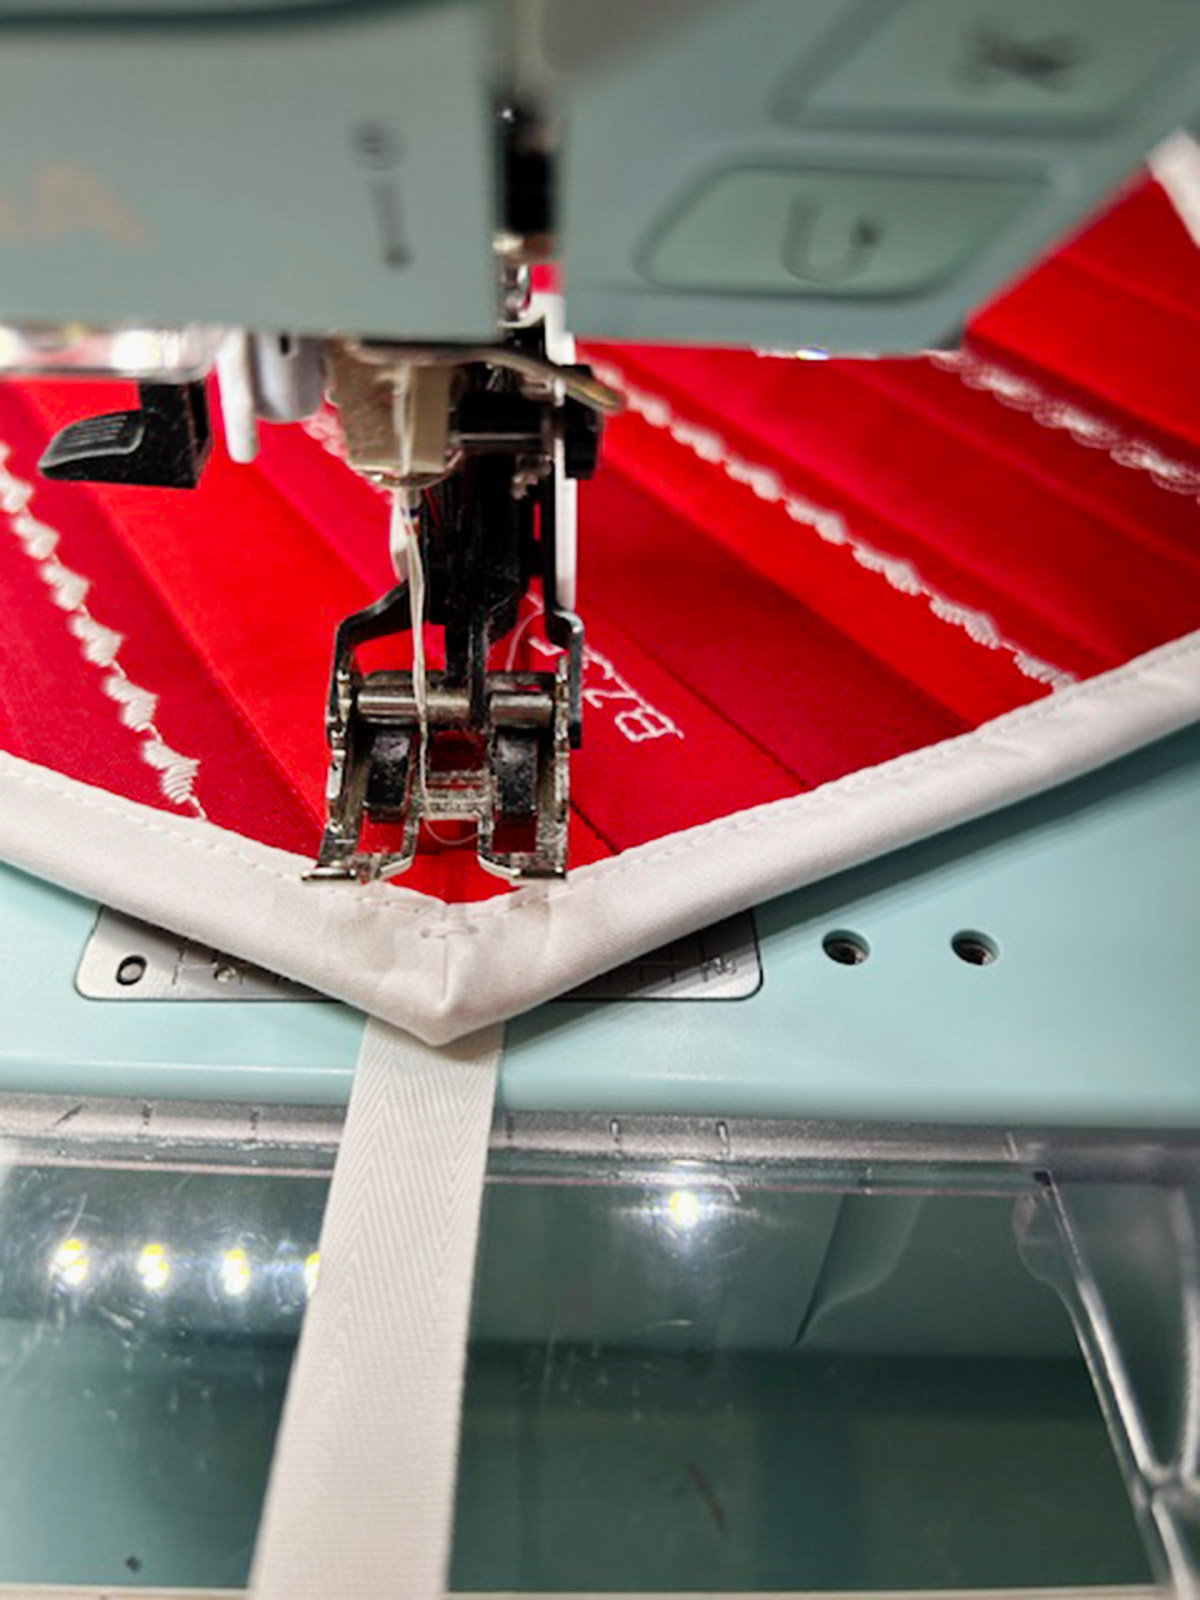
Use your favorite binding method to secure the white binding fabric or use my method. I prepped my binding strip and stitched to the inside of the cover with white thread. I used Walking Foot #50 with the Standard Sole to add the binding, aligning the raw edges along the 1/4″ mark.
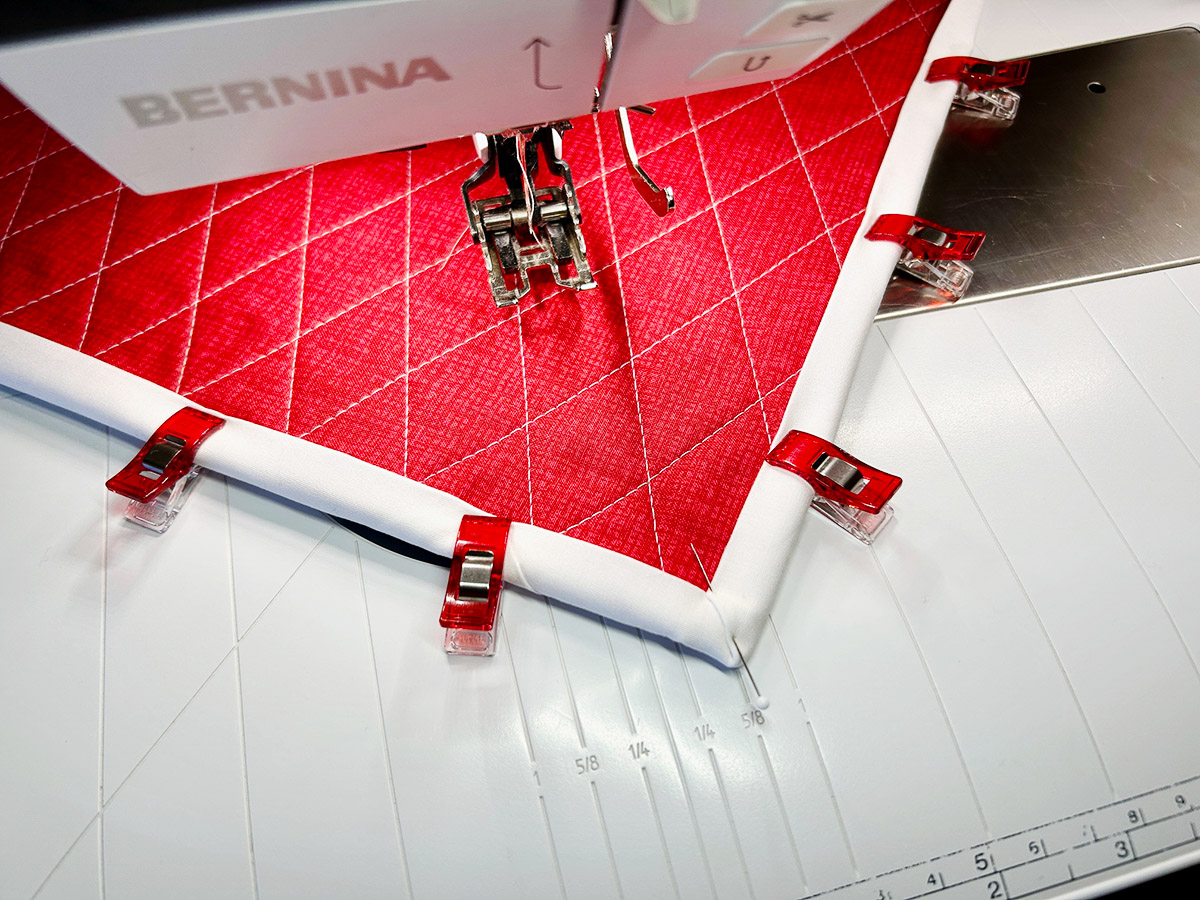
If you need a refresher on mitering corners, go to this link on WeAllSew.com. This notebook has five corners to miter!
Next, I pressed and wrapped the binding over the other side, securing with clips. The binding measured about 1/2″.
Use a pin to secure nice miters at each corner.
Pro tip: When mitering corners, miter with the fold toward you. This prevents the small flap from getting caught in the foot’s sole while sewing.
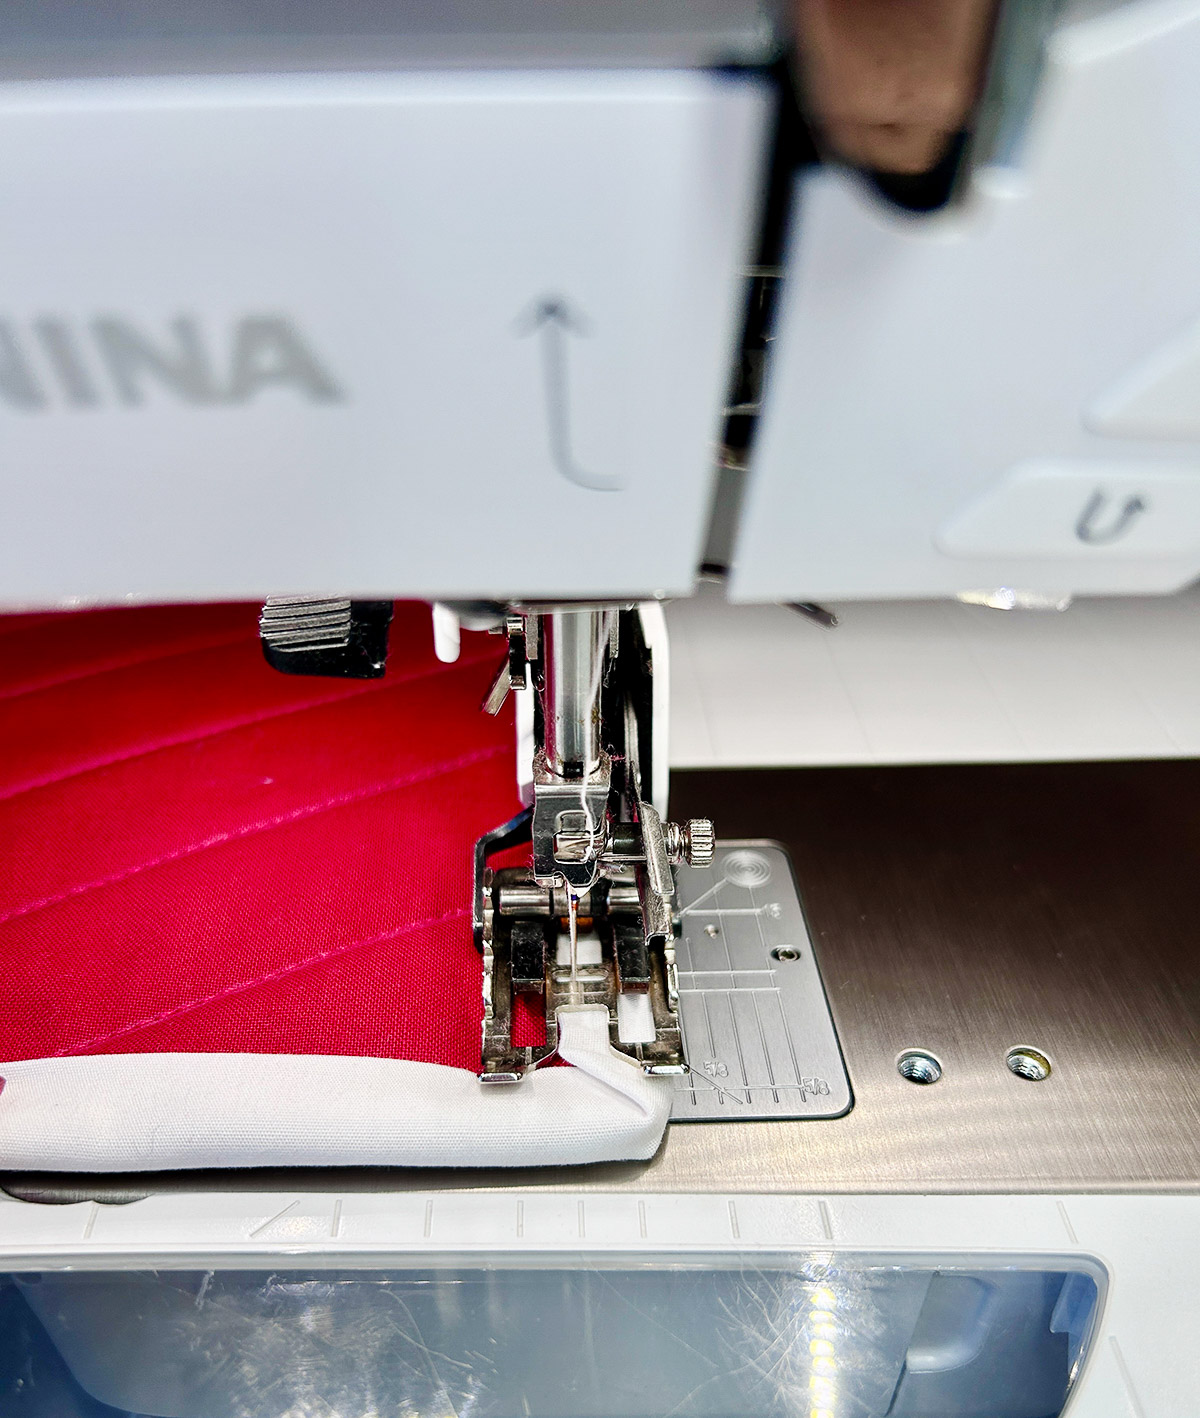
Next, I changed the straight stitch to 3 mm and moved the Needle Position to -1, so I could position the foot with the inside left toe against the binding. I wanted the stitching to be just inside the binding.
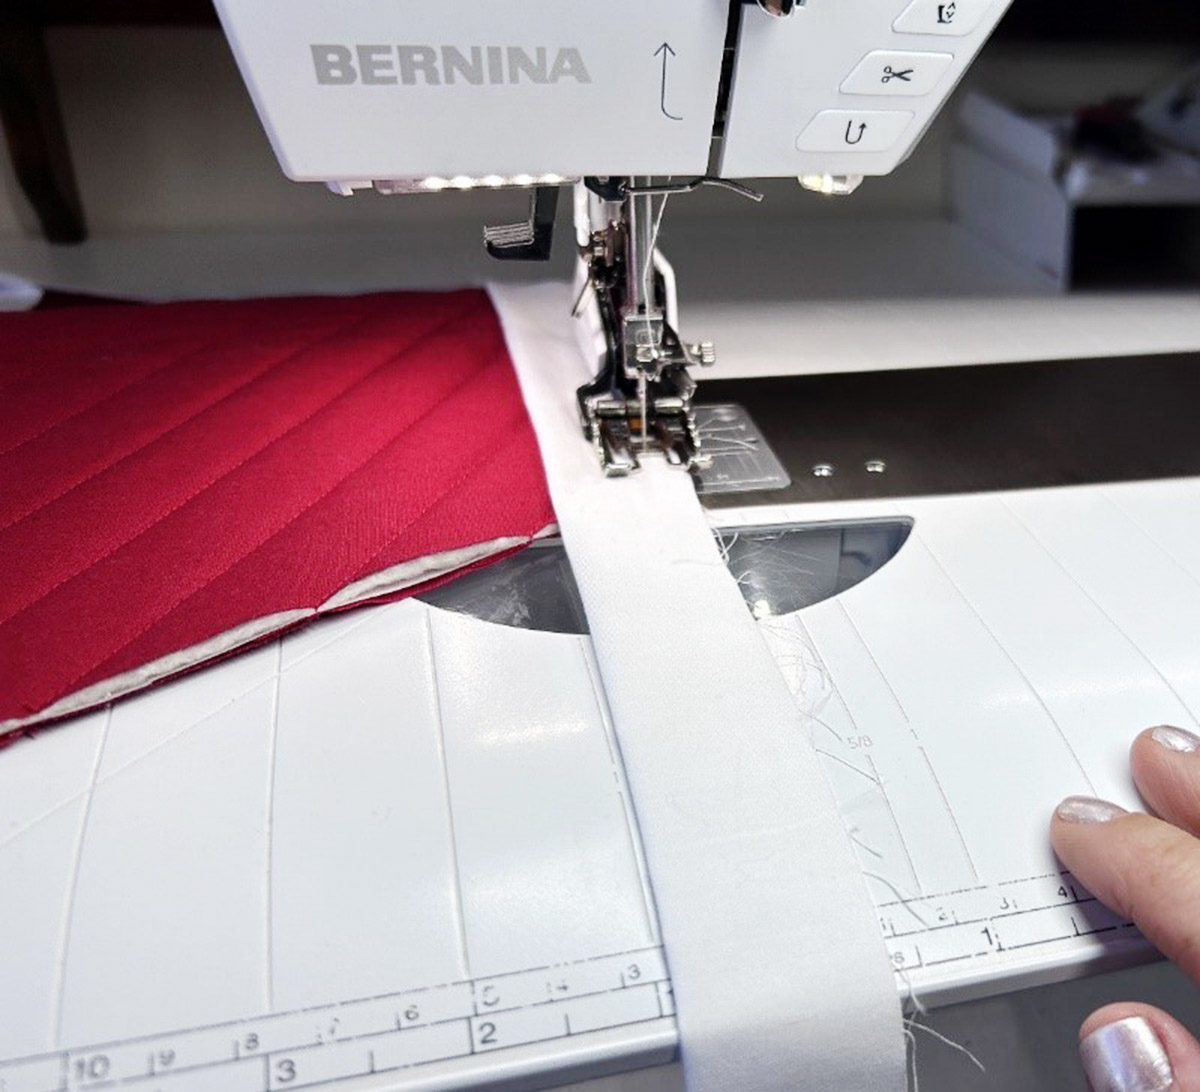
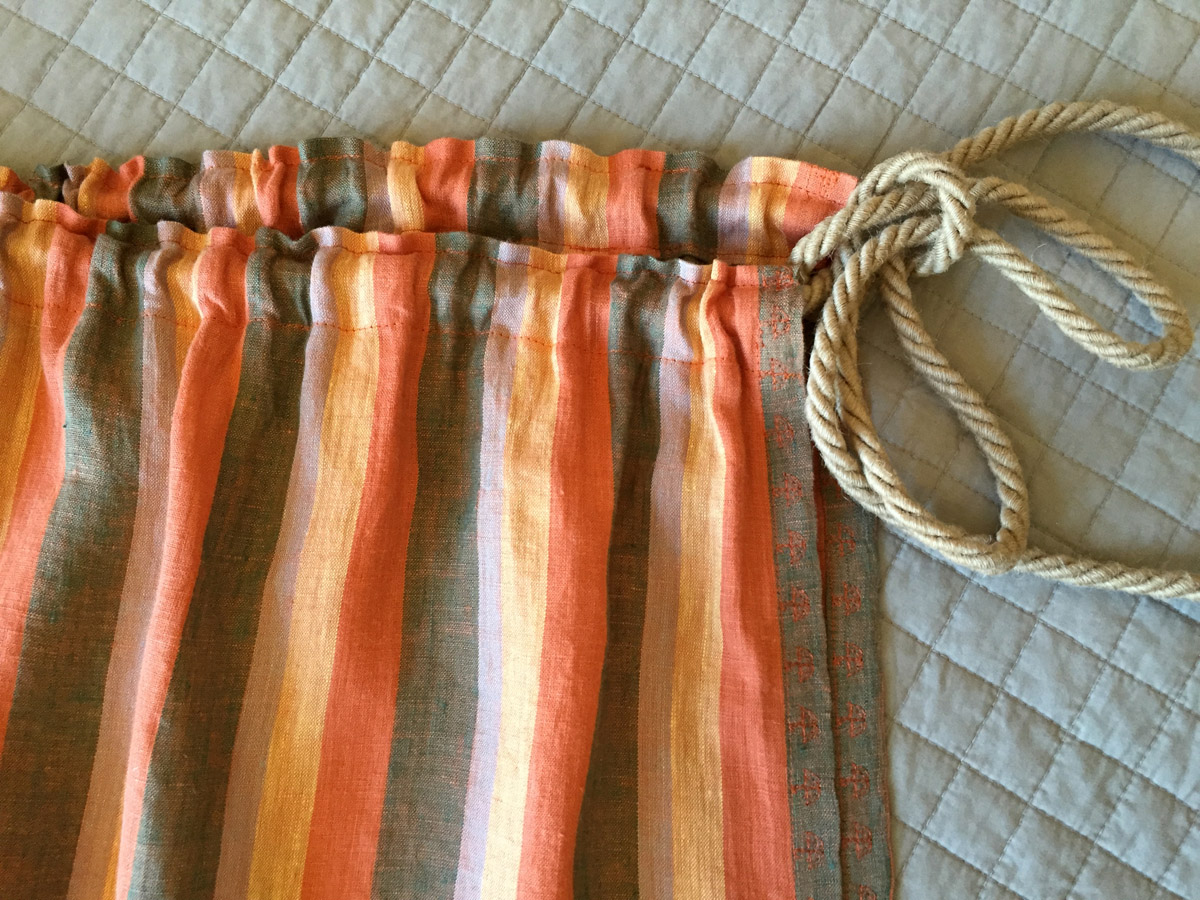
Step Five: Add the Tie
Select Bartack Stitch Program #25.
Fold the twill tape under 1/2″ at one short end and glue to the binding at the point.
Position the binding under the foot and stitch using the Start/Stop Button. Because Stitch #25 is a stitch program, it will stop automatically.
Cut threads.
To reinforce, stitch one more bartack slightly below the first one.
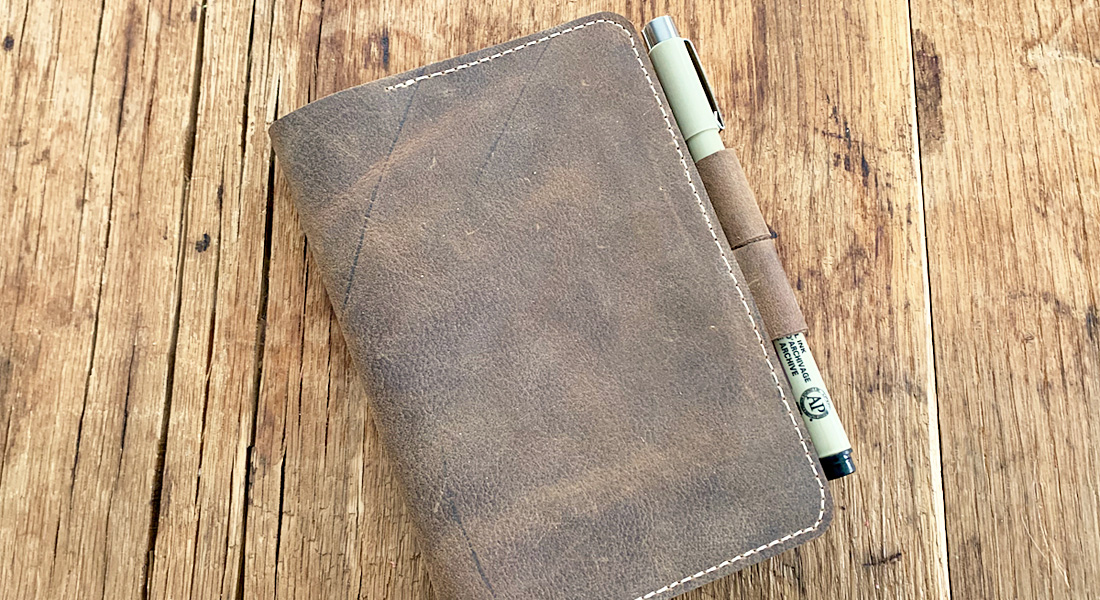
And you’re done! Enjoy your new notebook wrap!


What you might also like


2 comments on “Notebook Wrap with the B 735 PE”
-
-
Hello! Thank you for your comment. This has been updated! Happy stitching!
-
Leave a Reply
You must be logged in to post a comment.

Hi, this is a great project that I’d like to try…but there is no link for the Templates…..can that be updated/ added to this article?
Thanks