Reversible sewing machine cover
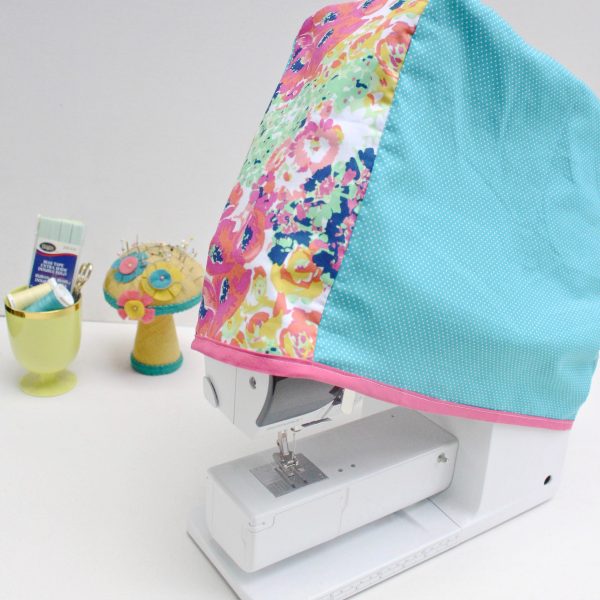
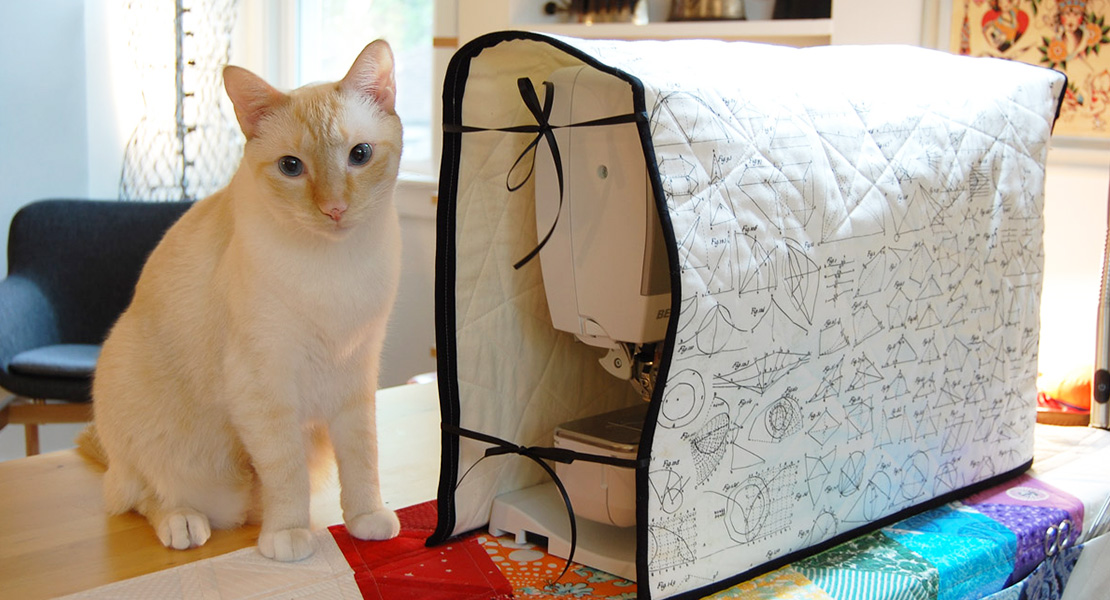
My mom is pretty awesome, my first DIY hero. So many kid memories of sitting on the floor with some crazy construction paper creation—that required yards and yards of tape—while she whirred away on her sewing machine. She also taught me to respect and care for my crafting tools. You won’t catch my mom sewing on a dusty, scratched or unloved machine. Or not covering it after she’s done stitching for the day. She believes that something that works well and brings you joy should be revered. I thought about my mom the whole time I created this pretty sewing machine cover tutorial. Like my mom, I love the tools that make me a maker.
Materials to Make a DIY Reversible Sewing Machine Cover
*You’ll measure your sewing machine to determine the sizes of your fabric pieces.
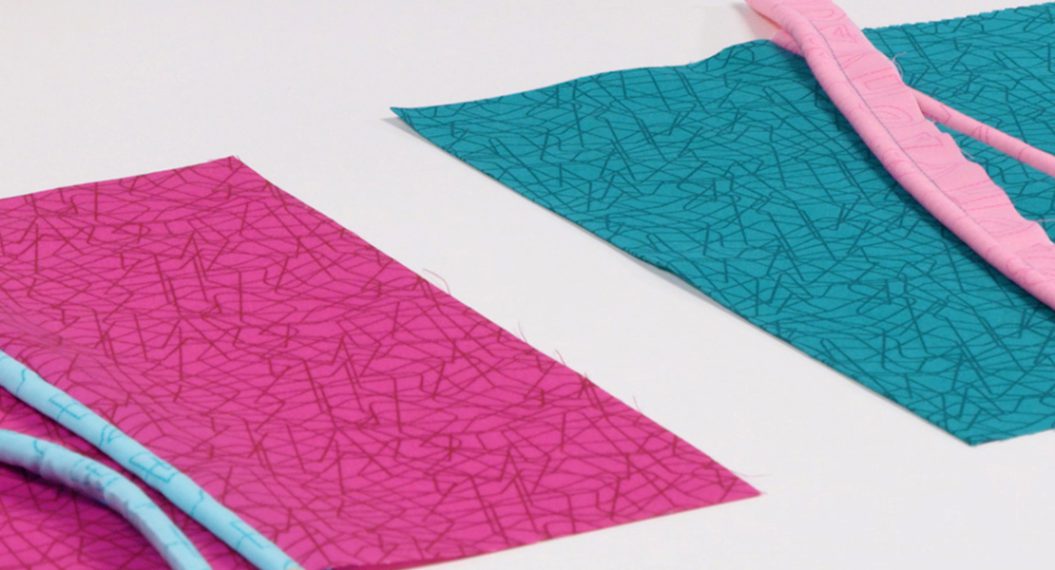
- Four pieces of fabric that fit A and B (two pieces should be one fabric 1 and two should be fabric 2)
- Four pieces of fabric that fit C and D (two pieces should be one fabric 1 and two should be fabric 2)
- Two pieces of fabric that fit E (one piece should be one fabric 1 and one should be fabric 2)
- Extra wide double fold bias tape 9I used a 3 yard package and had some leftover. You’ll need enough to go around the bottom of your sewing machine cover).
- Thread
- Iron and ironing board
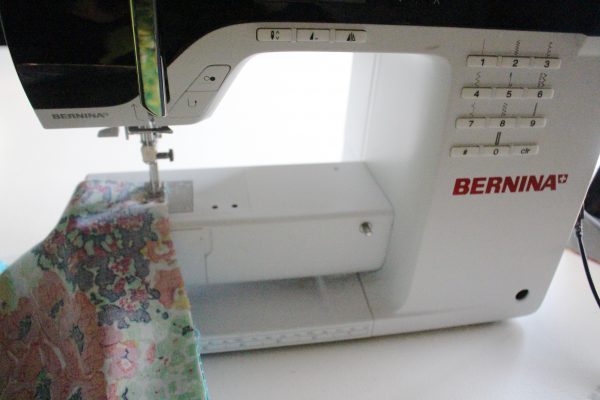
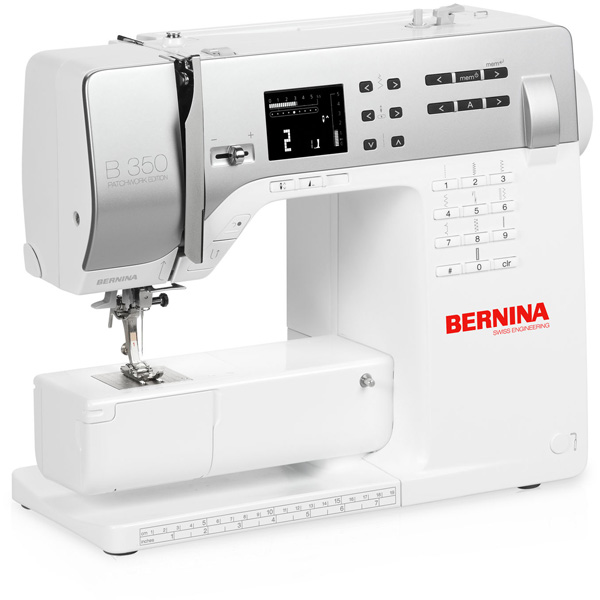
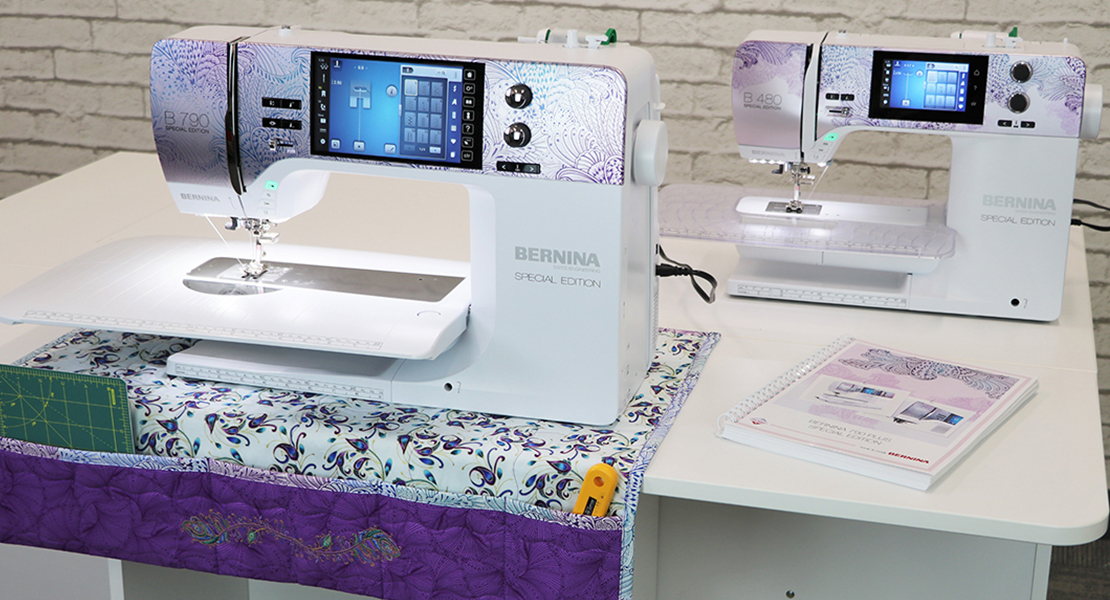
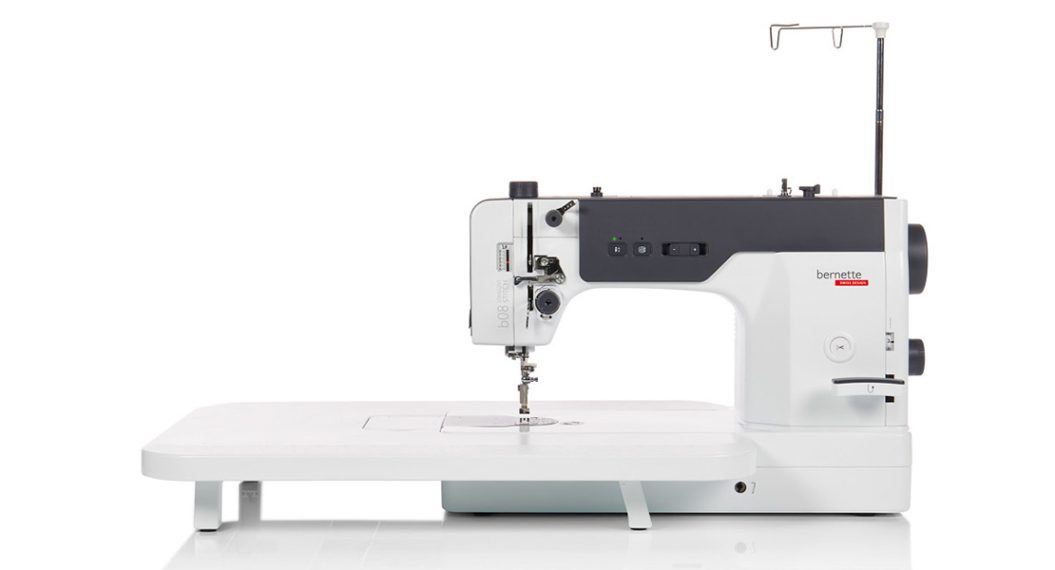
- Sewing machine (I used my BERNINA 380) and also can recommend the BERNINA 350 PE
- Scissors
- Ruler or measuring tape
- Pencil
Instructions to Sew a DIY Reversible Sewing Machine Cover
*All seam allowances are 3/8 inch.
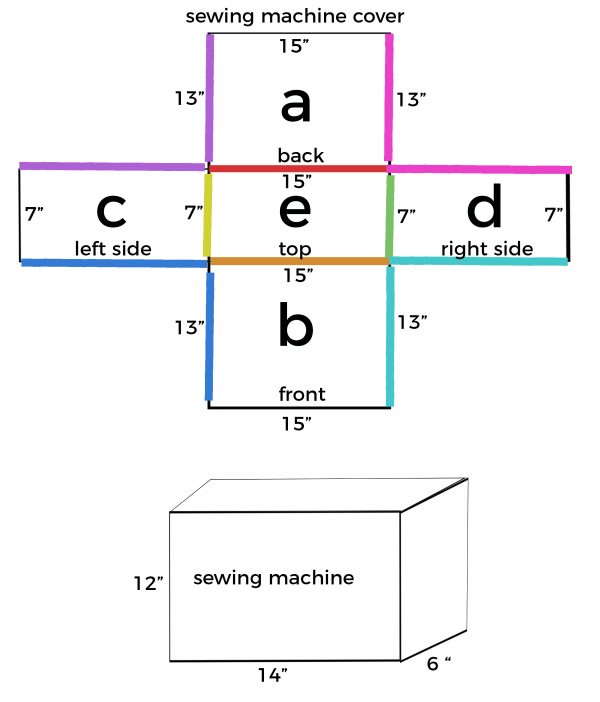
1. Measure your sewing machine to determine the measurements for pieces A, B, C, D and E. See the diagram above I made to illustrate how to use your sewing machine measurements to find the fabric measurements. Basically just add 1″ to each measurement.
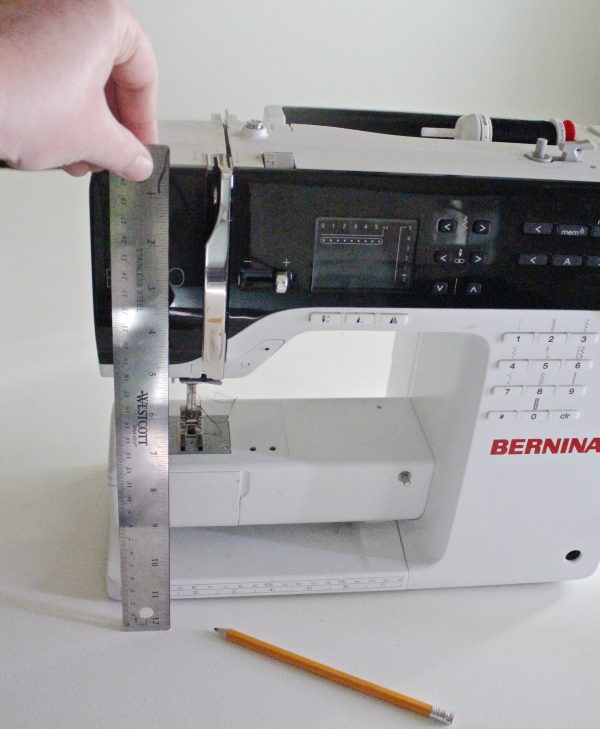
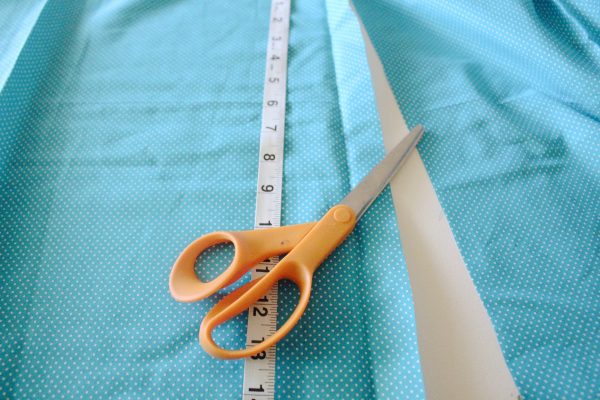
2. Measure and cut your fabrics.
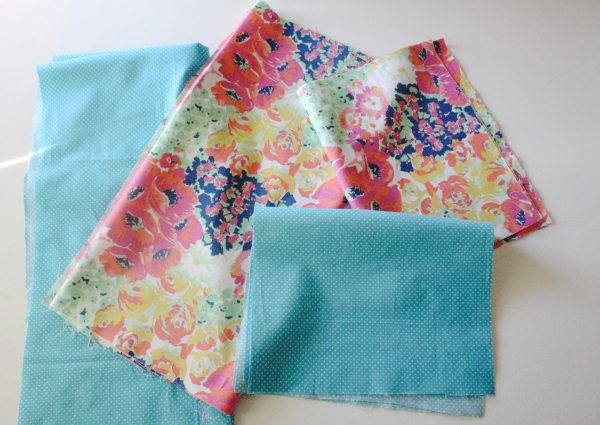
3. Determine which fabrics you’d like to have on the outside and which you’d like to have on the inside. Keep in mind that your sewing machine cover will be reversible. I choose to mix up my fabrics and have A and B be the same fabric and C, D and E be the other fabric. If you have large scraps fabric, you can have each piece be a different fabric and achieve a patchwork look or you can go for simplicity and have all the pieces be the same fabric.
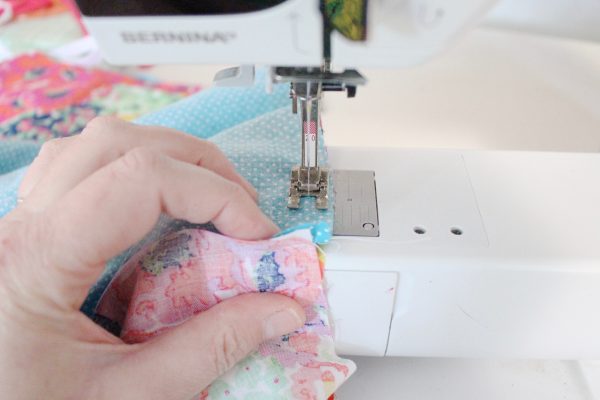
4. Sew the back piece to the top piece: Place A and E together (right sides facing in) and pin them together where they meet in the diagram (red line) then sew a seam.
5. Sew the front piece to the top piece: Place B and E together (right sides facing in) and pin them together where they meet in the diagram (orange line) then sew a seam.
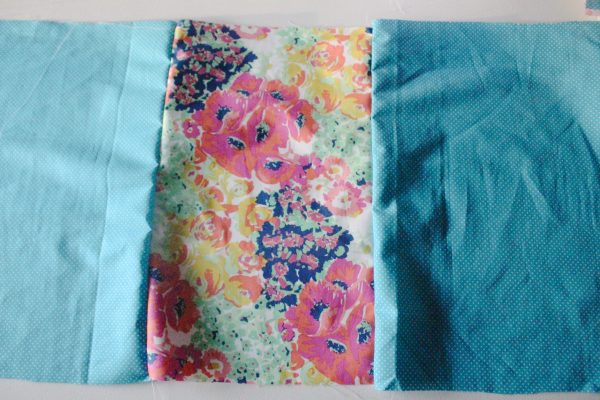
6. Sew the left side to the top piece: Place C and E together (right sides facing in) and pin them together where they meet in the diagram yellow line) then sew a seam.
7. Sew the right side to the top piece: Place D and E together (right sides facing in) and pin them together where they meet in the diagram green line) then sew a seam.
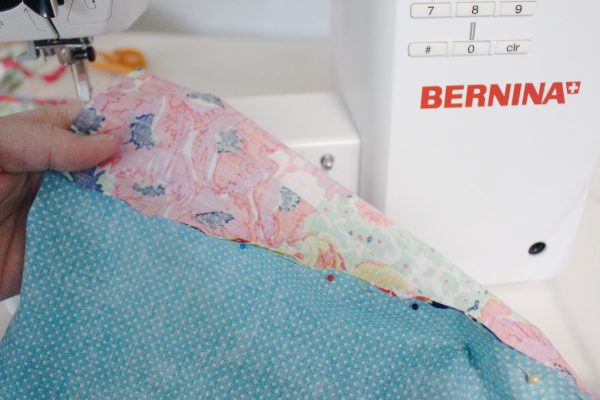
8. Pin and sew the sides together: B and C come together at the blue line, C and A come together at the purple line, A and D come together at the pink line and D and B come together at the teal line.
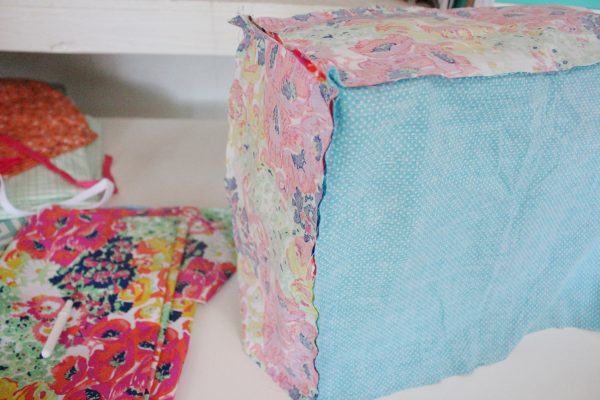
9. One half of the sewing machine cover is now done! Now repeat steps 4-8 for the other fabric. Now, the second half is done and we’ll put them together.
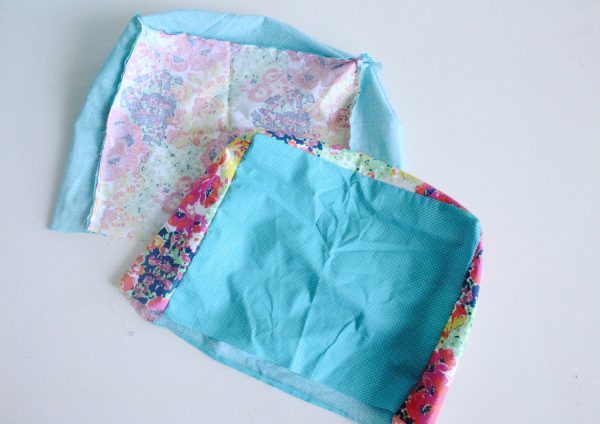
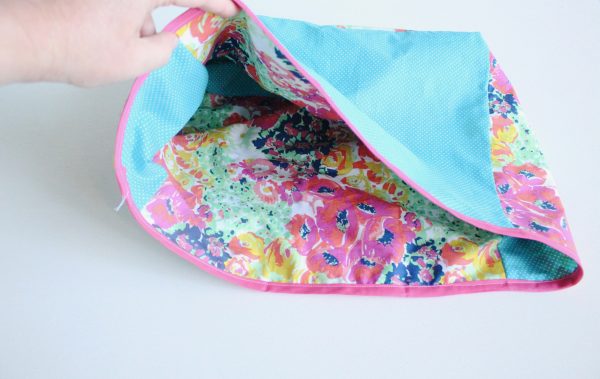
10. Turn one of the completed “bags” right side out and place the other side (which is inside out) inside it. The wrong sides will be facing each other.
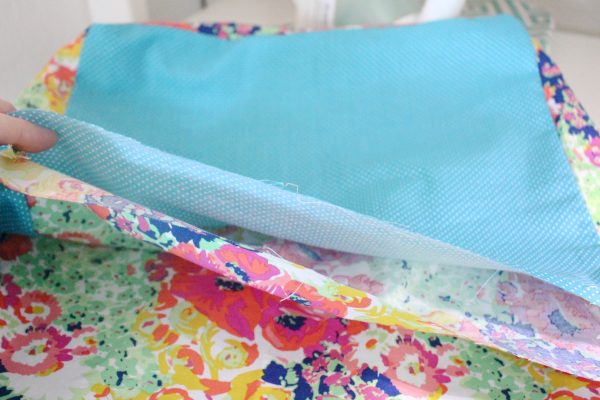
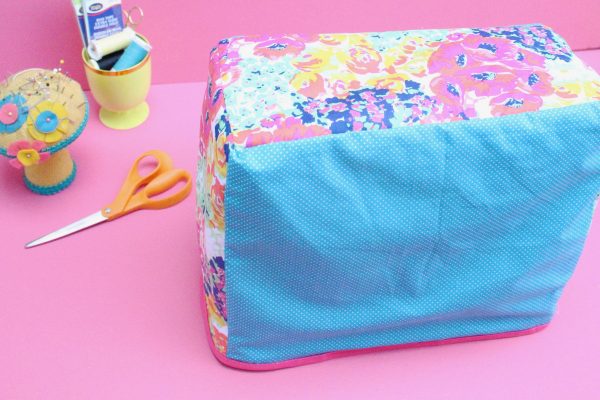
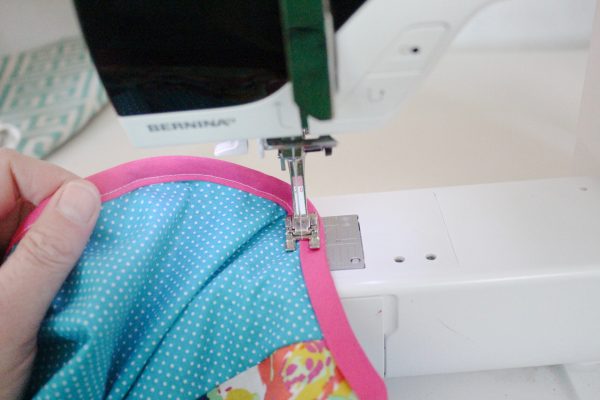
11. Match up the raw edges on the bottom and sew the bias tape over the edges along the length of the cover.
What you might also like
3 comments on “Reversible sewing machine cover”
-
-
I love this pattern, thank you for sharing. I am going to make one.
-
I love this and will definitely make it for me and one for my daughter. Any suggestions on making a serger cover would be appreciated.
Leave a Reply
You must be logged in to post a comment.






I love this! Great pattern and fun to make.