Beaded Edge with a Serger and Sewing Machine
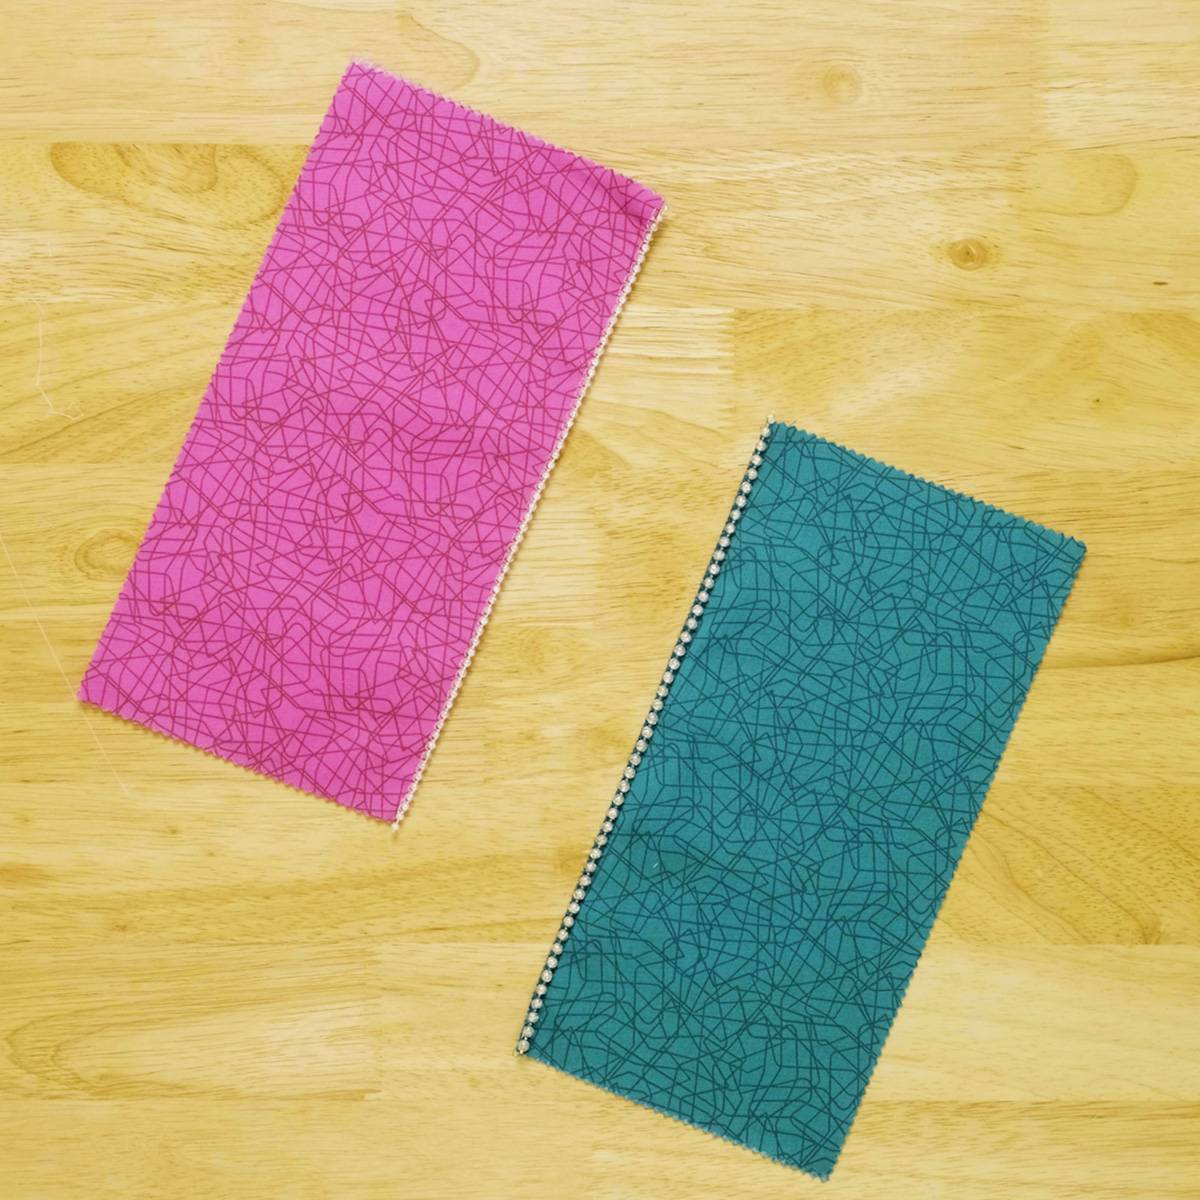
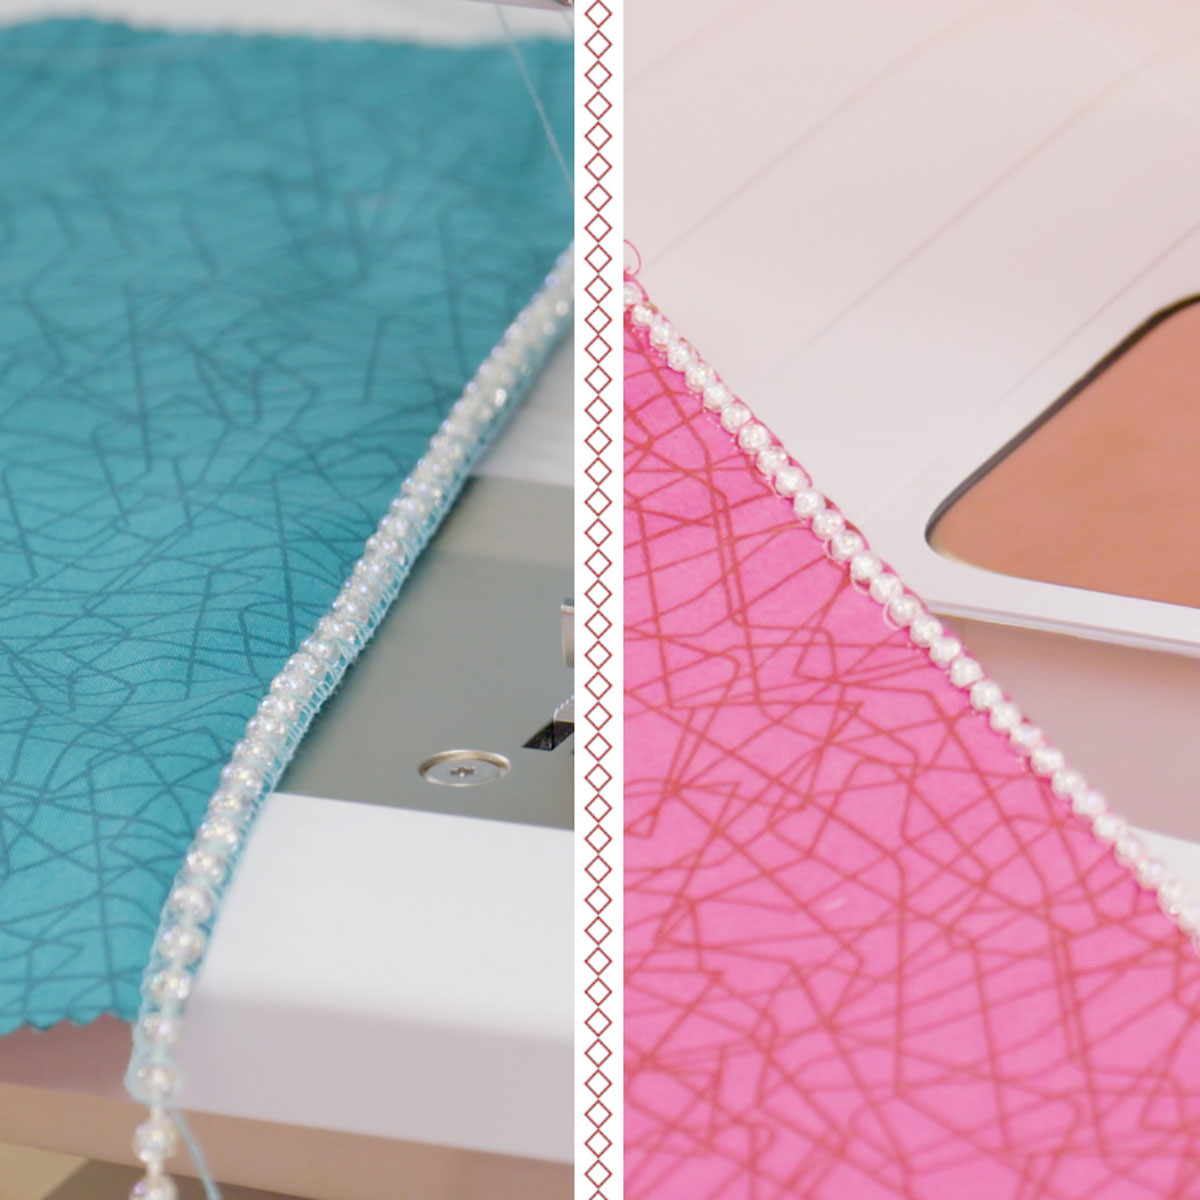
Strands of beads add a pretty detail to any project. But which machine to use? We decided to try this technique on an overlocker (serger) and a sewing machine. Both make it easy … you decide which works best for you!
Let’s take a look side by side.
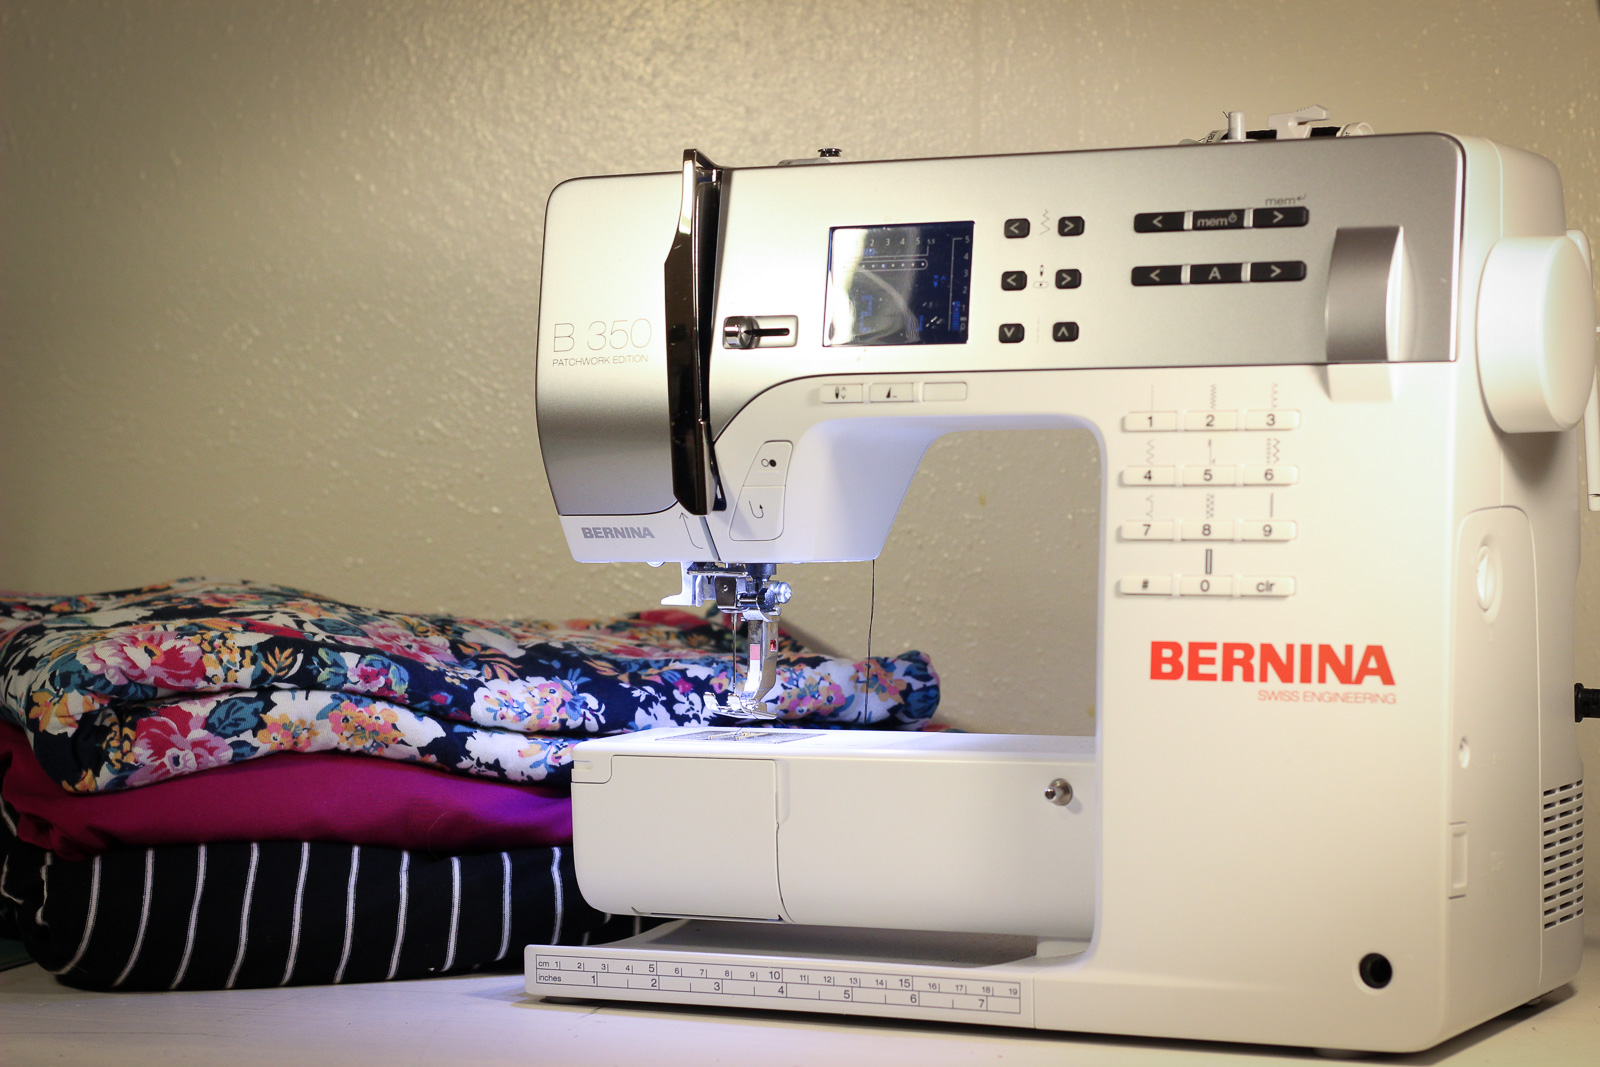
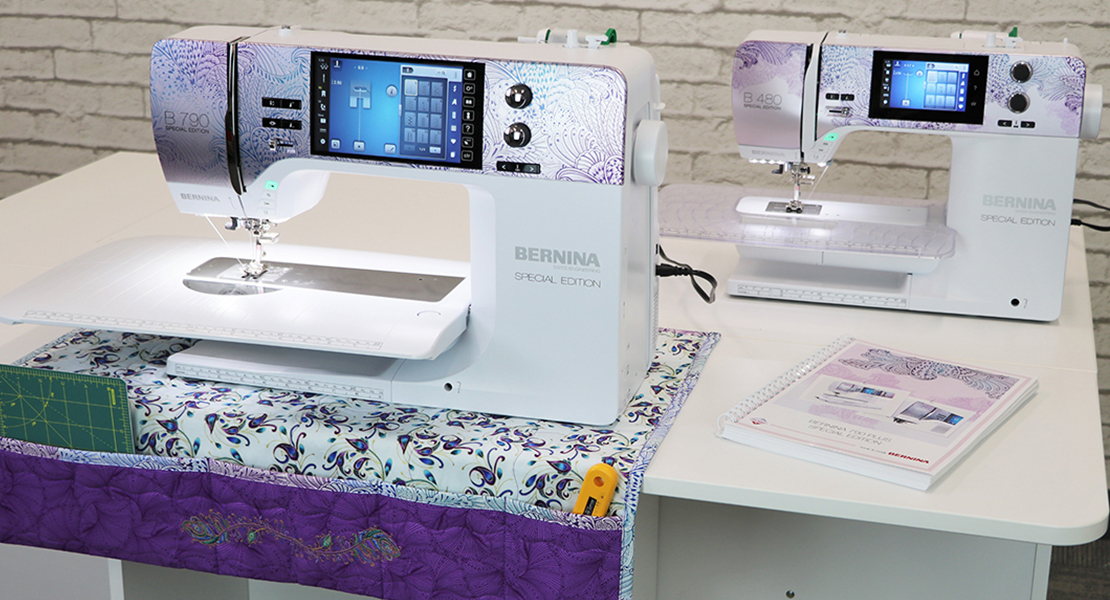
Machines Featured
First Things First: Feet
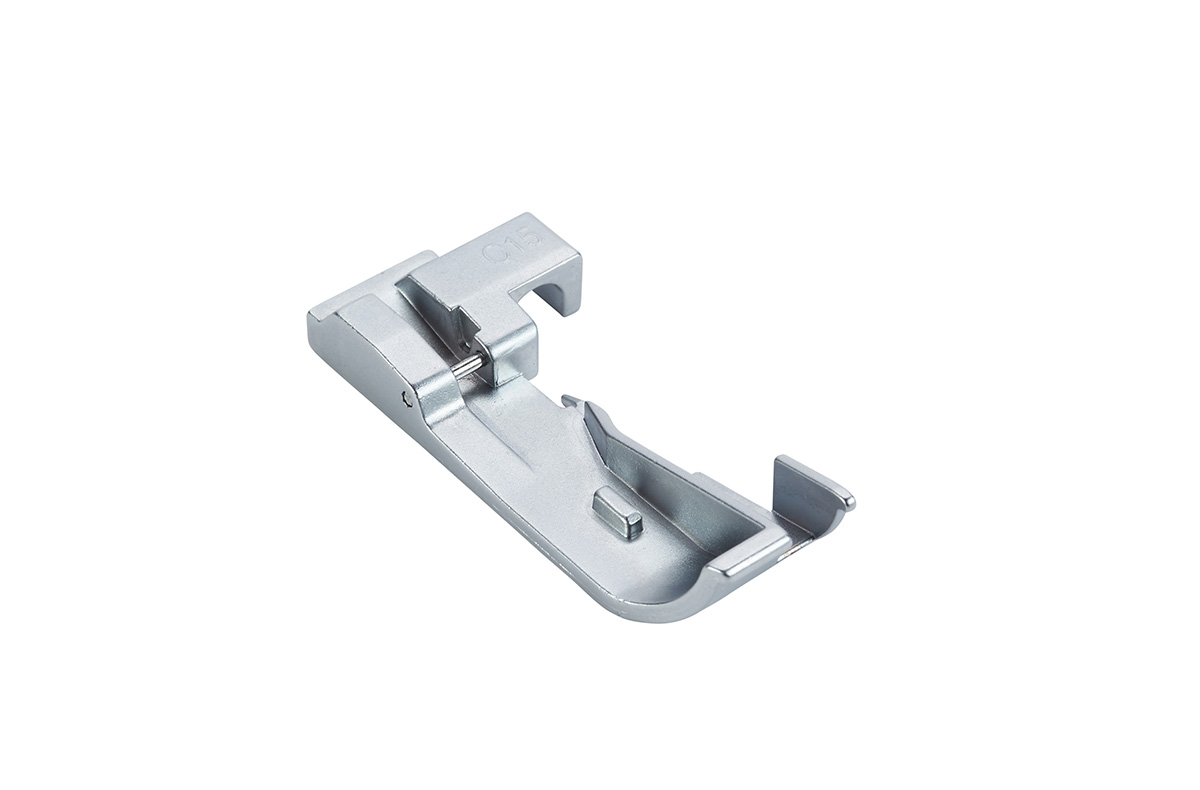
Overlocker – Beading and Sequin Foot #C15
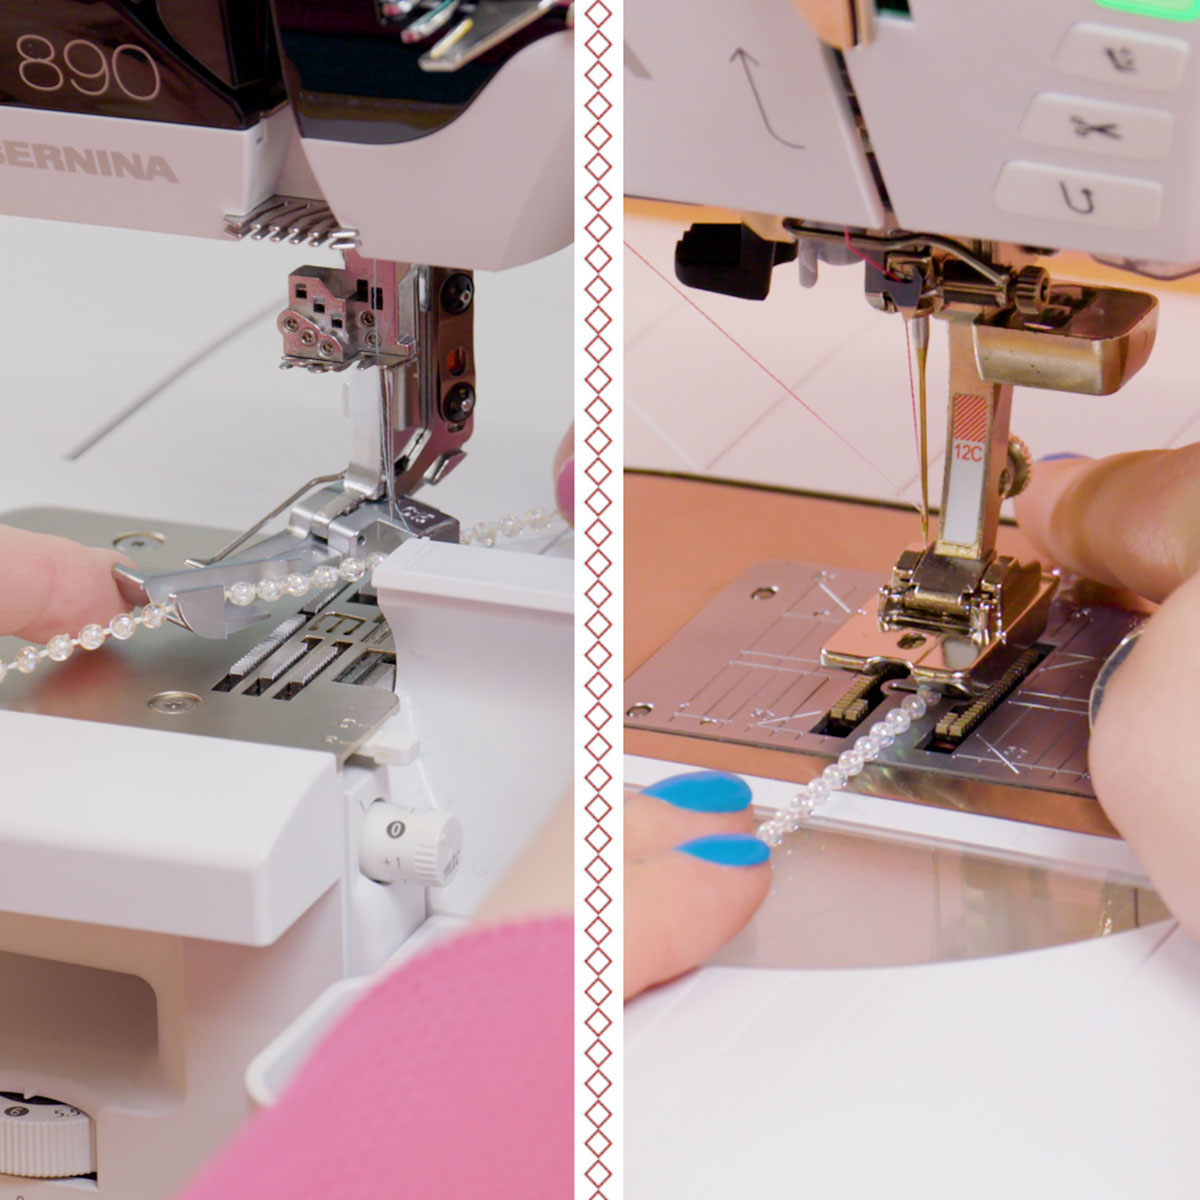
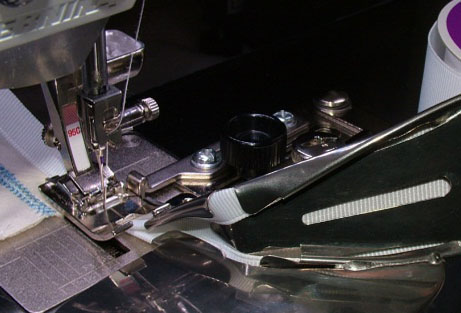
The groove on the bottom of Beading and Sequin Foot #C15 and the guide on the right side hold a string of beads perfectly without letting them near the needles or the knife. The swing-out capability of the foot makes it easy to get the beads into place. You can use beads up to 6 mm in diameter.
With this foot, you can also add strings of sequins. When working with sequins, make sure that the nap of the sequins is toward you for even feeding through the foot. Try using a flatlock stitch to sew beads and sequins down the middle of your fabric.
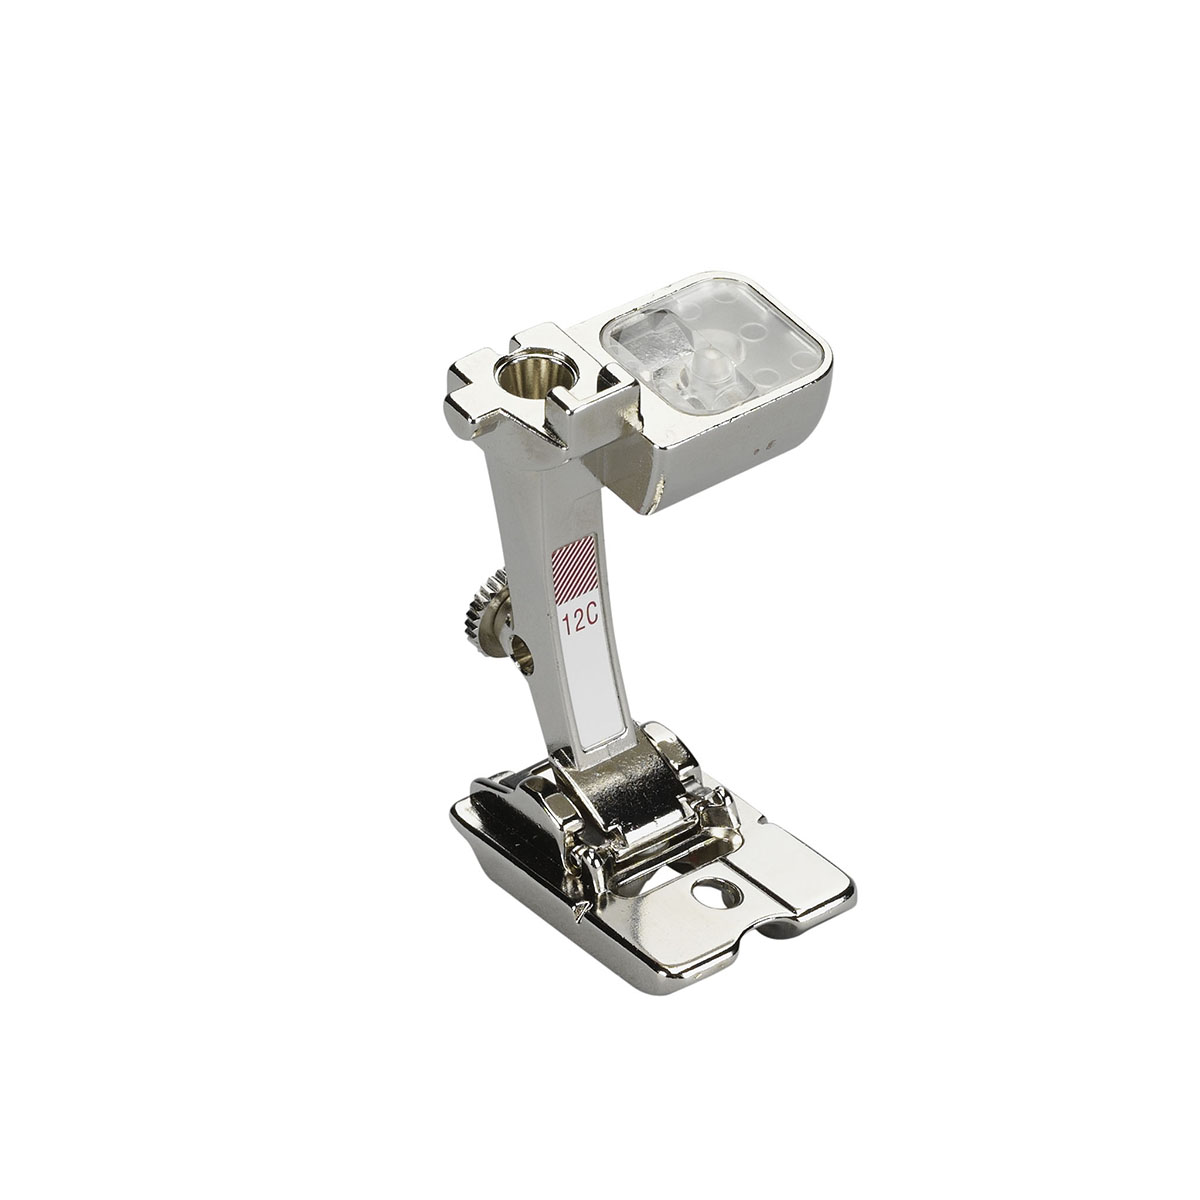
Sewing Machine – Bulky Overlock Foot #12C
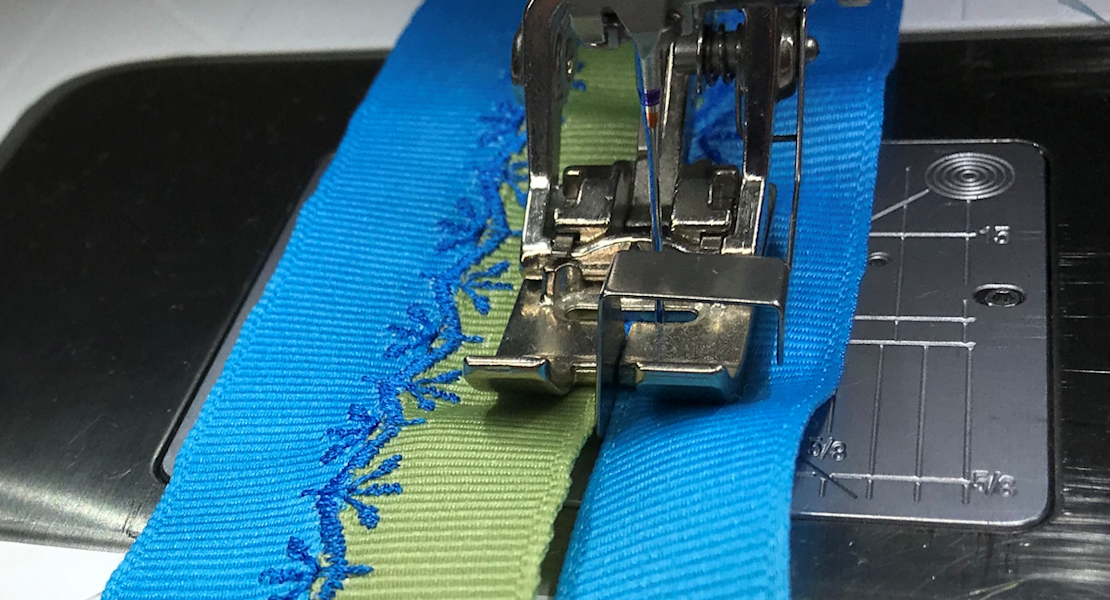
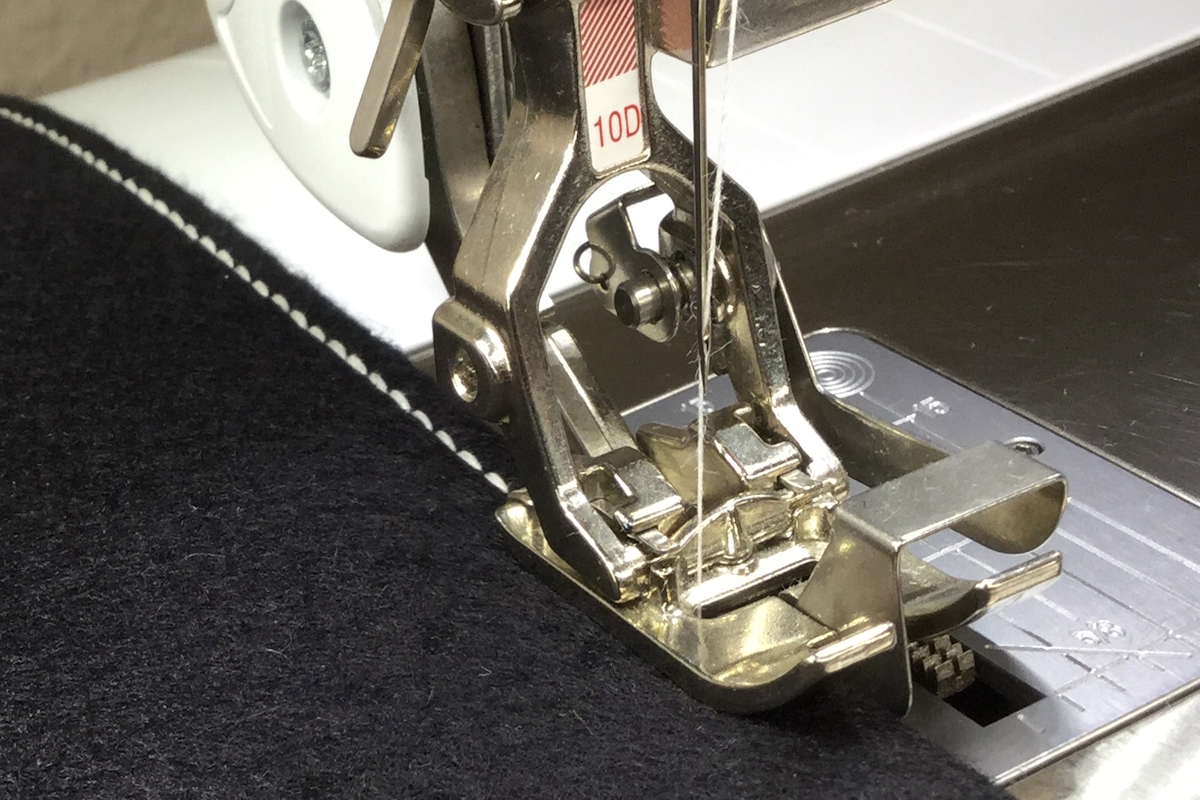
There are two versions of our Bulky Overlock Foot … The Bulky Overlock Foot #12 is for BERNINA models with a maximum stitch width of 5.5 mm and the Bulky Overlock Foot #12C is a coded version that works with models that stitch up to 9 mm. The coded version of the foot also has a hole in the top to allow for insertion of yarn or ribbon. The right toe of the foot is slightly thicker than the left toe, which allows the foot to stay level when adding beads along a fabric edge. The groove underneath guides the string of beads between the toes. Choose a bead diameter that fits in the groove.
The Bulky Overlock Foot #12/12C is a versatile foot. Use it for sewing bulky knits, creating and inserting piping, couching, and creating a corded edge.
Set Up for Success: Machine Settings
Overlocker
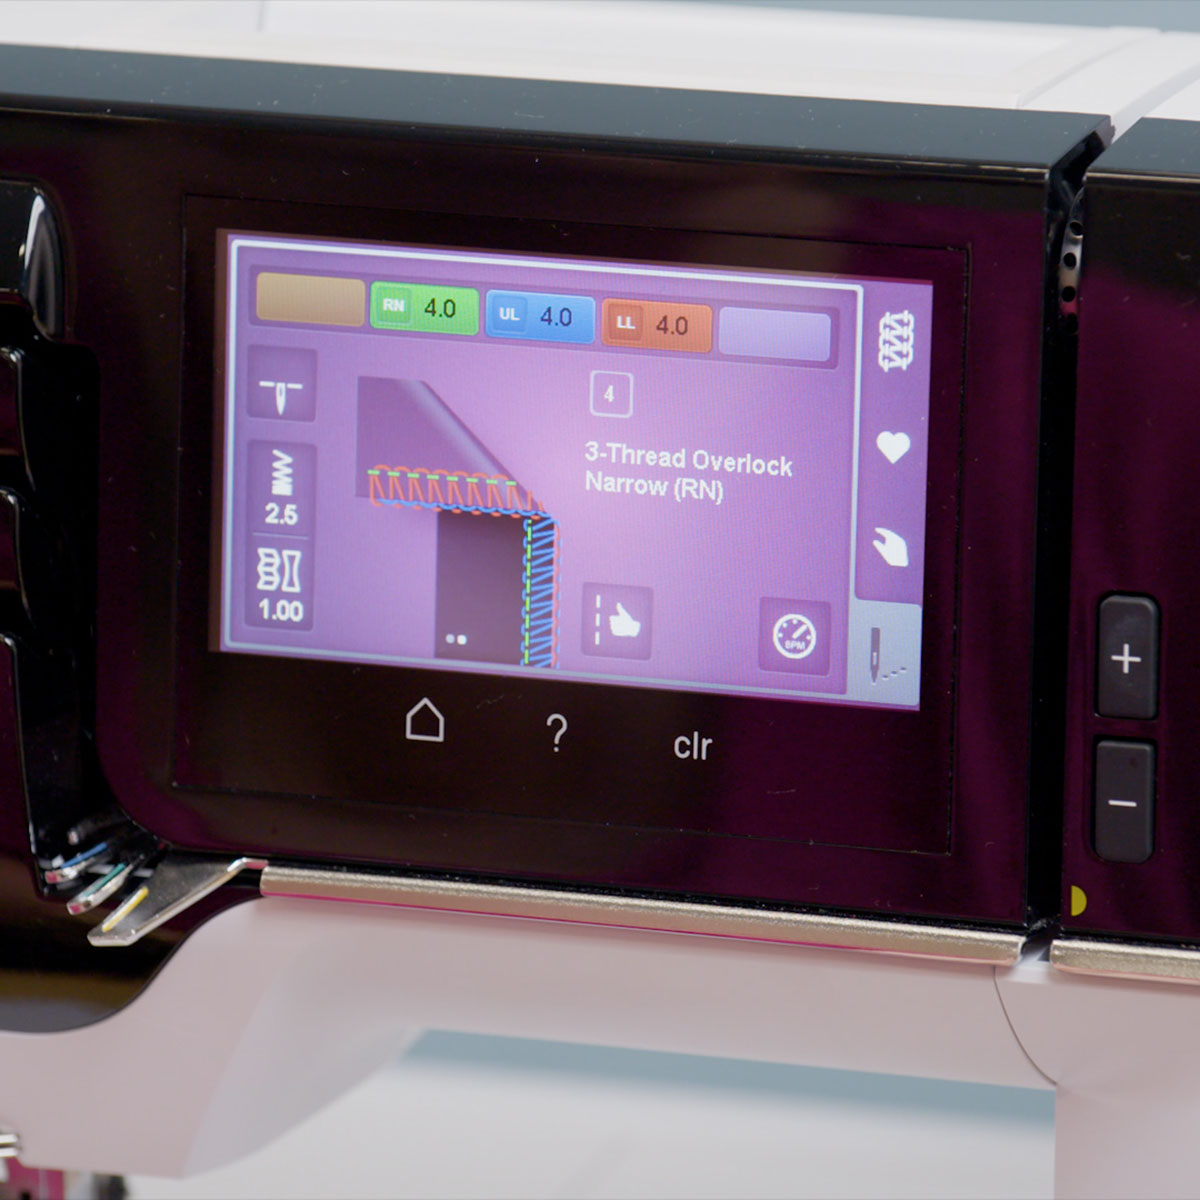
The 3-thread Overlock Narrow (RN) #4 is used for attaching beads up to 4 mm in diameter. Use the 3-thread Flatlock Wide (LN) #5 for larger beads up to 6 mm. For a “floating” look, use matching thread in the needle and monofilament thread in the loopers. Our sample has 4 mm beads. Adjust the stitch length as needed, depending upon the spacing of the beads. Since you will be serging along a folded edge, drop the knife. You don’t want to accidentally cut the fabric!
Sewing Machine
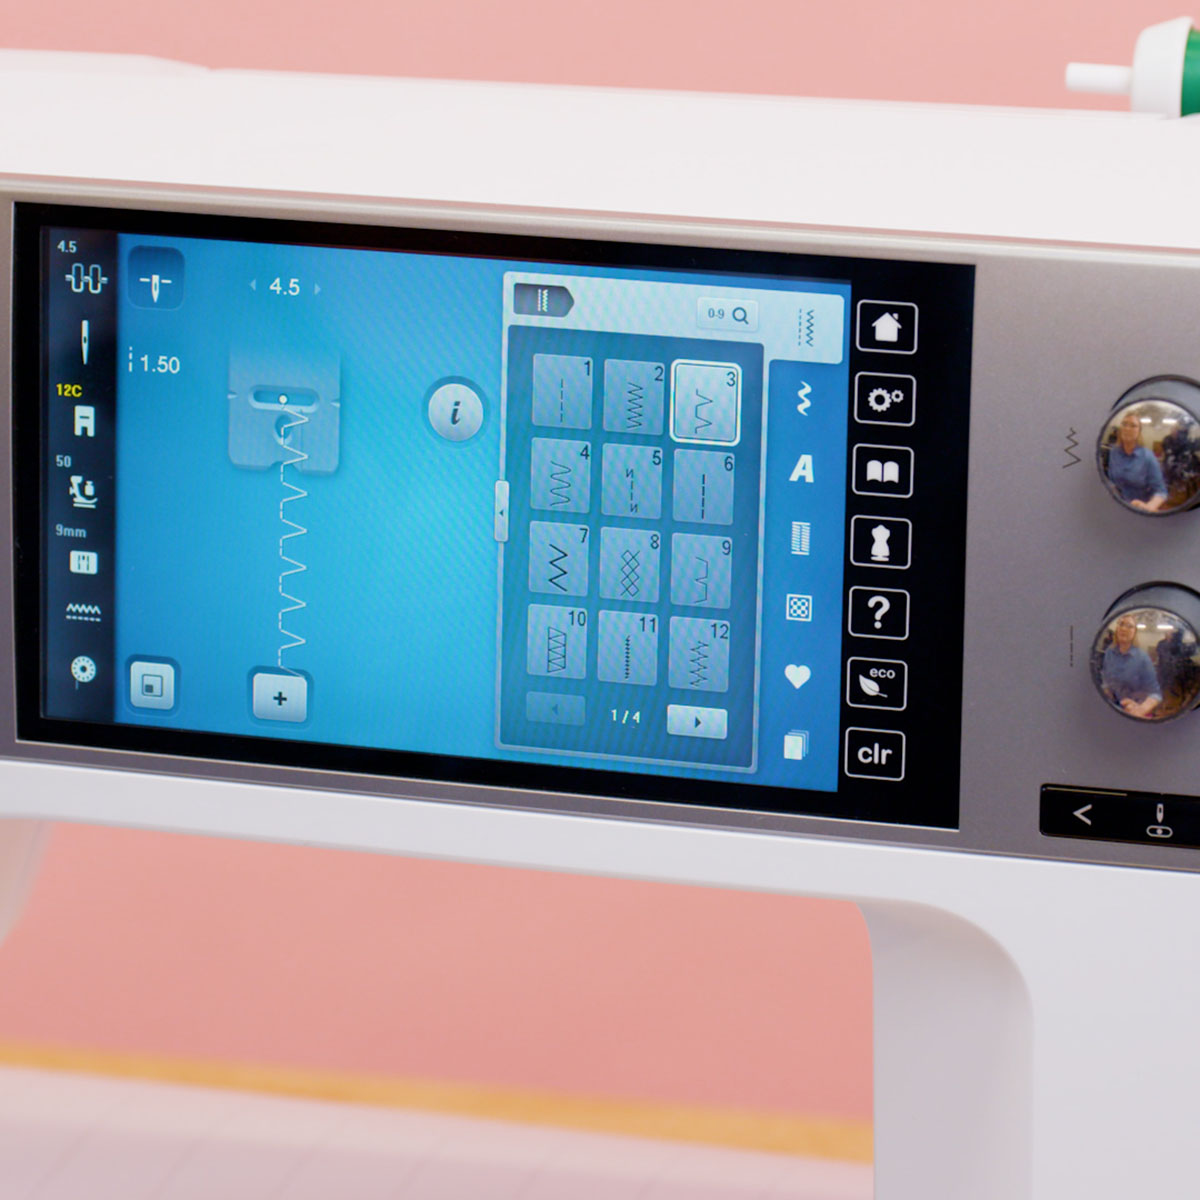
At the sewing machine, attach the presser foot and select it. The B 770 QE PLUS will show the presser foot on the screen. Then choose the Vari-overlock Stitch #3 under Practical Stitches. This stitch will seam the folded edge of the fabric together and attach the beads at the same time. Use matching thread in the needle and bobbin or monofilament thread in the needle for a “floating” look.
Tried and True: Techniques
Overlocker
Swing out the presser foot and thread the string of beads into the foot with at least 1″ extending behind the foot. Lower the foot with the Free Hand System Lever and take a couple of stitches to secure the beads. If you don’t, when you let go, the beads may end up on the floor!
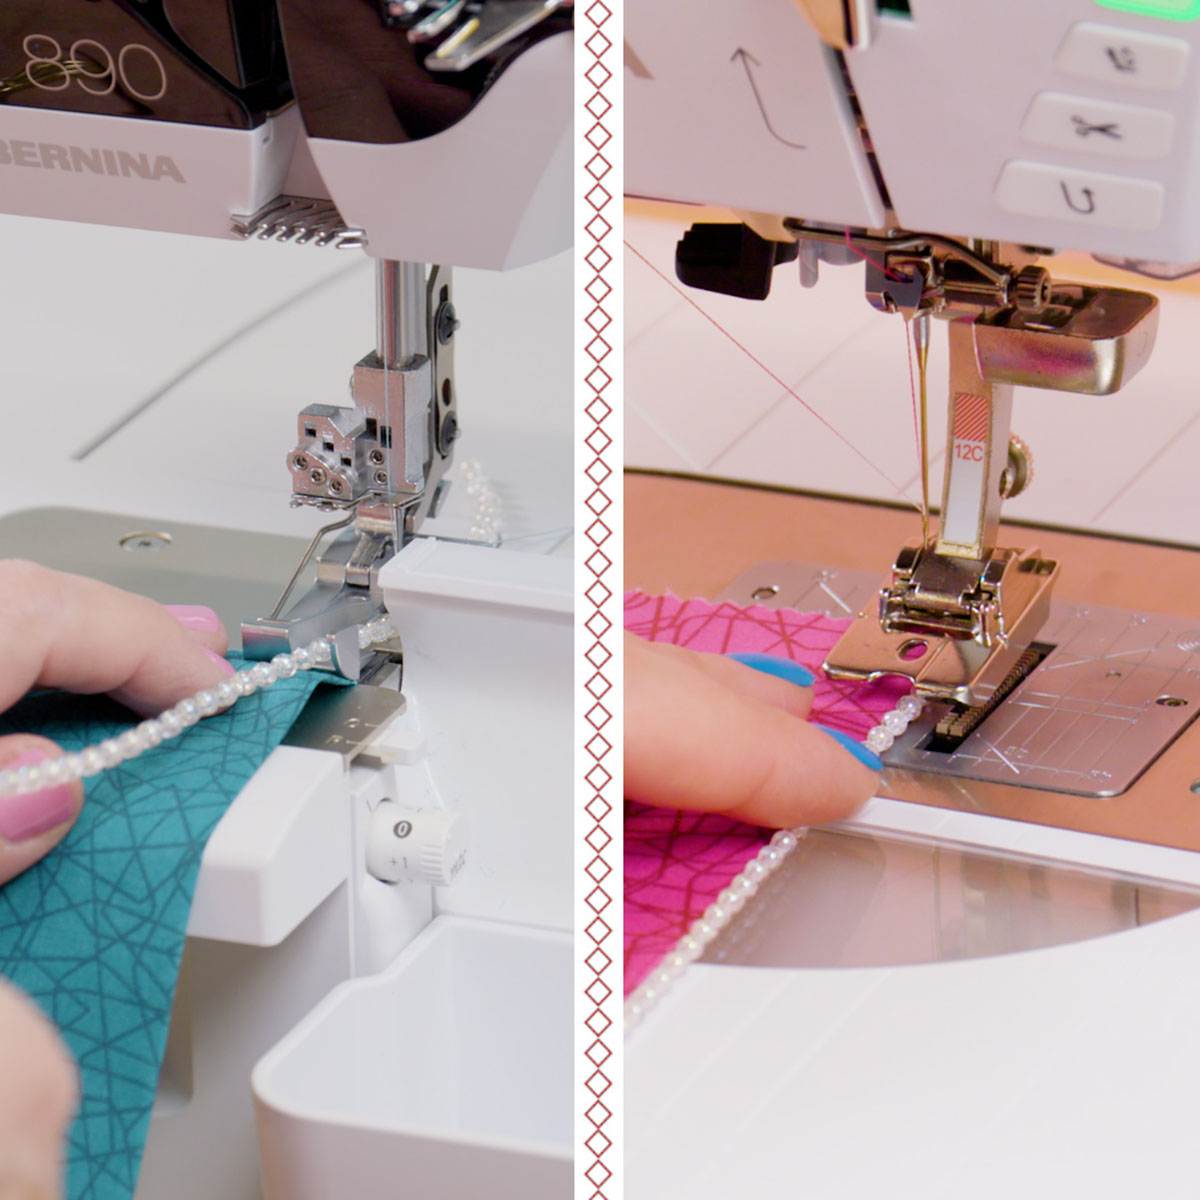
Raise the presser foot and place the folded edge of the fabric underneath, aligning the edge even with the right edge of the foot.
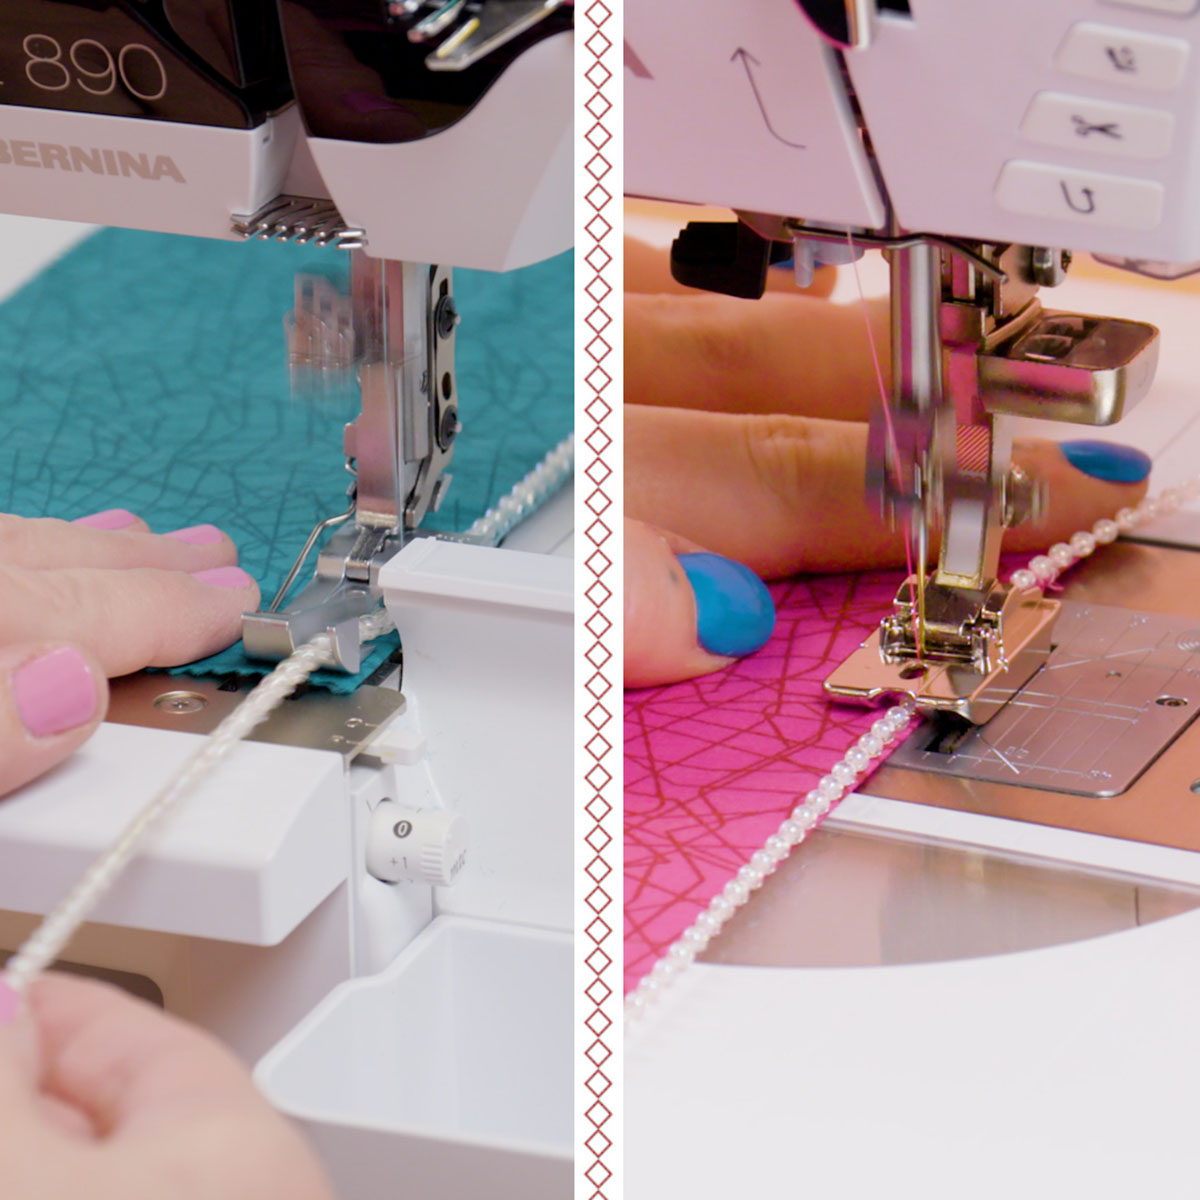
Sew at a moderate pace, allowing the beads to move freely through the foot.
Trim the beads even with the fabric edges when done.
Sewing Machine
Place the beads on top of the folded edge of fabric and position under the foot. Ensure the beads are in the foot’s groove with about 1″ of beads extending behind. Use the Free Hand System to lower the presser foot.
Sew at a moderate pace, allowing the beads to move freely under the foot. Trim the beads even with the fabric edges when done.
Sum of it All: Results
We love the flexibility of doing creative things on all of our BERNINA machines! What will you make next on YOURS?
