Color Theory Challenge Quilt
I love to play with concepts of color theory when I’m making quilts. I also have a whole bunch of fabric that I’ve accumulated over the years in smaller size pieces. Many of it I have collected for my fussy-cutting stash~ you know the big beautiful floral prints I’m talking about, right? I’ve wanted to use it for a colorful quilt for a while, and I’ve come up with a fun and simple way to use this fabric while challenging my brain to think about color and temperature in the fabric.
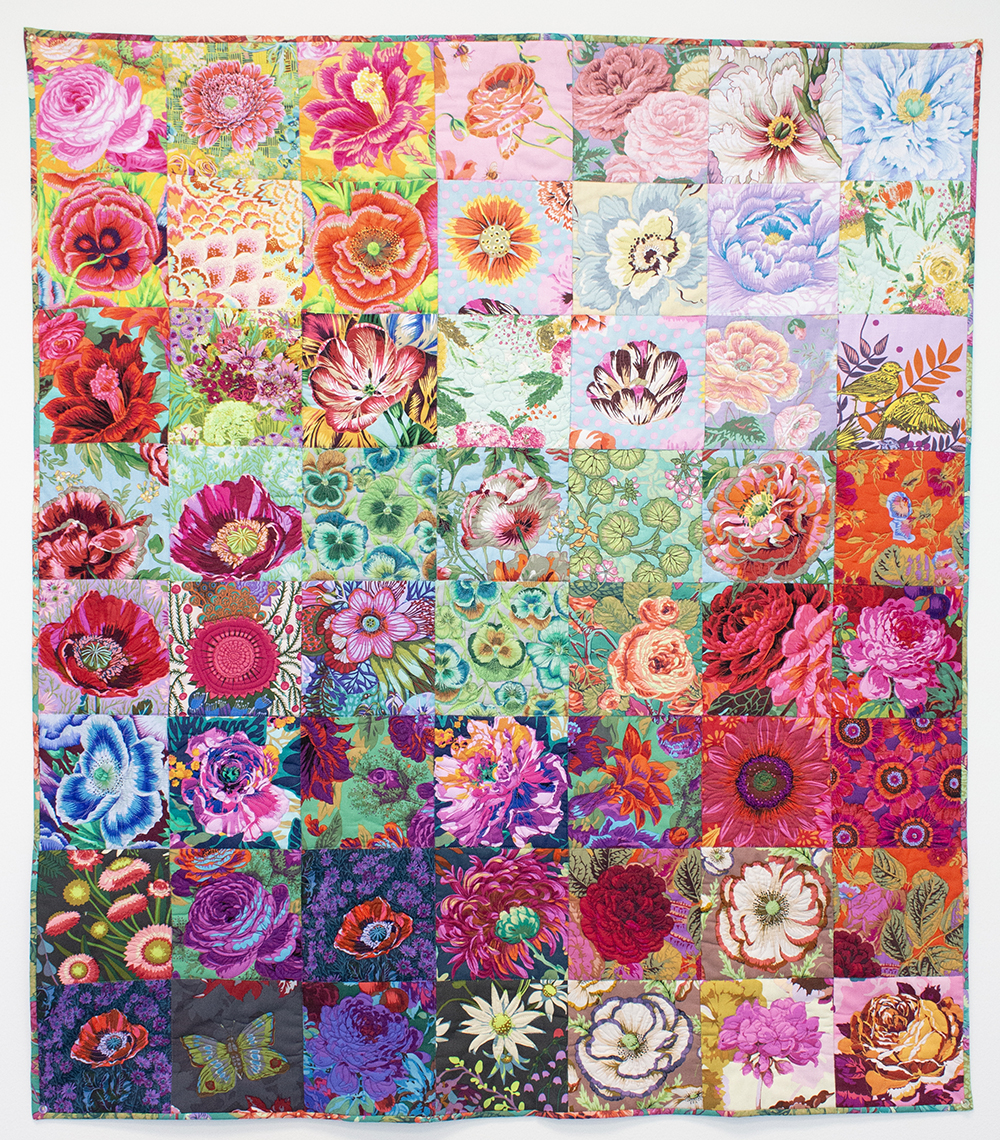
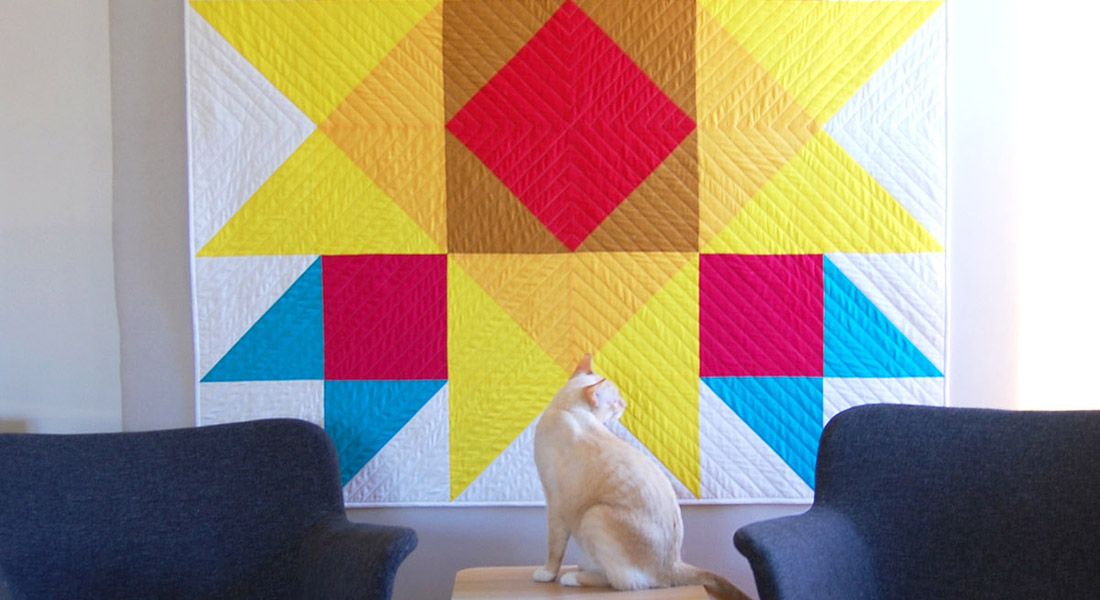
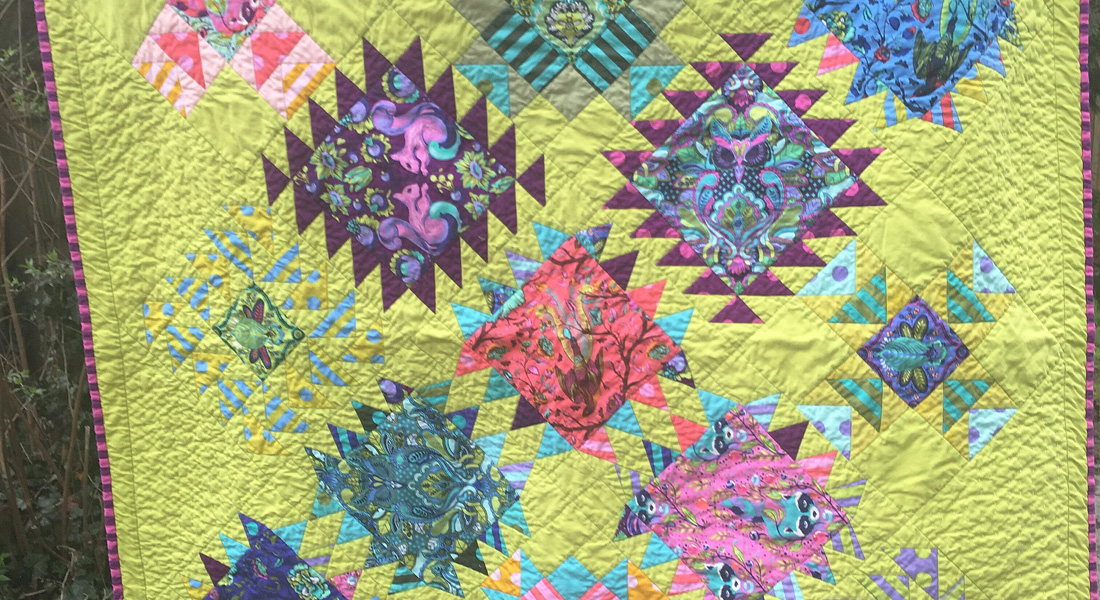
While I could just throw the blocks together in a random order, I began placing them on my design wall in an organized fashion: grouping blocks that have similar colors, temperature and values.
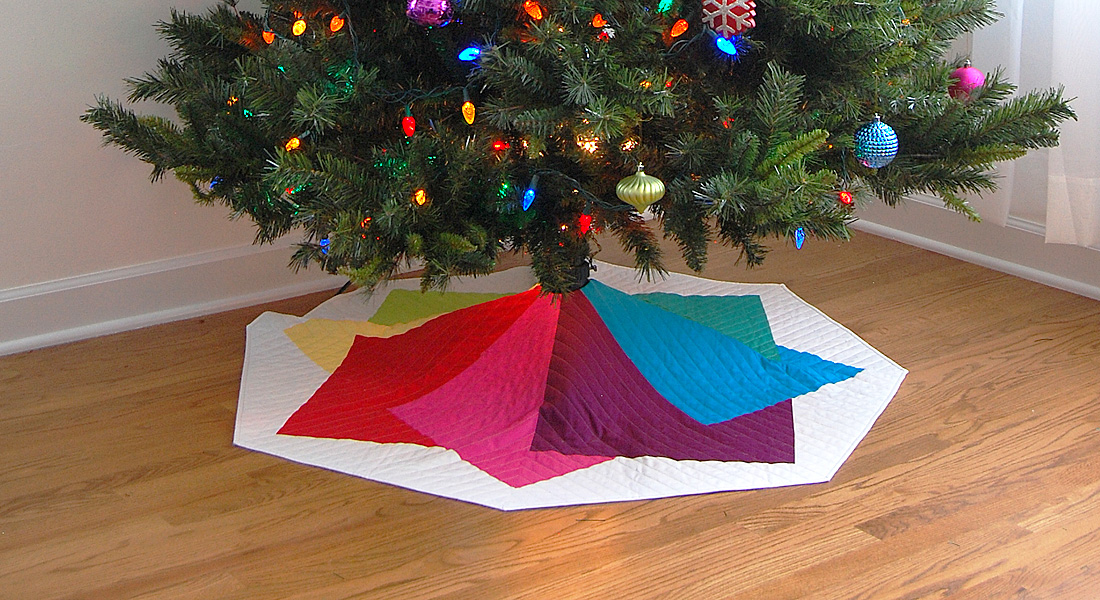
The result is a simple, but beautiful quilt! You can make a quilt like this any size (mine is 42″ x 48″).
Step One
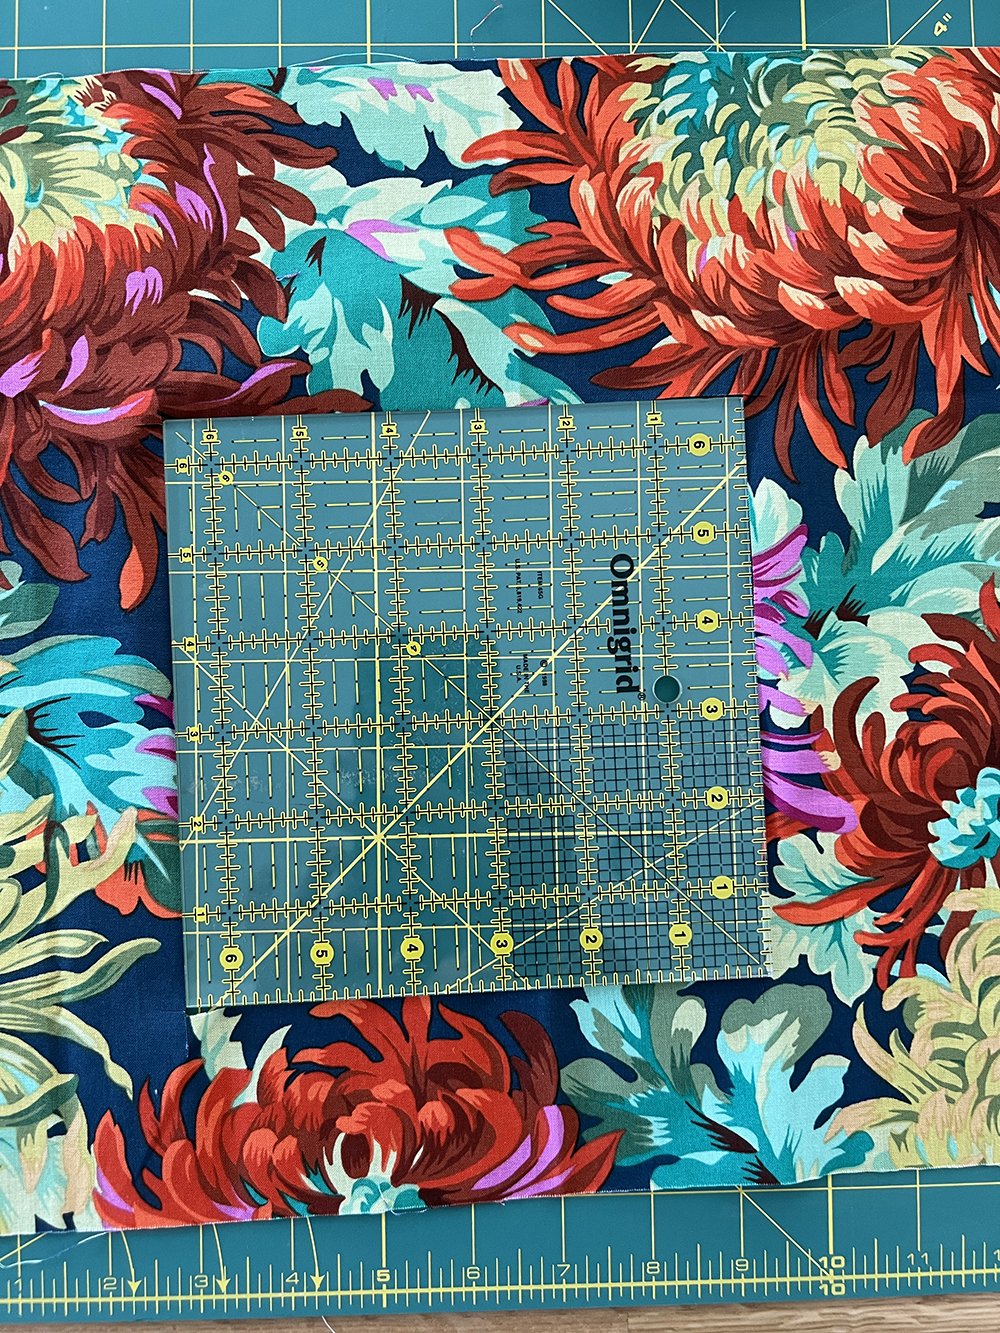
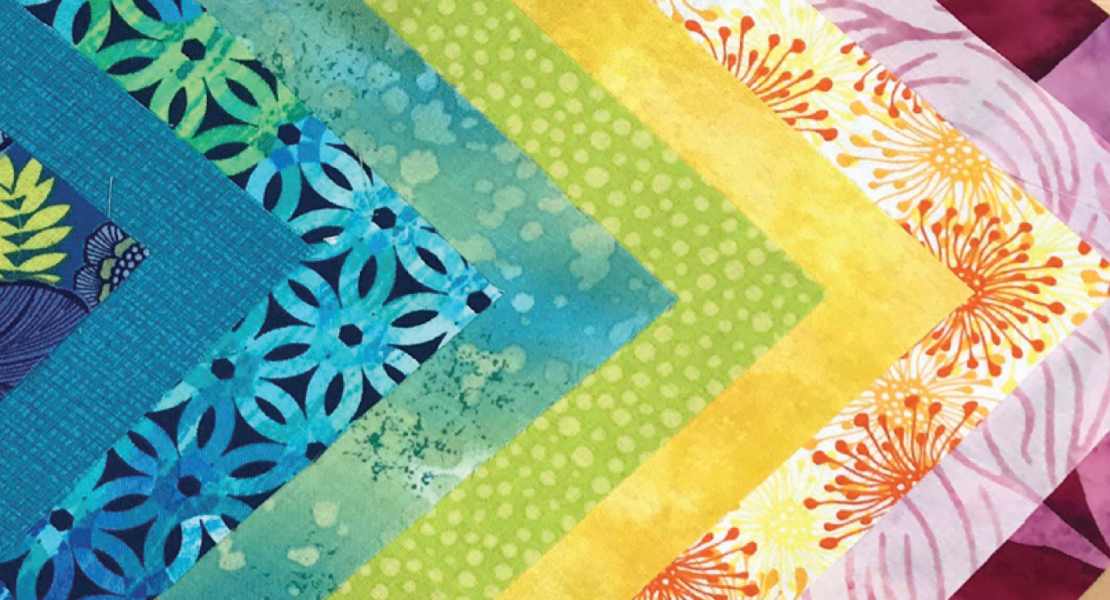
Select all the bits of complex floral fabric you have, and begin cutting out squares using a 6.5″ square ruler. I cut squares that focused on the flowers or leaves in each print, and sometimes this required fussy-cutting right in the middle of a piece of fabric!
Step Two
Sort the fabric according to these parameters: dark, light, warm, cool, bright, muddy, or according to the colors in each block. It’s not necessary to be perfect in your sorting, but this is a great exercise to help you see the way complex patterns emerge in color, value and temperature. It’s also so interesting to see which blocks provide a transition to a different emphasis.

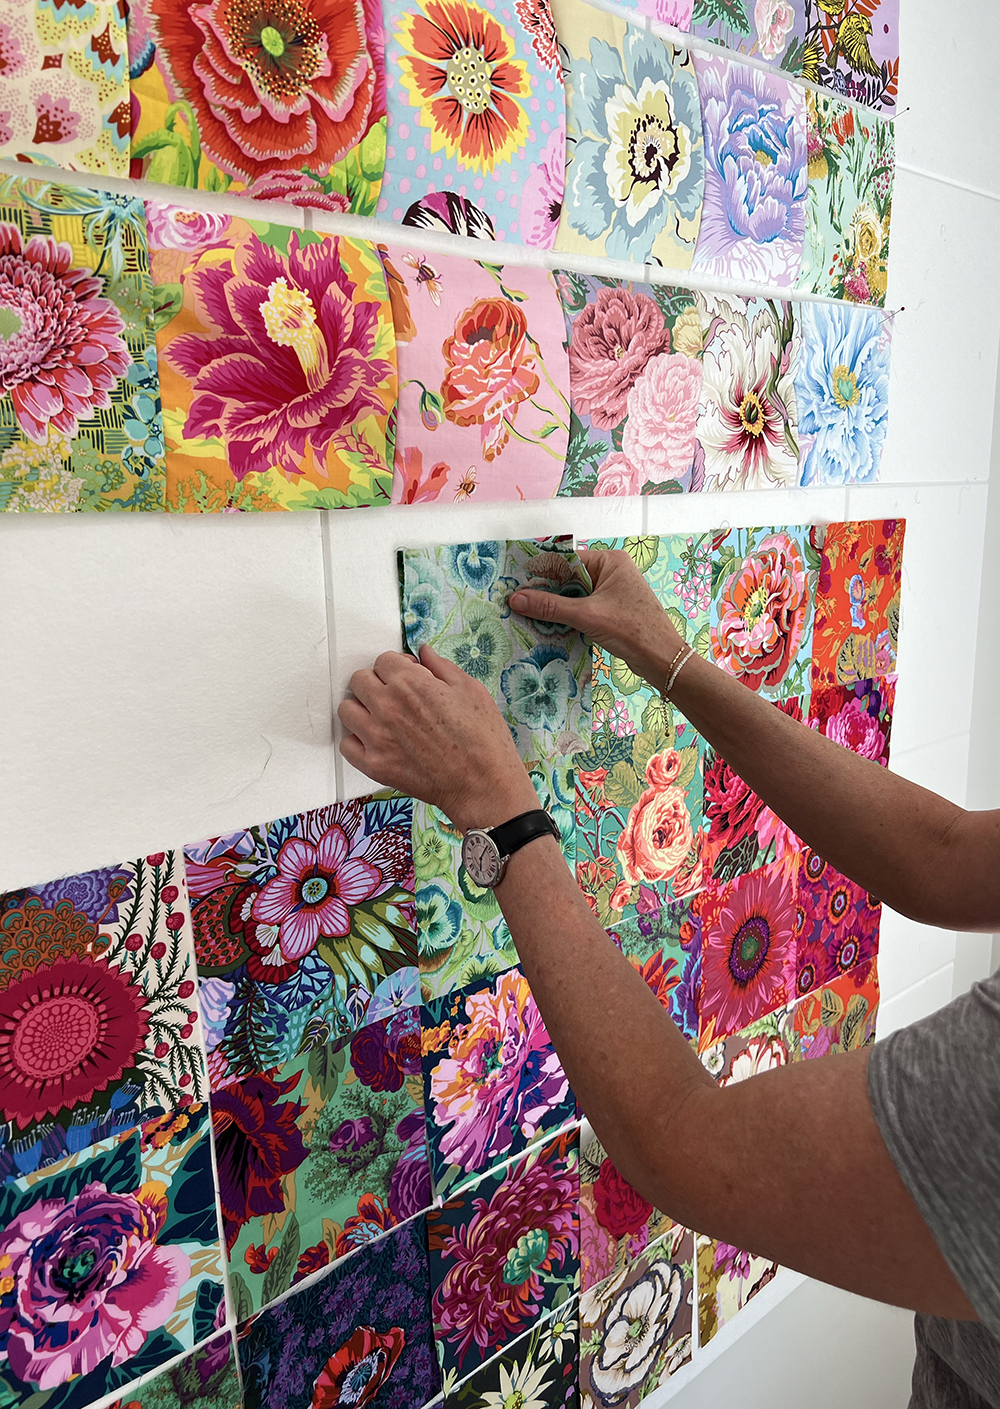
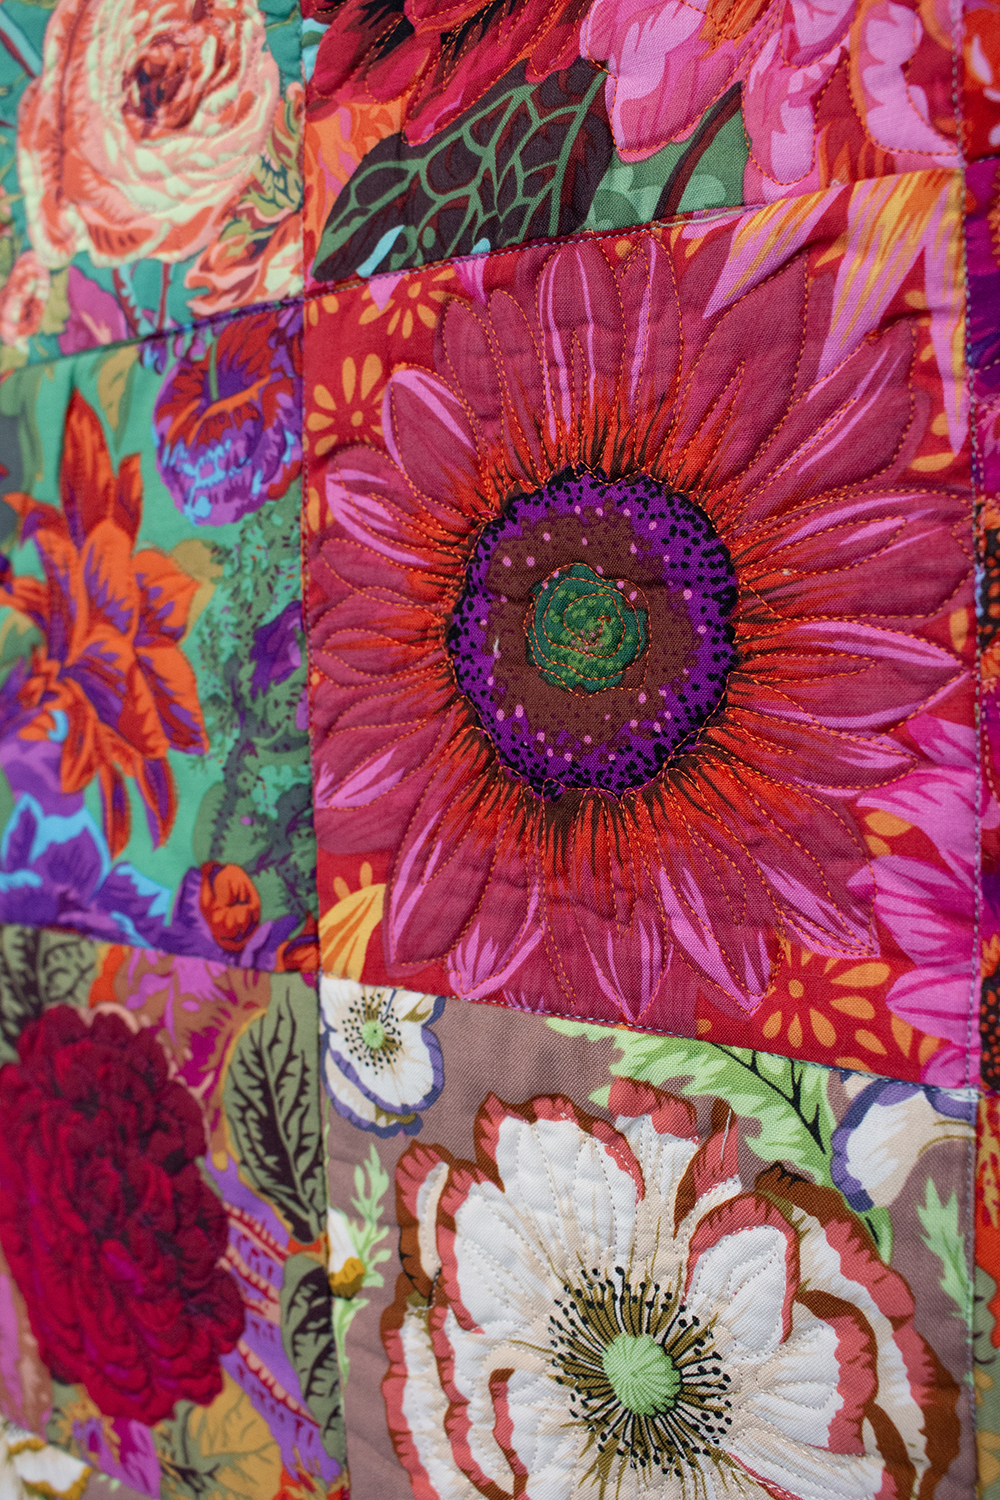
Place the blocks on your design wall according to the groupings you’ve made as you sorted. You can see that I have a warm orange area of the quilt, a cool dark area, a light cool section, etc.
Step Three
Piece the blocks together using a 1/4″ seam.
Step Four
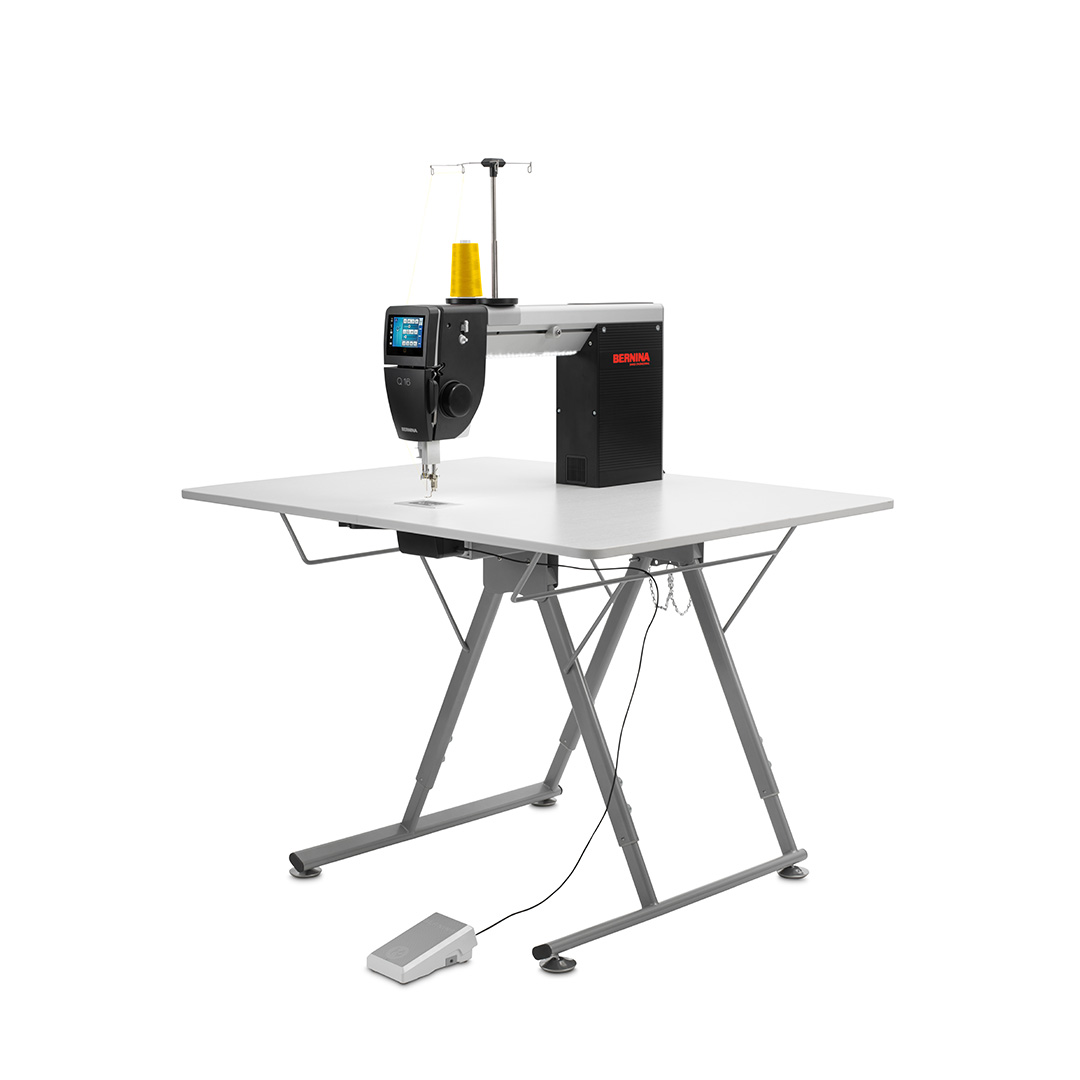
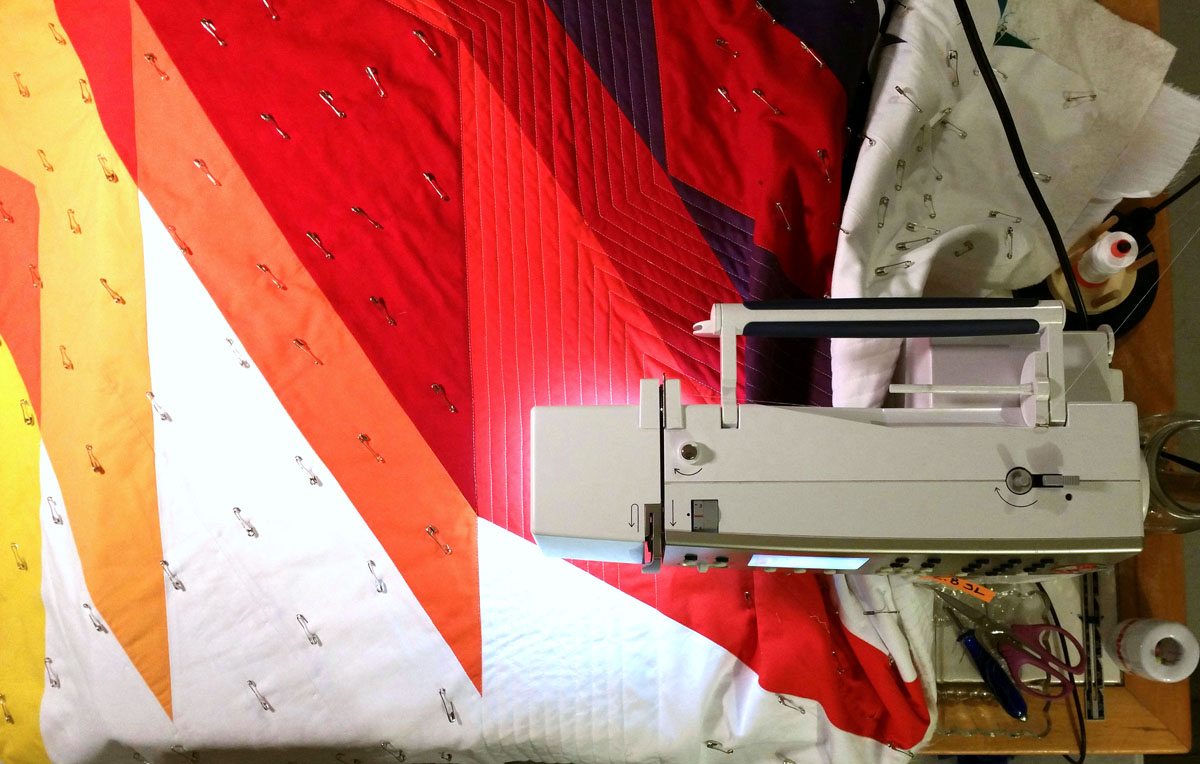
Create a quilt sandwich with the pieced top, thin batting (I like 80/20), and backing fabric which measures 4″ larger than the quilt top on all sides. Baste the quilt sandwich together, (I prefer to use basting pins to hold things together). Using your BERNINA Q16, start quilting in the center of the quilt and working out towards the edges. Use the flowers as guides for stitching~this type of “doodle-stitching” is my favorite way to quilt because it’s very forgiving.
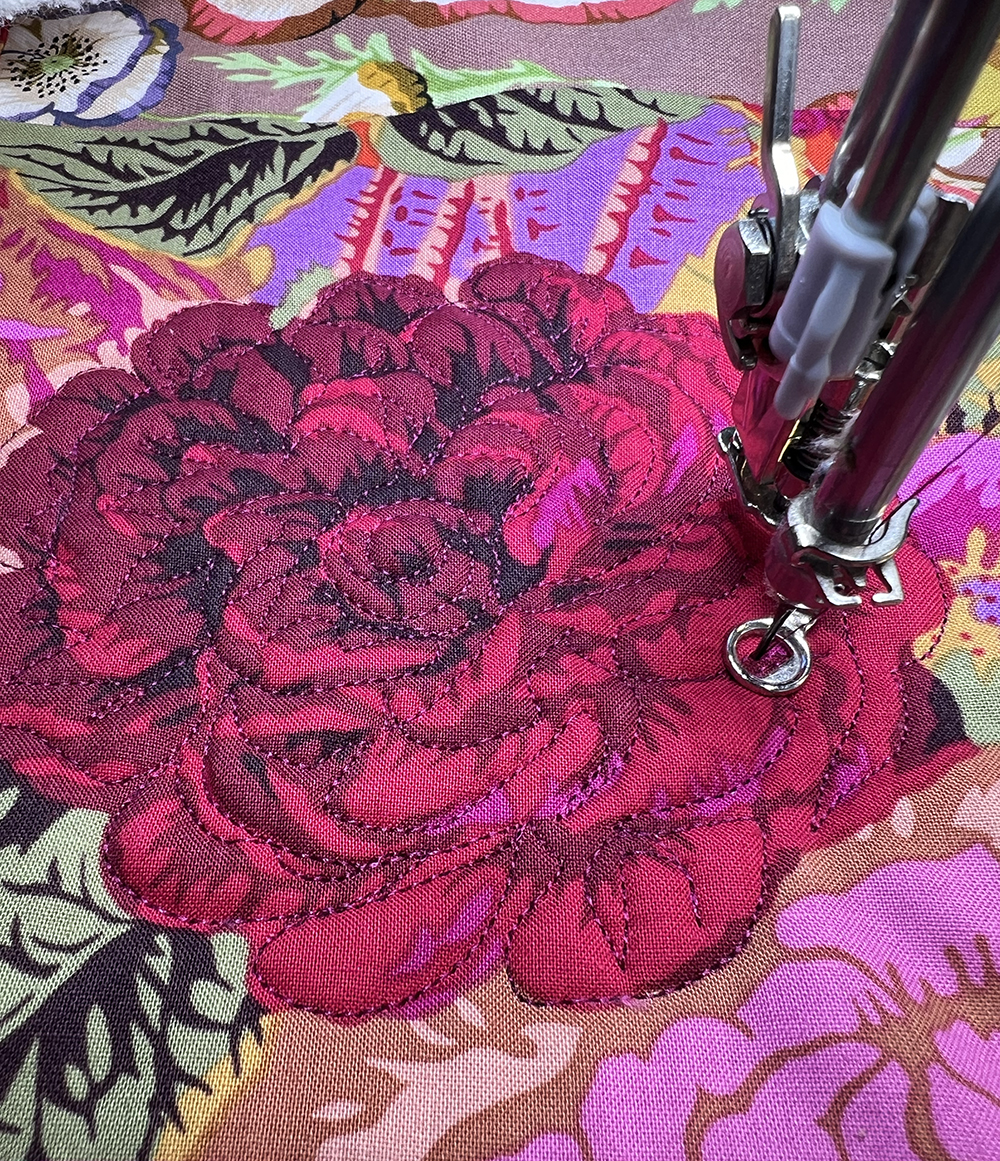
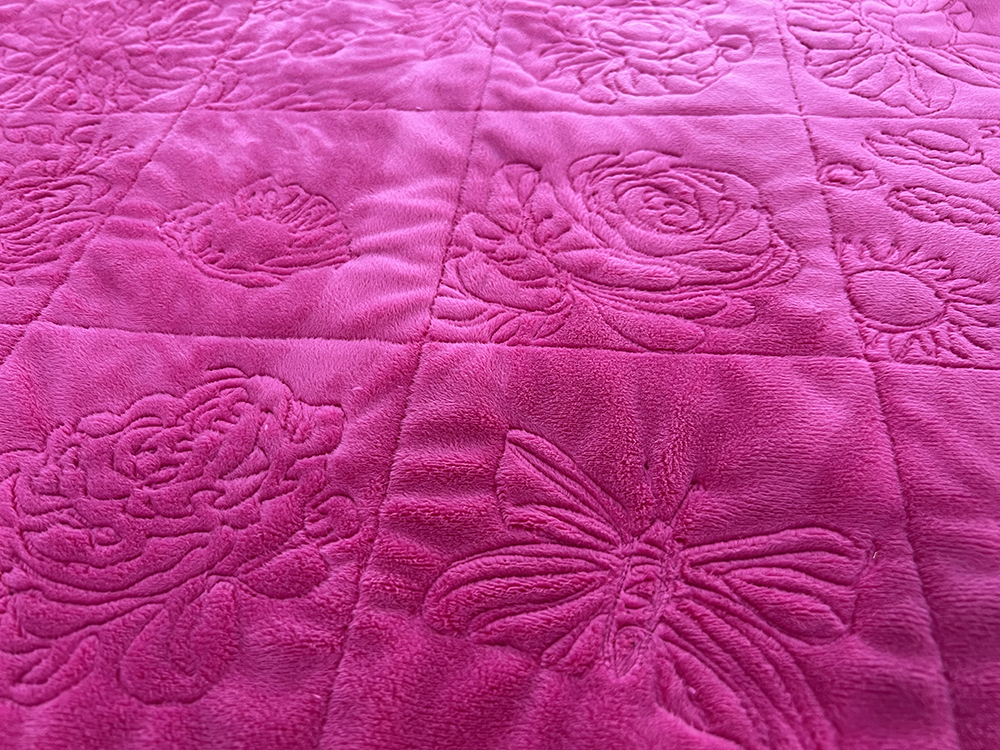
I changed thread frequently to match the area of the quilt I was working on. I incorporated orange, red, pink, light blue, cream and green thread. I used only one color of thread on the back to match the backing fabric.
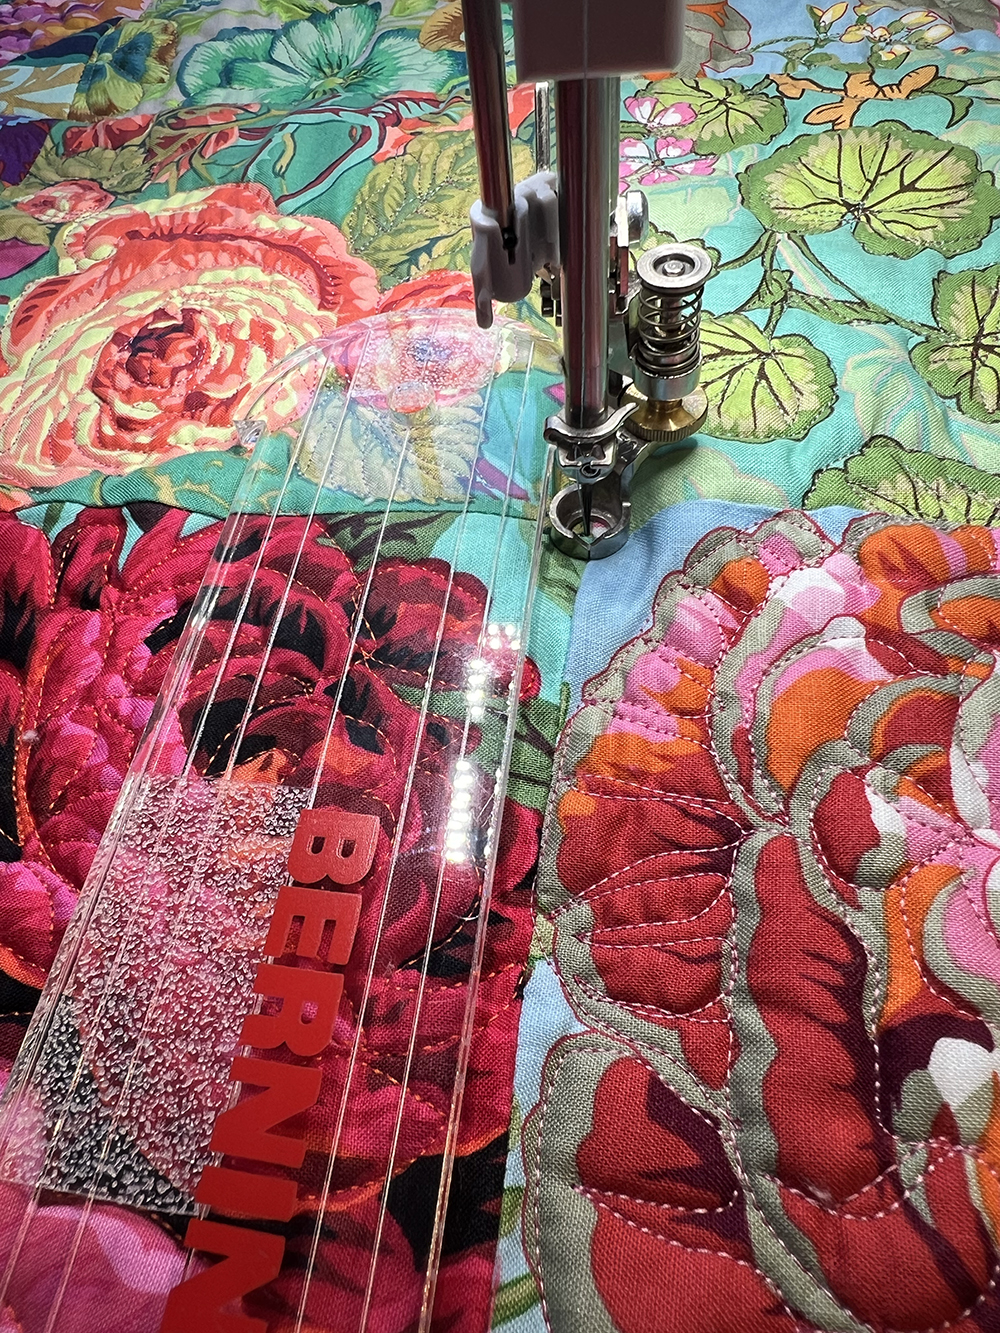
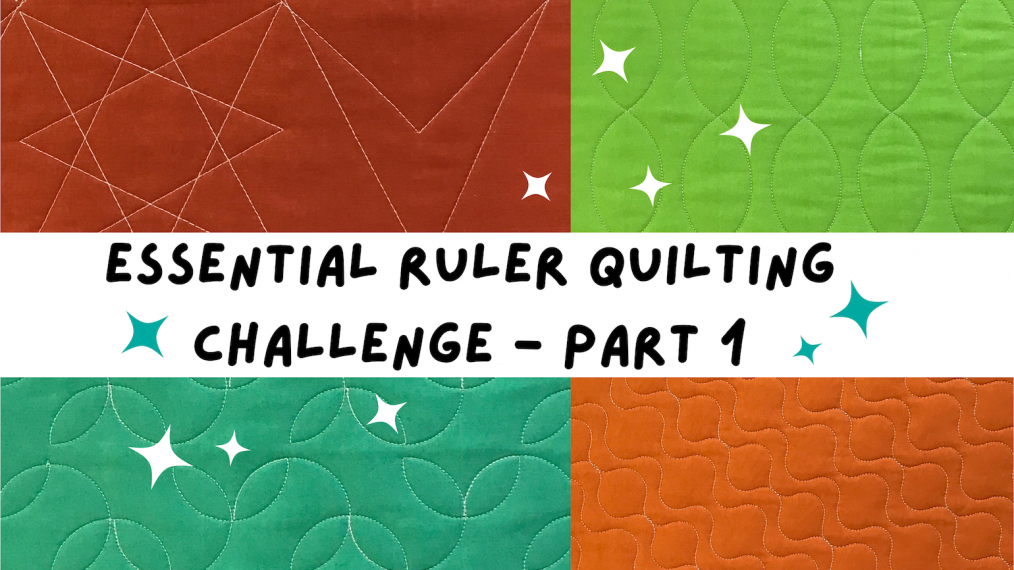
Once I had all the flowers “doodle-stitched”, I decided to add some straight-line stitching in the ditch. This required using a ruler and the ruler foot on my machine. While I’m not perfect with a ruler, I really like the way this finished the quilt, and it gave me more practice using rulers 😉
Step Five
Bind the quilt! Calculate the amount of binding fabric to cut by using this simple formula: Multiply the preferred finished width of binding by 7, then round up to the next 1/4″ inch (for wiggle room on the folded edge), and that’s how wide you should cut the strips of fabric. I wanted a 1/4″ binding, so I multiply .25 x 7 = 1.75. Rounded up a 1/4″ gives me 2″ as the width I should cut.
Next, figure out how many strips you’ll need: measure each side of the quilt, and add it up. Then add an additional 20″. Divide the total number by 42, then round up to the next whole number. For example, my quilt measures 42″ x 48″. So my calculations are this: 42 + 42 + 48 + 48 + 20 = 200. 200/42 = 4.76. Rounding up to the next whole number I get 5. So I’ll cut 5 strips which are 2″ wide. This formula will ensure that I have enough fabric for a double-fold binding.
I hope this inspires you to make your own “Color Theory Challenge” quilt! ~Emily Taylor
Used Products
What you might also like


One comment on “Color Theory Challenge Quilt”
Leave a Reply
You must be logged in to post a comment.
Love this! Especially the Kaffe Fasset prints. Reminds me of the watercolor quilts many years ago.