Custom T-Shirt with an Overlocker
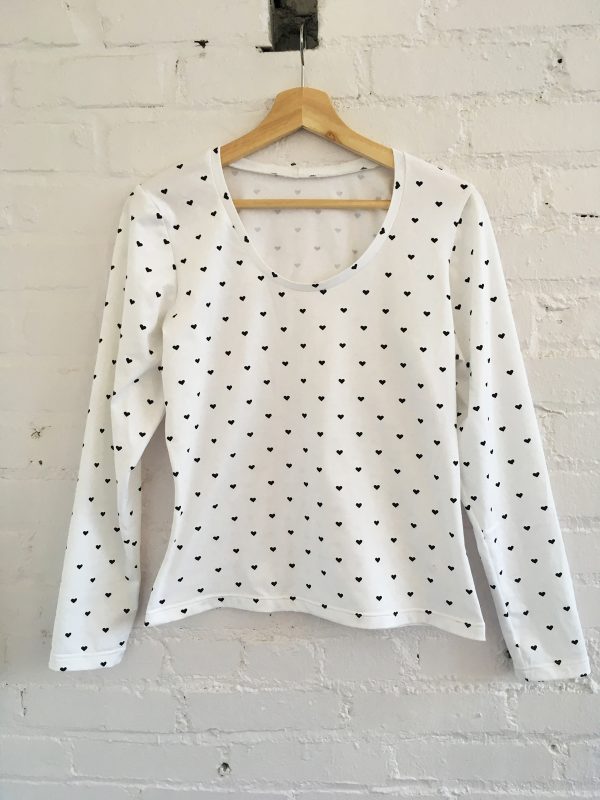
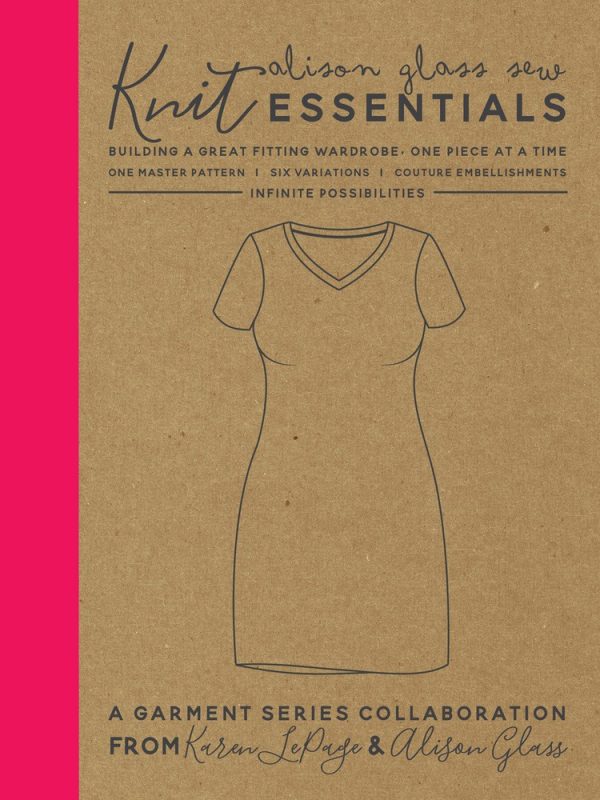
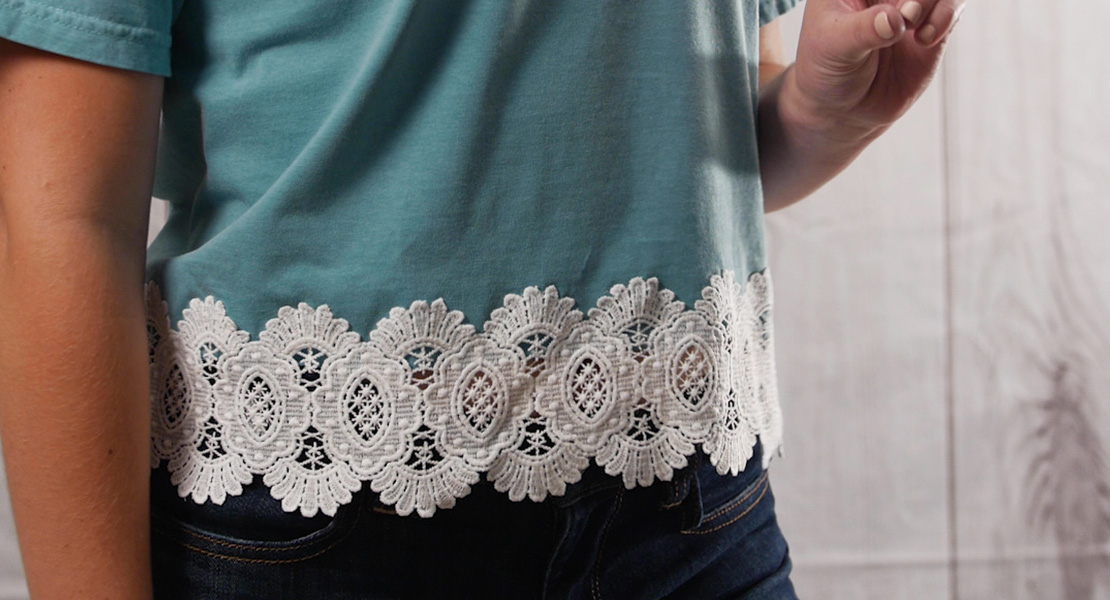
A wardrobe staple for everyone is a T-shirt. Working through the sewing workbook, Knit Essentials, by Alison Glass and Karen LePage will enable you to find the perfect fit while also offering a variety of options for length, sleeves and neckline. Once you have mastered your basic pattern, you will be ready to fill your closet with T-shirts from all your favorite knit fabrics.
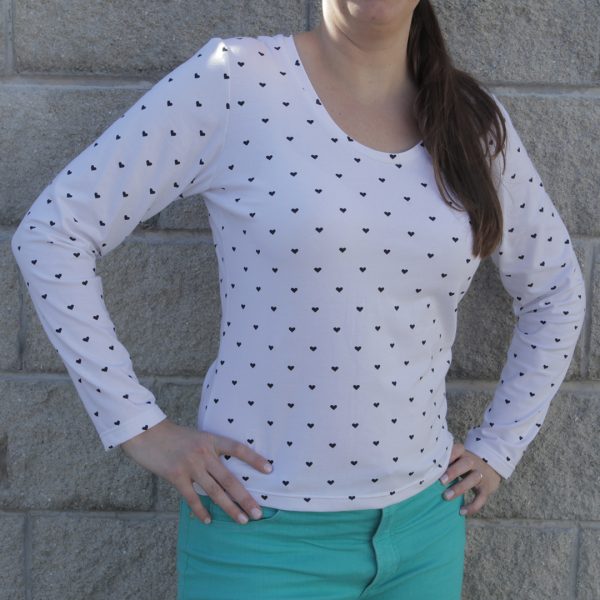
I love making T-shirts and will usually sew them in multiples each season. It is quick, satisfying and practical. In fact, I am wearing this shirt as I write this post.
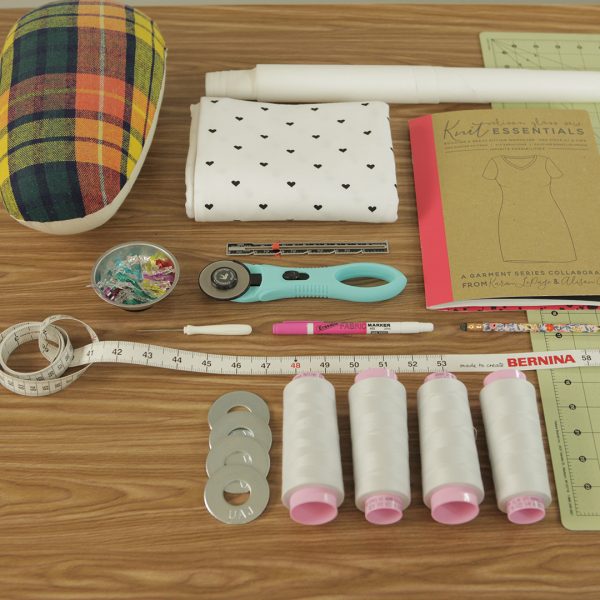
Materials to Sew Your Own Custom T-shirt
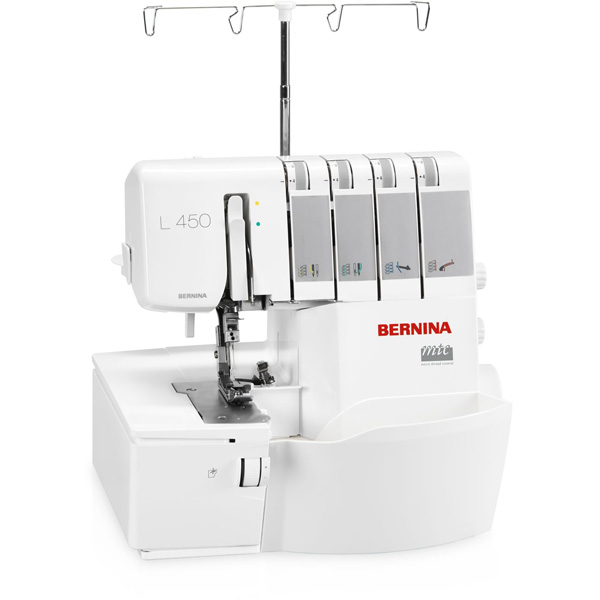
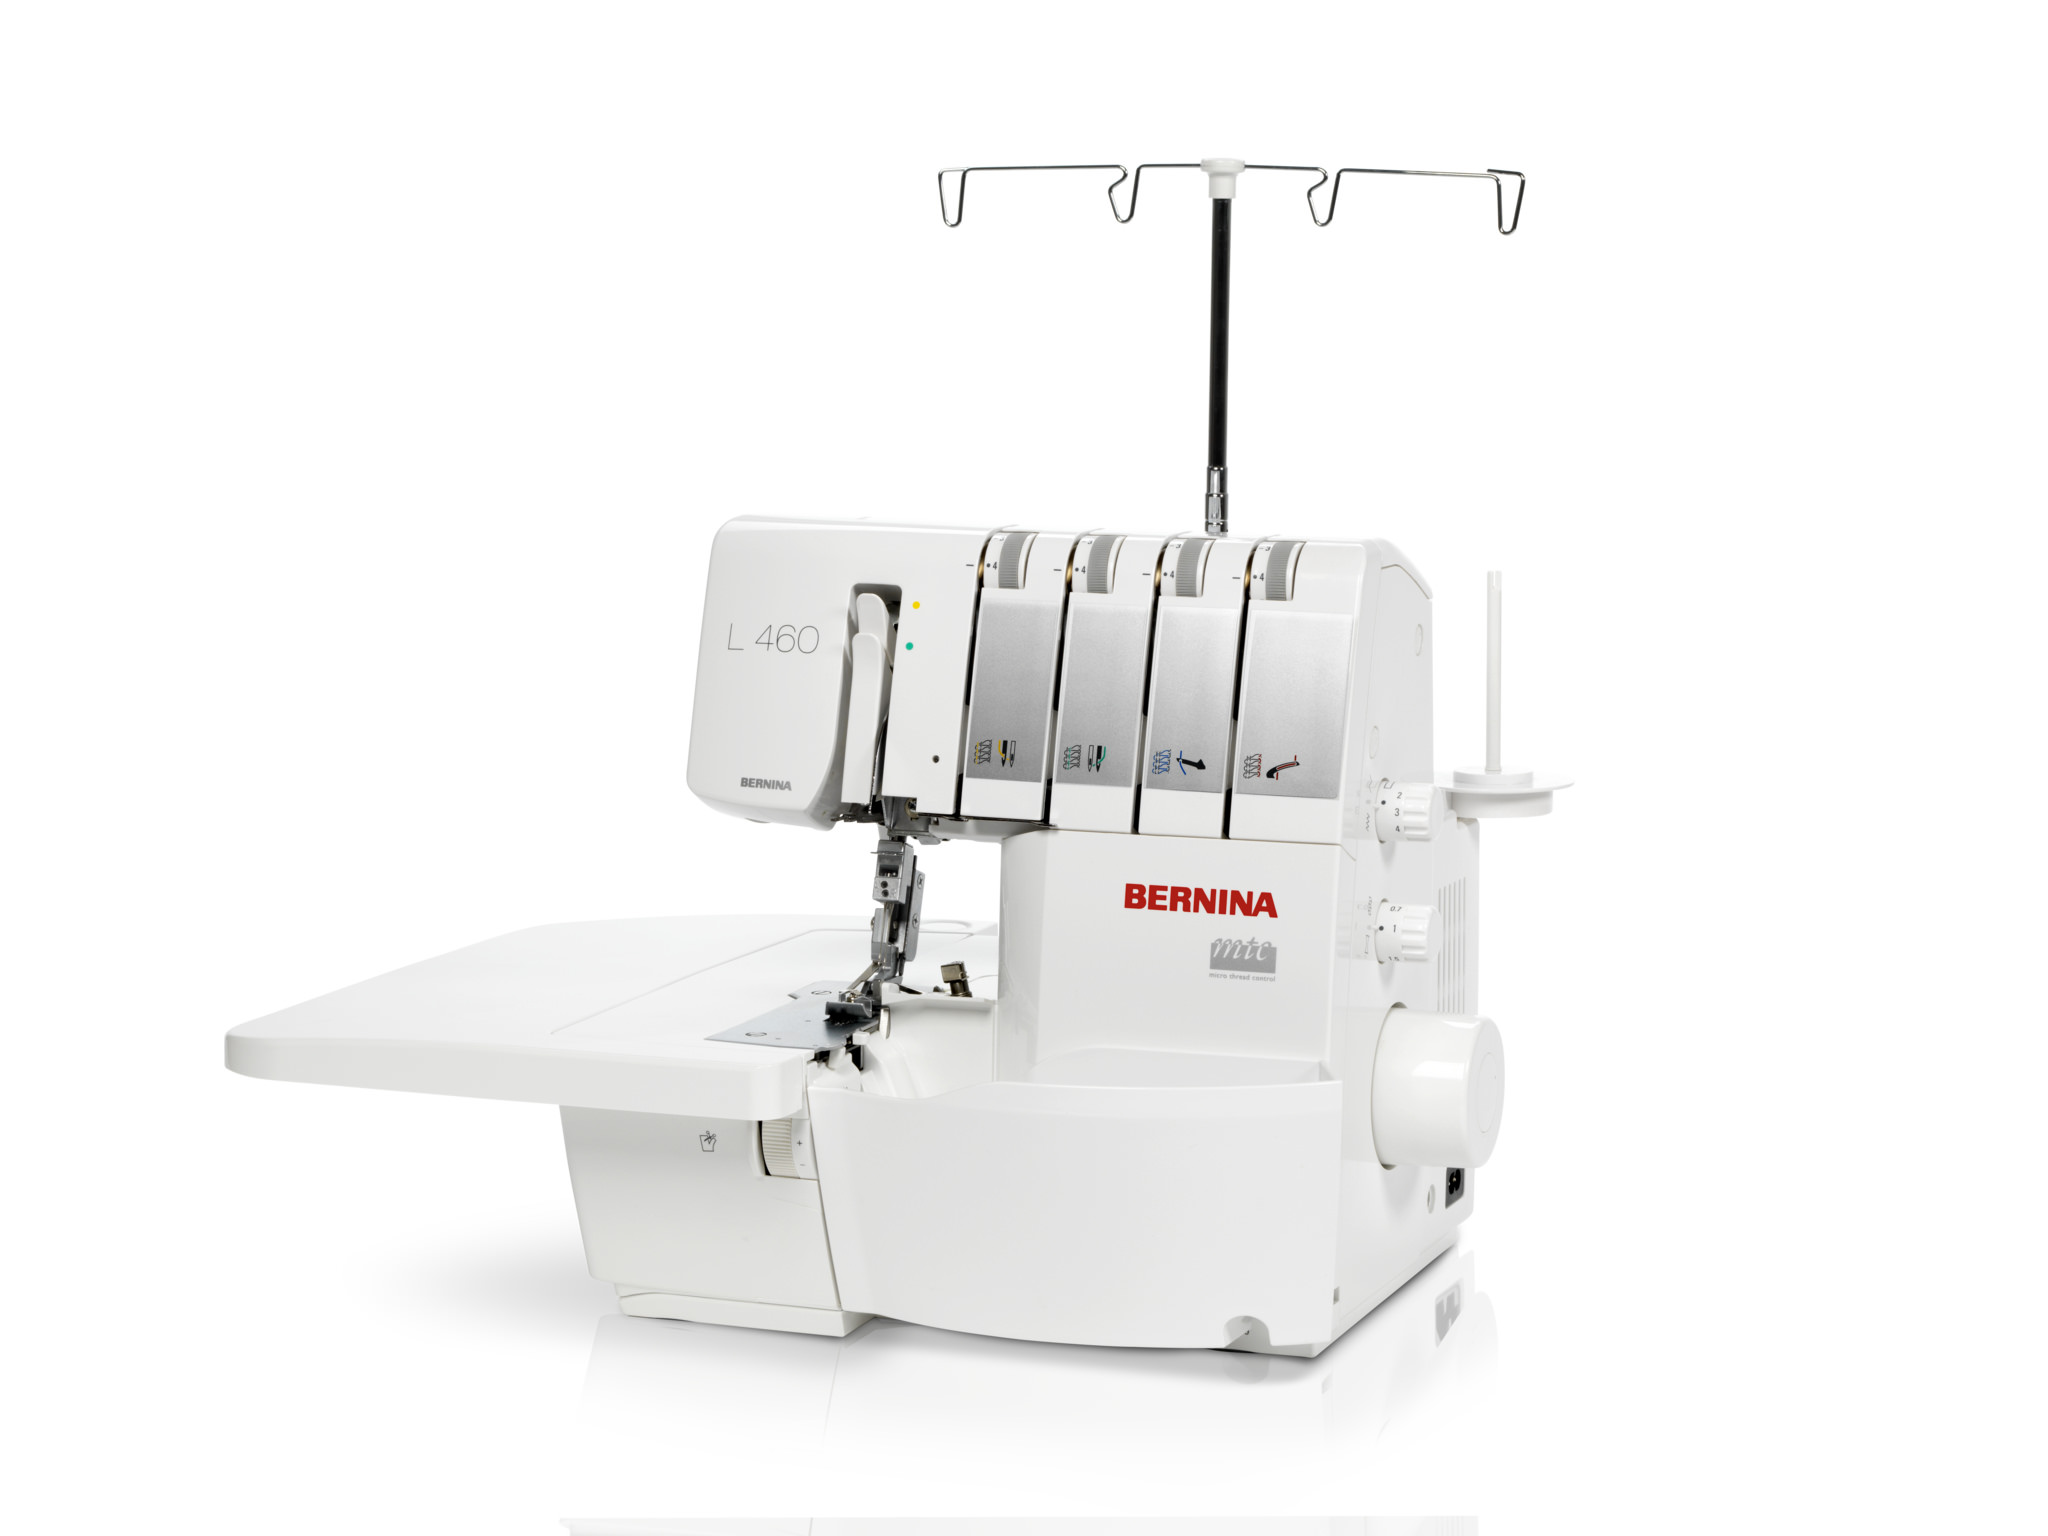
- BERNINA L 450 Overlocker
- Knit Essentials Pattern Workbook
- Swedish Tracing Paper
- Tape Measure
- Favorite Knit Fabrics
- Pattern Weights (washers from hardware store)
- Rotary Cutter
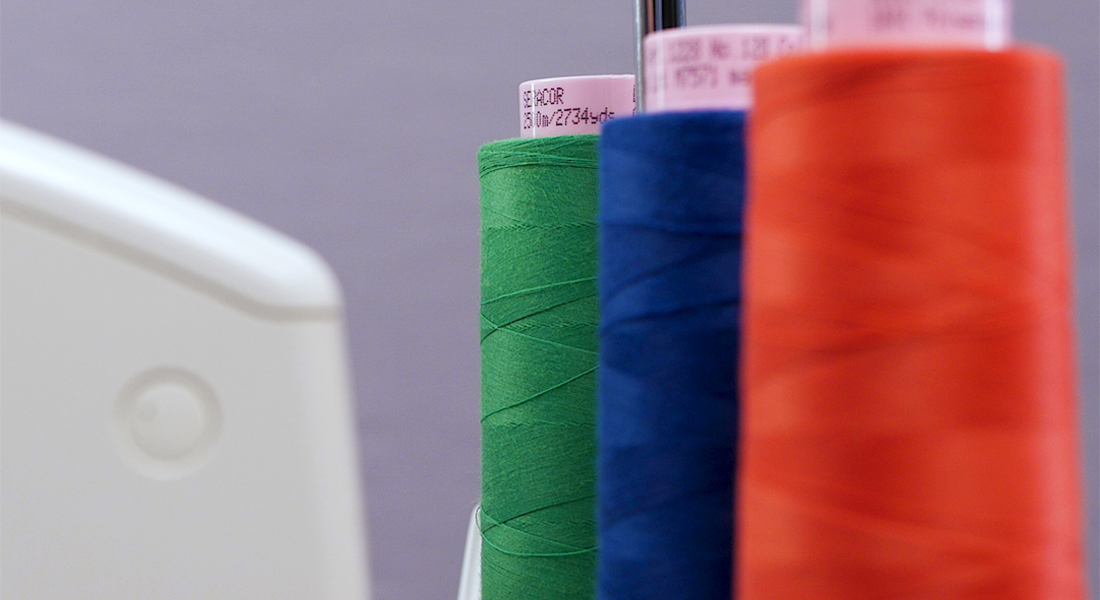
- 4 spools of serger thread
- Clover Wonder Clips
- Pressing Ham
- Iron
Instructions to Sew Your Custom T-shirt
Step 1: Find your fit
This is more than your standard sewing pattern, it is a guidebook to building a great fitting wardrobe. It is broken down into chapters, starting with inspiration and general tips. Take the time to read through the section on measuring and choosing the right size. There is a Personal Measurement Chart in the book. Don’t be afraid to fill it out. I suggest teaming up with a sewing friend to measure each other.
Start with an inexpensive knit that is easy to sew, like an inexpensive jersey knit with a medium weight. Then make your muslin. The booklet provides a series of questions to work through in order to perfect the fit. A great tip from the book is to “make one change at a time.” All the effort will lead you to your favorite T-shirt that you can re-create time and time again.
Step 2: Cut it out
There is more than one way to approach cutting out fabric, so find the way that works best for you. I want to share my top techniques for working with knits.
- Trace your pattern onto Swedish tracing paper. It will hold up to being used multiple times and this is a pattern that you will make more than once.
- Pattern weights (or heavy hardware store washers) work great for holding the pattern to the fabric while it is being cut. You could pin the pattern in place, but sometimes pinning can stretch or distort your knit material.
- Rotary Cutter or scissors? Cutting with a rotary cutter takes a little finesse and becomes easy when practiced. I prefer using a rotary cutter for knits because it provides a clean edge and doesn’t distort the fabric as much. If you are not accustomed to working with a rotary cutter just use your best scissors.
Tip: A 28mm rotary cutter is great for cutting curved edges. The smaller diameter allows it to turn a tighter radius more easily and controlled.
- I generally cut T-shirts on a folded layer, however, if I am working with stripes I will cut on a single layer. This will ensure that my stripes stay straight from one layer to the next and will also enable me to match my stripes. (Yes, I always match my stripes, not the case for all ready to wear). Make sure to cut a right and left side (mirror image) if you cut on a single fabric layer.
Step 3: Set up your overlocker
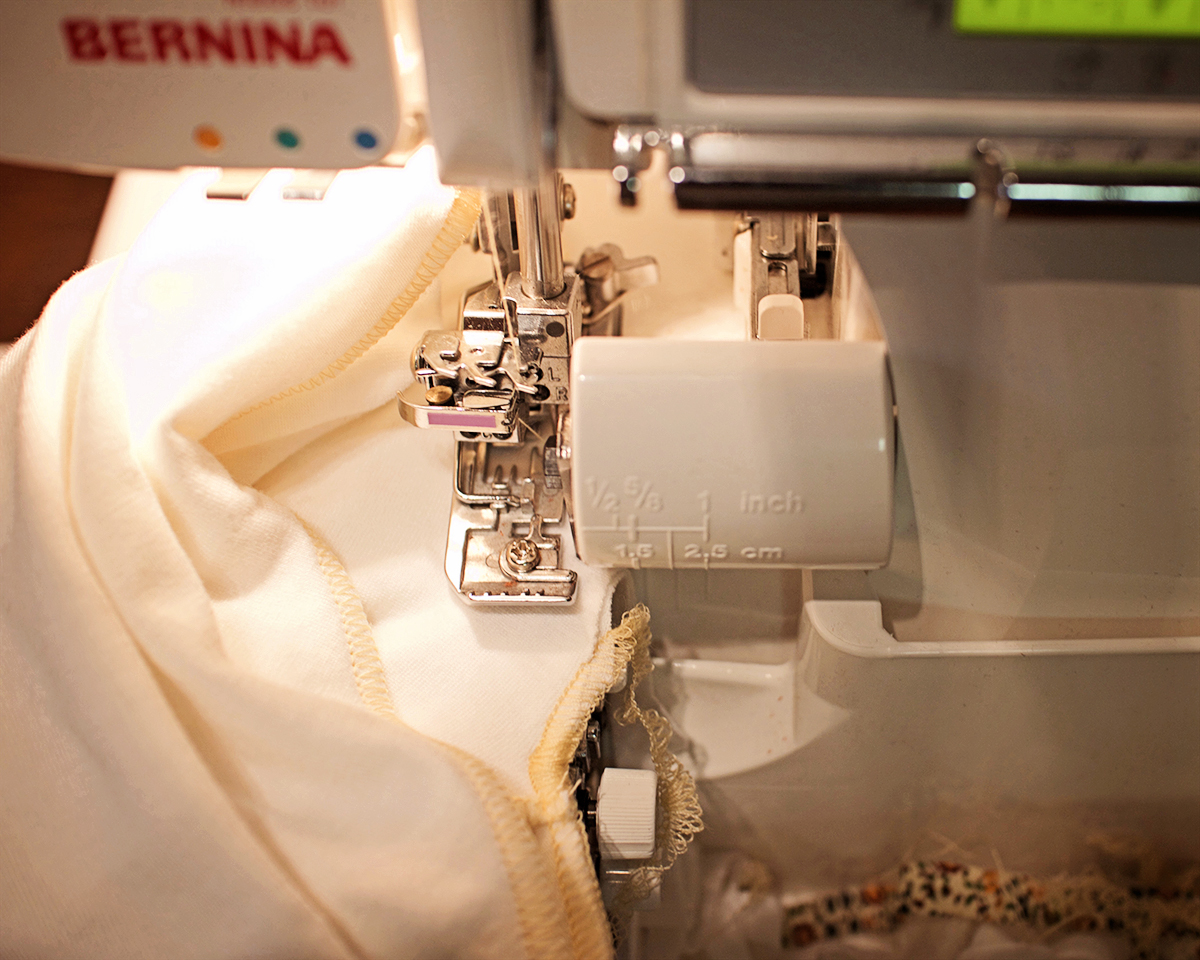
The pattern booklet gives great directions for sewing knits with a regular sewing machine. If you have an overlocker it will make fast finished work of this project and provide seams that stretch with wear.
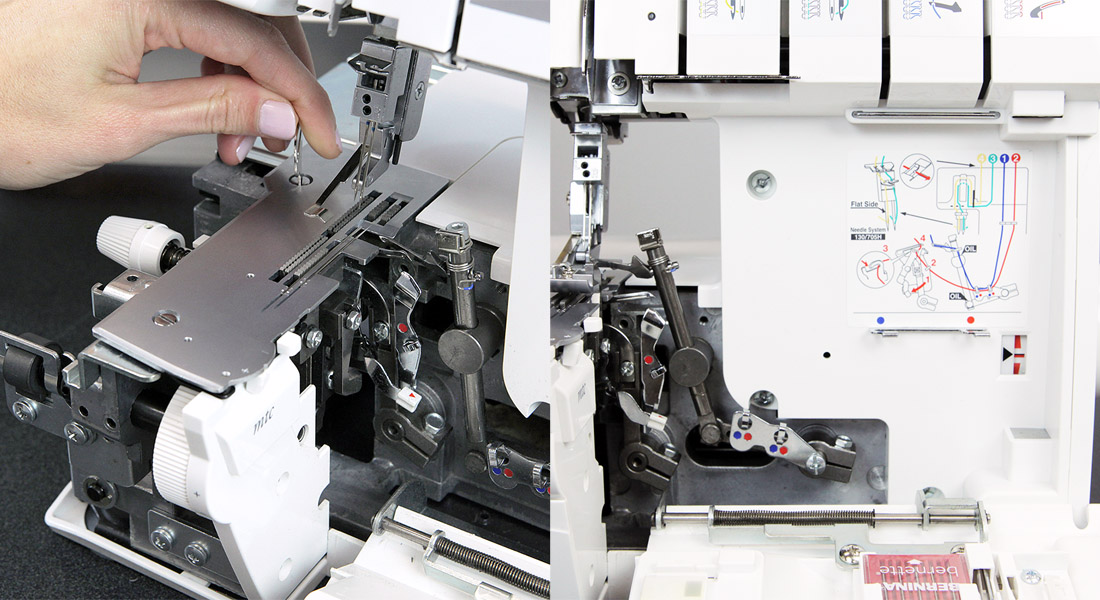
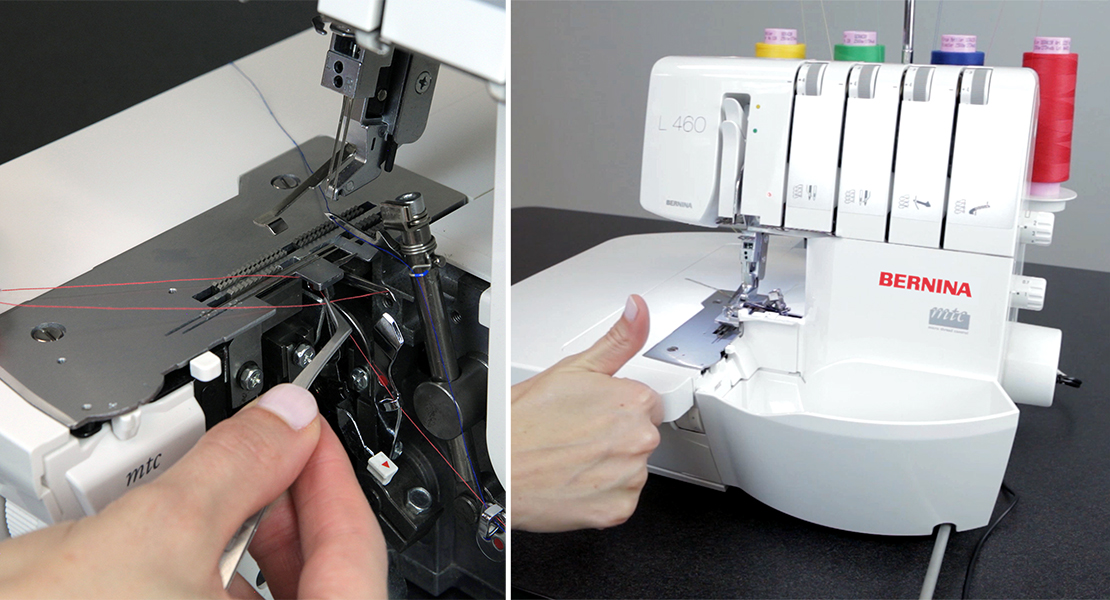
A 4-thread overlock is the perfect stitch for sewing knitwear. It has two rows of needle stitching to provide strength in the seam. An overlocker has loopers instead of a bobbin and these loopers intersect at the edge of the seam, encasing the seam in thread.
Basic Settings for the BERNINA L 450: 4-thread Overlock
Test your stitch and adjust settings for your fabrics. A clear advantage to using an overlocker is the differential feed feature. This feature allows you to control the amount that the fabric stretches while moving through the machine. Want to know more about it? Read this post I wrote about making leggings here.
Step 4: Sew the shoulder seams
I sew both shoulder seams in one pass, leaving a serged chain of stitches between. Not only is this faster, but it helps keep your neckline from stretching out (similar to staystitching).
Step 5: Sew the sleeves
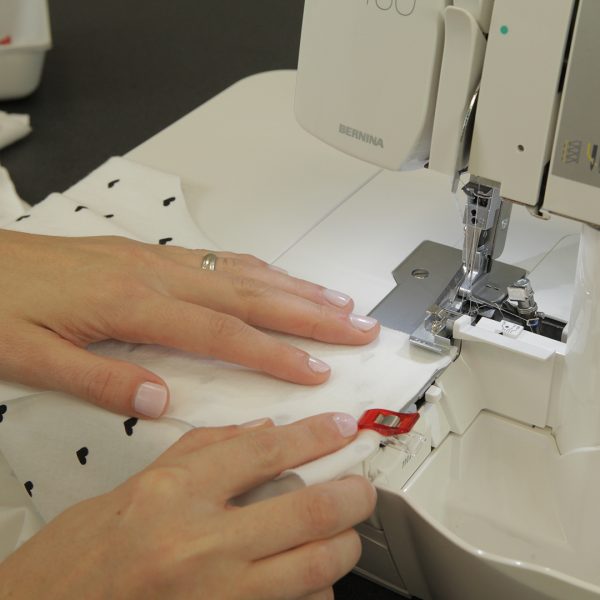
Sew the sleeves in flat, as opposed to setting them into a circular sleeve opening which is common when sewing woven garments. It can be a little more challenging to sew a shape like this on an overlocker. Try to learn to hold and move the fabric into the path of the cutting blade, rather than trying to steer the fabric shape into machine.
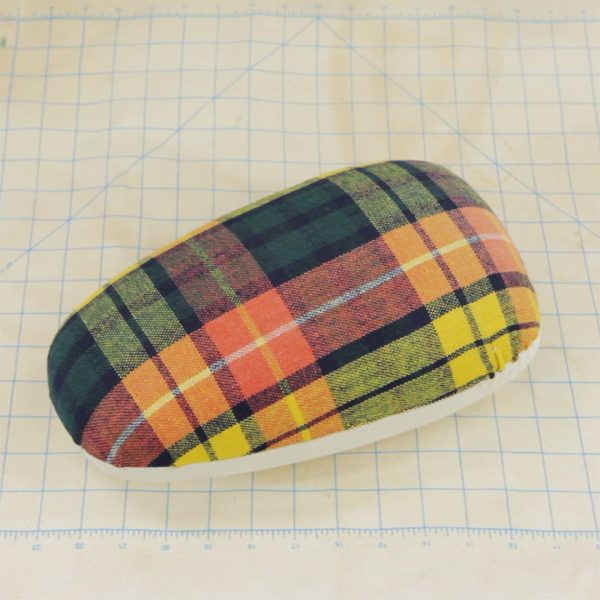
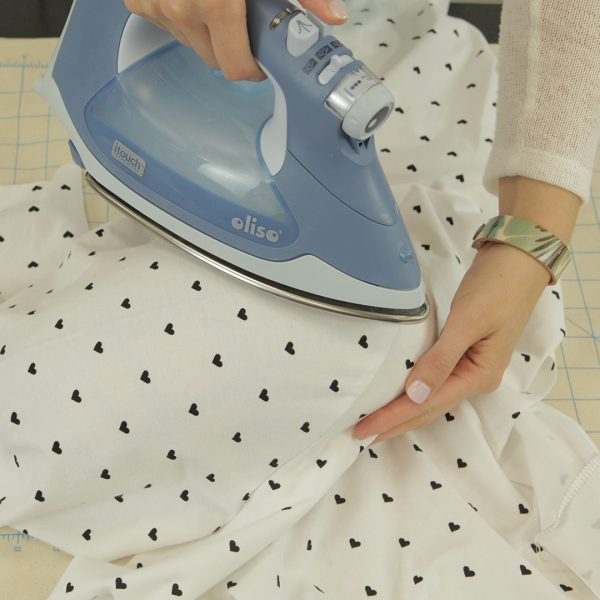
It is always good practice to press each seam as it is sewn. Using a tailor’s pressing ham will help you to press this curved seam into the perfect shape.
Step 6: Sew the side seams
Now you are ready to sew the side seams. I do this from the sleeve to the shirt hem. Pay careful attention to the seam intersection where the sleeve insets. It is easy for the overlocker to push the seam allowance apart creating a gap or hole in the armpit. Often this will result in attempts to re-sew this section of the seam, which ends up biting into the seam allowance changing the overall fit of the garment and in an important area.
Step 7: Add the neckband
Adding the neckband is probably the hardest part of making a T-shirt and it is still pretty simple. You can make a neckband from the same fabric or you could cut a neckband from rib knit. Rib knit comes in a few colors and could provide nice contrast as well as offering a bit more stretch. For this shirt I chose to have a scoop neckline and opted for a band made from the same, main fabric.
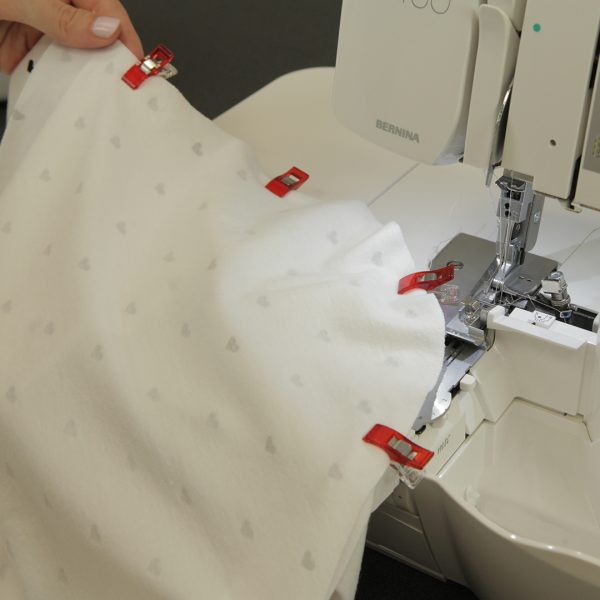
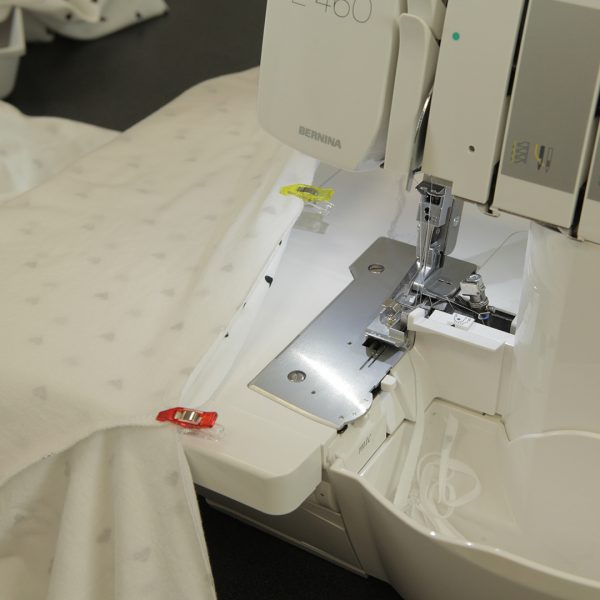
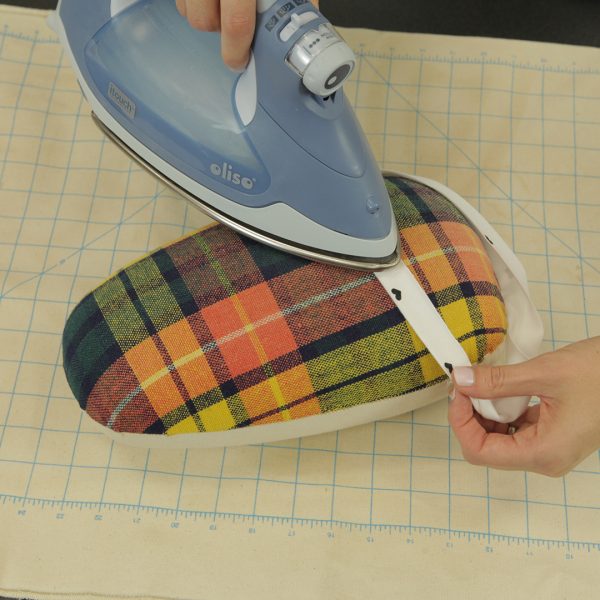
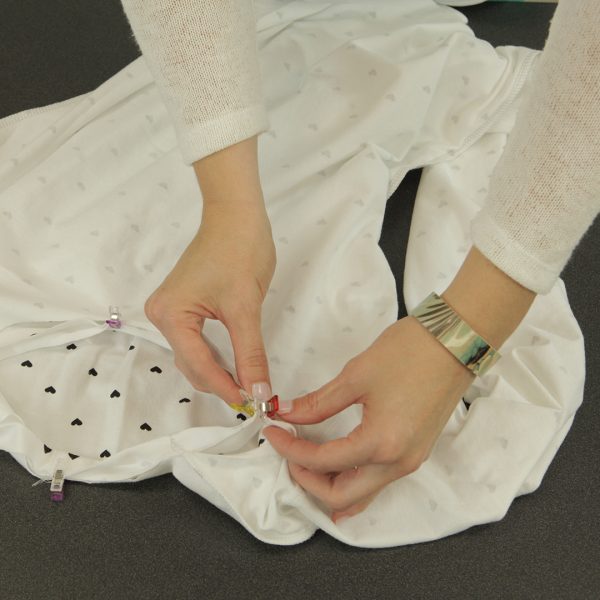
Sew the band into a loop and press it in half lengthwise. I like doing this on the pressing ham, too. Then divide the neckband into 4 equal parts. I marked mine with wonder clips. Do the same to the neckline of the T-shirt and then match them up.
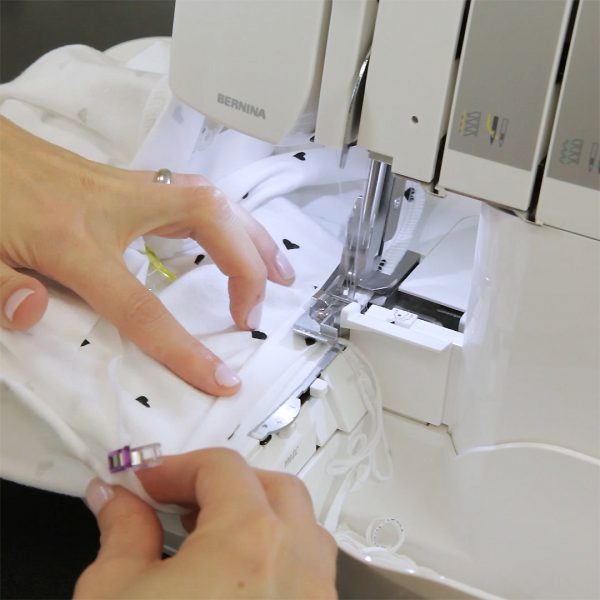
Sew with the neckband up, directly under the presser foot where you have clear visibility of it. This will make it easier and prevent you from trimming too much of it away. The neckband will likely be smaller than the neckline because you will stretch it as you sew it down. This keeps the neck from gaping open, not a flattering look for a t-shirt.
Step 8: Finish the hems
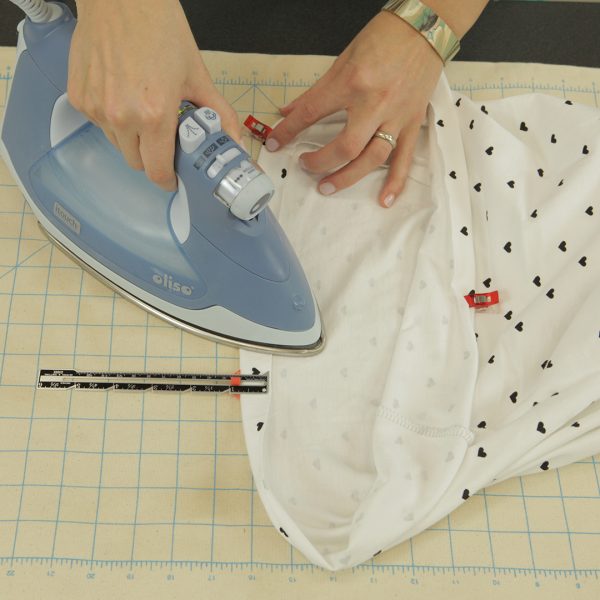
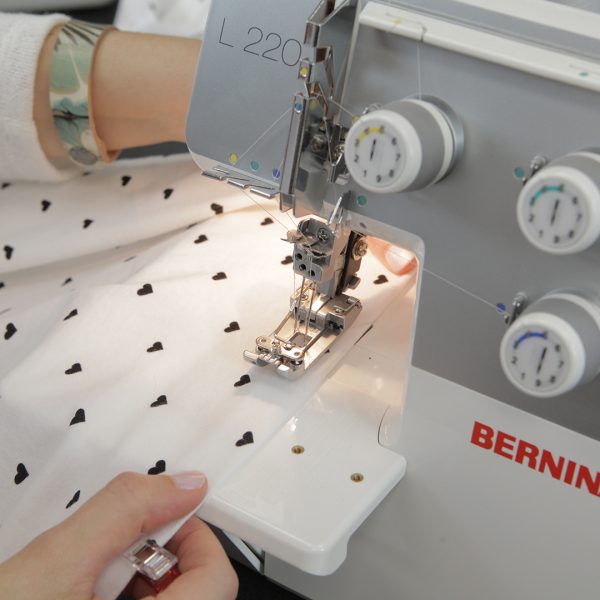
Measure the hem allowance and press in place. Sometimes I will use a product called Wondertape to hold the hem in place while I sew it. Just like with a sewing machine, there are multiple ways to finish the hems of a T-shirt. My favorite is a coverstitch. This requires a special machine to make this stitch. I used my trusty BERNINA L 220 for the job. You could also use a twin needle on a regular sewing machine to imitate this stitch. I have plenty of knit shirts done this way and the stitch holds great.
And just like that… a perfect fitting T-shirt!
What you might also like
3 comments on “Custom T-Shirt with an Overlocker”
-
-
The workbook is an item that you must purchase. Check with your local dealer to see if they can order it for you. The link to see it is in the materials list.
-
-
Is there a cost to the workbook? None is listed on the link; just a picture.
Leave a Reply
You must be logged in to post a comment.



How do you get the workbook?