Embroider-Along Part 9: How to Embroider a T-Shirt
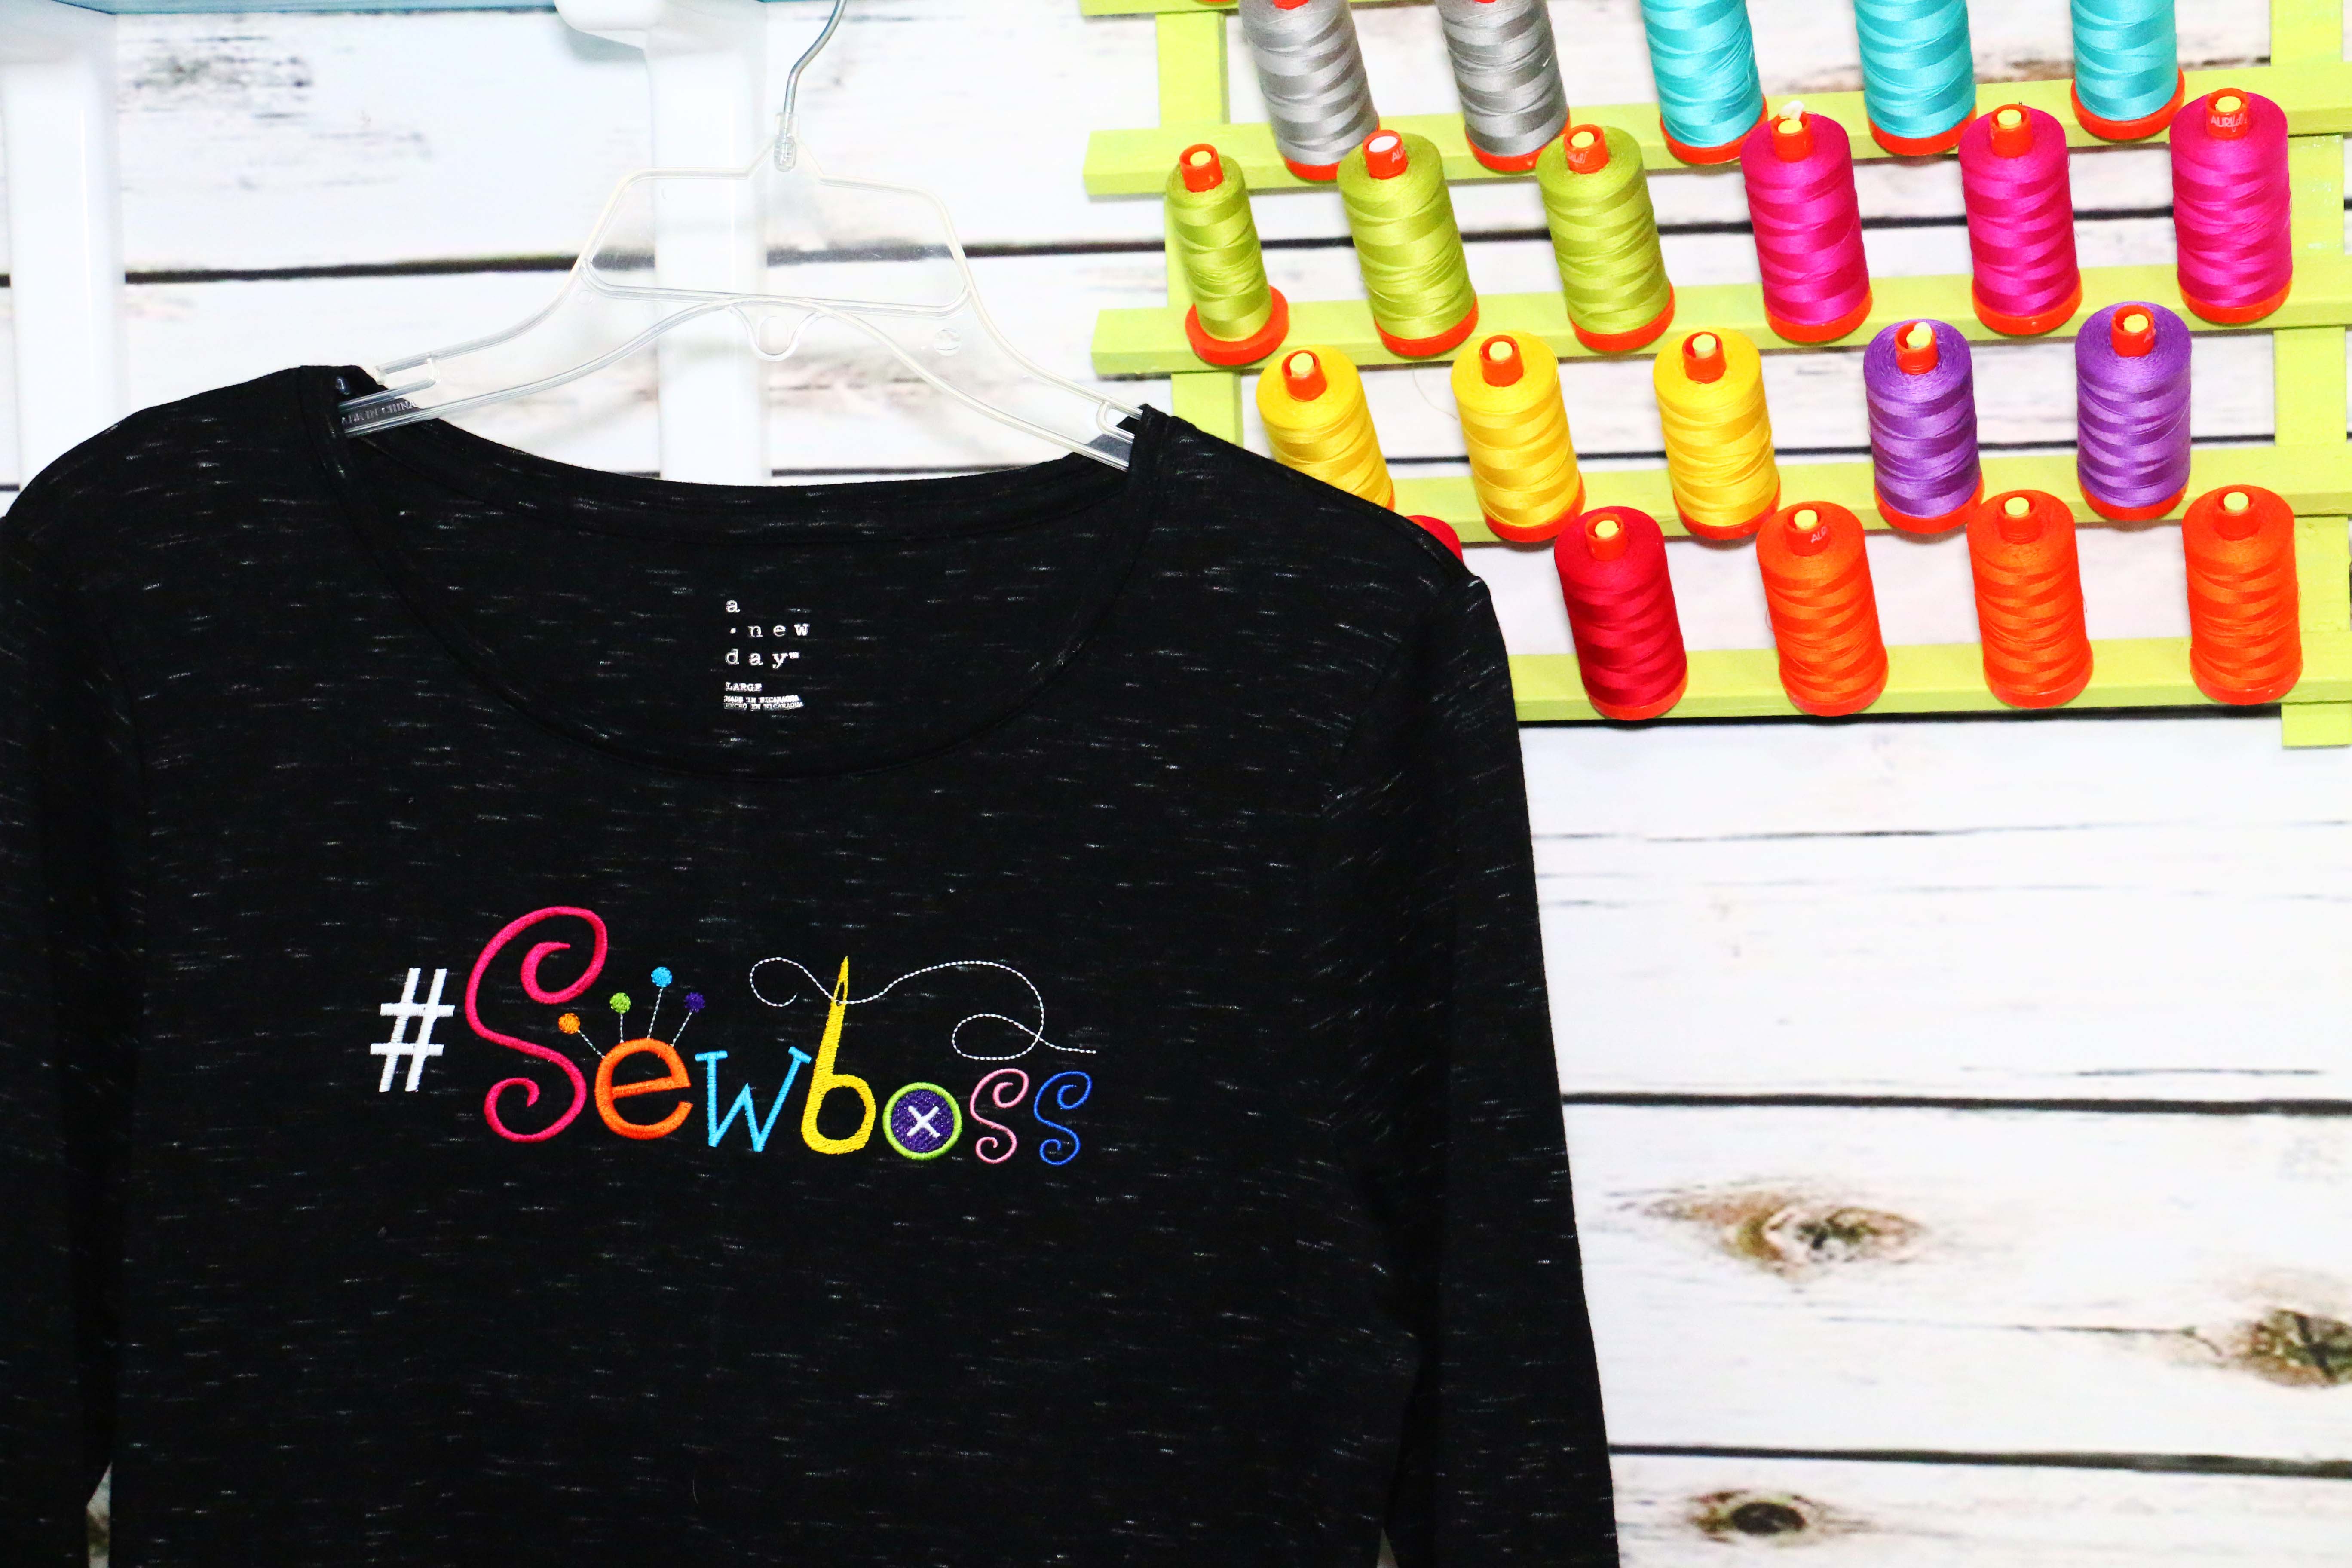
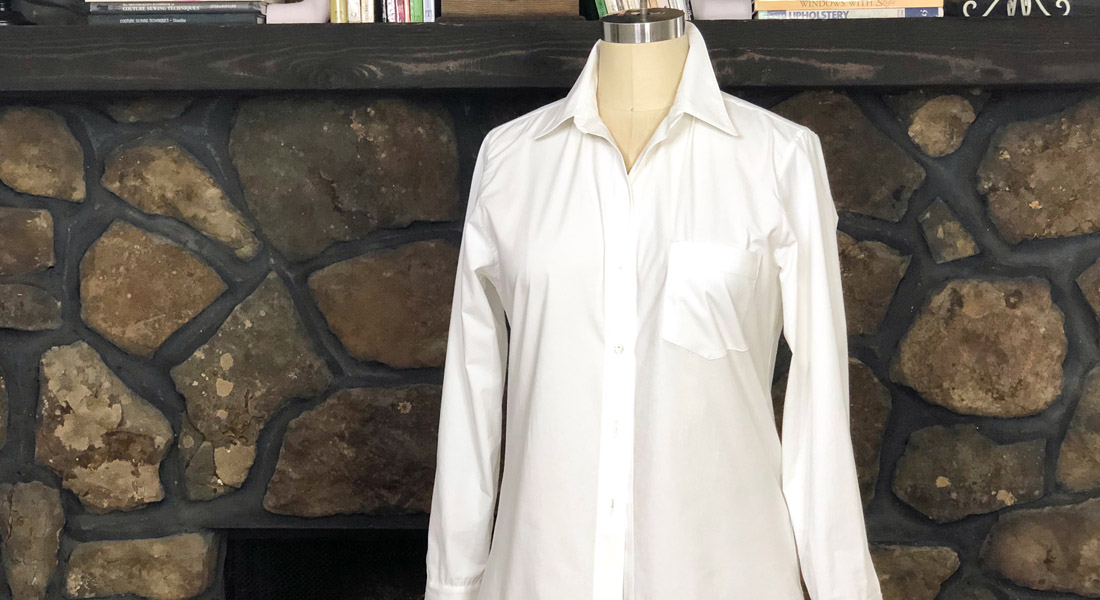
Welcome back to my Embroider-Along: Part 9. Hi, my name is Sue O’Very, BERNINA Ambassador and machine embroidery expert. During this series I have talked about the four basics for machine embroidery. We’ve covered Stabilizers/Materials, Needles, Threads, Hooping and how to stabilize all the basic materials. Now it’s time to put into practice what you’ve learned along the way. Today I’m going to show you step-by-step how to embroider a Ladies T-Shirt with the #SewBoss complimentary embroidery design.
Embroider on a T-Shirt
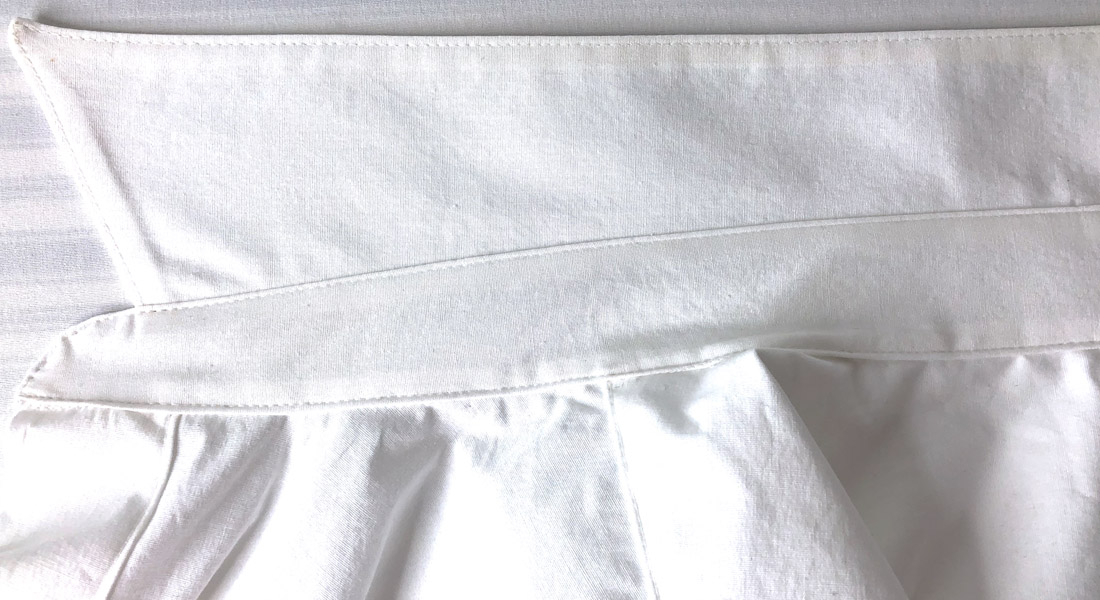
In Part 5 I showed you how to embroider on a baby Onesie. Embroidering on a Ladies T-Shirt is very similar however because of the size compared to a baby Onesie and the weight of the knit there are a few other tricks I’m excited to share with you.
Stabilizers for a T-Shirt
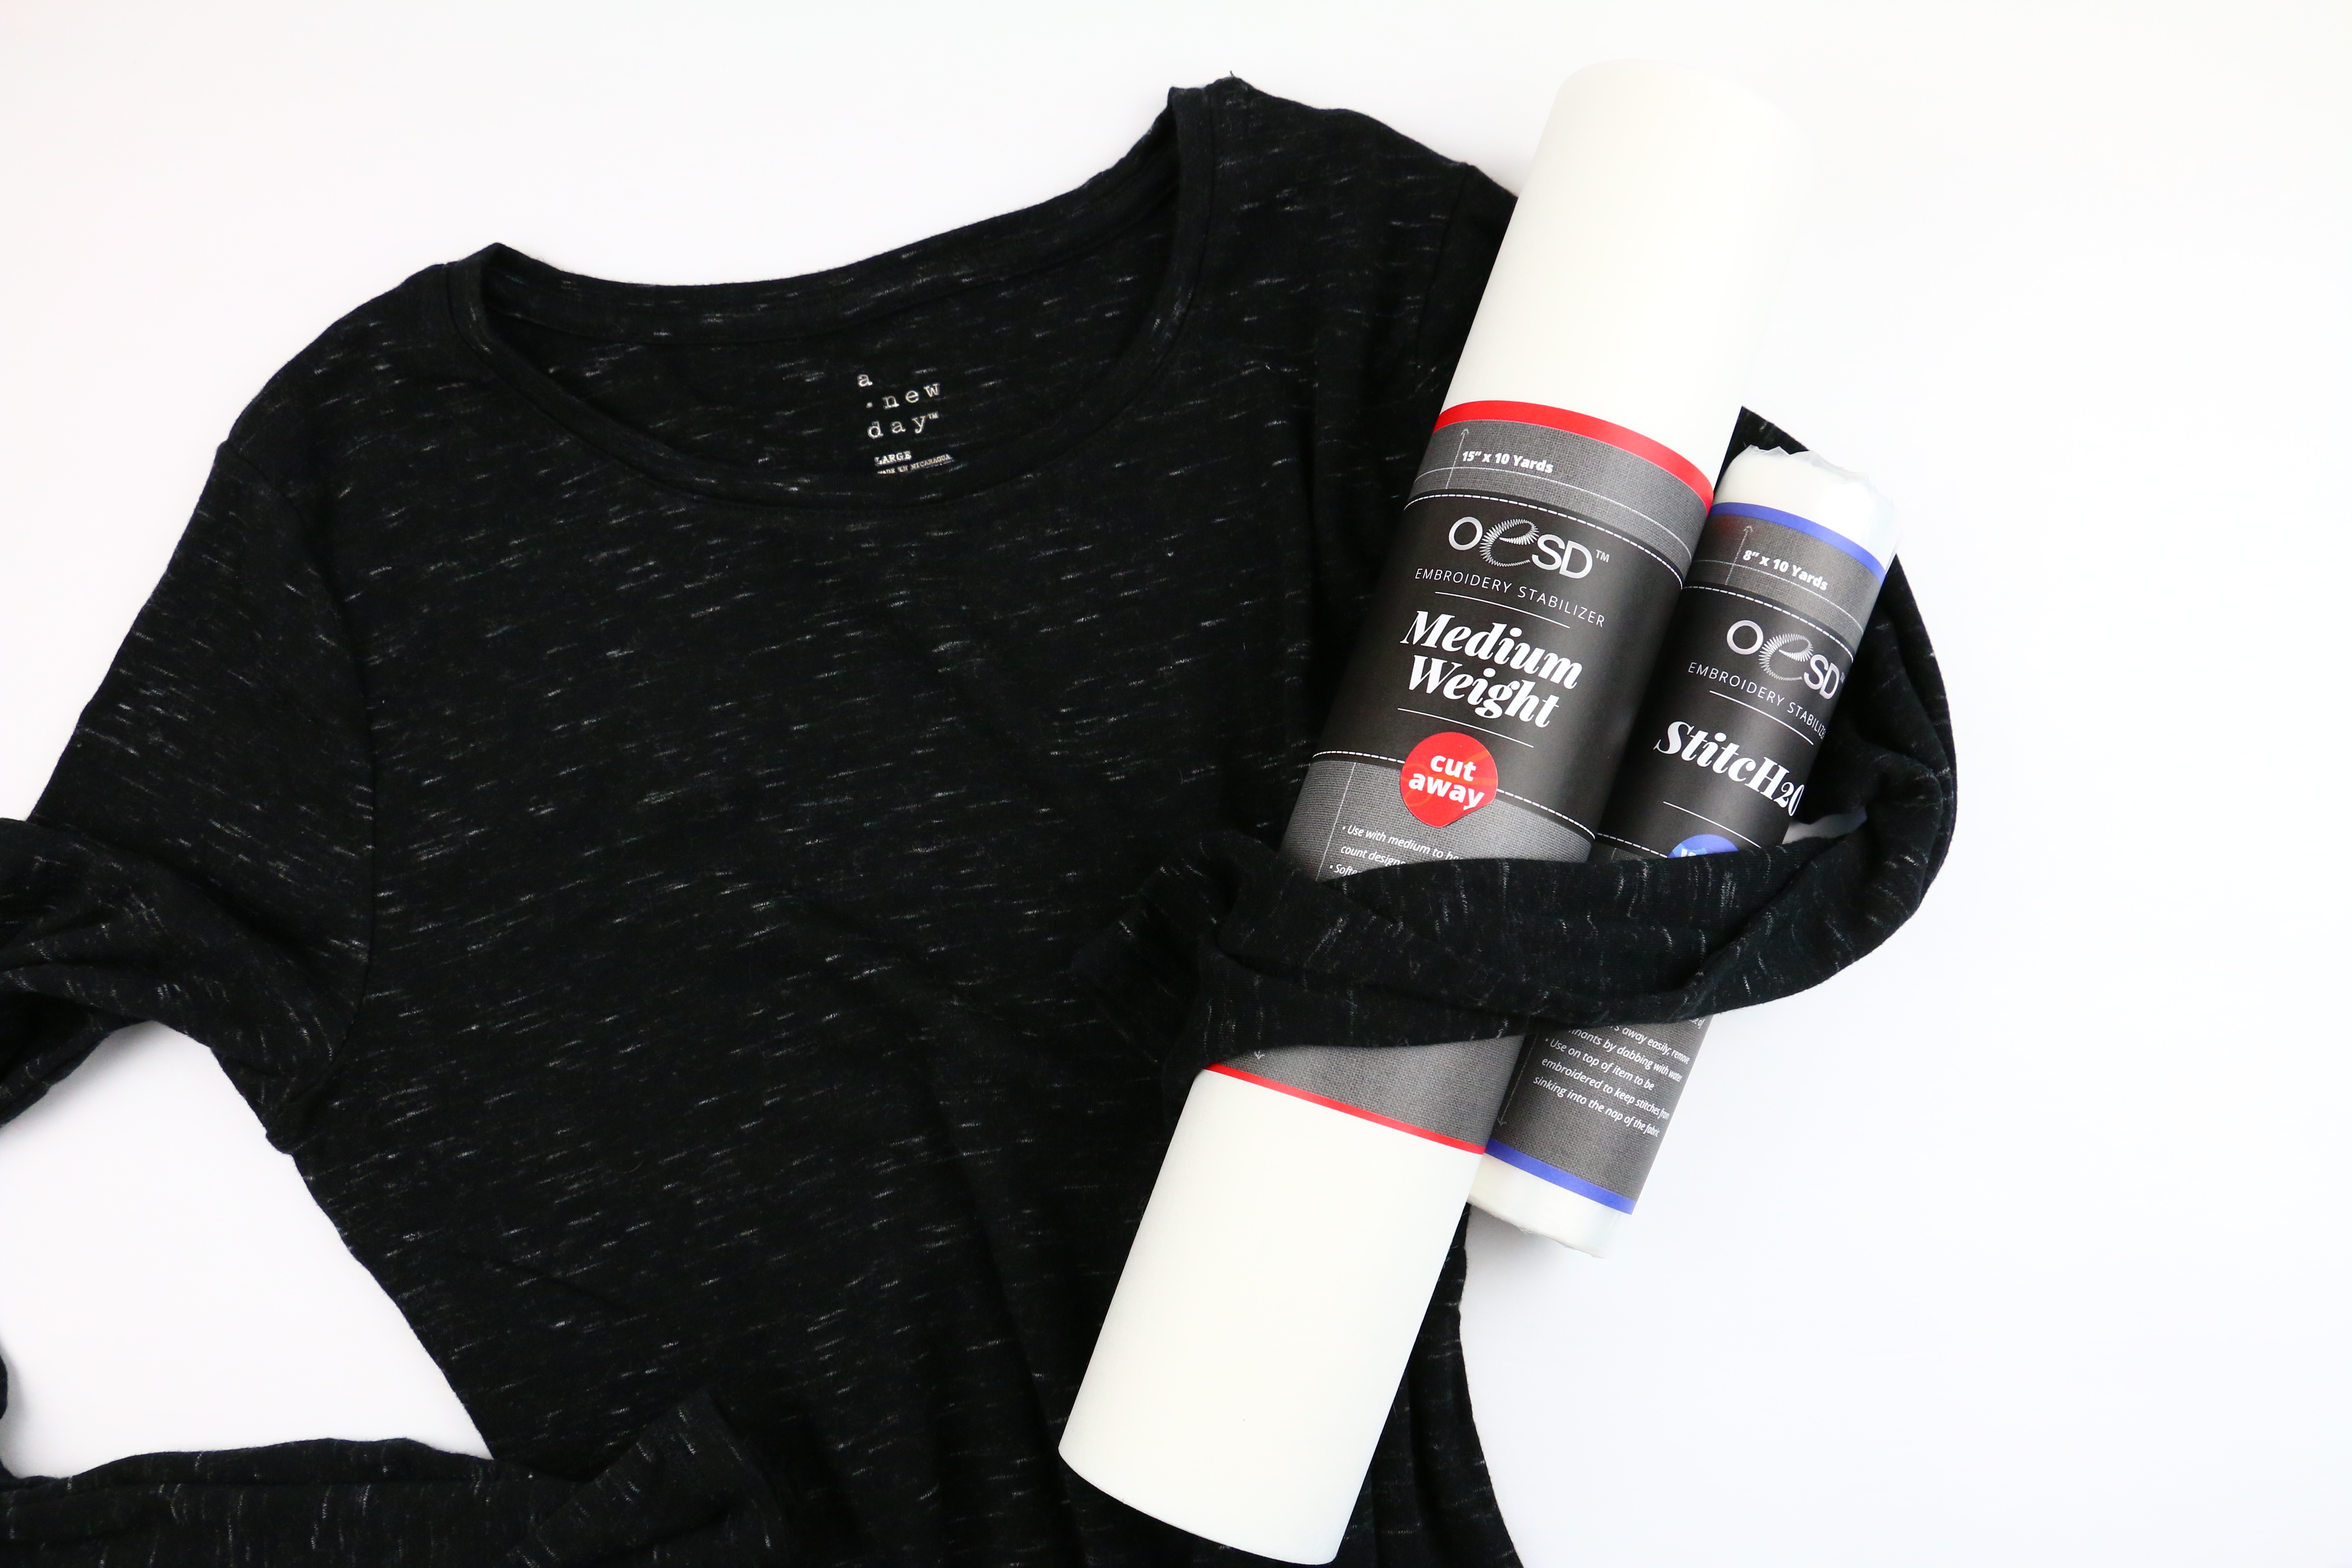
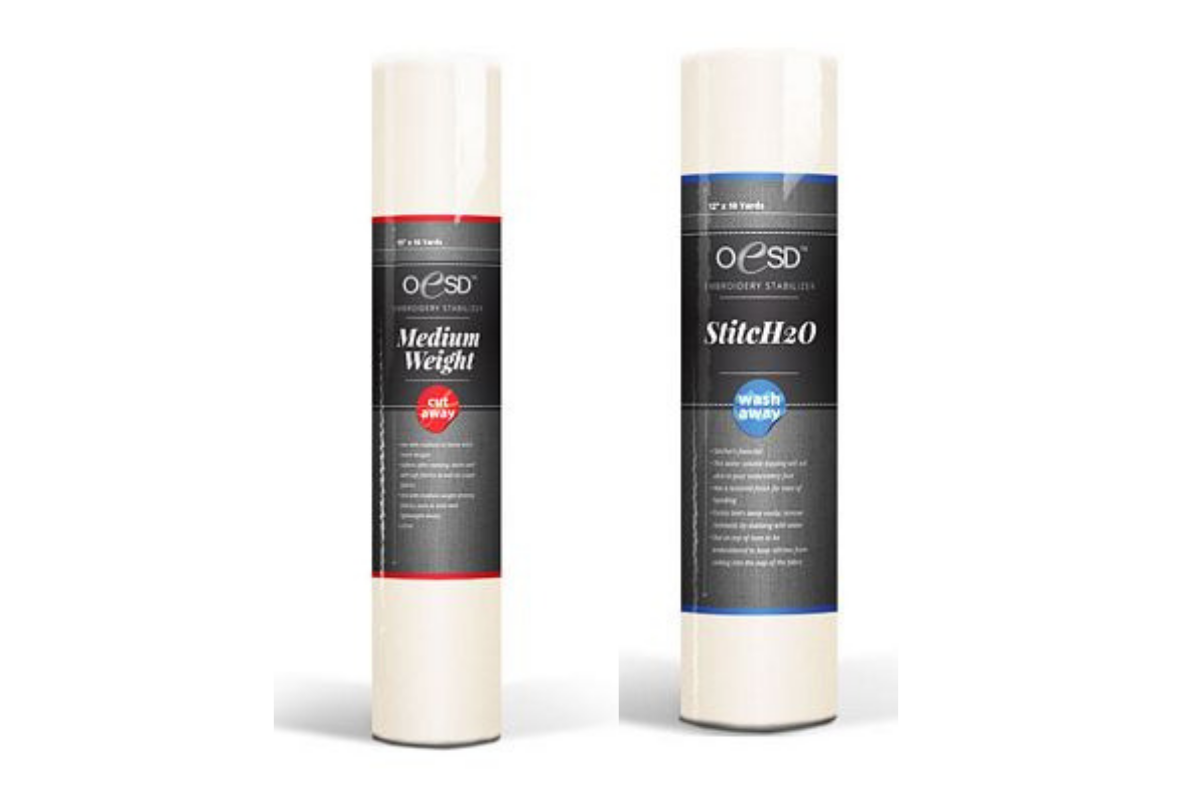
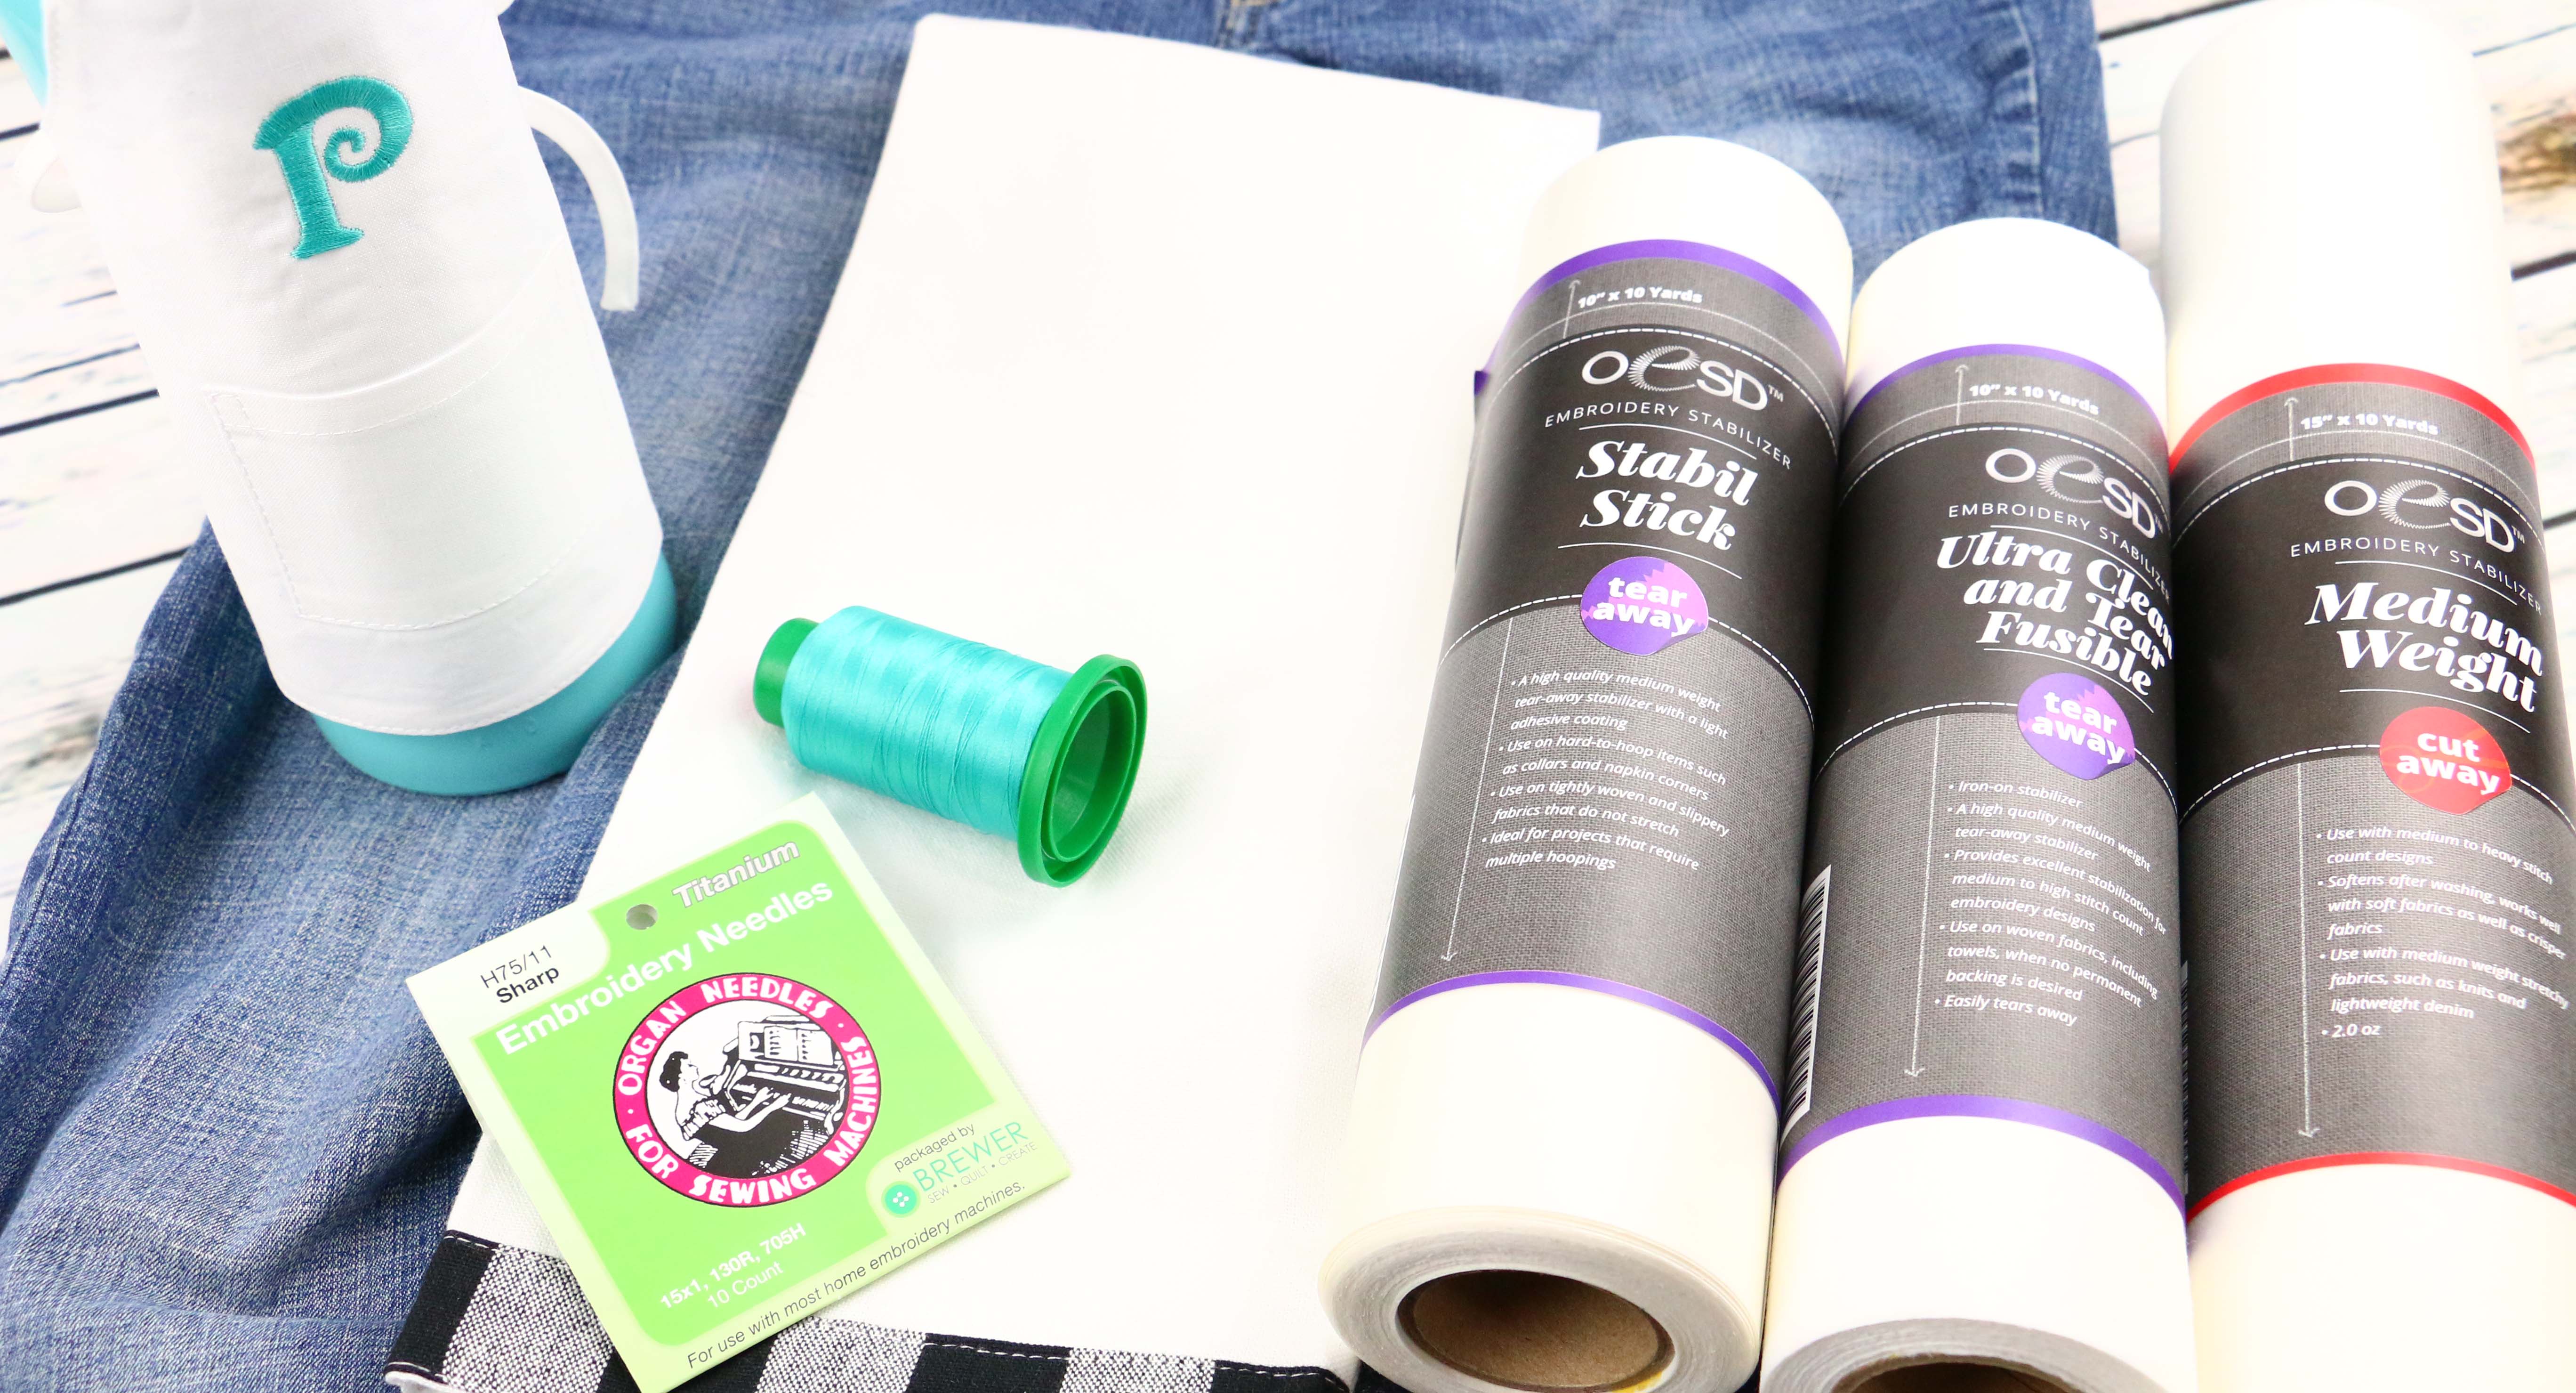
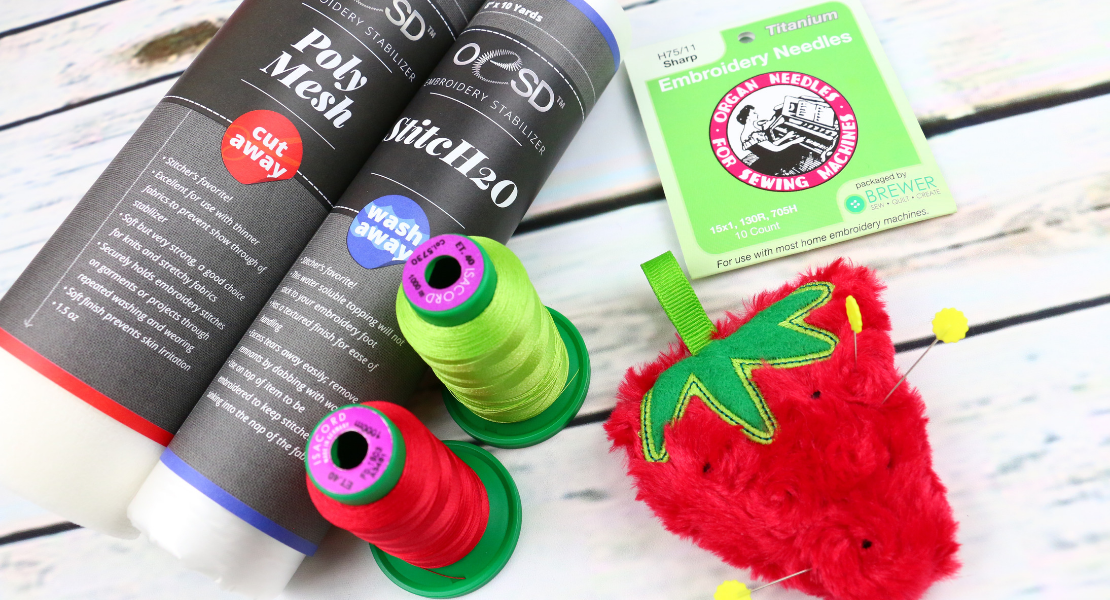
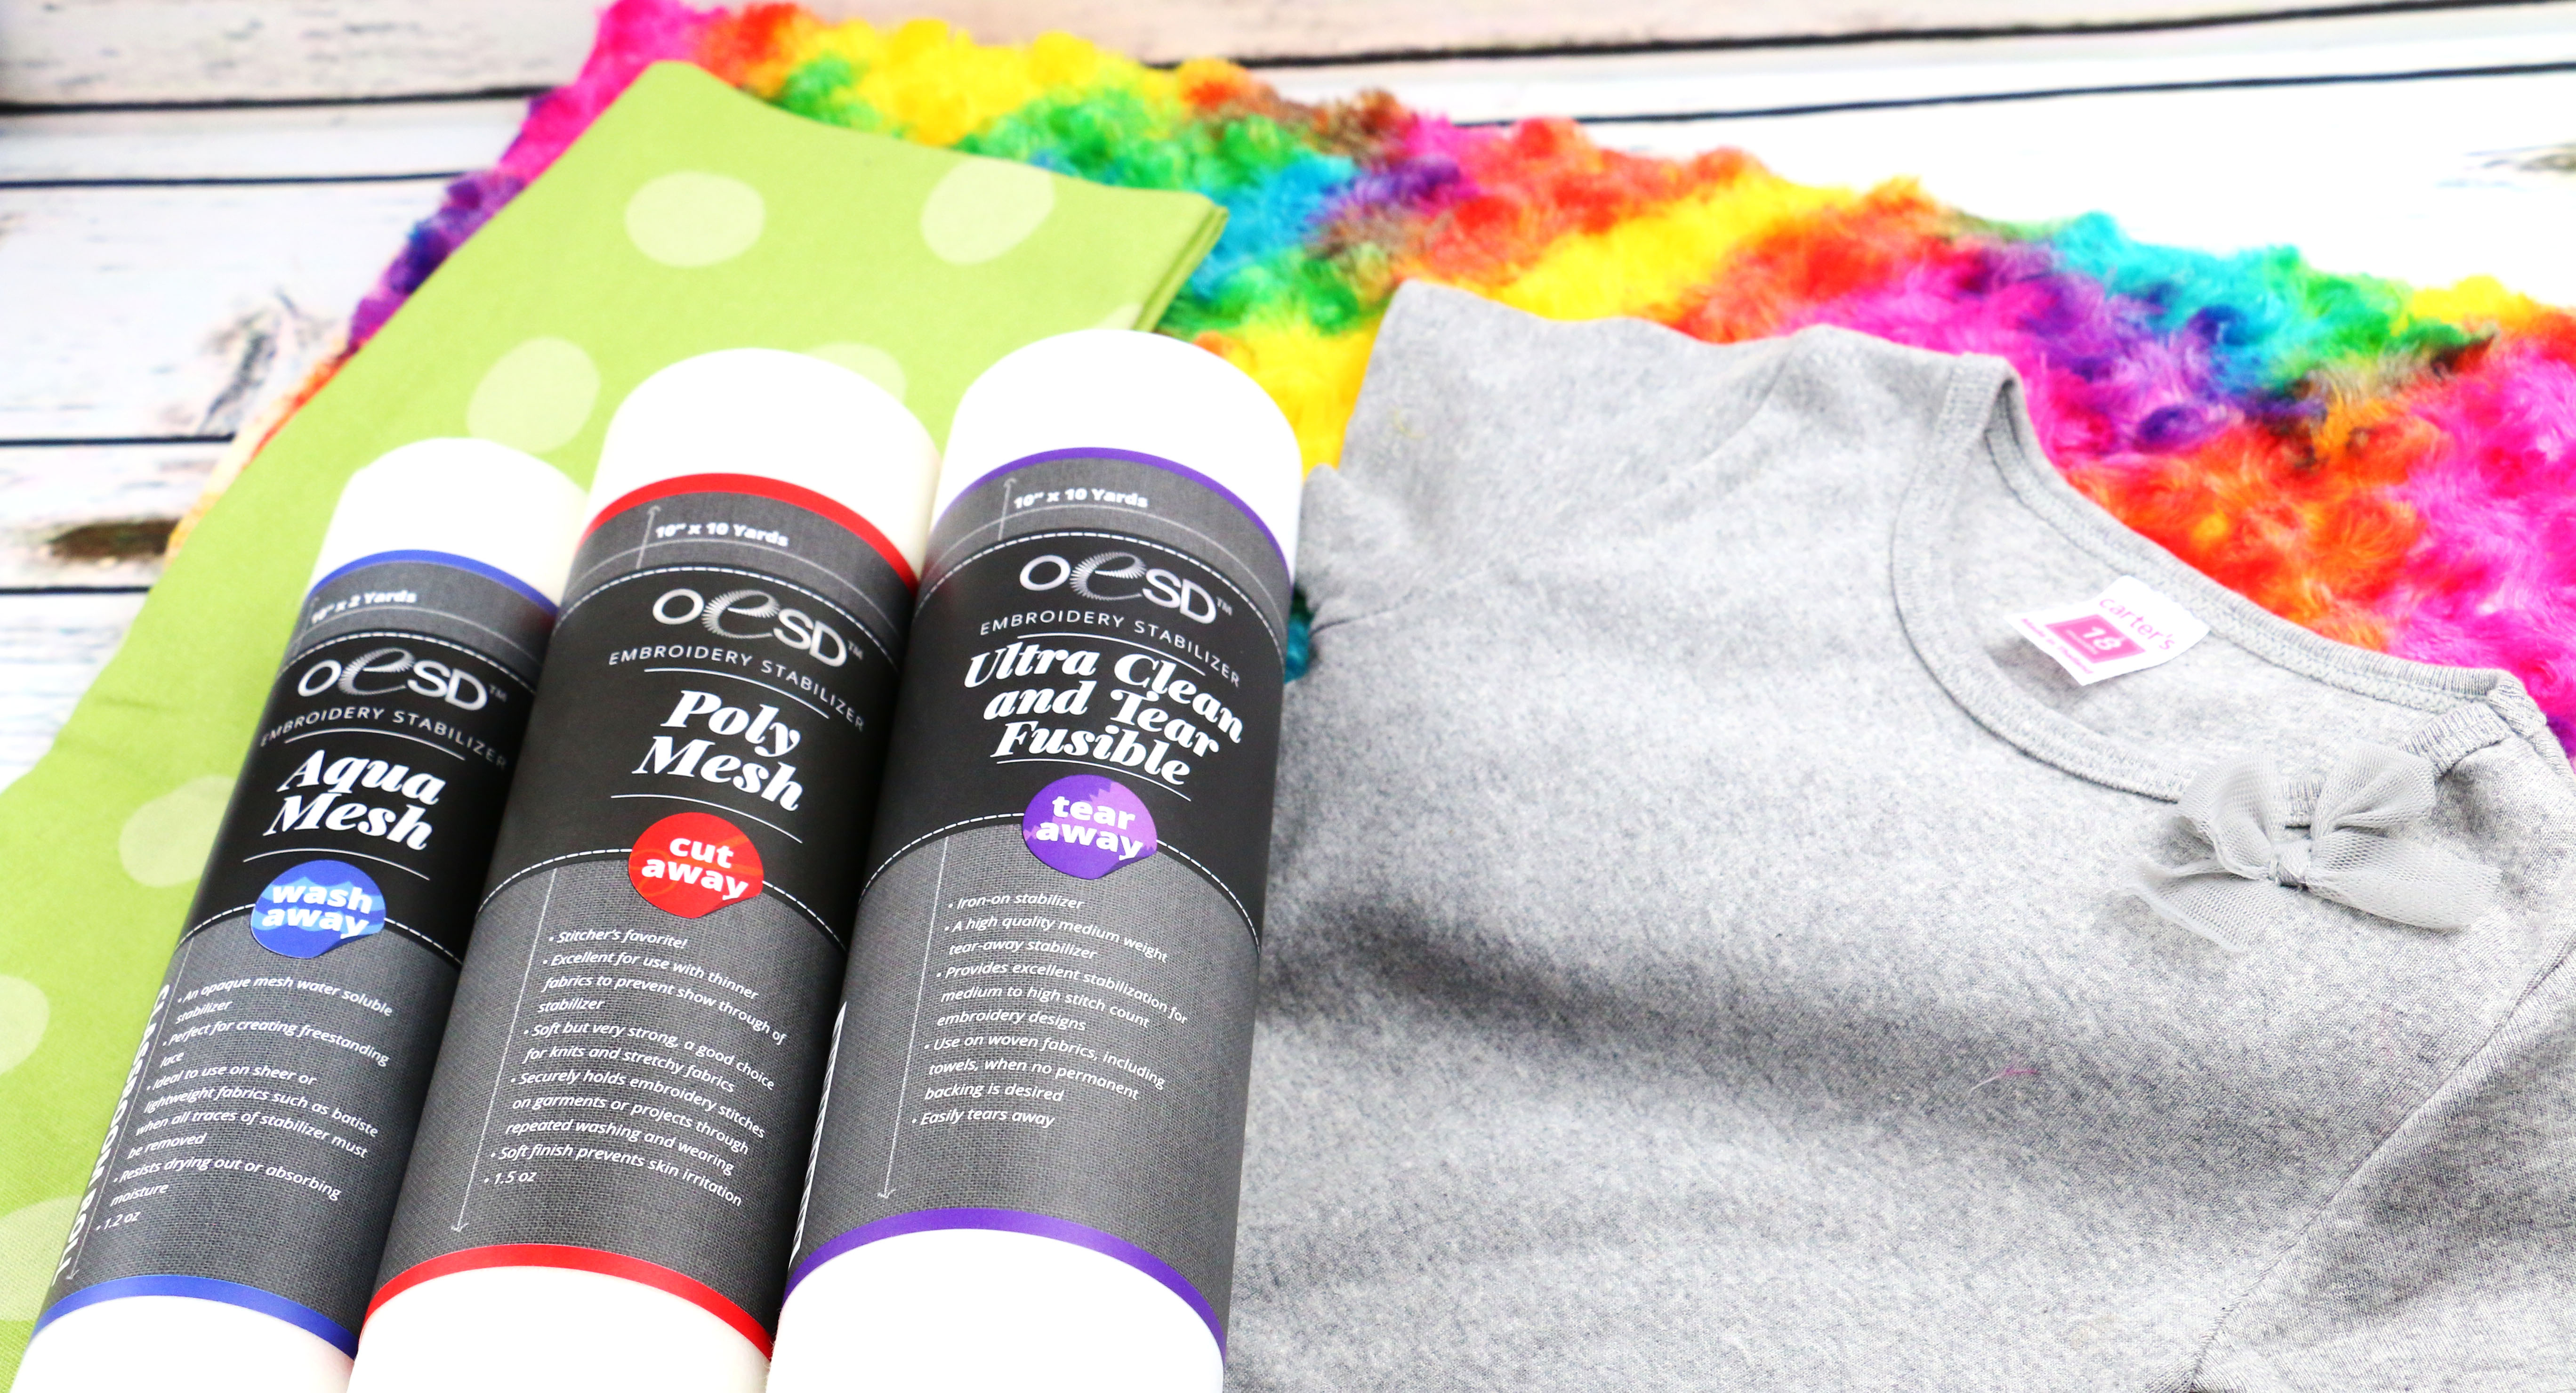
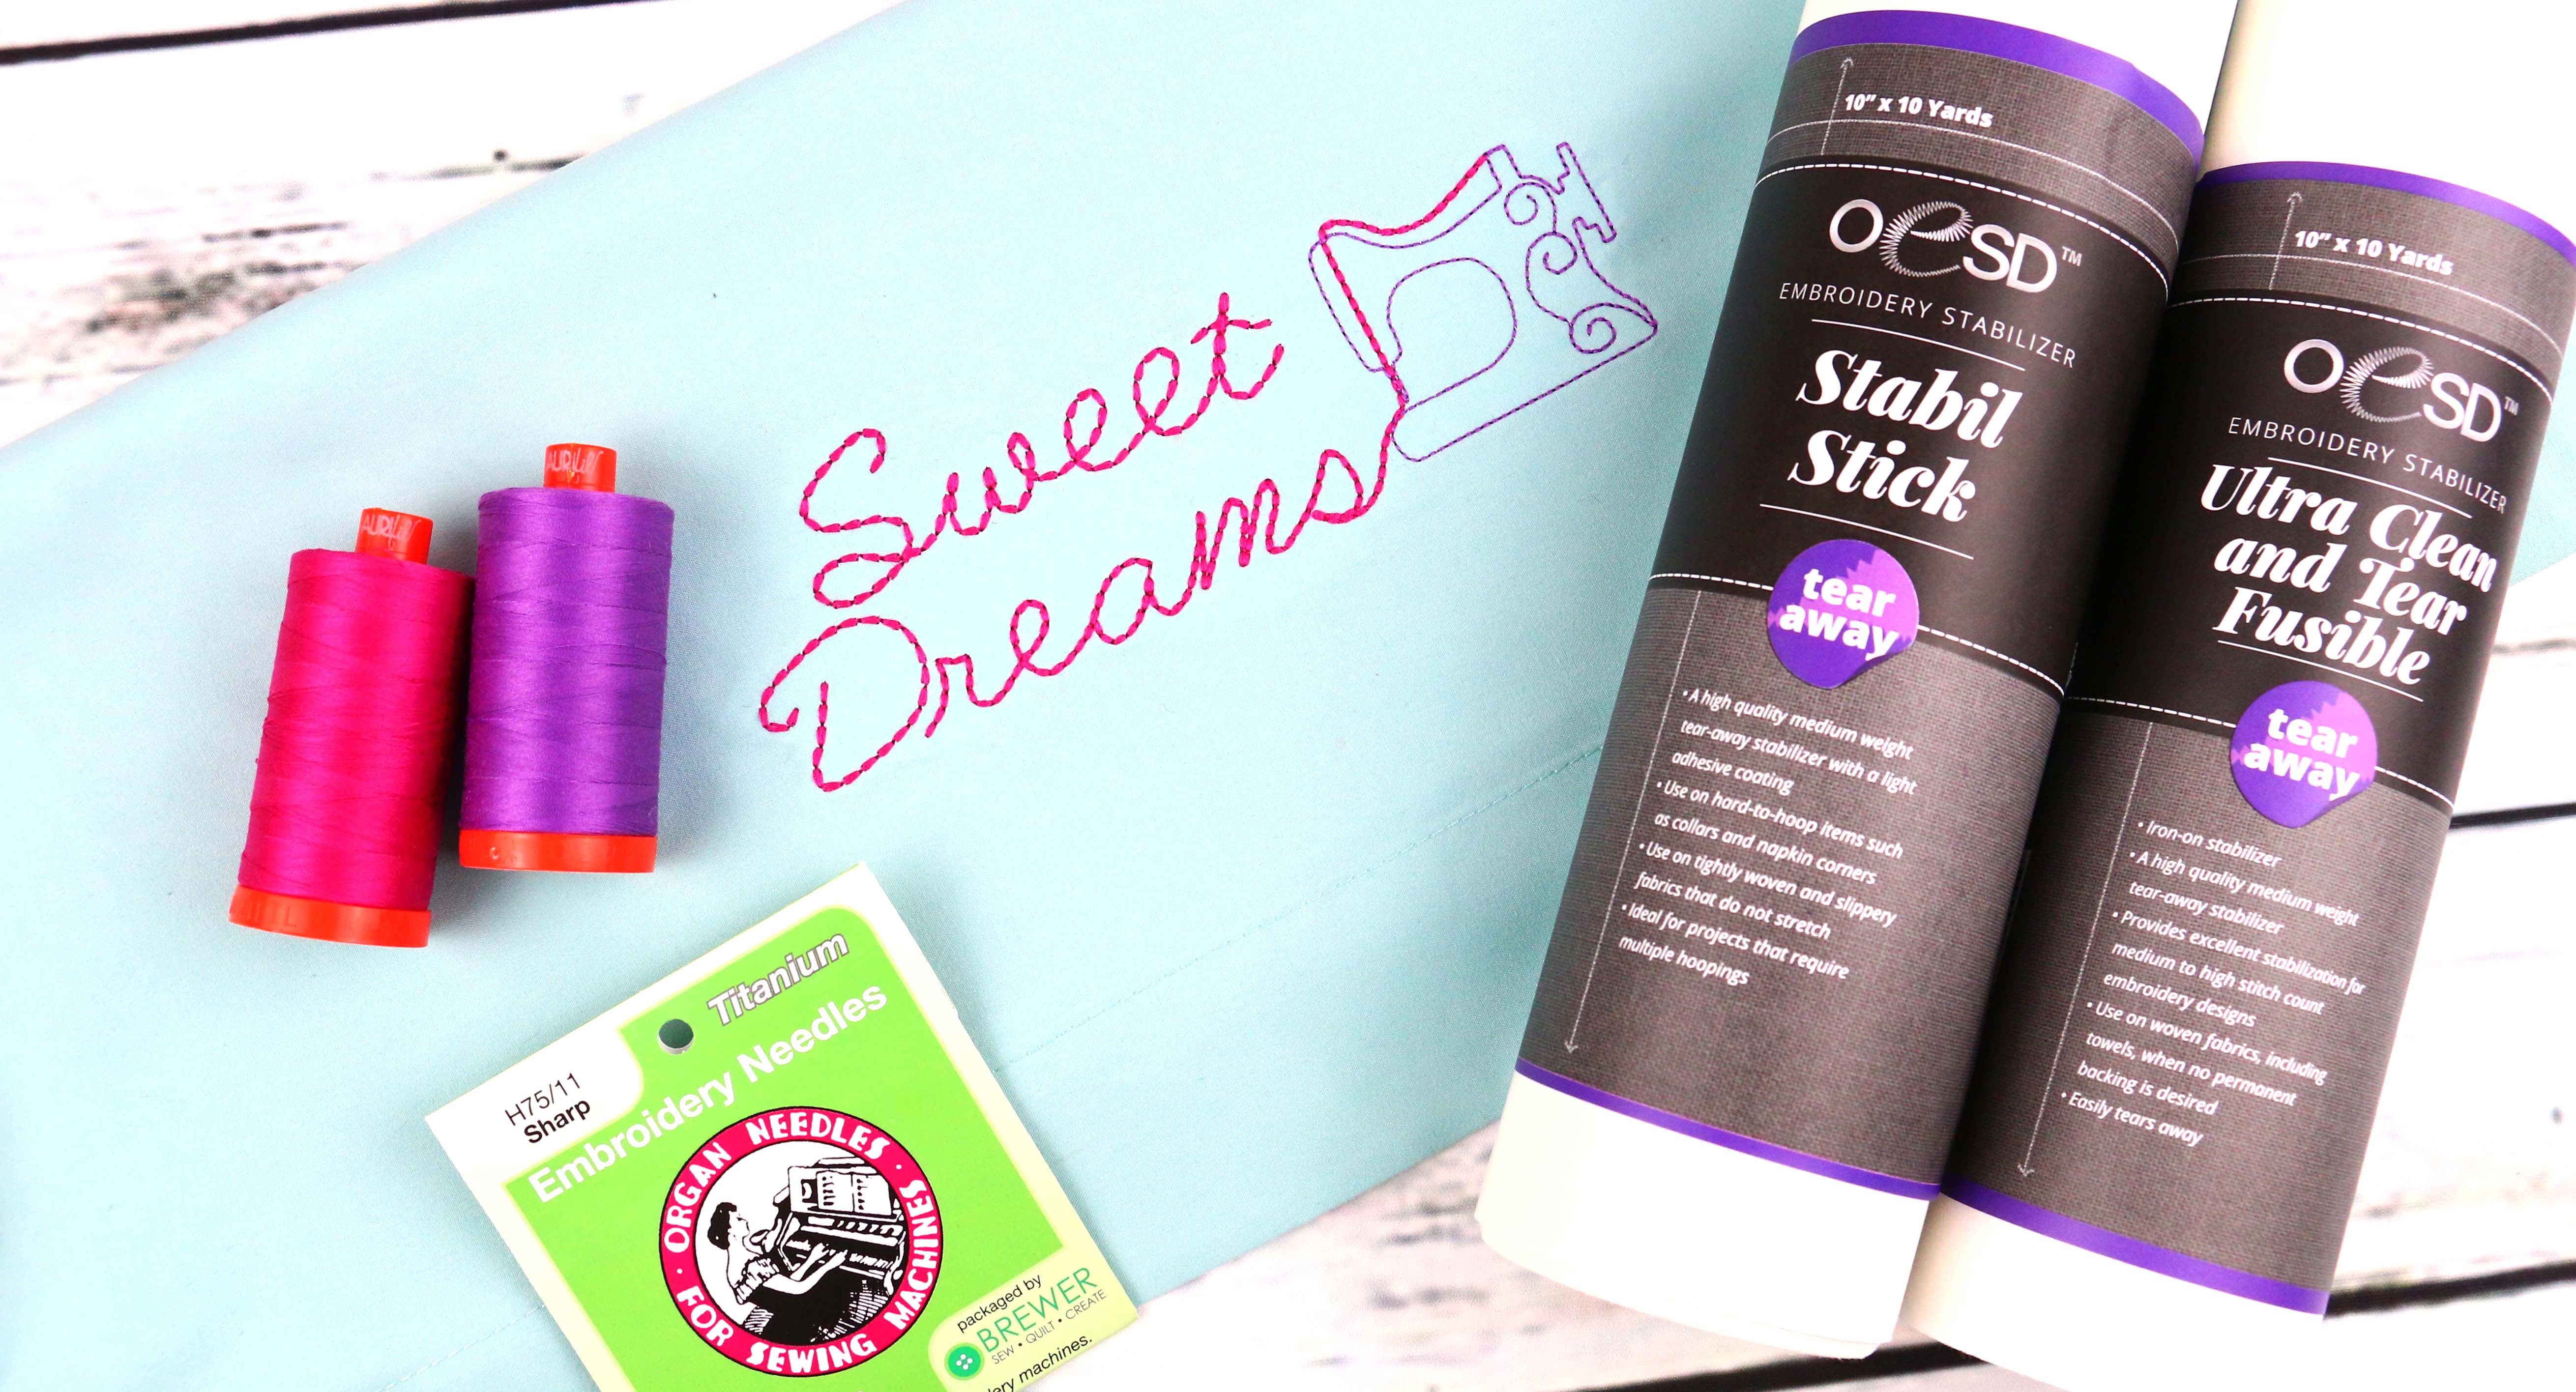
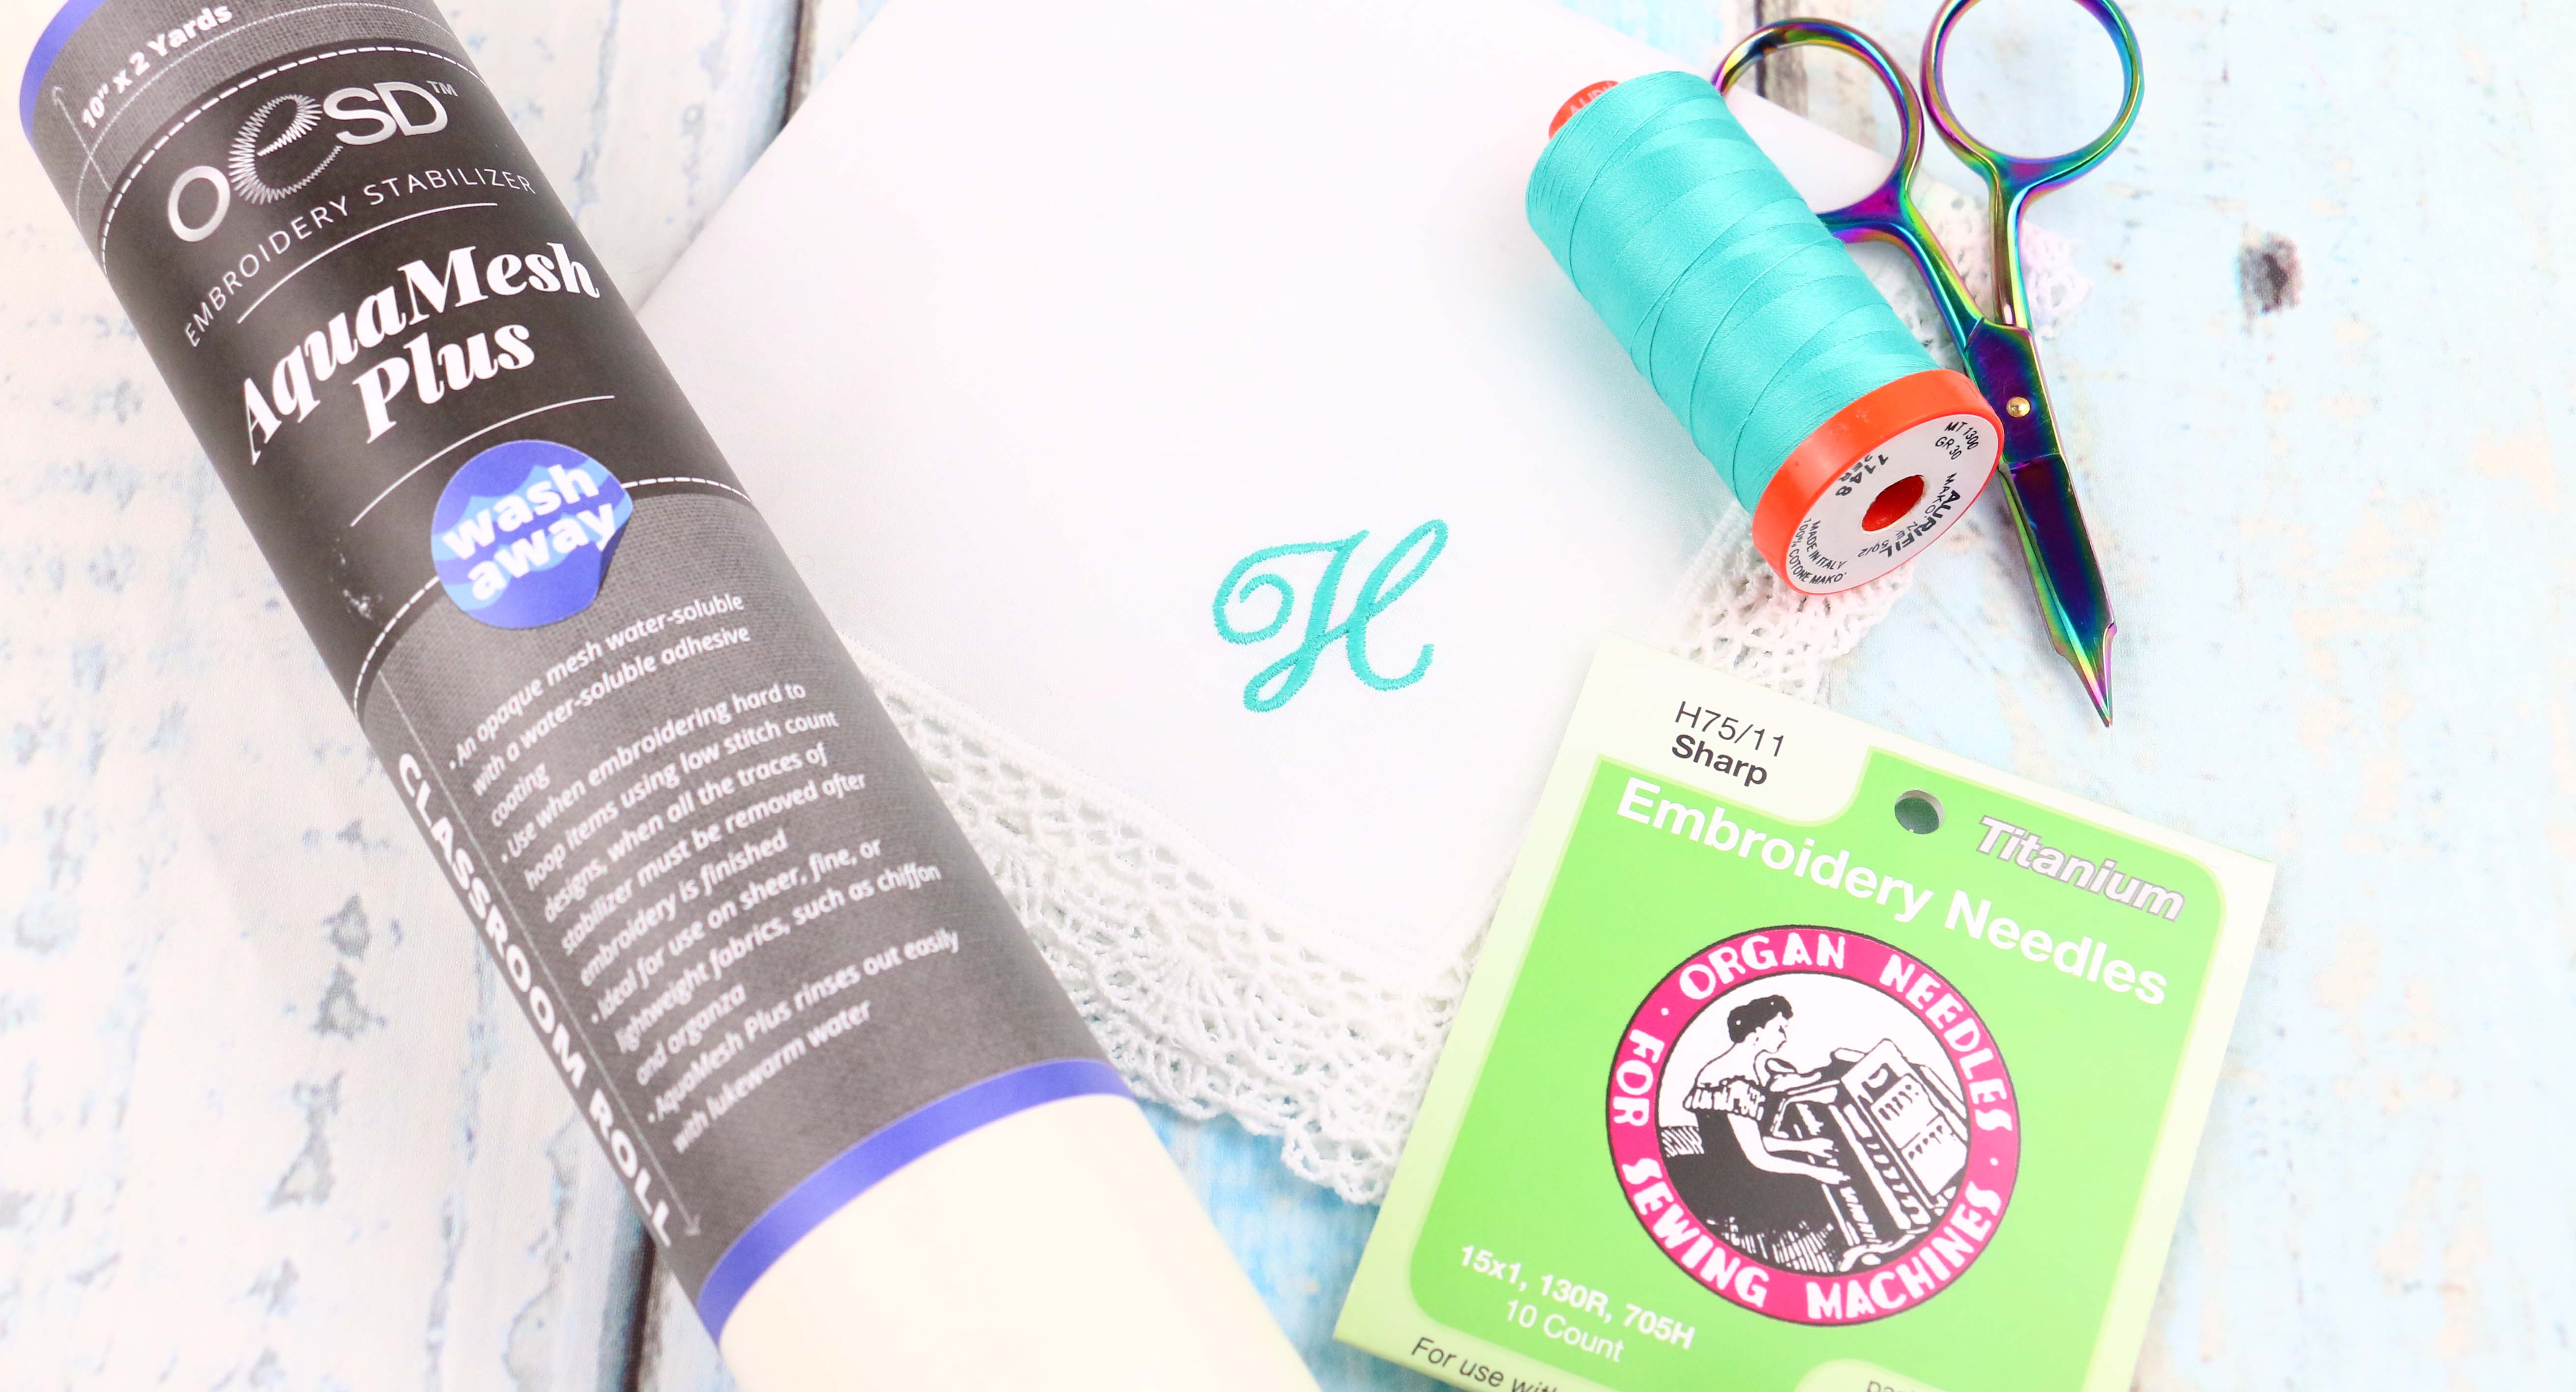
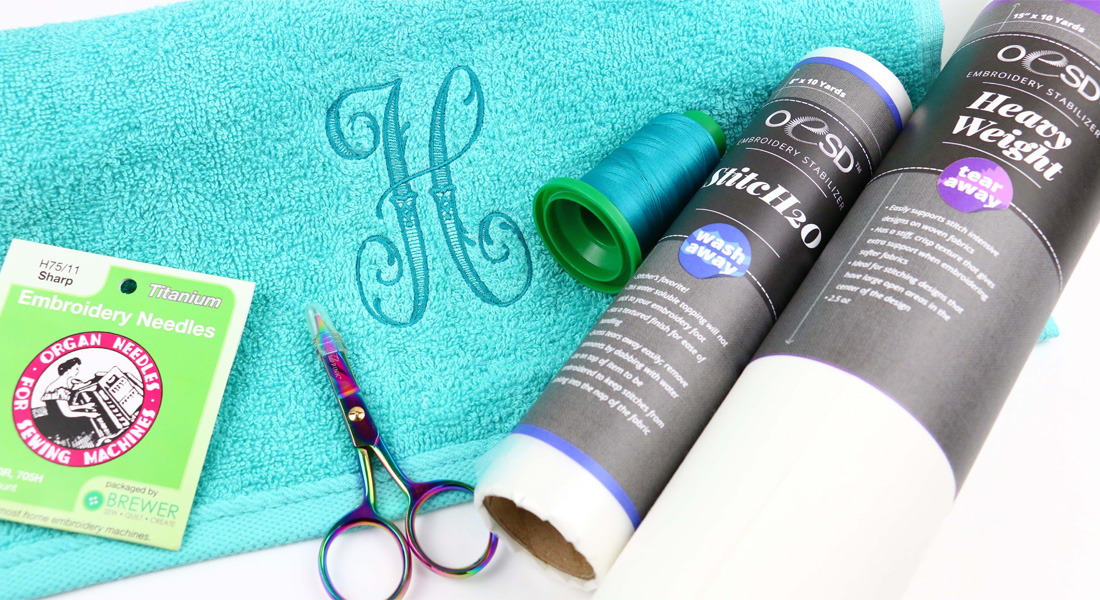
For a Ladies T-Shirt the best stabilizer to use is either a lightweight sheer cut away, like PolyMesh or a Medium weight cut away. This particular T-Shirt was a little thicker and required a little more stabilization. As apposed to using two layers of the PolyMesh I opted for the one layer of Medium weight. As you’ve learned in the previous lessons it’s a good idea to place a piece of water soluble stabilizer over the top of a knit. I prefer the StitcH20, this wash away stabilizer helps the stitching lay smooth, the design to not get sunk into the knit and it also doesn’t stick onto the presser foot.
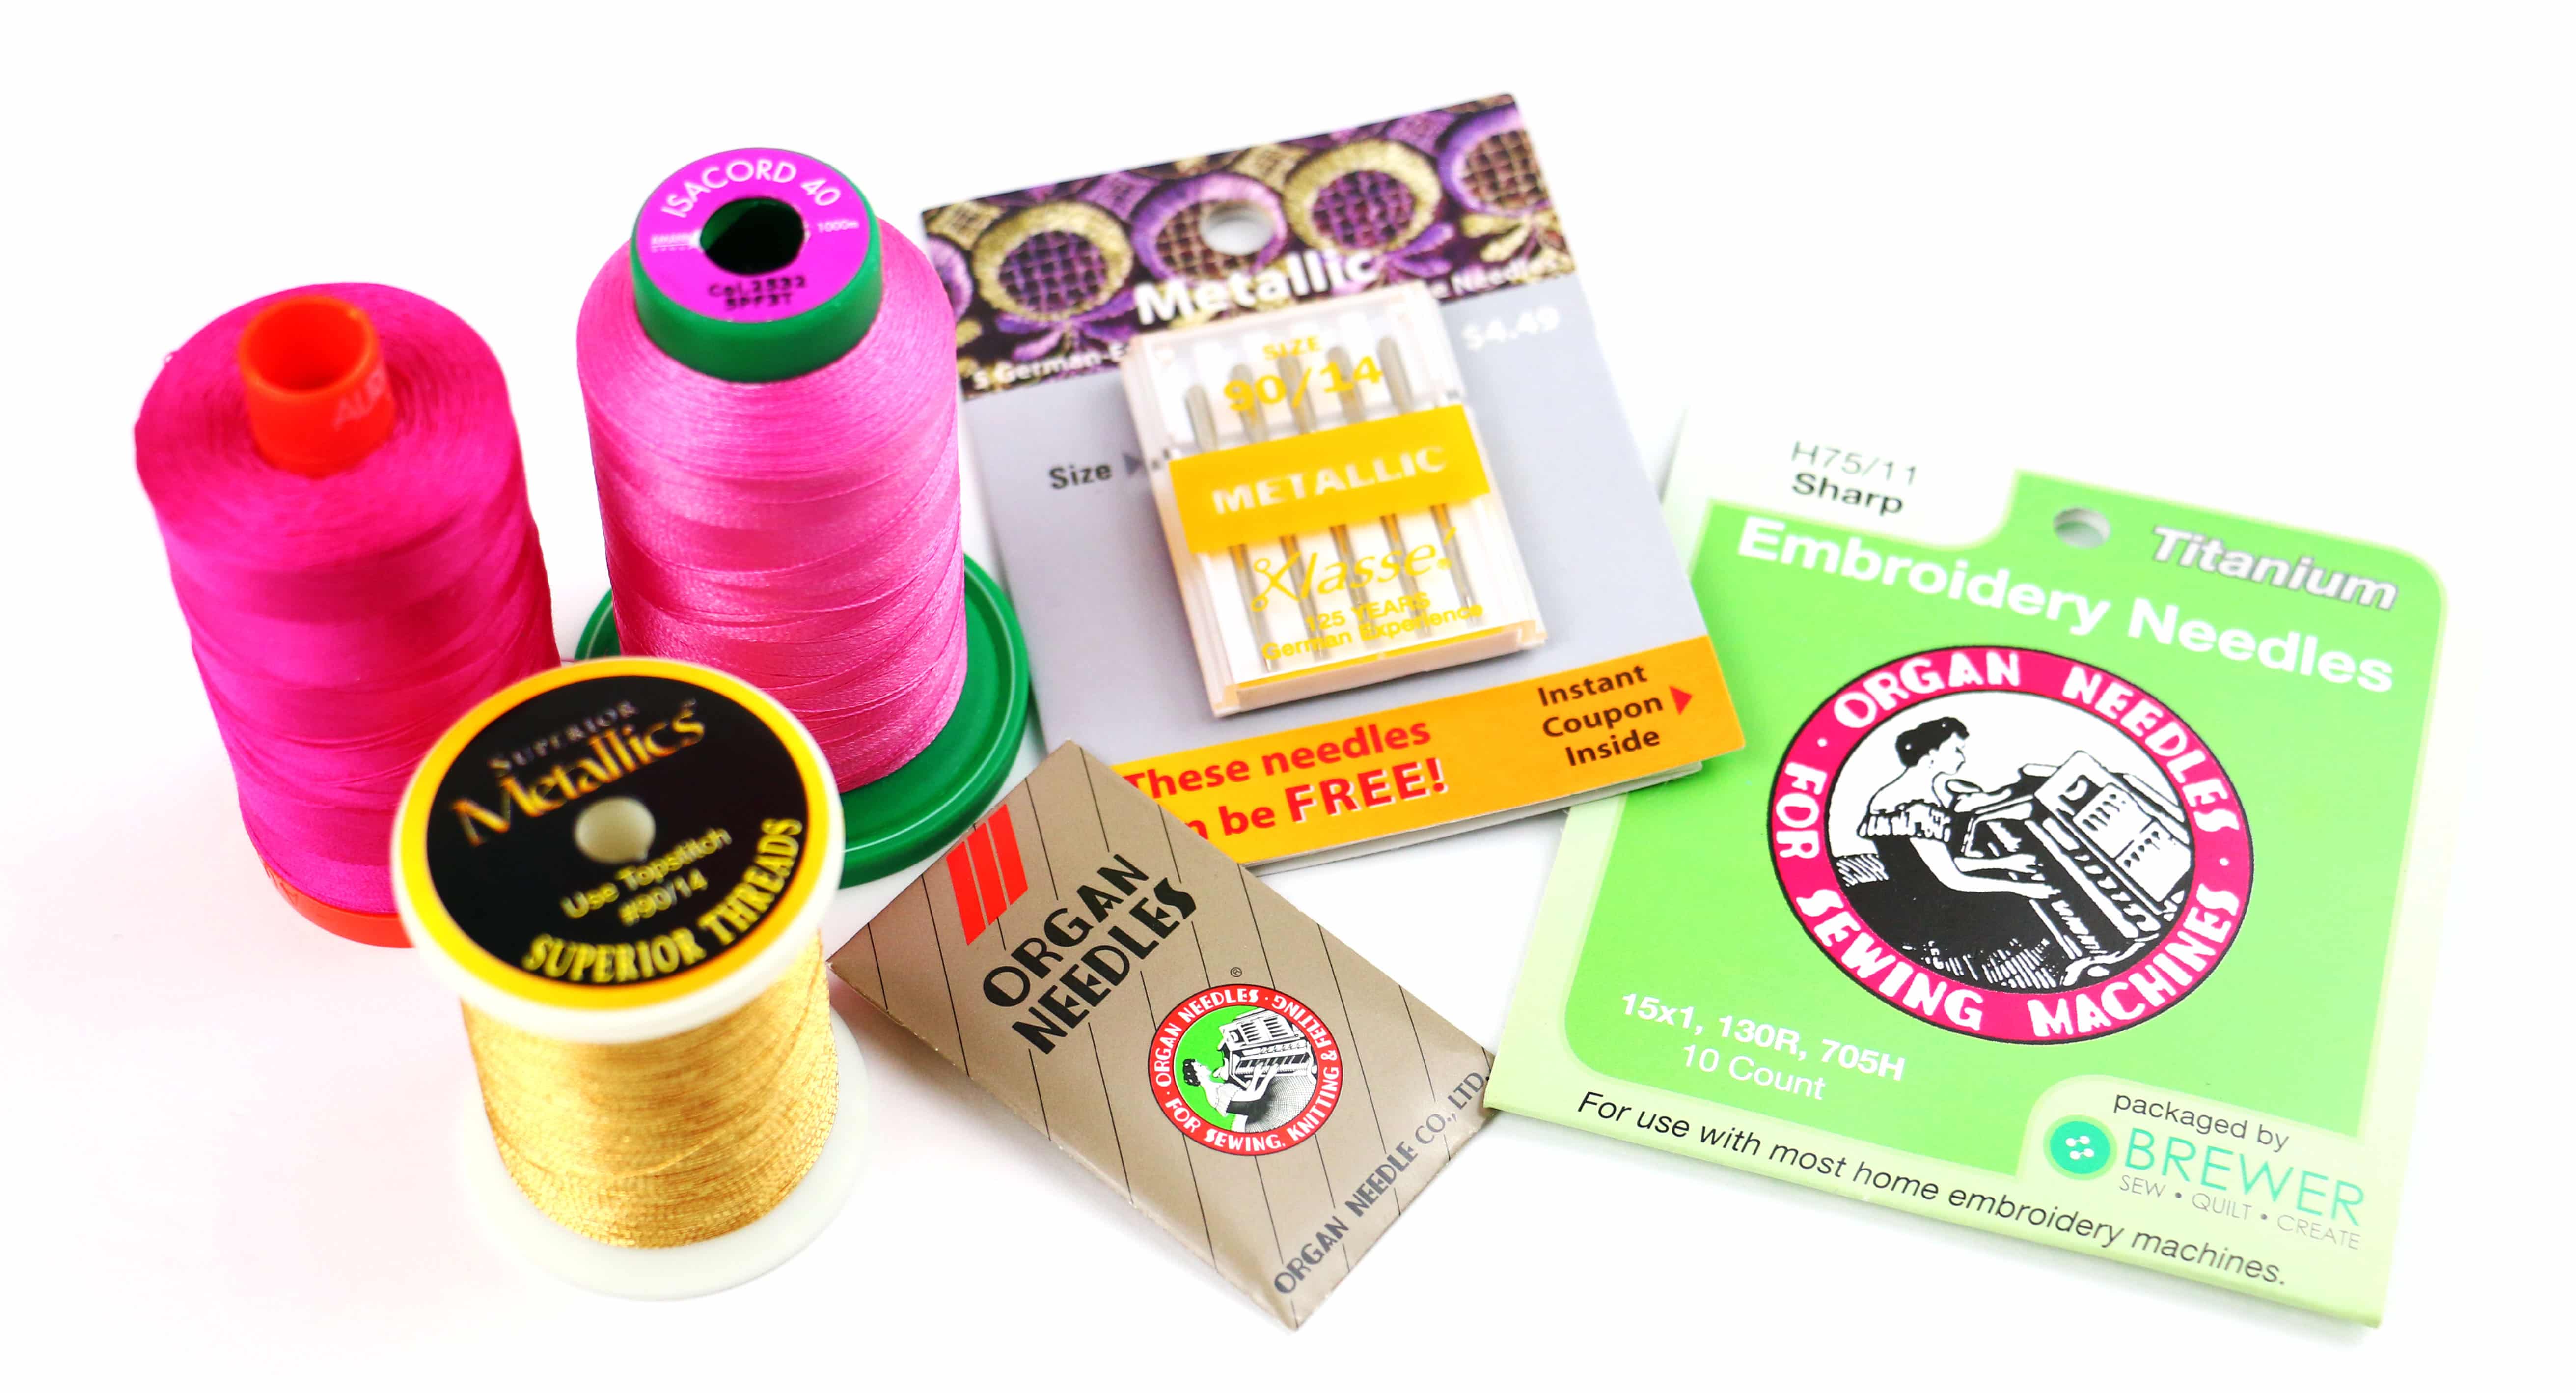
Thread and Needles for a T-Shirt
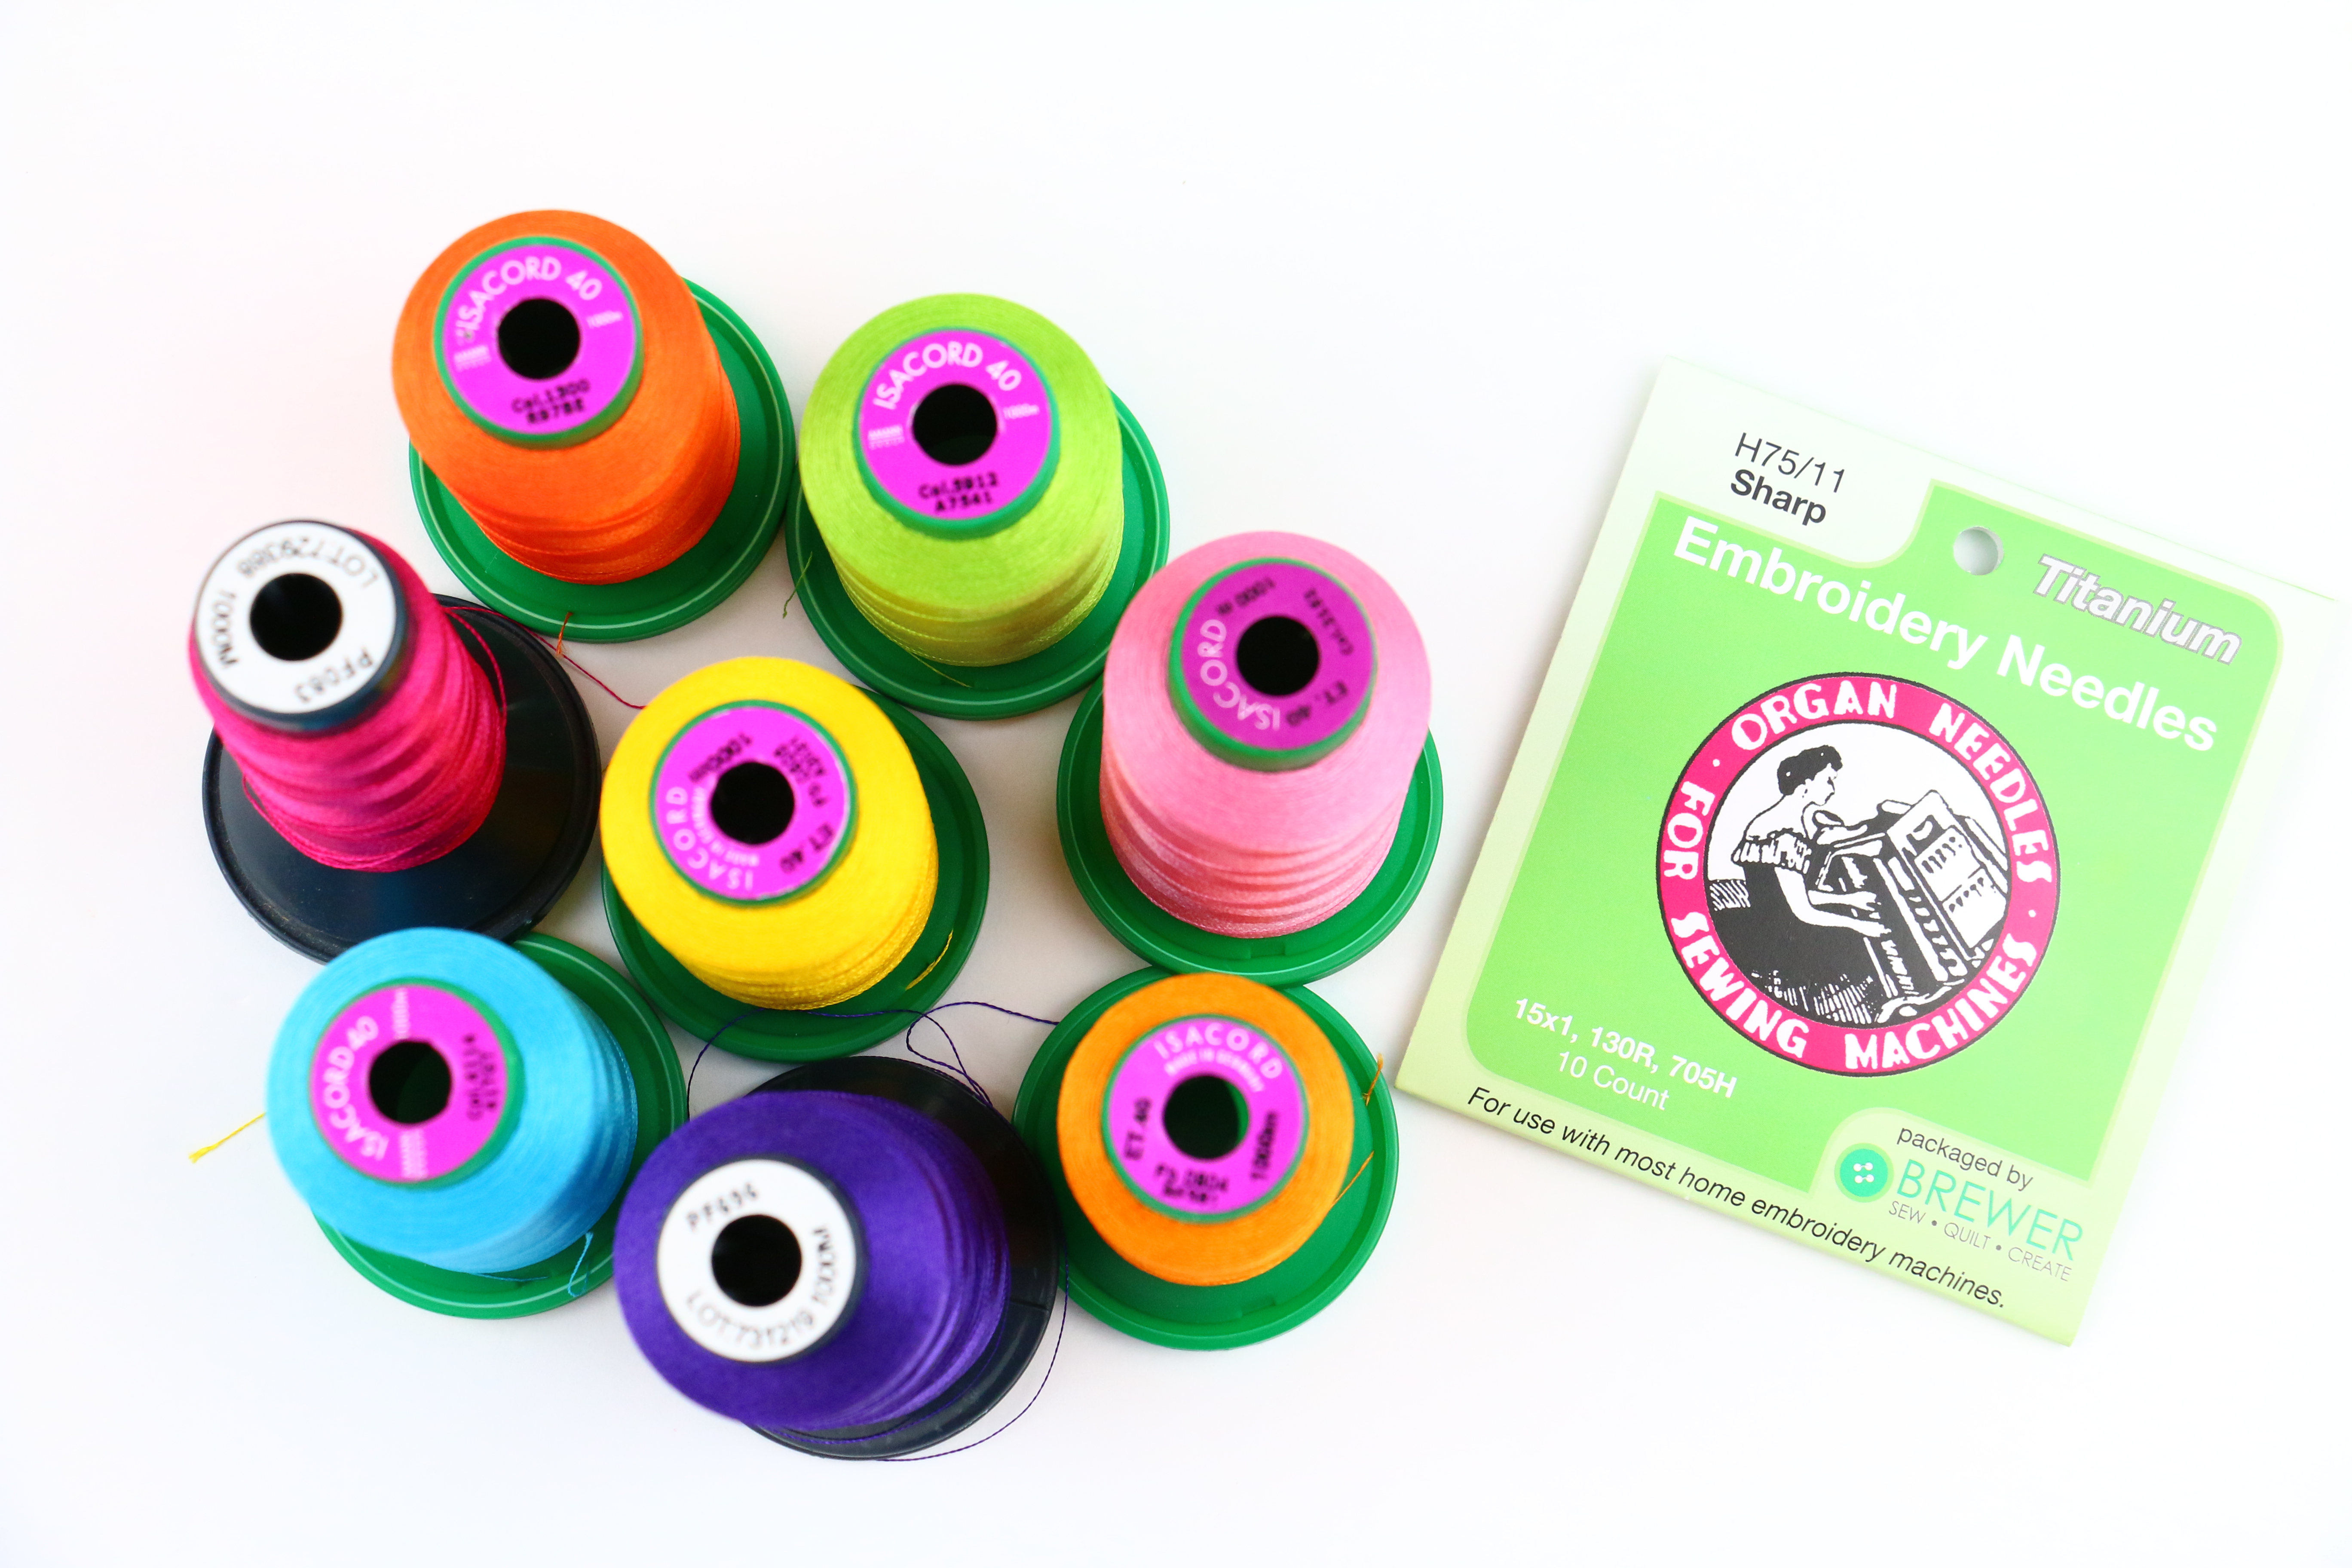
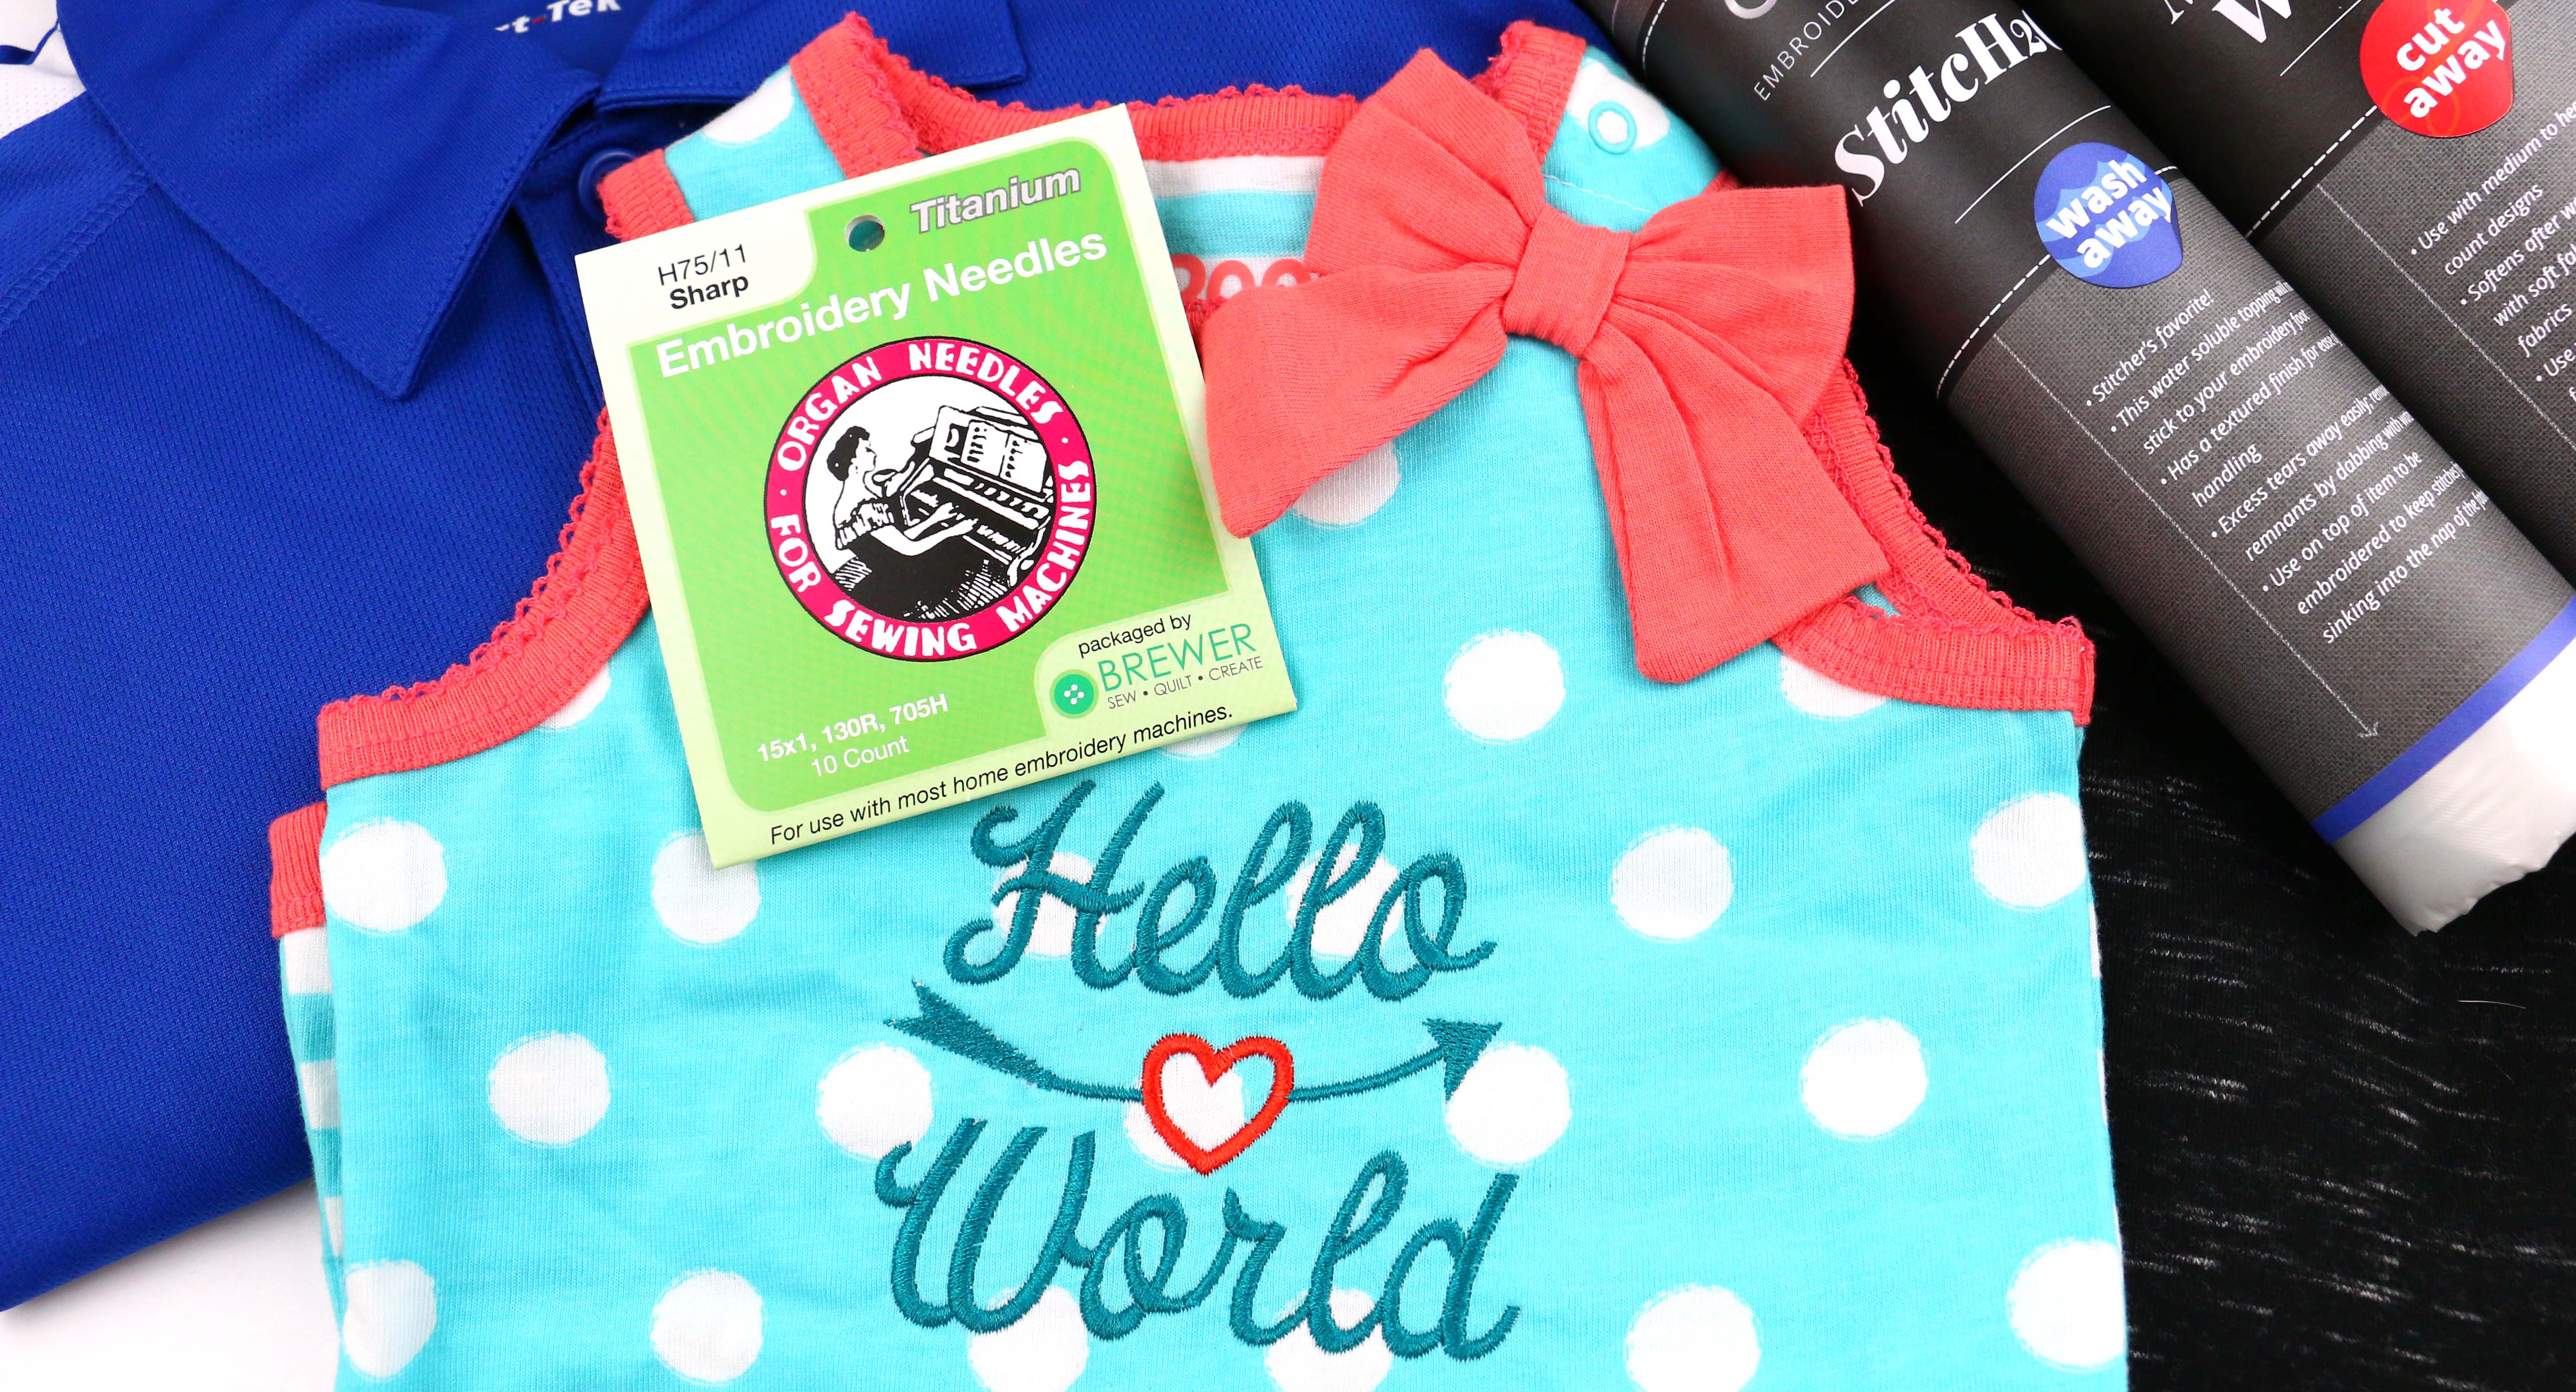
The choice of thread for embroidering on knits really depends on the design and desired effect. Refer to Part 3 where I talked about different types of threads and needles. Personally I avoid metallic thread on Ladies T-shirts as it can be scratchy against sensitive skin. Today I am using the Isacord 40 wt Polyester embroidery thread. I like how this thread works on my BERNINA 790 Plus! As far as needles use an embroidery needle, 75/11.
Embroider on a T-Shirt – Step-by-Step guide
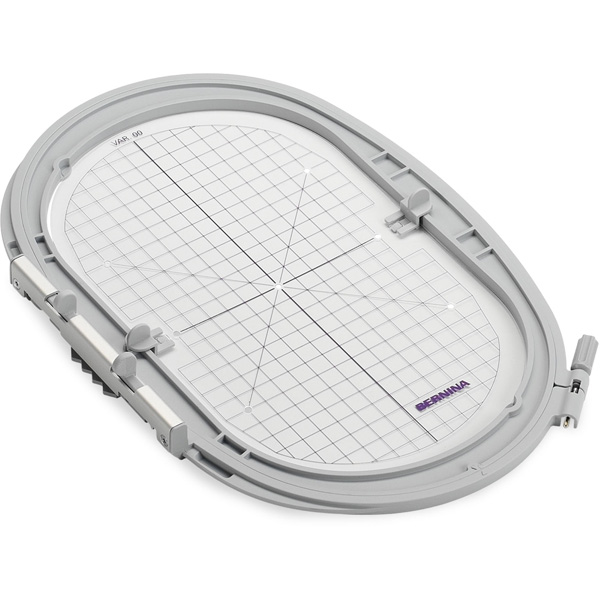
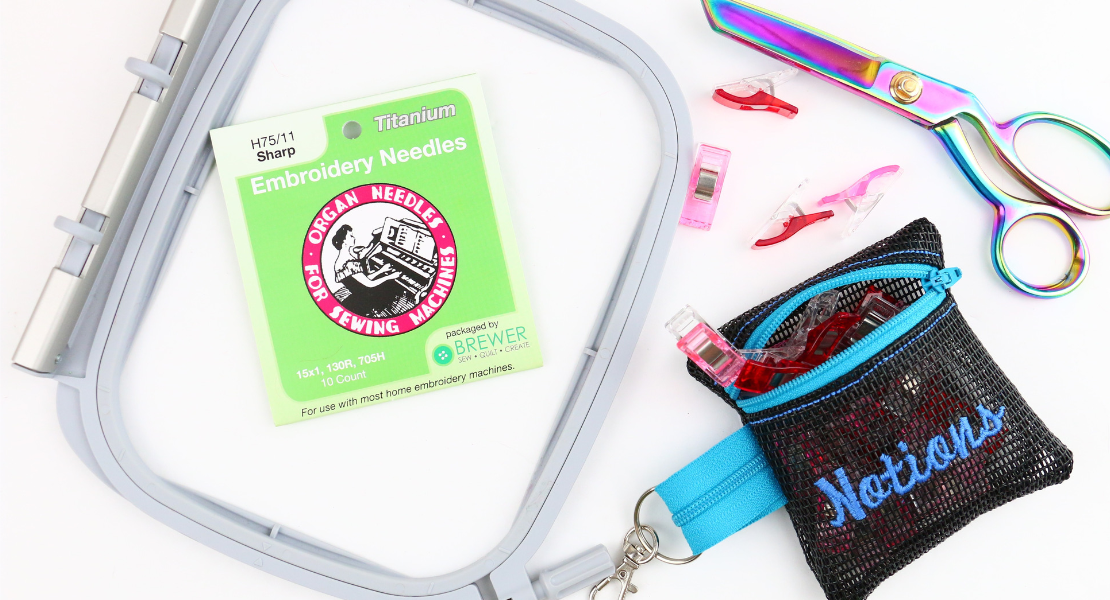
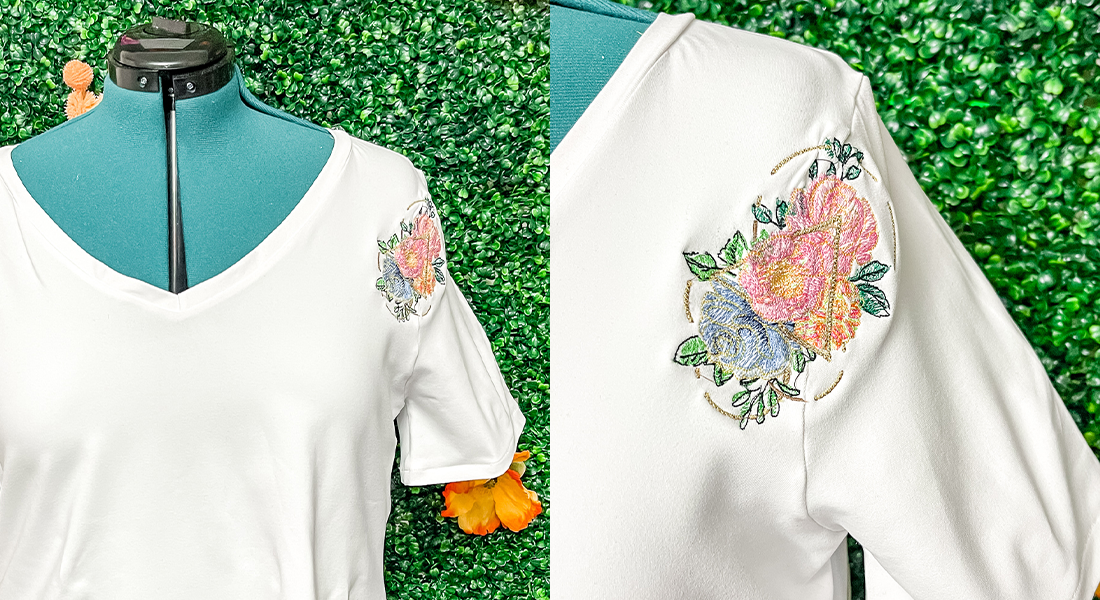
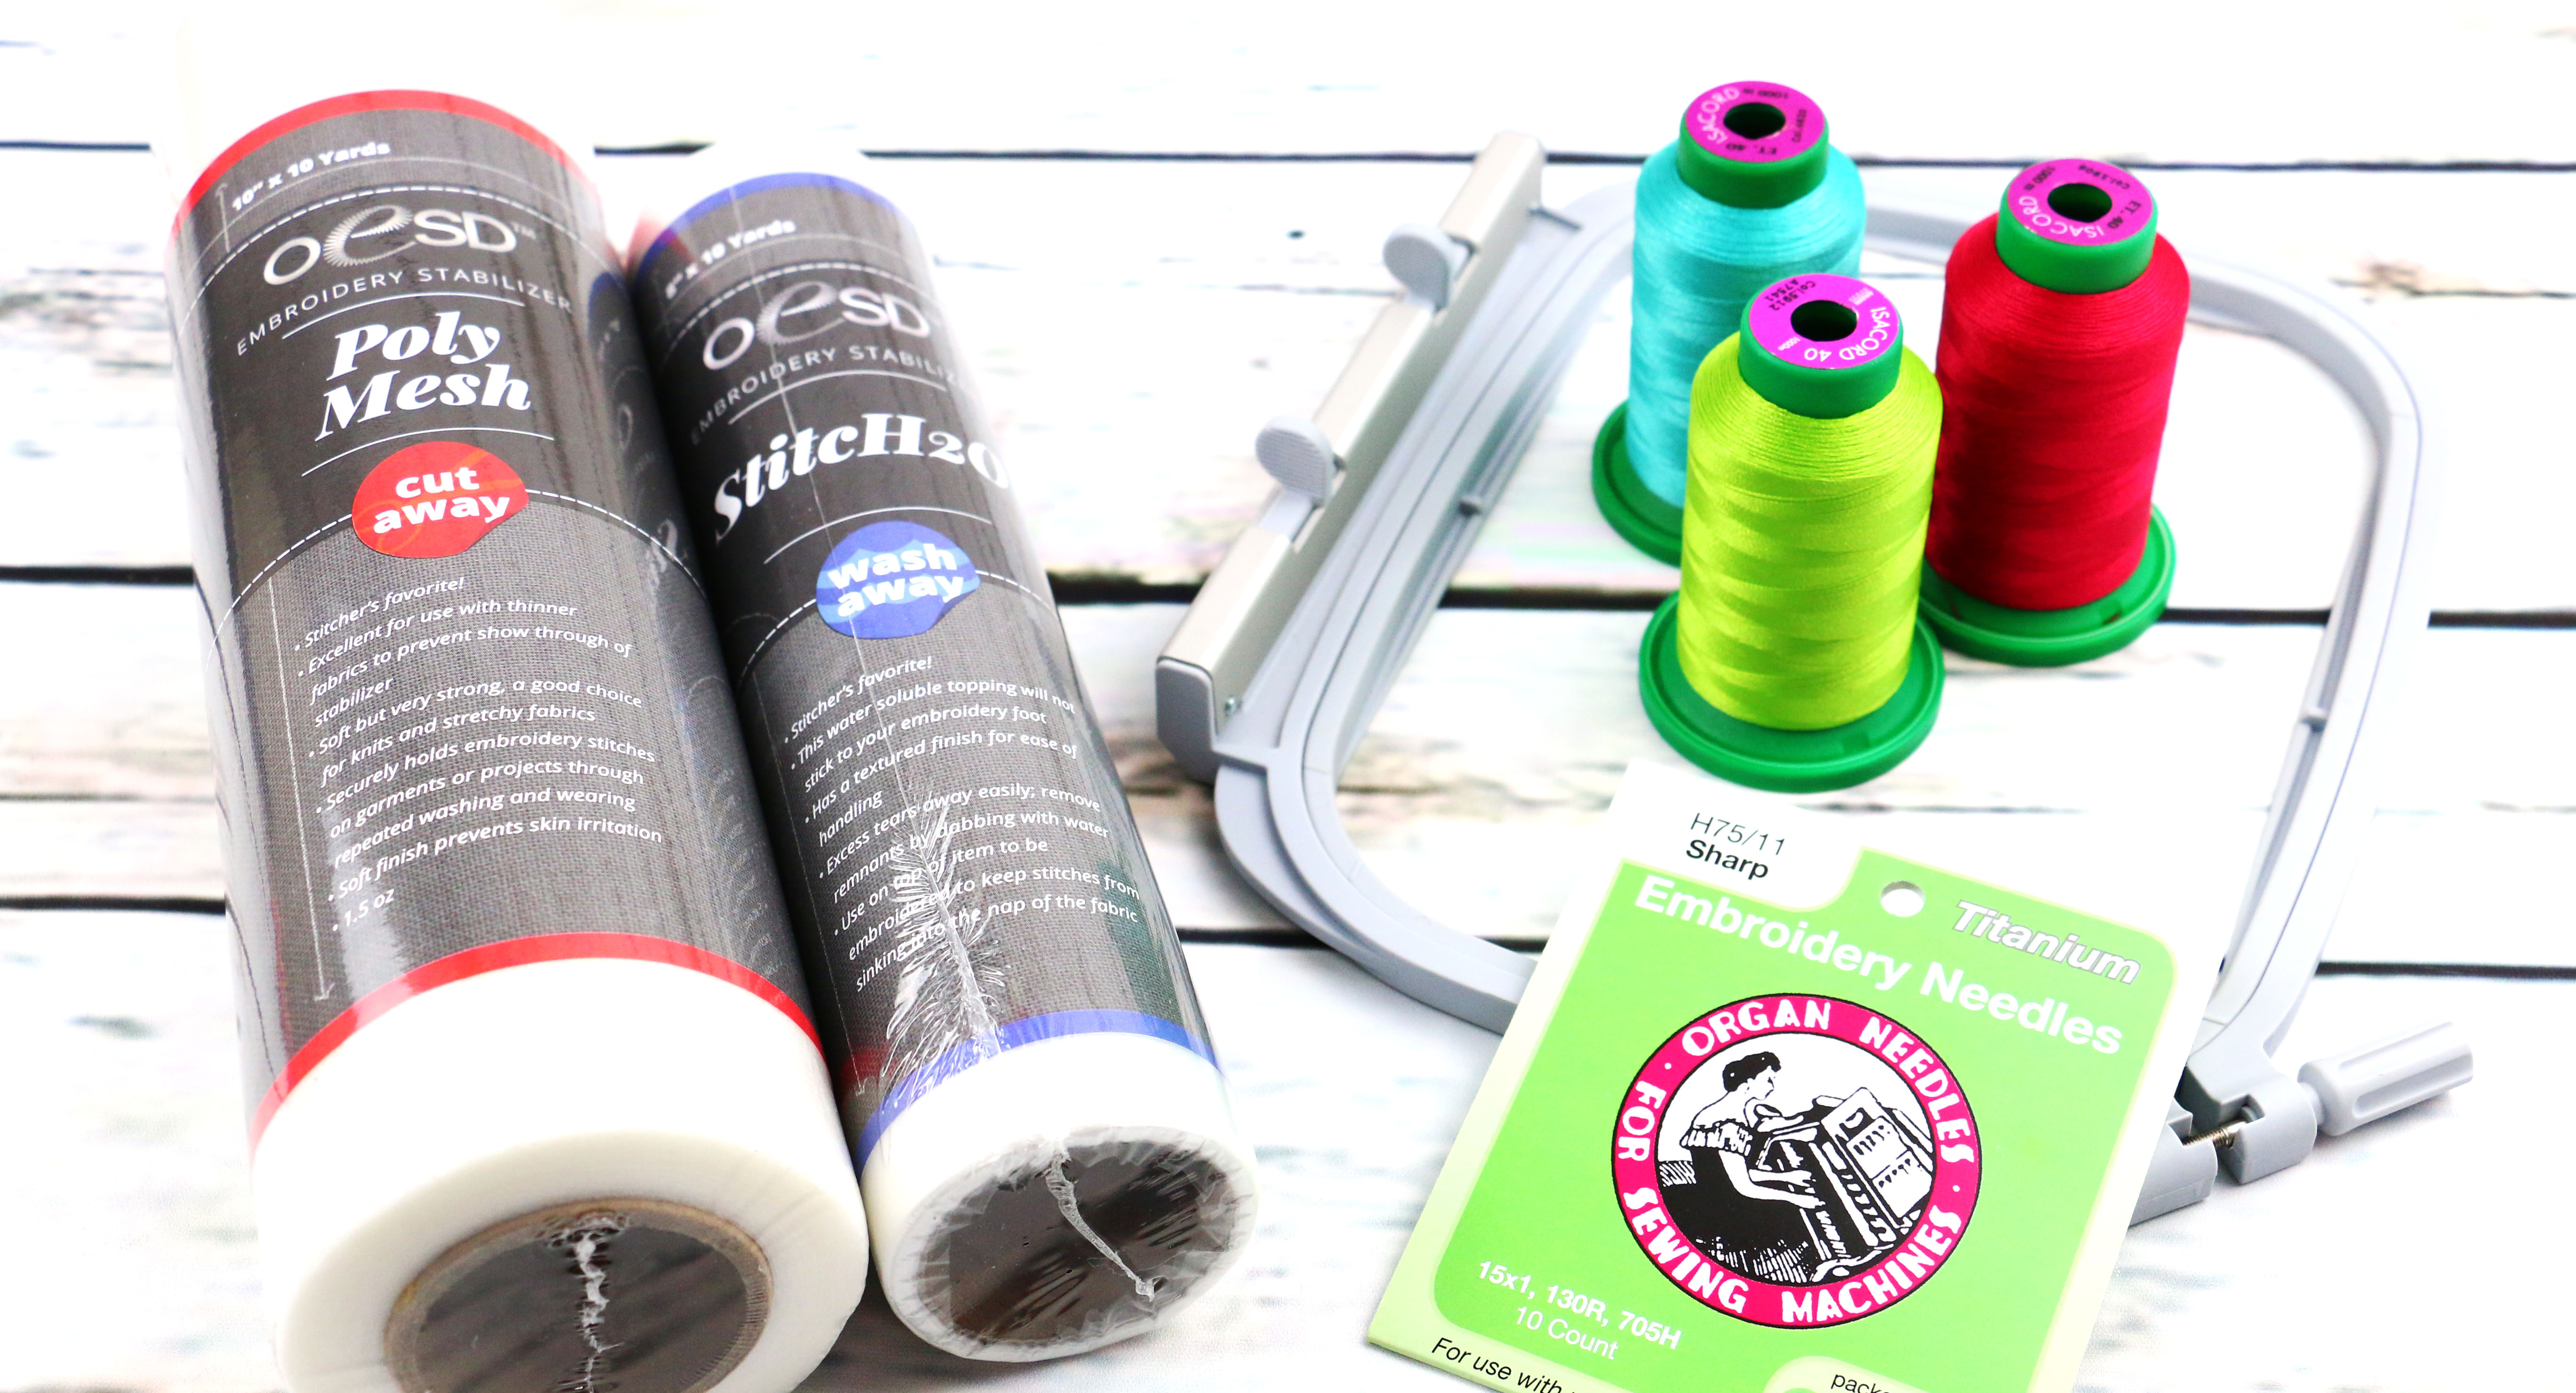
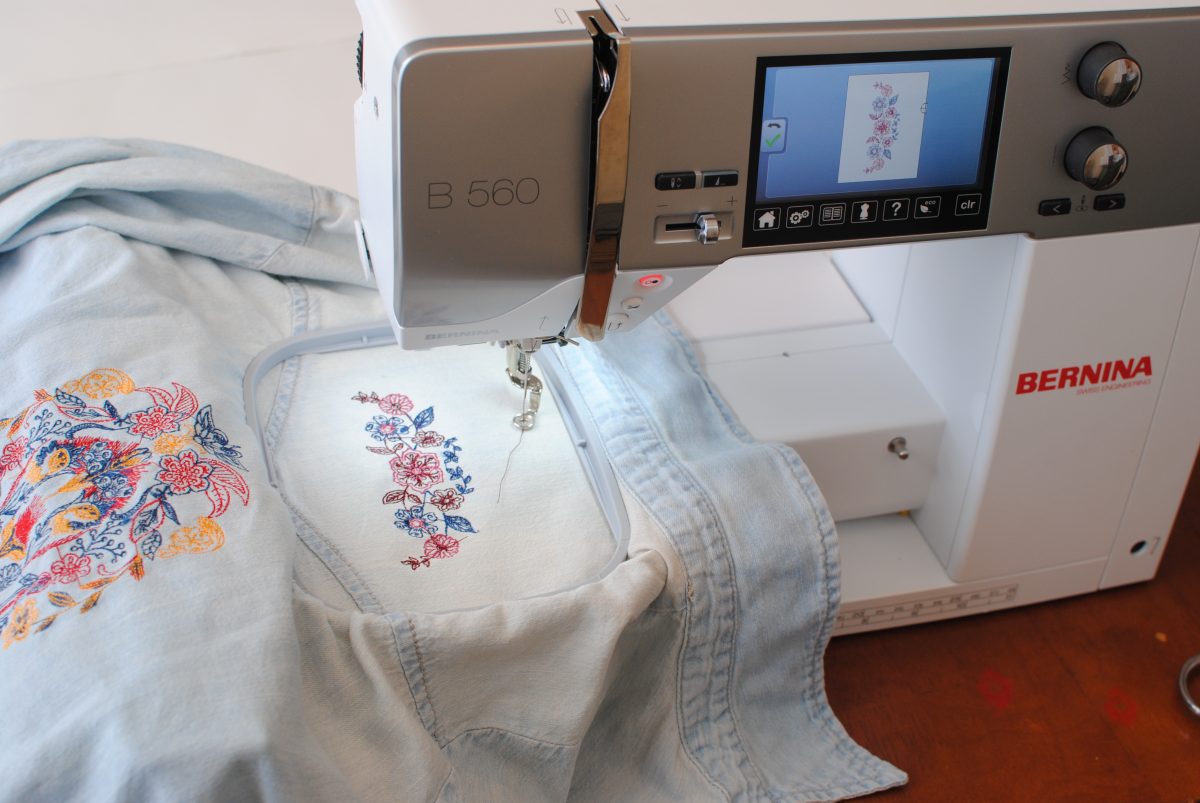
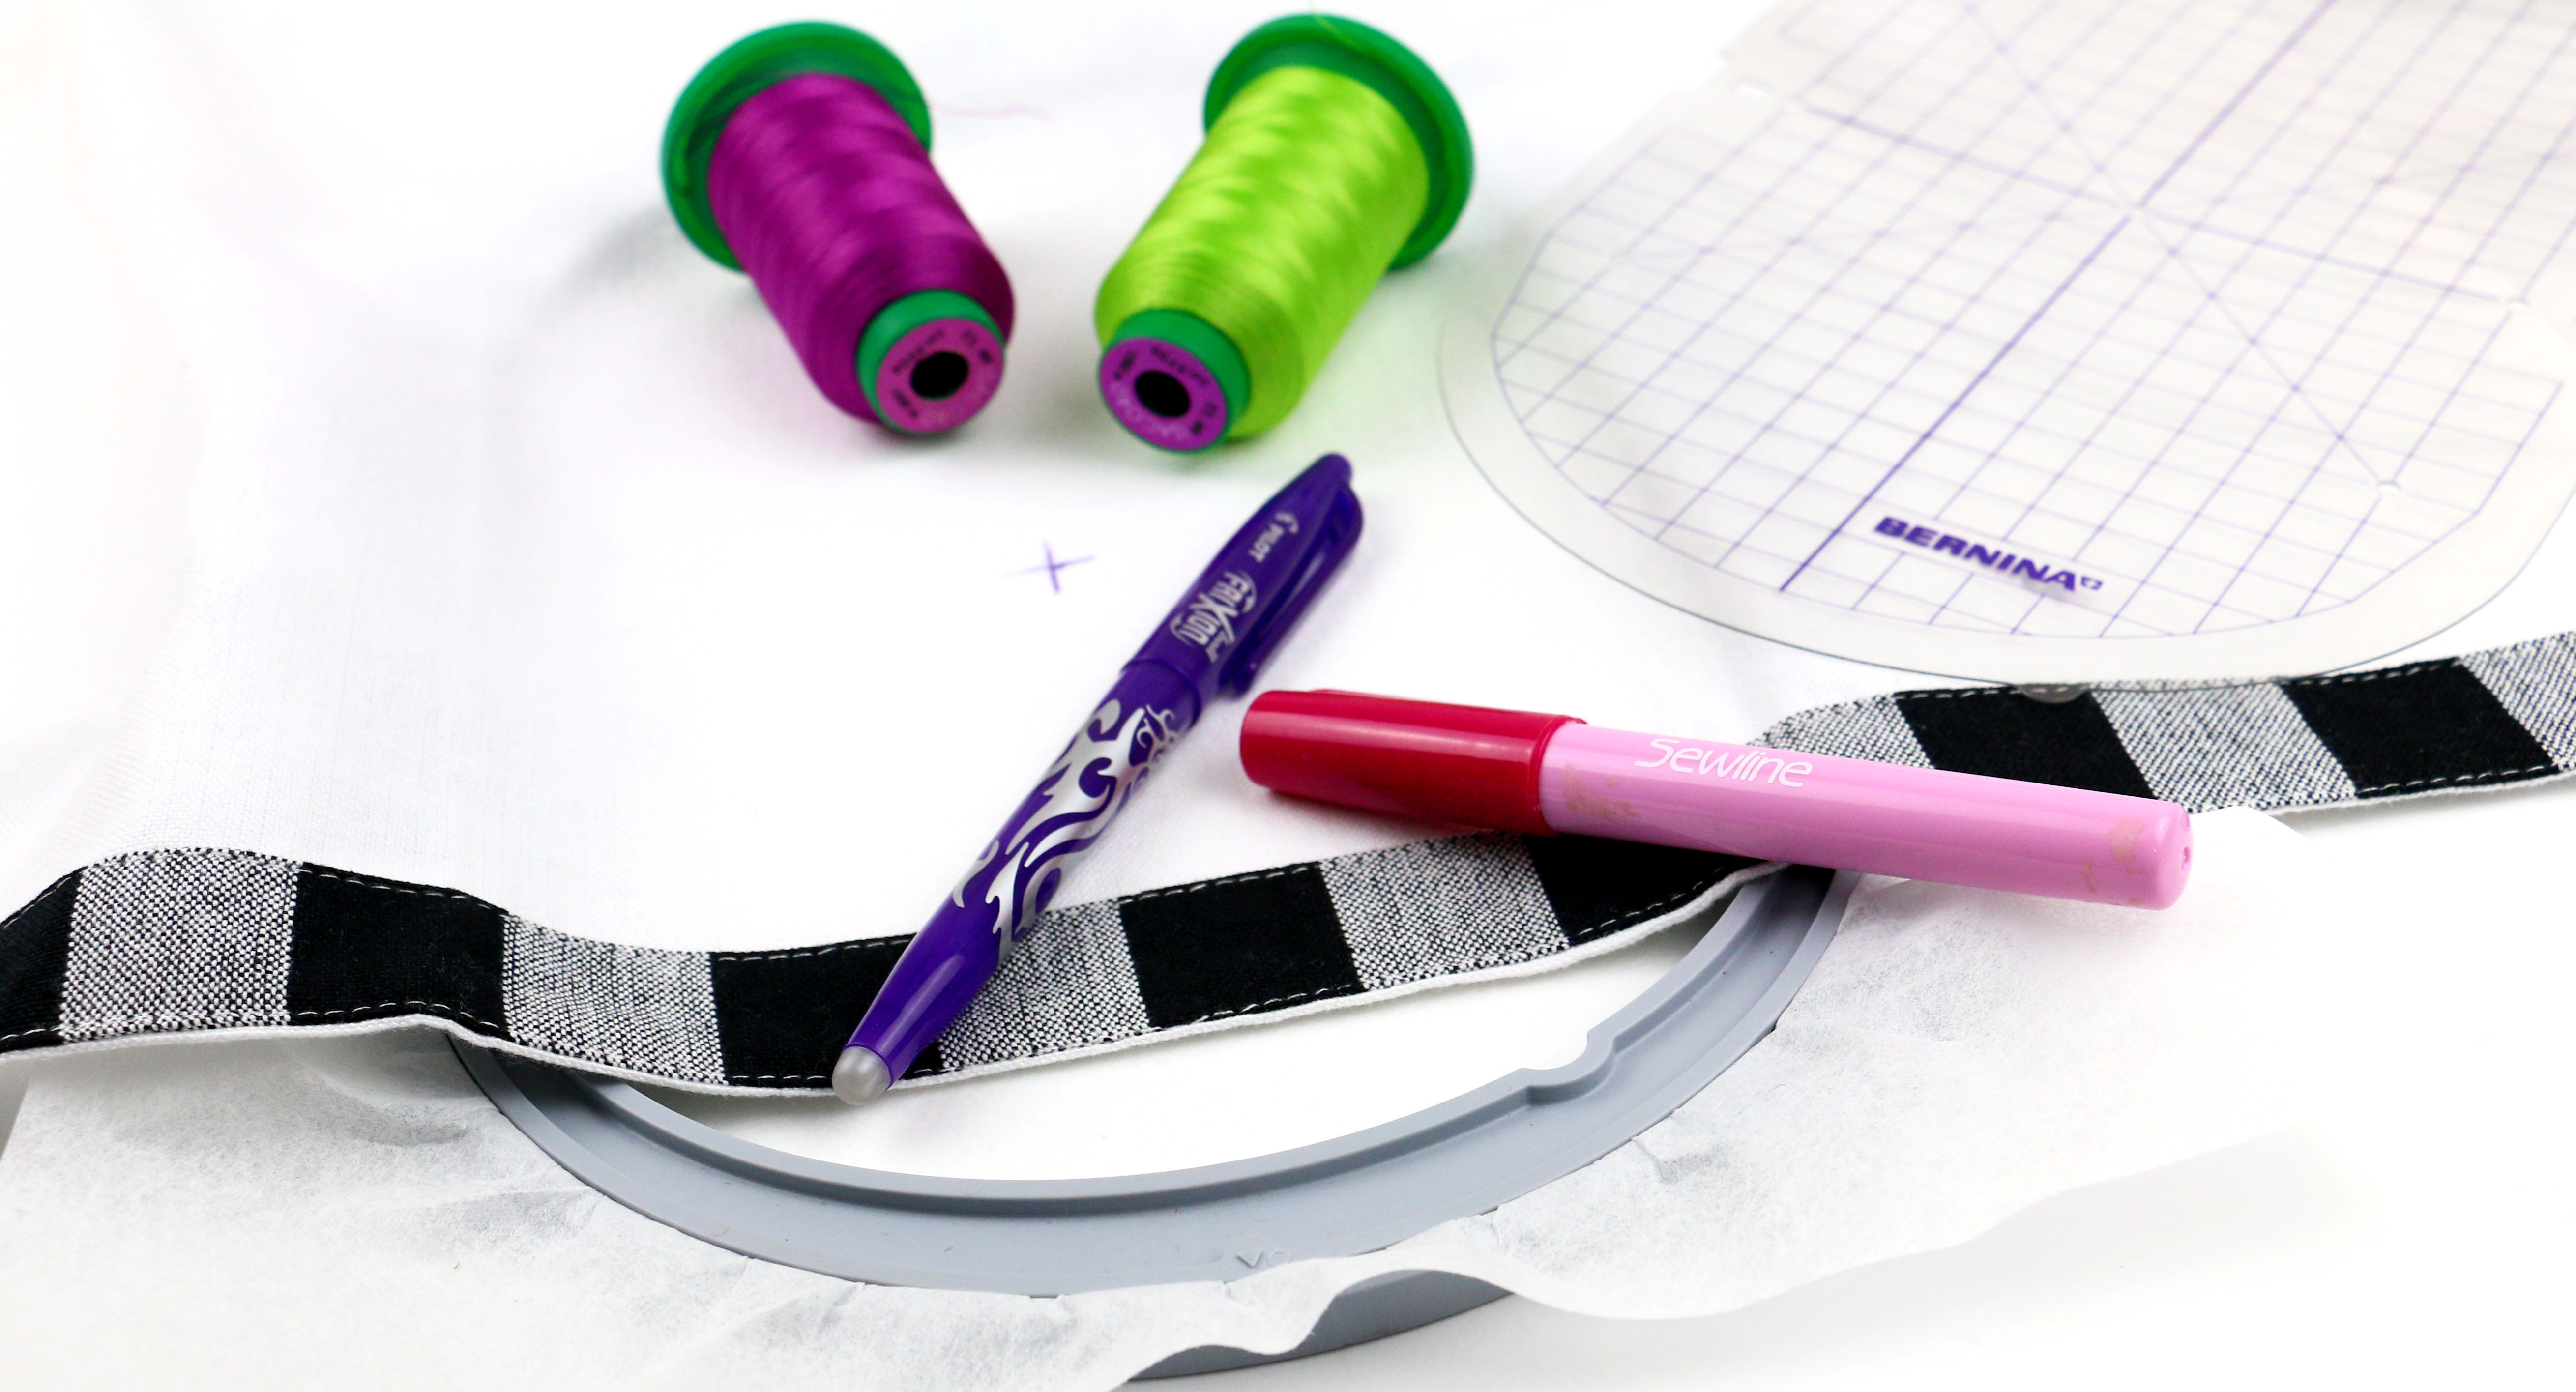
Now that you’ve got your stabilizers, needles and thread ready lets gather the rest of the tools needed. In Part 4 I discussed hoops, grids, marking pens and adhesives. For the Ladies T-Shirt I will be using a Frixion highlighter and the Dritz Spray Adhesive. I have created an awesome design #SewBoss which would be a great project for a gift or for yourself! Download the SewBoss Embroidery Design Files here. The design comes in two sizes; 5″x7″ and 6″x10″. Remember in Part 4 I covered hoop size vs actual embroidery area. Because of the actual embroidery area of the 6″x10″ design I am able to embroider it with my BERNINA 790 Plus Oval hoop.
Find the center front of the shirt and mark a vertical line. Print the template and cut around the design area so the template lays nicely. Mark the horizontal line.

Connect the marks to form the cross hair lines. In a ventilated area place a piece of cut away inside a box. Lightly spray the stabilizer with the adhesive. The box is nice so the spray is contained and residue doesn’t get onto your machine or cutting area. Turn shirt inside out. Place the sticky side of the stabilizer to the wrong side of the shirt.
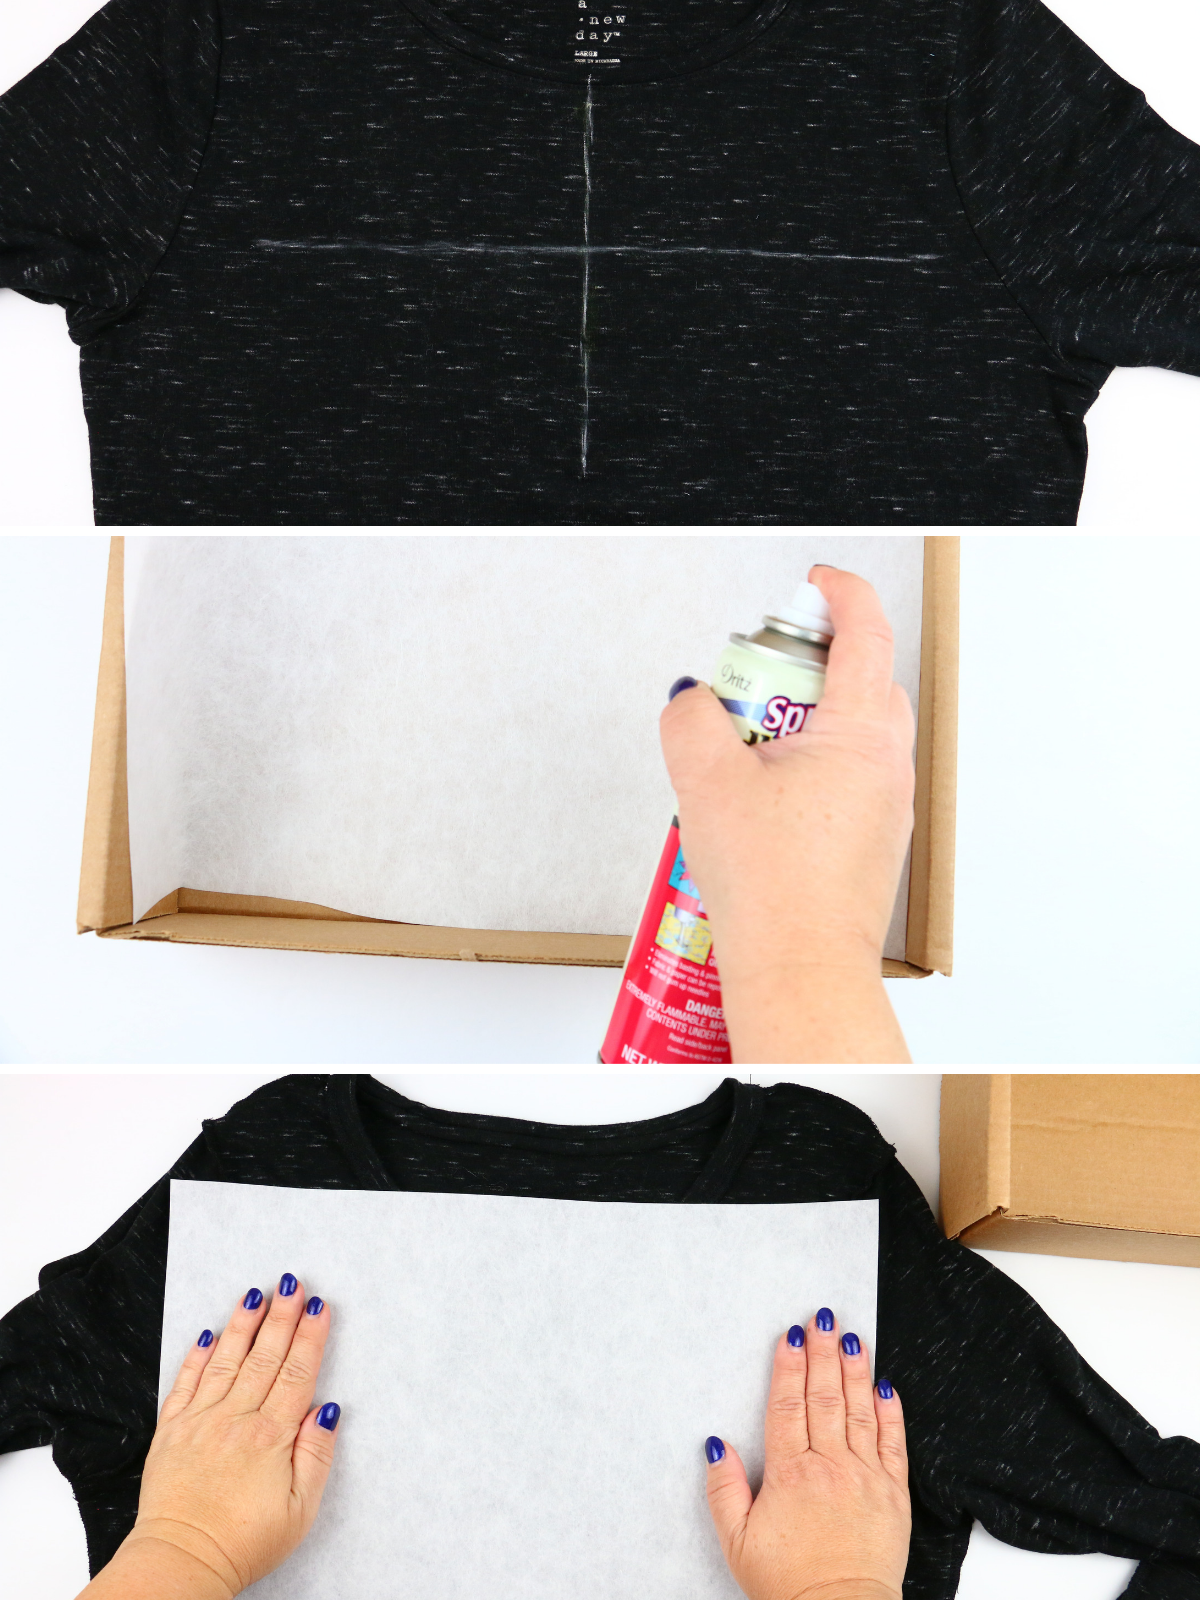
Smooth out any air bubbles of the knit. Hoop the shirt/stabilizer combo and double check the placement with template. Place a piece of StitcH20 over the embroidery area. In order to keep the stabilizer in place between the hooping station and the machine try this trick. Get your fingertip lightly wet and place your finger on the wash away stabilizer, the side touching the shirt. Gently push the dampened area onto the knit. Repeat on all four corners. This is a quick tip for keeping the wash away in place.
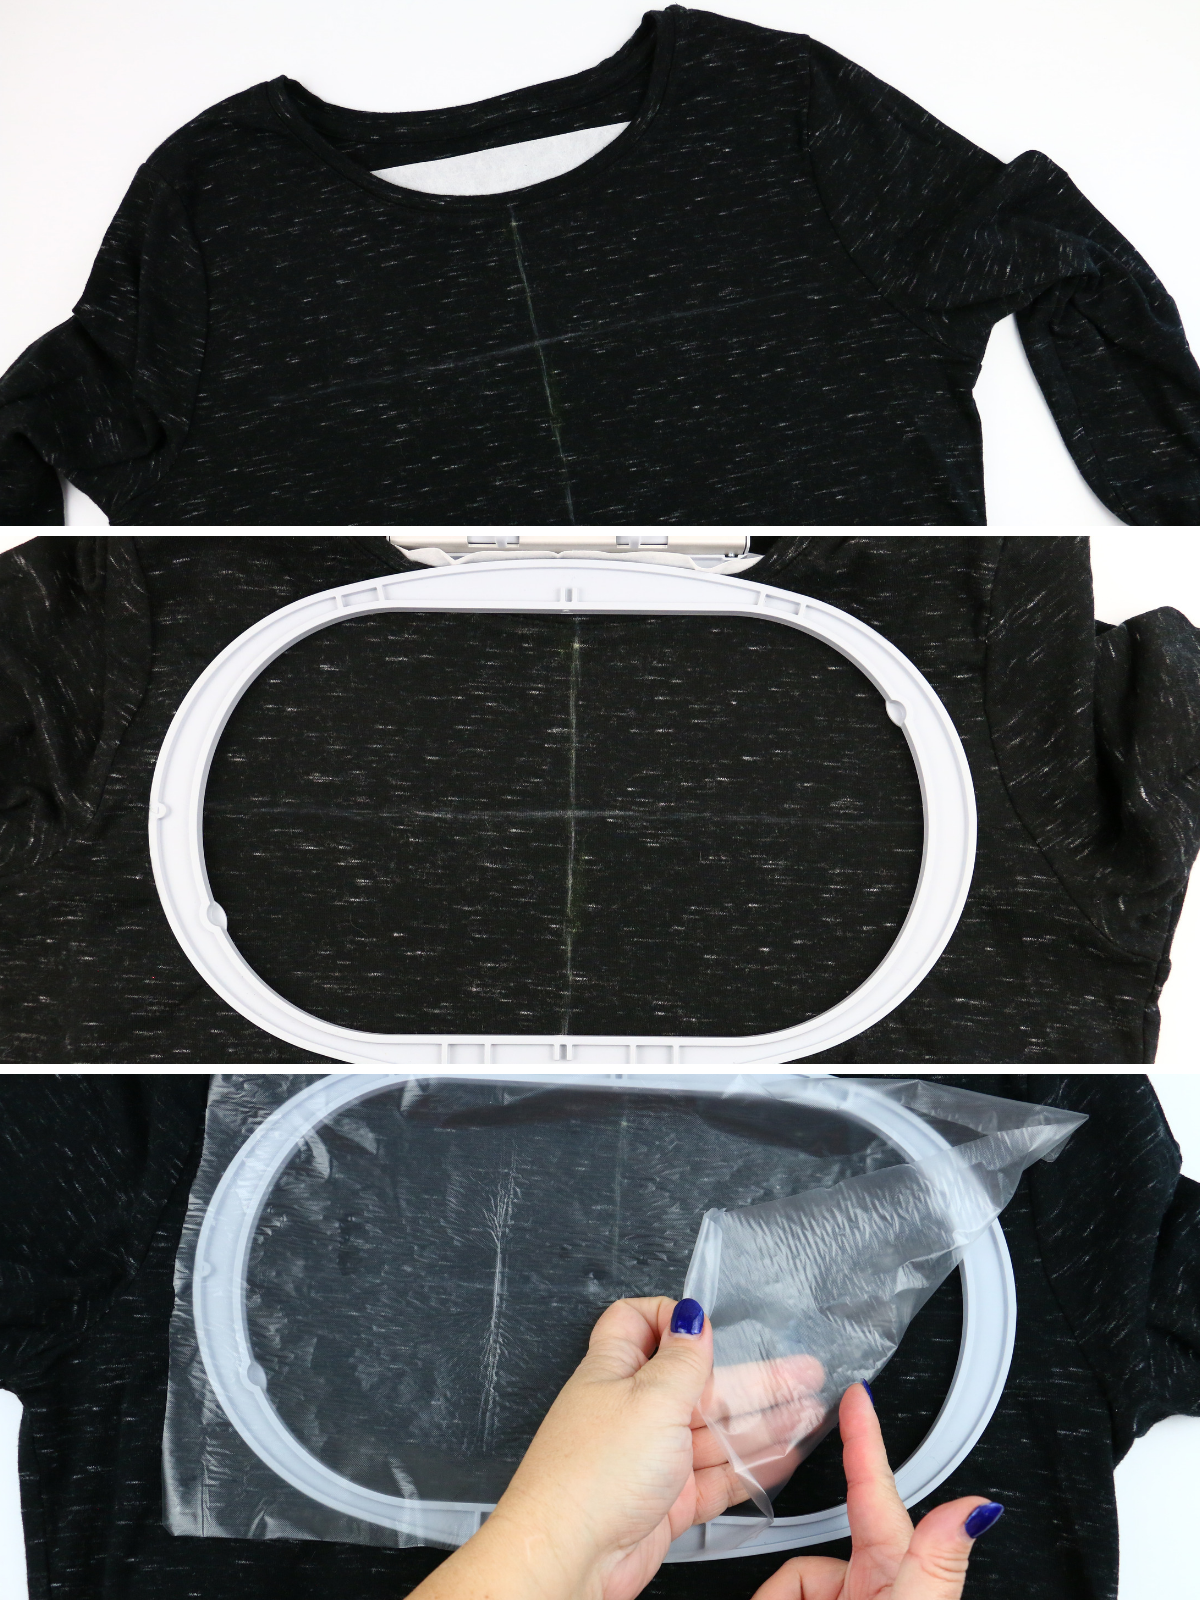
Set design onto machine and add a basting stitch around the outside. Refer to Part 5 for some tips on using a basting stitch. Sew the design.
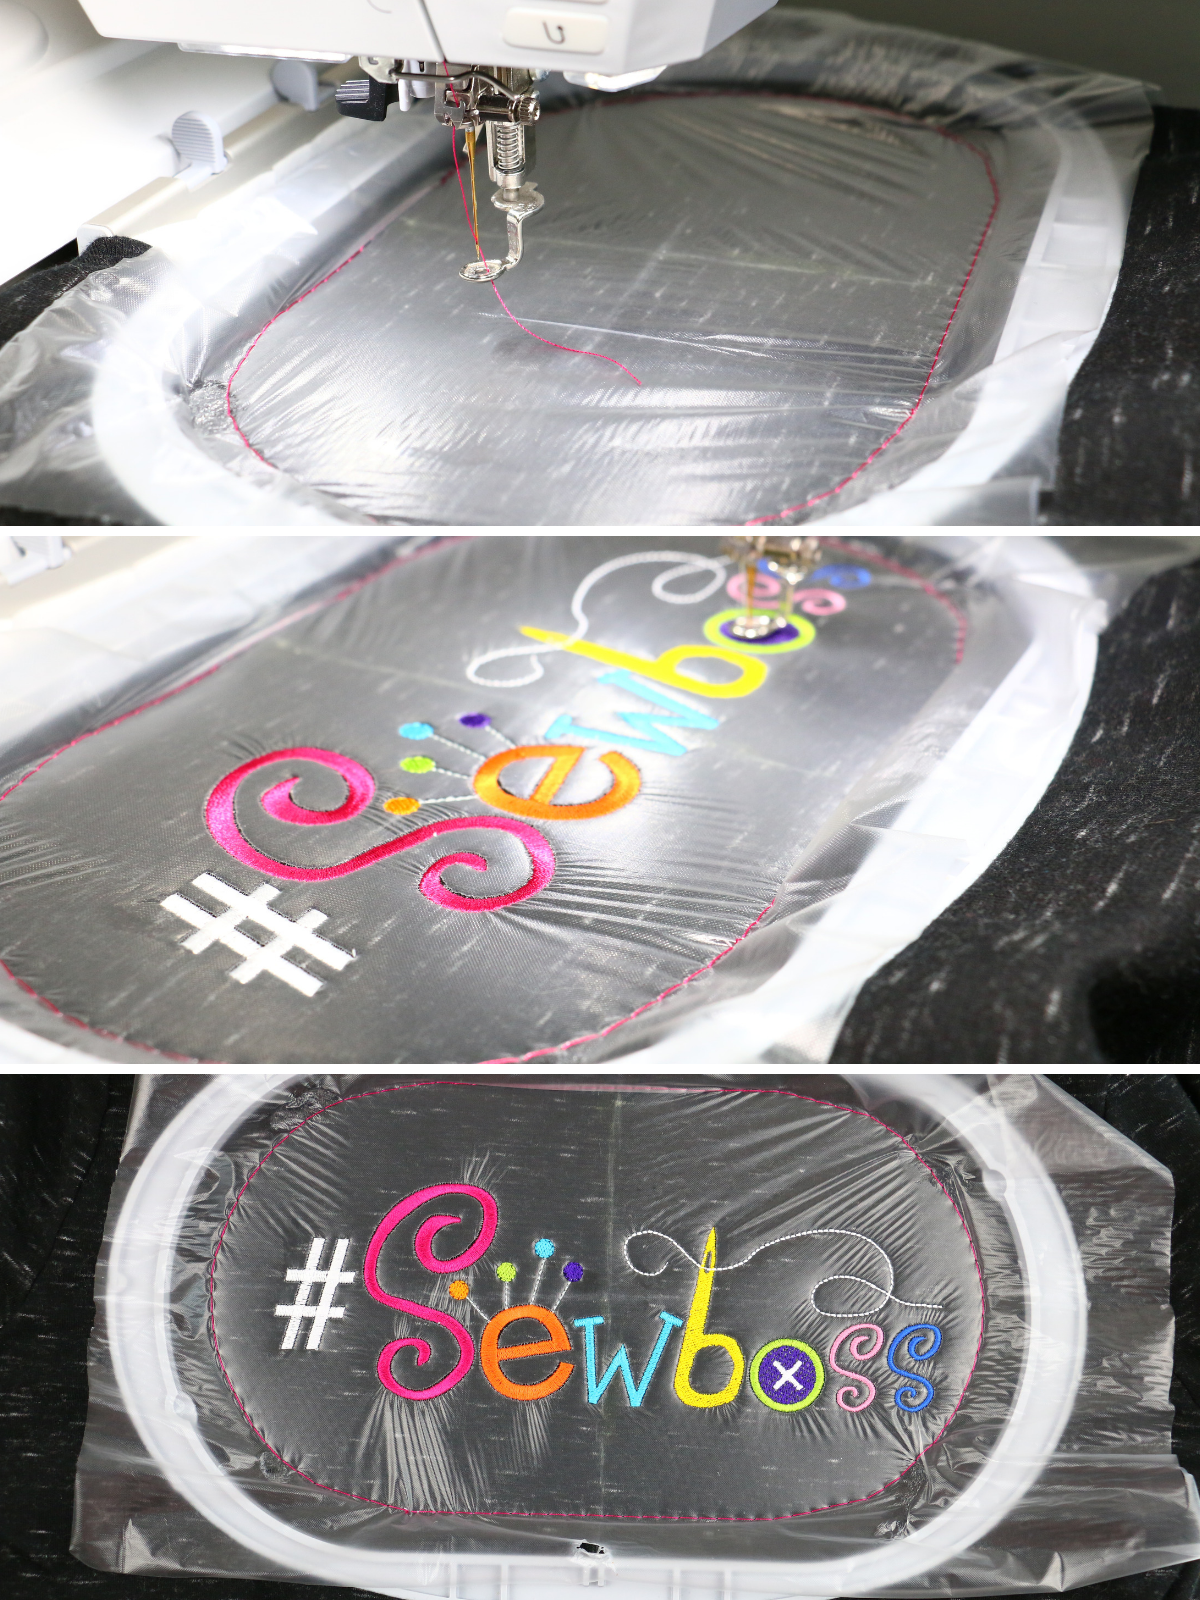
Once design is complete, remove hoop from machine and materials from hoop. Remove all the wash away on top, use tweezers as needed to get the stabilizer out of the tiny areas. On the wrong side of the shirt use Duckbill Applique scissors to cut around the stabilizer. The Duckbill scissors are nice because they lay flat against the shirt without accidentally cutting the shirt.
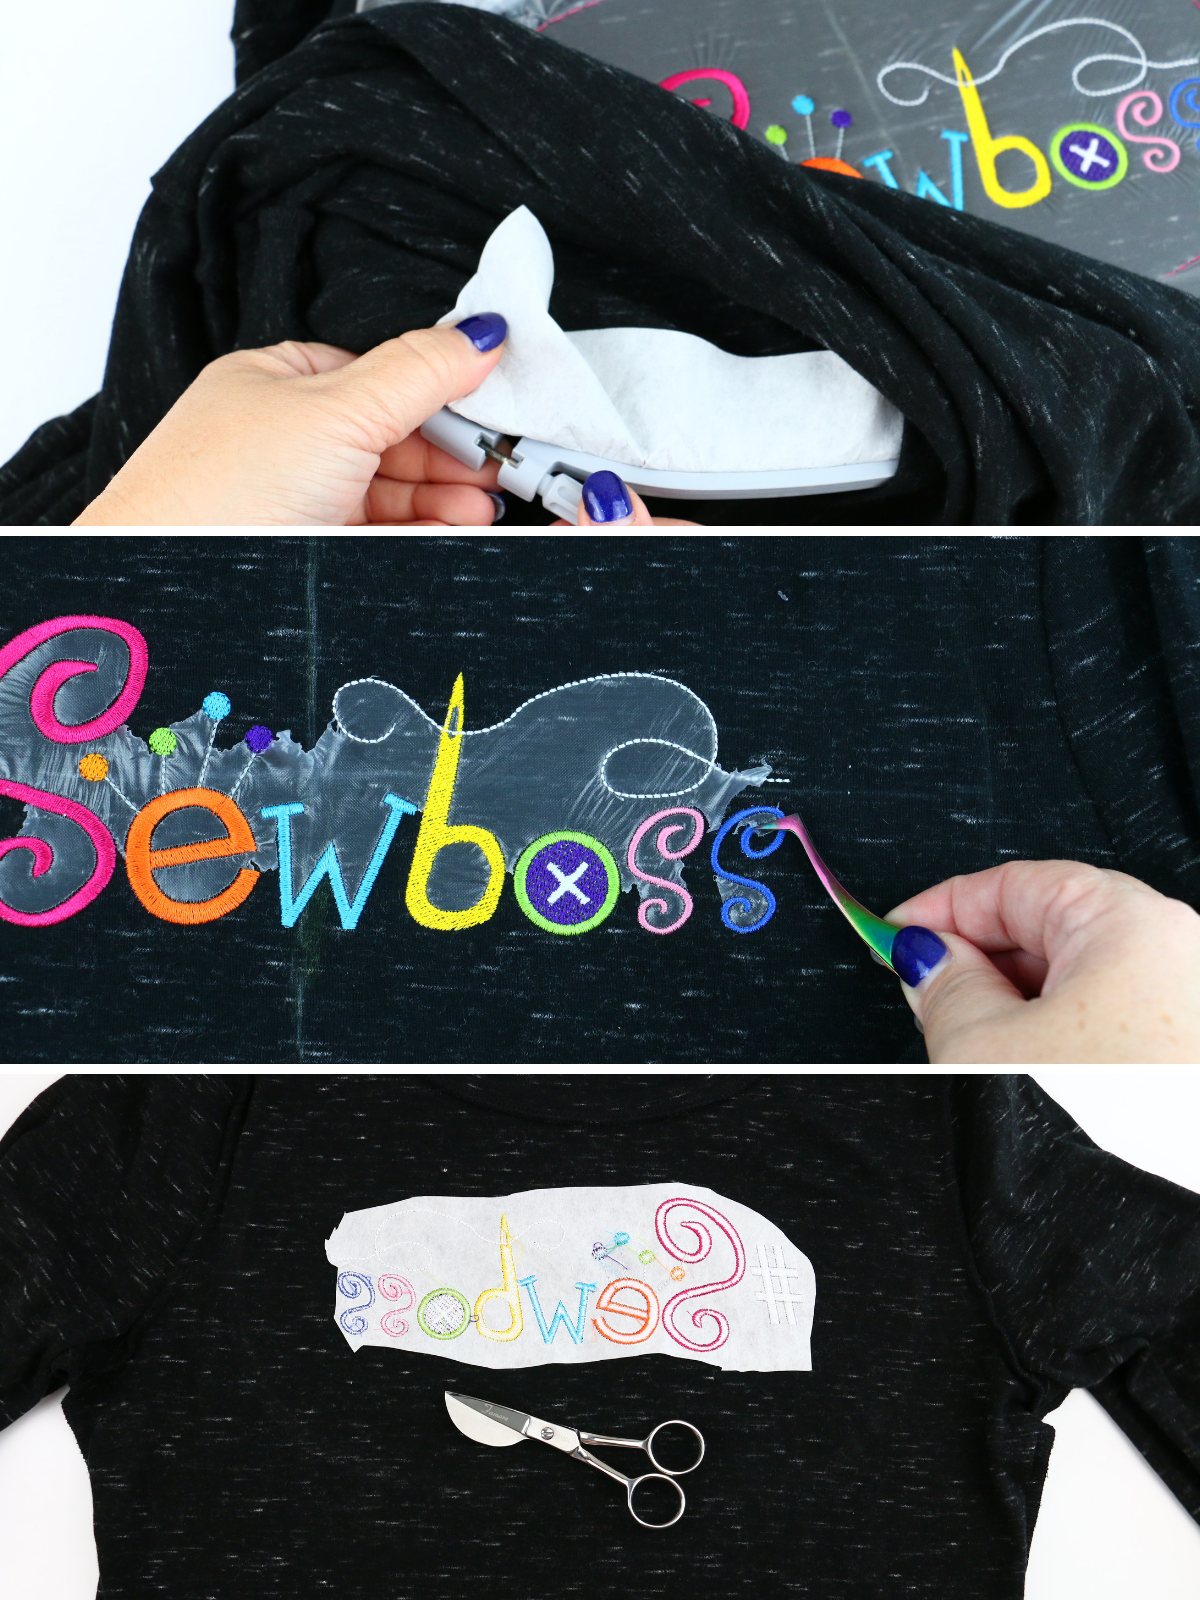
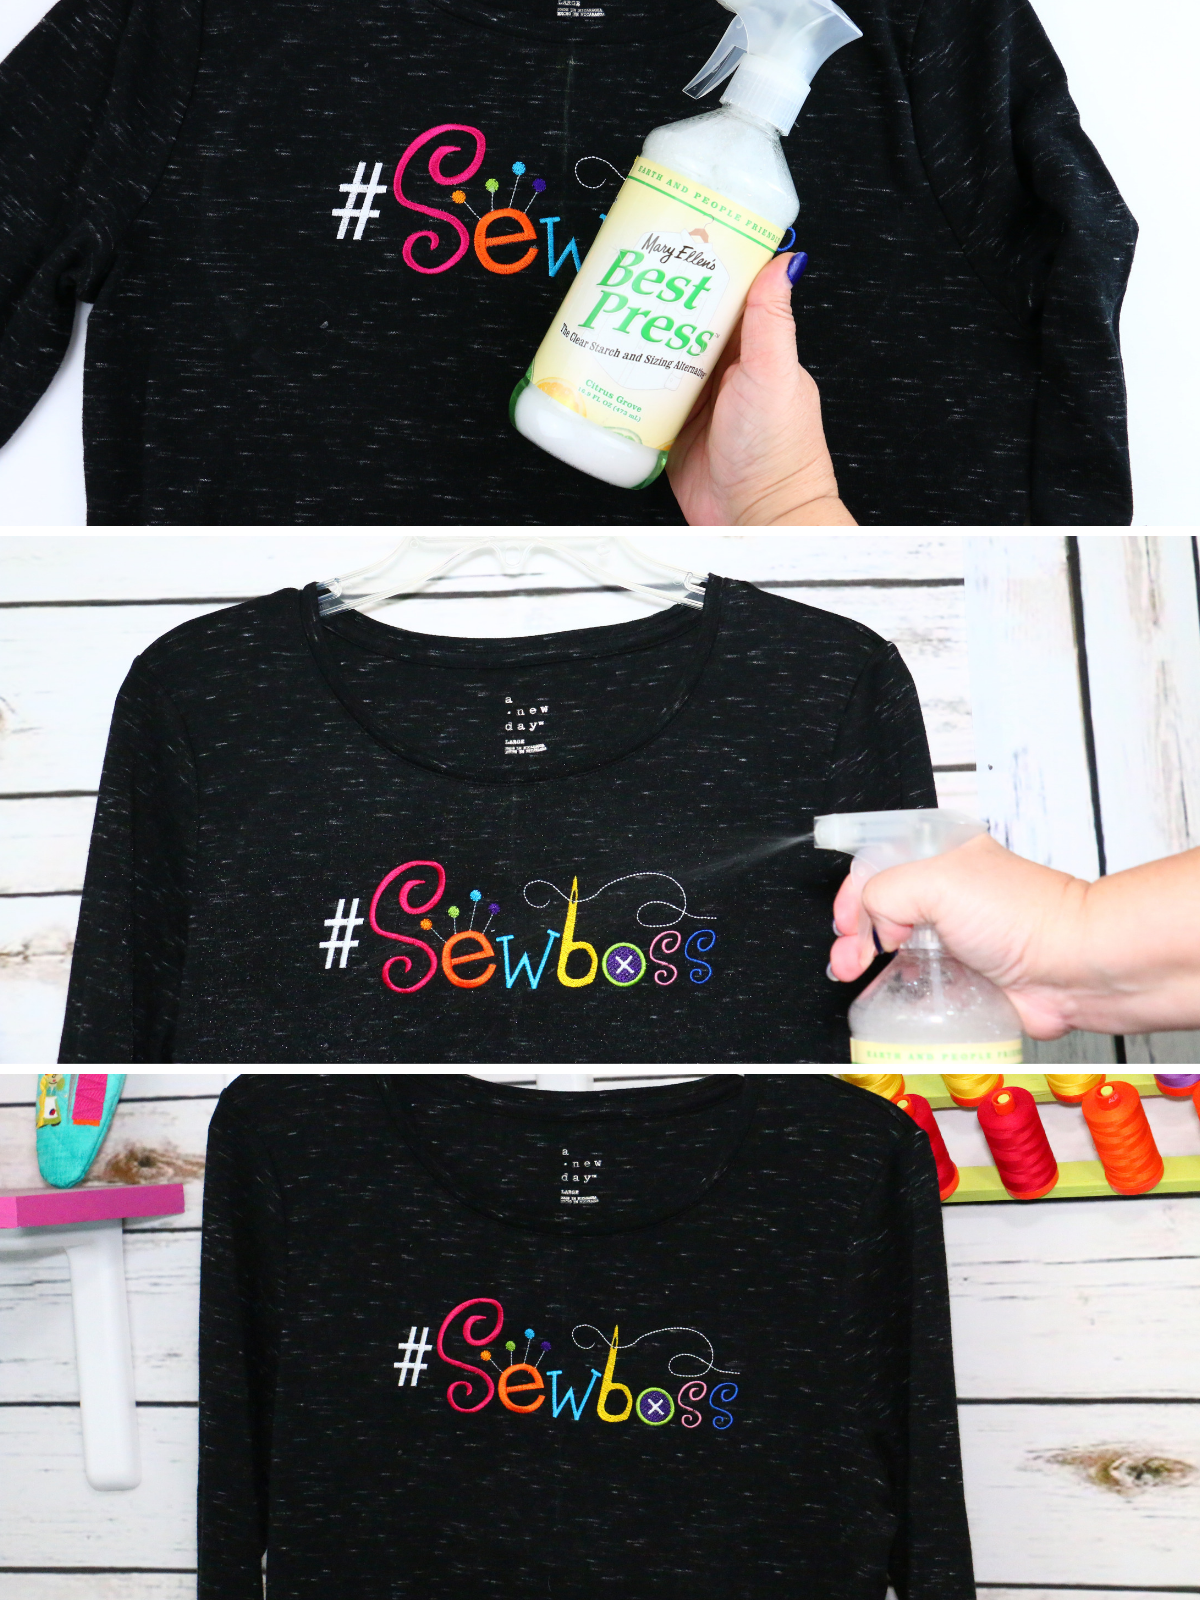
Sometimes when hooping knits the hoop will leave marks. These marks are referred to as Hoop Burn. Most of the time the hoop burn will come out after washing. If the shirt is a gift or for sale you will most likely not want to wash the shirt first. Here is a great trick on how to remove hoop burn without washing. Hang your shirt. Shake a bottle of Mary Ellen’s Best Press so you see lots of bubbles inside. Spray about 8-10″ away lightly saturating the hoop burn. Let set for about 10 minutes and the hoop burn will most likely disappear. Repeat as needed.
What is next?
The next three parts of my Embroider-Along are going to be focused on the other types of materials and using everything I have learned along the way.
How long have you been embroidering? Let me know in the comments below and please ask any questions you might have about materials I haven’t covered. Be sure to keep following along here, you can also follow BERNINA on Instagram and Facebook to see the latest post!
Here is the Embroider-along schedule:
- Embroider-Along Part 1: Intro four most popular materials for machine embroidery
- Embroider-Along Part 2: Stabilizer and Materials
- Embroider-Along Part 3: Needles and Thread
- Embroider-Along Part 4: Placement and Hooping for Machine Embroidery
- Embroider-Along Part 5: How to Embroider on Knits
- Embroider-Along Part 6: How to Embroider on Woven Materials
- Embroider-Along Part 7: How to Embroider on Napped Fabrics
- Embroider-Along Part 8: How to Embroider on Sheer Materials
- Embroider-Along Part 9: How to Embroider on a Ladies T-shirt
- Embroider-Along Part 10: How to Embroider on a Pillow Case
- Embroider-Along Part 11: How to Embroider on Luxe Cuddle® Rose
- Embroider-Along Part 12: How to Embroider on a Pet Screen
Until next time I hope you have a creative day, bye-bye!
Sue
Used Products

What you might also like

21 comments on “Embroider-Along Part 9: How to Embroider a T-Shirt”
-
-
Oh thank you!! Glad you’re following along. By the way, here is a link for all the post in this series: https://weallsew.com/category/projects/embroider-along/
Bookmark it for easy access.
Sue
-
-
Great directions —very helpful hints and tidbits and love the free design too!! THANK YOU!
-
Wonderful!! You are very welcome.
Sue
-
-
Love the design. Thank you. Directions are easy to follow. Very informative.
-
You are so very welcome!! Glad you are following along.
Sue
-
-
Thanks for the cute design and tips on embroidering a t-shirt, Sue!!! Will you be doing any tips for how to create quilt blocks using an embroidery machine?
-
Hi!
Wasn’t planning on it but could certainly keep that in mind for future blog post.
Thanks for following along
Sue
-
-
I also am just getting back into machíne embroidery. Am so glad to find this on my phone today. I had a machine back in 2005 which quit working, and just got a new one. Happy Embroidering!
-
Congrats on your new machine!! You can follow this link for easy access to the entire blog series
https://weallsew.com/category/projects/embroider-along/
Have a great day
sue
-
-
Although I have been embroidering on clothing, quilts, and projects since 2003, I still learn something every time I make a new project.
-
You and me both!! I try to learn something new every day! It’s important to keep moving forward

Enjoy the series
Sue
-
-
Hi Sue, Love the Sewboss design and the fun colors that you chose to stitch it out with. I have had my D1 since 2002. Thanks so much for the tips and techniques that you used. One can never have enough tips and techniques to improve or remind us of how to improve our projects.
-
You always have the kindest words. You truly make me smile. I am thrilled you love it. Please be sure to share pictures of the design stitched out on social media
Sue
-
-
Nothing makes me happier than great, detailed, project directions – that really, really work. I did it! On the brightest yellow shirt I could find! It came out perfect! One friend was so impressed, she had to touch across the lettering…while I was wearing the shirt. I understand, we crafty people are very tactile.
-
I would like to save these so that I can refer to them when I am somewhere without internet. How do I do that?
-
Hello sfilippo1, our WeAllSew blog content is posted in an open format. You can save the tutorials by printing directly from your web browser to a PDF file. If you wish you can save the PDF instructions for later, or print them out for reference. Please give it a try.
-
Had no idea this could be done. Now I can save these types of posts for later use.
-
-
-
Hello your website on embroider on tee shirt has been so helpfull. with words and picture. This alot better for me than video. Have a blessed week stay safe.
-
thank you for your blog. your blog very informative and giving high-quality facts. I’ve seen an internet site that provides me fine machine embroidery at a totally affordable cost.
-
Unless my eyes are playing tricks on me, you didn’t specify when to turn the shirt right side out after putting the stabilizer on the wrong side. I was following the directions and started to hoop the shirt when I realized that it was turned the wrong way.
Oh well, I got on the right track and the shirt turned out very nice.
Thanks!
Leave a Reply
You must be logged in to post a comment.
I am so glad I found this post! I am getting back into embroidery after several years and feeling like a newbie on my new B770QEE! This will help so much getting back into it. Thank you for this!