Essential Ruler Quilting Challenge: Introduction
Let’s be honest, many of us have acrylic quilting rulers gathering dust. We saw the demo, were inspired and purchased them with the hope they would make quilting our quilt tops easier.
Perhaps you have started quilting with acrylic rulers and need some design inspiration.
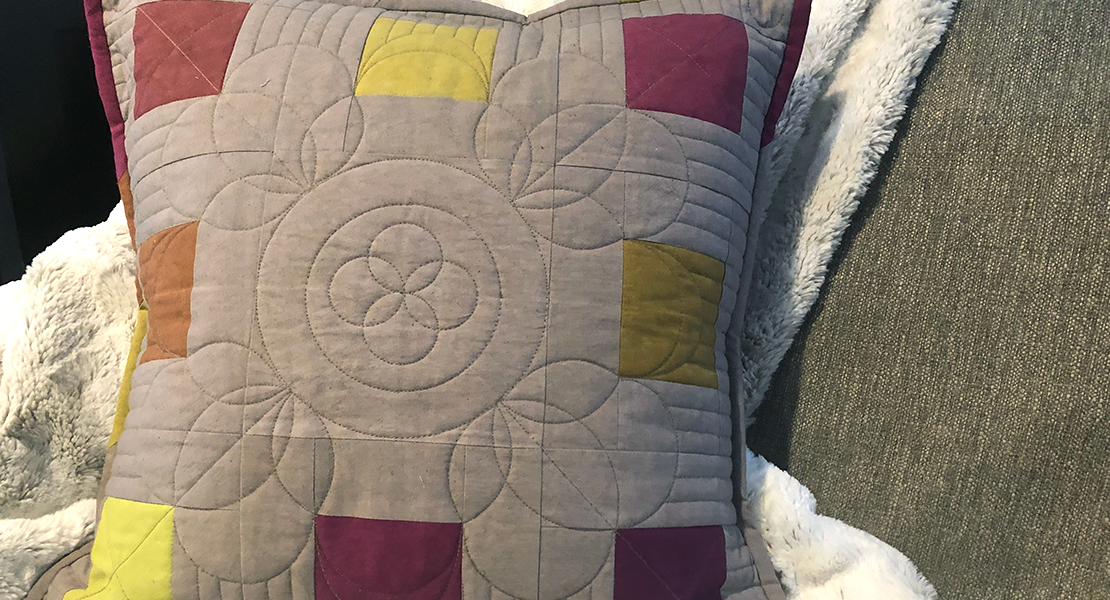
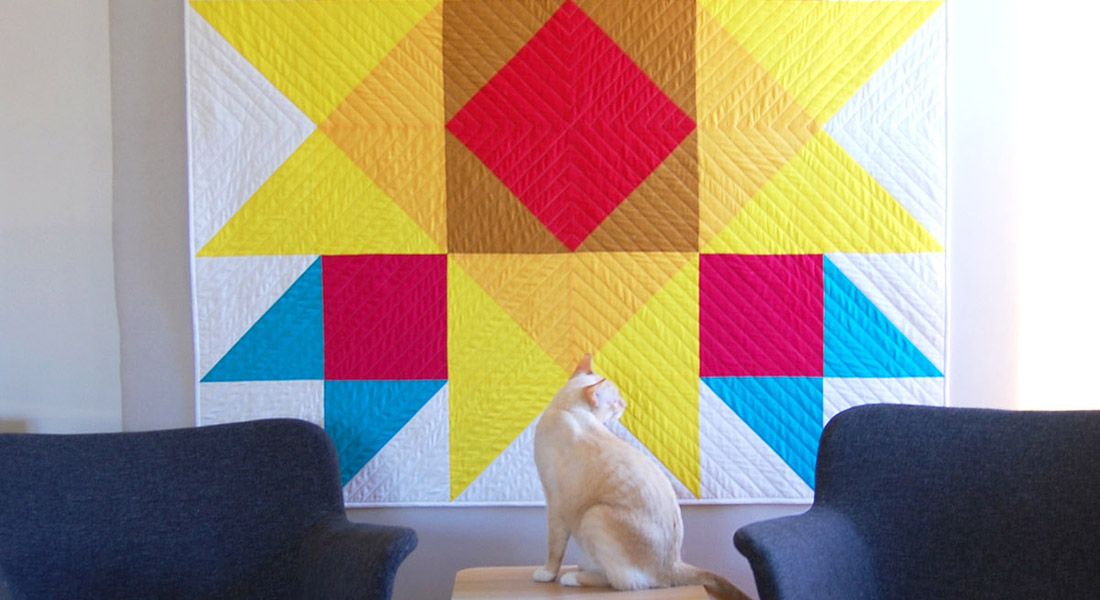
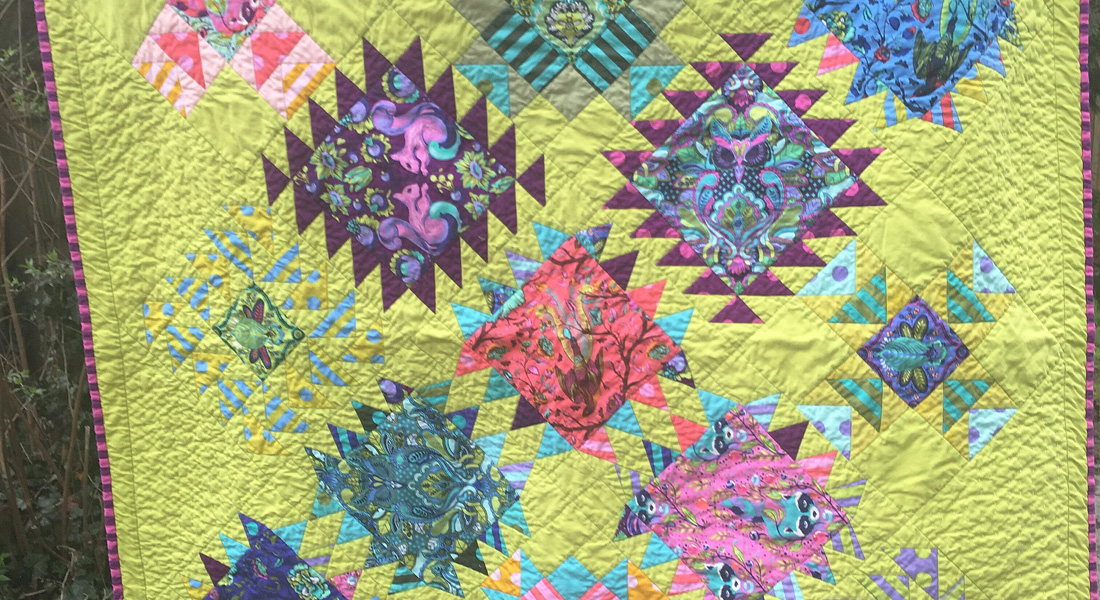
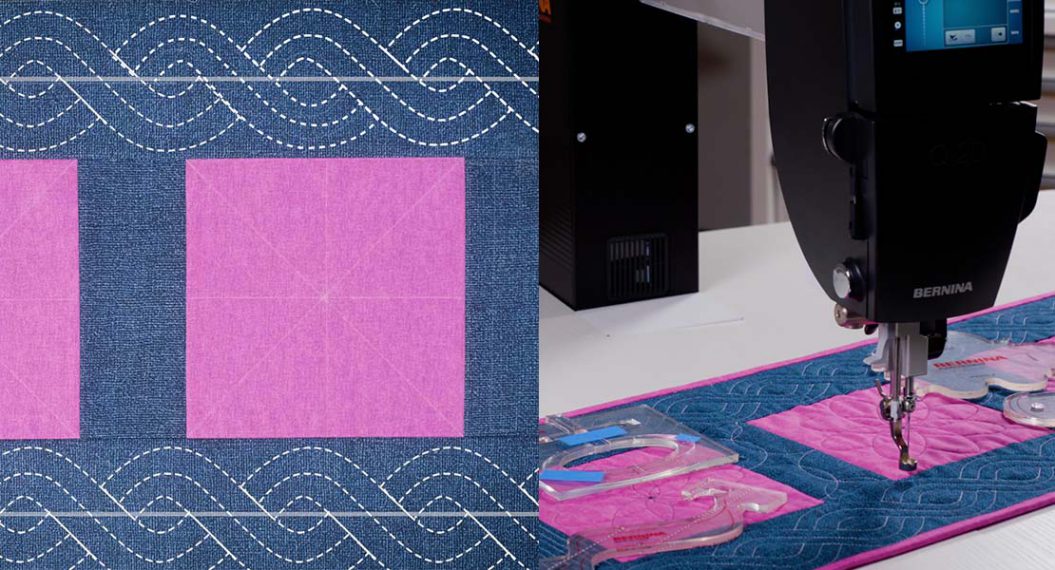
The challenge is an opportunity to dust off the rulers and get creative with ruler quilting. Together we will learn ruler quilted designs with the BERNINA Essentials Ruler Kit. If you do not have the Essentials Ruler Kit, some substitute rulers may work for the techniques and designs in the challenge. However, design results will vary.
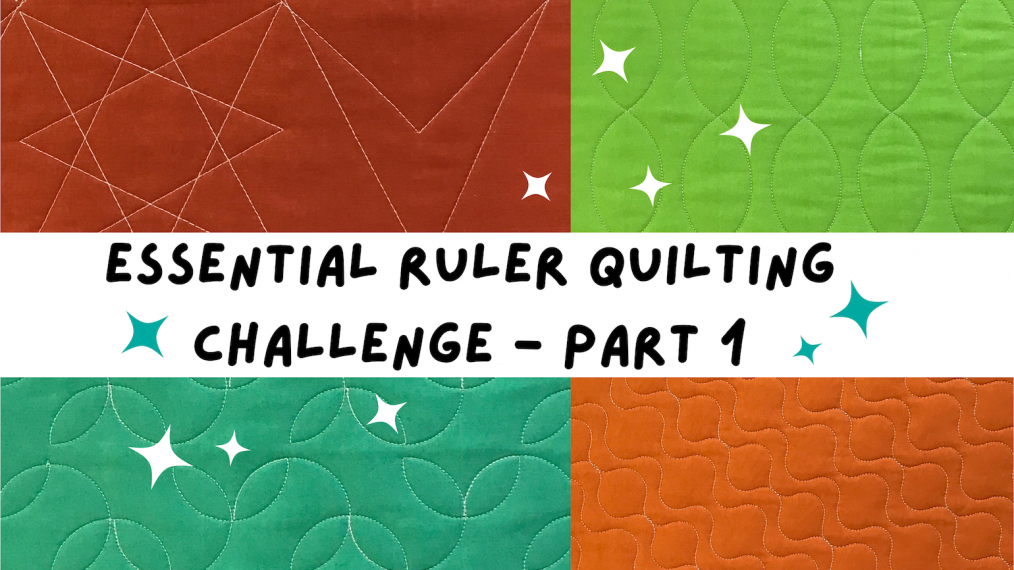
Join the Essential Ruler Quilting Challenge. For the next four weeks, we will have fun stitching rulerwork designs with each of the rulers in the Essentials Ruler Kit.
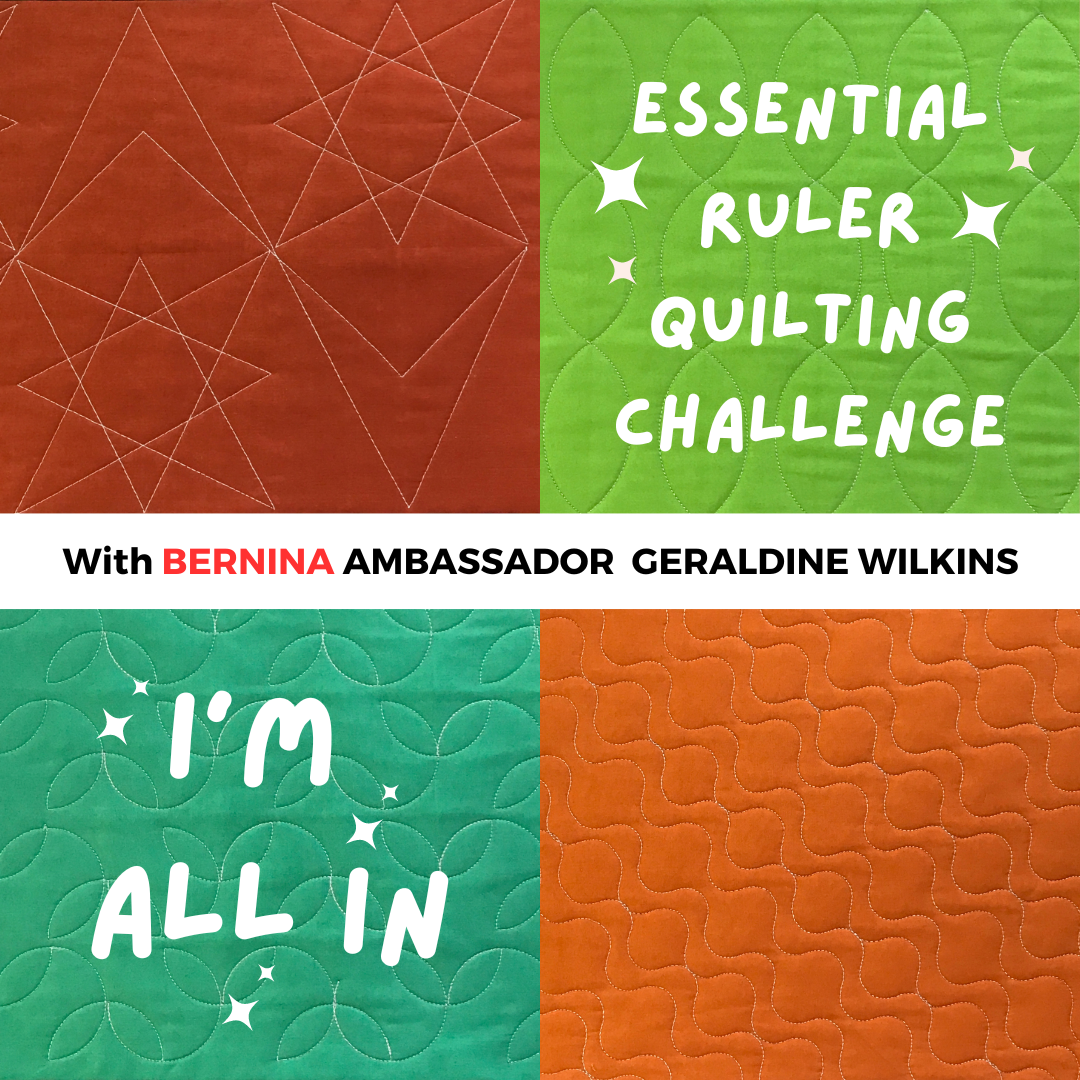
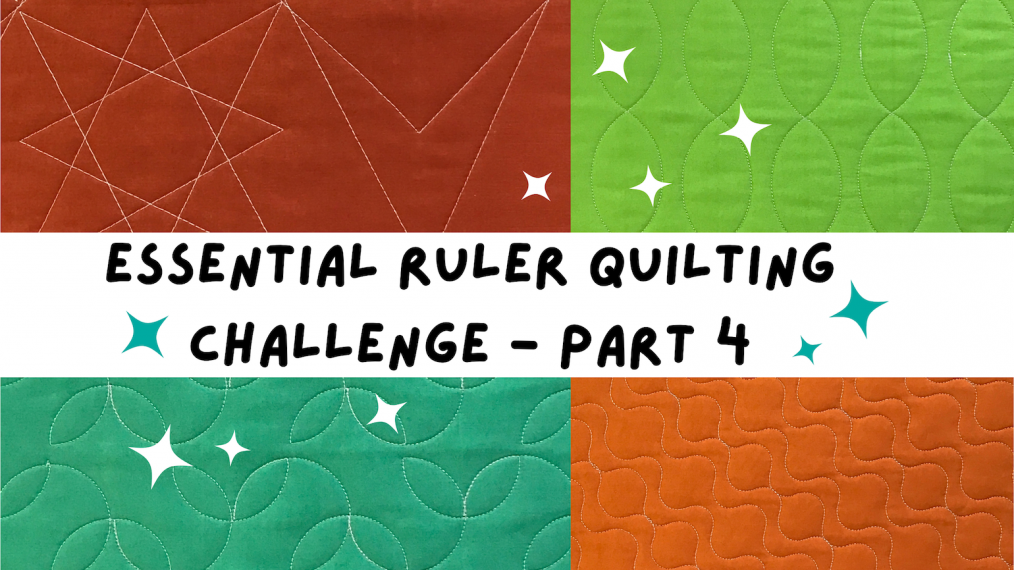
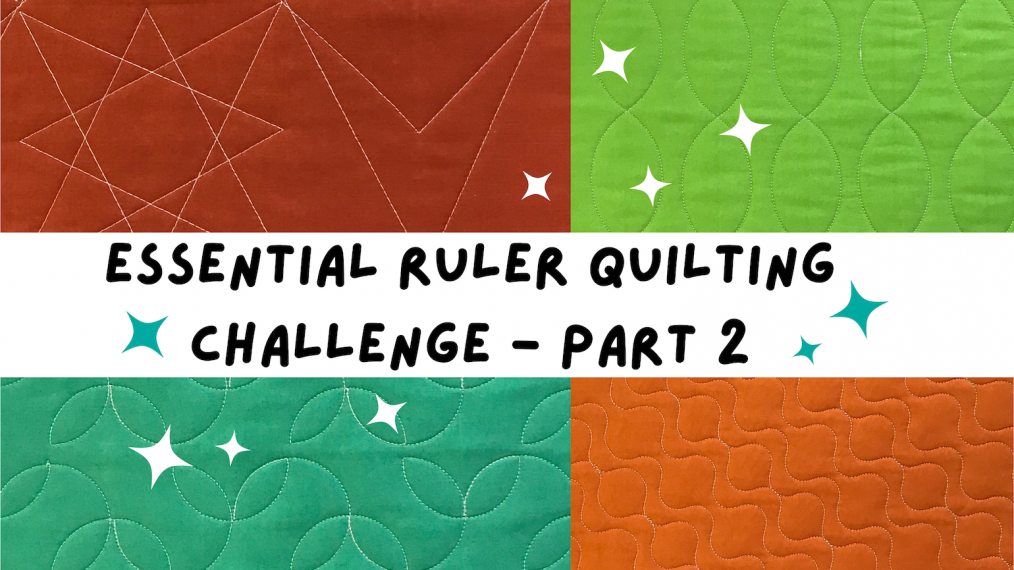
Join the challenge and download the image above. Share it on social media. Let quilting friends know about the challenge. Use the hashtag #rulerquiltingchallenge
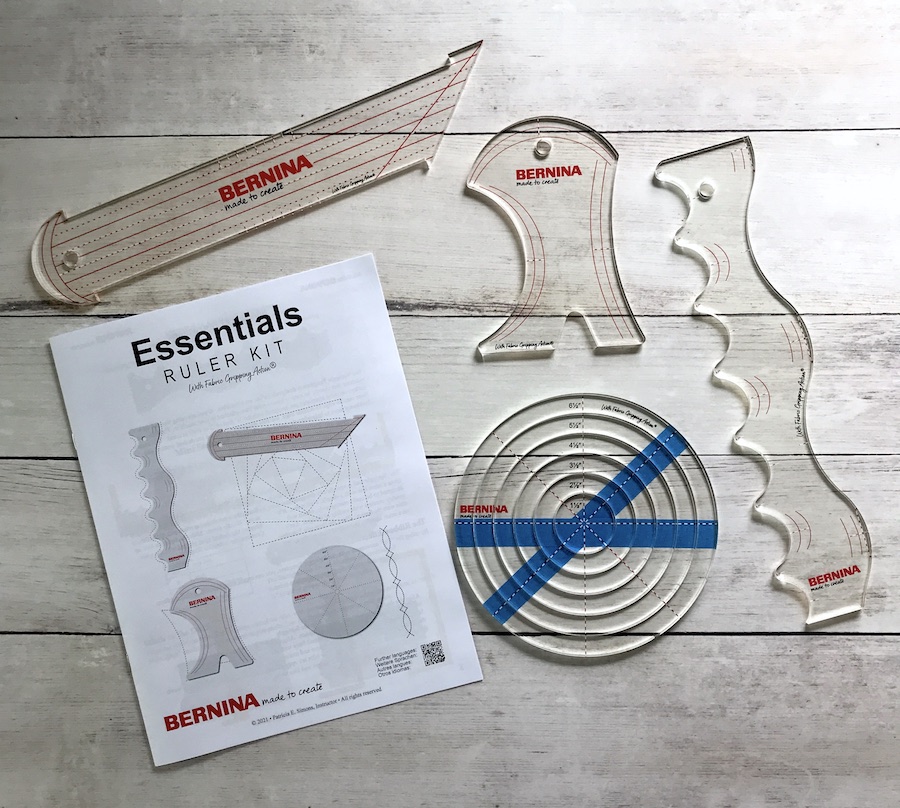
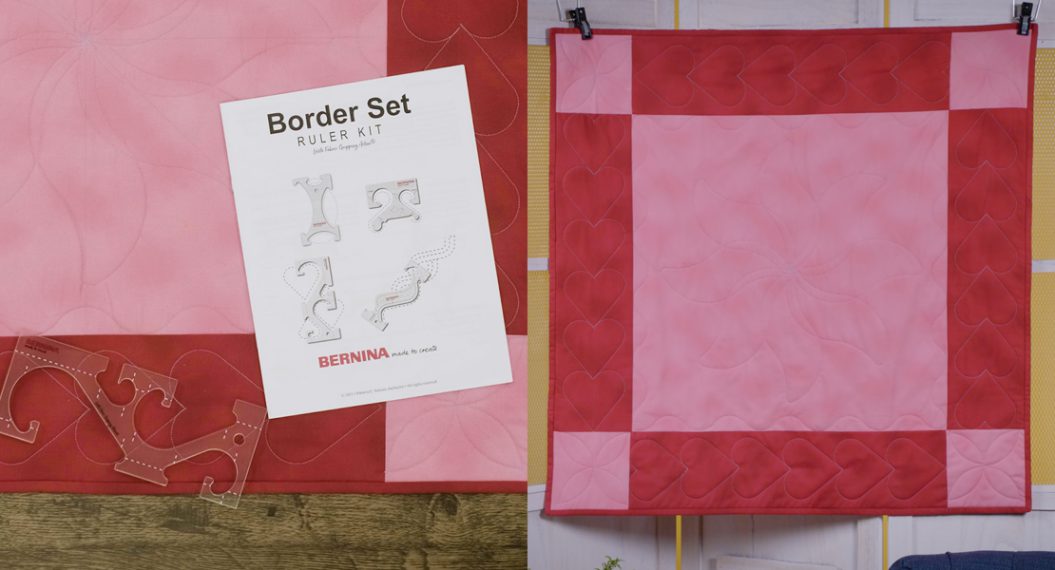
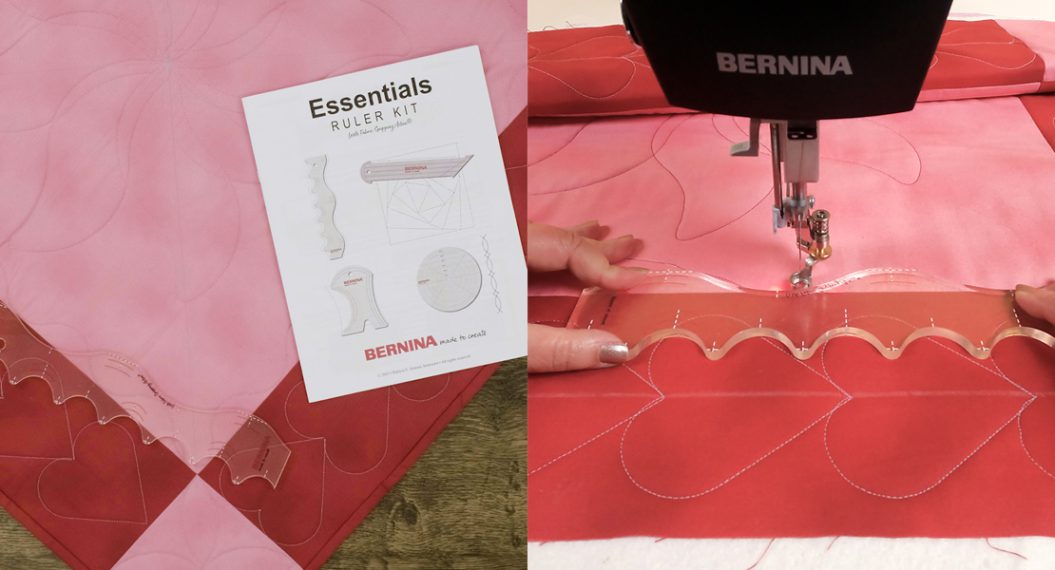
The BERNINA Essentials Ruler Kit includes four rulers, the Straight, Curve, Circle and Squiggle. The rulers are 1/4” thick and work well with longarm machines and home machines that are compatible with 1/4” thick rulers.
The BERNINA Essentials Ruler Kit includes four rulers, the Straight, Curve, Circle and Squiggle.
Essential Ruler Quilting Challenge
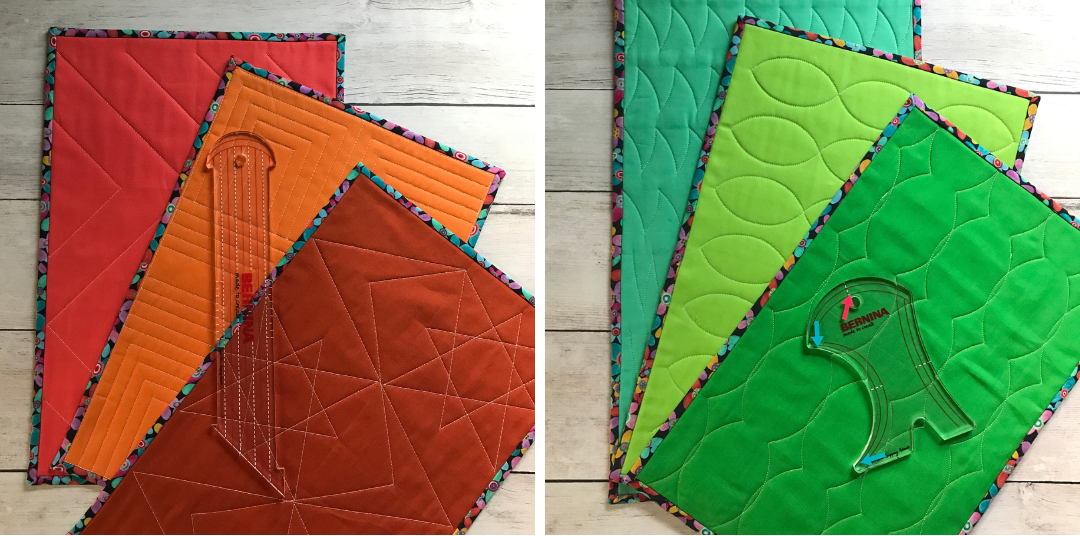
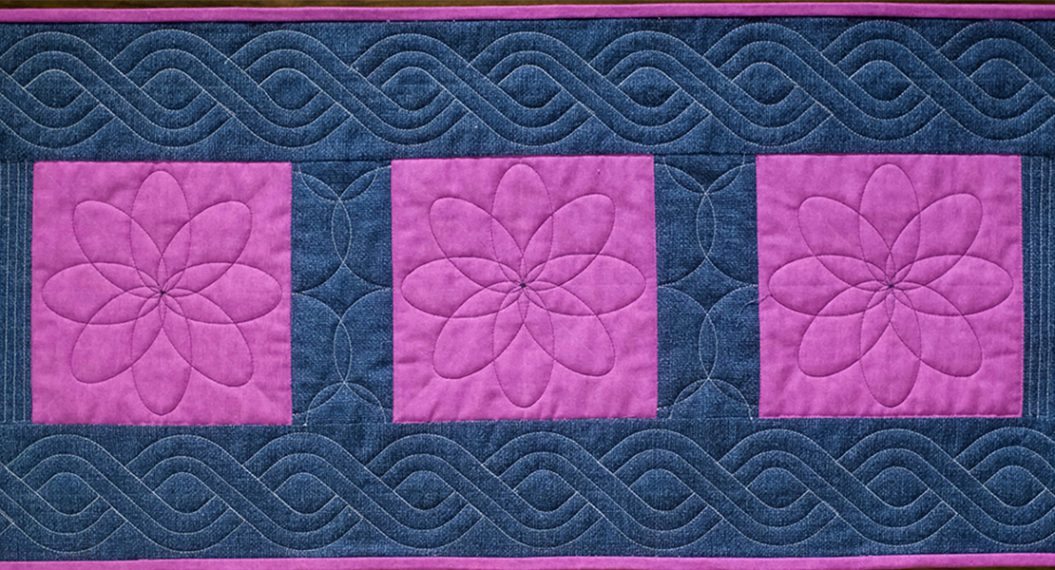
For each ruler, we will make three different rulerwork designs. Visit each week to learn how to create designs on a home machine or a longarm.
We start the challenge with beginner-friendly designs that will also help confident beginners warm up for the challenge.
Week One: Straight Ruler
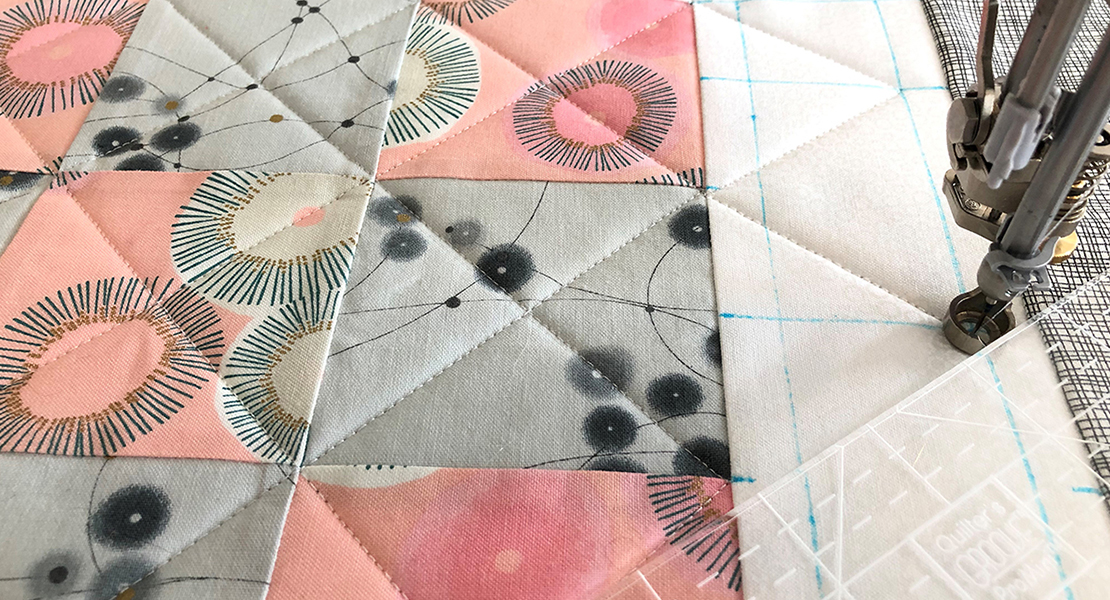
A straight ruler has numerous possibilities. We will learn three designs and stitching techniques.
Week Two: Circle Ruler
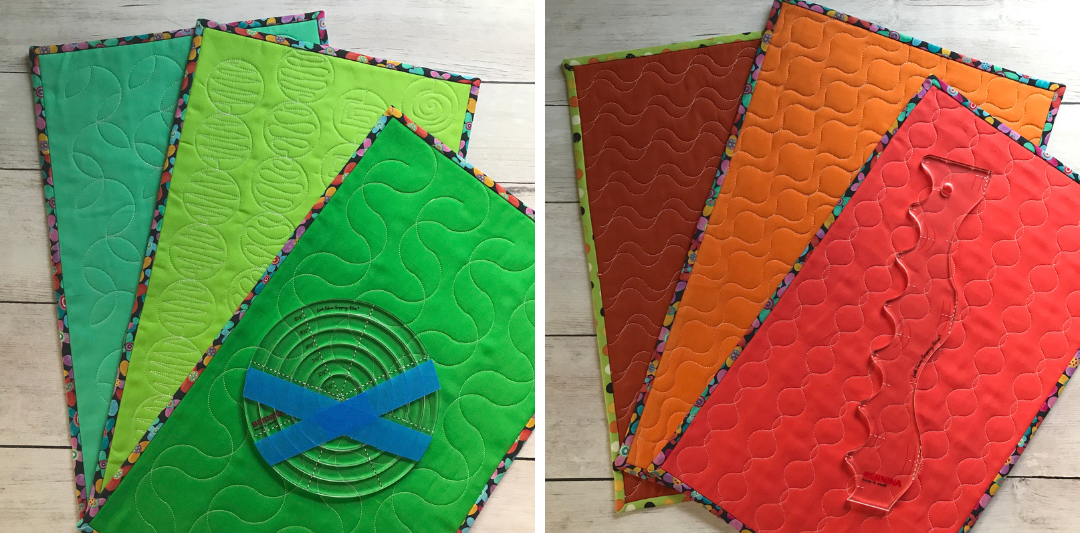
Get ready to have fun with continuous circle designs that also include a little free-motion quilting.
Week Three: Curve Ruler
Let’s make the straight lines curvy with the curve ruler. We use three curves to stitch edge-to-edge designs.
Week Four: Squiggle Ruler
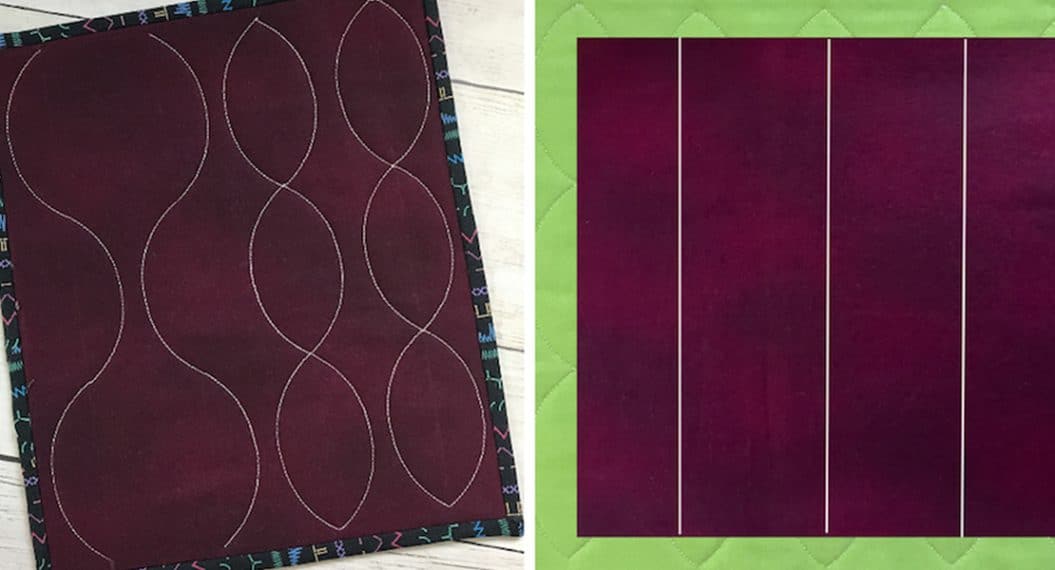
The focus on curves continues with the squiggle ruler. We will focus on one side of the two-sided ruler to create a beautiful thread texture. These designs are ideal for bags and zippered pouches.
This Week
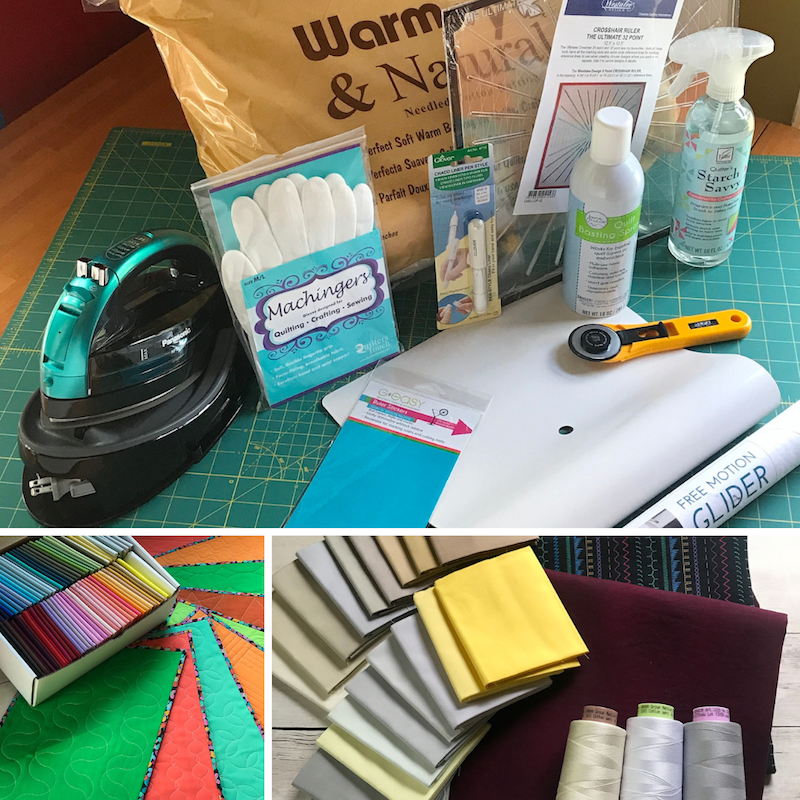
This week we will gather supplies, make practice quilt sandwiches, and set up our machine for rulerwork quilting. Download the supply list.
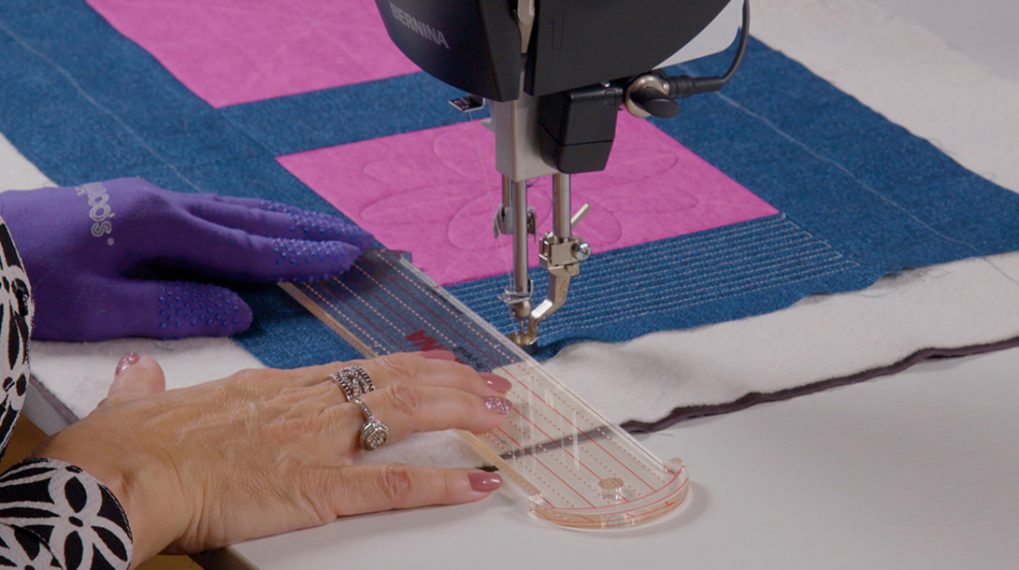
We’ll need sewing and fabric supplies like an iron, a rotary cutting mat, basting spray, marking tools, and thread. Also, the supply list includes ruler quilting tools, like a ruler foot, glider, a measuring gauge and quilting gloves.
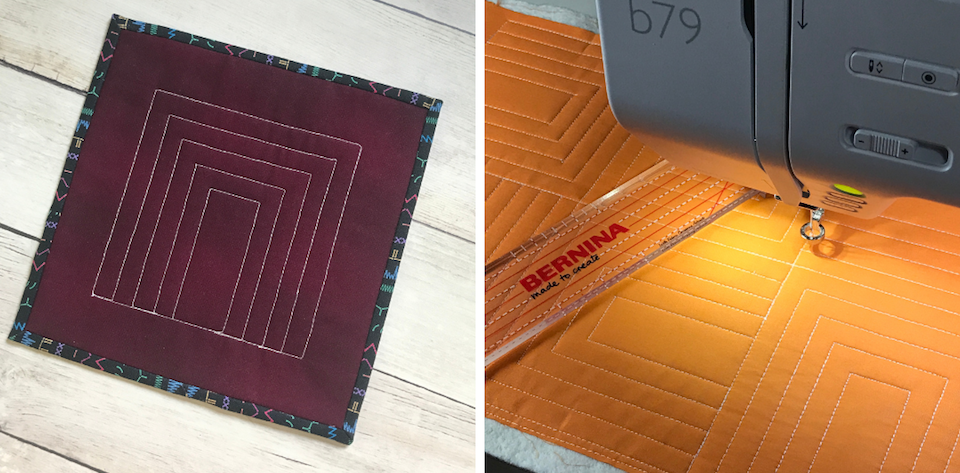
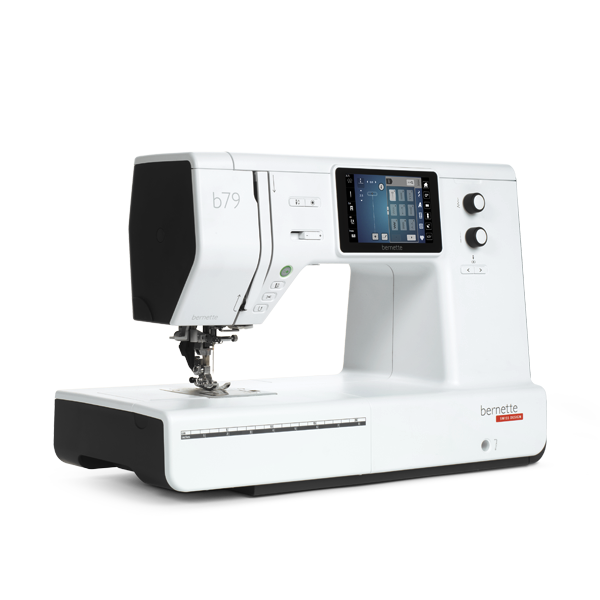
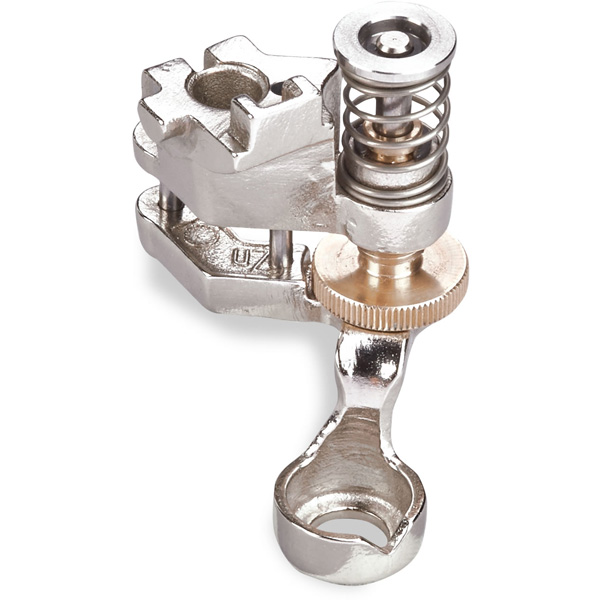
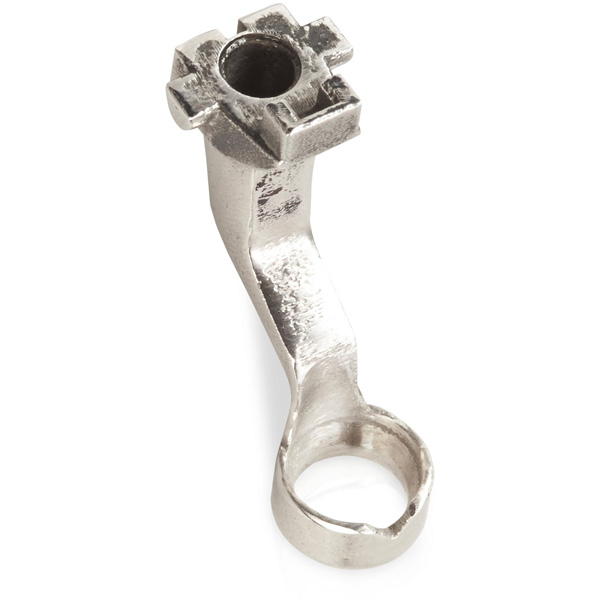
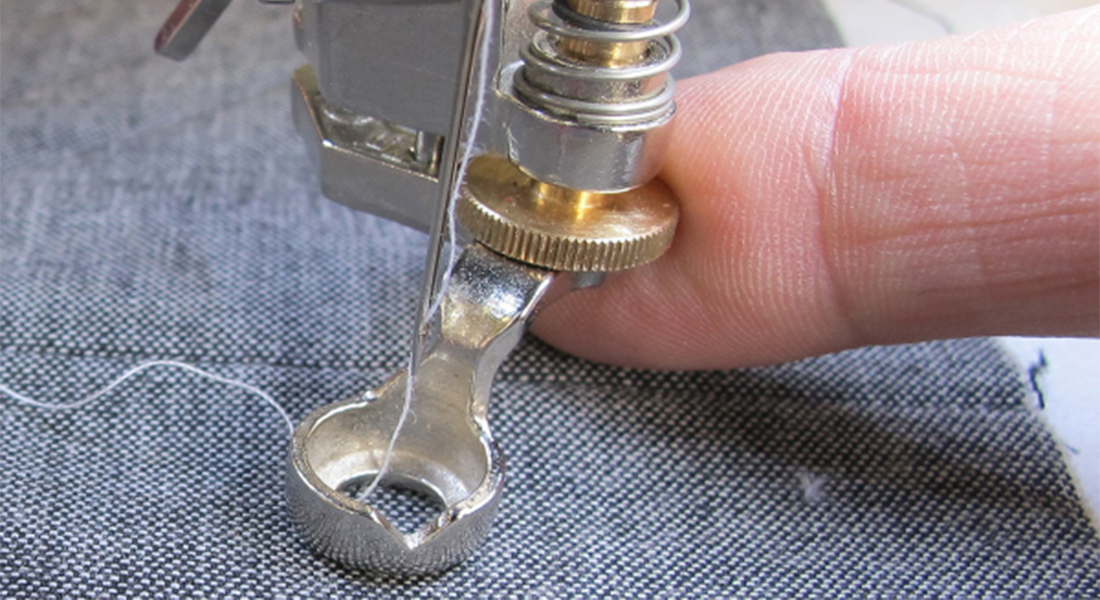
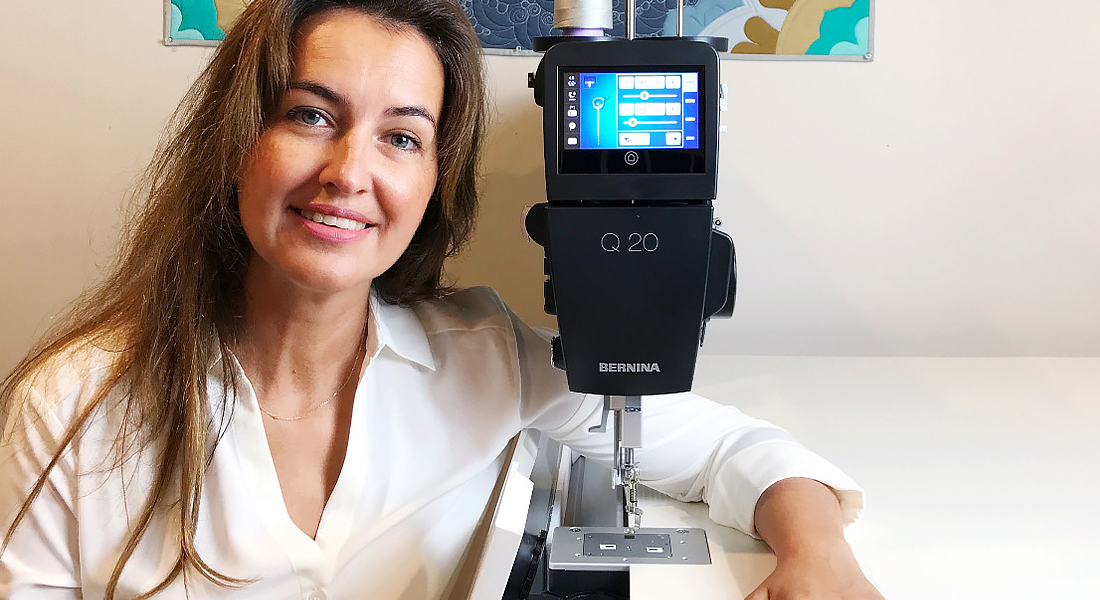
We also need a sewing machine capable of free-motion ruler quilting. I used a bernette 79 sewing and embroidery machine with the bernette Ruler Foot Set. Learn how to attach the bernette ruler foot in this video.
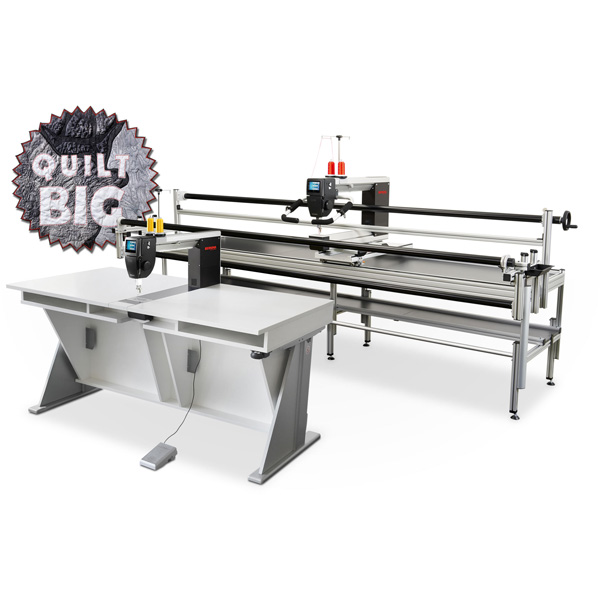
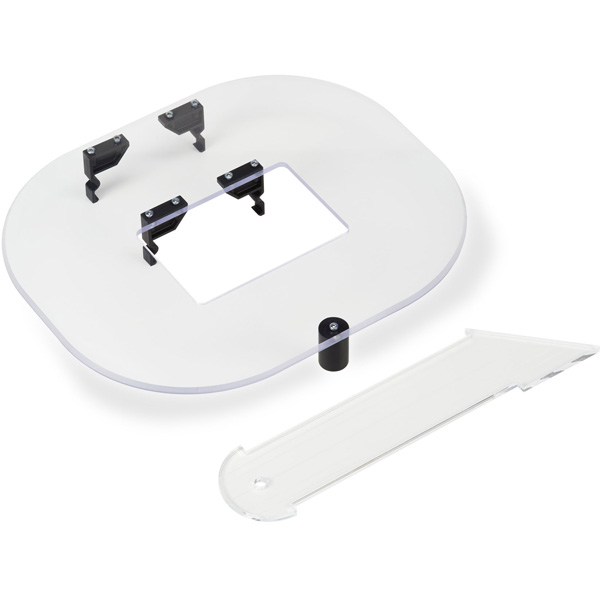
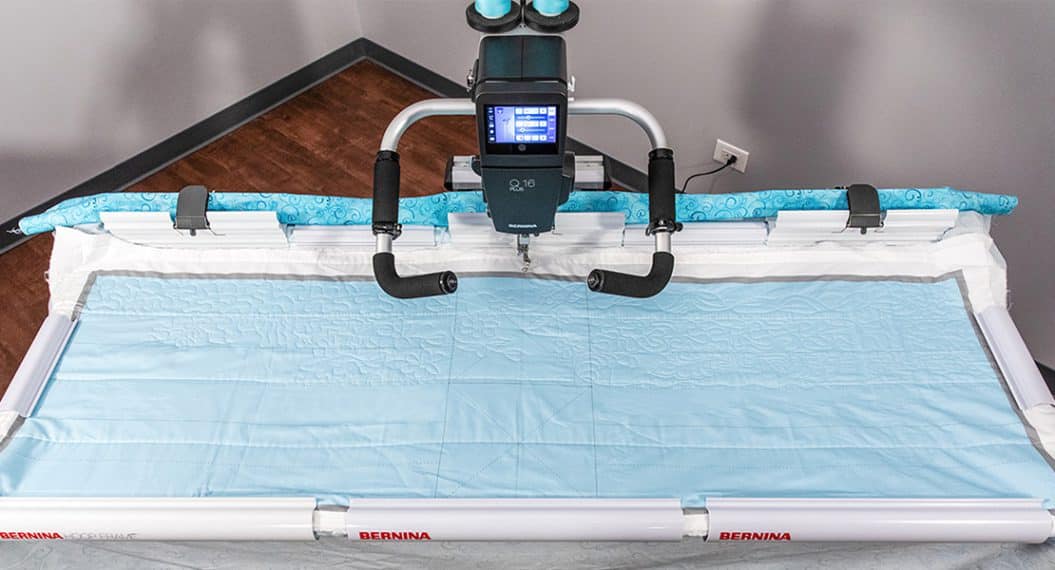
 Those quilting with a longarm on a frame will need a ruler base. A ruler base is a mini extension table around the quilting machine arm.
The Essentials Ruler Kit may be used with BERNINA machines that use a BERNINA ruler foot. I used the Adjustable Ruler Foot #72S. Learn how to attach and use the foot in video tutorial 1, and video tutorial 2
By the way, it’s ok to use similar quilting rulers instead of the Essentials Ruler Kit. Apply the same techniques; the final design will vary.
Next Week
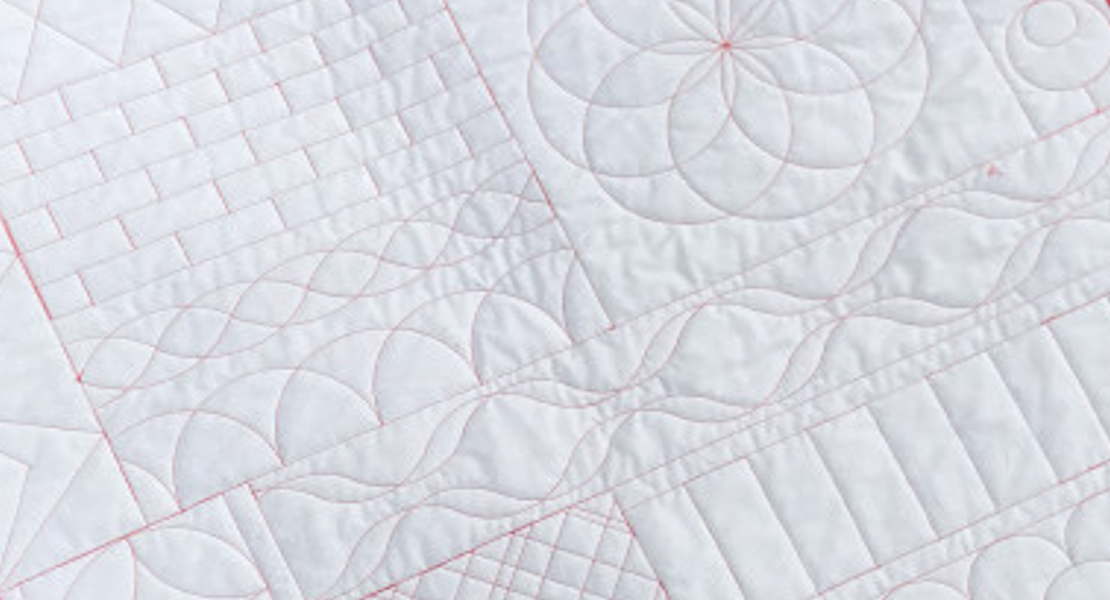
Let’s gather supplies and get ready to start stitching next week. The Essential Ruler Quilting Challenge begins with straight ruler designs. Download the supply list, it includes fabric requirements and cutting instructions for small practice sandwiches and larger edge-to-edge design mini quilts.
What you might also like
11 comments on “Essential Ruler Quilting Challenge: Introduction”
-
-
Hi, I will pass along your suggestion to BERNINA, but I can’t promise anything. The best option is to contact your BERNINA dealer.
-
-
I also purchased the original Rulers – the ones that don’t have lines on them. Is there any kind of an upgrade that would make the original rulers more usable? Thanks.
-
Thank you for offering this class! I’m so excited to learn to ruler quilt and finish some quilt tops.
Thank you again! I pick up my rulers at the Bernina shop this weekend. -
Hi, I like and use Westalee Design Stable Tape sold by Sew Steady and place it on the back of the ruler. It will help the ruler grip the fabric while quilting.
-
-
How do we sign up for the class??
-
Hi,
Just return to the We All Sew blog once a week on Thursday. Each week for four weeks there will be a NEW Essential Ruler Quilting Challenge blog post with video tutorials.
-
-
Thank you for offering this class! I’m so excited to learn to ruler quilt and finish some quilt tops.
Thank you again! I pick up my rulers at the Bernina quilt store on Saturday.-
HI, Fantastic! I am so pleased you have the rulers! You are very welcome. Part 1 starts Sept 14th. So, come back to the blog and look for the “Straight Lines” blog post.
-
-
The original rulers have no lines to follow and are slippery. Please show how to mark the original rulers with lines or offer the new rulers at a reduced price
-
Hi, I will pass along your suggestion to BERNINA, but I can’t promise anything. The best option is to contact your BERNINA dealer about the rulers. When rulers are slippery, I use Westalee Design Stable Tape. Your BERNINA dealer may also have a product suggestion.
-
Leave a Reply
You must be logged in to post a comment.

I was hoping Bernina USA would offer an upgrade for people that purchased the original Ruler Kits.