Flat Couching with Cording Feet #22 and #25
Adapted from a hand embroidery technique, couching is a simple way to add color and texture to a project, stitching yarn, cord, or fibers to the surface of the fabric. Couching is one of my favorite embellishment techniques because of the limitless combinations of fabric, fibers, stitches and colors that can be used. Change only one of these and you change the look of the couched project. Today’s post is about flat couching with Cording Feet #22 and #25.

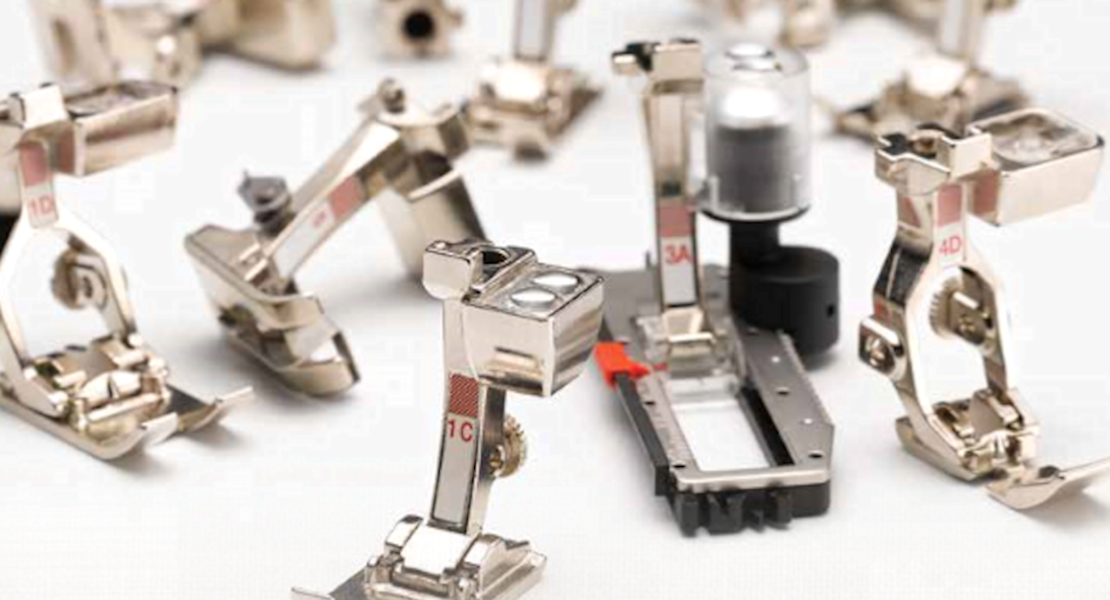
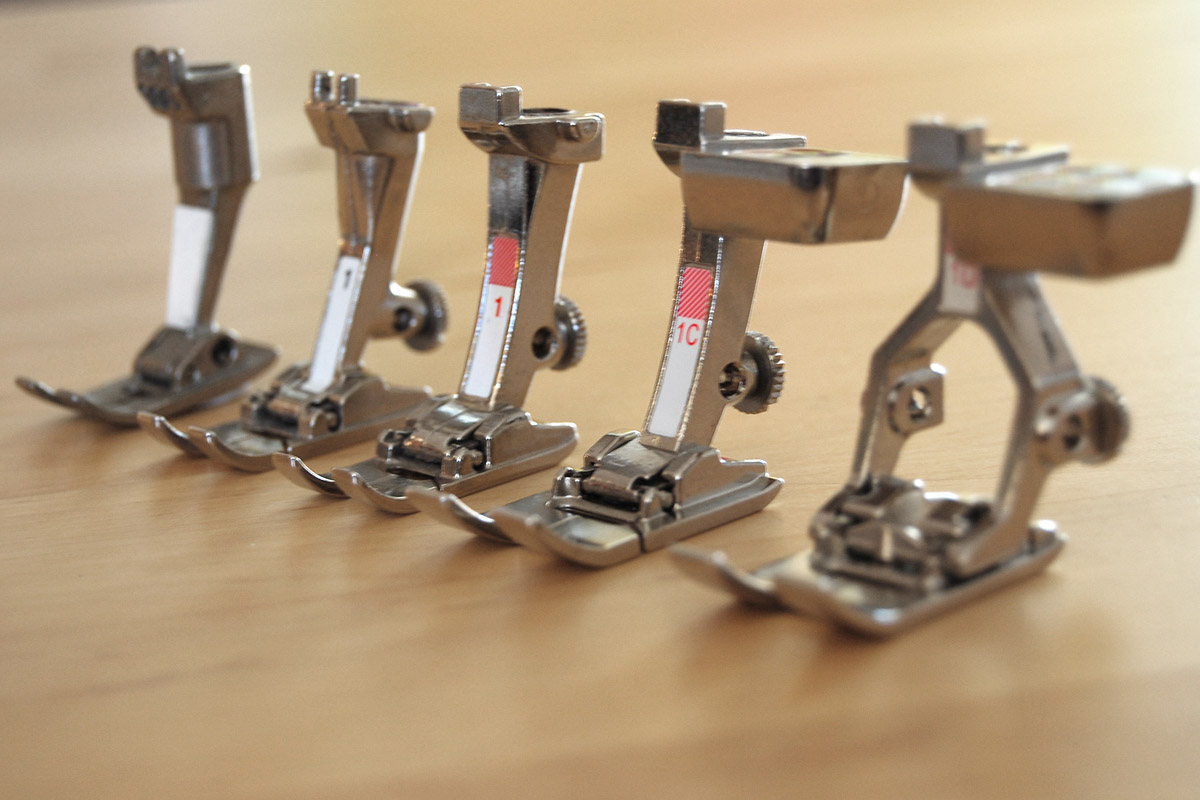
Cording Feet #22 and #25
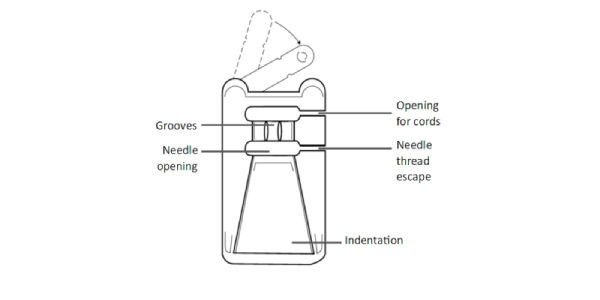
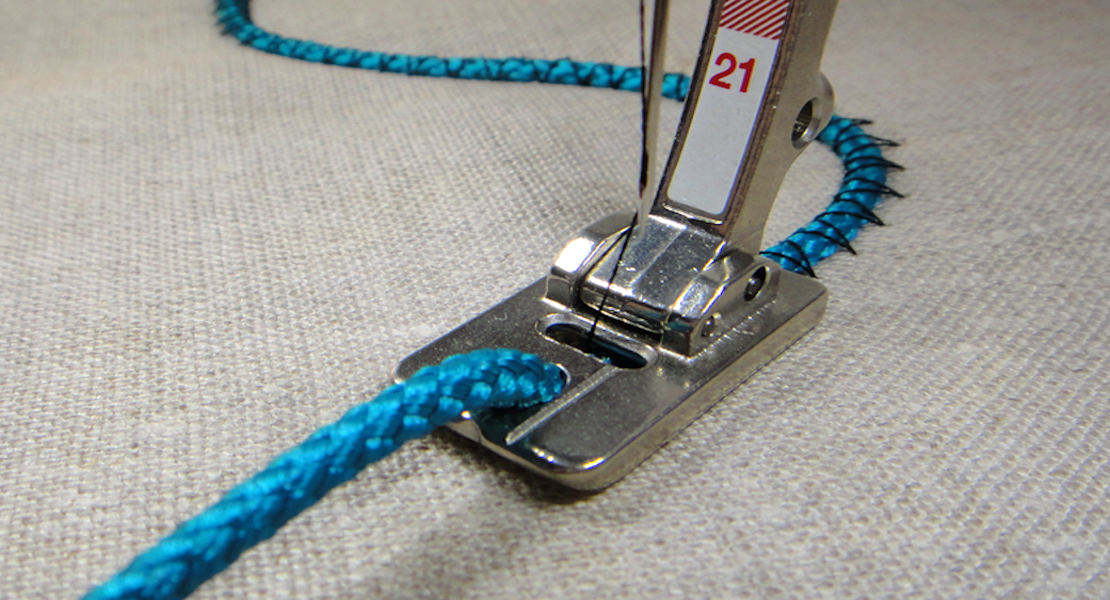
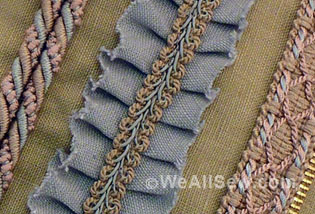
Cording Feet #22 and #25 are uniquely designed with three (Foot #22) or five (Foot #25) grooves to hold and control narrow cords. Place the cords side by side for couching, creating a flat, braid-like trim. The black gate on top of the sole swings over the cords to hold them in place for stitching. The bottom of the sole has a large indentation that lets the foot ride over the cords smoothly and easily.
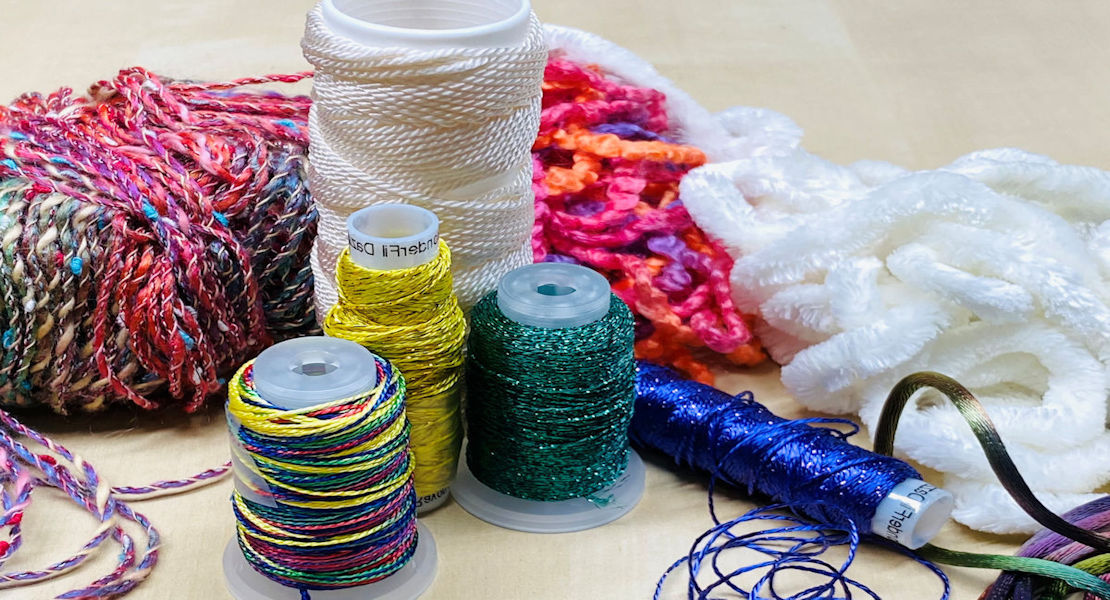
 Cord Selection
Use narrow cords such as perle cotton, embroidery floss, hemp, and heavy decorative threads too large to be threaded through the needle to use with Cording Feet #22 and #25 . Select cords that will fit in the grooves of the foot; more than one can be used in each groove as long as they fit.

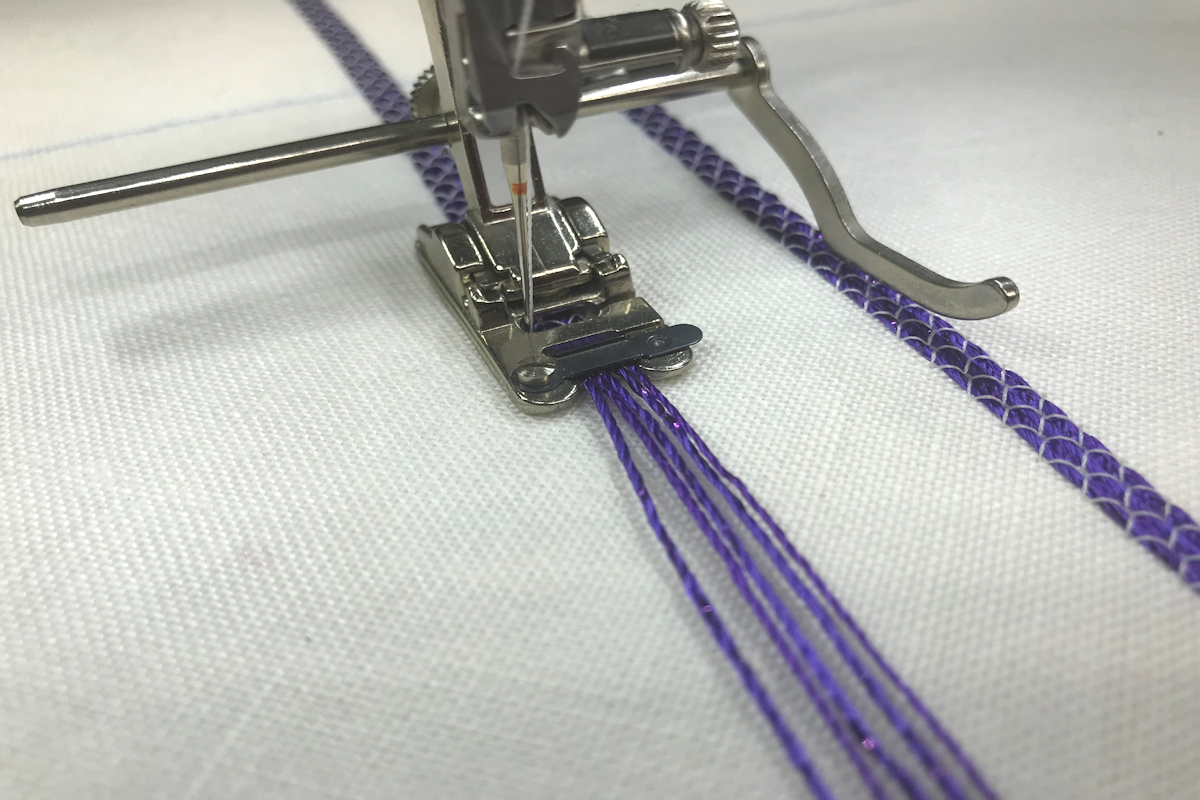
Loading the Cords
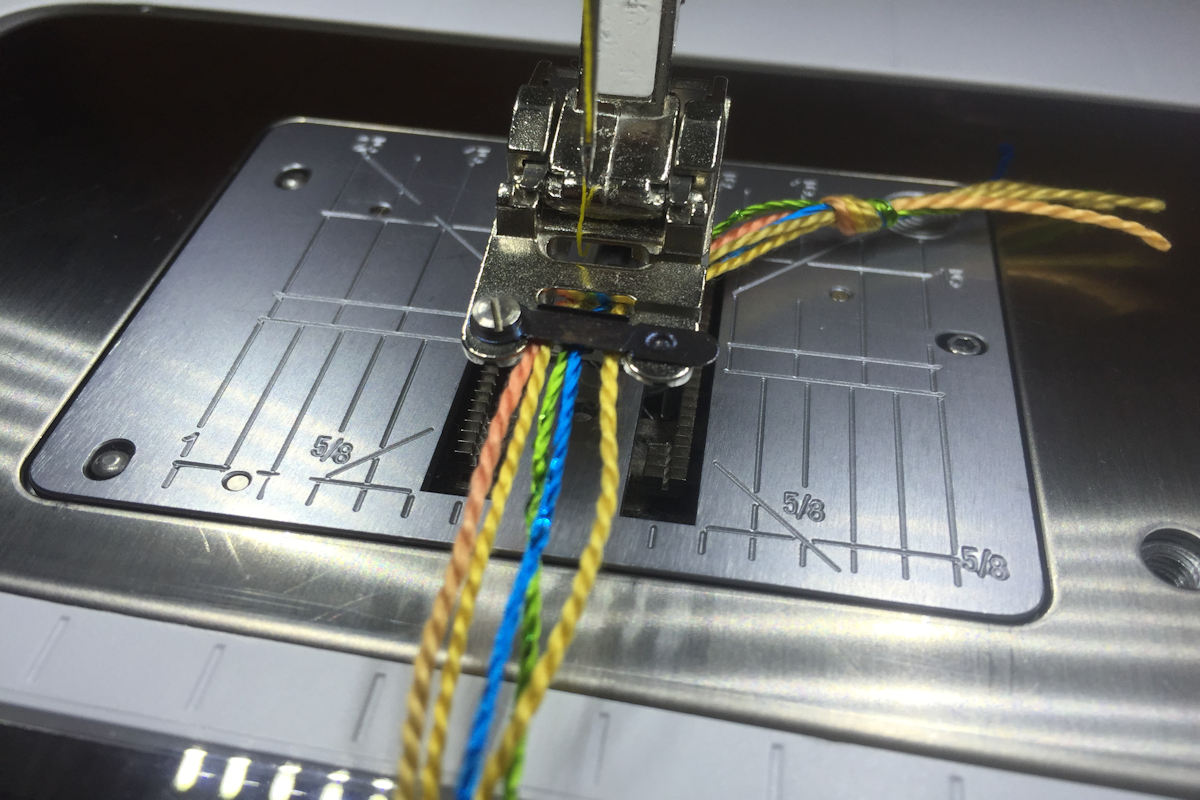
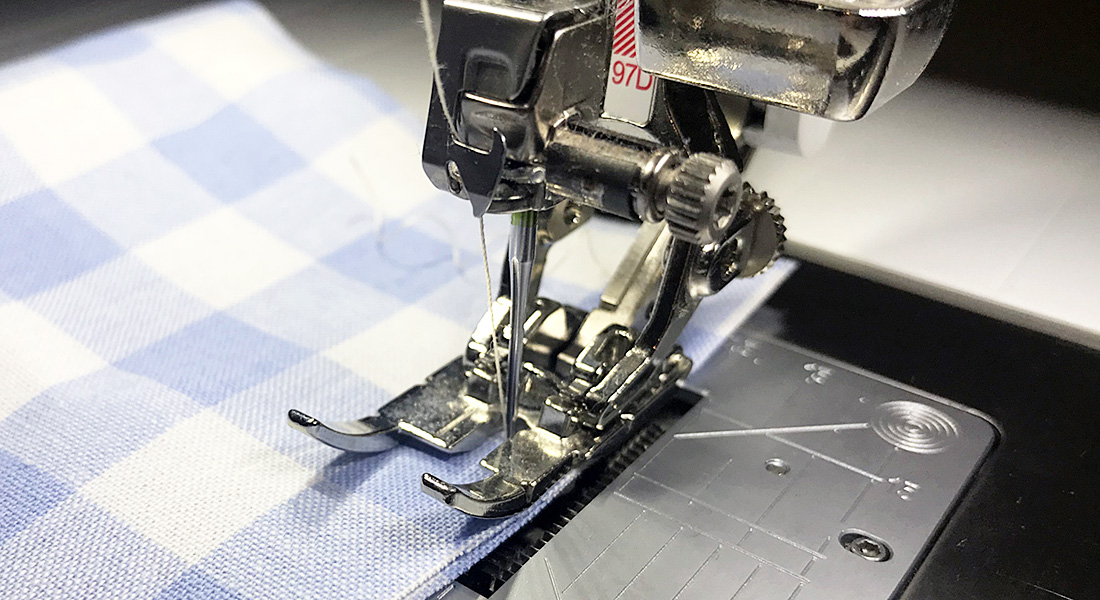
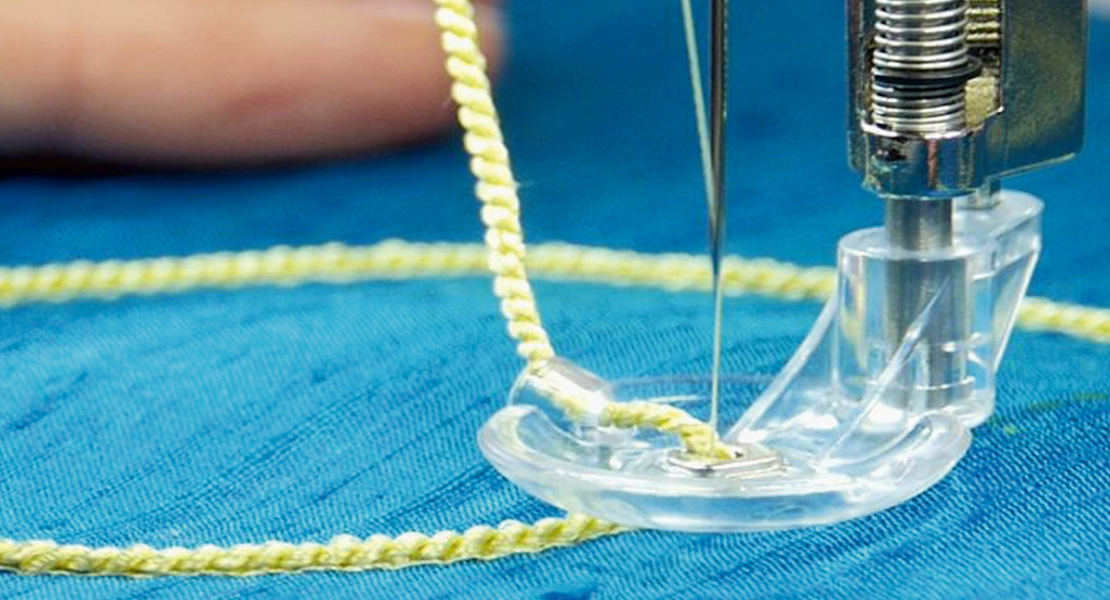
To load the cords into the foot, slide them into the front slot on the right side of the foot, positioning each one in a groove on top of the sole. Close the black latch over them to hold them side-by-side for stitching. The ends of the cords should be under the foot, extending out the back about 5″-6″. Tip: Tie one end of the cords together to make them easier to handle as you load them into the foot.
Flat Couching
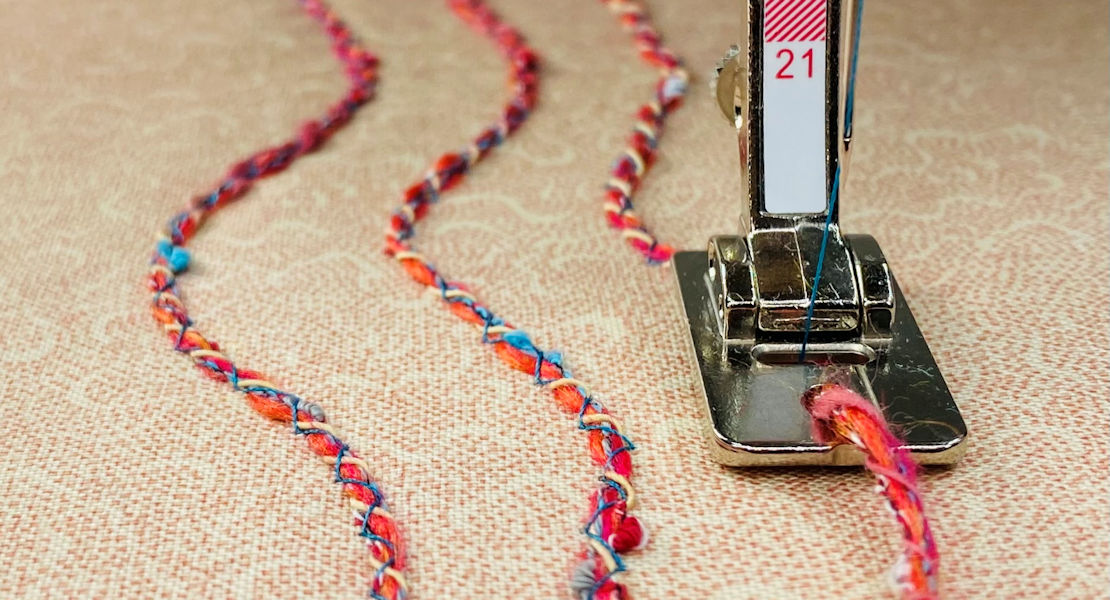
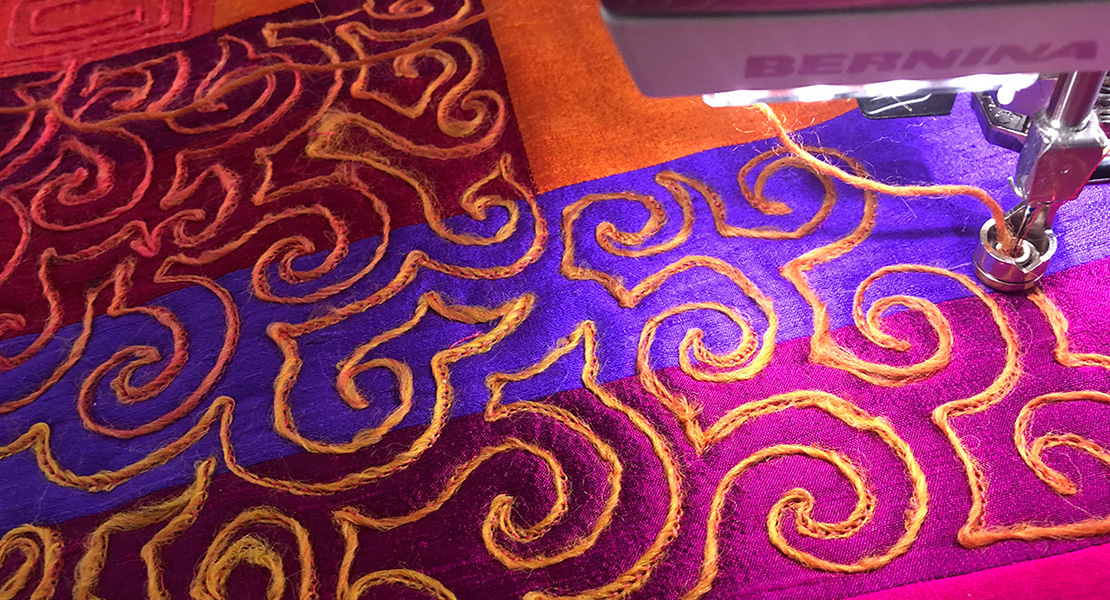
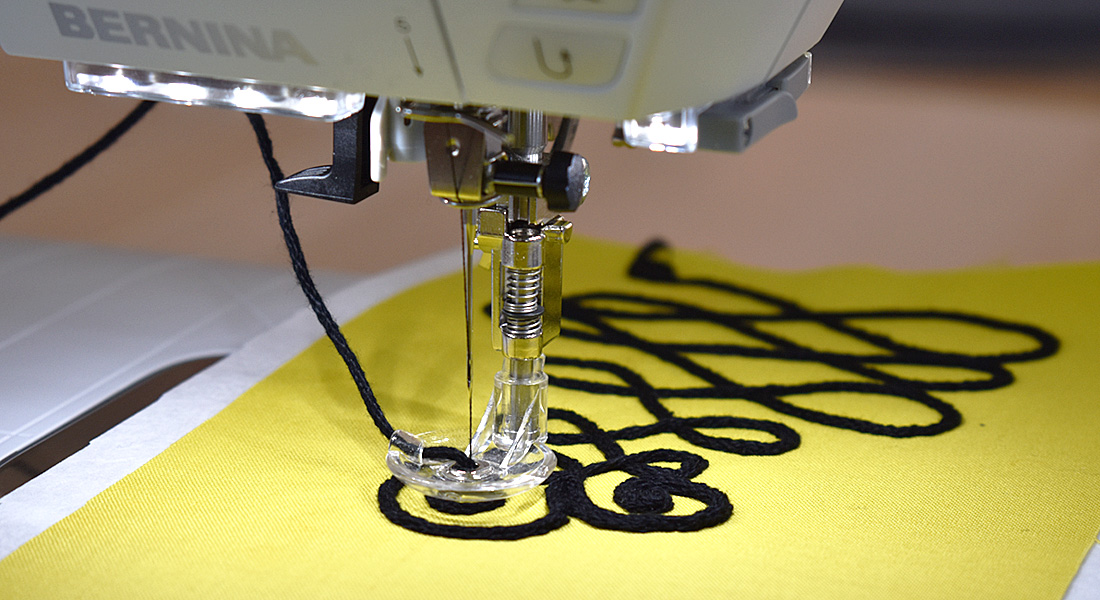
Prepare the fabric with appropriate stabilizer (Tear Away or Cut Away) on the wrong side of the fabric. Tip: Use temporary spray adhesive to bond the layers together. Thread the machine with embroidery thread in the needle and the same thread or coordinating bobbin thread in the bobbin. The Honeycomb stitch (#8 on most BERNINA models) as shown below, is a good choice, but other decorative stitches be used.
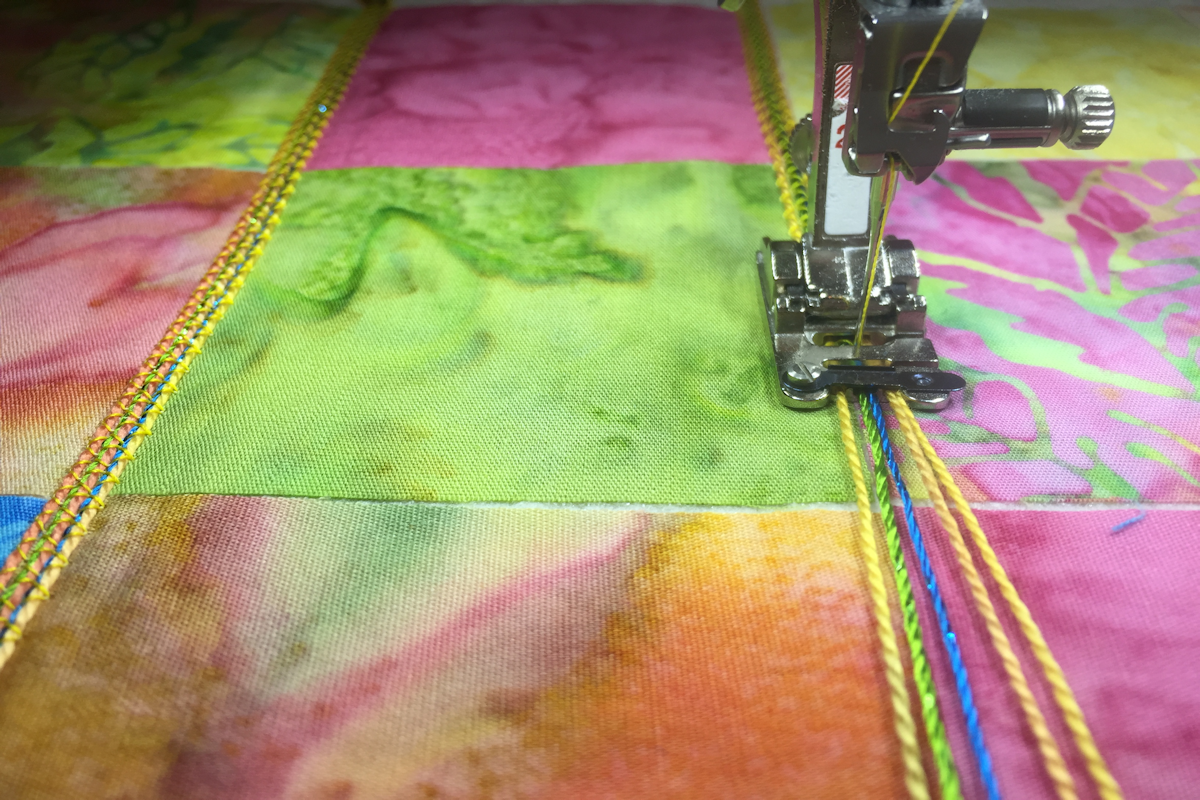
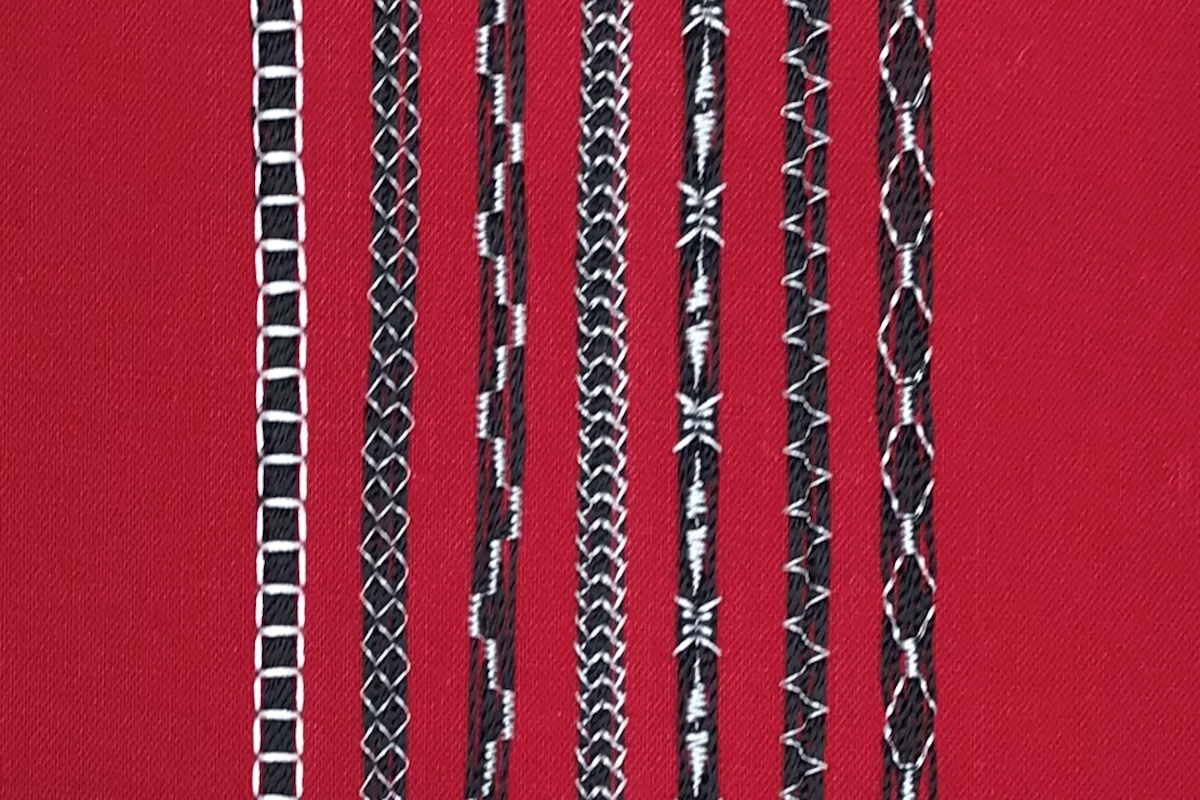
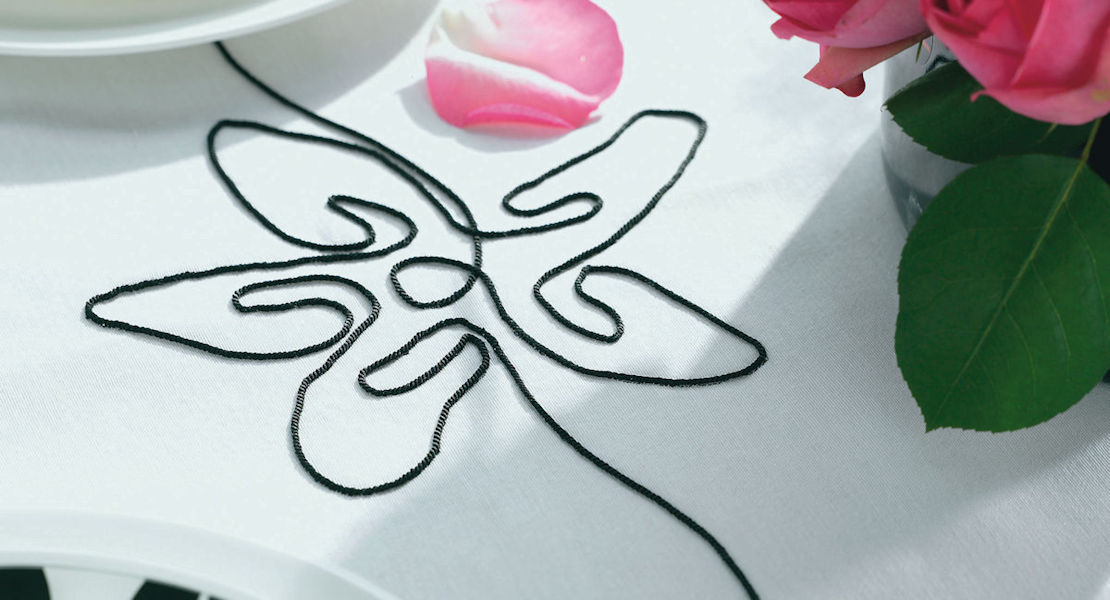
Explore any side-to-side stitches, adjusting the width to 5.5 mm if needed. Sew over the cords in straight and/or gently curving lines.
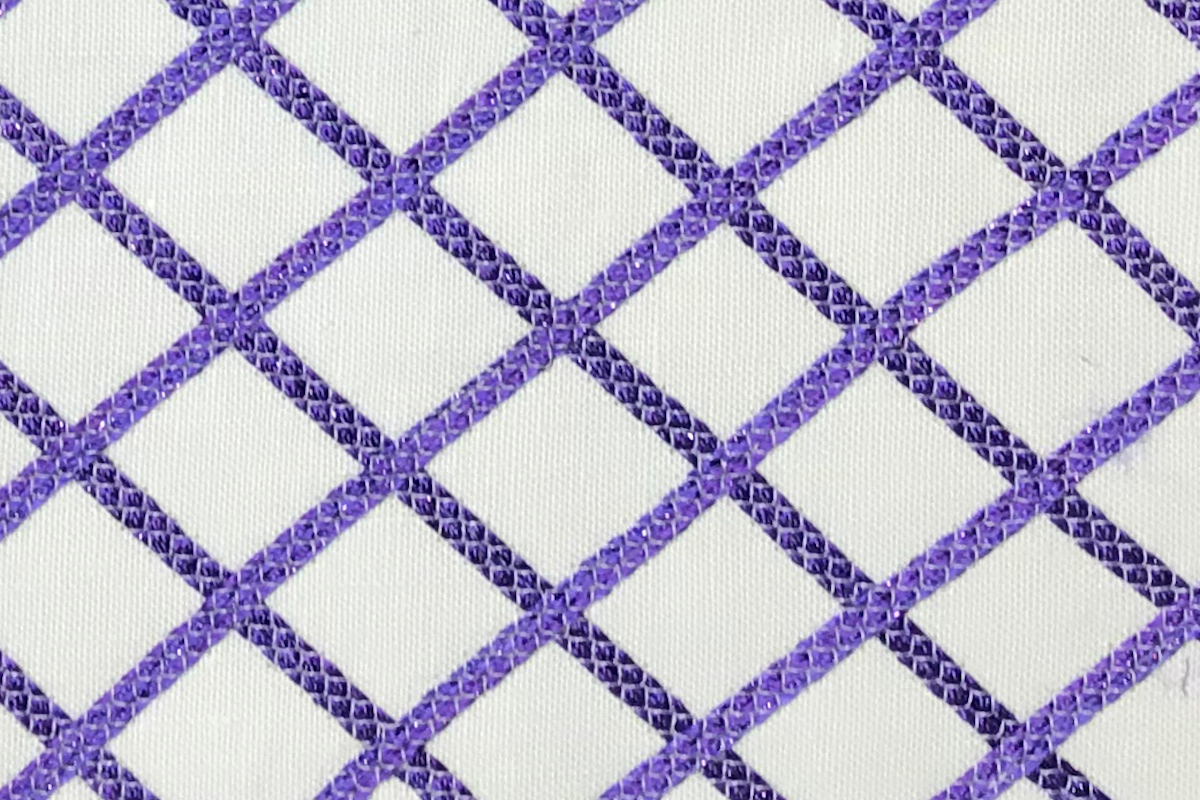
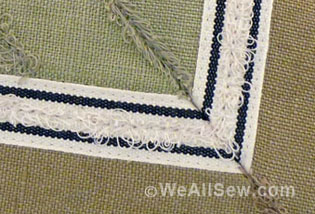
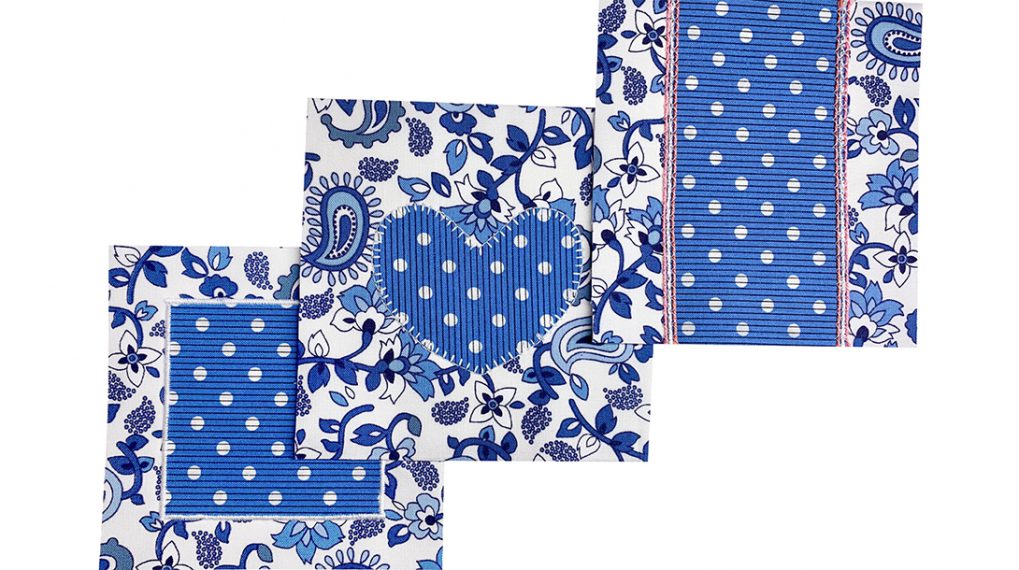
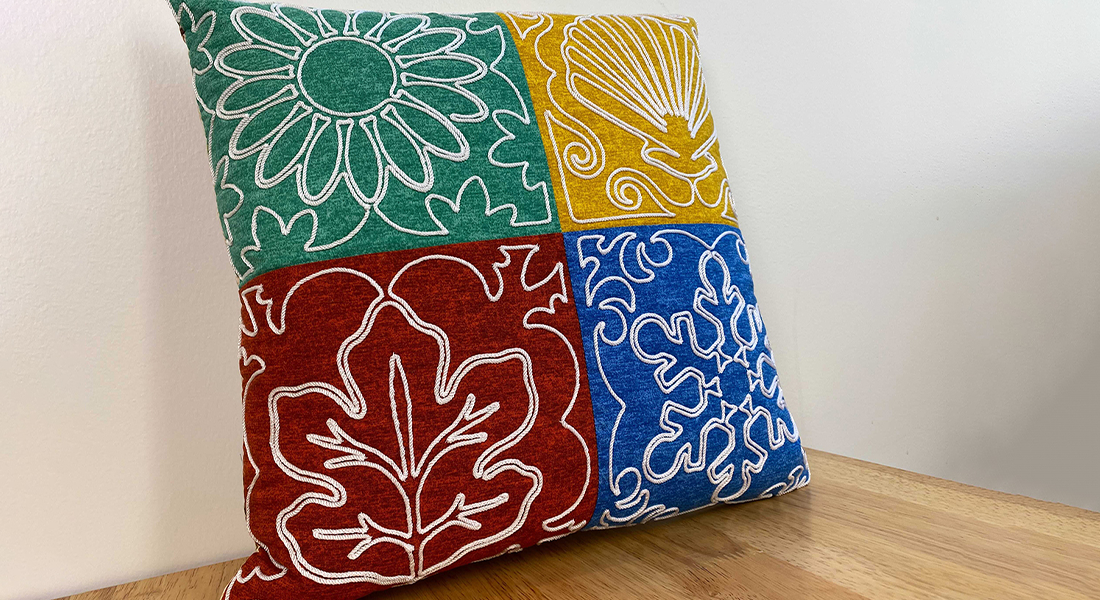
Grid Design
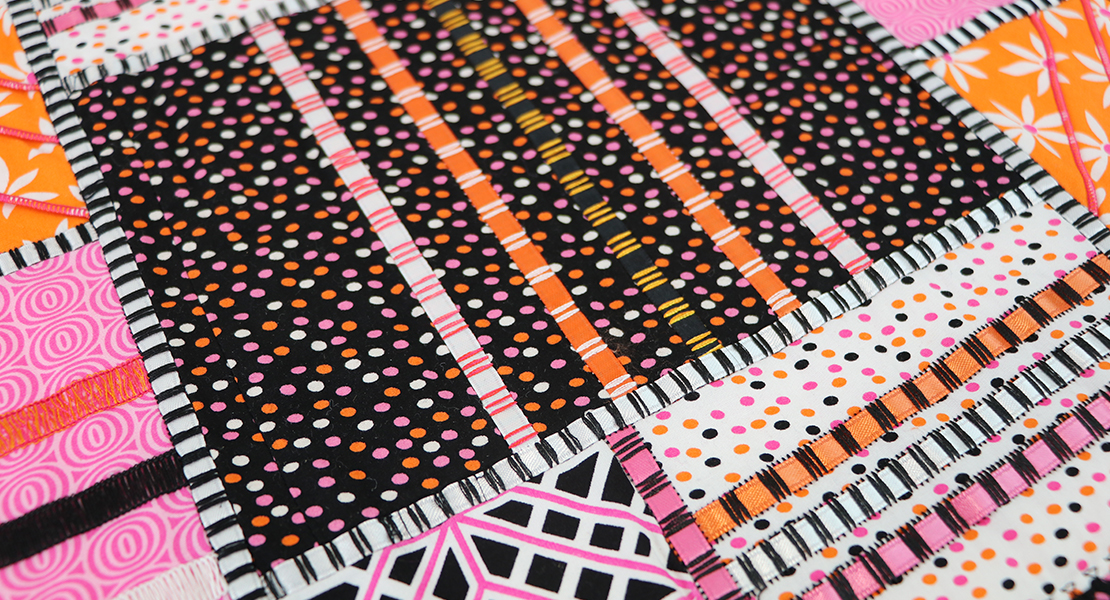
Use flat couching in a variety of ways, including a grid design. Stitch a grid design with two sets of couched lines, sewn in opposite directions to form the grid. The stitch used here is the Honeycomb stitch, #8 on most BERNINA machines
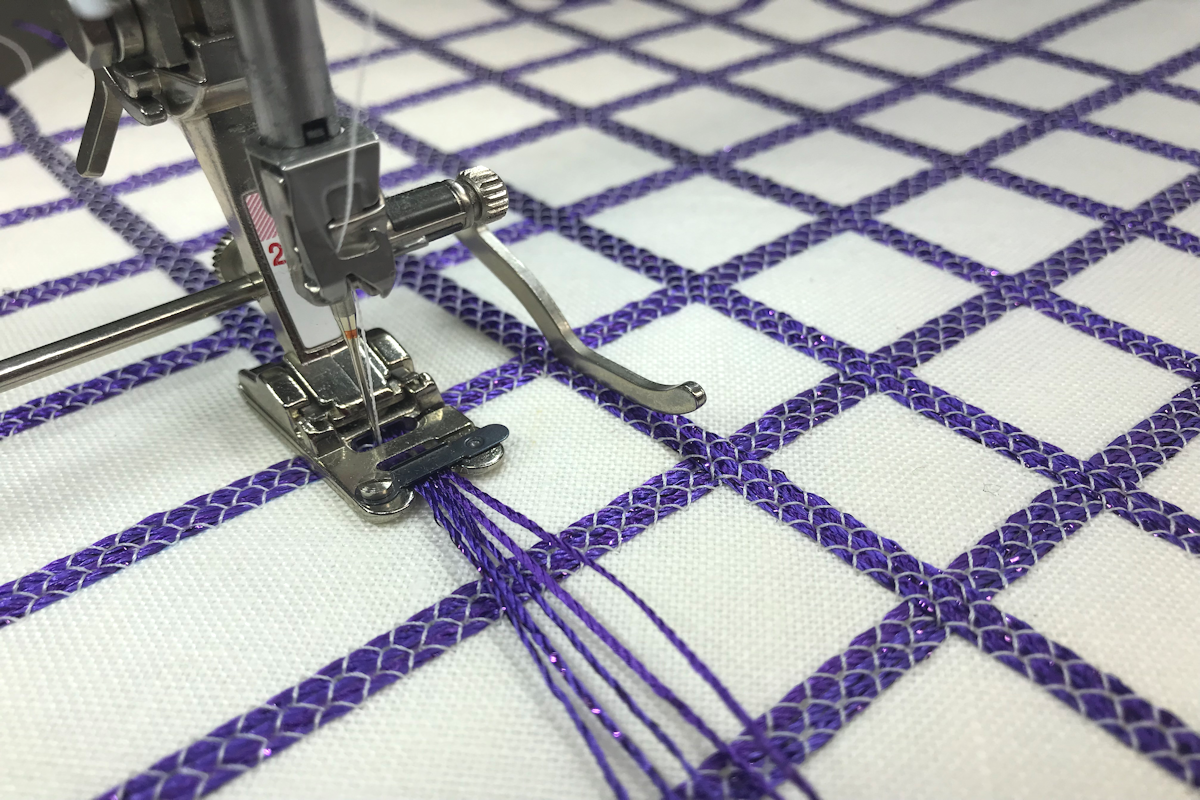
For the diagonal grid pattern shown here, draw two lines on the fabric in opposite diagonal directions to form an X. Attach Foot #22 or #25 to the machine. Add the Quilting/Seam guide to the back of the foot, the desired distance from the needle and tighten the screw. Load the foot with cords/threads and select the desired stitch. Sew along one of the marked lines. To stitch the second line, align the guide on the first couched line and sew. Continue stitching lines until you have couched cords across the fabric.
Stitch the second set of lines, starting with the remaining marked line in the opposite direction.
To see more WeAllSew blog posts on other types of couching, click here.
For more information about couching by machine, click here to download a free eBook, The ABCs of Couching.
For more information about BERNINA presser feet and accessories, see The Big Book of Feet at your local BERNINA store.
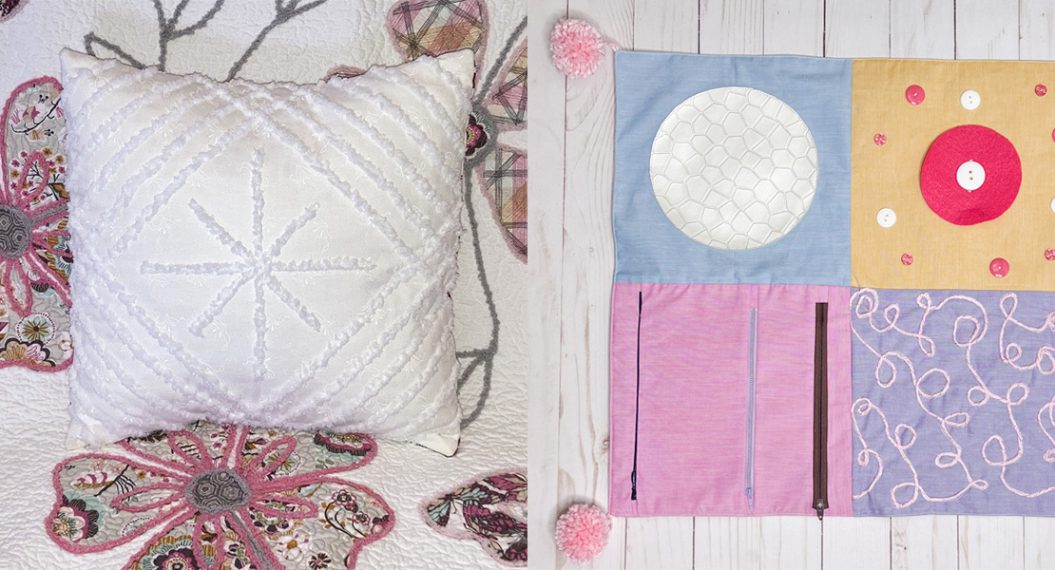
What you might also like
5 comments on “Flat Couching with Cording Feet #22 and #25 ”
-
-
Follow BERNINA USA on Facebook. That’s where you’ll see the moment they post something on the blog.
-
-
Thank you Susan for this article. I will start thinking about ways to incorporate this into my garmet sewing. See you soon. Hilloah Driskill
-
When and where do you use the temporary spray adhesive?
-
Are there equivalent old style feet to the above? I have a record 830.
Leave a Reply
You must be logged in to post a comment.

Hi Susan,
Love your blogs but how can I follow them so I get a notification that your new blog/post is out?