How to Free-motion Quilt Butterflies
Was that a butterfly I saw flutter by?
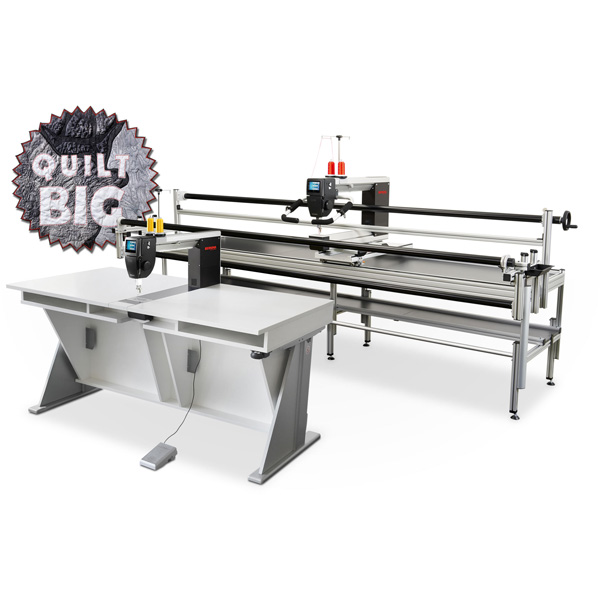
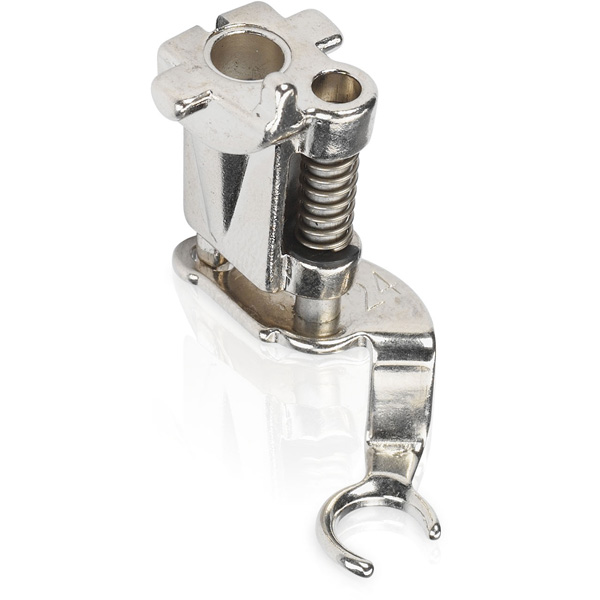
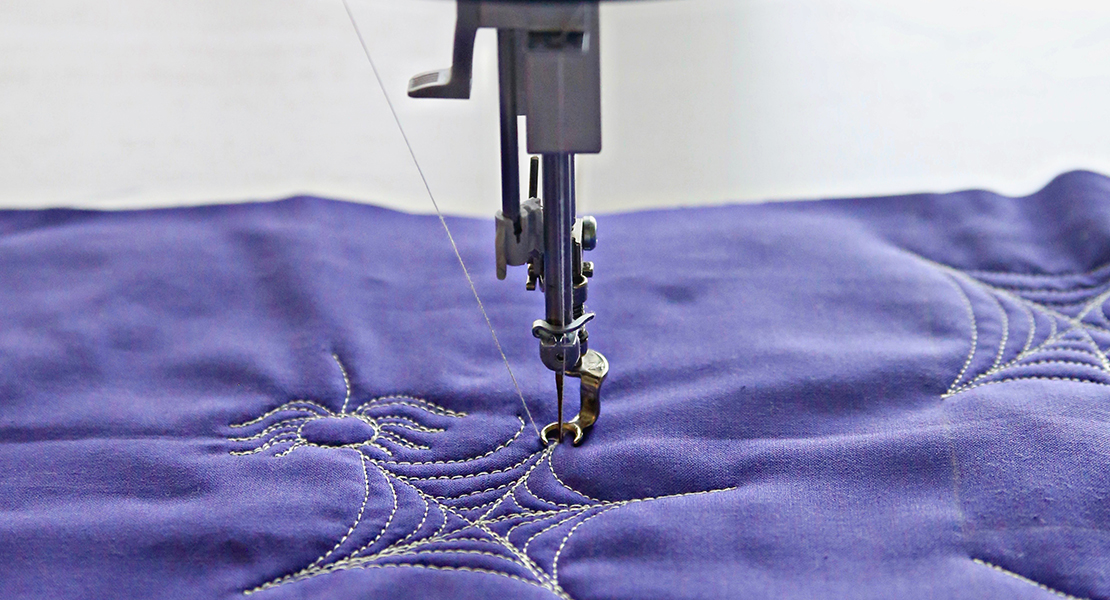
Hello quilters and lepidopterists! I’m Lori Kennedy, author of 25 Days to Better Machine Quilting and I’m back with another step-by-step free motion quilting tutorial. I love to add creative patterns to quilts using the #24 Free Motion Embroidery Foot on my BERNINA Q20. I like the #24 foot because the toe is open and the shaft is offset. This provides a clear view of the quilting area.
The Butterfly motif is charming and rich with history and symbolism. Images of butterflies were found in Egyptian tombs as early as 1350 BC! Butterflies symbolize life, change, hope and joy—fitting sentiments to be quilted into our heirloom quilts!
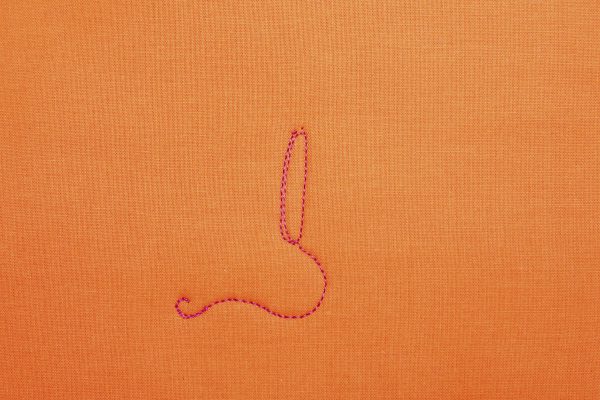
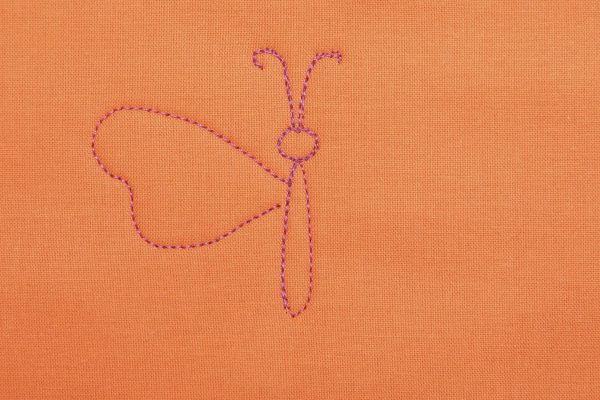
Begin with a wavy flight line. Starting on the bottom, stitch a long oval shape for one and ½ revolutions, ending on the top of the oval.
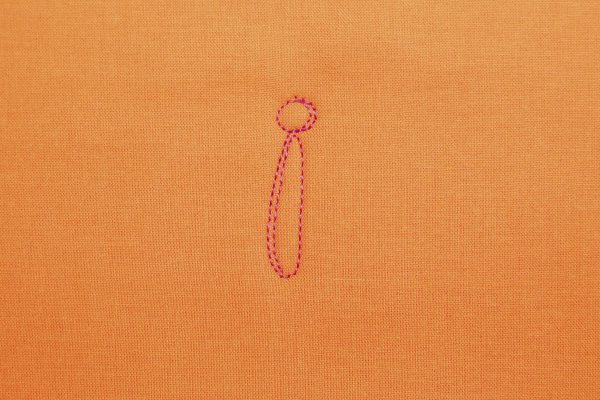
To create the butterfly’s head, add a small circle, again stitching one and ½ revolutions. Stop on top of the circle.
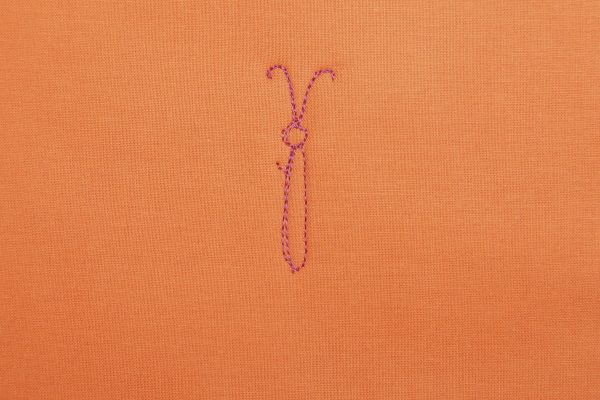
Add two antennae, overstitching each curled line back to the butterfly head. Stitch along the left side of the circle and down a few stitches on the oval.
Add a large wing on the left side. Be creative with the wing shape to give the butterfly personality!
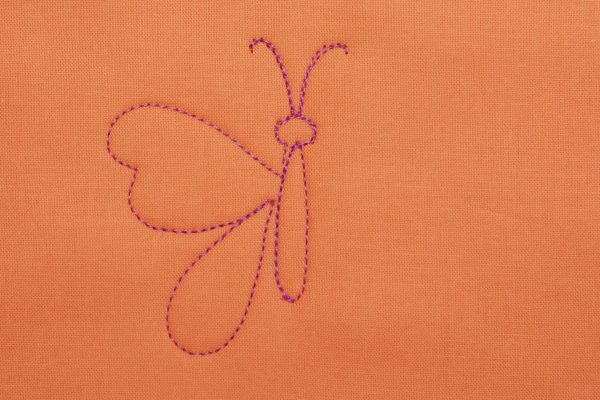
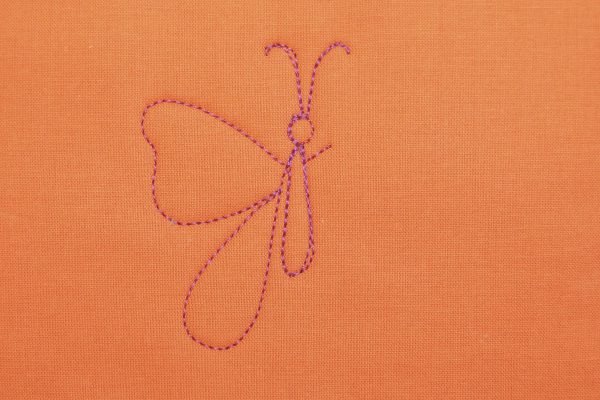
Add a small teardrop wing. Again, try different shapes to create unique butterflies.
Continue the teardrop line, stitching around the top of the oval body.
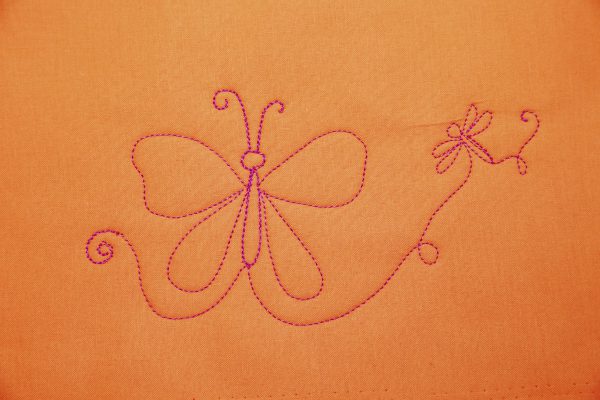
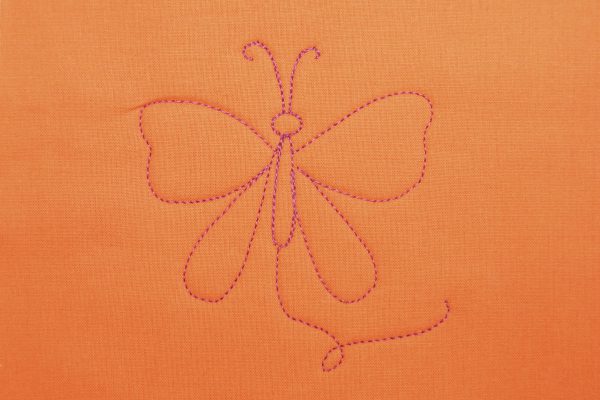
Add mirror image wings on the right side then stitch along the oval body. Add a loopy “flight” line to begin the next butterfly in the pattern.
With more than 18,000 known species, once you know the basic butterfly design, it’s easy to change the shape and size of the wings to create interesting pattern variations. Before you start quilting, doodle your own variations.
For more machine quilting tips and techniques, join the FREE quilt-a-long: 25 Weeks to Better Quilting at LoriKennedyQuilts.com.
