How to Free-Motion Quilt Swirl Designs
Hi everyone,
BERNINA invited me to guest post over here to give some free-motion quilting tips (thanks, BERNINA)—I thought we’d talk about swirls because they give such great texture and movement to a quilt, yet people frequently struggle to find a style that suits them. But once you learn the basic rhythm, there are so many variations that you’ll be sure to find one that you enjoy. So let’s get started!
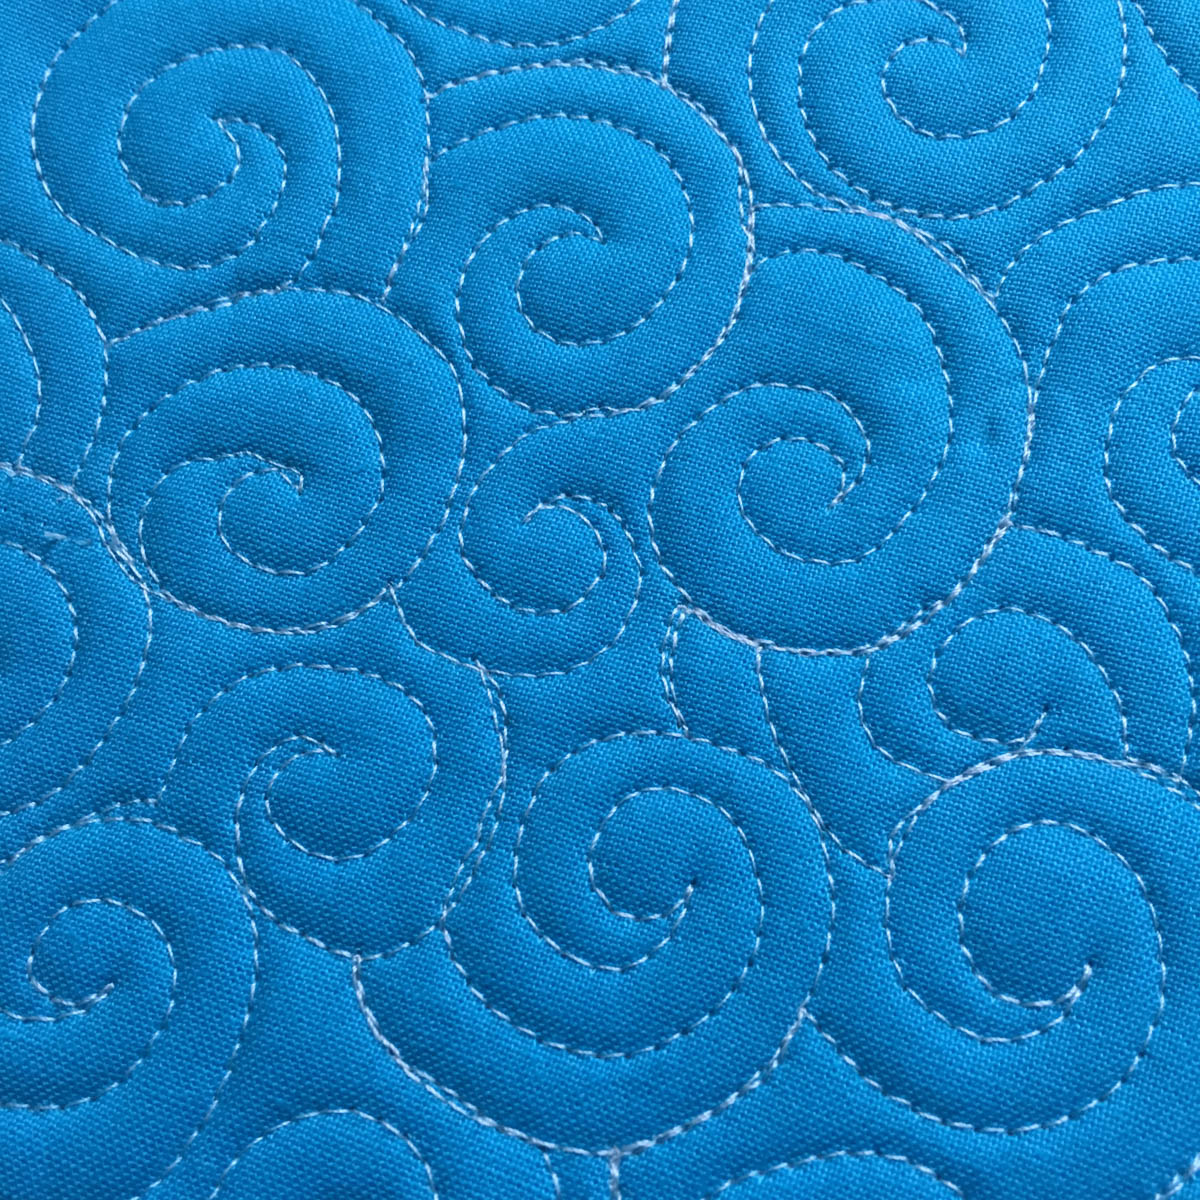
Traditional swirls look stacked, one on top of the other. Basically, you travel into the center of each swirl and then travel out until you hit the edge of a previous swirl or the edge of a block. Then you travel along that edge before branching out to the next swirl. Because of the way traditional swirls nest, they require a little backtracking along perviously quilted lines. Take a peek:
The advantage of using nested swirls (other than the fact that they look great!) is that, since their edges touch, you can easily combine them with other motifs, like pebbles or paisleys.
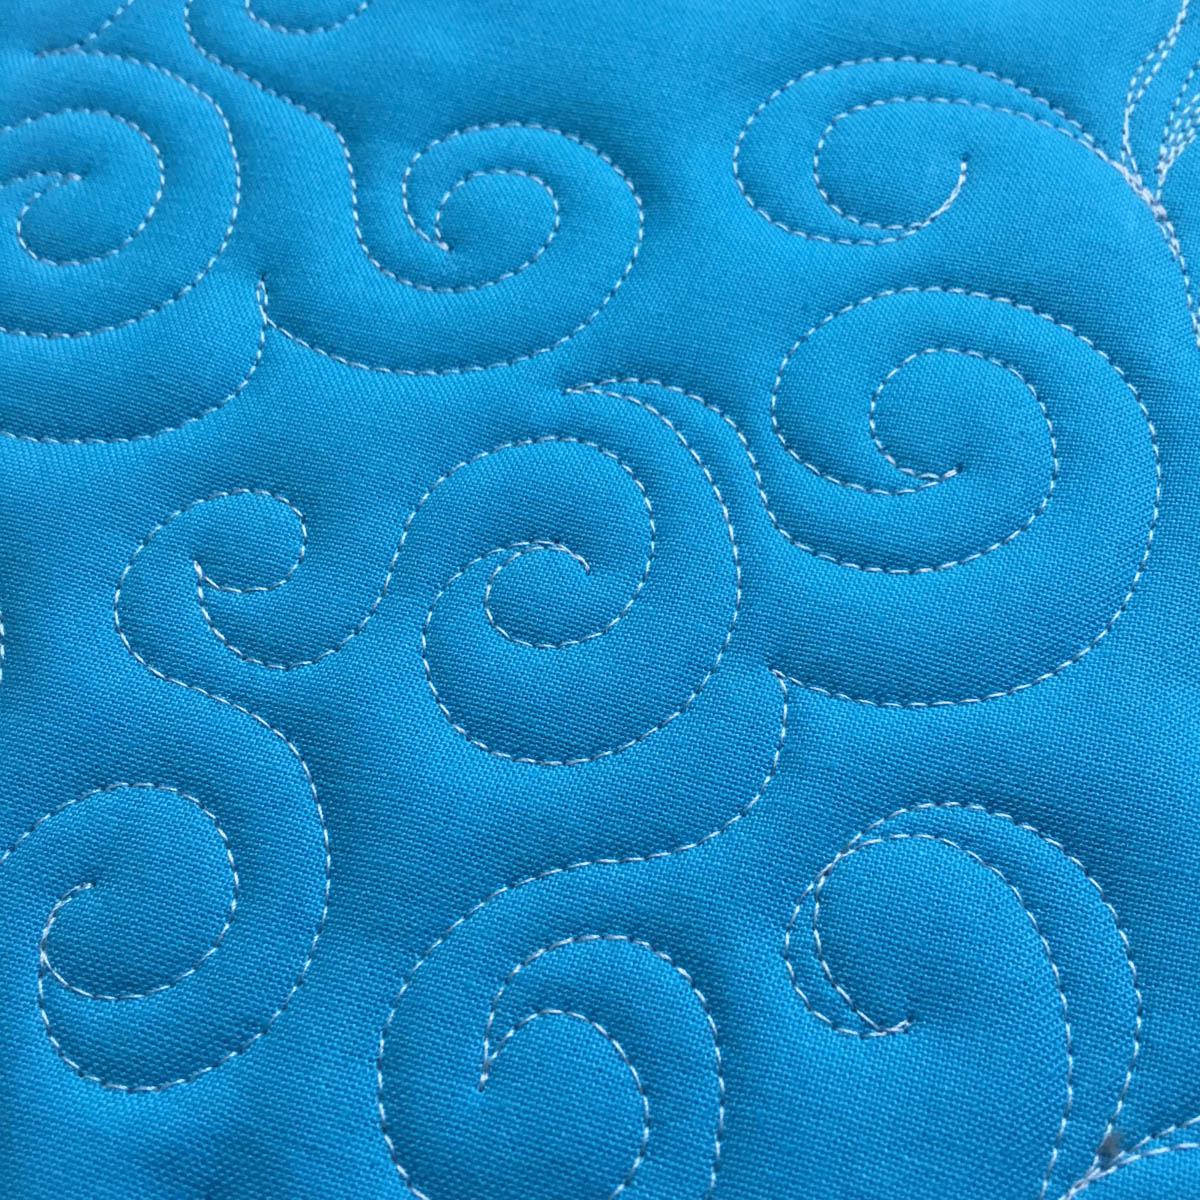
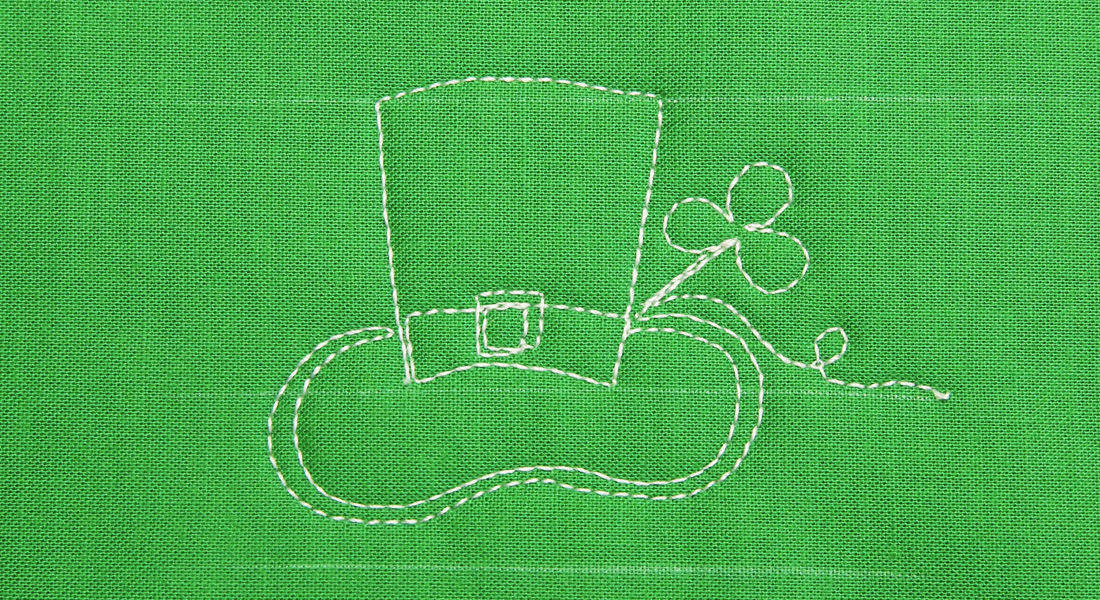
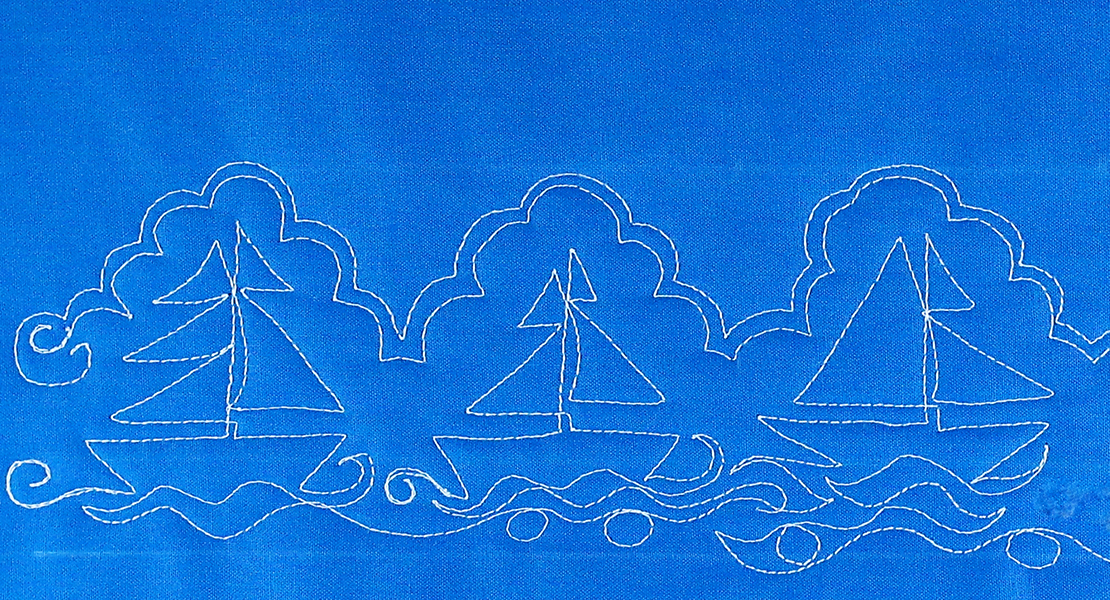
But if you find backtracking frustrating, you might prefer to quilt a more open swirl design. It looks wonderful too and has the same sense of movement. To form an open swirl, travel into the center of the swirl and then travel out as with the closed swirl, but this time stop before you hit the edge an adjacent motif and bounce or echo around the shape to start your next swirl. Let me show you what I mean:
When stitching swirls (or any motifs, for that matter) think about where you need to stop or start when repositioning hands (or feet in the base of long arms). You want to stop where there is a natural corner to the design, so that when you start again little differences in direction are not noticeable. In the case of swirls stop when you get right into a swirl’s center, before you start heading out, or stop once you have completed a swirl before moving onto the next one.
And I know we’ve all tried it (myself more times than I’d care to admit) but it doesn’t hurt to remind ourselves that, while we think we are smooth enough to reposition our hands WHILE we are quilting (as opposed to stopping before repositioning), SADLY, most of us are not. I know…I don’t like it either, but we really need to stop and then move our hands.
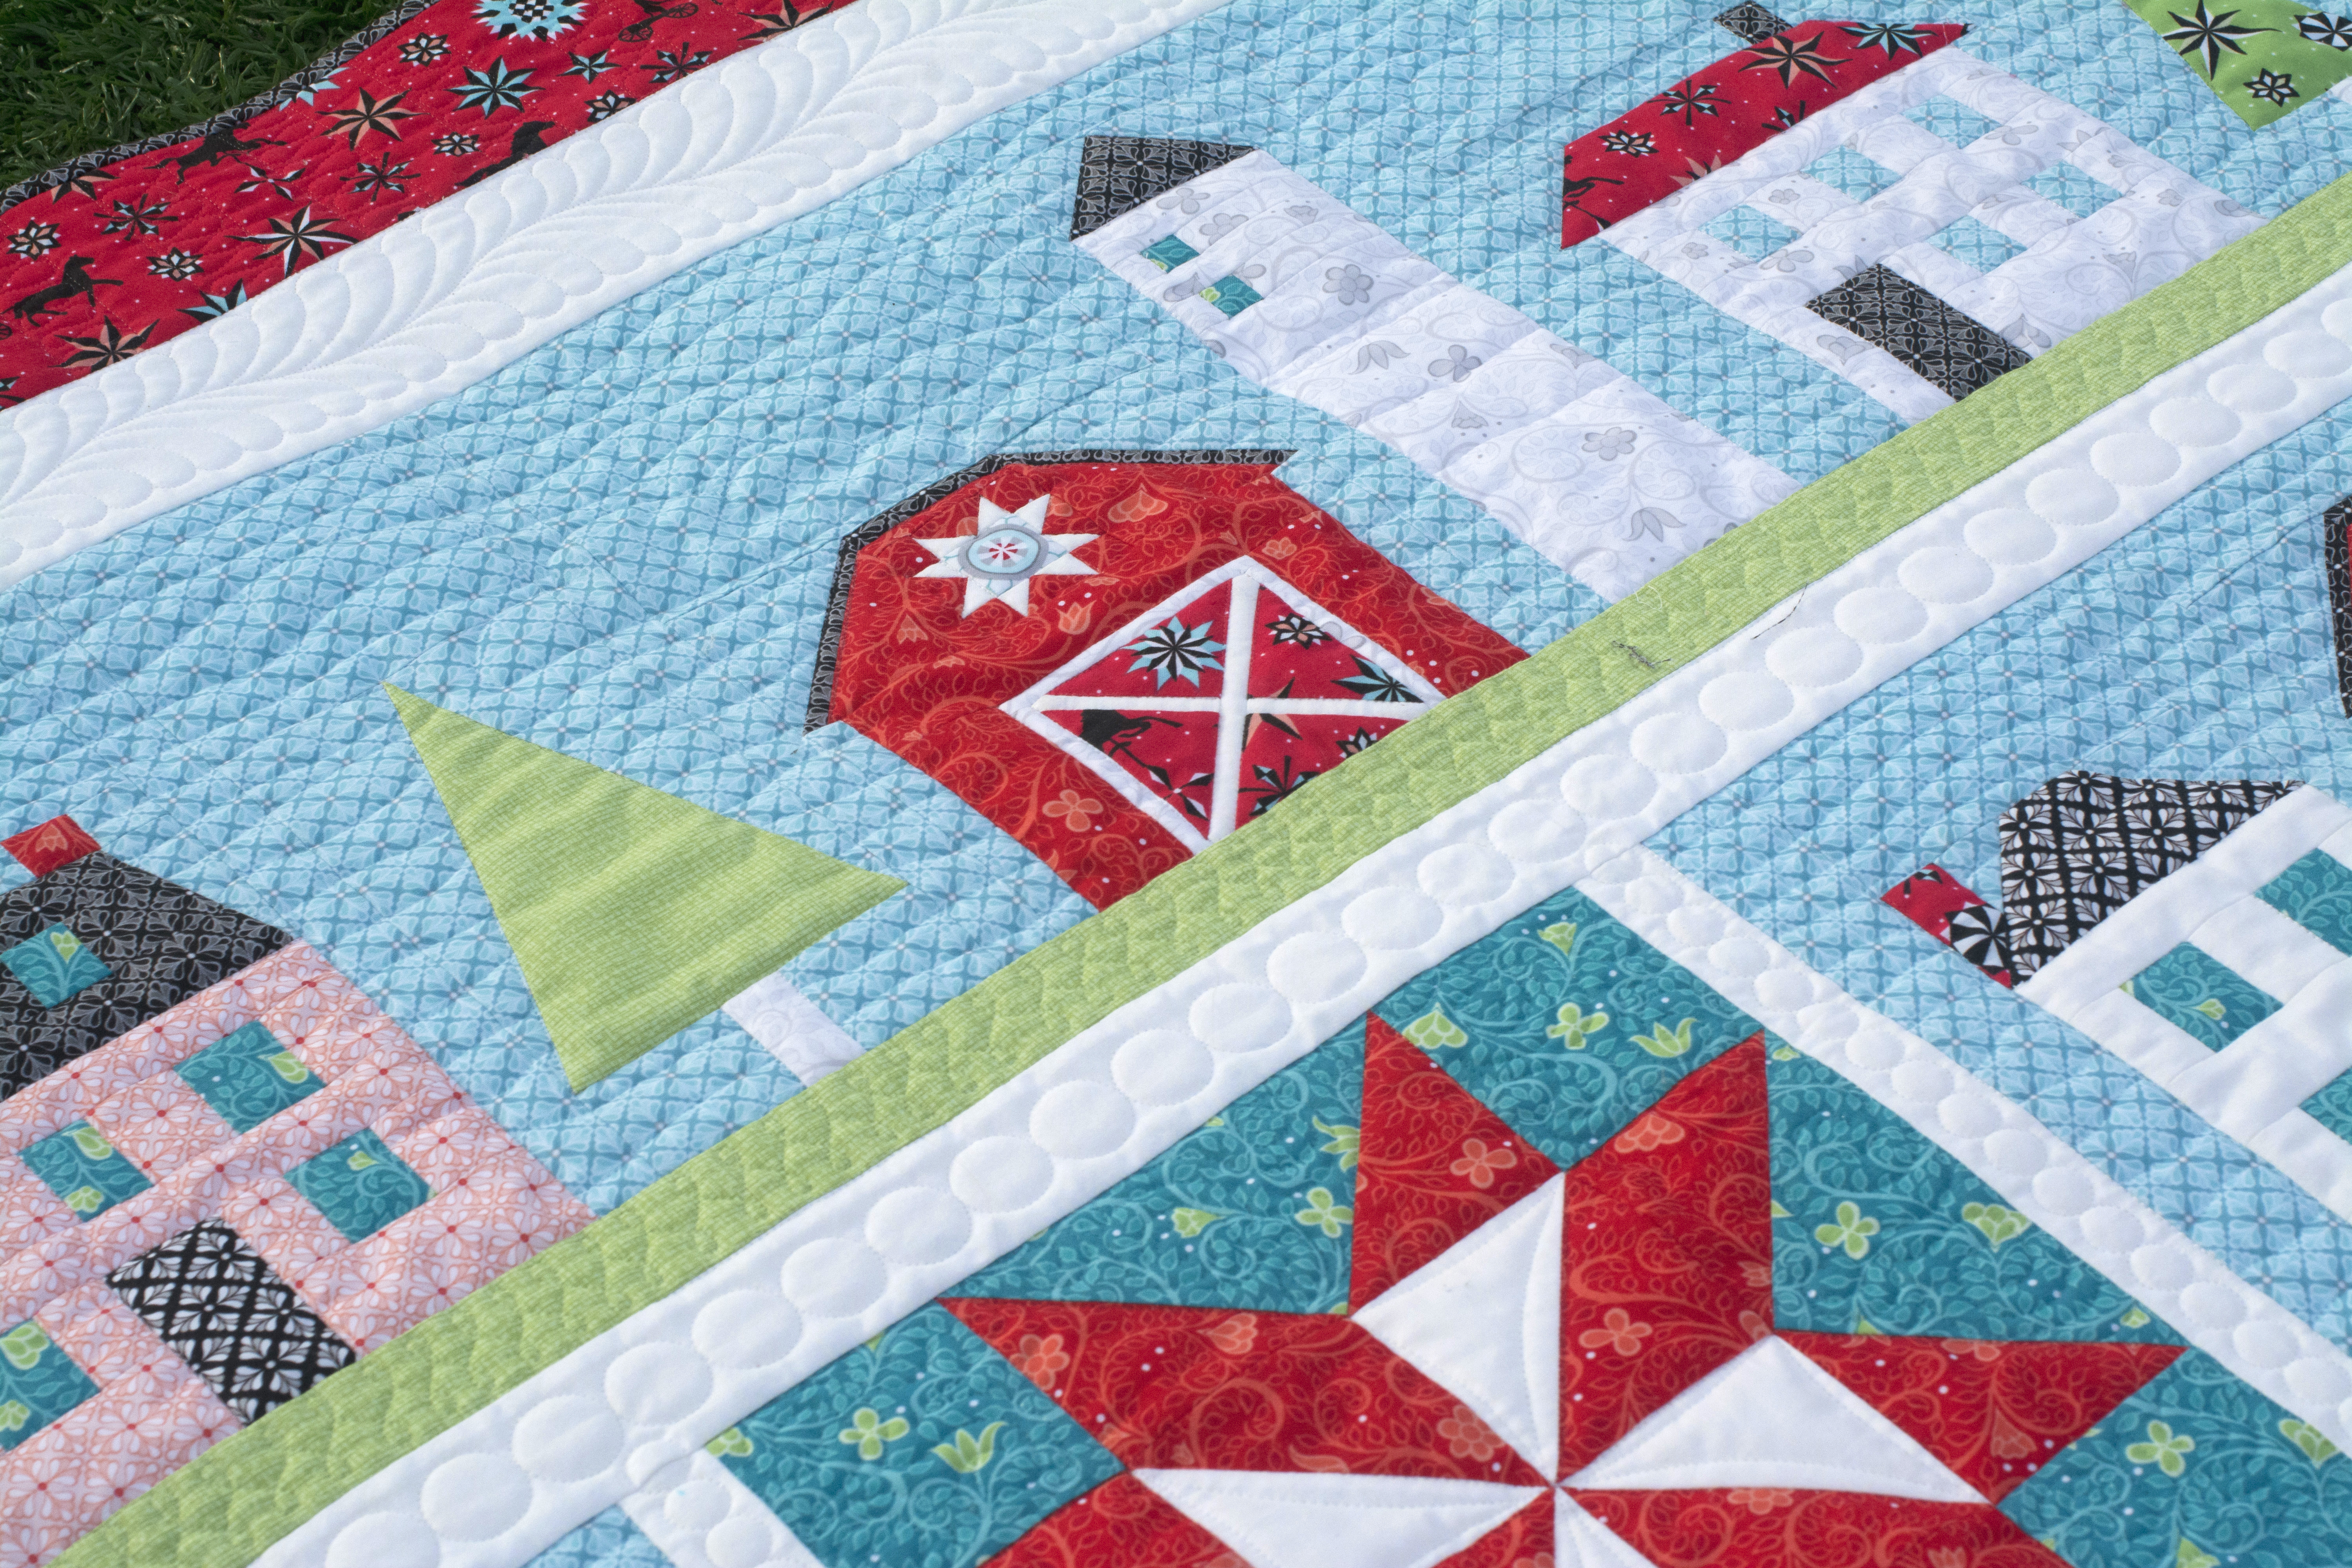
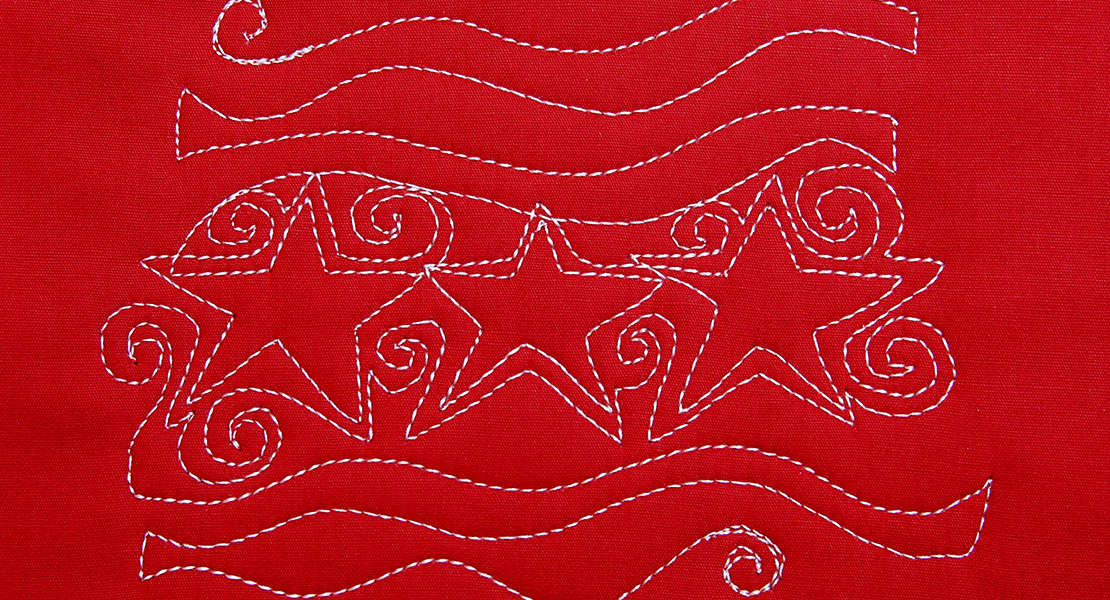
I used the open swirl pattern on my Twinkle quilt, featuring my Sparkle collection for Benartex.
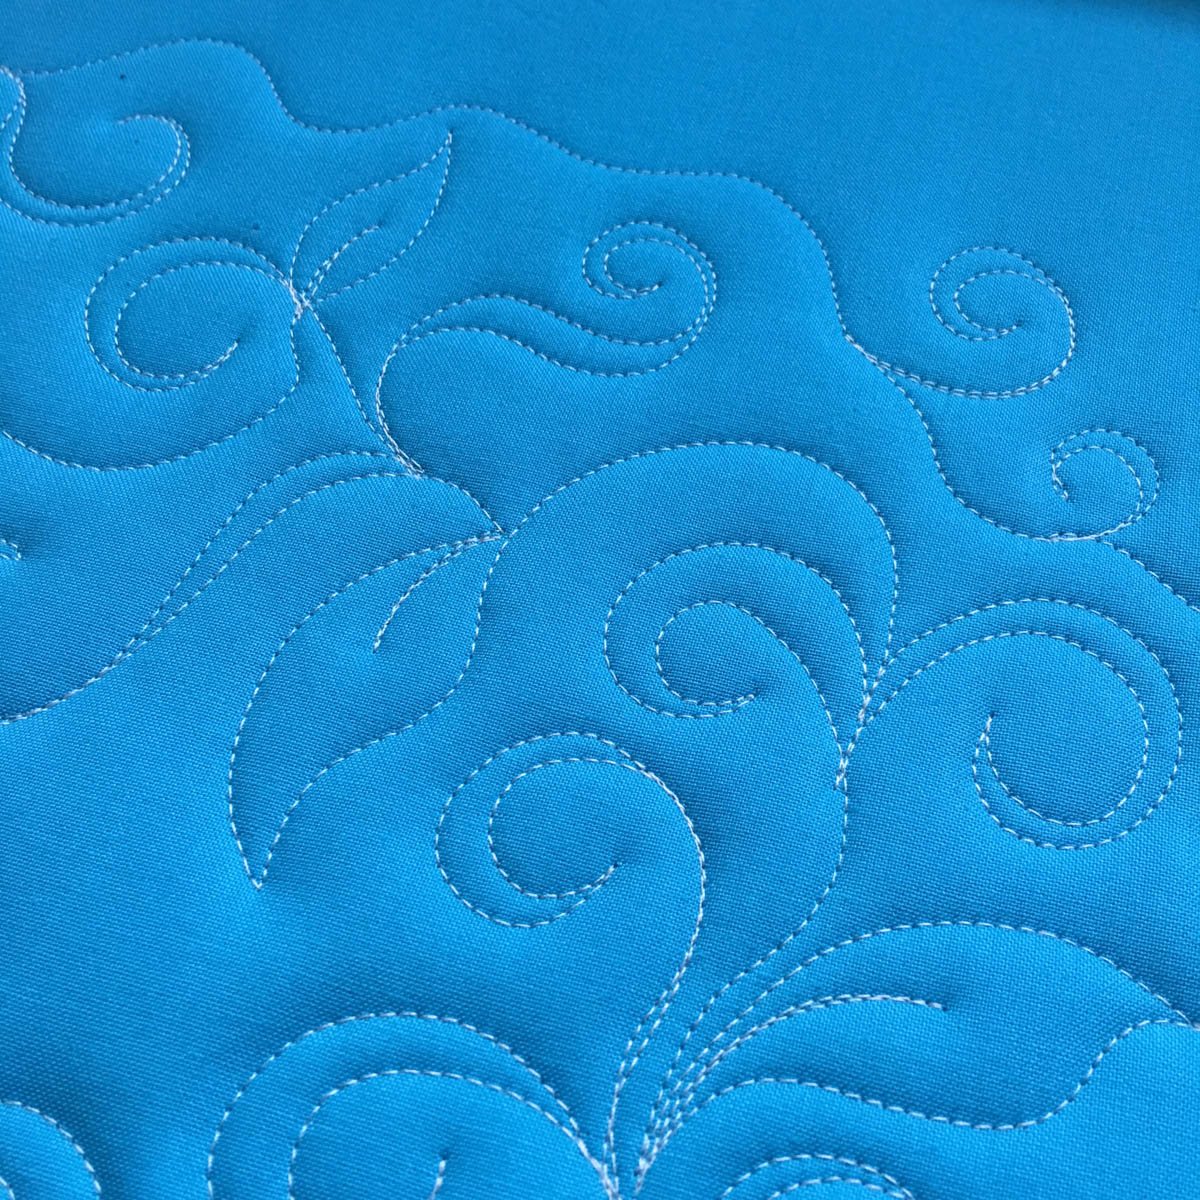
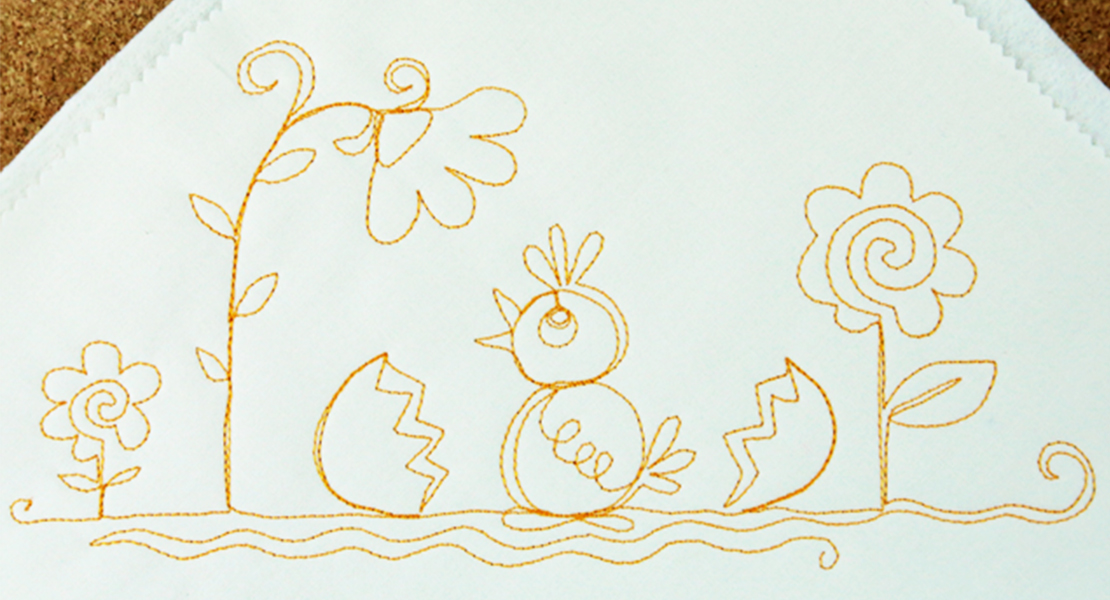
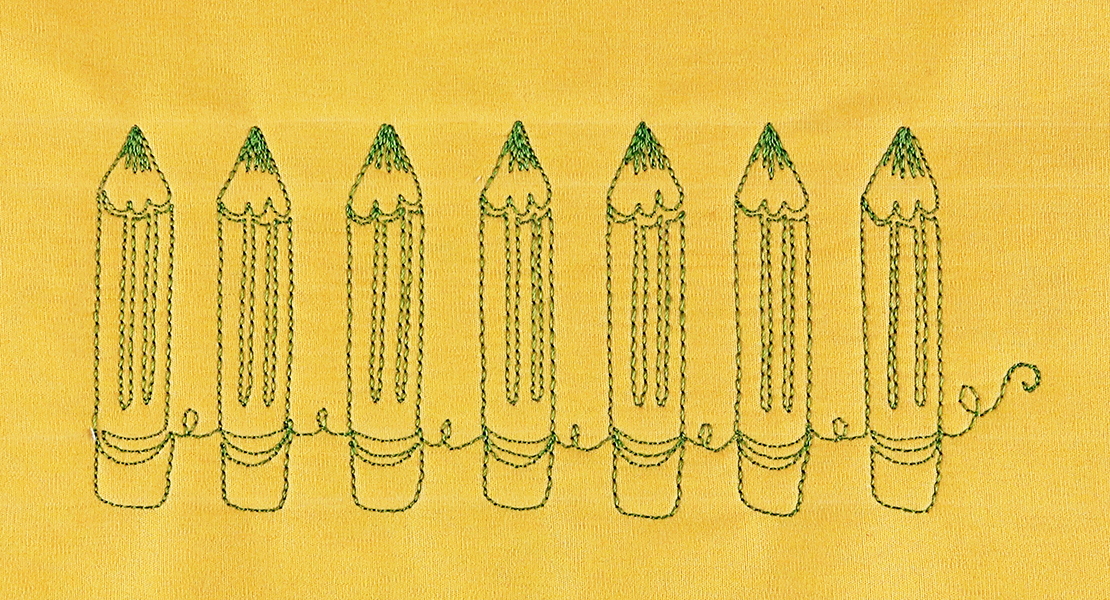
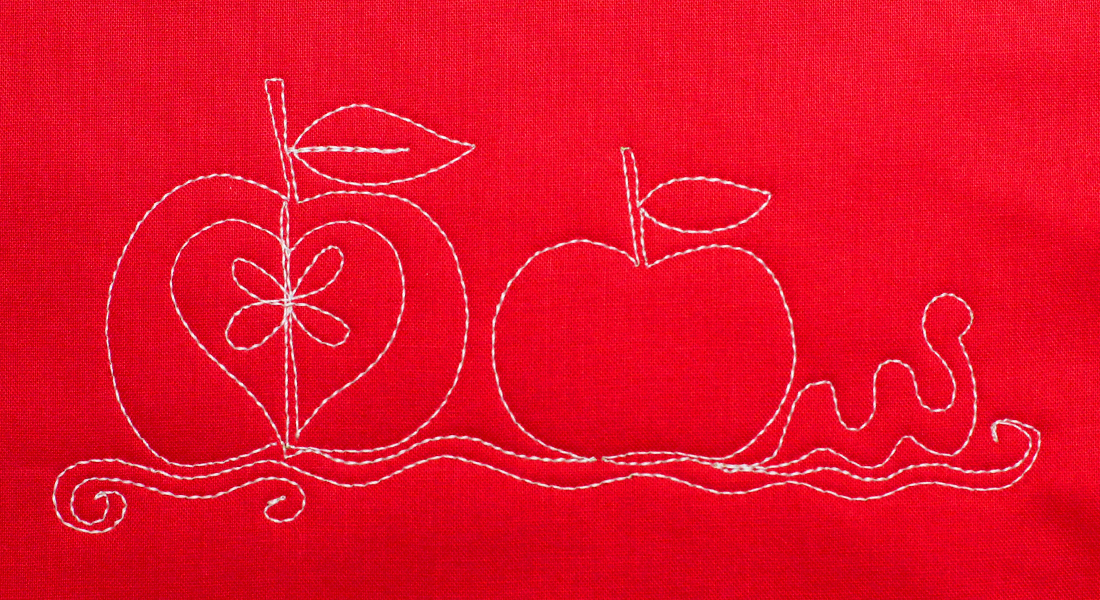
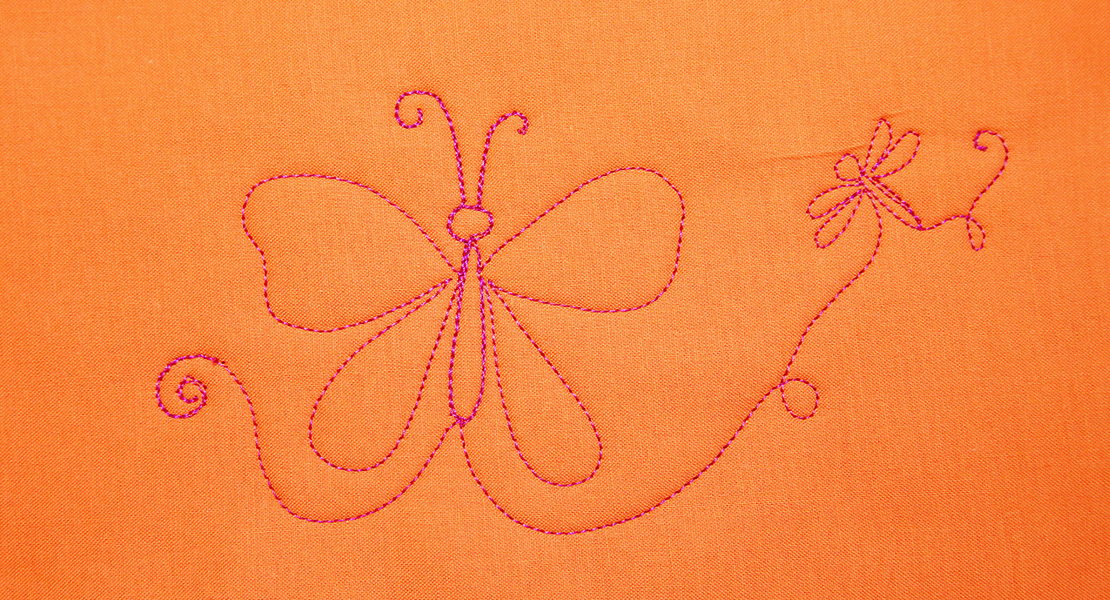
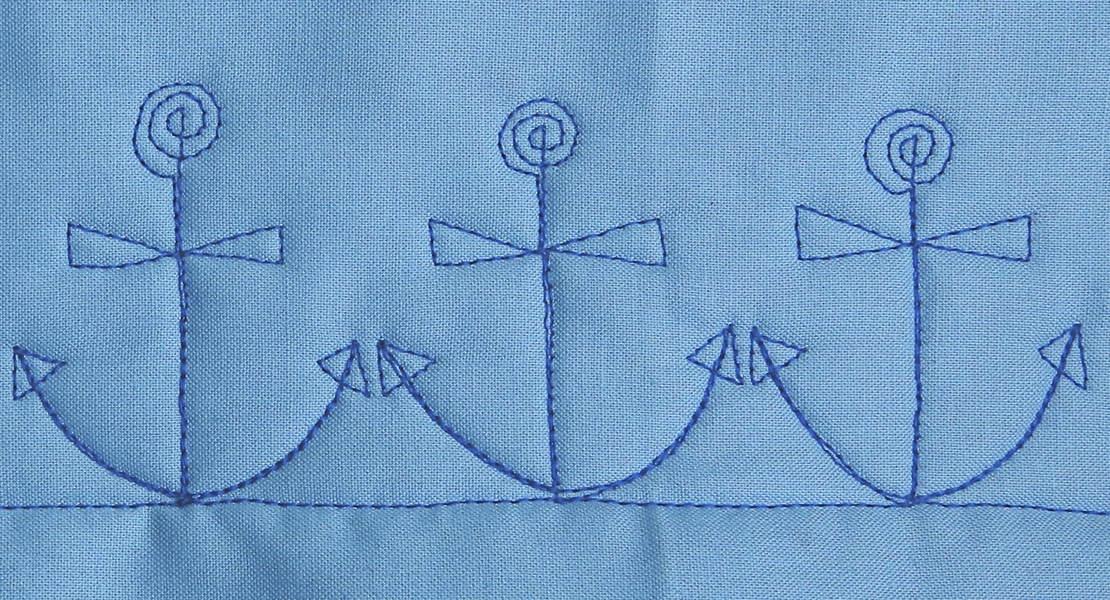
The most frequent problem I see when teaching how to quilt swirls is that people start stitching a straight line before starting the curve, resulting in a swirl that looks like it is on the end of a stem. Not a problem. If you do that everywhere it is a “DESIGN DECISION,” and a good one at that! Swirls on a stem are a favorite of mine! They are quickly executed and look great with a few leaves sprinkled in.
You can download a PDF of swirl variations here: Swirl Design Techniques for Free-Motion Quilting
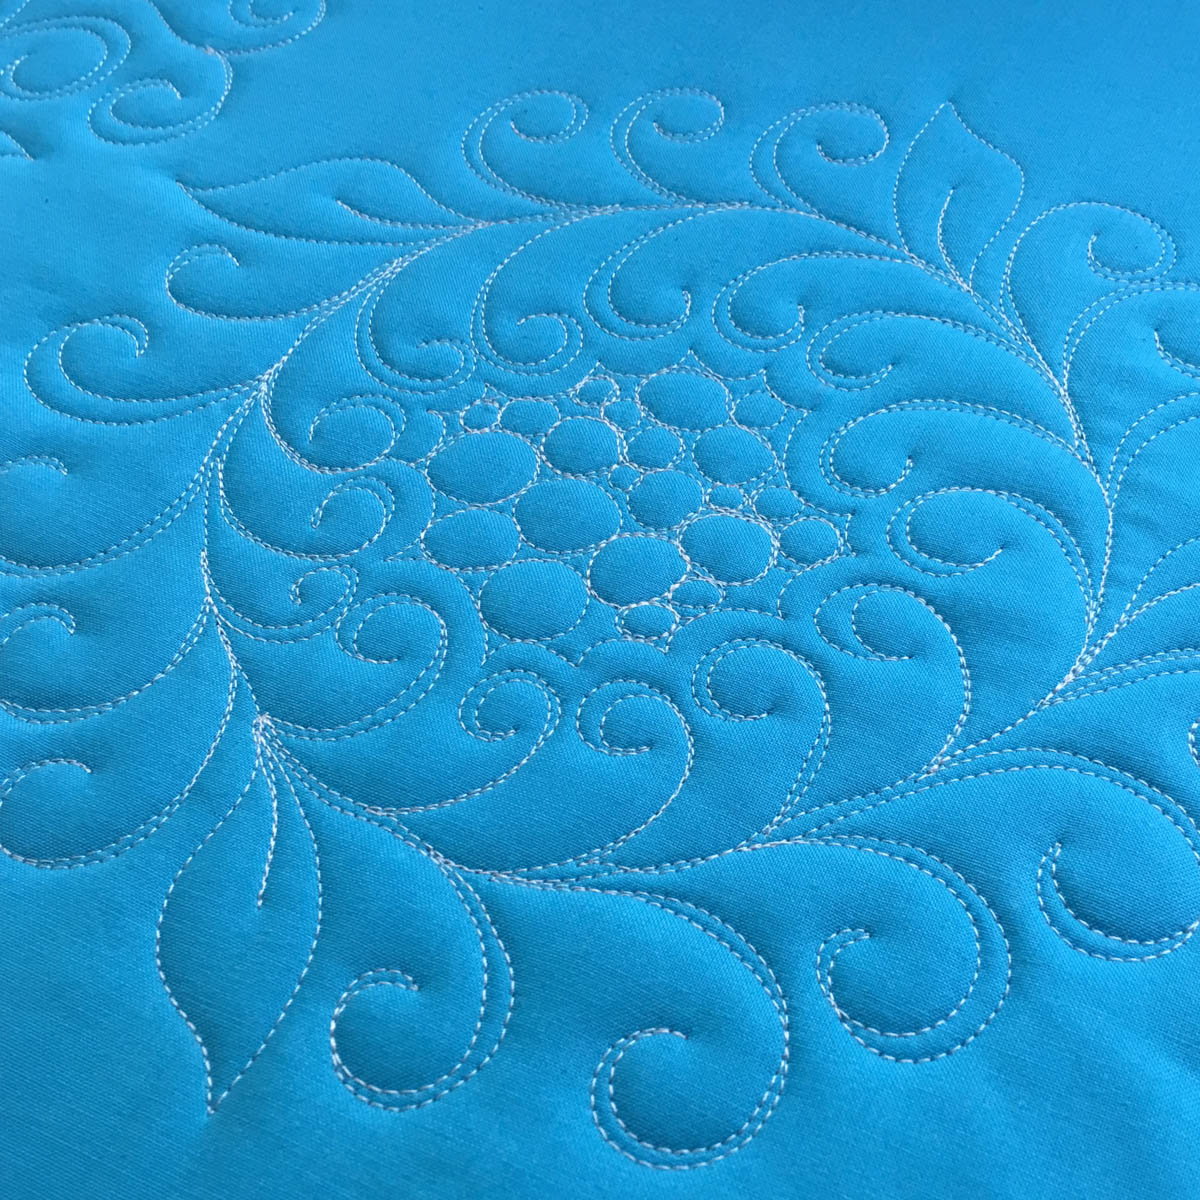
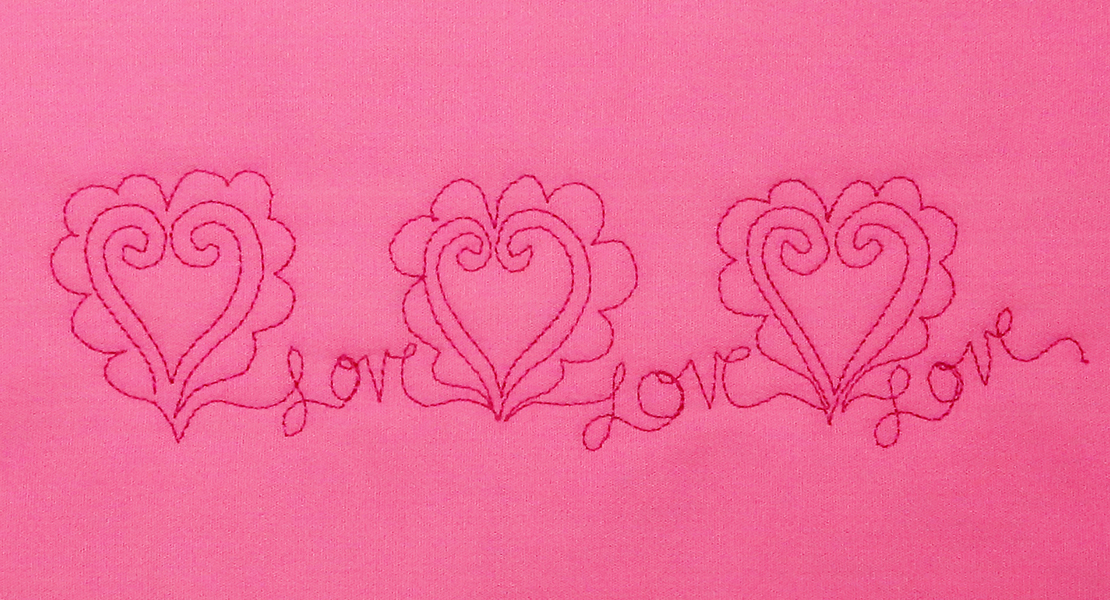
Did you know you can make these type of swirls into a feather (link to my previous post) or even into a wreath? Mark a circle and start stitching swirls along the inner edge and then the outer edge. Maybe quilt in a few leaves for extra interest.
I echoed the inner swirls and filled in the center with pebbles. It sure was fun!
Open Swirl Design
Closed Swirl Design
Vine Swirl Design
Wreath Swirl Design
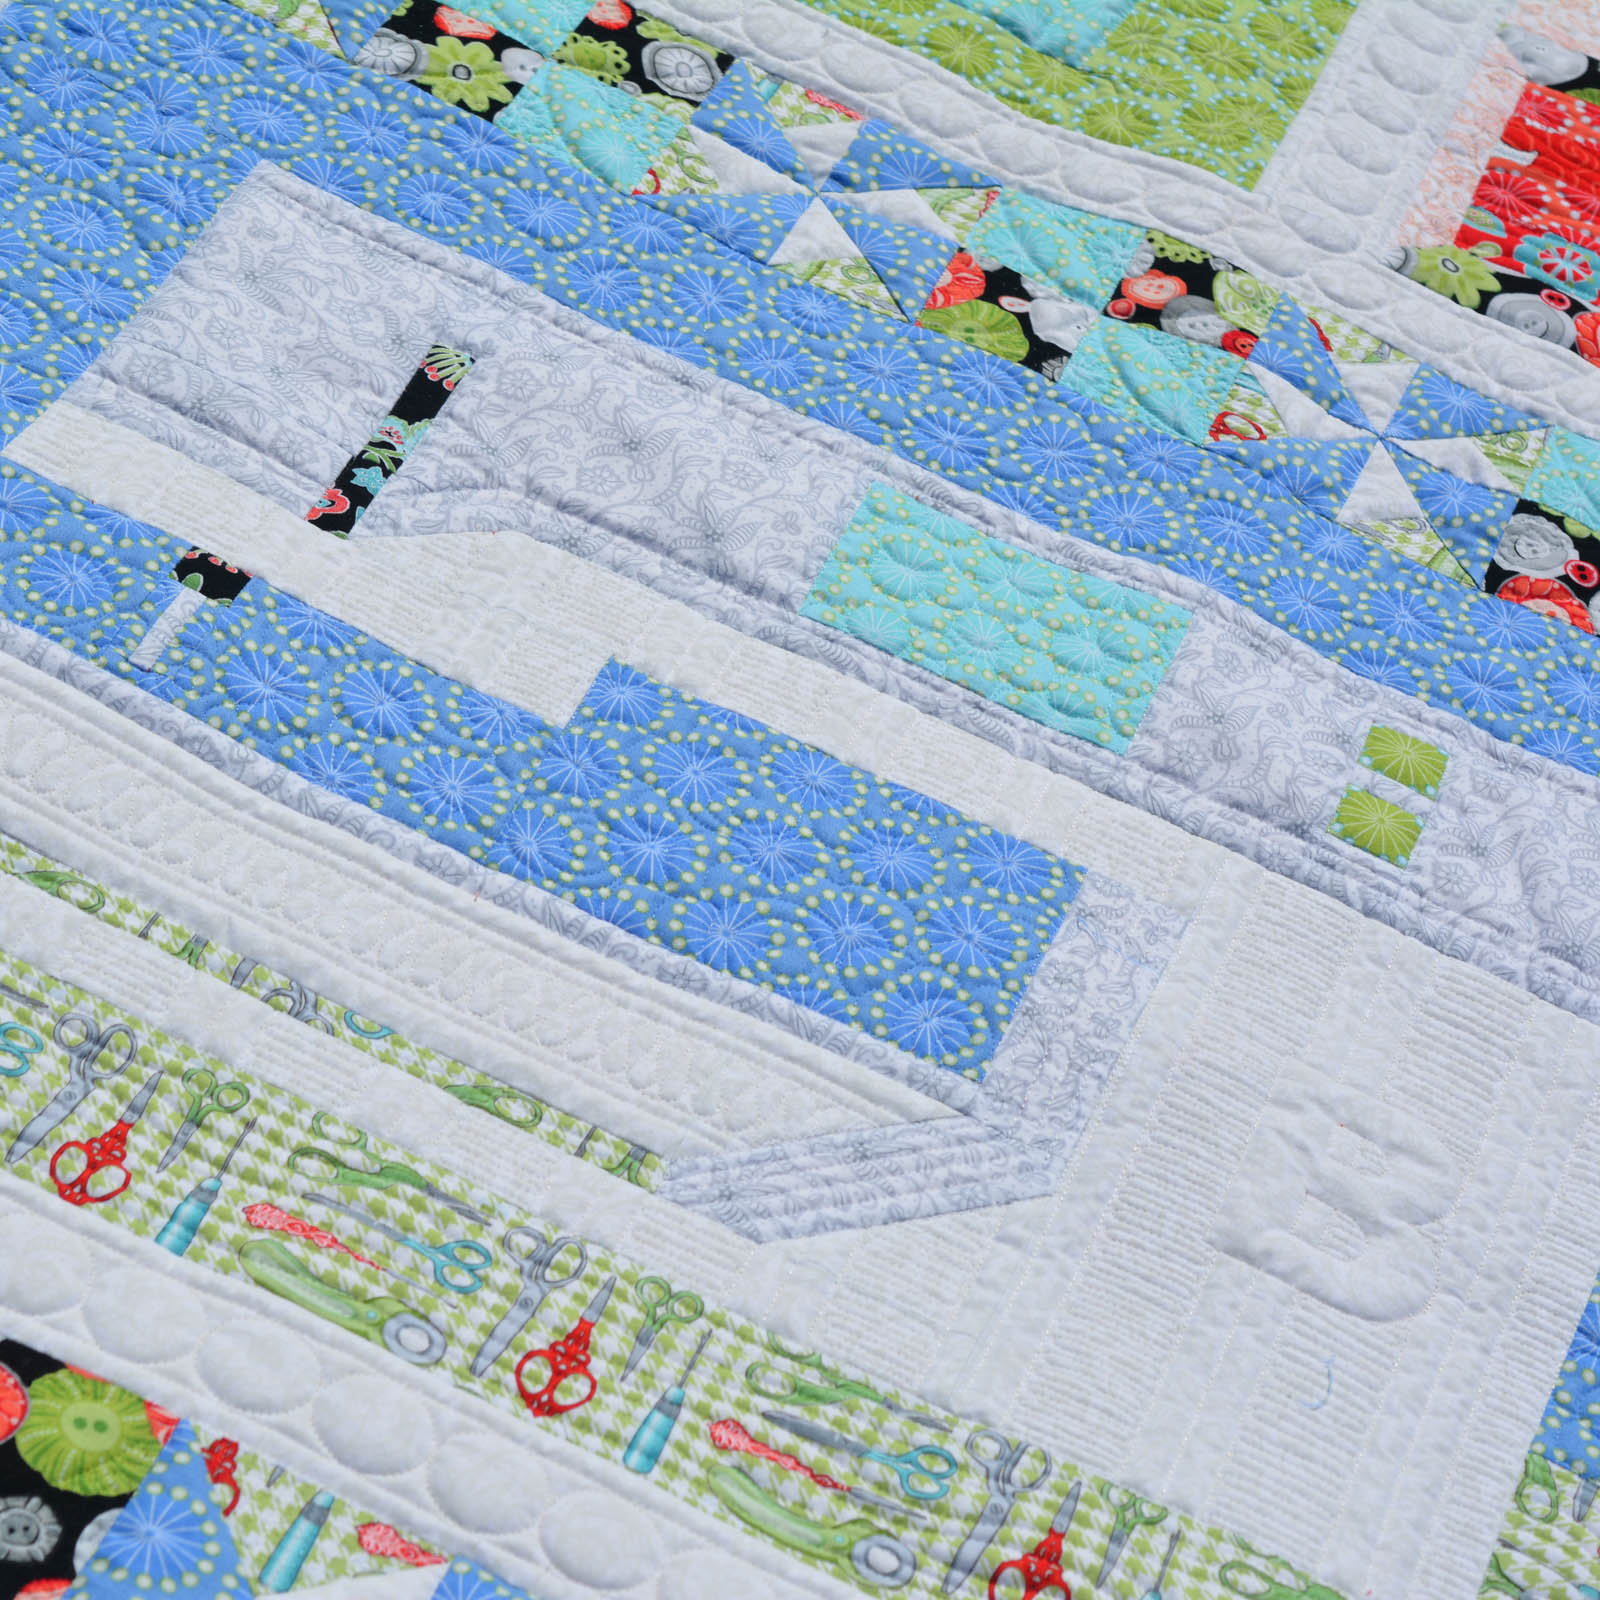
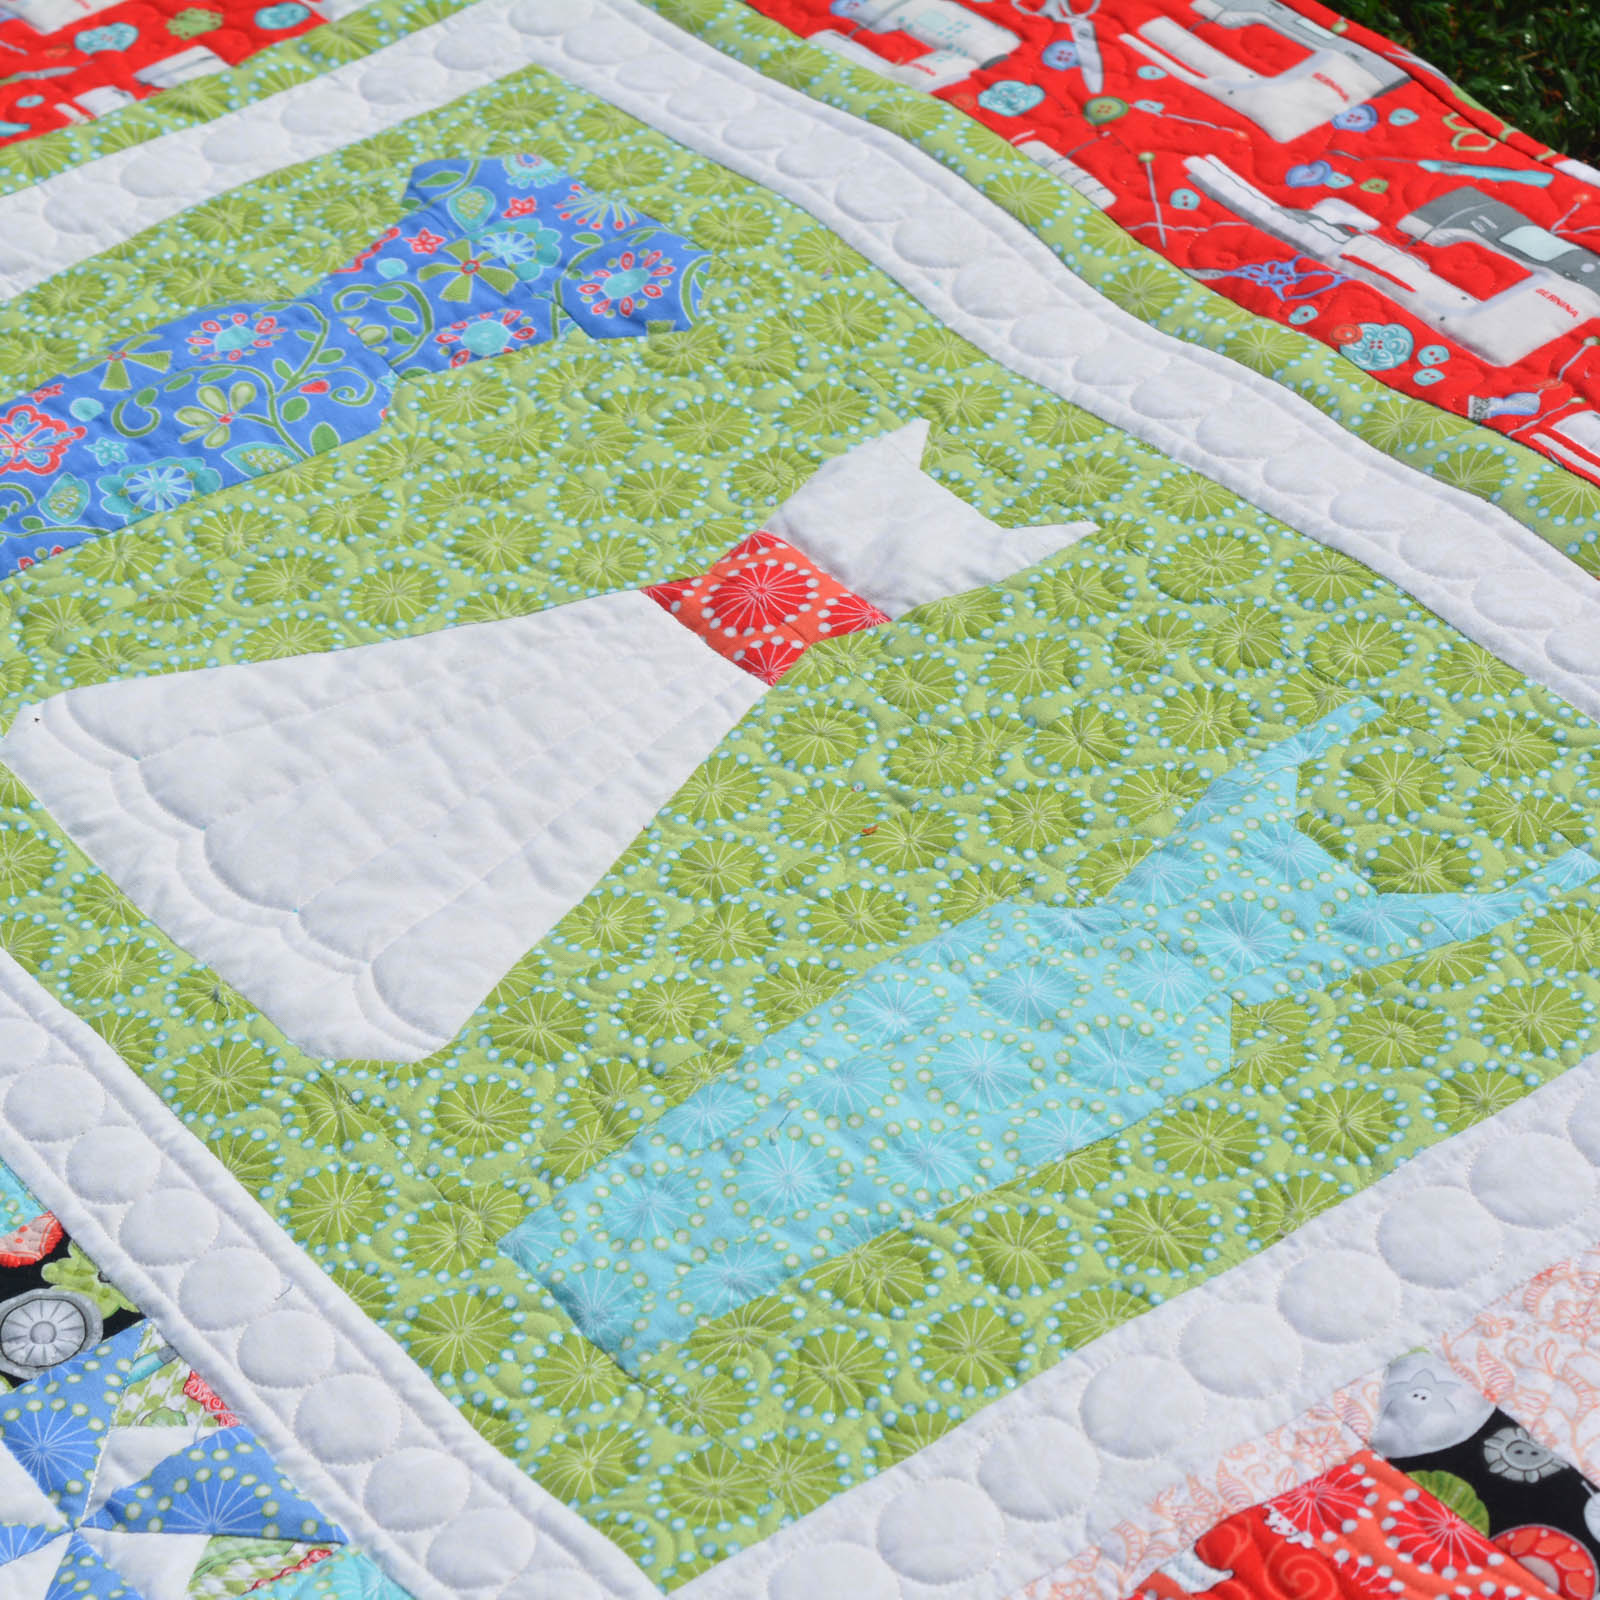
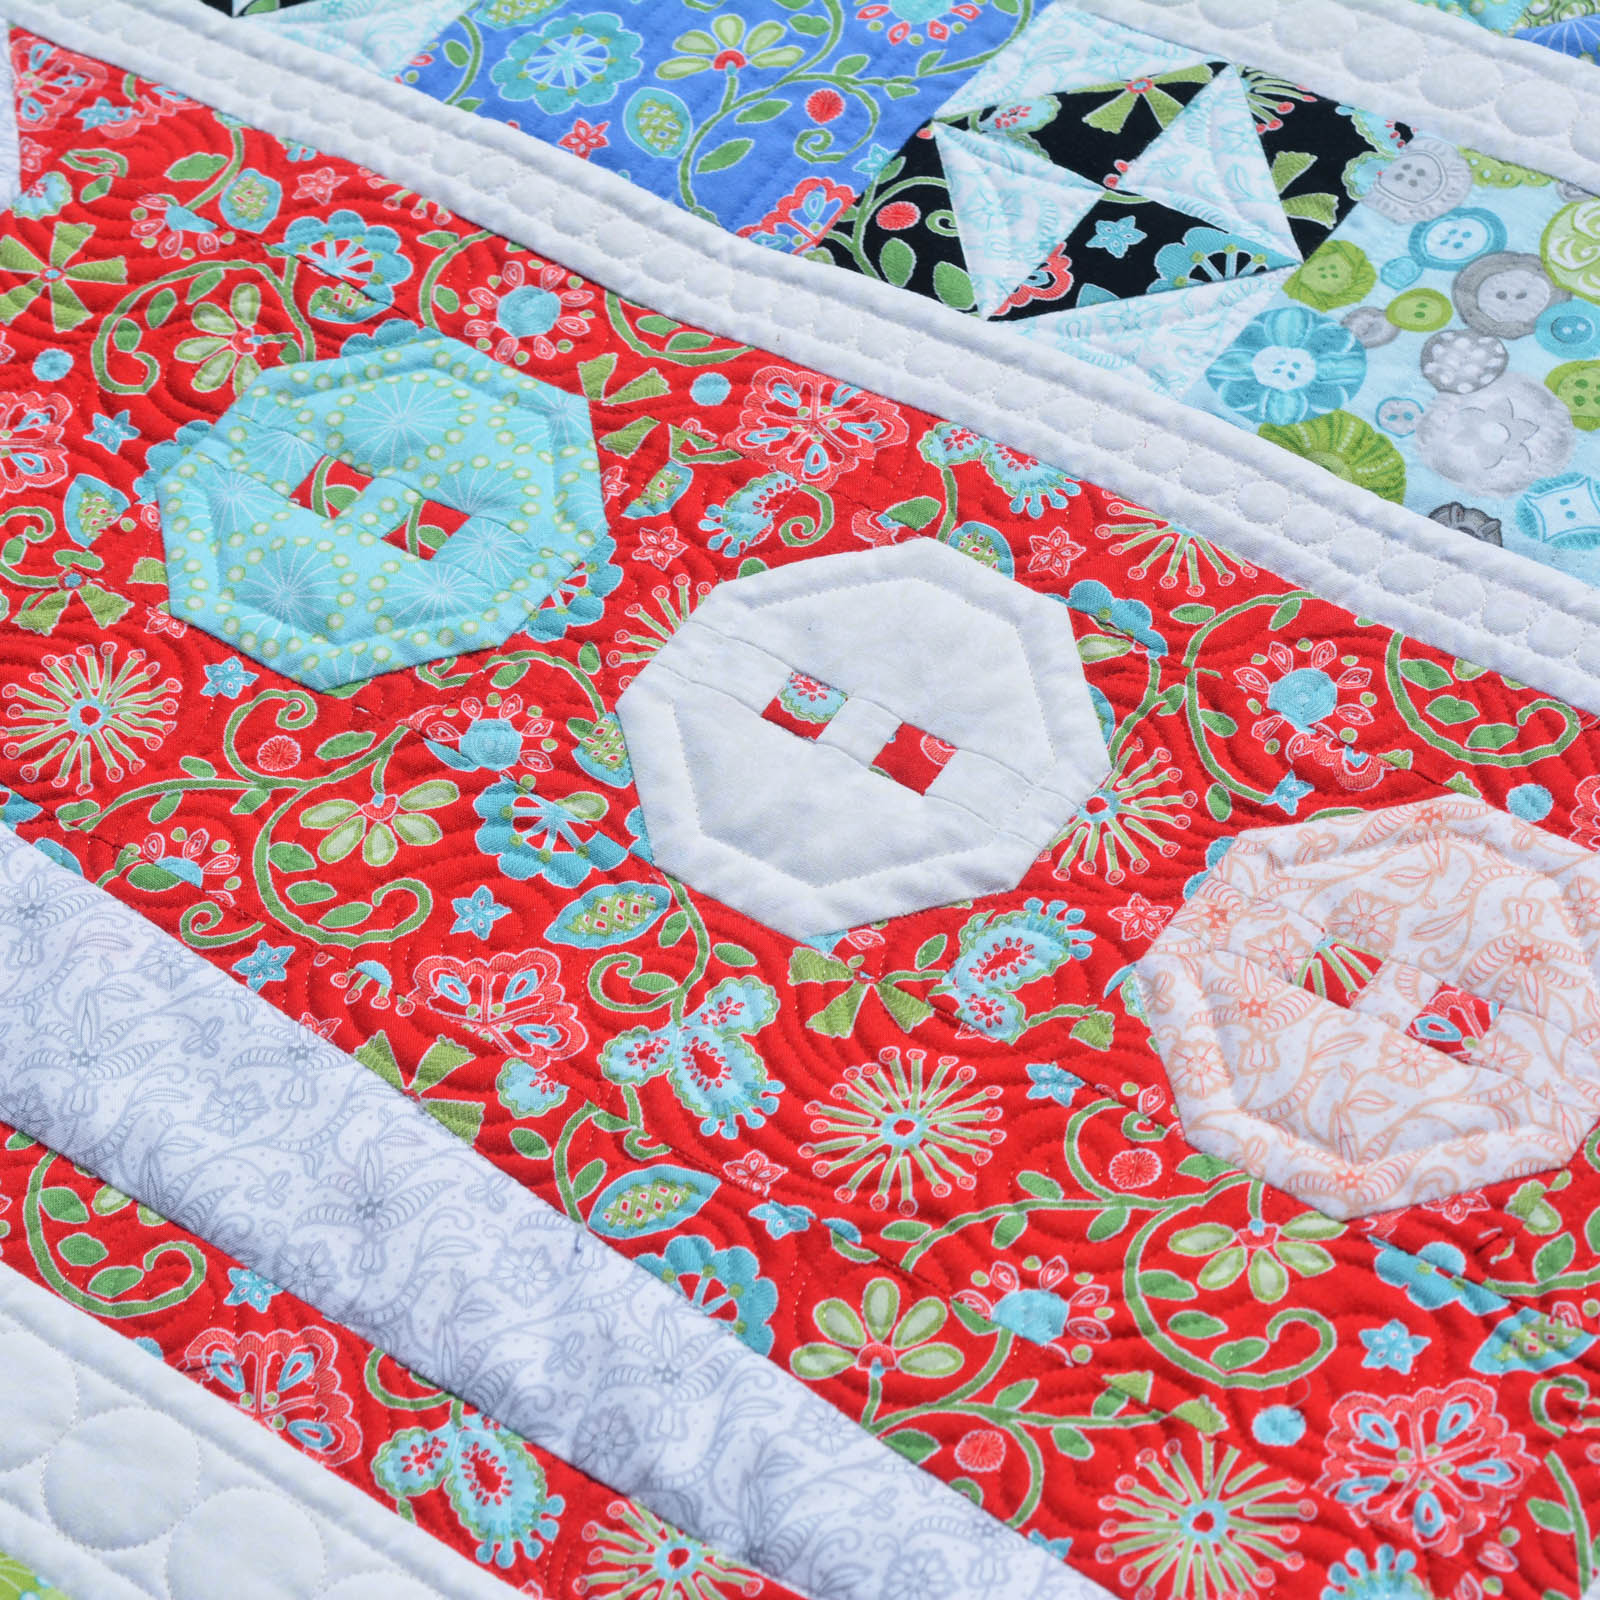
Swirls look especially great when contrasted with other, more uniform types of quilting, like circles and crosshatching. I recently debuted my new block-of-the-month pattern, Sewing Room Sampler featuring my Sewing Room line for Benartex, at BERNINA University. I used quite a few variations of swirls in this one.
Sewing Machine block with an open swirl background
Dress Block with a swirl/feather background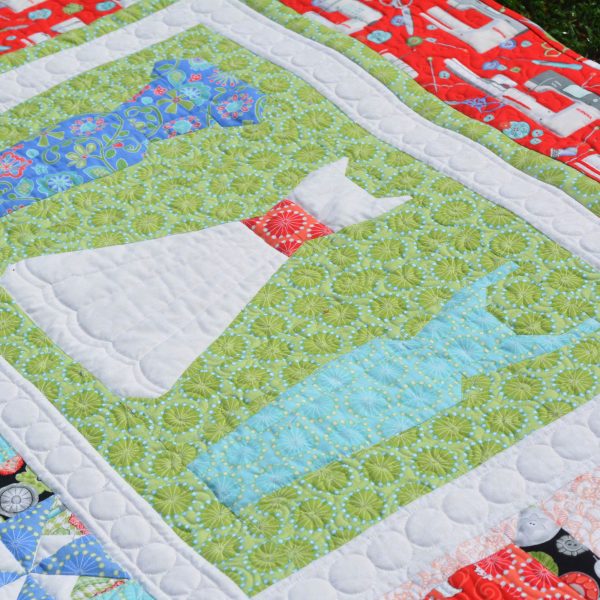
Scissors block with a swirl and waves background
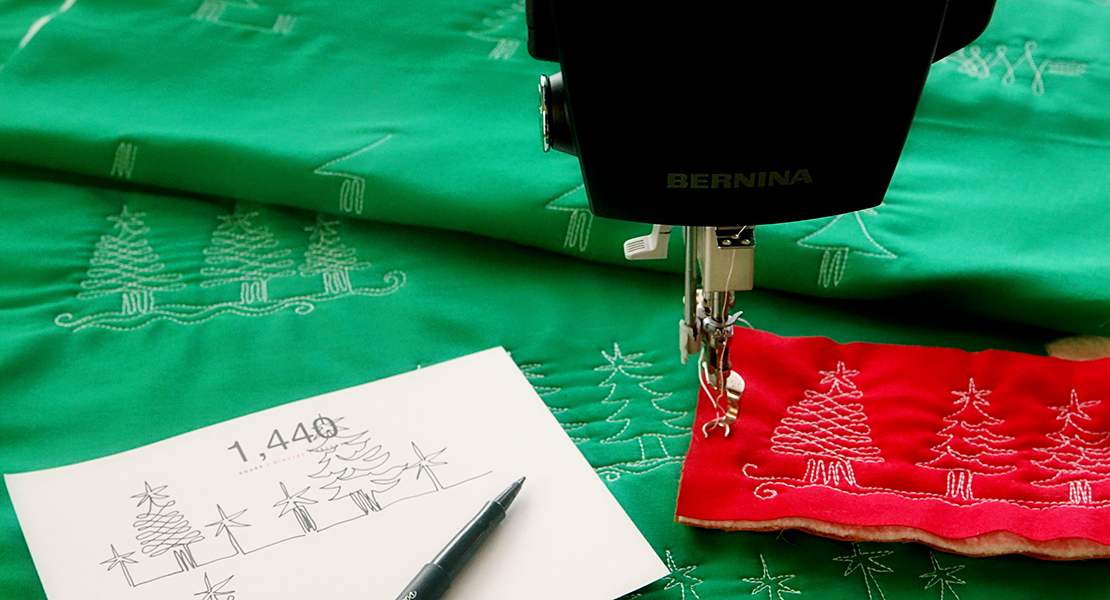
I did these samples on my beautiful BERNINA Longarm machine Q 24 using Aurifil 50 wt. thread, but you can definitely do these on a domestic machine or on the BERNINA Q 20 as well. For years I quilted on a domestic. It can definitely be done! You can use the BERNINA Stitch Regulator to help keep your stitches even.
I’ll be guest-posting here at We All Sew again, but in the meantime, please join me over on my blog and join my Free-Motion Quilting Idea Facebook group for other free-motion quilting ideas.
Happy quilting!
Amanda
Used Products


What you might also like


4 comments on “How to Free-Motion Quilt Swirl Designs”
-
-
Wow! Thanks, Bernina, for posting these techniques! Another great FMQ video to add to my collection. It so helps to watch a video on how the design is supposed to look before I jump on the machine and try to emulate the design. Circles (half or whole) are a challenge for me…. you make it look soooooo easy!!! Love these swirly designs.
-
they are so clever, even at slow speed it was hard, but then our group leader in the A.S.G. said to try to doodle them on paper and pencil until you get the free flow on, which I will try
-
Forgot to add, Thank you so much for showing this, its something you got to watch, too many pictures to show step by step each one, but love the open swirl.
-
Leave a Reply
You must be logged in to post a comment.

These techniques are beautiful and I am anxious to try them. I am very new to this so we shall see how it goes.