How to Free-motion Quilt the Lollipop Flower
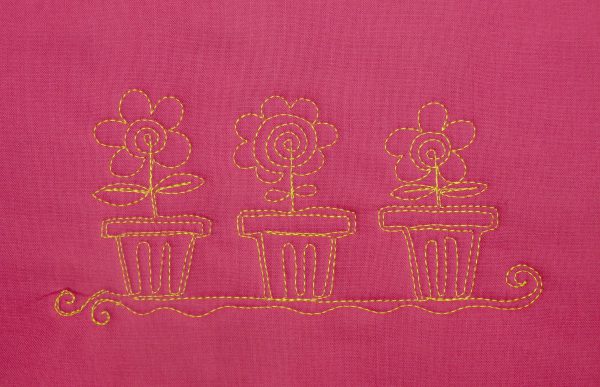
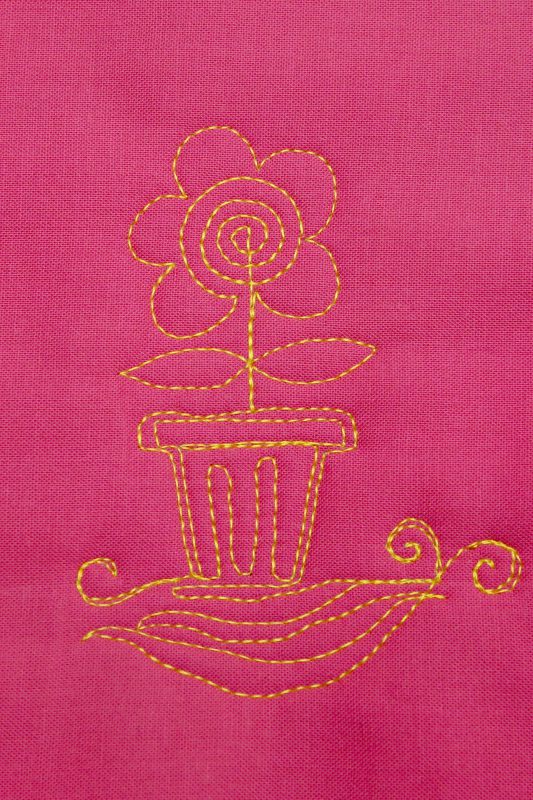
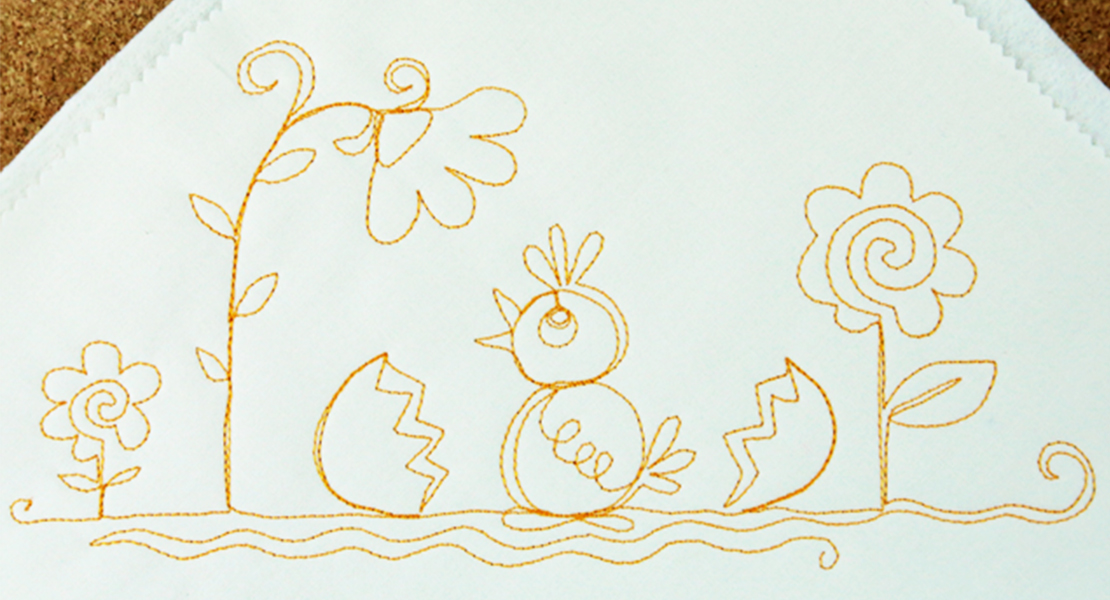
Create a windowsill garden on your next quilt with the whimsical Lollipop Flower!
I’m Lori of Lori Kennedy Quilts and I love free motion quilting-especially flower motifs. Whether I’m stitching a small table runner on my BERNINA 770QE or a queen quilt on my Q20 sit-down long arm, I know the stitch quality will be perfect.
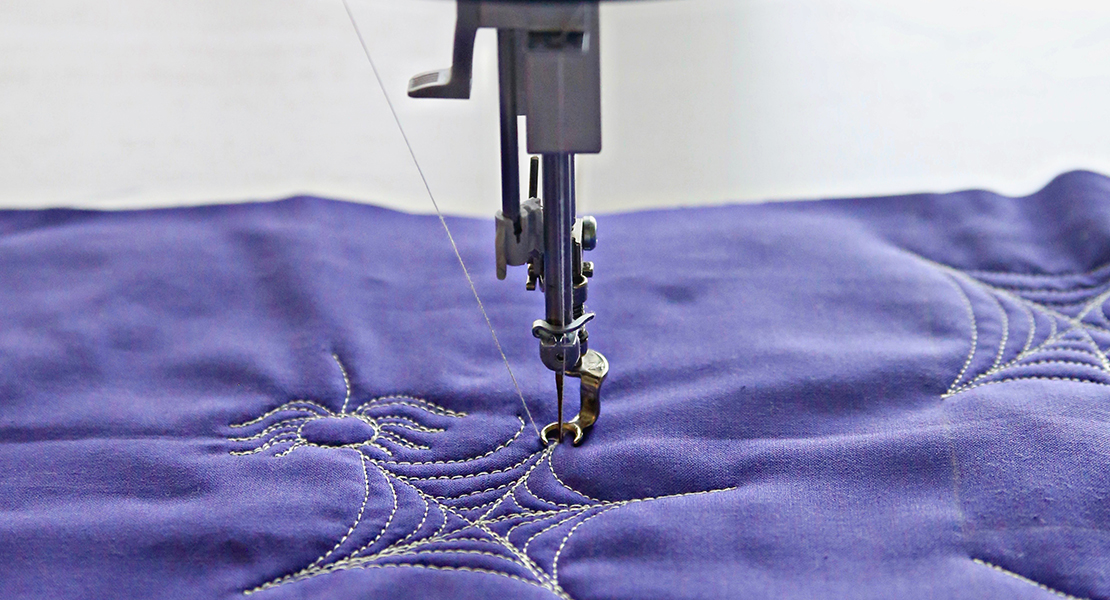
Beautiful stitches are more important than perfect shapes in machine quilting. To achieve pleasant looking quilt stitches, use a new needle-I like Topstitch needles-and adjust the top tension until individual stitches are visible. Once you like the stitch, you are ready to quilt any motif!
For more information on how to set up your machine, check out Twelve Steps to Free Motion Quilting.
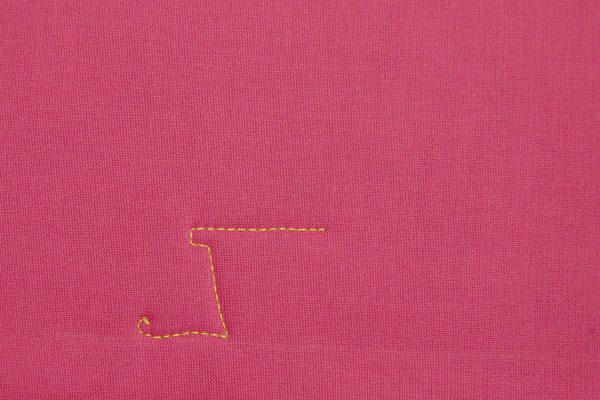
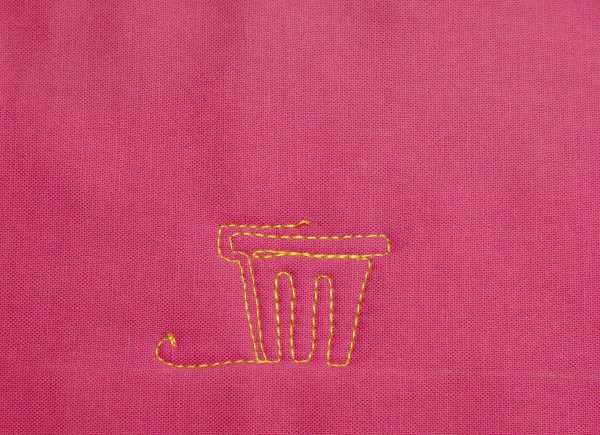
To create a row of flowerpots, begin by drawing a horizontal line. Stitch an angled line up and to the left. Stitch to the left two stitches, then stitch vertically two stitches. Stitch a horizontal line to create the top of the flowerpot.
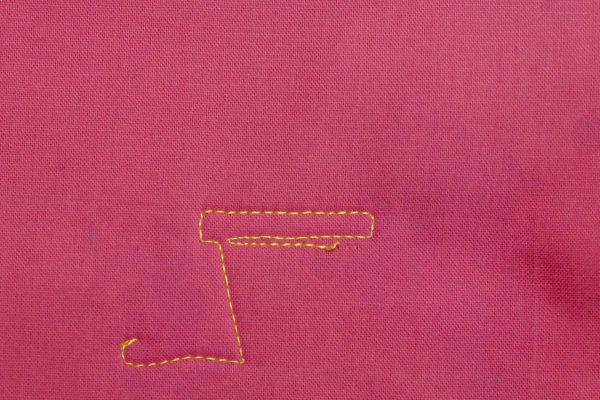
Stitch down two-three stitches, then stitch a horizontal line to the left. Closely echo stitch the horizontal line from left to right.
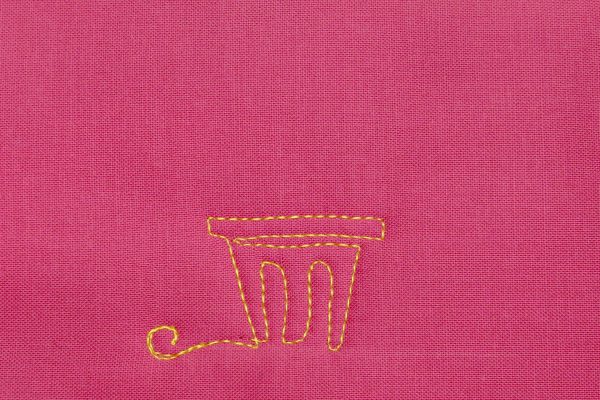
Stitch an angled line down to the bottom. Add two wavy lines to embellish the flowerpot.
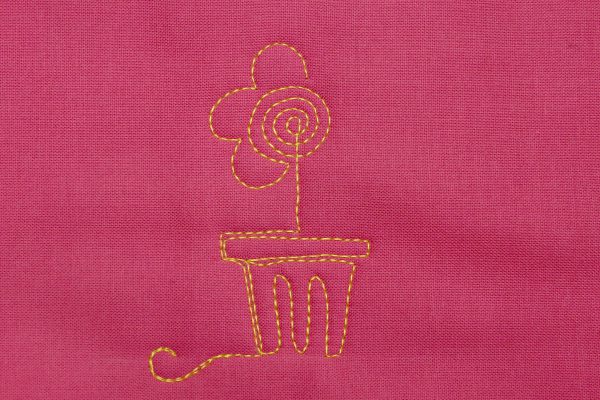
Closely echo stitch the left side of the pot. Continue stitching over the horizontal line. Stop in the center of the pot.
Stitch a vertical line, then spiral around for several revolutions to create the center of the flower. Stop near the vertical “stem” line.
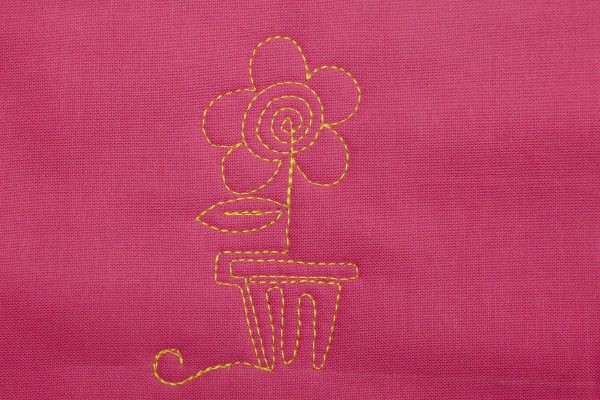
Add scalloped petals around the spiral.
Complete the scallops, then stitch on the stem. Add a simple leaf.
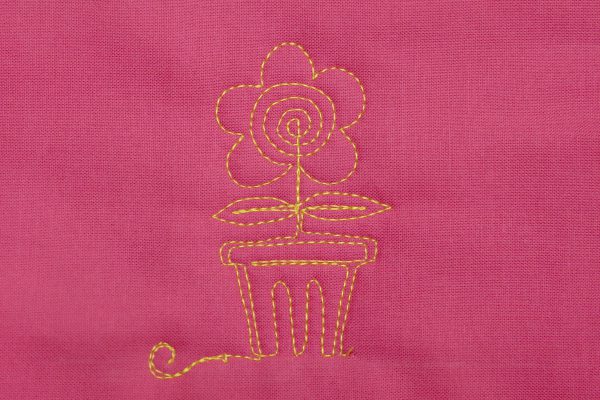
Stitch down to the top of the flowerpot, then closely echo stitch the right side of the flower pot to complete the first motif in the row. Stitch along the bottom line to create more Lollipop Flowers.
Beautiful!
And you don’t even need a green thumb!
For more step-by-step tutorials, please check out my books at LoriKennedyShop!
