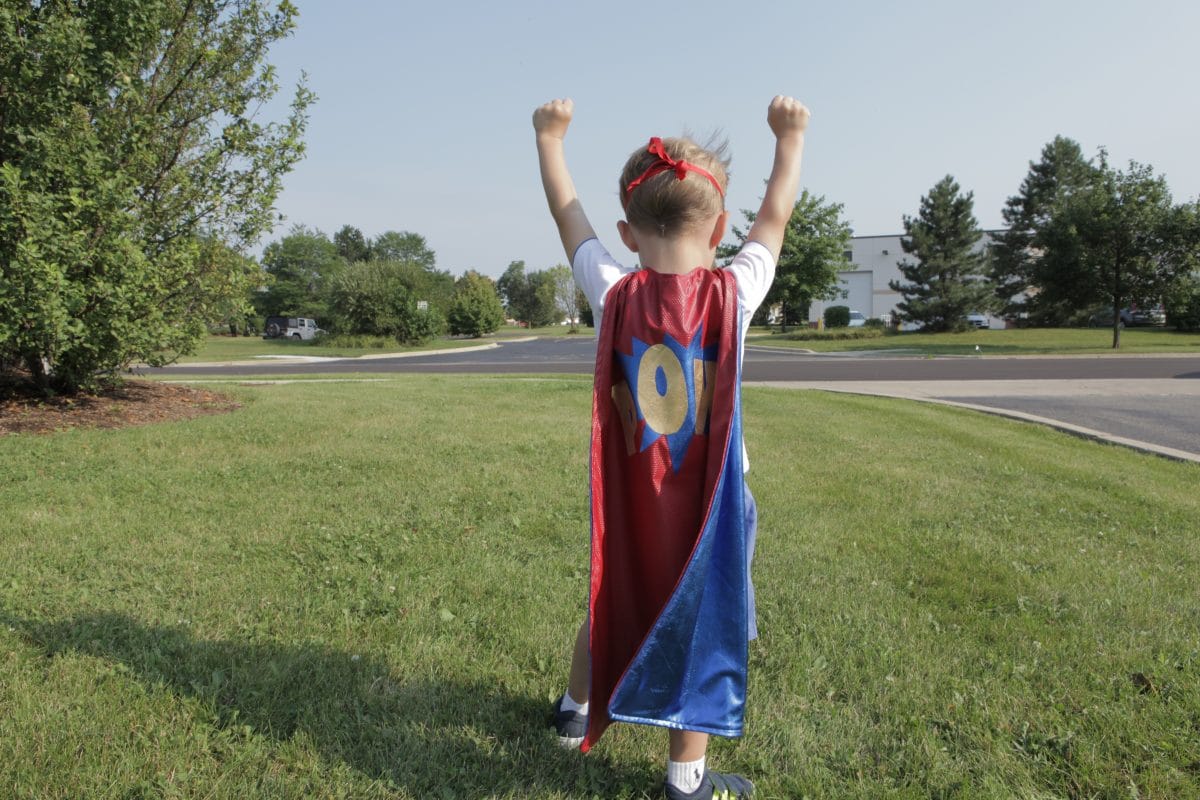
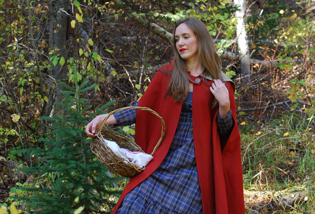
How to Make a Quilted Superhero Cape
Jazz up that store-bought costume with a quilt panel by creating a quilted superhero cape!
I don’t know about you but before I had kids, I always pictured myself sewing these great Halloween costumes every year. Being so proud of my hands making an heirloom-quality piece that would go down in the family history books as, “Wow you outdid yourself again, these are fabulous,” or, “Can’t wait to see how you top this next year!”. . . Yeah, turns out that picture wasn’t me but some other mom in my neighborhood I don’t know.
Truth be told, I sew, but I don’t sew clothes—it’s just not my thing. I also don’t have the time to spend weeks on end making costumes for all four of my boys, but I do want them to feel special in their store-bought costumes. Even at age six, I want my son’s costume to be different than the kid sitting next to him in class, even if it’s just his eye mask or gloves or maybe, a quilted superhero cape!
Jazzing up that store-bought costume by making a quilted superhero cape will, for me, fulfill a few checkmarks . . .
- We live in a place that snows so hello cold, fall nights—something that store-bought costumes don’t handle well.
- It will personalize their Costco Costumes that probably 20 other kids at their school will have.
- It will be something they can play in all year round, which makes that hard work a little more worth it for me than making a one-off piece they will never use again.
Normally, this is where I tell you to go make a quilt panel for your quilted superhero cape, but this time we need to put a pattern together first. Because the sizes for this cape can range from adult down to toddler, making your pattern is really the only way to go. Don’t freak out! It’s super easy and you can totally make your pattern using just a few random household items.
Making the Quilted Superhero Cape Pattern
What You Need to Create Your Pattern
- Tape
- Standard Paper Sheets (I like card Stock) for my kids, I used six sheets
- Measuring Tape
- Bowl (five inches bigger in circumference than neck)
- Pencil
- Ruler, yardstick if you have it
Measurements for Your Quilted Superhero Cape Pattern
- Neck circumference plus five inches (that is how big your bowl should be)
- Collar bone, over the shoulder to the back of knees (this gives you the length)
- Elbow to elbow—have your person stand in a superhero pose (this will give you bottom width)
- 1/2 neck circumference (this will give you top width)
*I half-ed all those measurements to make a pattern that was a half-template for my son’s quilted superhero cape (it saves paper and room when storing it).
Drafting Your Quilted Superhero Cape Pattern
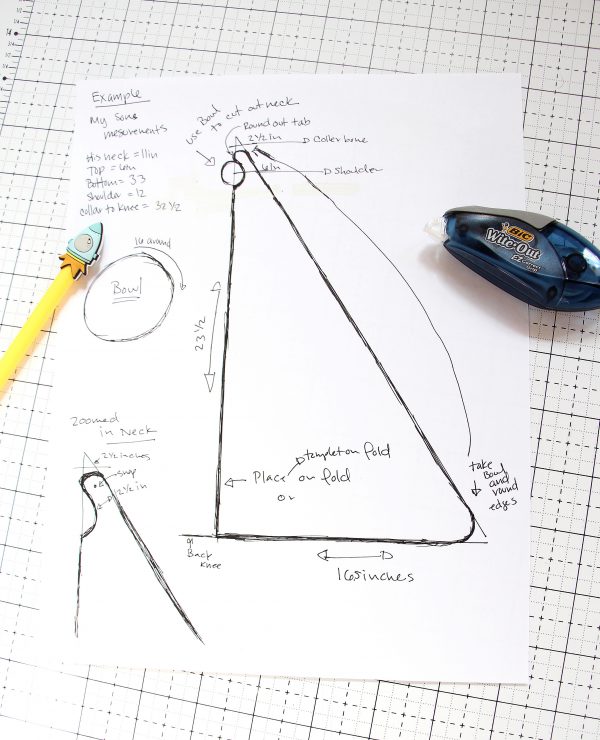
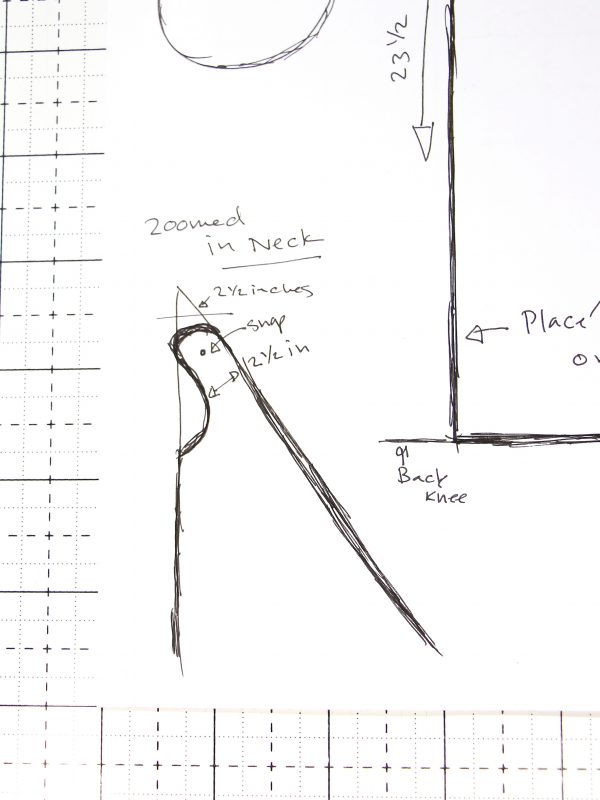
Make a rough drawing like this for your reference:
Making Your Quilted Superhero Cape Pattern
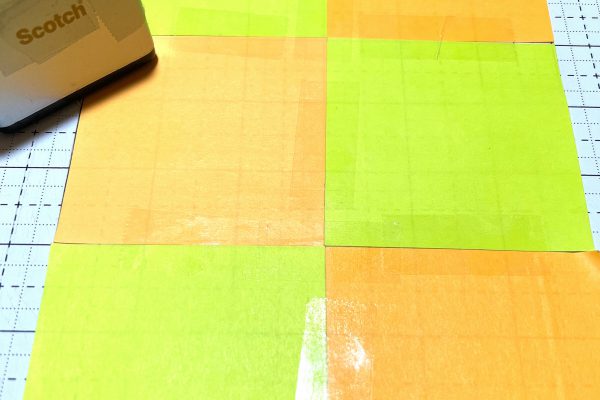
*Note: I’m using post-its for the scale size and ease of picture taking after midnight.
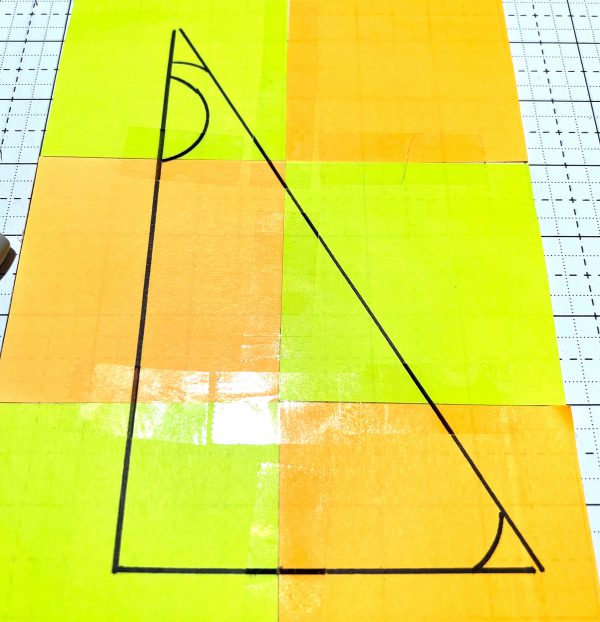
- Take your standard size 8.5 x 11in card stock sheets or paper and tape together 2x2x3
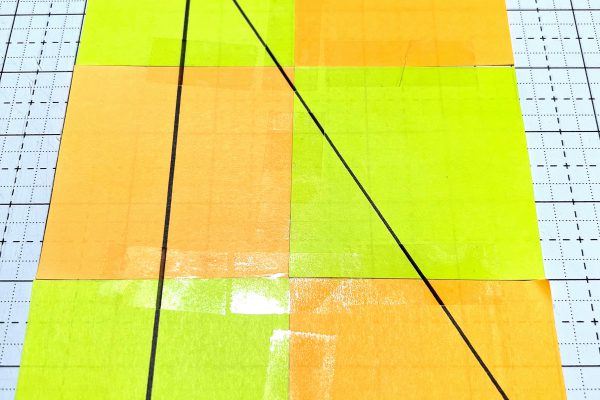
- Draw your triangle using the measurements you took and your ruler
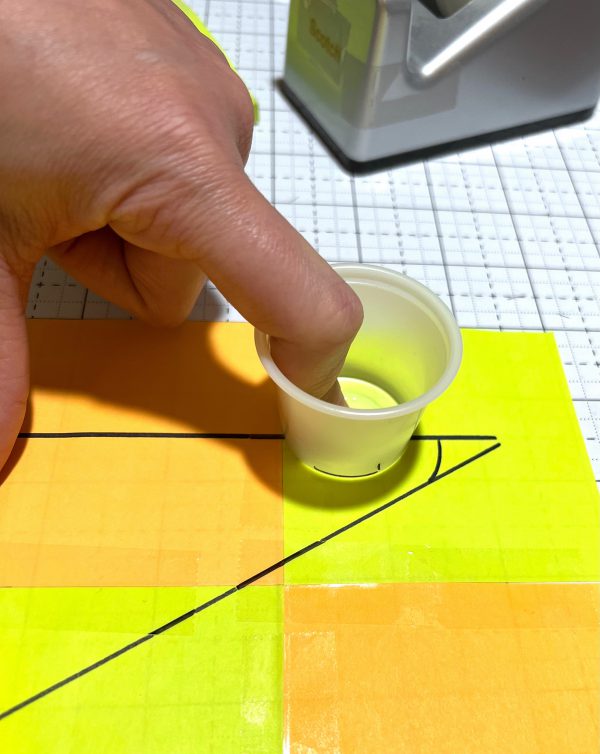
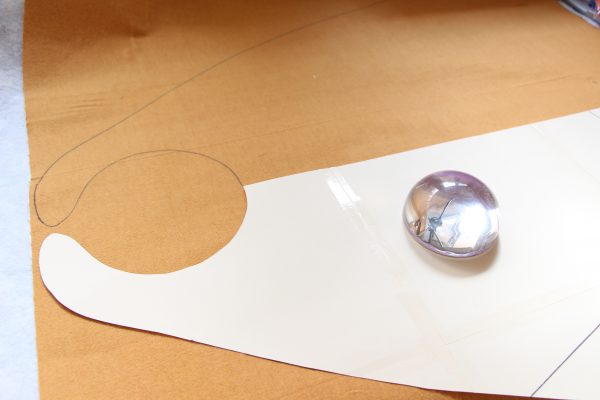
- Trace your bowl at the bottom corner, top, and 2.5in down from the top (neck)

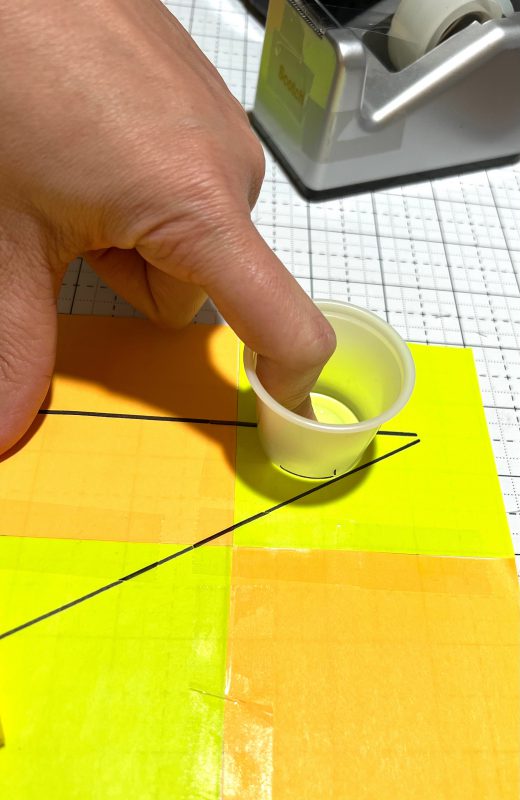
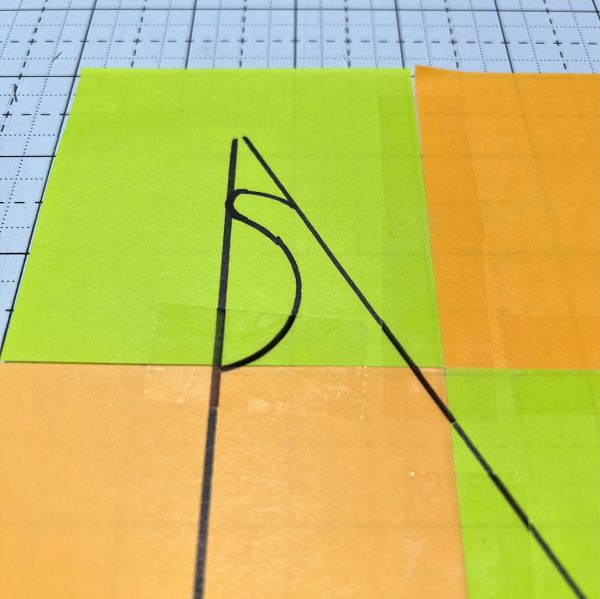
- Connect the two top circle traces with another rounded edge
- Cut out
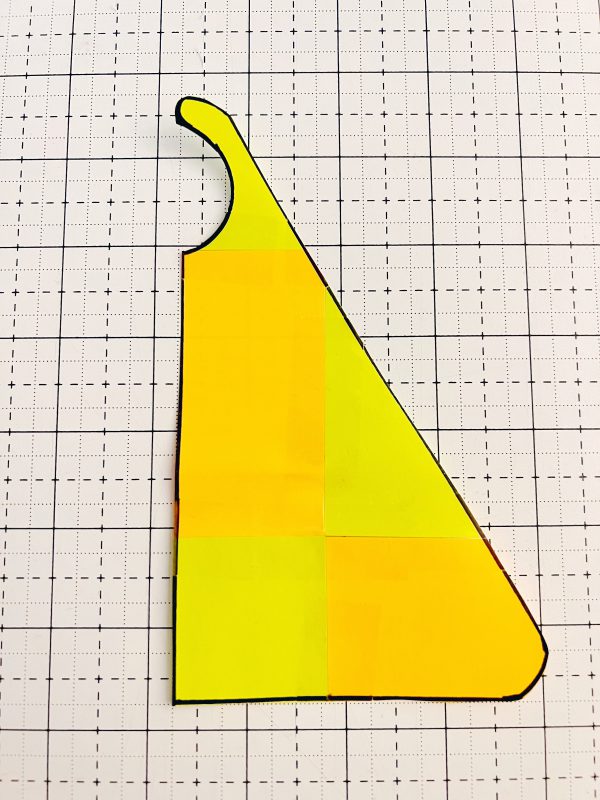
Now you have your half-cape pattern for your quilted superhero cape!
Making the Quilted Superhero Cape
Now that you have the measurements all figured out, you can make your quilt panel! Yay! I love quilting so this part is always really fun for me. Oh, wait . . .
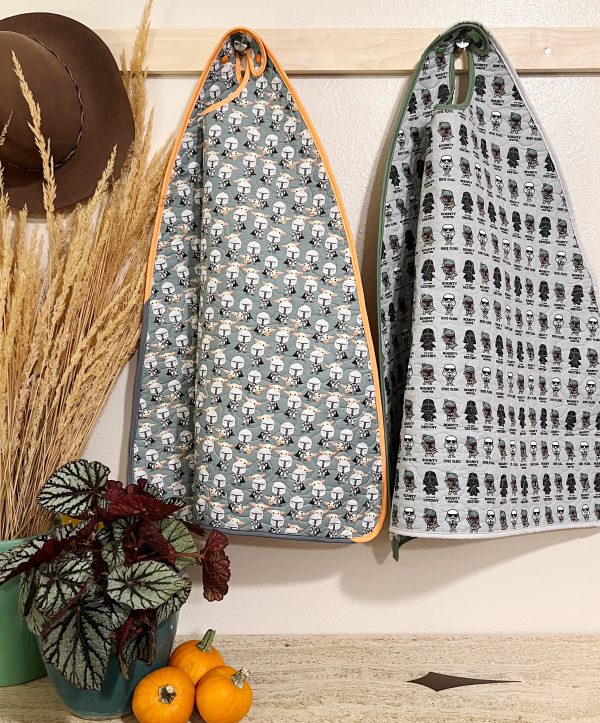
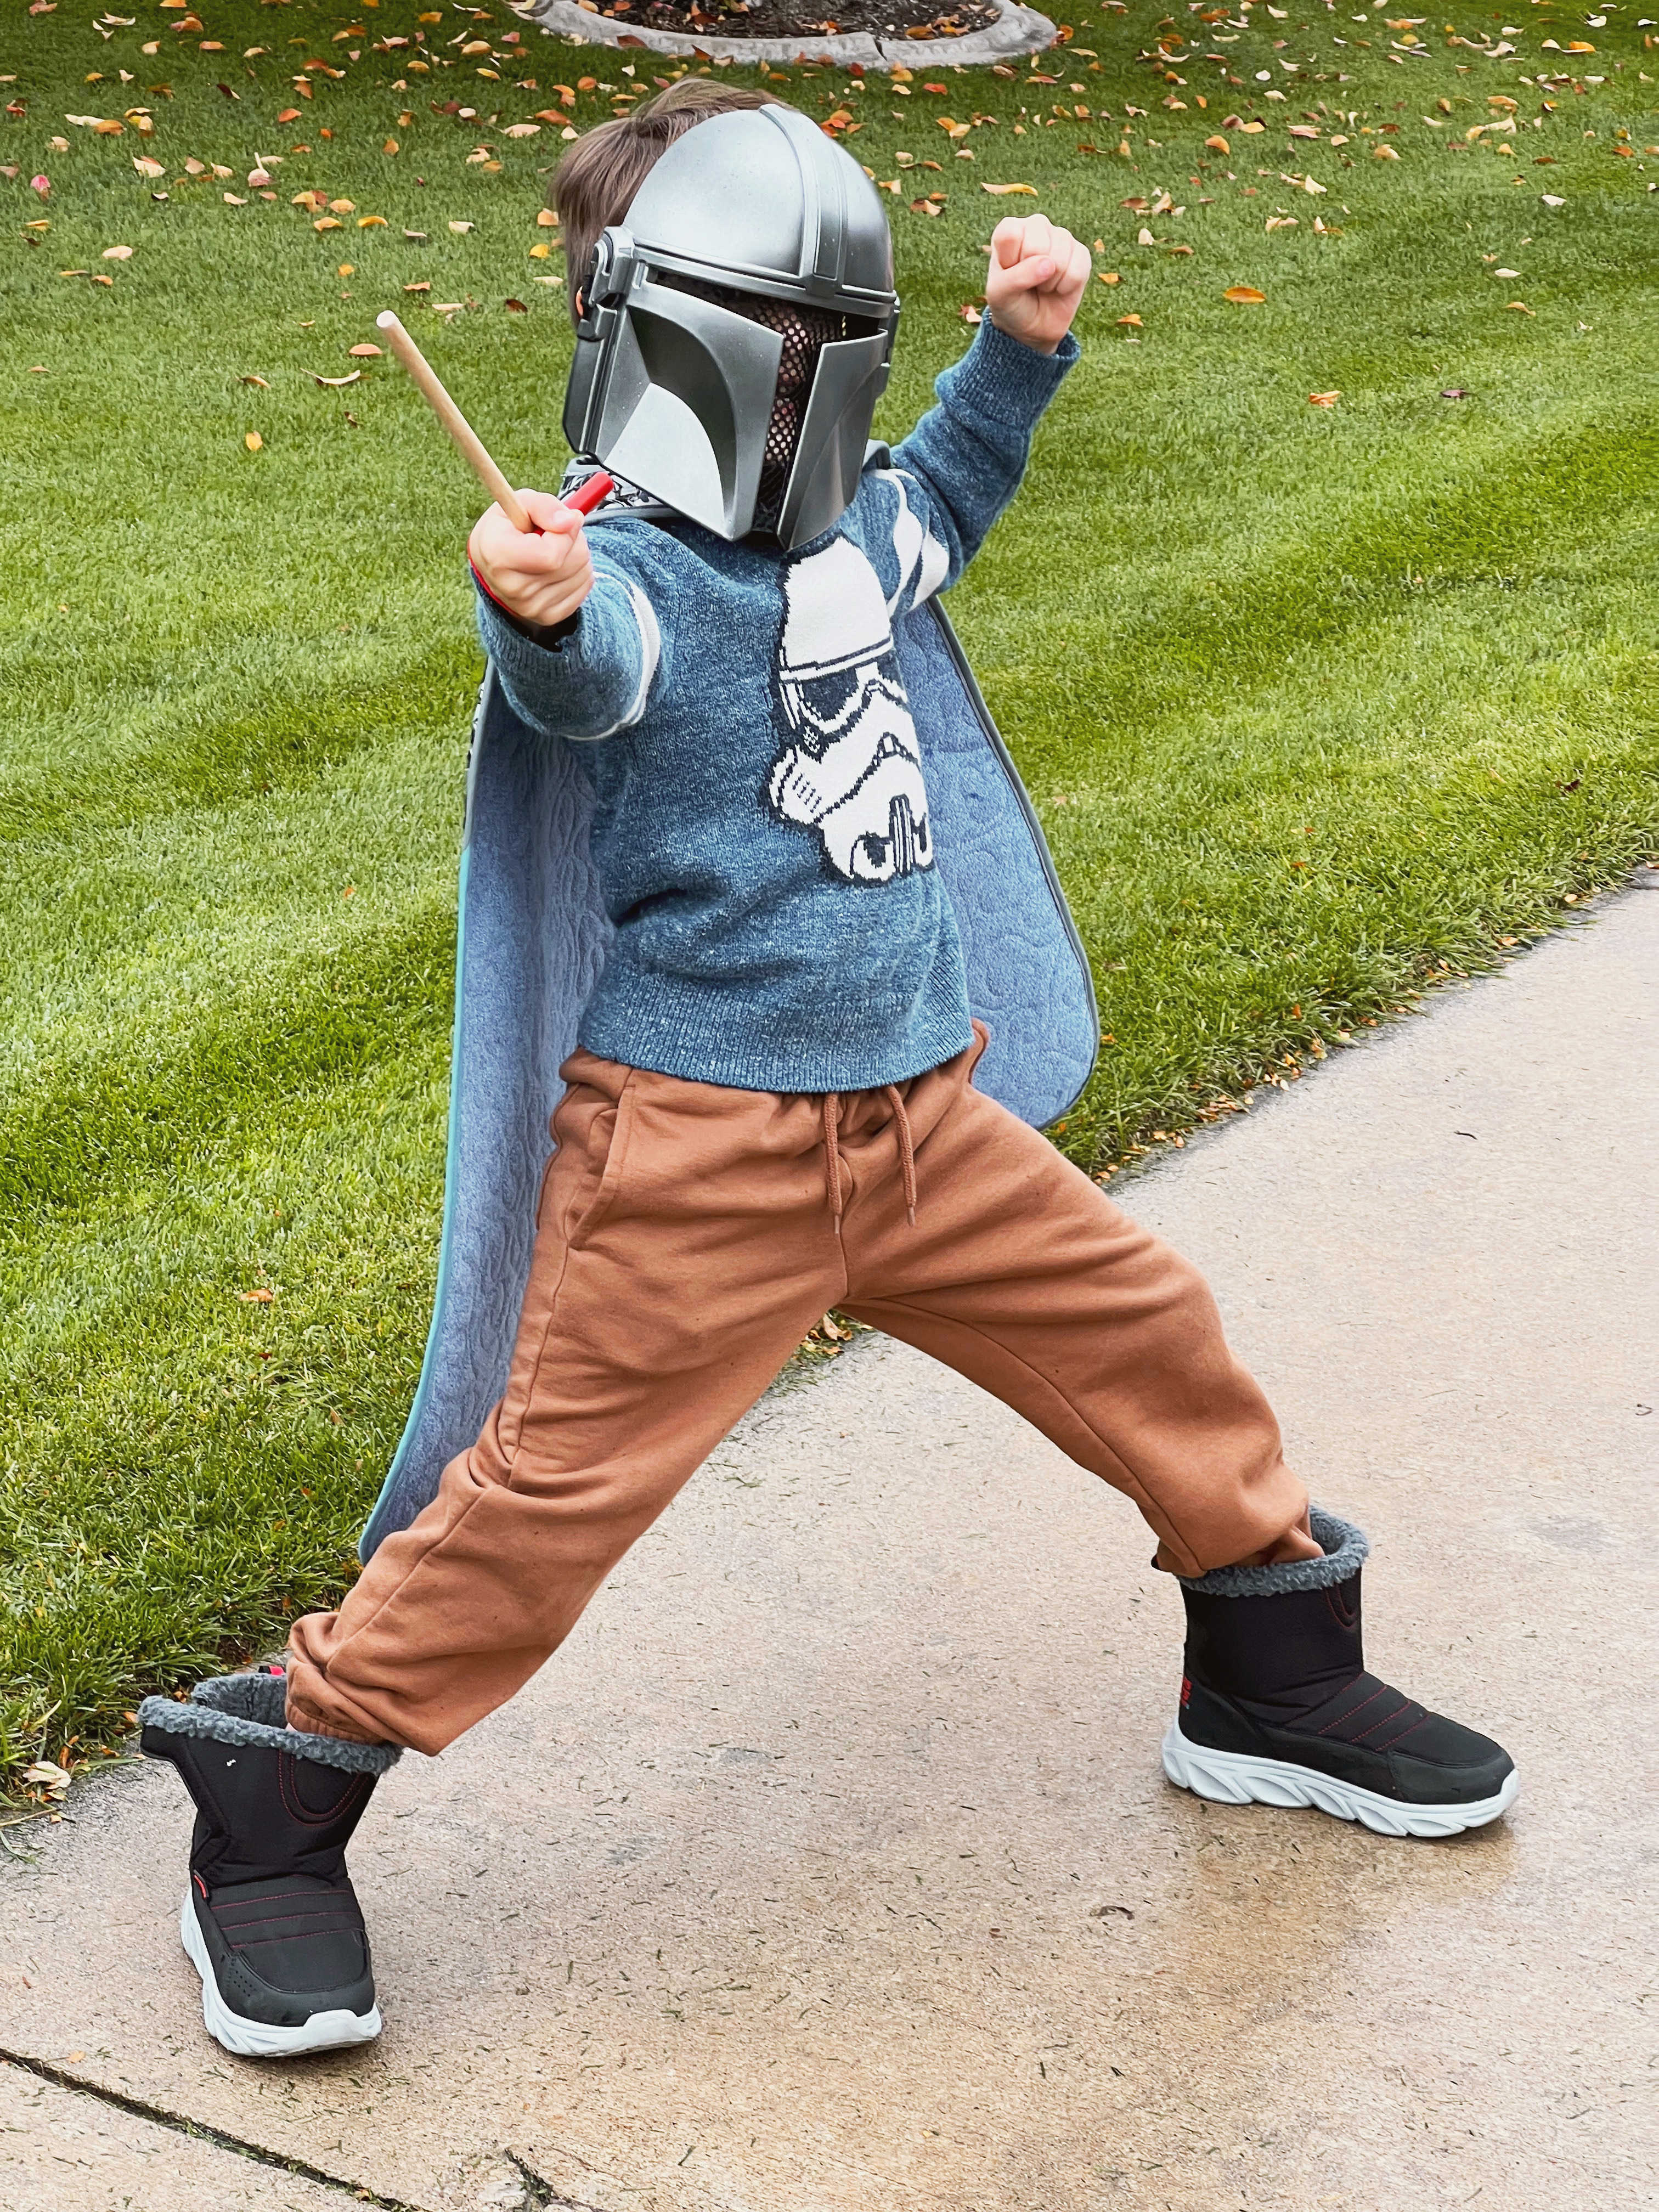
First, decide if you want a flowing superhero cape or a stiff superhero cape. I choose a stiff cape for my kids’ Mandalorian costumes this year. I want them to fly high when they are running and hopefully adding the stabilizer (which makes them stiffer) will help them achieve maximum flight. If you want a superhero cape that has a little more flow to it, omit the stabilizer.
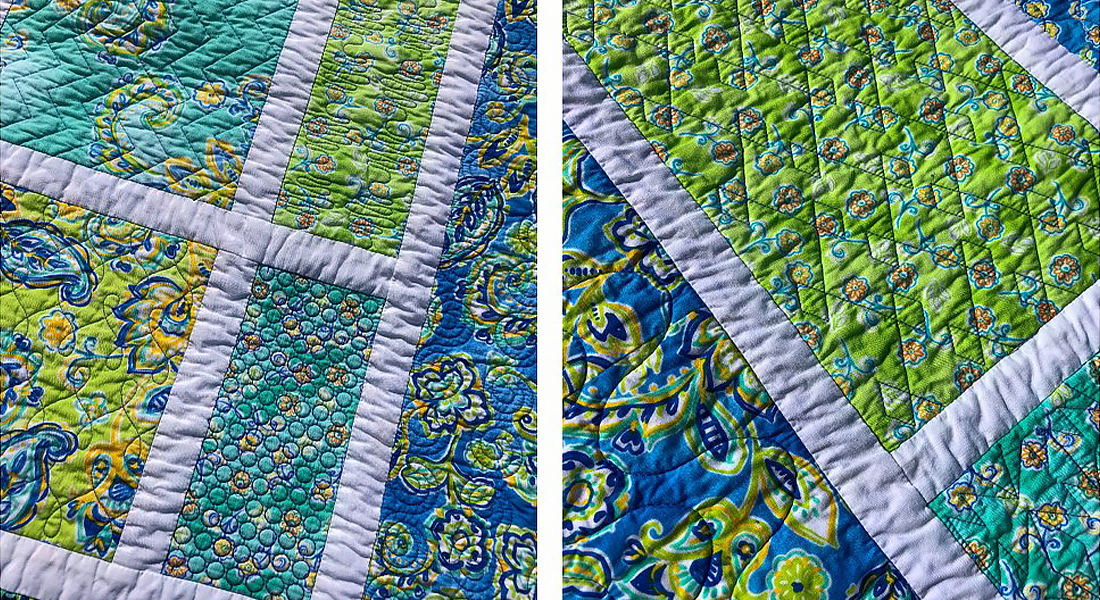
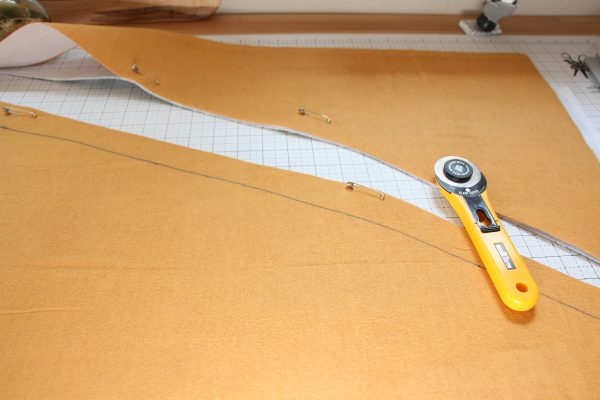
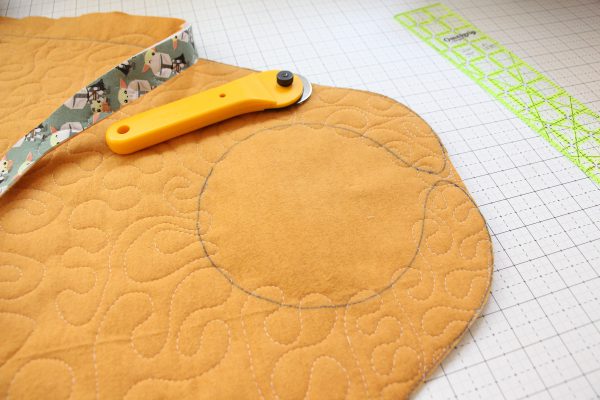
Second, once you have landed on the stabilizer or not, you want to trace your pattern onto your fabric before quilting it. Normally I say go ahead and quilt the whole piece but because this project is on the larger side, only quilt within the traced pattern. Trust me, this will save you time by only quilting the section you need.
My How to Make a Quilt Panel blog post will walk you through how to create the quilt panel with a stabilizer for this project. You will need one panel equalling a 1/2inch over both the height and width of your superhero cape.
**If you follow me at all Honymfin.com or @honymfin on Instagram, you know I’m a fly-by-the-seat of my pants kinda lady. Basically, when I have an idea I make it up as I go! And then I make it 3 more times until it’s perfect.
So a few tips I learned along the way that will hopefully help you . . .
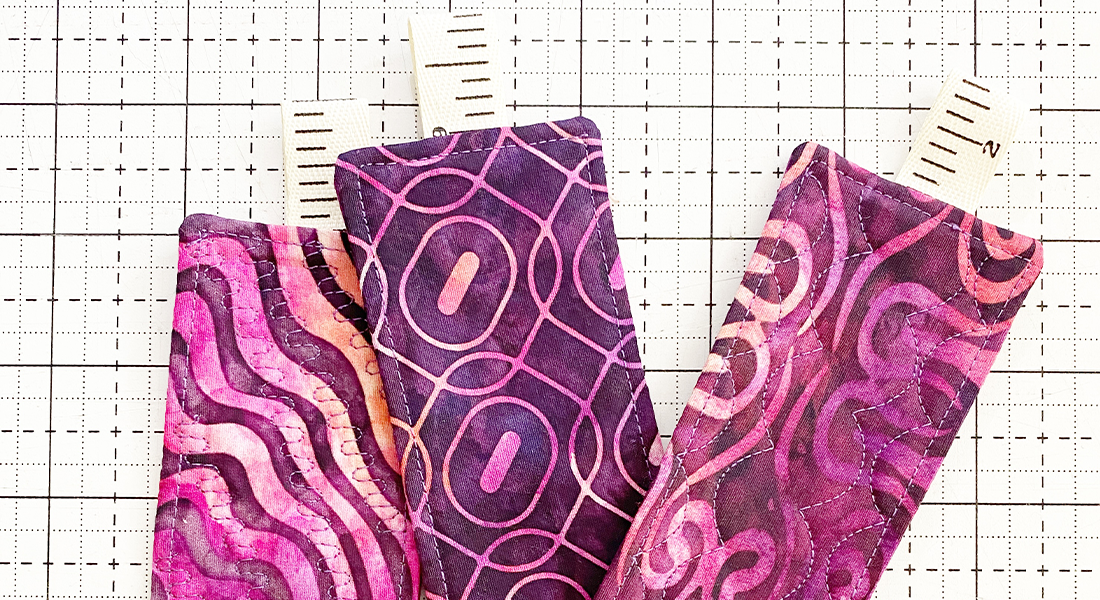
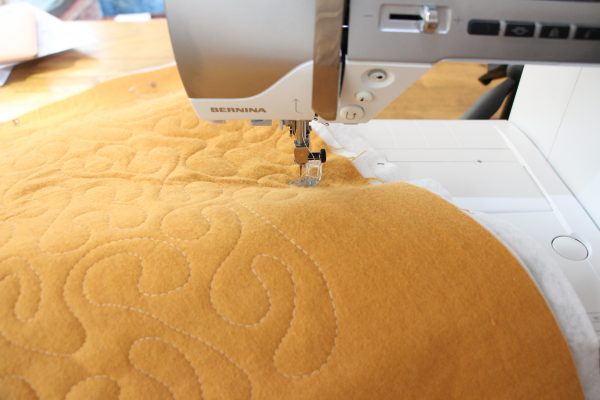
- Stabilizer makes quilting this a little tricky to roll in the throat of your machine. Vertical quilting seems to work best.
- Test the neck hole before adding your binding—make sure it is a comfortable size for the wearer. If not, cut an inch more out at a time, only at the base of the circle (the part that will rest on the back of the body, not the throat).
- Sew slowly when adding the final binding, especially around the necktie area.
Time to Make a Quilted Superhero Cape
- This varies depending on your life and how many you are making but this should take you about or less than two hours sewing time for one superhero cape. I’ve broken it down into steps to help you with your timetable.
Stitching:
- Length 3.00
- 1/4 Seam Allowance (unless specified)
Terms:
- WOF= Width of Fabric
Tools to Make the Quilted Superhero Cape
- Rotary Cutter
- Quilting Ruler
- Cutting Mat
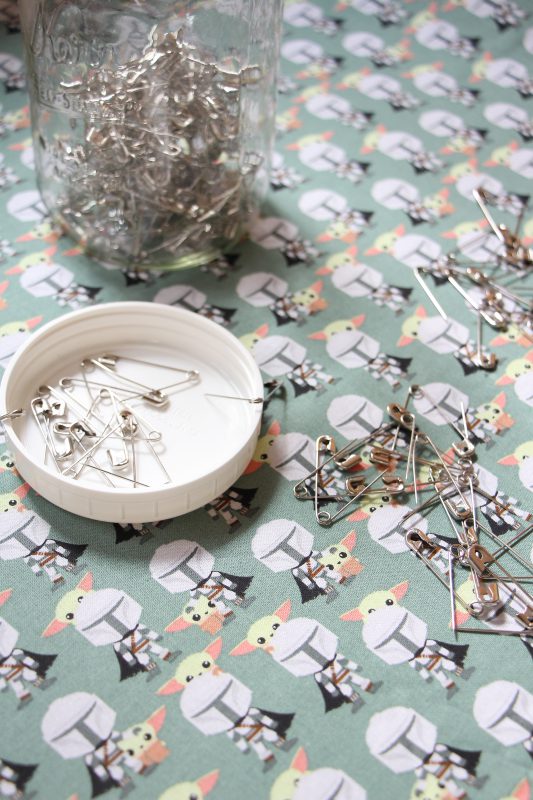
- Clips
- Thread
- MicroTex Needles
Materials to Make the Quilted Superhero Cape
Note: Based on 4 to 6-year-old cape size
- Quilt panel: 33in x 36in (little less than a yard)
- Bias tape: 1.5in x 126in (can be cut on the straight, better on the bias)
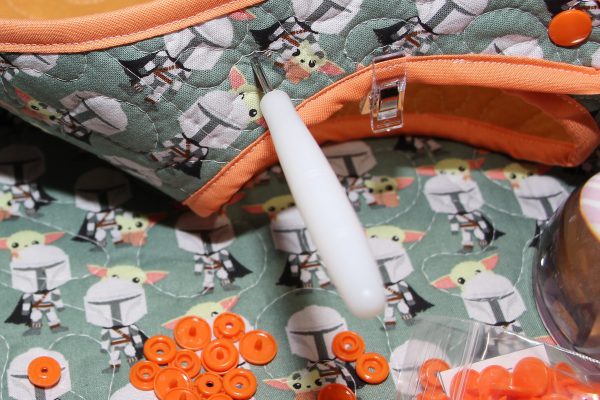
- Snaps, buttons, or Velcro for the closure and the tools needed to attach (use whatever you have on hand)
*I’m using Kam Plastic Snaps. You can find them in a lot of places. I purchased mine off Etsy.
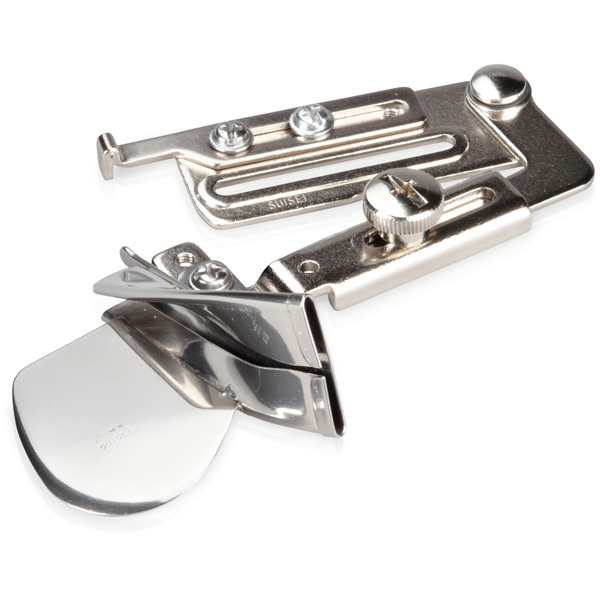
Sewing Machine and Accessories
- My machine is the BERNINA 530 (she is 7 years old)
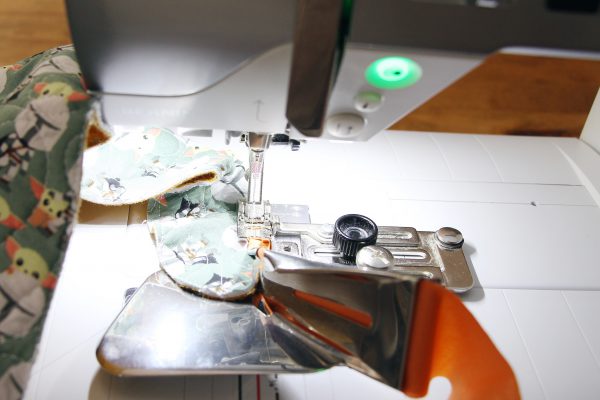
- Binder Attachment for Pre-folded Bias Tape #87
*As always you can make this project with Reverse Pattern Foot #1, but you will need to take a slower approach and make adjustments as you go. The binder attachment will make this project faster and easier.
Let’s get sewing!
Steps to Make a Quilted Superhero Cape
Step 1: Quilted Panel
- Sew your quilt panel
- Cut out your cape from the pattern you made!
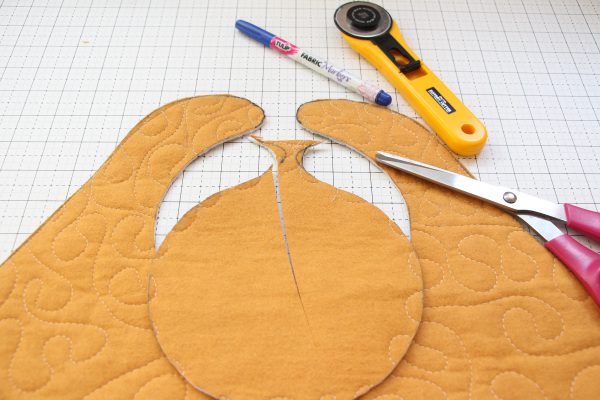
*If you look closely, you can see where I adjusted my neck tabs. I wanted a more rounded look and I knew this would make using the binder attachment easier around those turns. Don’t be afraid to adjust a little if needed.
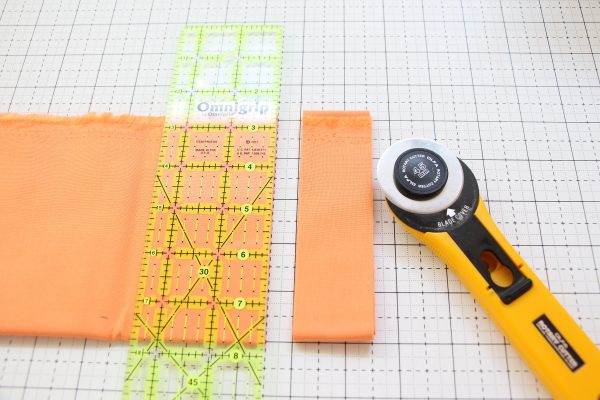
Step 2: Making the Wrap Around
Fabric For Bias Tape
- Cut 3+ pieces 1.5in x WOF (depending on the size of your superhero cape) can be cut on Bias or Straight.
- With the binder attachment, work your way around the cape starting on the bottom necktie tab. This way the connection point will always be hidden.
Step 3: Close it Up
Snaps, buttons, Velcro . . . your choice.
Note: I used 2 sets of Kam Snaps
- Take your two neck tabs, place one on top of the other (connection point on bottom), and clip in place.
- Use the tools for your closure choice to mark and attach those now.
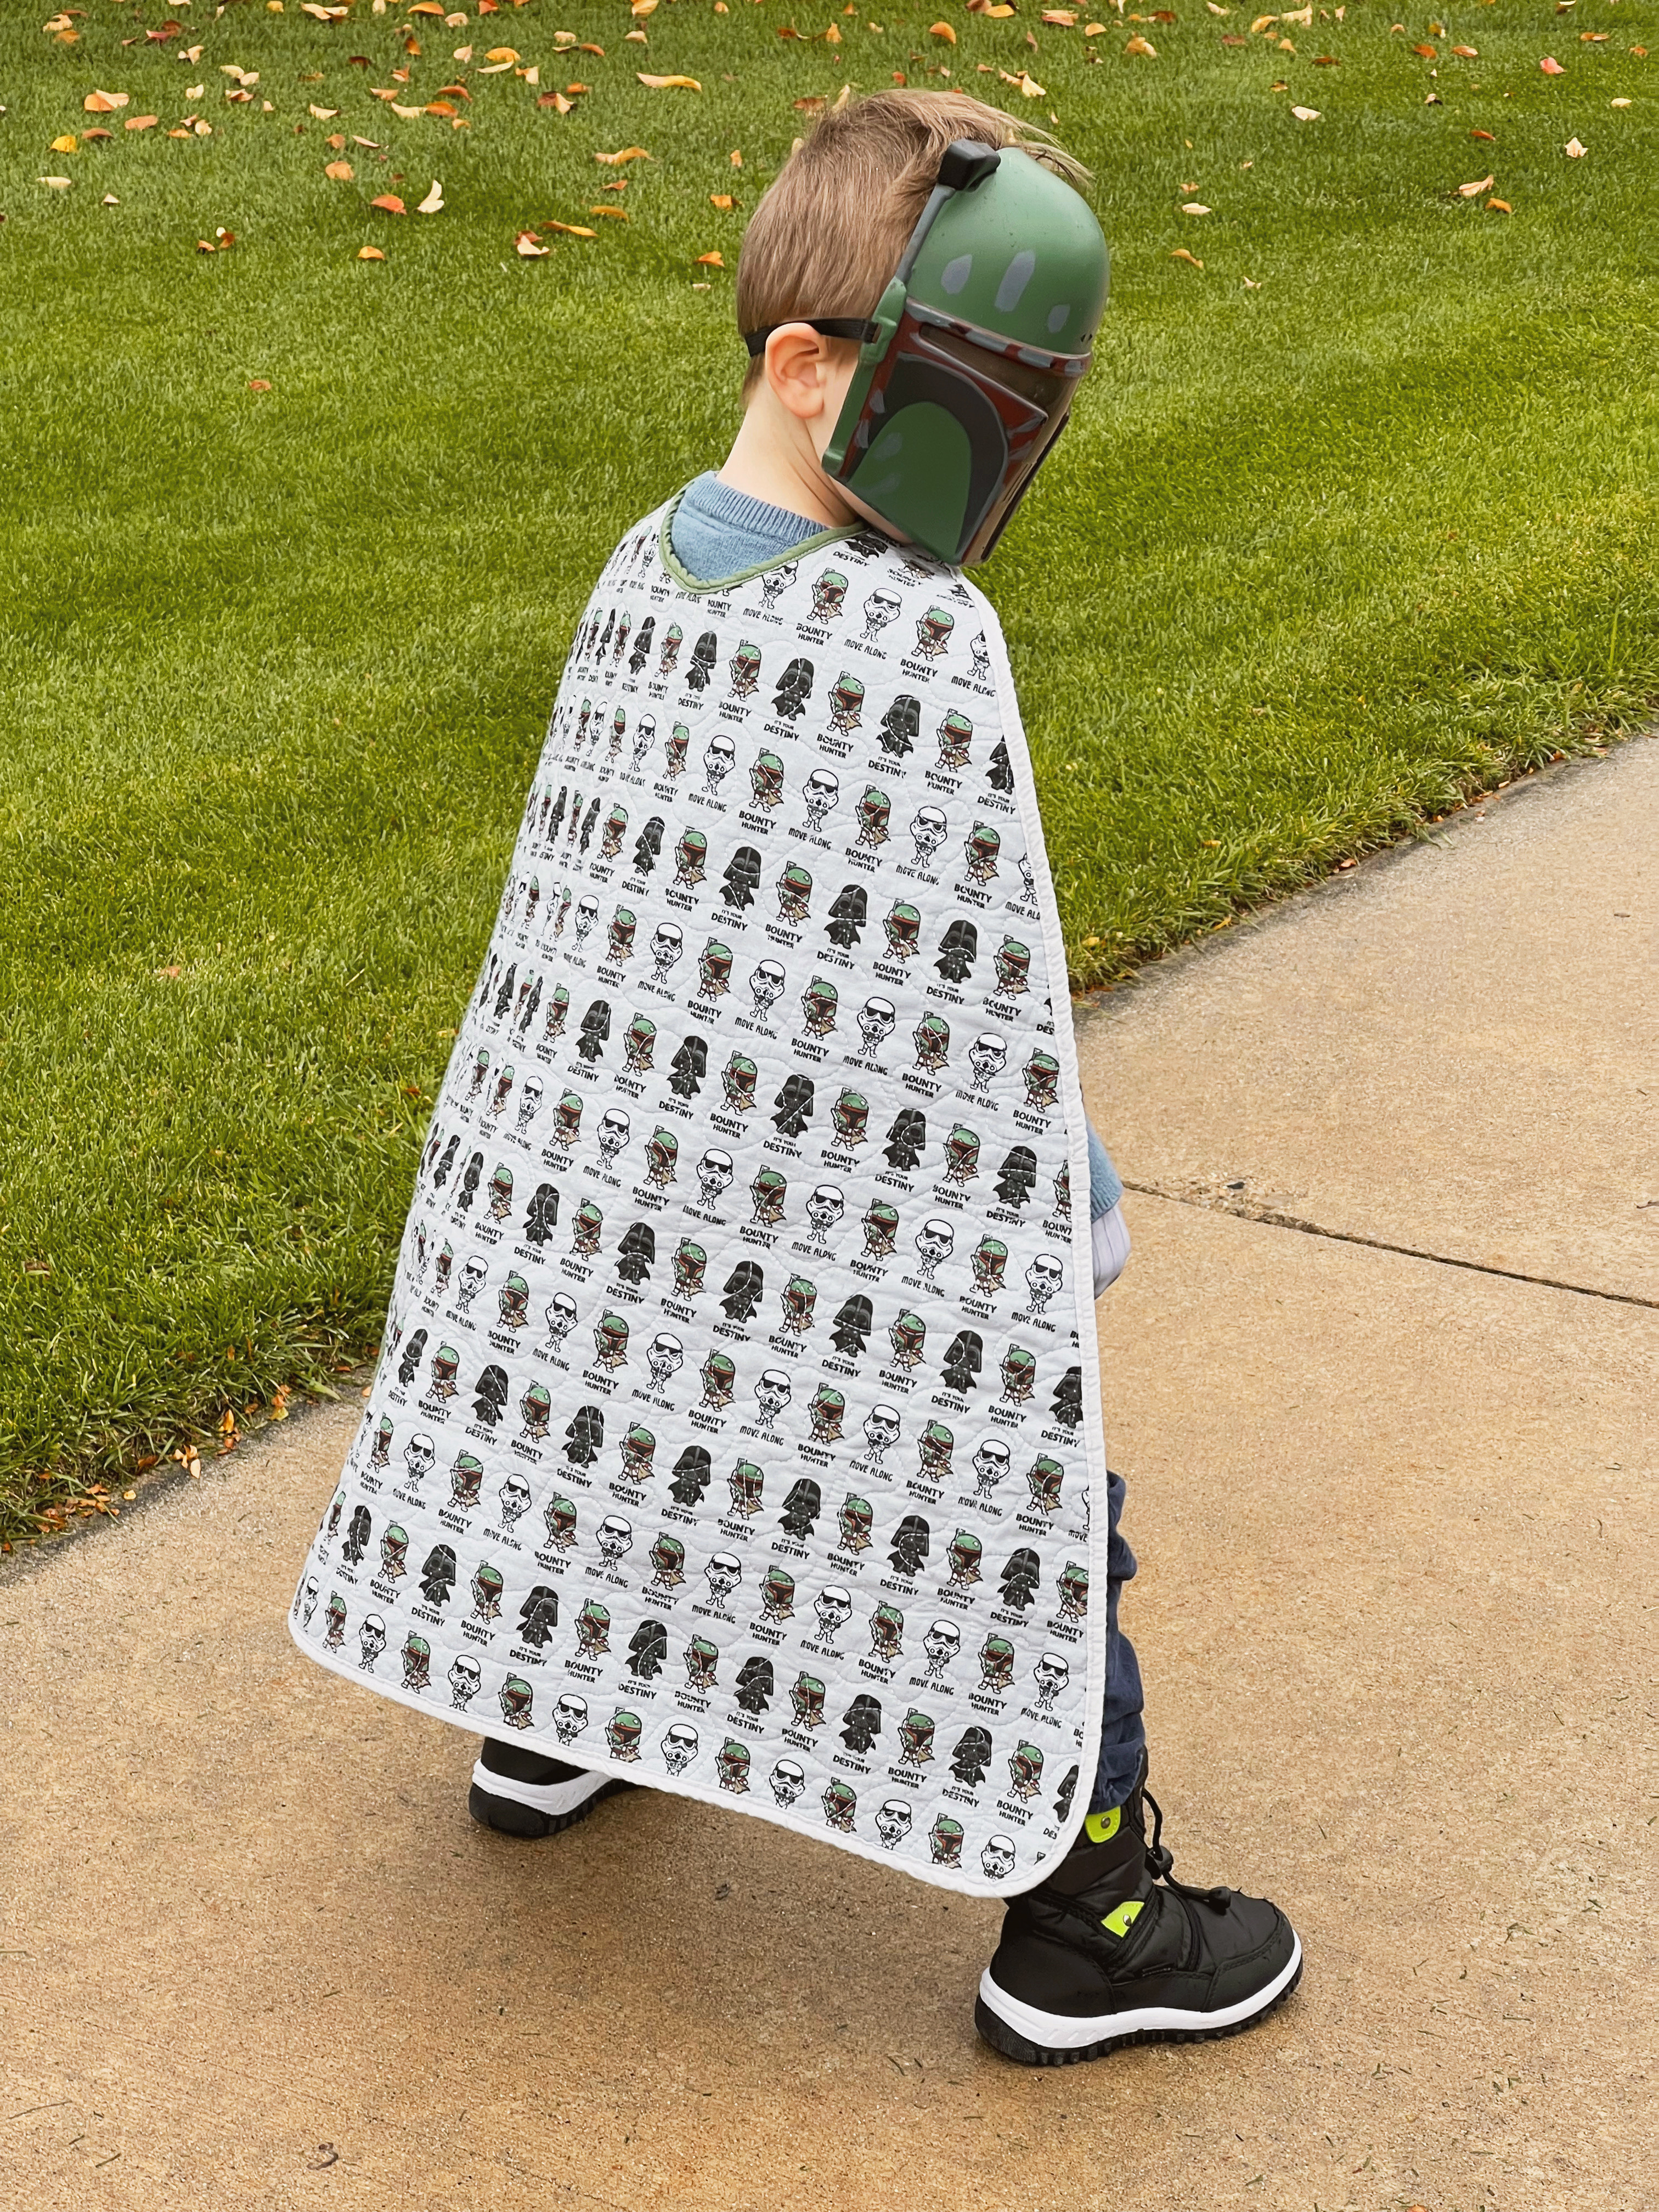
And, that is it!!! A SUPER SIMPLE, beautifully crafted, functional way to make your little one (or yourself) stand out of the crowd in those store-bought costumes!!!
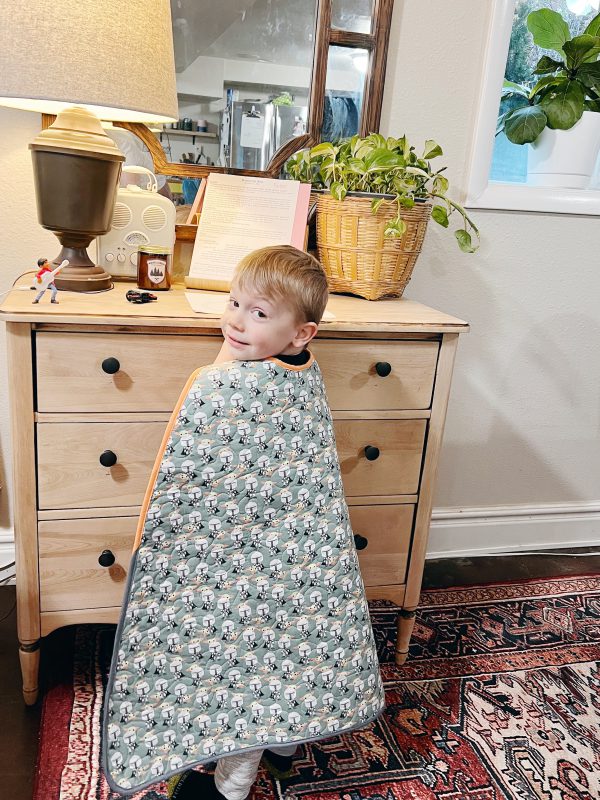
Two down for me with one more to go! My boys are so excited for Halloween, I can’t wait to see them all dressed up, running down the street wearing these amazing quilted superhero capes. They will most definitely be using and playing with these all year round for the next few years!
Happy sewing, and thanks for being here! Don’t forget to tag me and BERNINA on Instagram so we can see all the wonderful things you’ve made with this step-by-step tutorial!
Aynsley Campbell – Honymfin