Jump for Joy Quilt Along, Part Ten: Binding & Finishing
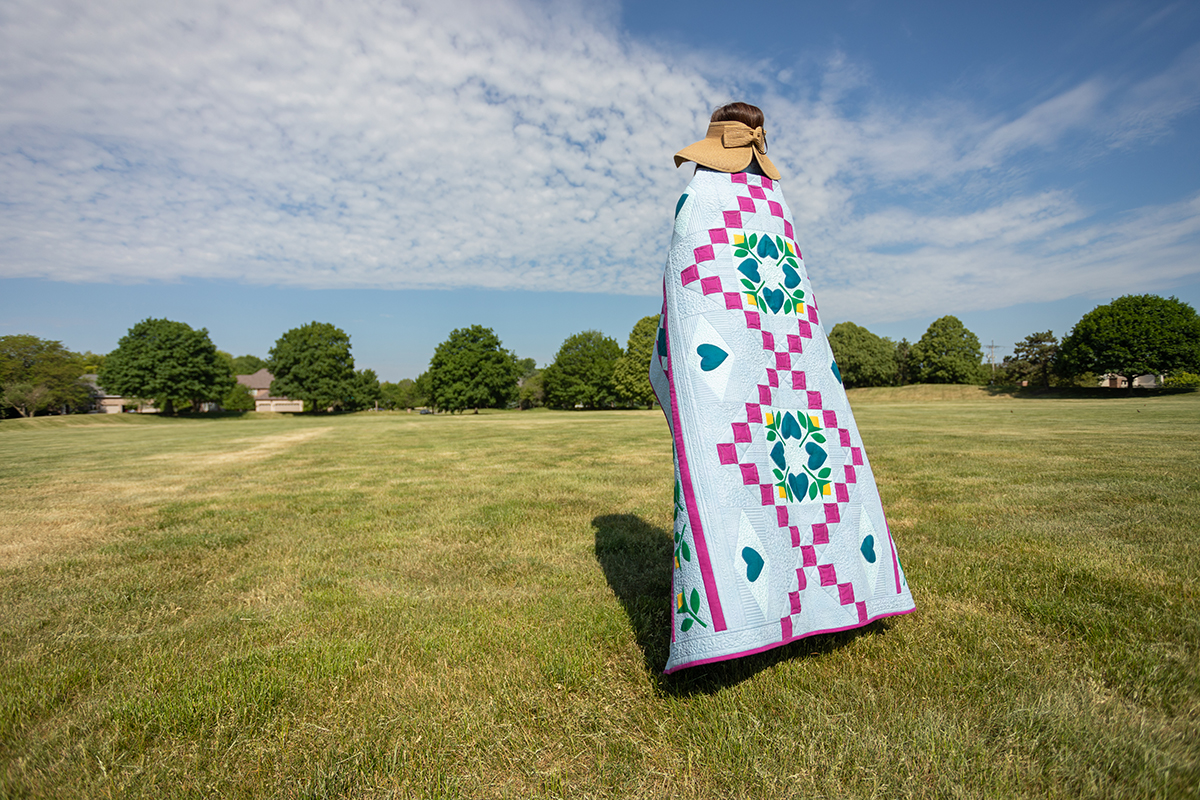
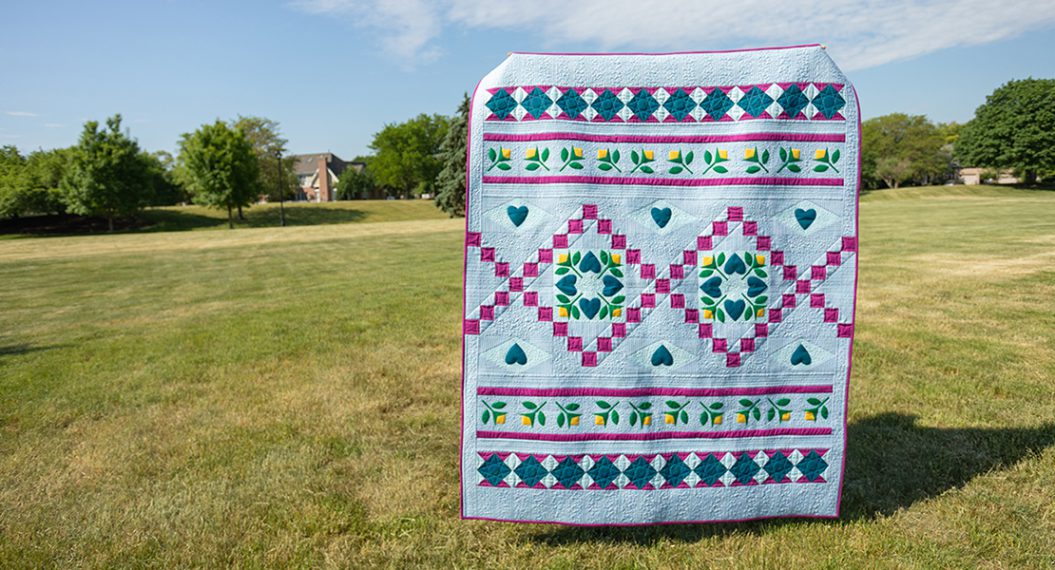
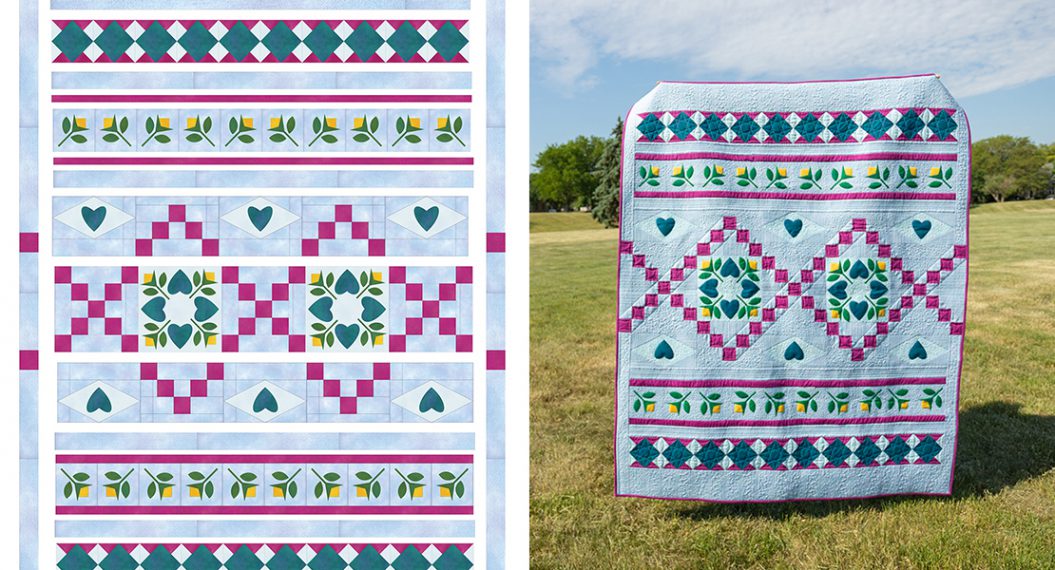
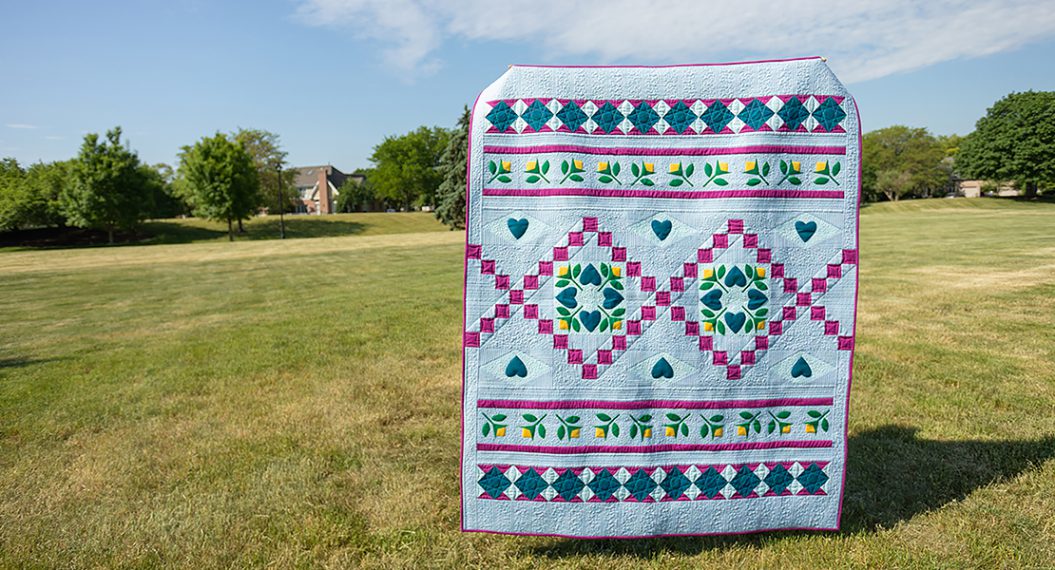
Wow! I can’t believe I am writing the final post for the Jump for Joy Quilt Along. For me this project started in January 2023 and it has been an amazing journey designing, piecing, quilting, and guiding you through making it. I hope you have had a lot of fun while increasing your quilting knowledge, skills, and confidence. The many kind comments I have received have definitely warmed my heart.
This month’s topic is binding and finishing. Even if you haven’t completed your quilting or you are still piecing, it’s perfectly fine — this post will be waiting for you when you are ready.
If you are finding the Jump for Joy Quilt Along for the first time, it is never too late to join. Here are the direct links to the previous posts, which include the fabric requirements, cutting instructions, as well as piecing and assembly instructions for the quilt top, and quilting options for free-motion, rulerwork, and quilting on the frame.
- Jump for Joy Quilt Along, Part One
- Jump for Joy Quilt Along, Part Two: Raw Edge Fusible Applique
- Jump for Joy Quilt Along, Part Three: Chain Block
- Jump for Joy Quilt Along, Part Four: Diamond Block
- Jump for Joy Quilt Along, Part Five: Assembly
- Jump for Joy Quilt Along, Part Six: Planning
- Jump for Joy Quilt Along, Part Seven: Free-Motion Quilting
- Jump for Joy Quilt Along, Part Eight: Rulerwork
- Jump for Joy Quilt Along, Part Nine: Quilting on the Frame
Materials for Binding and Finishing the Jump for Joy Quilt
- BERNINA 790 PRO
- BERNINA Patchwork Foot #97D
- BERNINA Three-sole Walking Foot with Seam Guide #50
- Jump for Joy Month 10 Pattern for binding — download HERE
- Piecing thread — Mettler Silk-Finish Cotton 50, 1081
Many Authorized BERNINA dealers have everything you need to make the quilt, from fabric, thread, rulers, and machines! If you don’t already shop there, use the dealer locator to find the closest one to you.

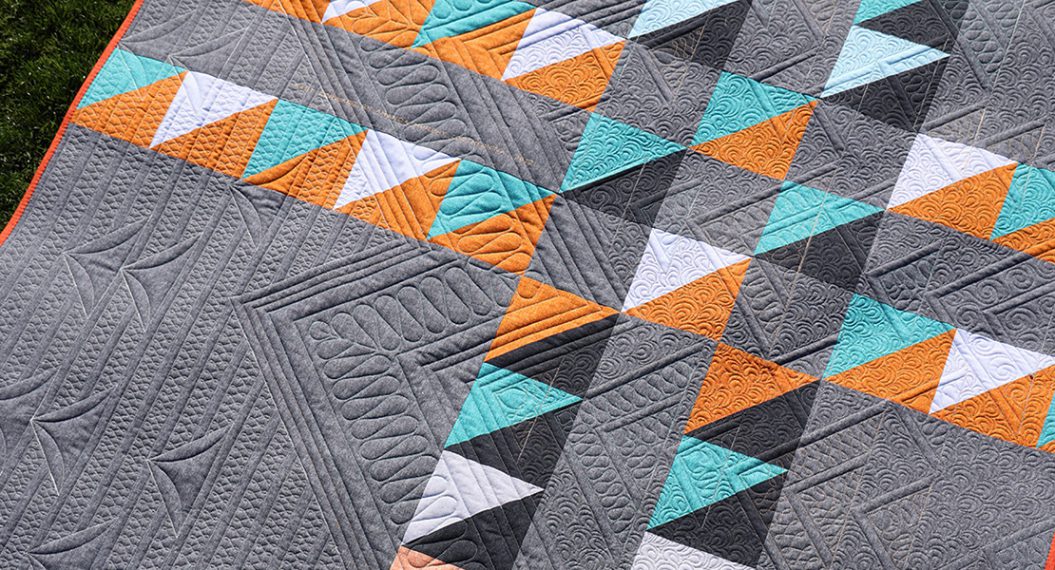
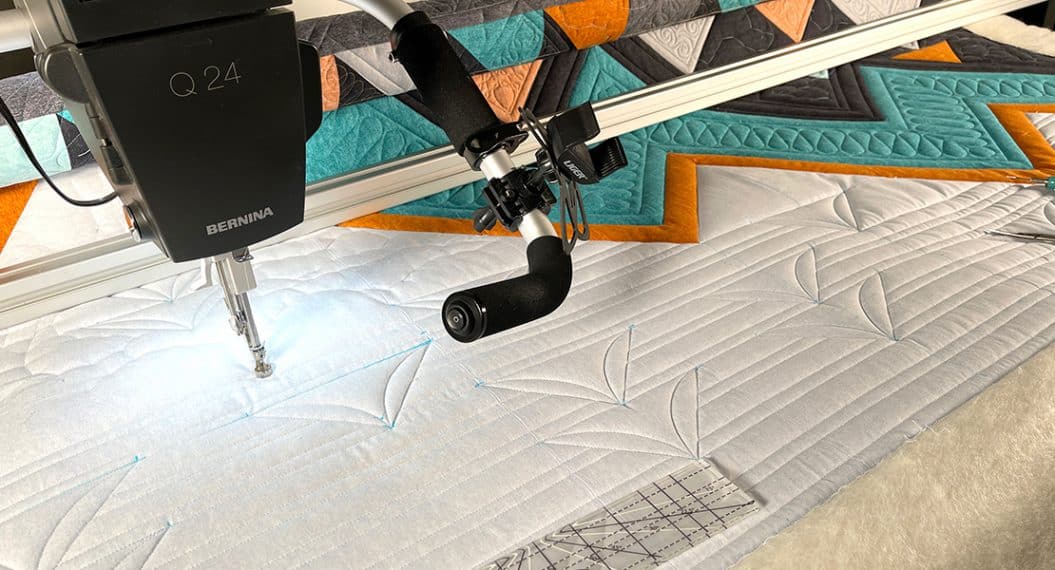
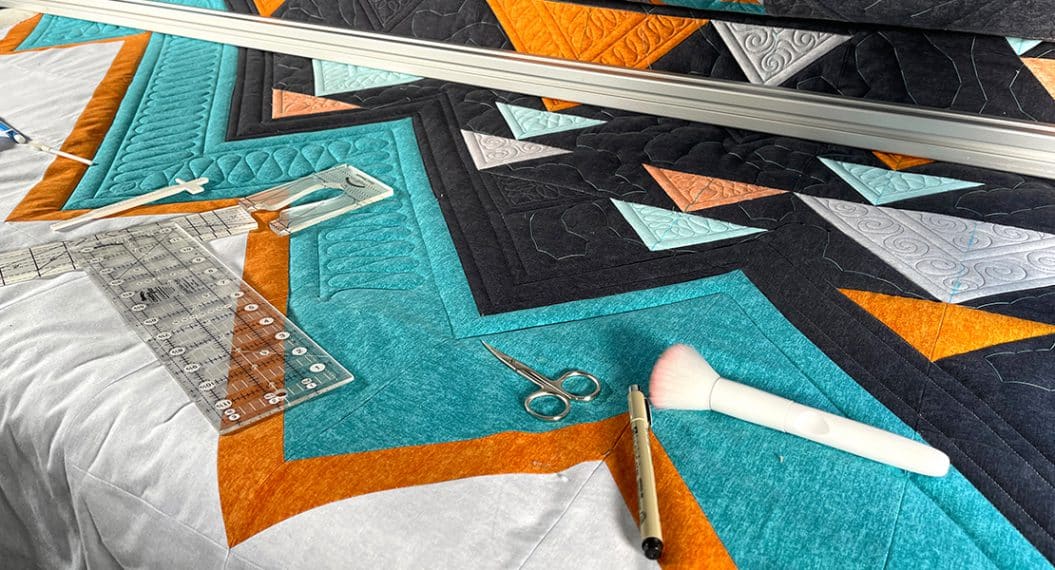
As you finish your quilting, be sure to trim all stray threads on both the front and back of your quilt top. If you have marked your quilt top with a water-erase marker, you will want to wash, block, and allow your quilt to dry before trimming the edges and attaching the binding.
Binding the Quilt
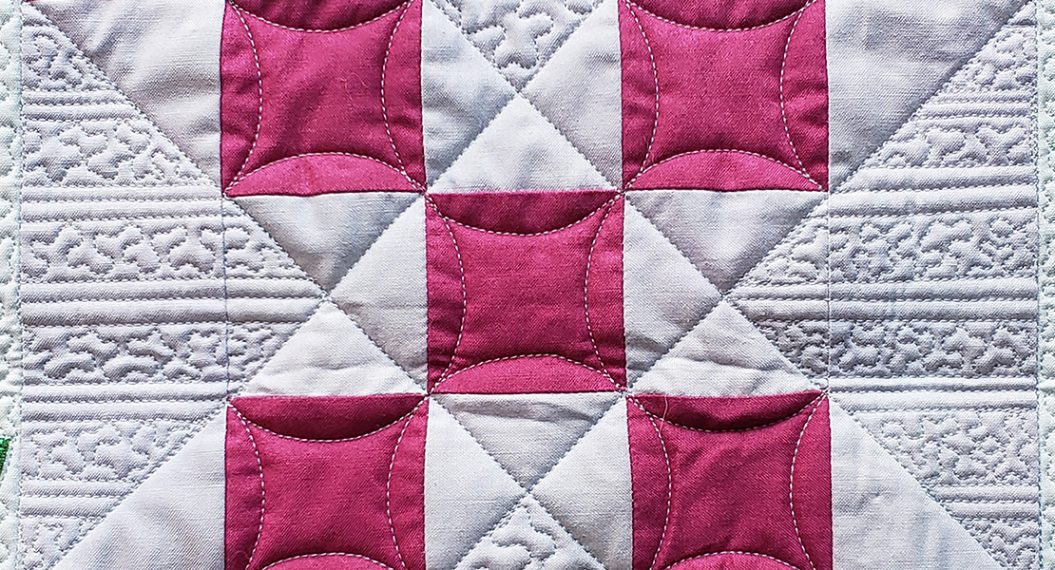
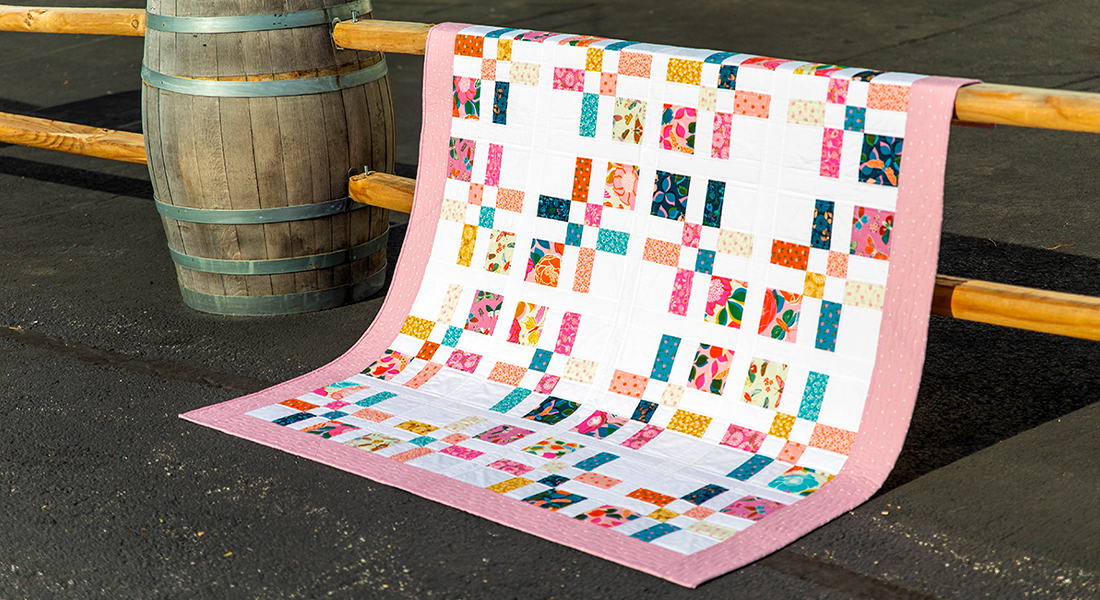
There are a variety of different binding methods and each person has their favorite, which is totally expected. For a quilt with straight edges, such as the Jump for Joy quilt, I prefer a double-fold binding, which is also referred to as a French-fold binding.
To take advantage of the dual feed option on the BERNINA 790 PRO, I use the Patchwork Foot #97D. If your machine does not have a dual feed option, a walking foot, such as the Three-sole Walking Foot with Seam Guide #50, is a great option for attaching the binding.
This blog post will take you step-by-step in preparing and attaching the binding using the Three-sole Walking Foot with Seam Guide #50. I have already taken care of the math for you. Refer to the cutting instructions for the number and width of binding strips to cut.
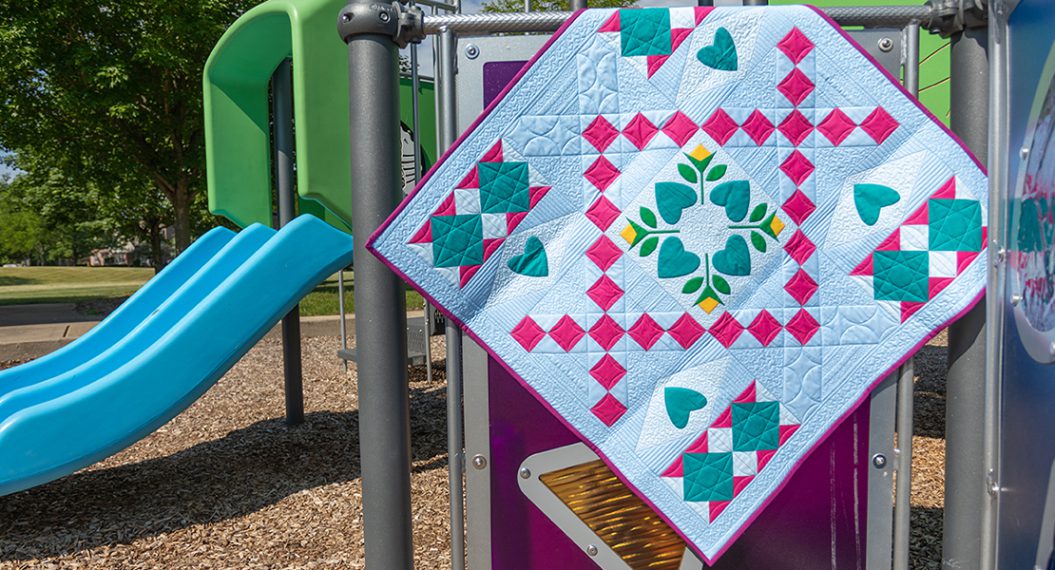
Quilt Label
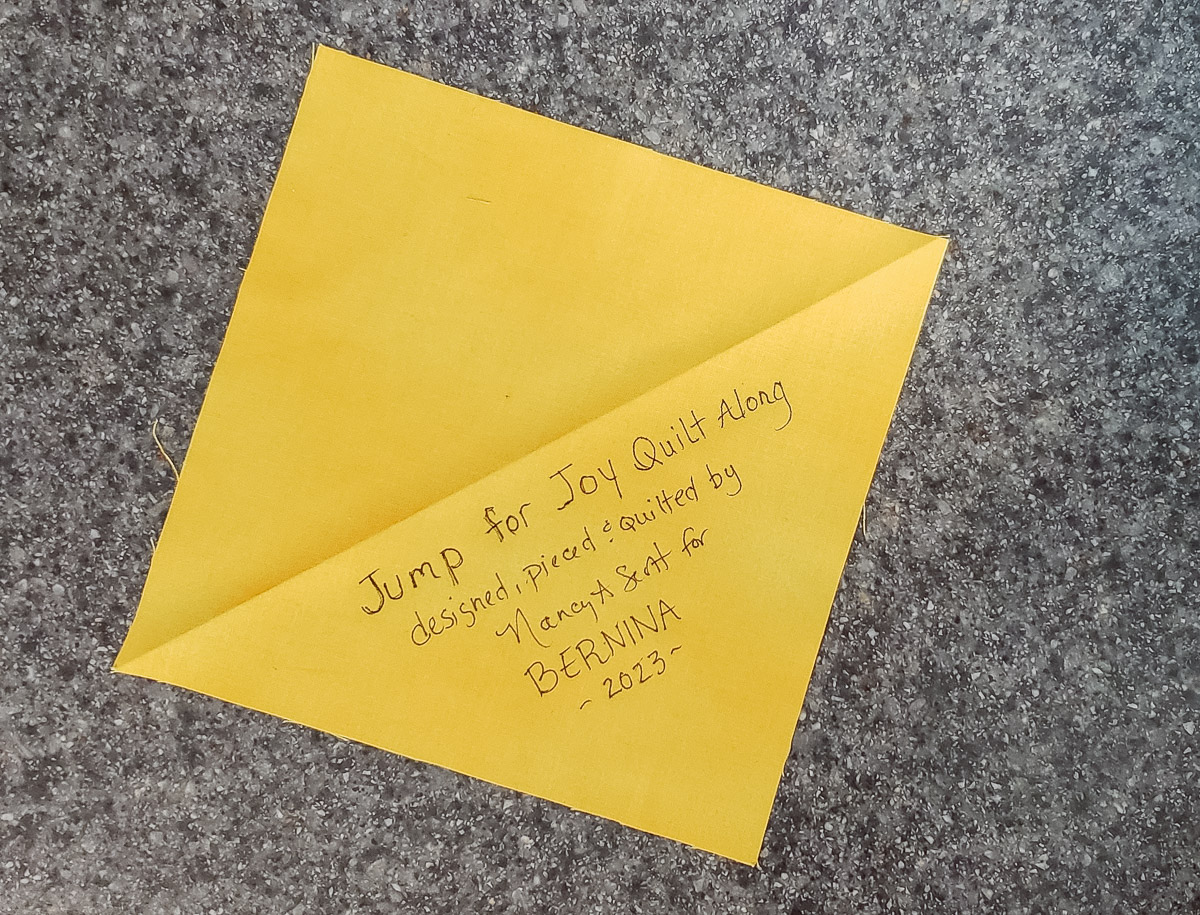
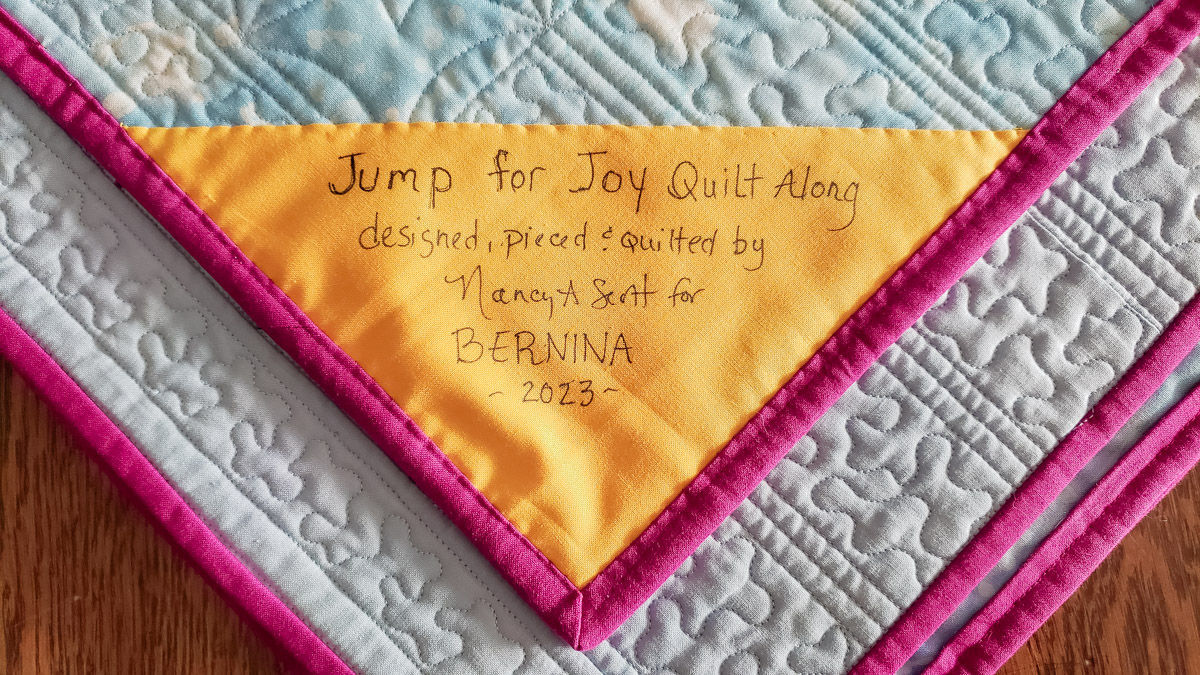
It’s always good to document your quilt with a label. The information you choose to include is up to you, but I like to include the name of the quilt, who made it, when it was made and, if it is being gifted, the name of the person who is receiving it.
Personally, I like to handwrite my quilt labels using a permanent fabric marker on a lighter color scrap of fabric from the quilt top. I cherish items with people’s handwriting as a lasting legacy, especially if they have passed.
My preferred method is to cut an 8-9” square of fabric. Fold in half on the diagonal and press wrong sides together. Unfold and write on one half of the square.
Refold, position in one lower corner on the quilt back and stitch into the binding for security. Whipstitch across the folded edge to finish. This ensures that all the raw edges of the label are enclosed and it isn’t very likely to come unstitched with use.
If you prefer to create your label using your sewing machine, you can use the same press but instead of handwriting, let the machine create the lettering for you.
Another option is using a custom embroidered design as a label. This tutorial guides you with step-by-step instructions on how to make a personalized label that is also fusible.
Hanging Sleeve
If you are going to display your quilt on a wall, then a hanging sleeve is a must. A full-width sleeve distributes the weight of the quilt better than clips or hanging tabs.
This tutorial shows the same method I used to create a hanging sleeve, except I prefer to sew mine on completely by hand.
I used leftover backing fabric to make my hanging sleeve. This helps it blend in perfectly with the quilt back and you don’t notice it when the quilt is being used as a throw.
As this post comes to a close, so does the Jump for Joy Quilt Along, which does make me a bit sad. But no worries! I have more projects in the works that you will read about soon. Keep sharing photos of your Jump for Joy quilts as I love to see them; your creativity blows me away. Remember, quilting is always better with a friend.