Let Your Machine Help You Learn
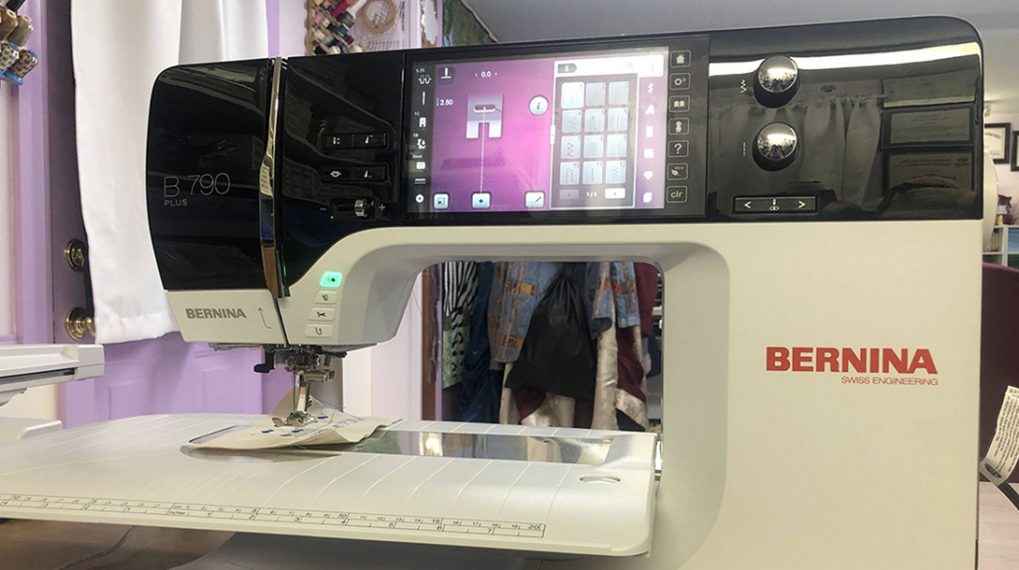
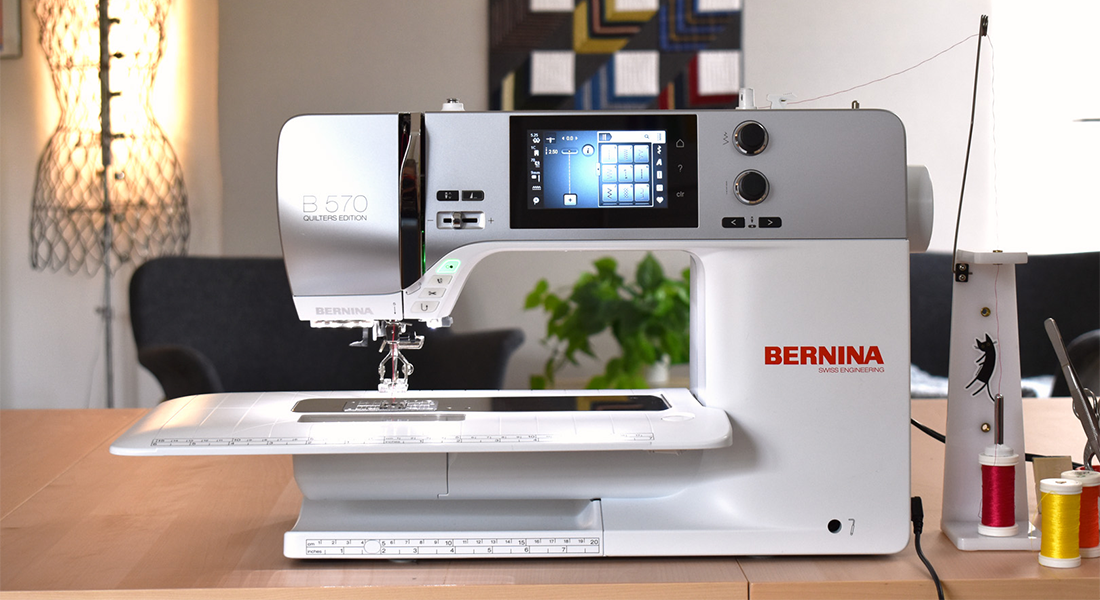
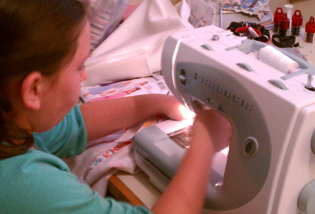
I’ve always sewn on a “dumb” machine. No computer, no bells and whistles, just a plain old sewing machine. I wasn’t entirely sure about changing over to a “smart” sewing machine, with a touch screen and lots of bells and whistles, but after sewing on several different models while teaching at shows, I decided it was time to upgrade. I chose a BERNINA 790 PLUS, and as I discussed in my last post, I was a little bit intimidated by it at first. One of the things that helped me get over my fear of hitting the wrong button, or messing something up on this incredible machine, is the intuitive display screen. It helps even non-techies like me find what they want with ease.
Using the Simulator
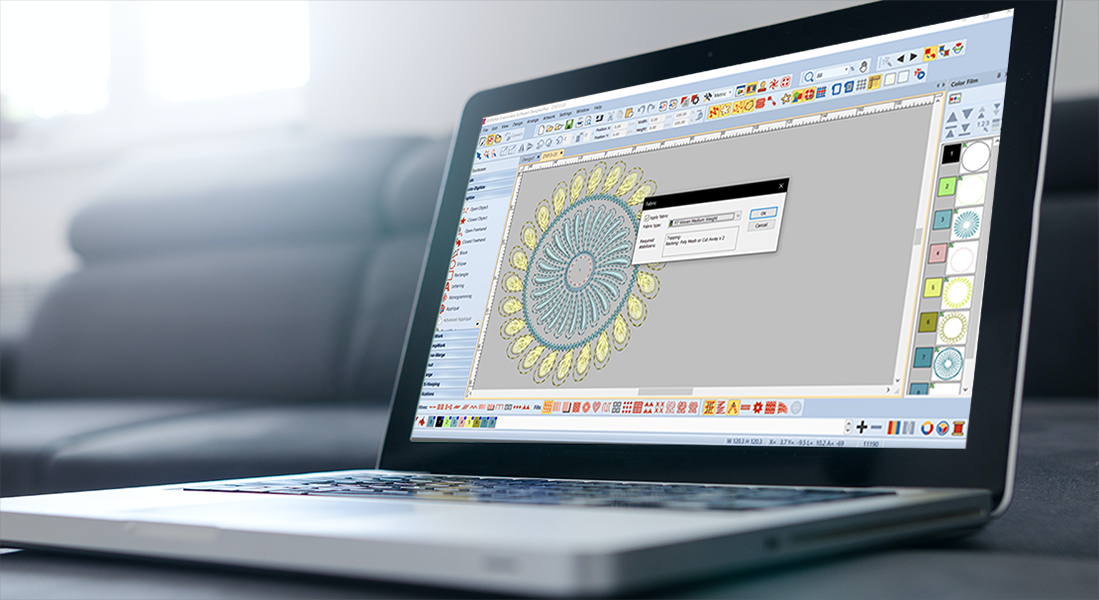
One really cool feature that is available to help you become more comfortable is the BERNINA Simulator. This is a downloadable program for your computer that lets you learn how to navigate your machine’s display. I love this program as it allows me to familiarize myself with my B 790 PLUS without having to worry about changing something by accident or messing something up. It also allows me to spend time with my machine even when the machine itself is not physically available. To find the simulator for your specific machine, go to https://www.bernina.com/en-US/Home-United-States, enter your machine in the search bar, and then scroll down until you find the tab that says “Support Page”. This will take you to a link to download the simulator for your machine.
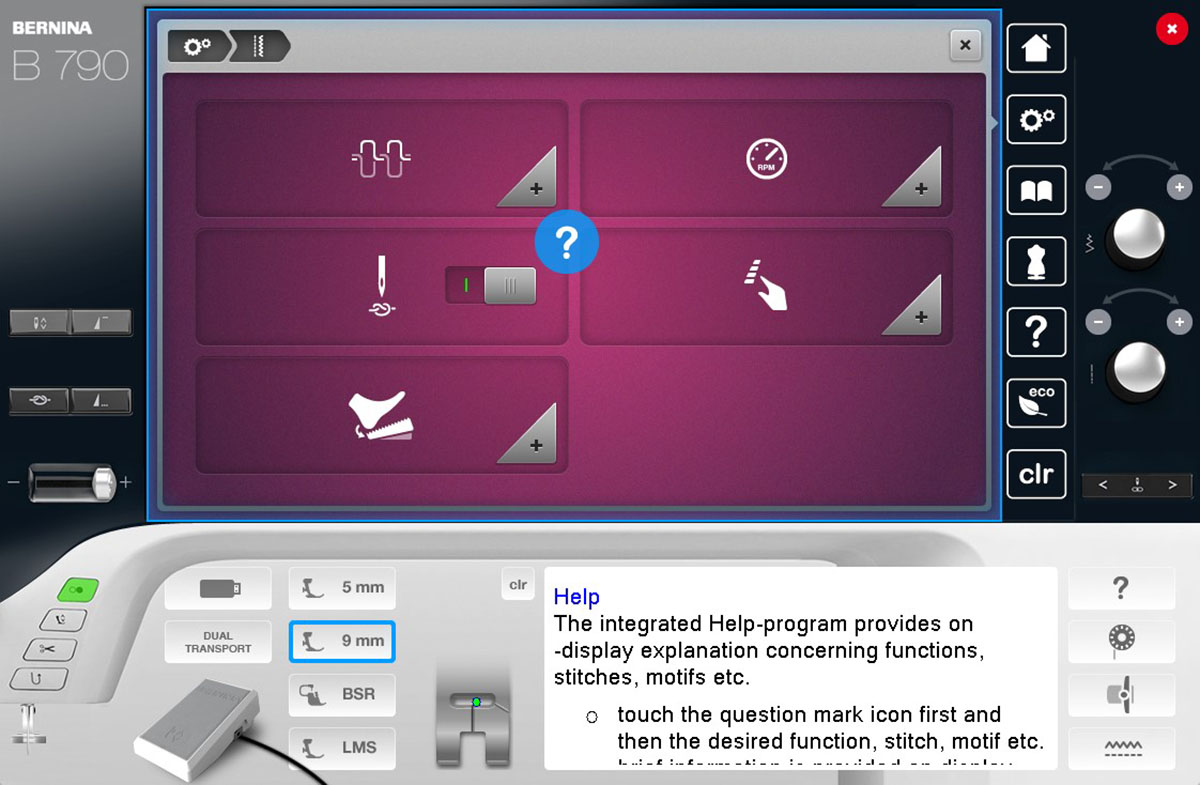
Help Button
This button will quickly become your best friend. Any time you are unsure of what a button is for, or how it works, you can use the help button to obtain additional information. To use this feature, first push the help button (“?” button under the dress form button). After touching the help button, touch the button you have a question about. It will open a dialogue box providing helpful information about the feature in question.
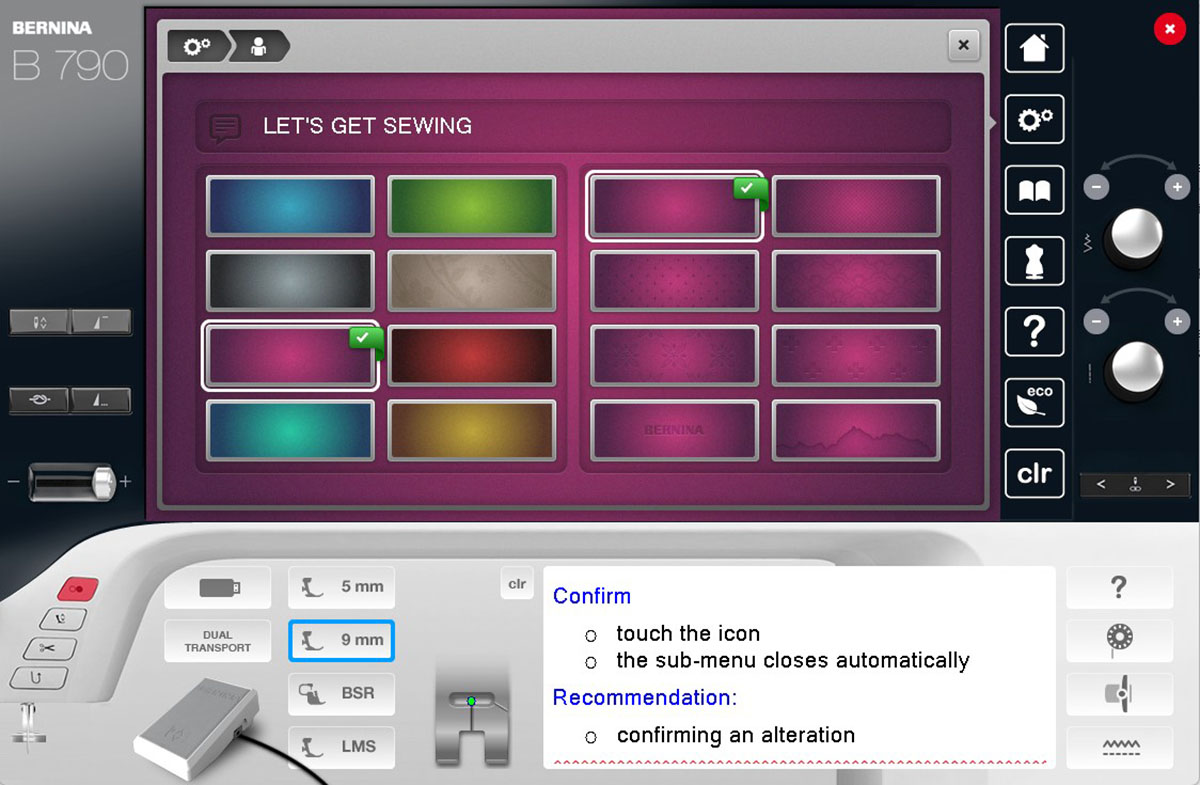
Personalizing Your Screen and Preferences
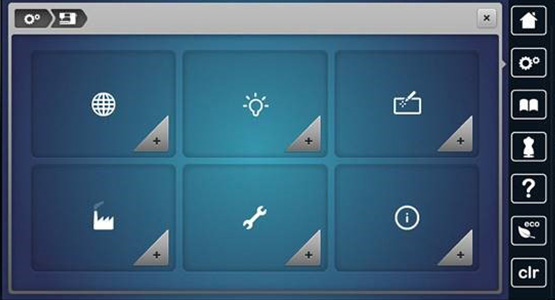
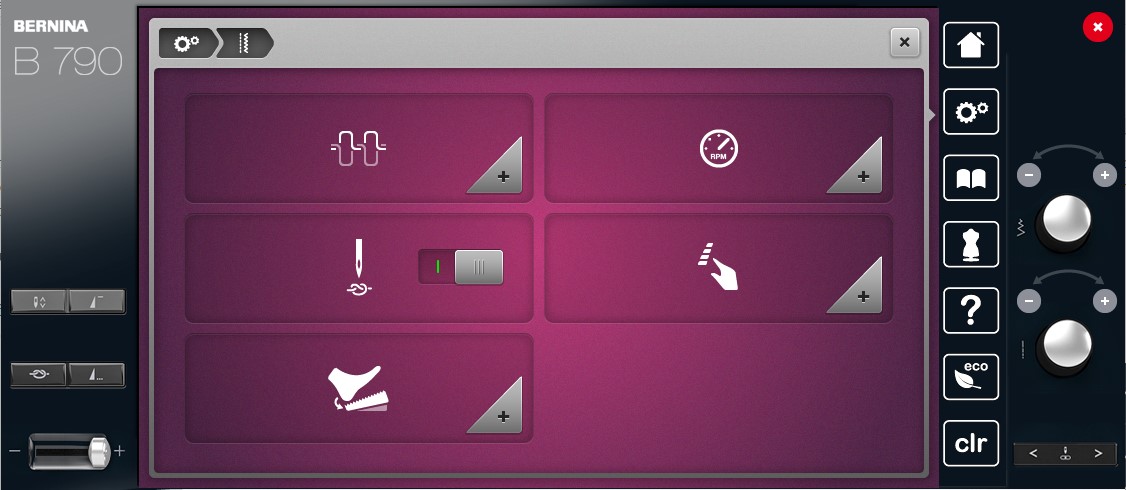
When you first turn on your machine, you will have the option to choose which language you want the display to show. Just for fun, you can also change the color of the display (I chose purple, of course) and personalize the message displayed on startup. Simply touch the gearbox and then the plus sign next to the picture of a person. While in the gearbox display, you can also set the volume of notifications.
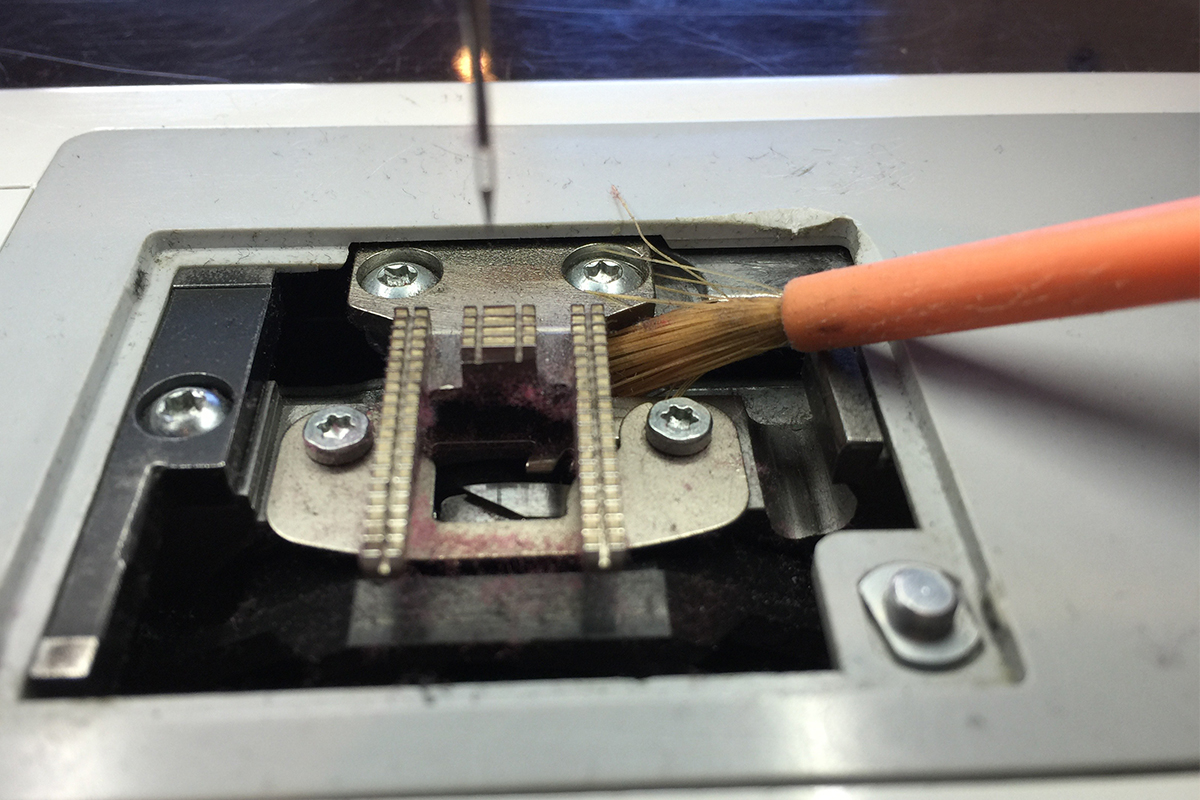
After touching the gearbox picture, touch the picture of the sewing machine. This will take you to the options for changing the display and sewing light brightness, by touching the light bulb icon. The icon with the “i” in a circle will provide you with information about your machine such as your software version, machine ID, and any upgrades you may have. Probably the most important icon in this section is the “wrench”. This icon will take you to the maintenance screen. Under it, you can find out about software updates, instructions for cleaning your thread catcher, where to oil your machine (regular oiling is incredibly important), and even how to repack your machine, if necessary.
![]()
The next thing you will want to personalize is how your machine stops and starts sewing. While under the gear setting, touch the icon that has a straight stitch line next to a zig-zag stitch. The picture of the “needle and knot” when slid to the right, turns on the securing stitches feature. This feature will be activated anytime you use the thread cutter, or you can manually push the knot button to the right of the display underneath the needle up/down button.
Program Buttons and Icons
After you have personalized your machine, go to the program buttons and icons tab. This looks like a hand pointing at a line of stitches. Under this tab, you will be able to program features including the hover foot, automatic thread cutter, needle up/down, pattern end, reverse stitch, and tie off preferences.
![]()
Hover Foot-Needle Down
I love this feature on the B 790 PLUS. When you have it set to stop with the needle down, it will raise, or hover, the presser foot, allowing you to easily turn fabric without needing to manually lift the presser foot. This is a huge time saver. Under the presser foot icon, you can set how high the foot goes up, when you stop. Under the needle down icon, you can control whether to foot stays down, comes up ½ way, or all the way up, when you stop with the needle down.
Automatic Thread Cutter
Allows you to set the number and type of securing stitches used before the thread cutter activates. First, touch the scissors button and then the knot button, if you want to use this feature. After the knot feature is activated, you can choose the type of knot you want to use.
Quick Reverse
This is another handy feature. You have the option of choosing between a standard reverse and the back stepping function. The standard reverse is just a regular backtrack, which is fine for a straight stitch. If you are using a decorative stitch, however, it makes a less than optimal tie off. The back stepping function allows the backtrack to stitch backward exactly over the previous stitching pattern. This is not only a great way to neatly tie off but allows you to neatly restart a pattern if you had a thread break or ran out of bobbin thread.
Pattern End
This button programs the pattern end button next to the knot button to the left of your display. It looks like a triangle with three little dots after it. On its own, it can be used to finish a decorative stitch at the end of a pattern, or you can set it to tie off, cut and lift the presser foot, or any combination thereof. When you are in the pattern end window, simply touch the desired features to set. When the boxes are highlighted, they are active. (Want a more in-depth tutorial on pattern end and begin? Check out this post “Pattern Begin and Pattern End: A BERNINA Feature“).
Tie-off
This programs the “knot”, or tie-off button, under your needle up-down button, to the left of the display. You can program it to either take a series of small running stitches or to take 4 securing stitches in place.
Breadcrumbs
When setting multiple options in a setting, such as in the section above, you can always touch one of the main buttons on the machine (home, gears, help etc.), but you don’t have to close the screen and go back to the beginning every time you want to go to a different section of that menu. As you navigate through a menu, it will put a list of “breadcrumbs at the top of screen for each previous section. When you want to go back, simply touch the breadcrumb to take you back to that particular menu. This is a real time saver when changing multiple settings within a menu.
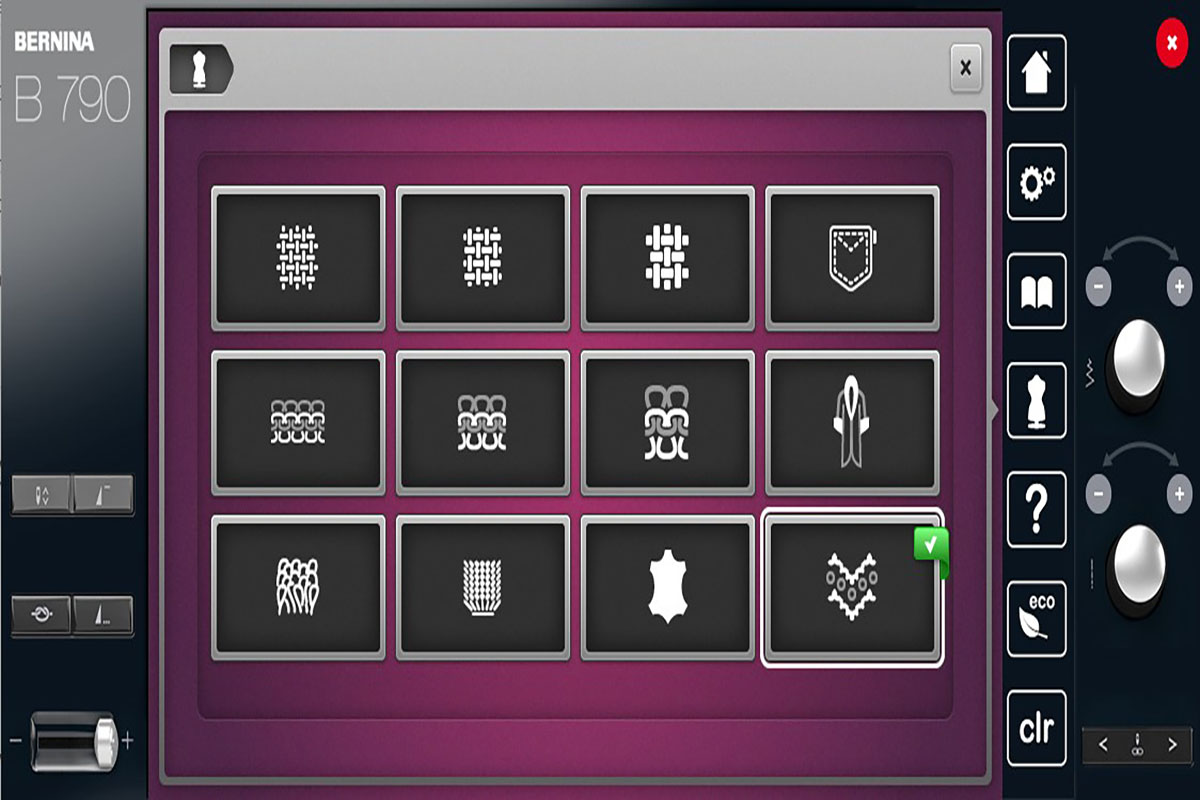
Creative Consultant
One of the most useful features for both experienced and new sewists is the Creative Consultant. It provides you with information and help with a variety of sewing techniques. This button looks like a dress form. After you click on it, select the type of fabric you will be sewing. Once you have chosen a fabric type, it will recommend type of thread, needle, presser foot, and stitch to use for the best results.
Easy Navigation
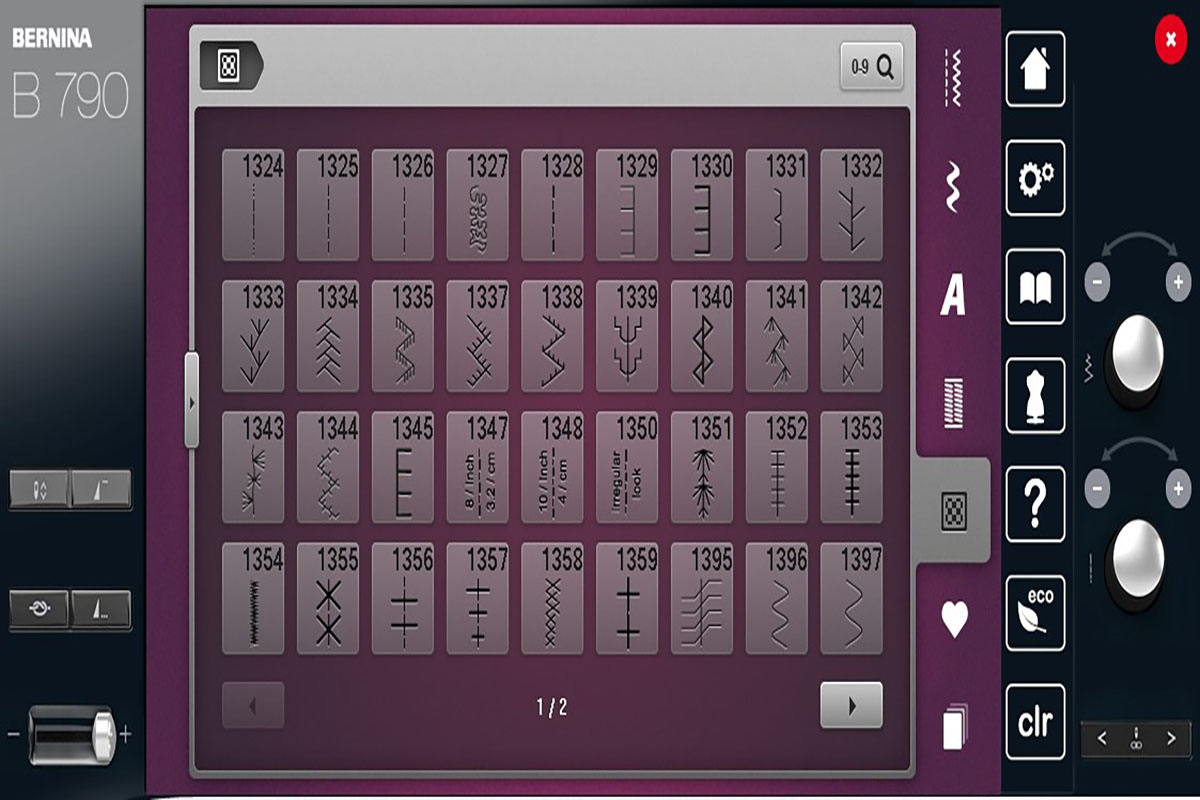
When you have everything set to your preferences, you are ready to start sewing. There are a variety of stitches to choose from, but finding the one you want doesn’t have to be time-consuming. There are two different tricks to make stitch selection easier. You can expand the selection box, and also search by number.
Expanding The Selection Box
The normal selection box is a grid of 3 selections across by 4 down. If you click on the carrot (arrow) to the left side of the box, it will expand. This creates a 9X4 grid showing you three times as many options.
Searching by Number
If you know the number of the stitch you want to use, you do not need to scroll through the stitches. Instead, you can click on the magnifying glass at the top of the box. When this opens, simply enter the number of the stitch you want and hit the green check box. This will take you directly to the desired stitch.
The “i” Menu
This handy feature will quickly show you every function that can be applied to a specific stitch. Once you have chosen your desired stitch, simply click the “i” button. The panel that opens will give you all the different options available. If an option is not highlighted, it is not available for that stitch. When making multiple alterations within the “i” menu, always use the breadcrumbs to navigate, and don’t close the window until all the changes have been made.

It is easy to want to stick with features you are comfortable with, but it’s to your advantage to learn all the features of your machine. The more you navigate through your display, the more comfortable you will become. Make sure and use the simulator to explore all the options available on your machine and before you know it you and your new machine will be best friends. Check out my next post on “Using and Programming Your Machine’s Presets” to get even more out of your machine!