The Beauty of Hemstitching, History and Techniques
Celebrating 125 Years—The Beauty of Hemstitching
Historically, hemstitching is, as its name would imply, a stitch for finishing hems. Traditionally, hemstitching was done by hand as threads were removed from the fabric. Then a hand stitch pulled the threads apart creating a decorative hole in the fabric. As you can imagine, this was a tedious and time consuming task. There must have been a lot of excitement when Karl Friedrich Gegauf, founder of our company, invented the first hemstitching machine in 1893!
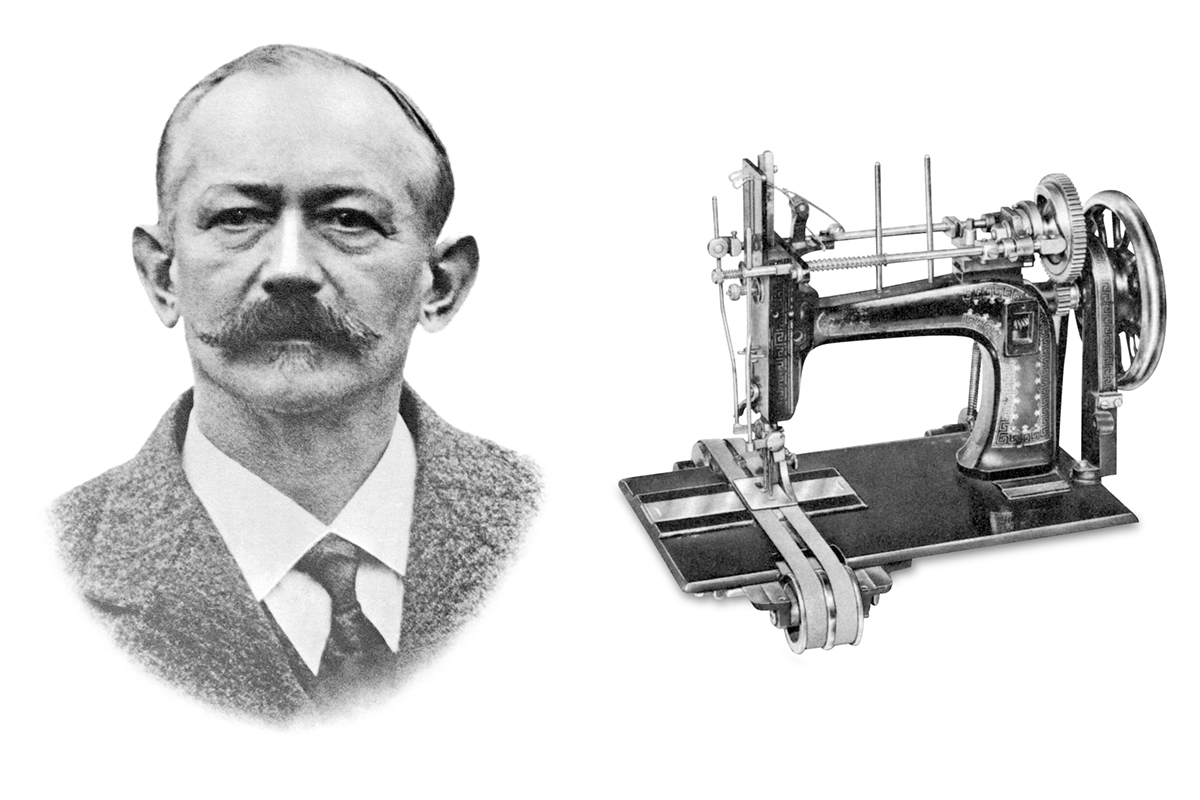 This specialized machine had a “piercer” that spread apart the threads of the fabric and two needles, each with its own bobbin, formed stitches to hold the hole open. This created that beautiful heirloom hem we see on vintage linens and antique lingerie.
These machines became so popular across Europe that the hemstitching technique became known as “Gegaufing”.
Today, very few people actually own this type of specialty machine. But we can recreate the beauty of hemstitching on our current sewing machines using the beautiful decorative stitches in the machines and using one of the several specialty needles available.
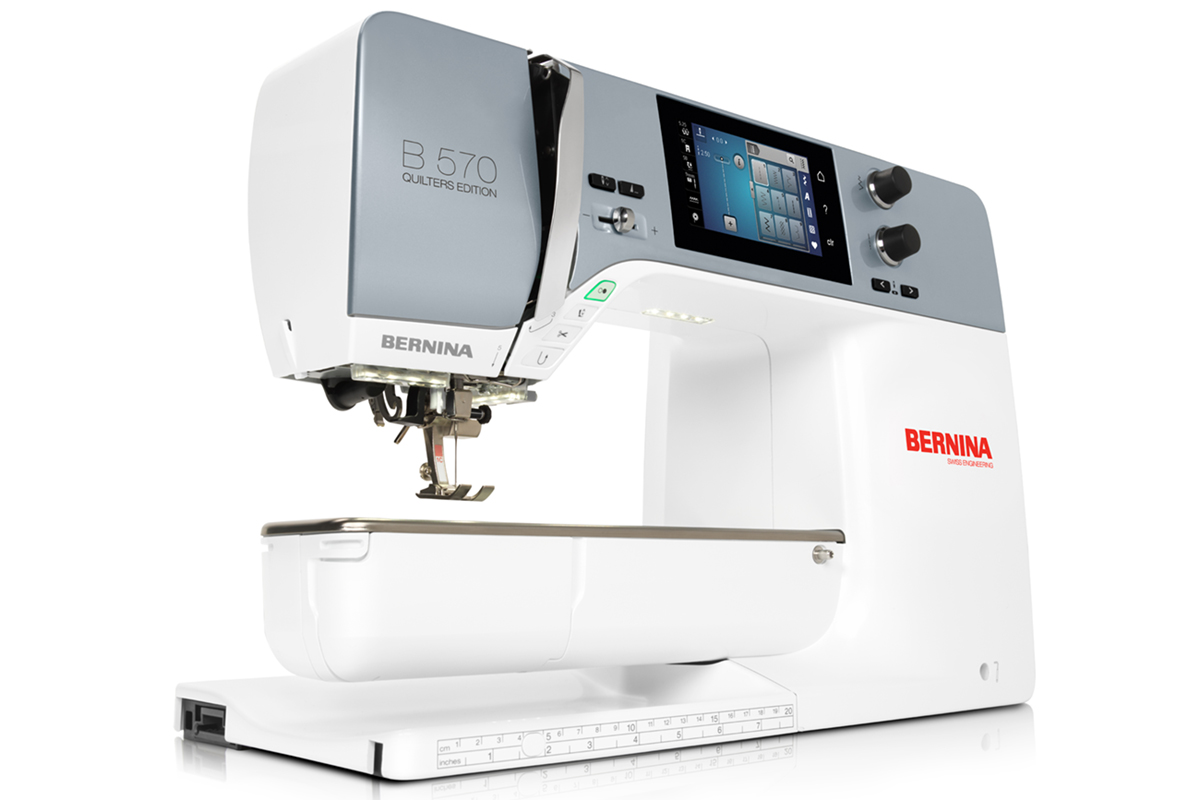
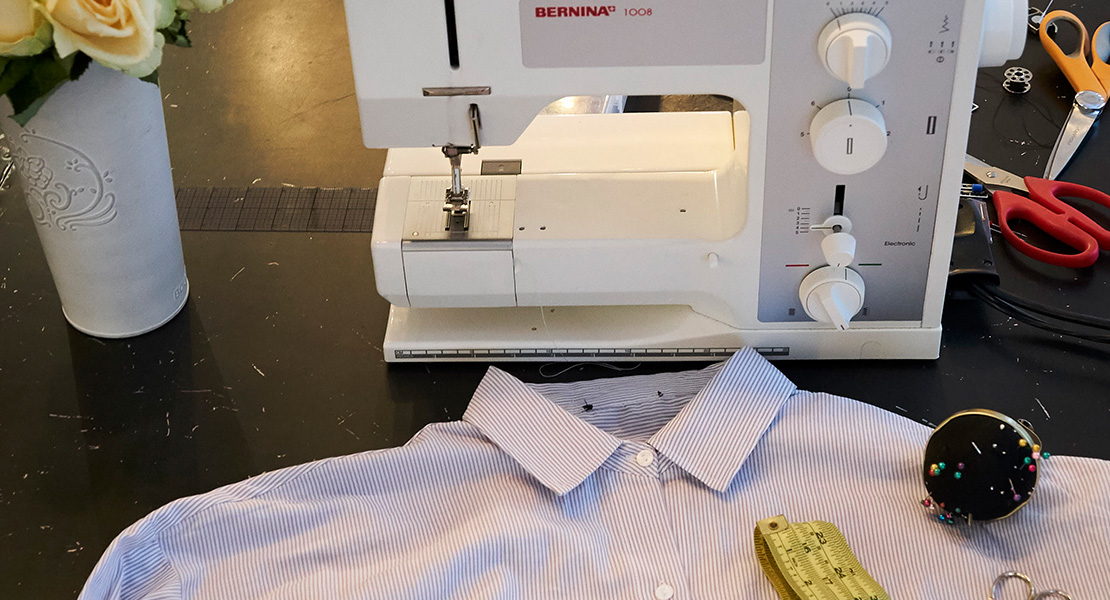
The BERNINA 570 QE, one of BERNINA’s newest machines, makes an excellent choice to recreate this heirloom look. The slightly larger throat space (8 ½″) gives you the convenience of a larger work area and a new feature allowing you to make many of the machine stitches “triple stitched” that will create beautiful stitches for hemstitching.
Materials Needed for Hemstitching
- Fabric
- While hemstitching can be done on most any fabric, it will work best when done on a natural fiber such as linen, cotton or silk. All the samples here were done on Irish Linen.
- If you are creating a hem on the straight of grain, you can even pull a thread or two to create a larger and more distinct hole, as was the case when hemstitching was done by hand.
- Stabilizer
- All fabrics will perform better with some type of stabilization. The needles you use for hemstitching are large, so softer fabrics may be pushed down into the machine. Use a spray starch or a spray fabric stabilizer to prevent that. Several light applications work better that one large saturation.
- If you find that your fabric needs additional stabilization, use a light weight tear away
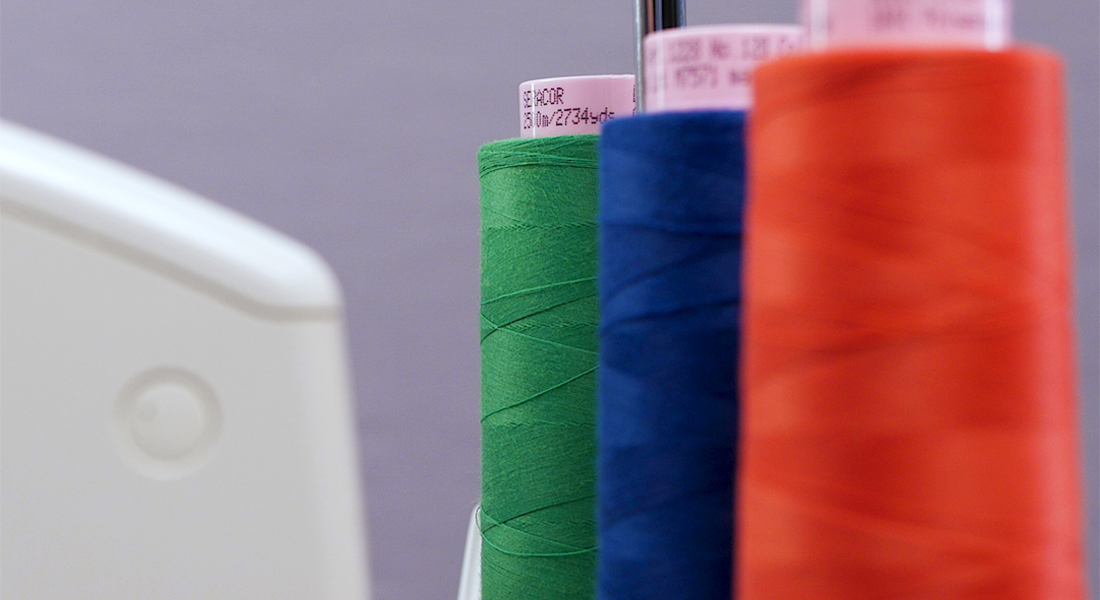
- Threads
- Because the beauty of hemstitching is the hole that is created, you will want to use a matching 60 wt. or 80 wt. cotton thread to emphasize the hole, not the thread. However, in a less traditional sense, you may want to call attention to the thread itself, and therefore a heavier thread and/or a contrast thread may be in order.
- Needles
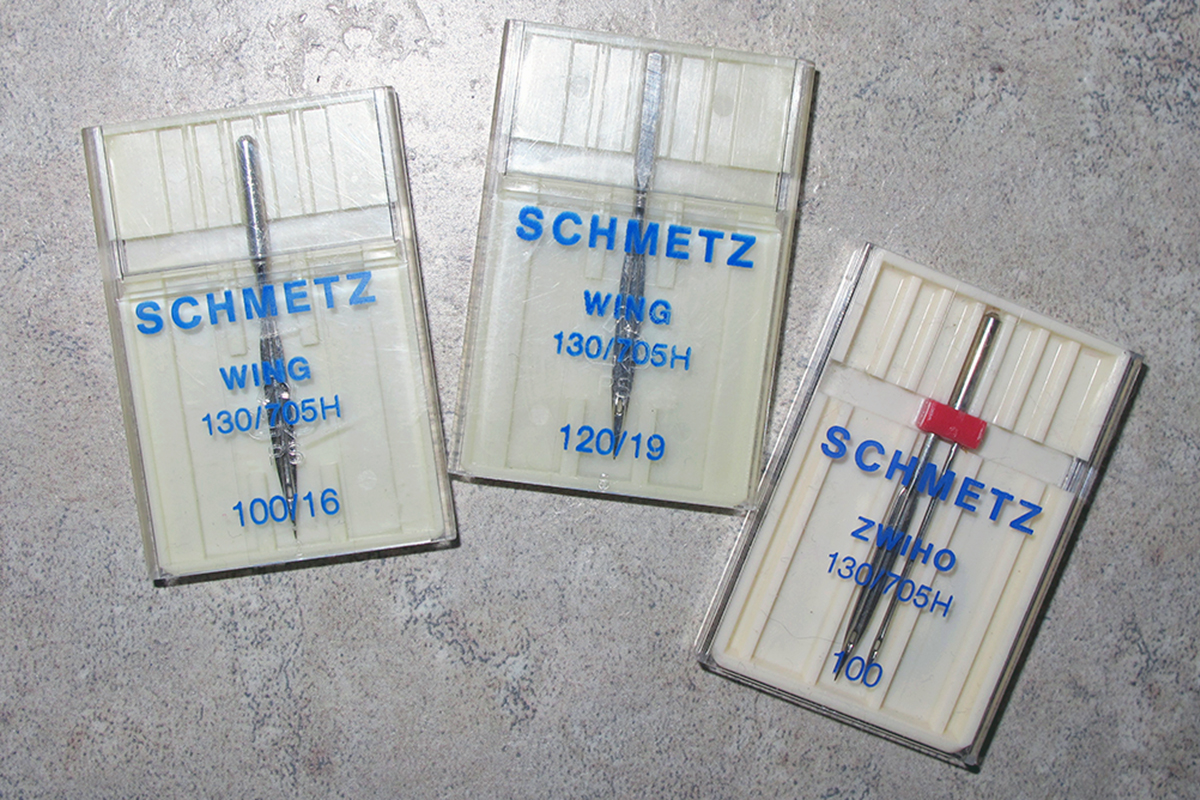
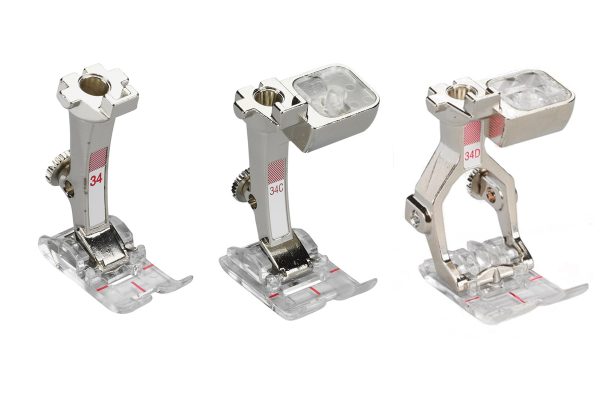
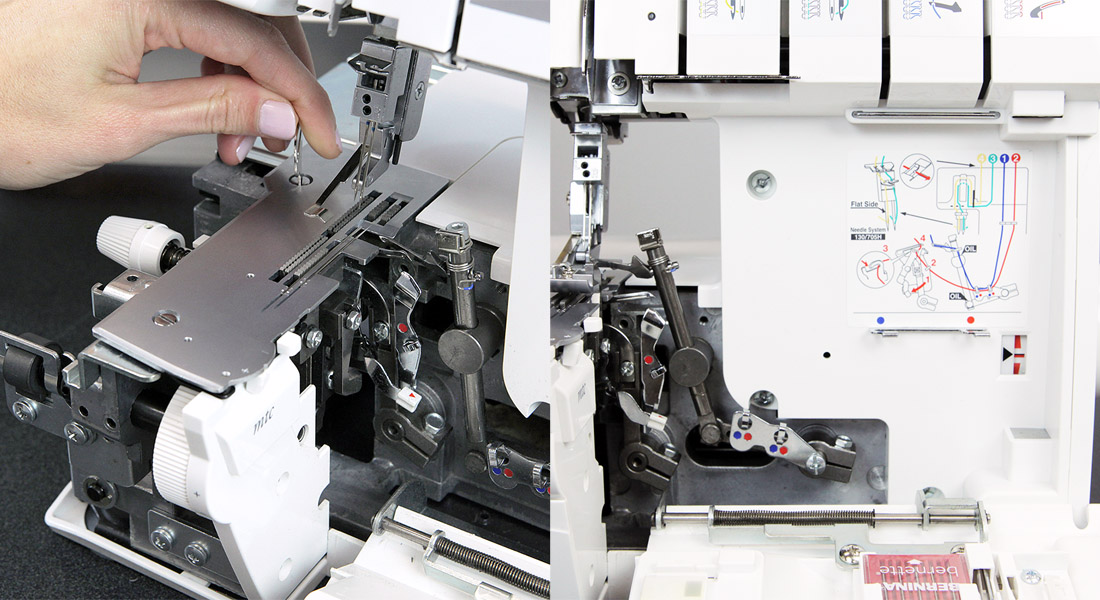
- There are three needles that you will want to have on hand—two wing needles and one double wing needle.
- The two sizes of wing needle sizes that you will need are Size #100/16 and Size #120/18. These needles have “wings” on each side of the needle that are used to push apart the threads in the fabric. And of course, the larger the number, the larger the needle and the larger the hole.
- The double wing needle is a double needle consisting of one wing needle and one regular needle. Experiment with these needles for different results.
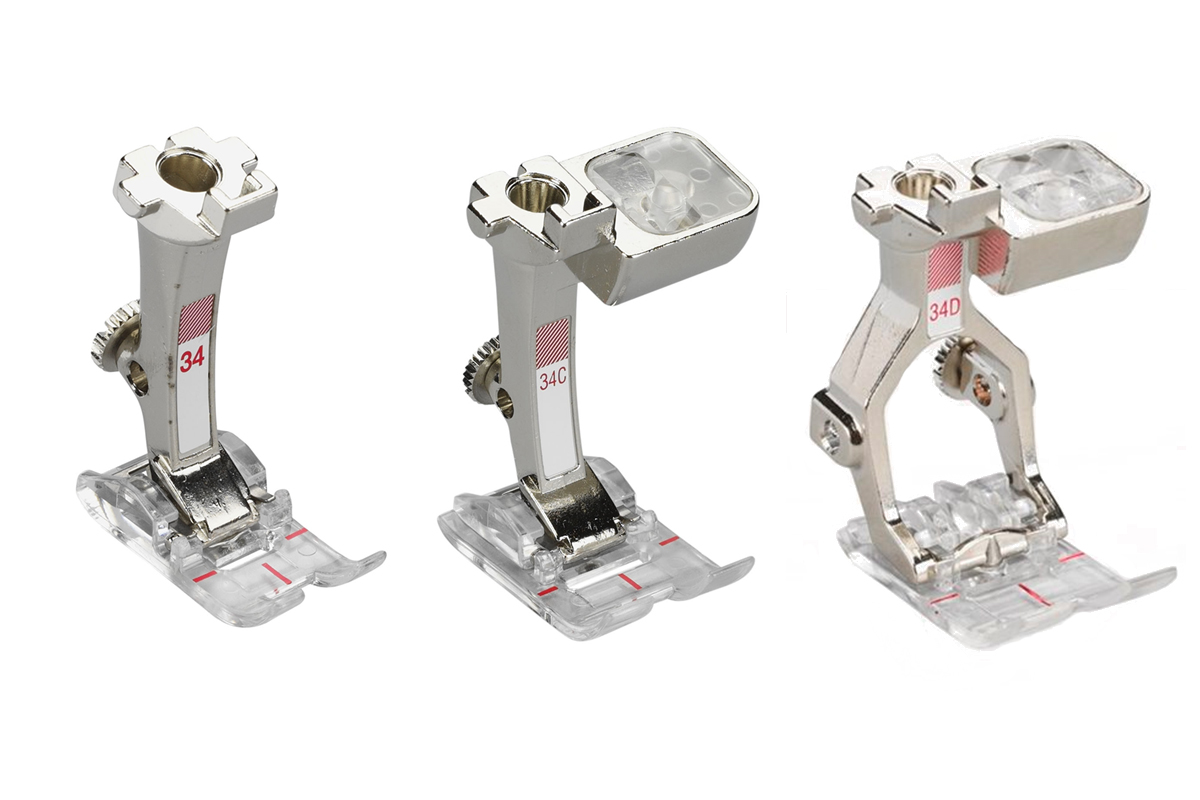
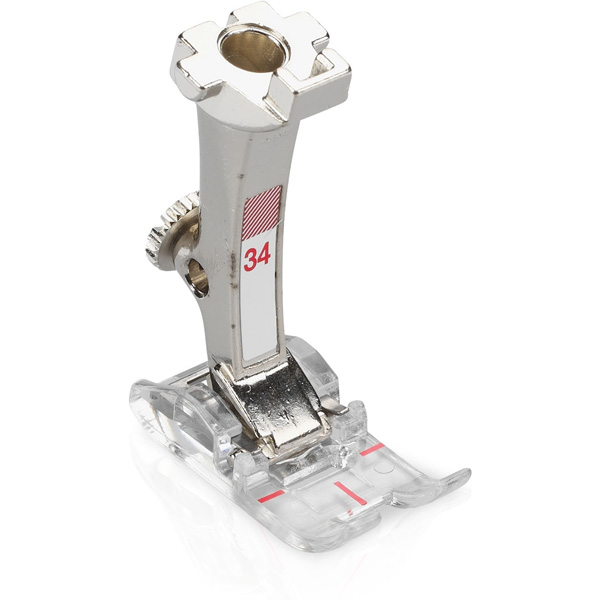
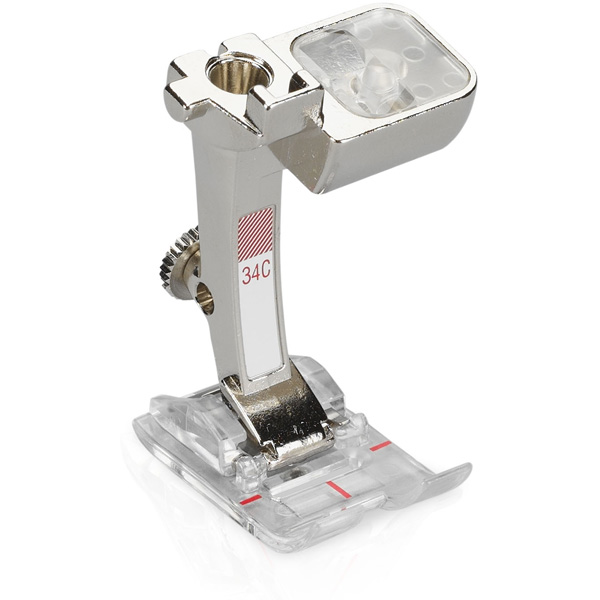
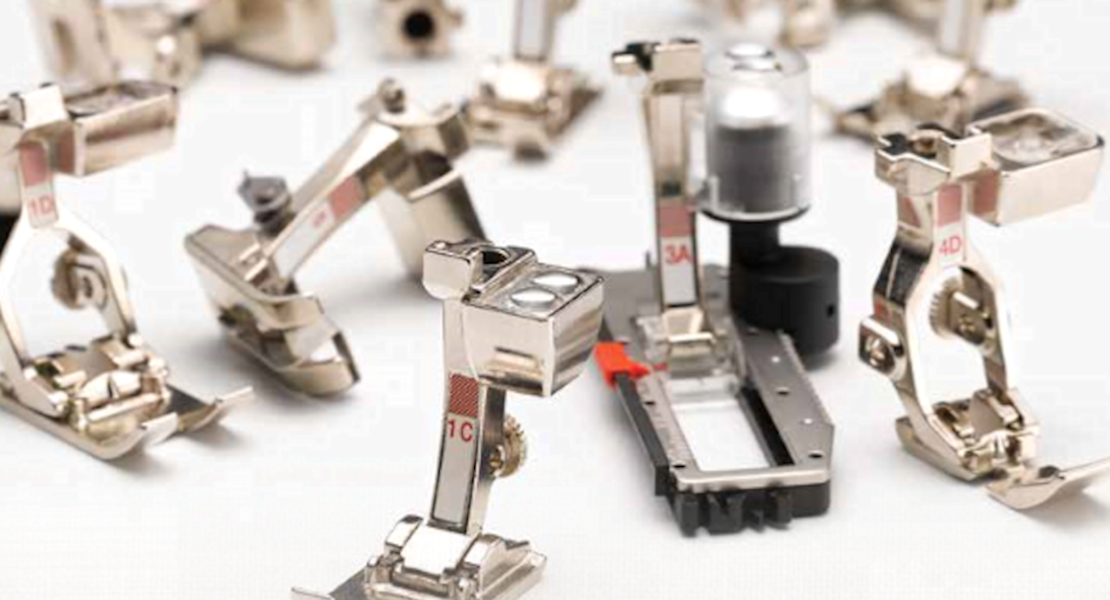
- Foot
 How to hemstitch
Step 1. Prepare your machine
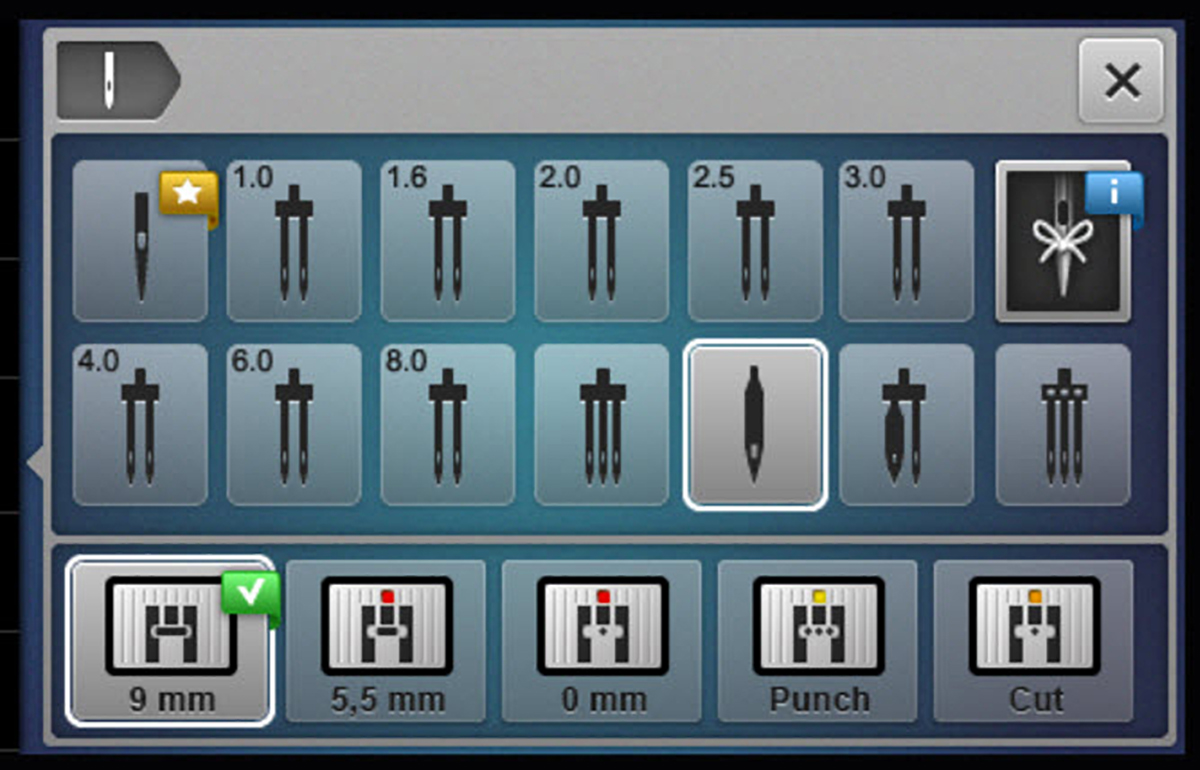
Begin by winding a bobbin with the same thread you will be using in the needle. If your machine has a Needle Securing Program, you will want to be sure and choose the wing needle, as this will protect the needle from breakage. Insert the needle in the machine and thread the machine.
Step 2. Select your stitch
If you are new to this type of technique, you may simply want to try the straight stitch or even the zigzag stitch to get a feel for this unique needle. Many BERNINA machines have an “Heirloom” menu of stitches (Menu 701), and many of these stitches work well for hemstitching. In fact, Stitch 701 and 702 are considered Hemstitches. If you select the Help icon and select one of these stitches, you will get an on-screen help that will give you additional hemstitching information.
![]()
If you have the new BERNINA 590 or BERNINA 570 QE, these machines allow you to easily change some stitches to a triple stitch, so try that.
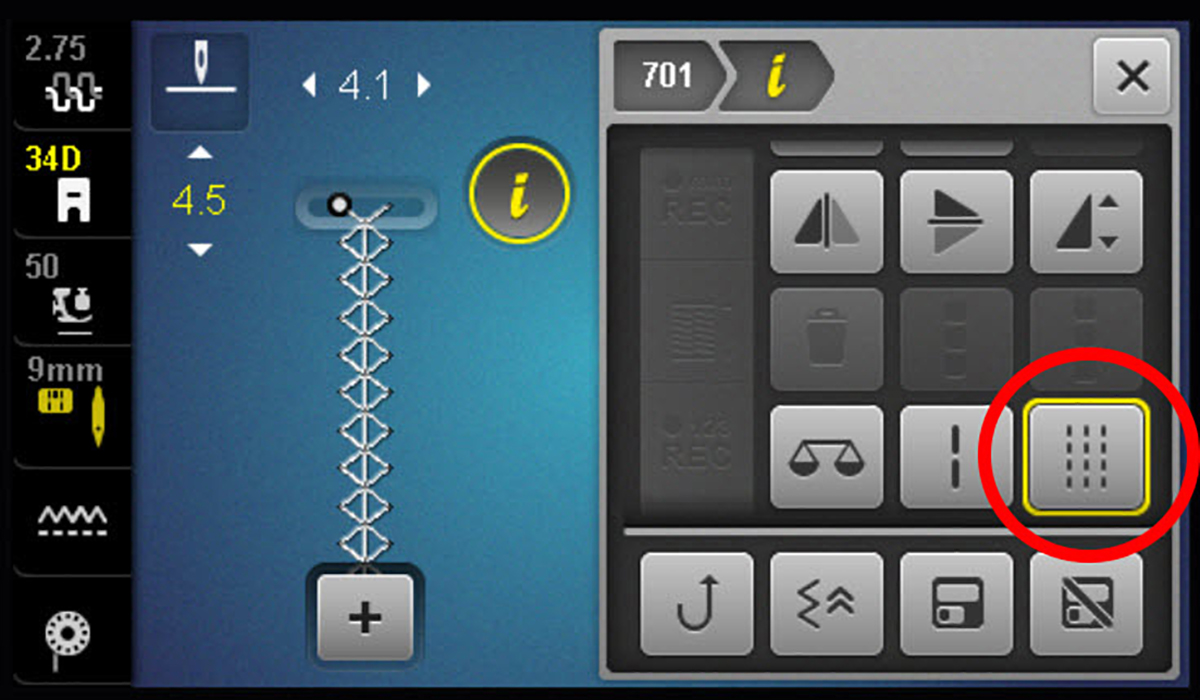
If you have the B 880 PLUS, B 880, B 790 PLUS, or B 790, you can also open this stitch in Stitch Designer, and change it to a triple stitch.
Step 3. Test your stitch
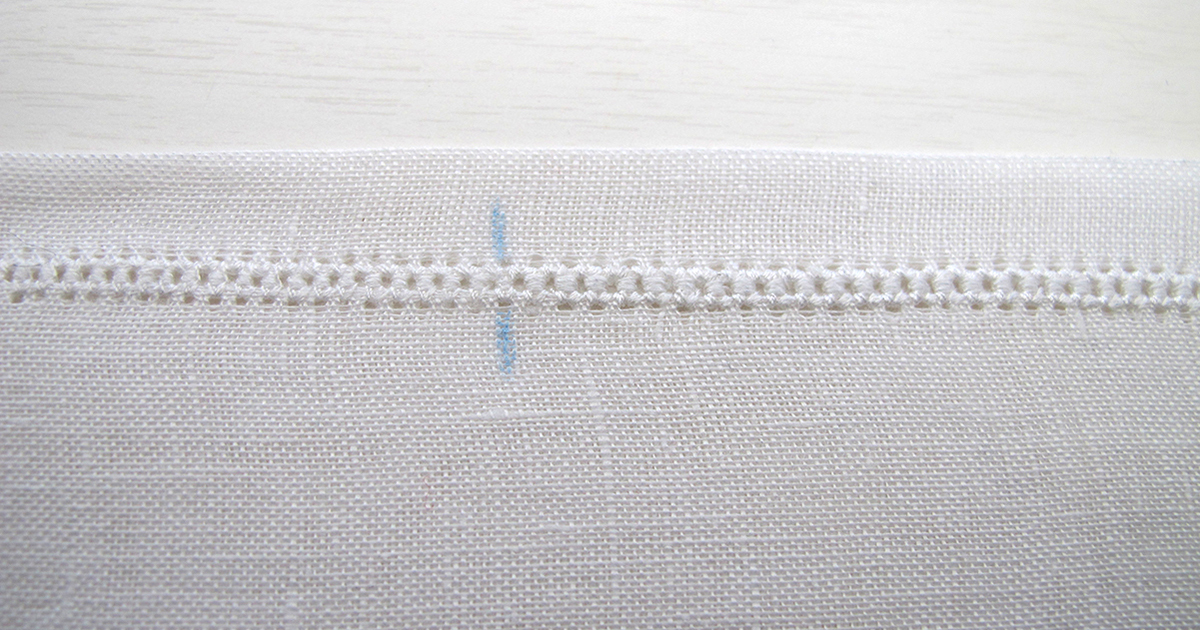
Here you can see the difference a triple stitch makes with Stitch #701. The stitch was sewn with the #120 Wing Needle. The first part of the stitch was sewn using default settings. The second part of the stitch was sewn using the triple stitch feature, and lengthened slightly to 4.5.
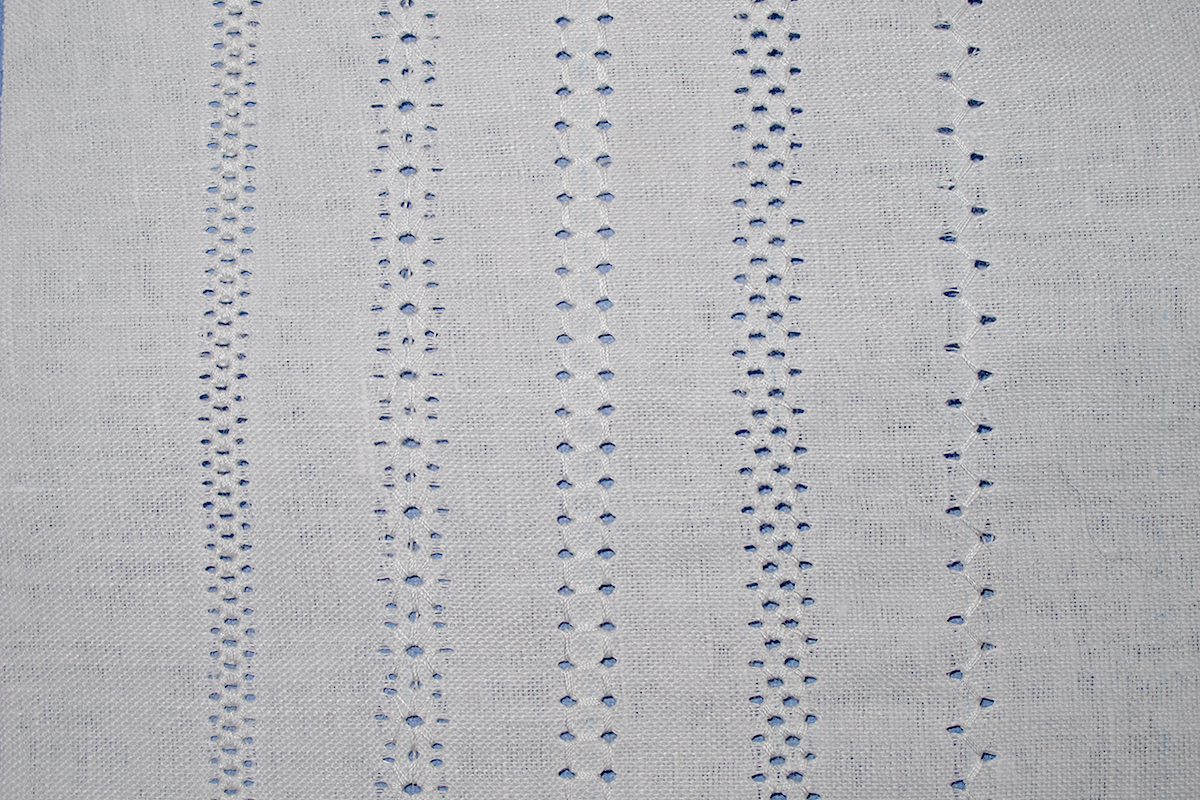
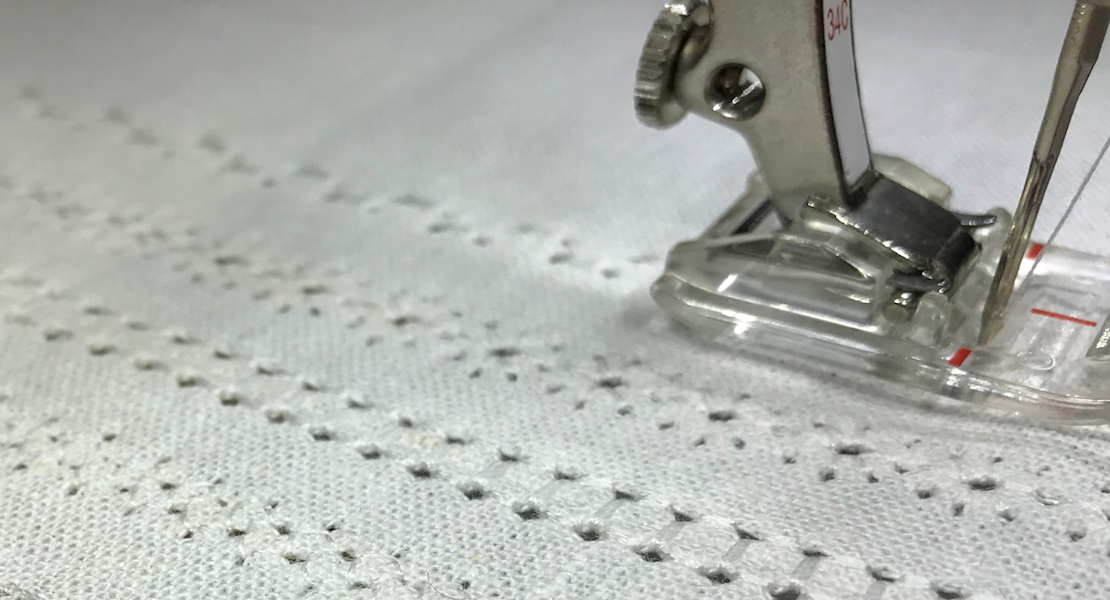
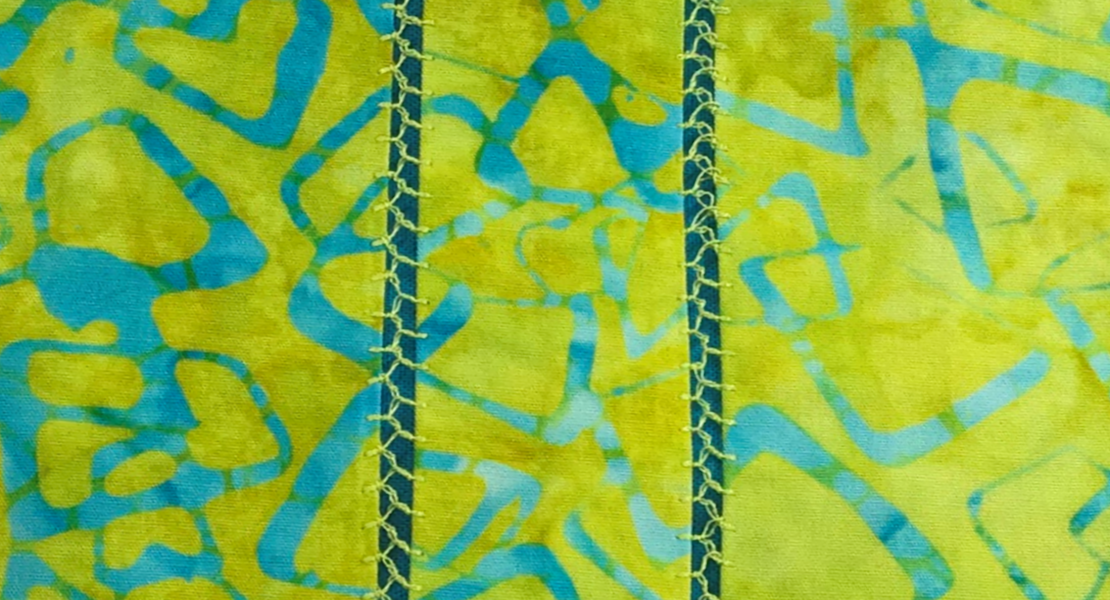
But don’t be afraid to experiment. Try any stitch that repeatedly goes into the same hole to create a defined opening. Here are several stitches done with the single wing needle. In order, they are Stitches #701, #711, #702, #8 and #7.
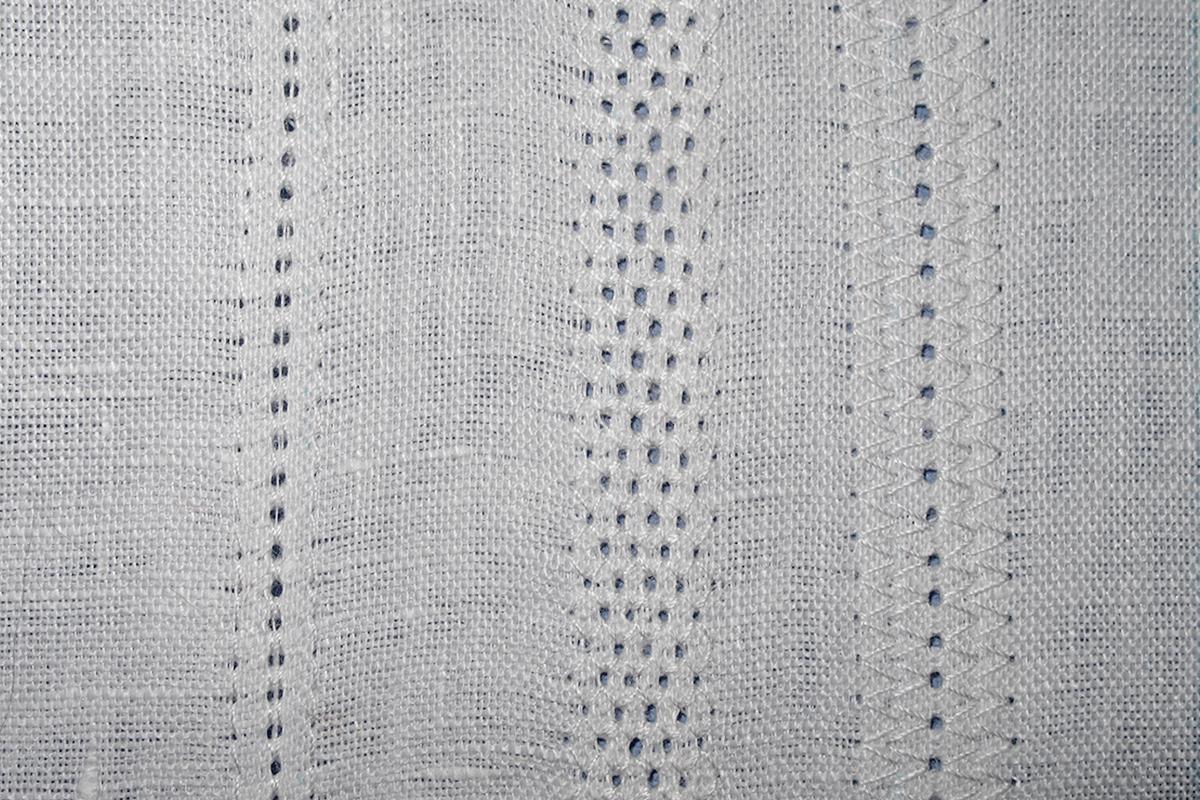
If using a double wing needle, you may want to sew a row of the pattern and with your needle in the fabric, pivot, and sew another row with the needle falling into the exact center hole. Here we have stitches #1, #8 and #2 stitched in that manner.
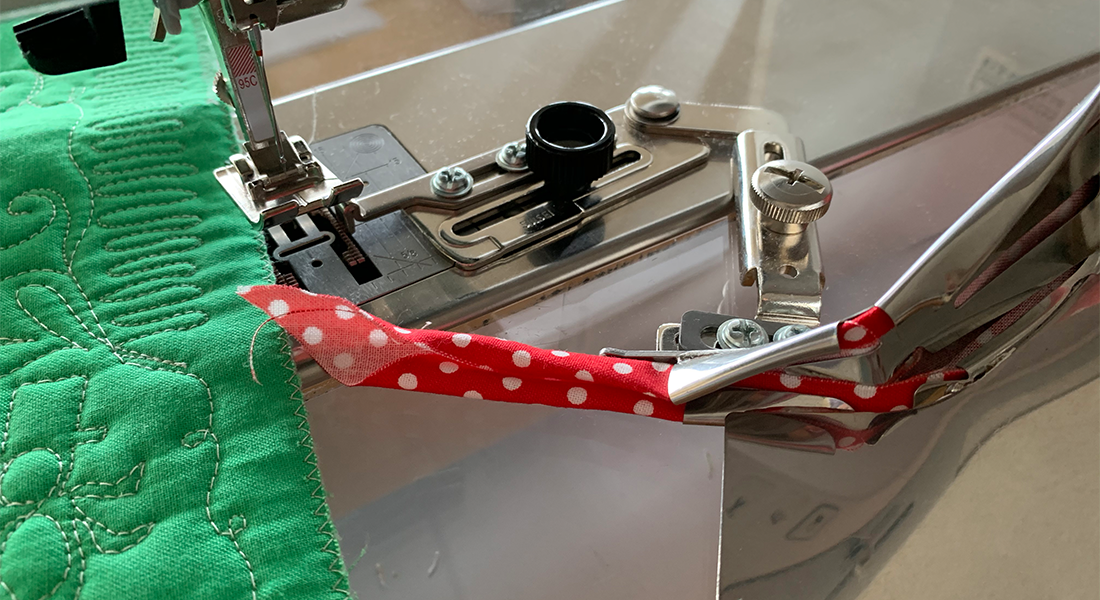
Step 4. Sew your hem
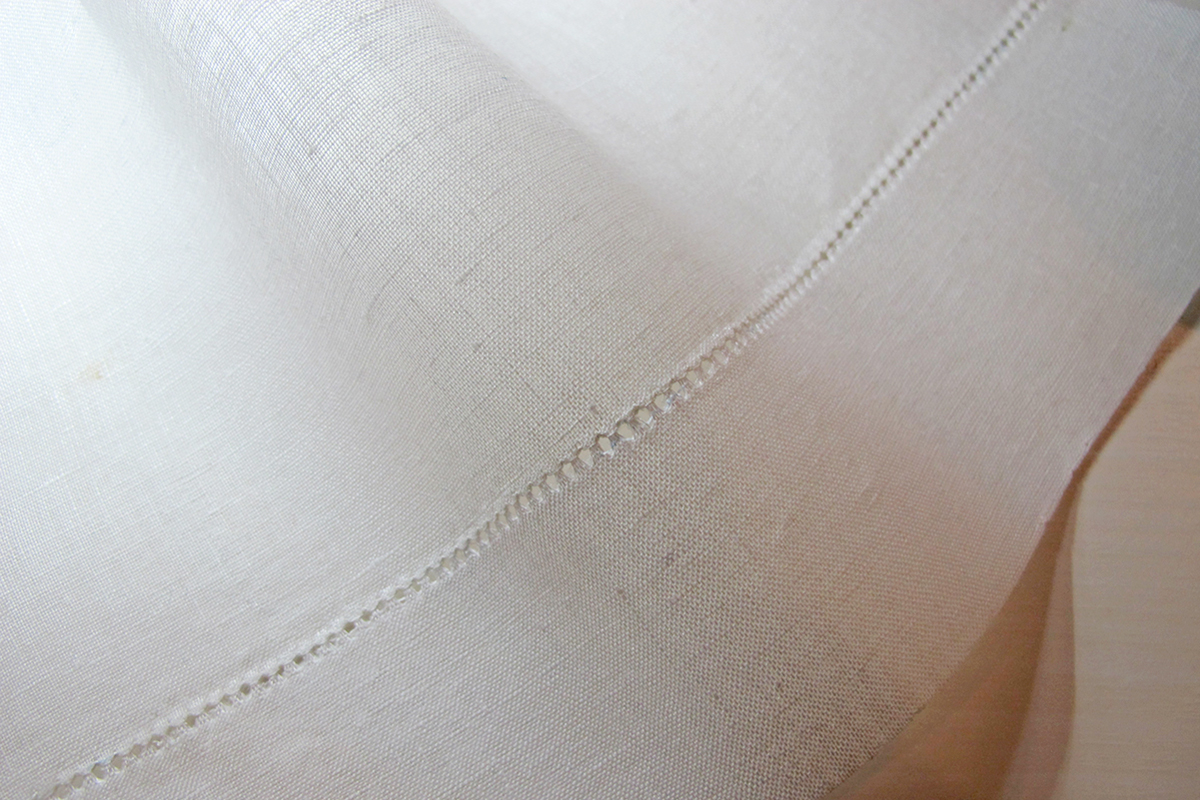
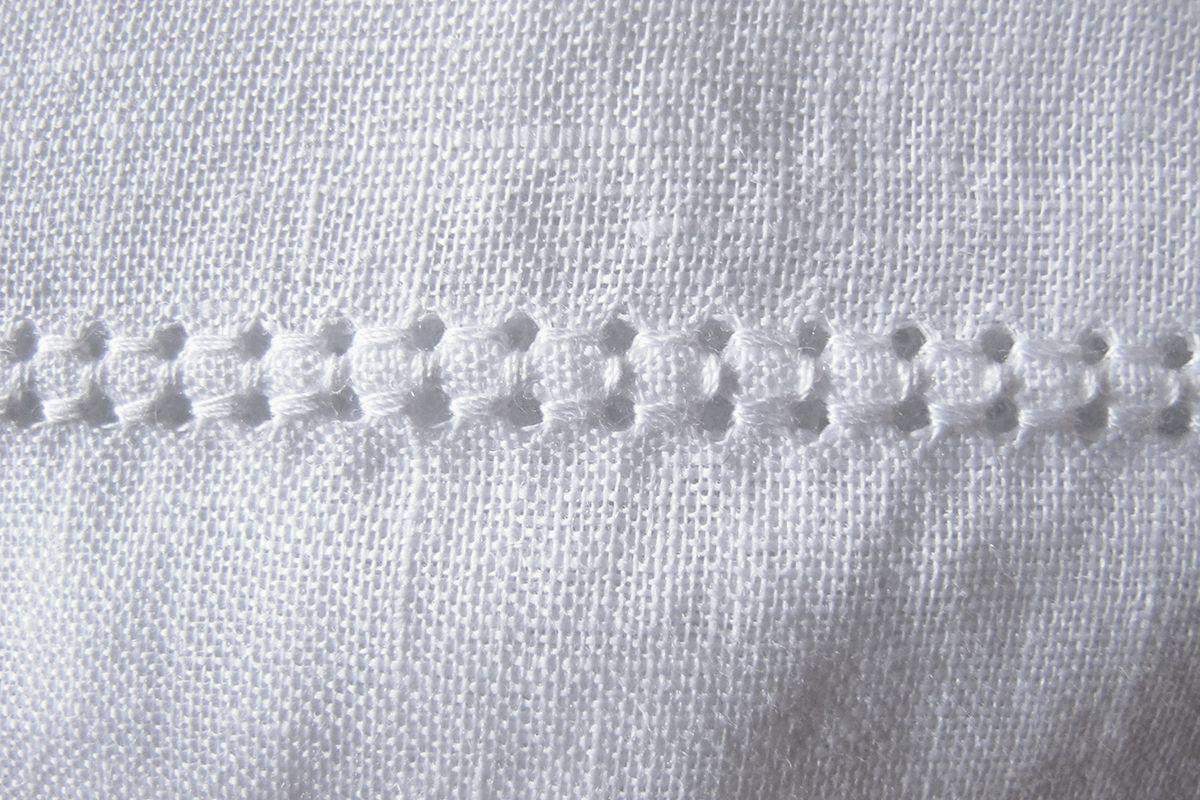
This hem was stitched with a Size #120 single wing needle. The hem edge was folded up 3”, and then Stitch #702 was stitched 2 ½” from the folded edge.
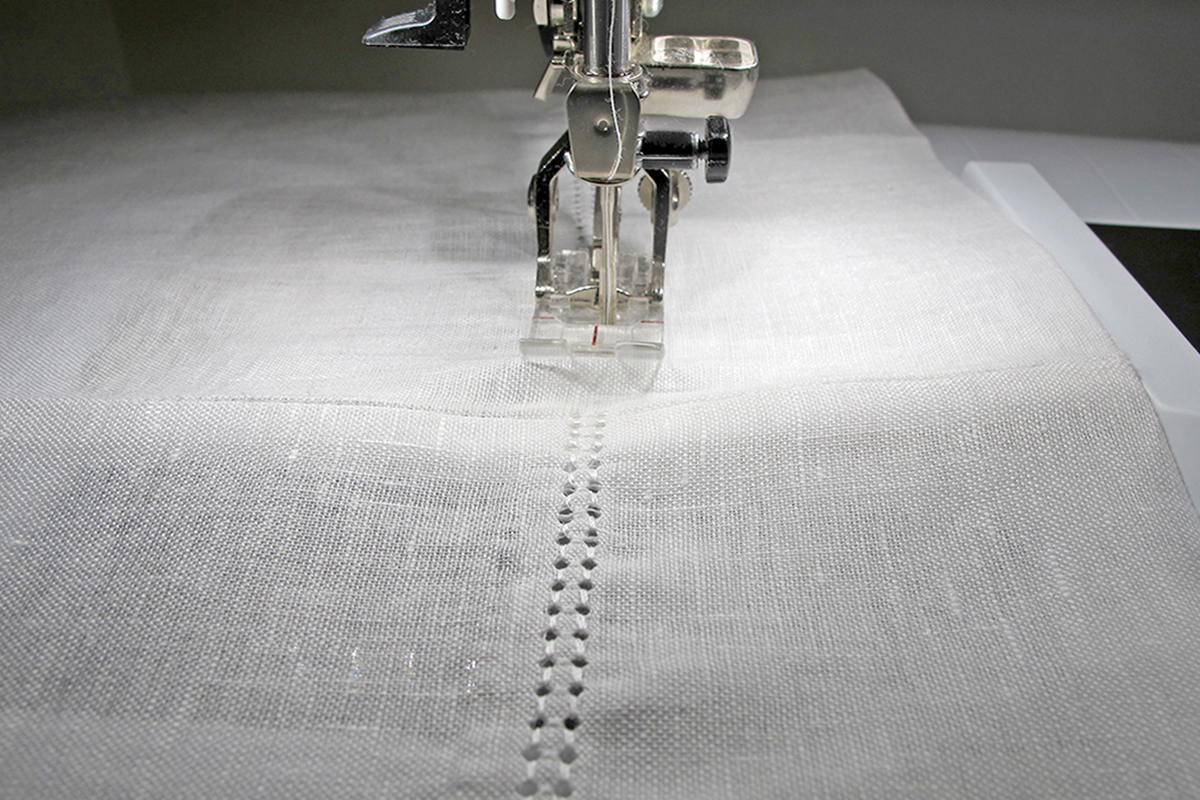
The excess hem fabric on the wrong side was then cut away close to the stitching.

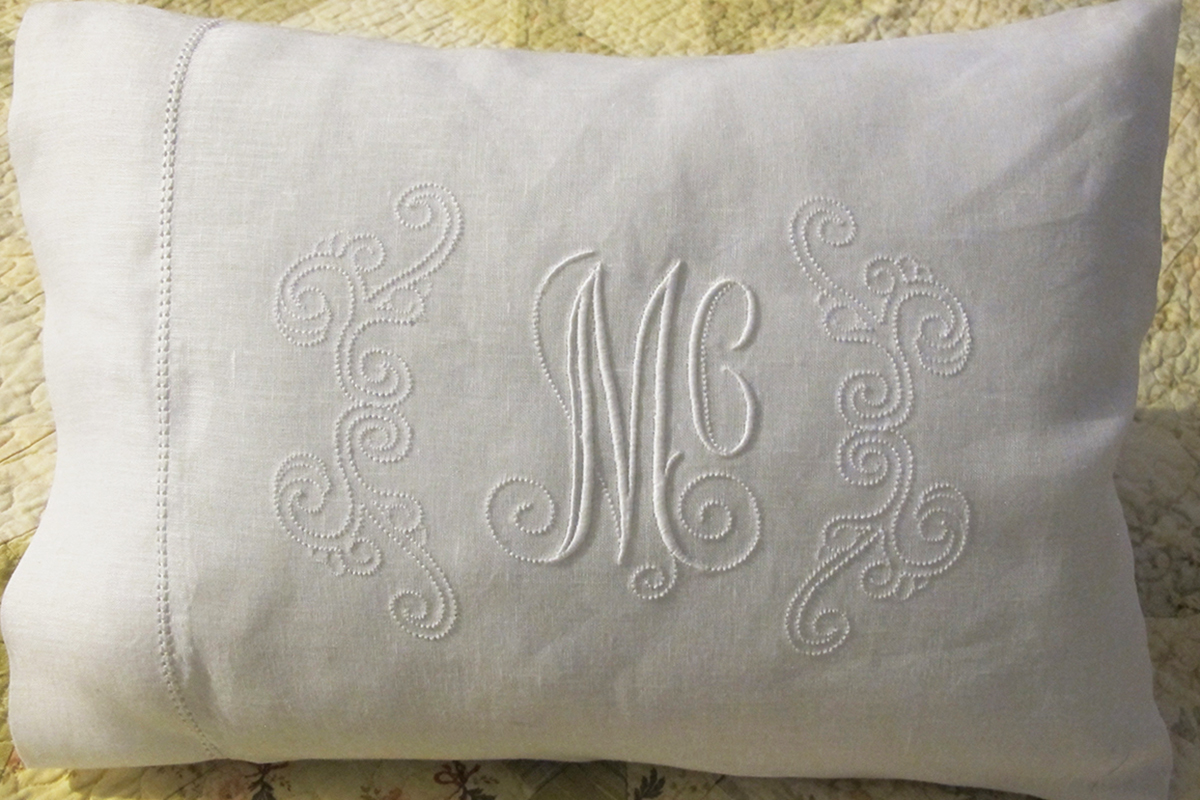
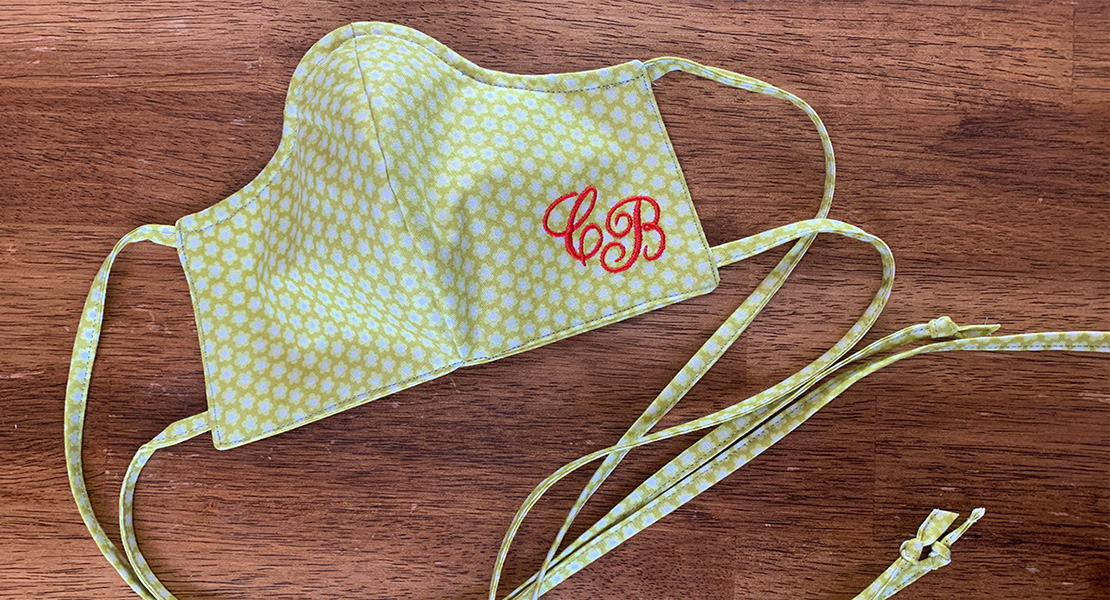
The Hemstitching touch to this little embroidered pillow case makes this an heirloom; something to hand down to the next generation. The embroidered designs on the pillow are from OESD Collections #12271 Memorable Monograms and #12719 Essential Monograms.
We feel strongly about handing down our craft to the next generation as BERNINA is celebrating 125 years of being a family owned company. Generation after generation, we have been dedicated to handing down quality and innovations of the past and looking forward to a new level of quality and innovation in the future. We are “Always at the Beginning, Never at the End”.
Used Products


What you might also like


2 comments on “The Beauty of Hemstitching, History and Techniques”
-
-
Wow I love hemstitching. I am going to try this.
Leave a Reply
You must be logged in to post a comment.

I never knew how my great grandmother did this technique. I can now fully appreciate the workmanship.