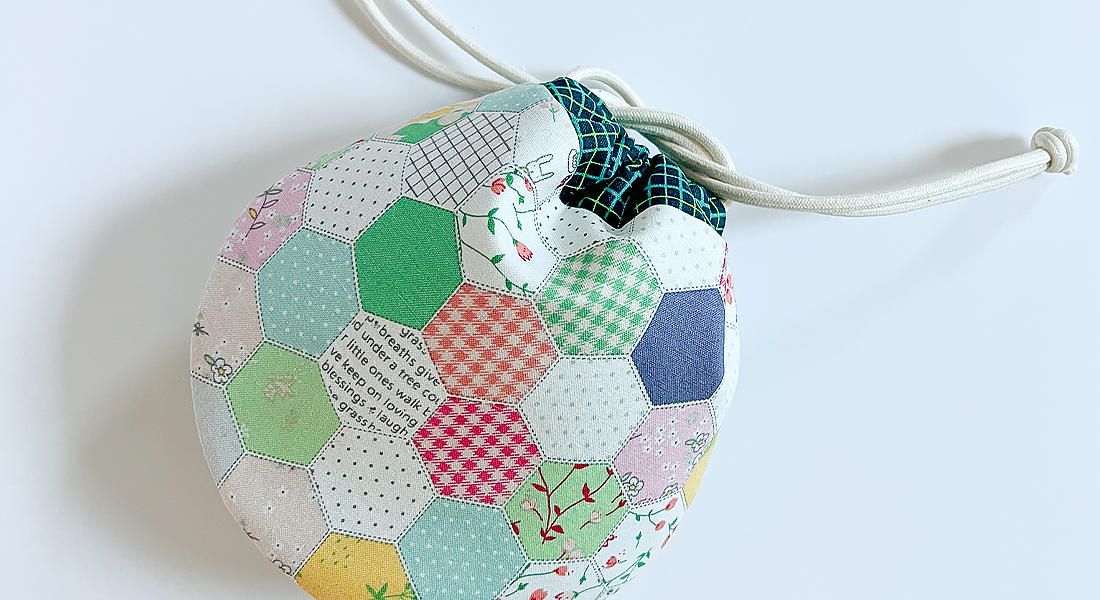
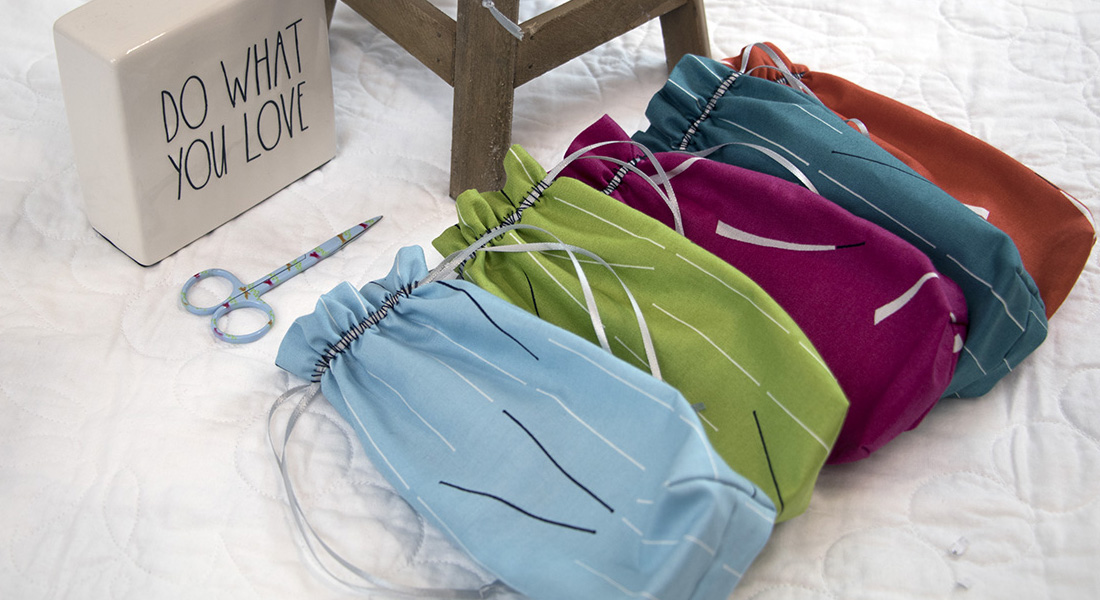
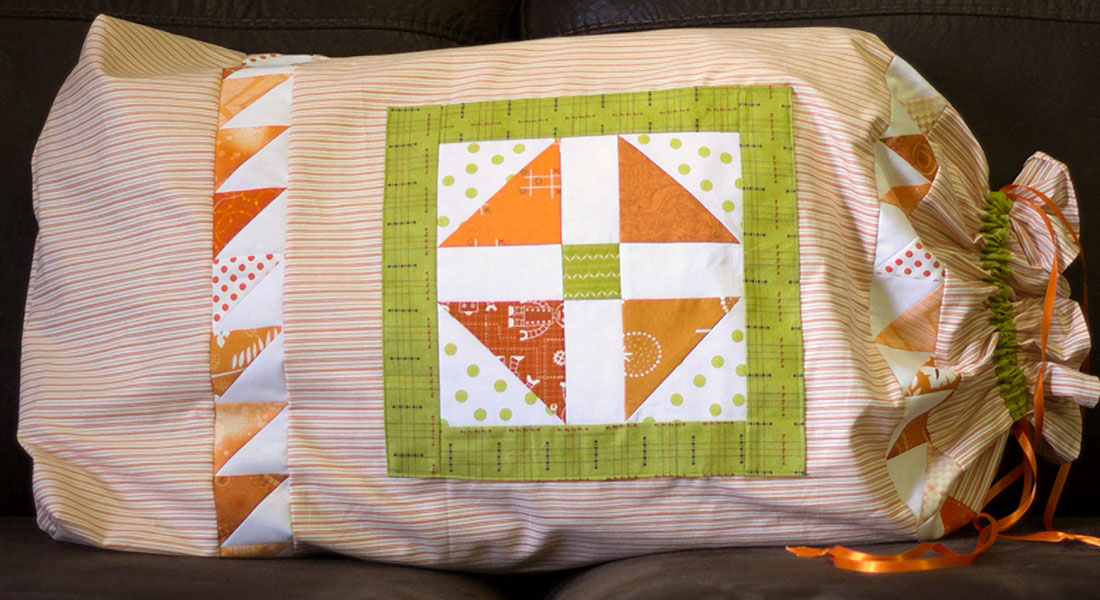
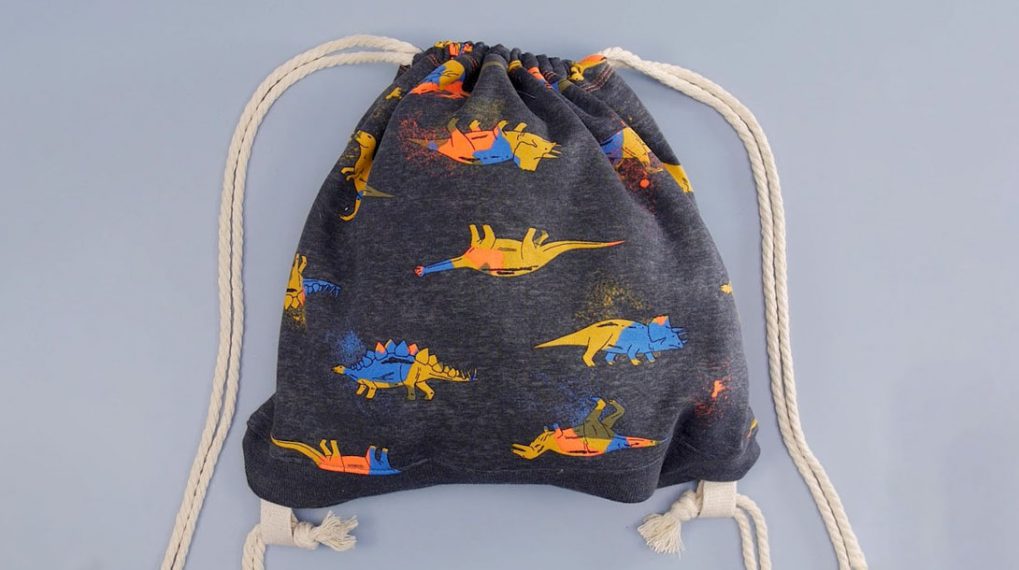
Antique Mosaic Block Drawstring Bag
Create an Antique Mosaic Block Drawstring Bag with Denise Jones, BERNINA Educator, Longarm and Quilting Specialist.
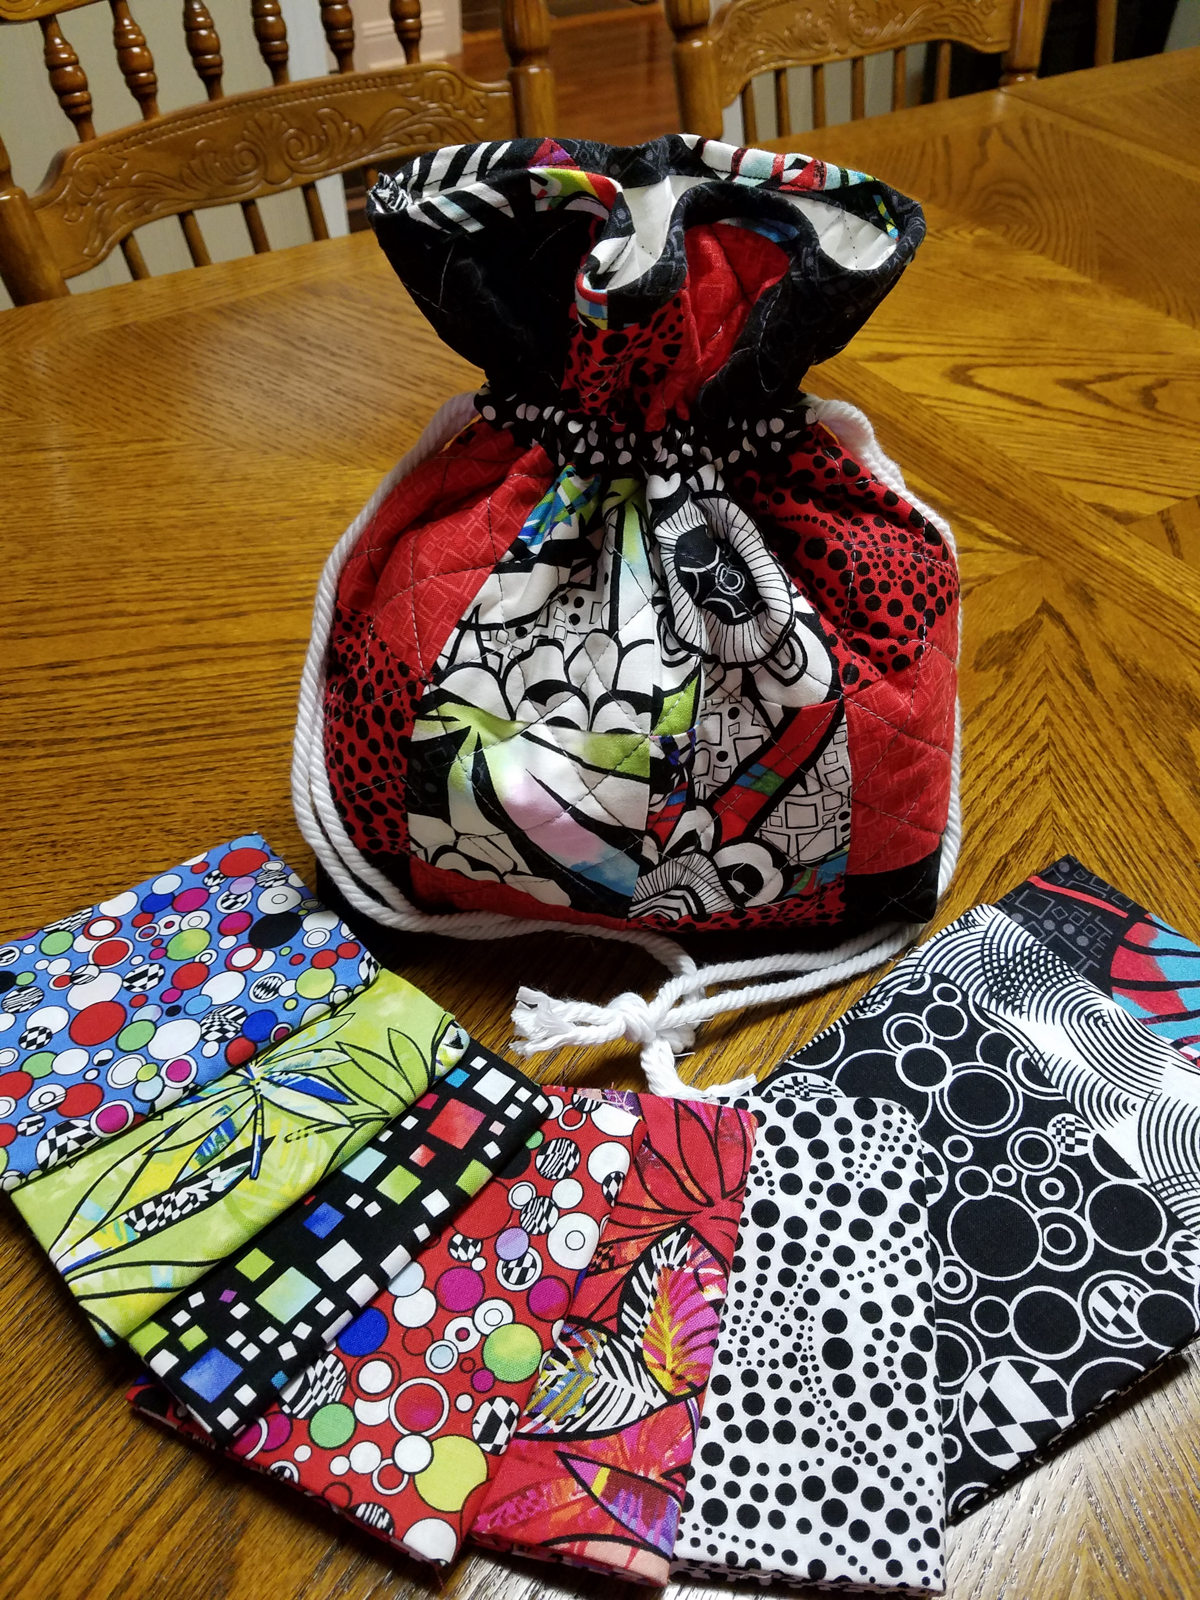
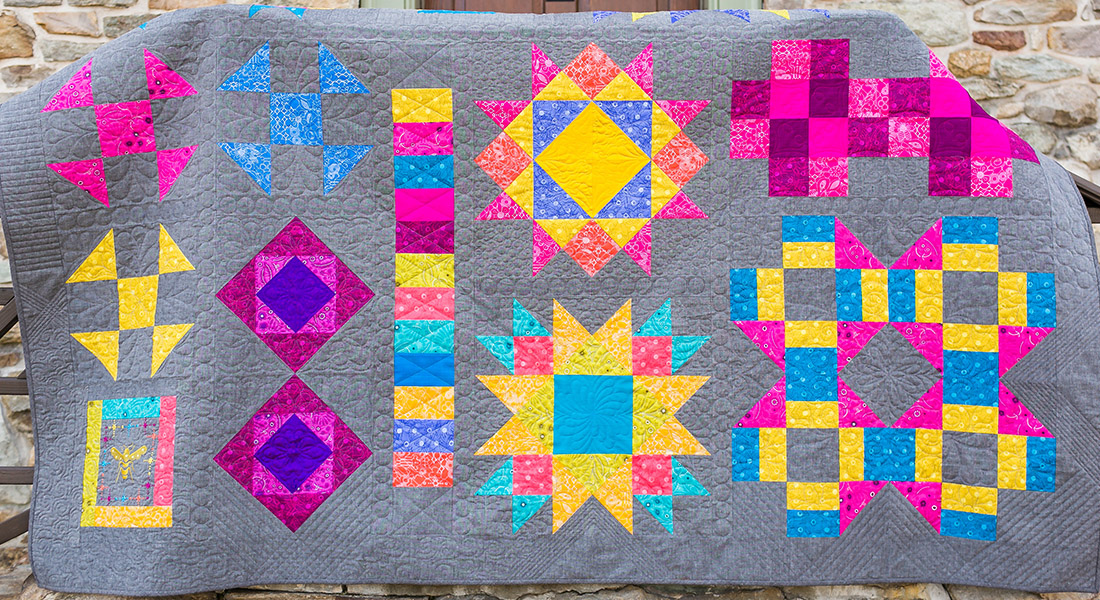
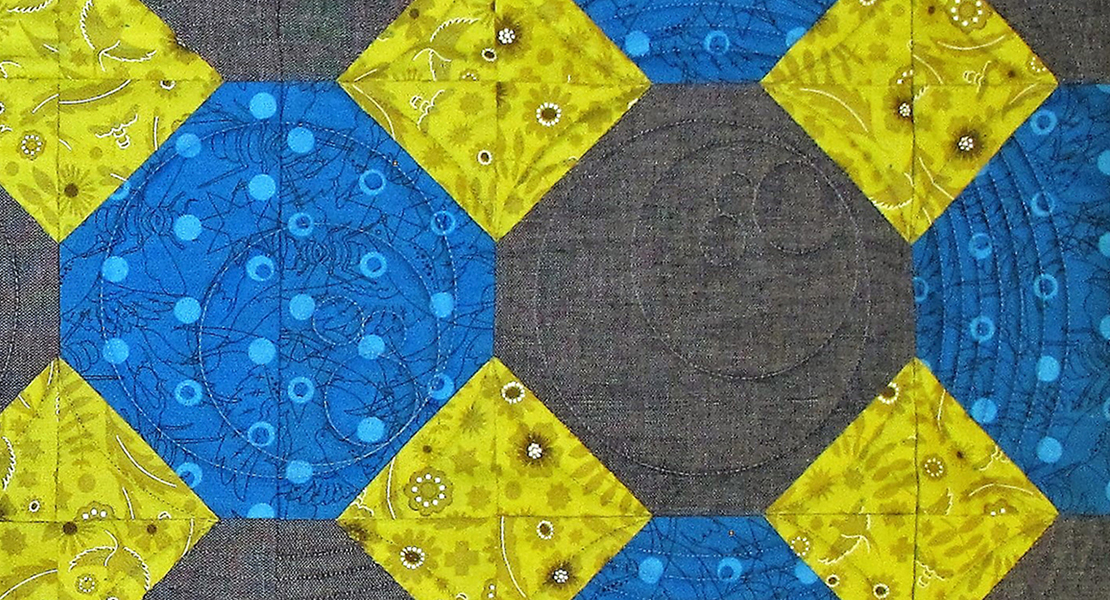
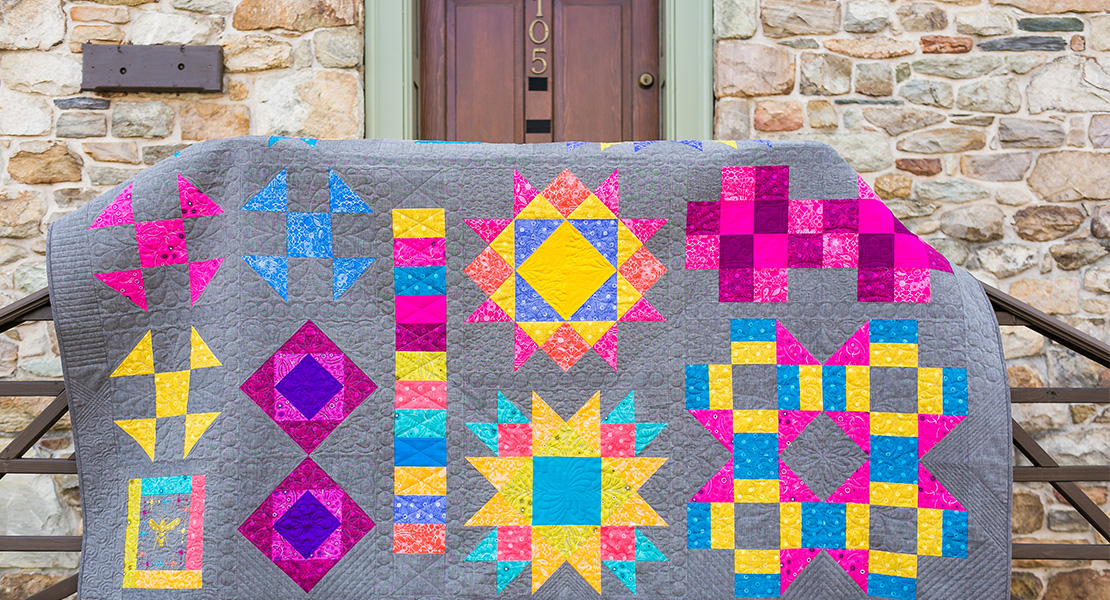
The Antique Mosaic Block from the BERNINA Block Party block-of-the-month makes a perfect drawstring bag. Practice the quilting technique used in the block to make this small project that you can whip up in no time! Join us each month, two weeks after the block instructions are posted, for small inspirational projects that can be created from the blocks you make. This is the perfect way to practice your piecing and quilting as you create your quilt top; or, as simple projects you can create throughout the year as you learn new quilting techniques.

Materials to Create the Antique Mosaic Drawstring Bag
- 5 fat quarters (we used Anything Goes by Benartex)
- 2 yards ¼” or smaller cotton cord
- 2/3 yard of grosgrain ribbon
- BERNINA Binder Attachment #88, 38mm
- BERNINA Binder Foot #95/95C
- BERNINA Edge Stitch Foot #10/10C/10D
Instructions to Sew the Antique Mosaic Drawstring Bag
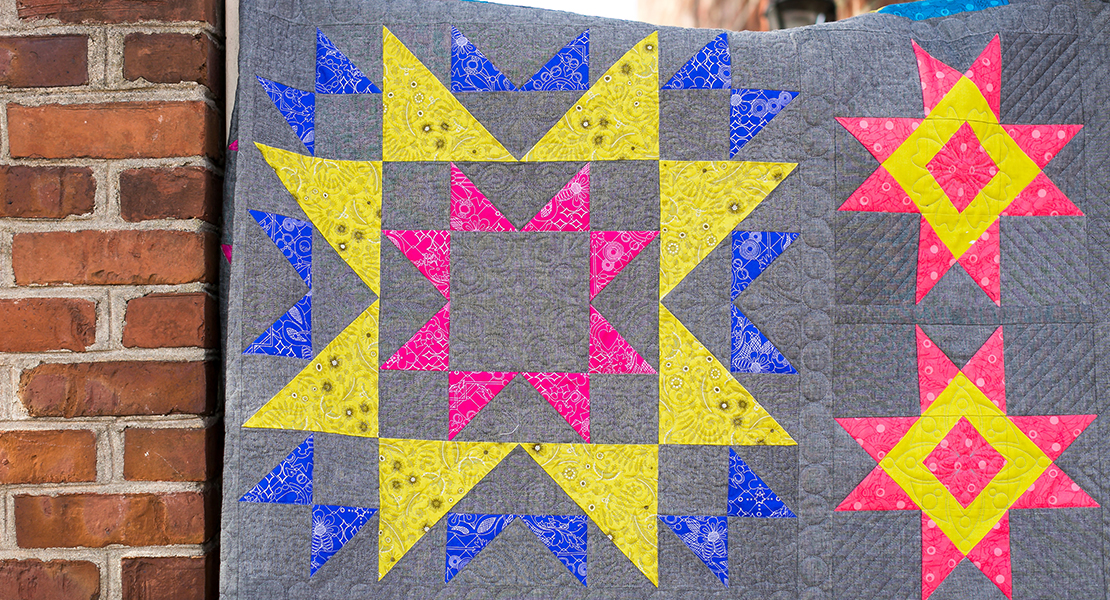
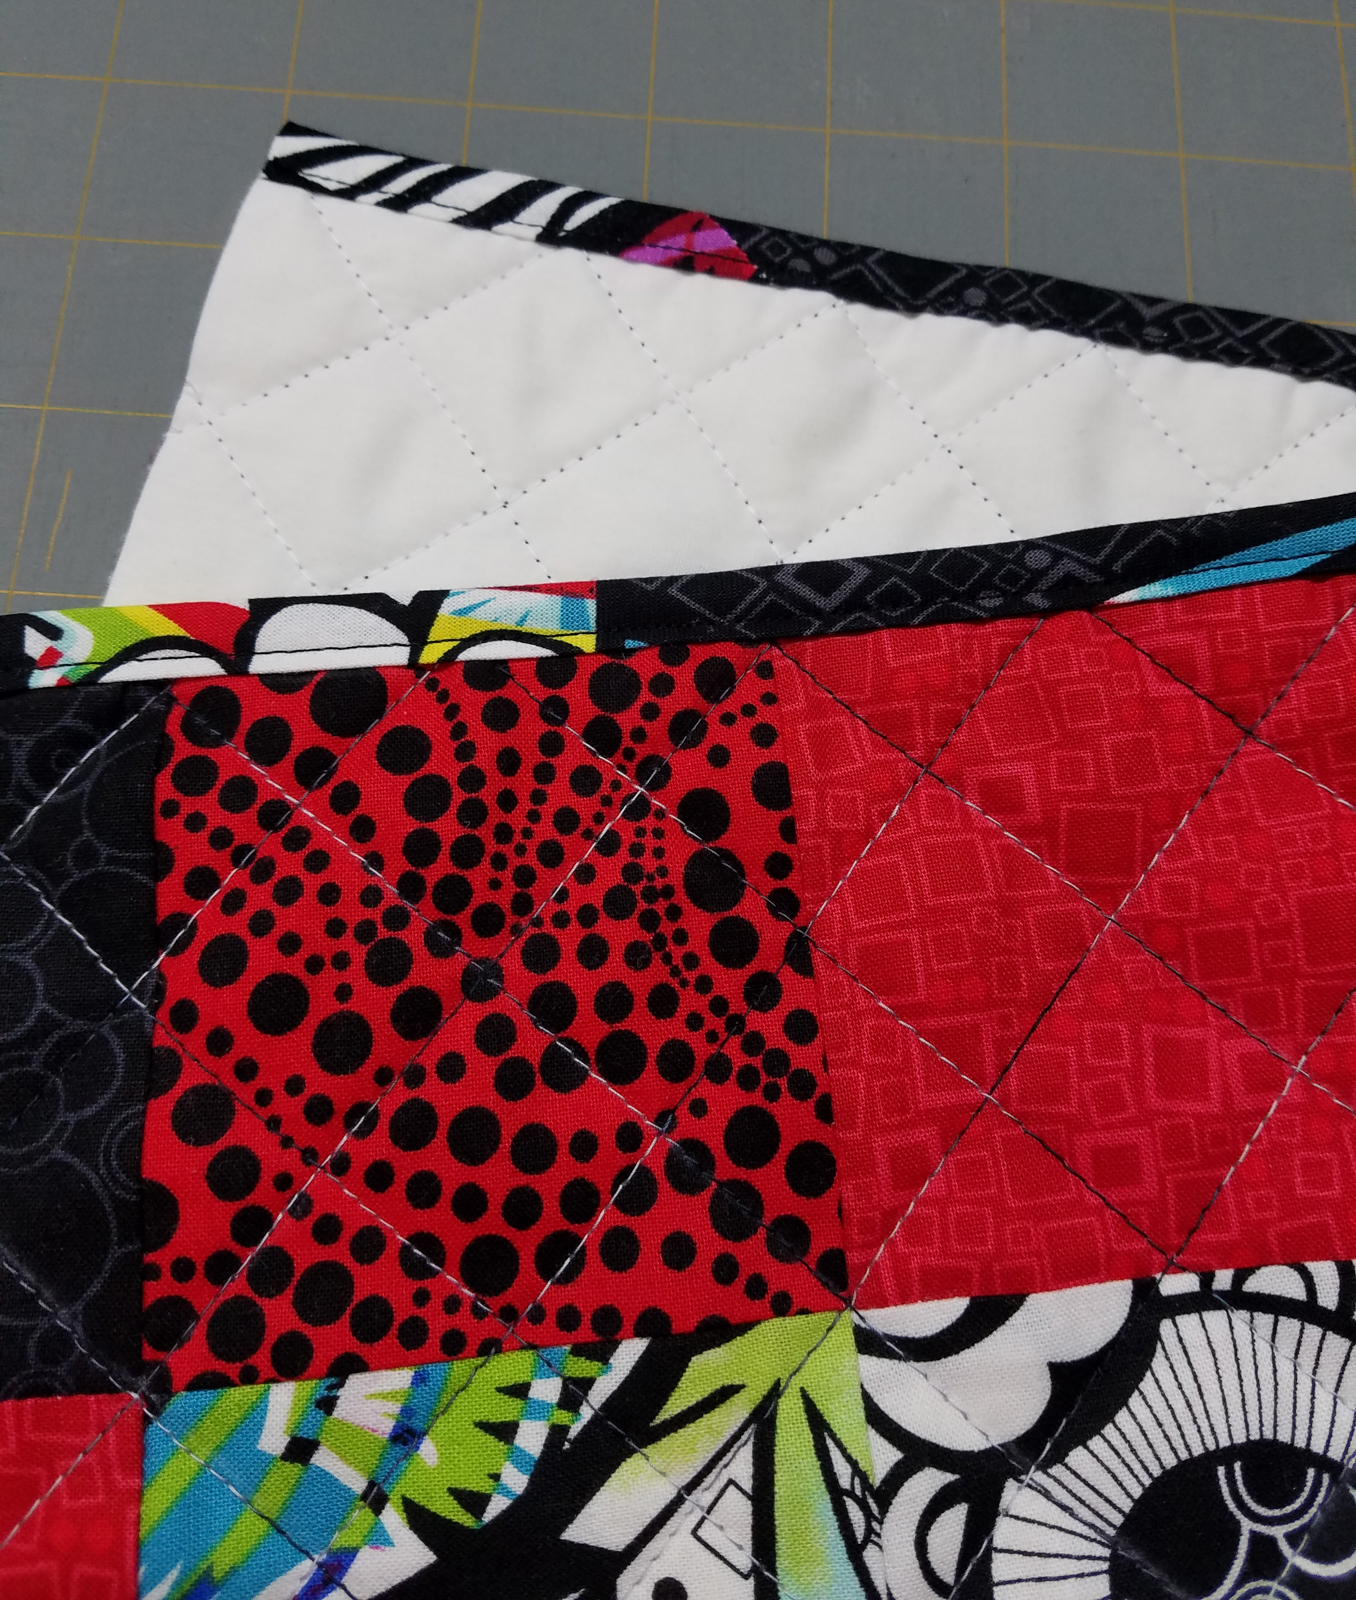
First, create and quilt the Antique Mosaic Block.
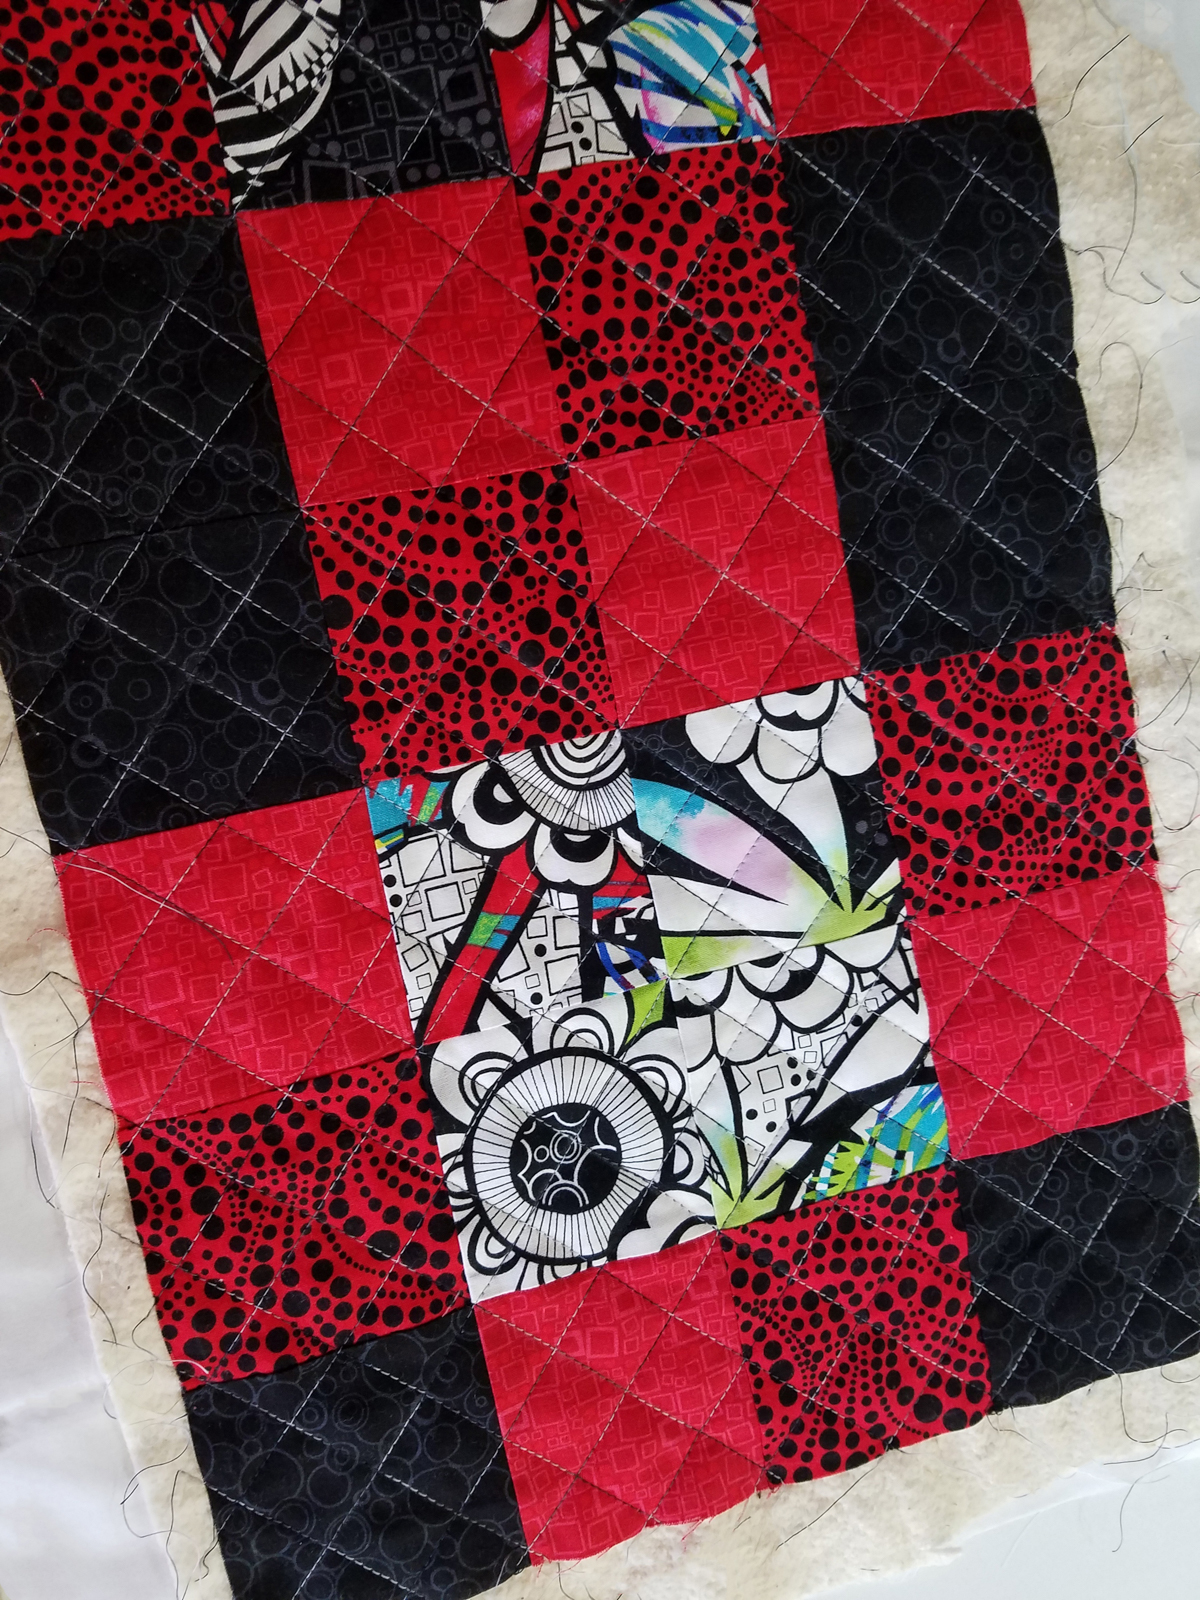
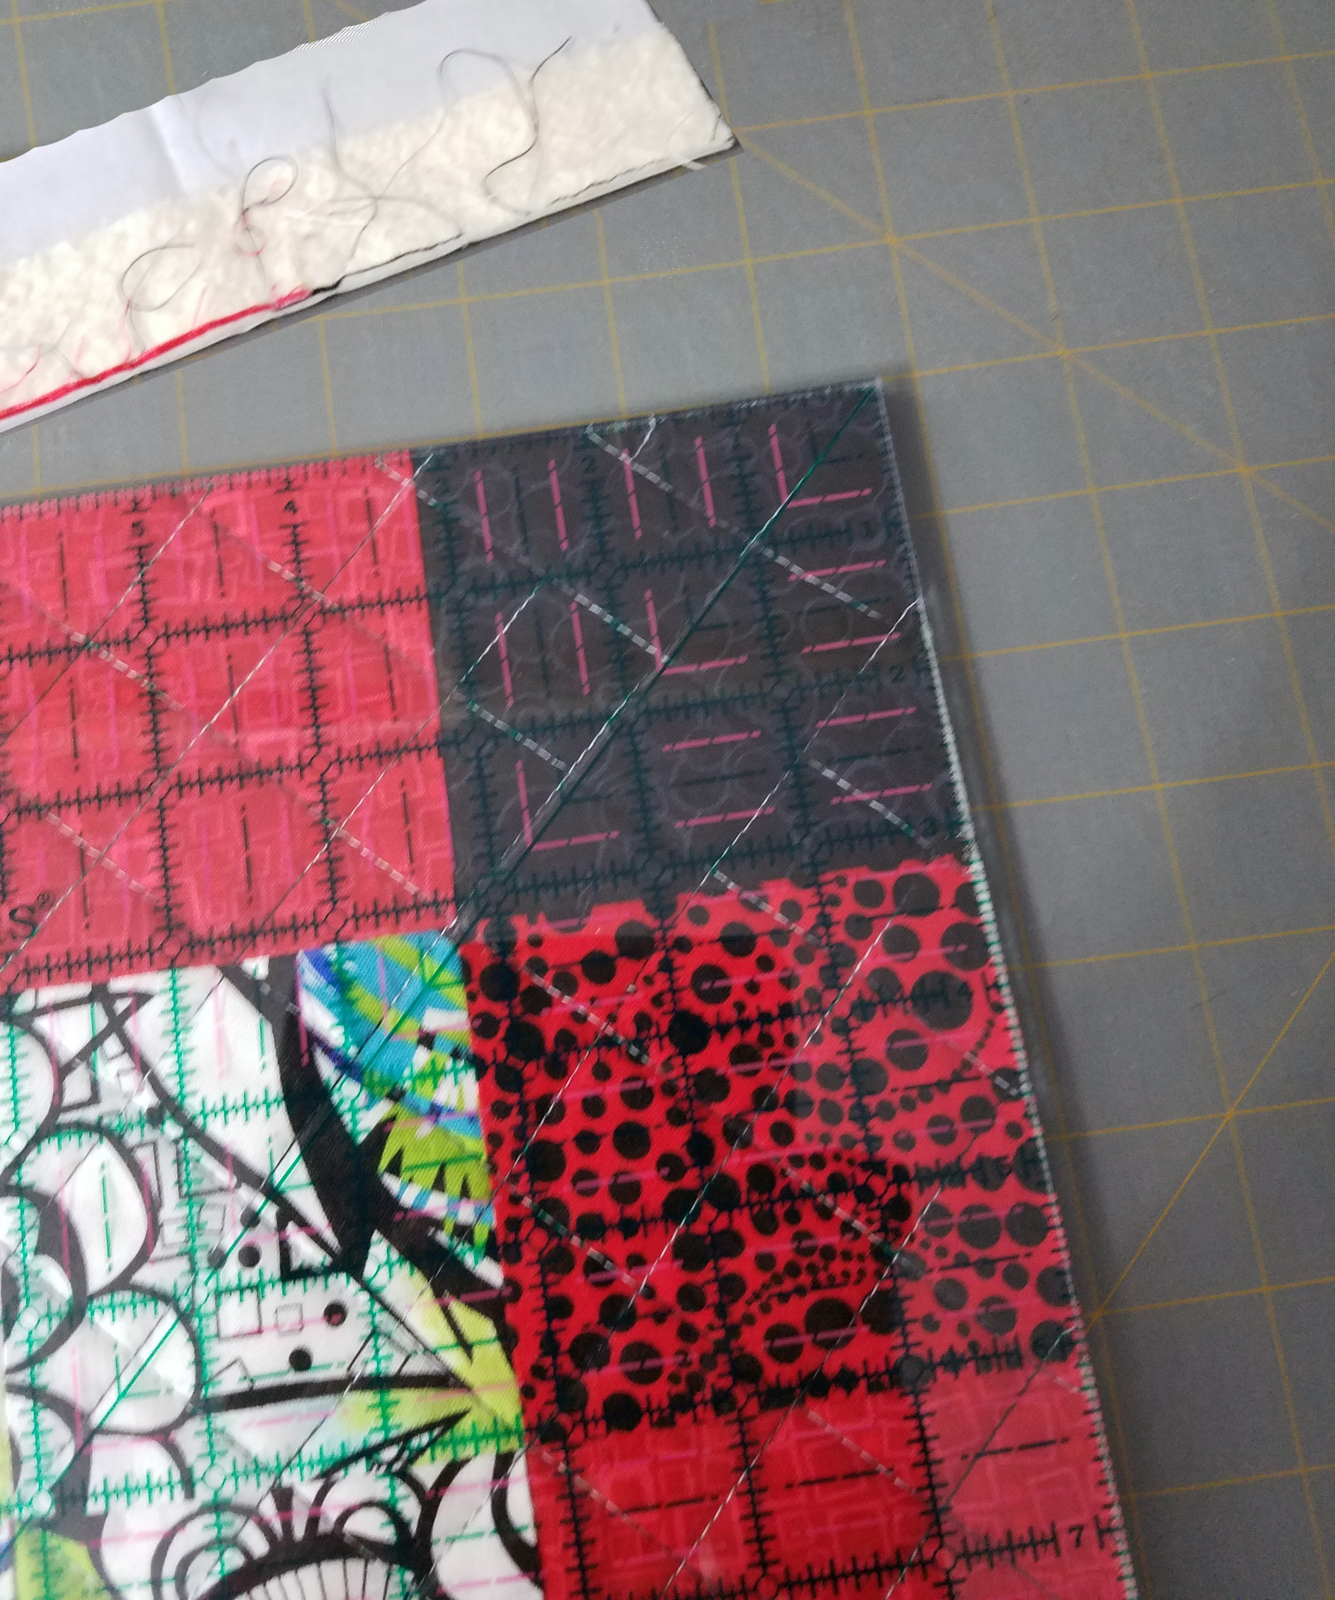
Make sure all sides are square when block is complete.
Fold the block in half meeting the short sides together with the right side of the block on the inside. It should now be a square. Overlock or stitch one edge from the fold to the cut edge.
Press seam to one side.
If using the BERNINA Binder Attachment #88, 38mm cut bias strips a scant 1-½” wide. Cut enough strips so that the total length after stitching is equal to the top of the bag. You can learn more about using the BERNINA Binder Attachments by watching this video.

If you are not using the Binder Attachment, cut and prepare your own bias strips or use pre-made bias binding.
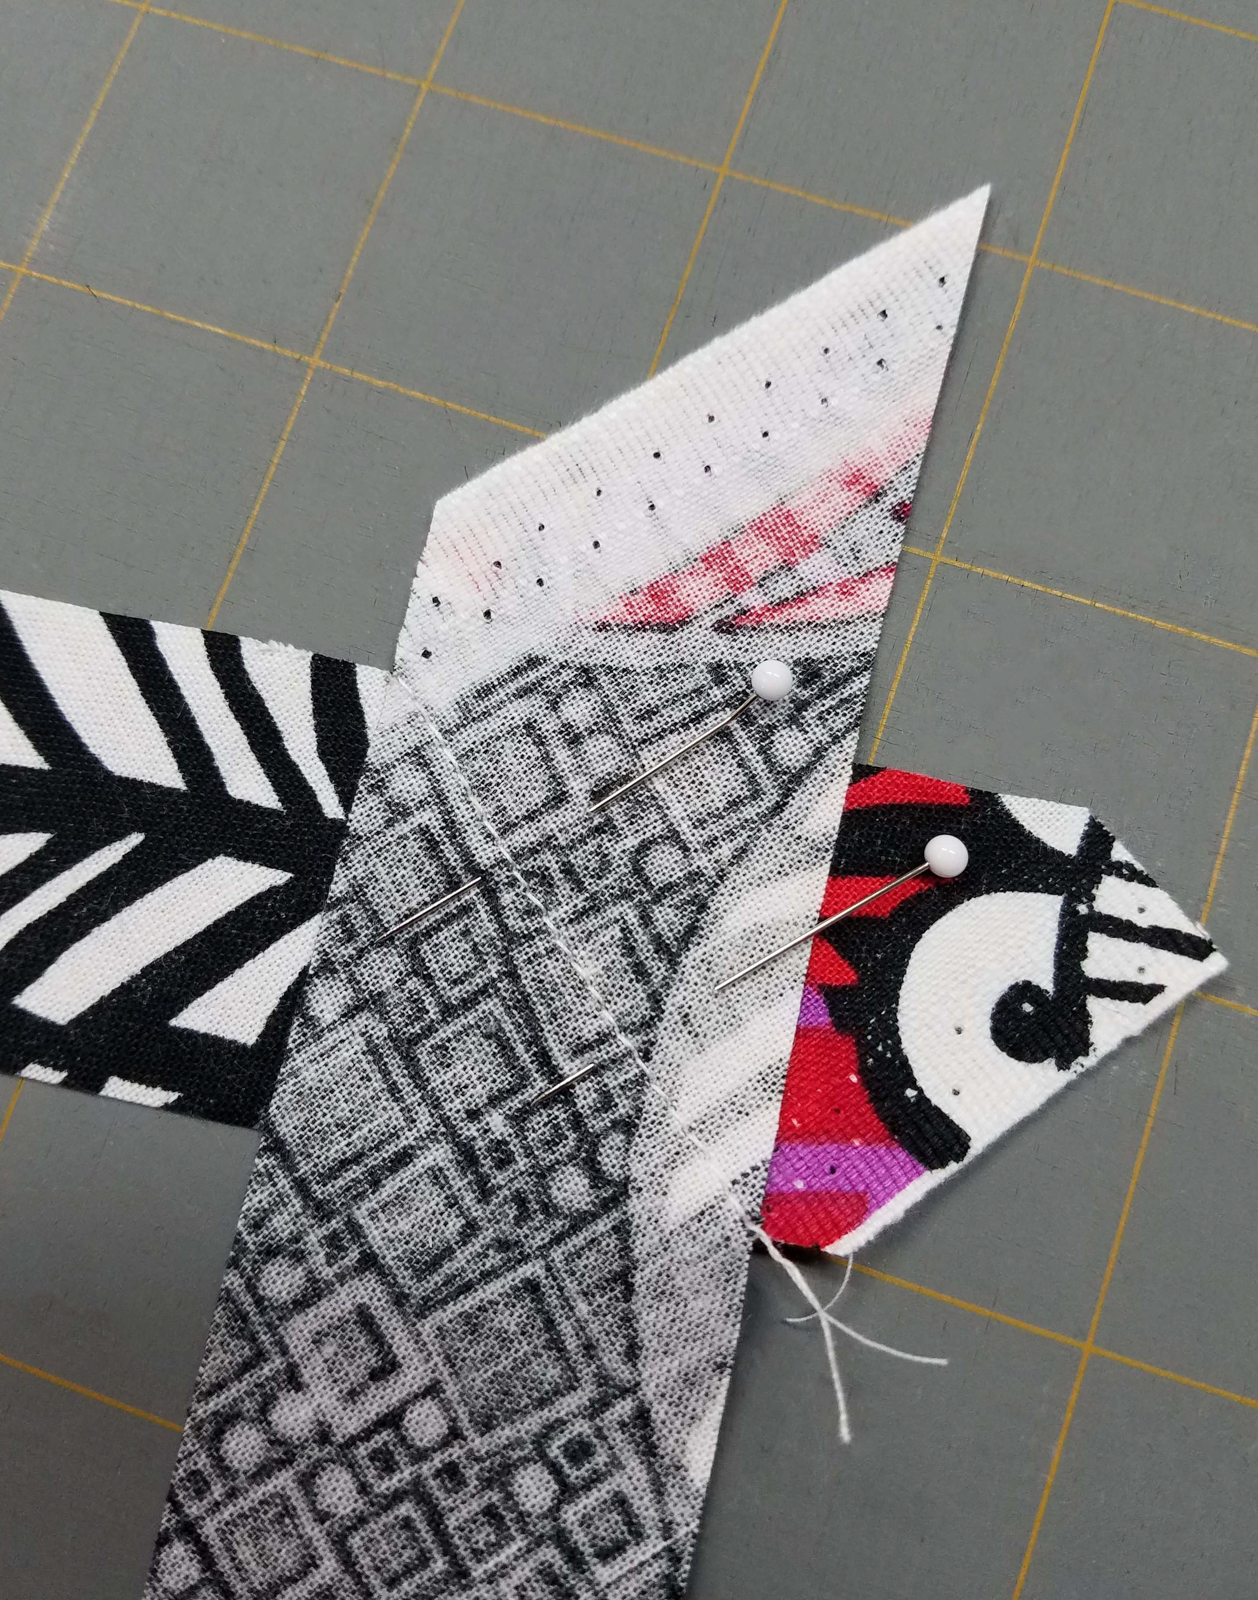
Stitch the short ends of the binding across the diagonal as shown. This diagonal seam will create a flatter seam to pass through the Binder Attachment and will lay nice and flat in the finished project.
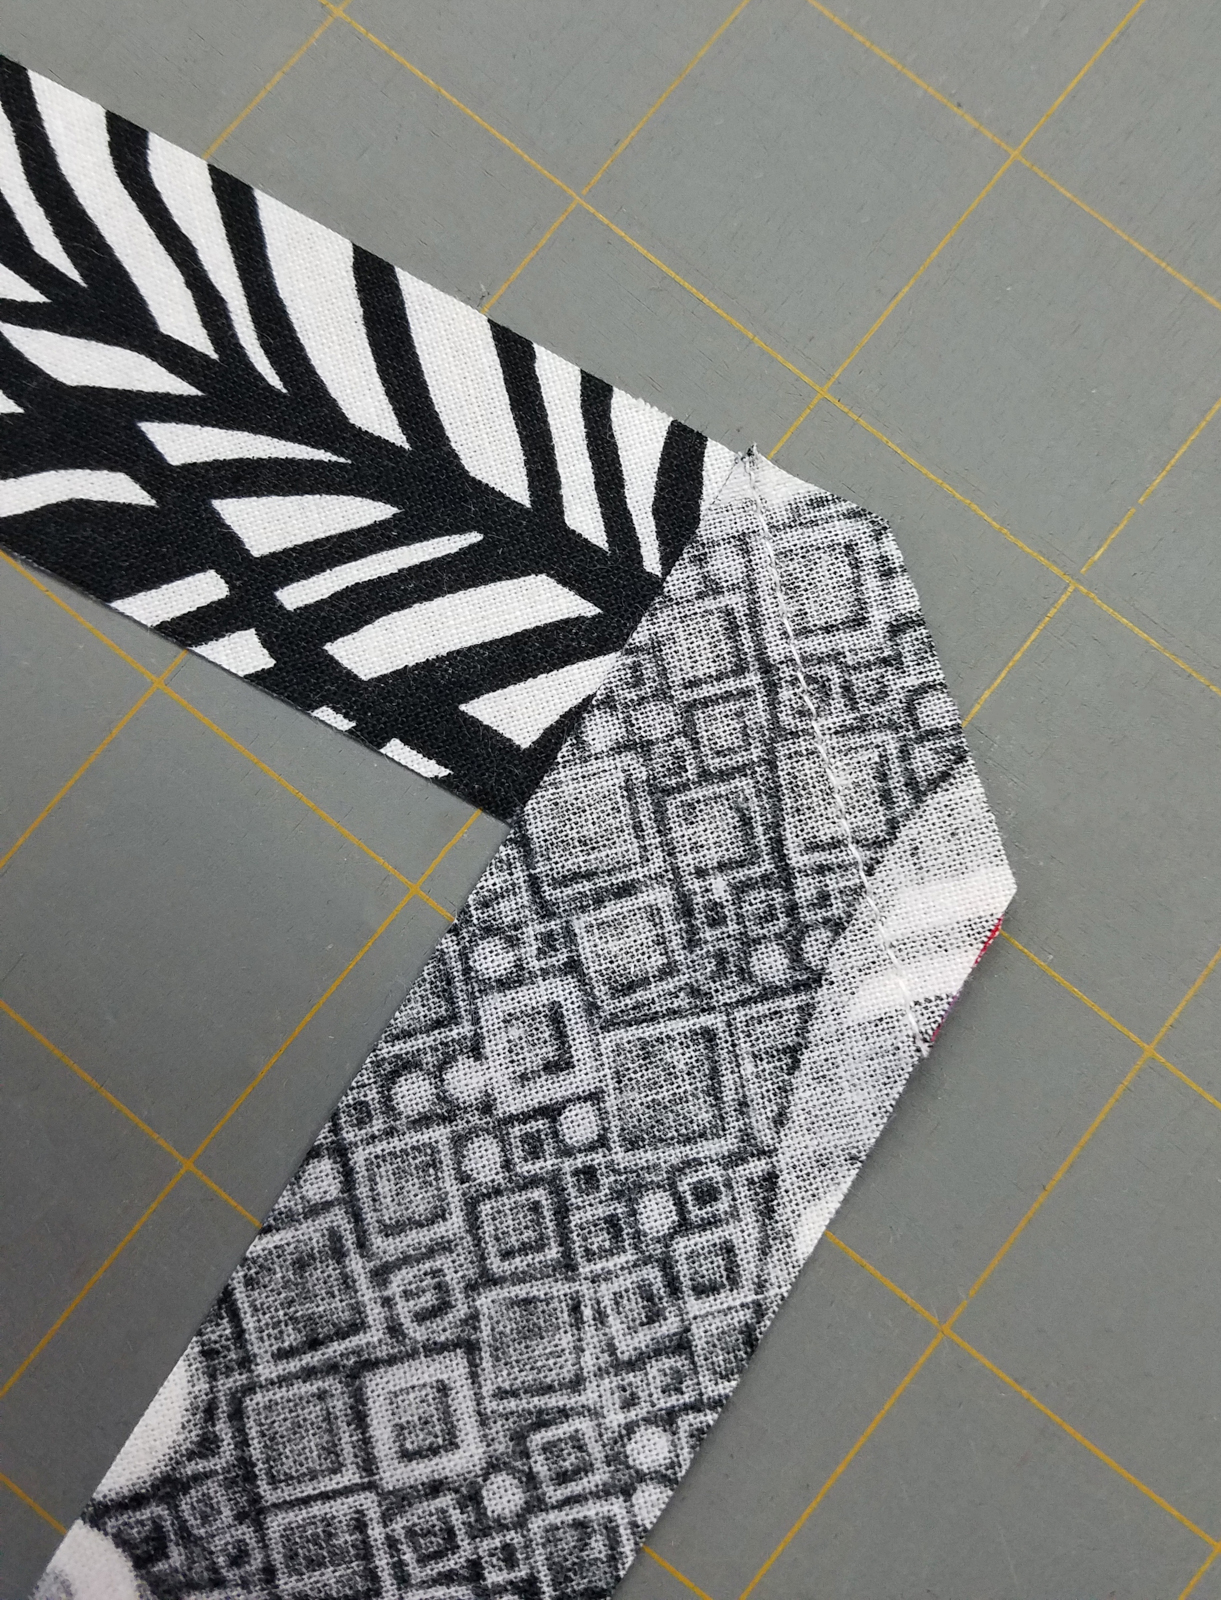
Trim seams to ¼” and press open.
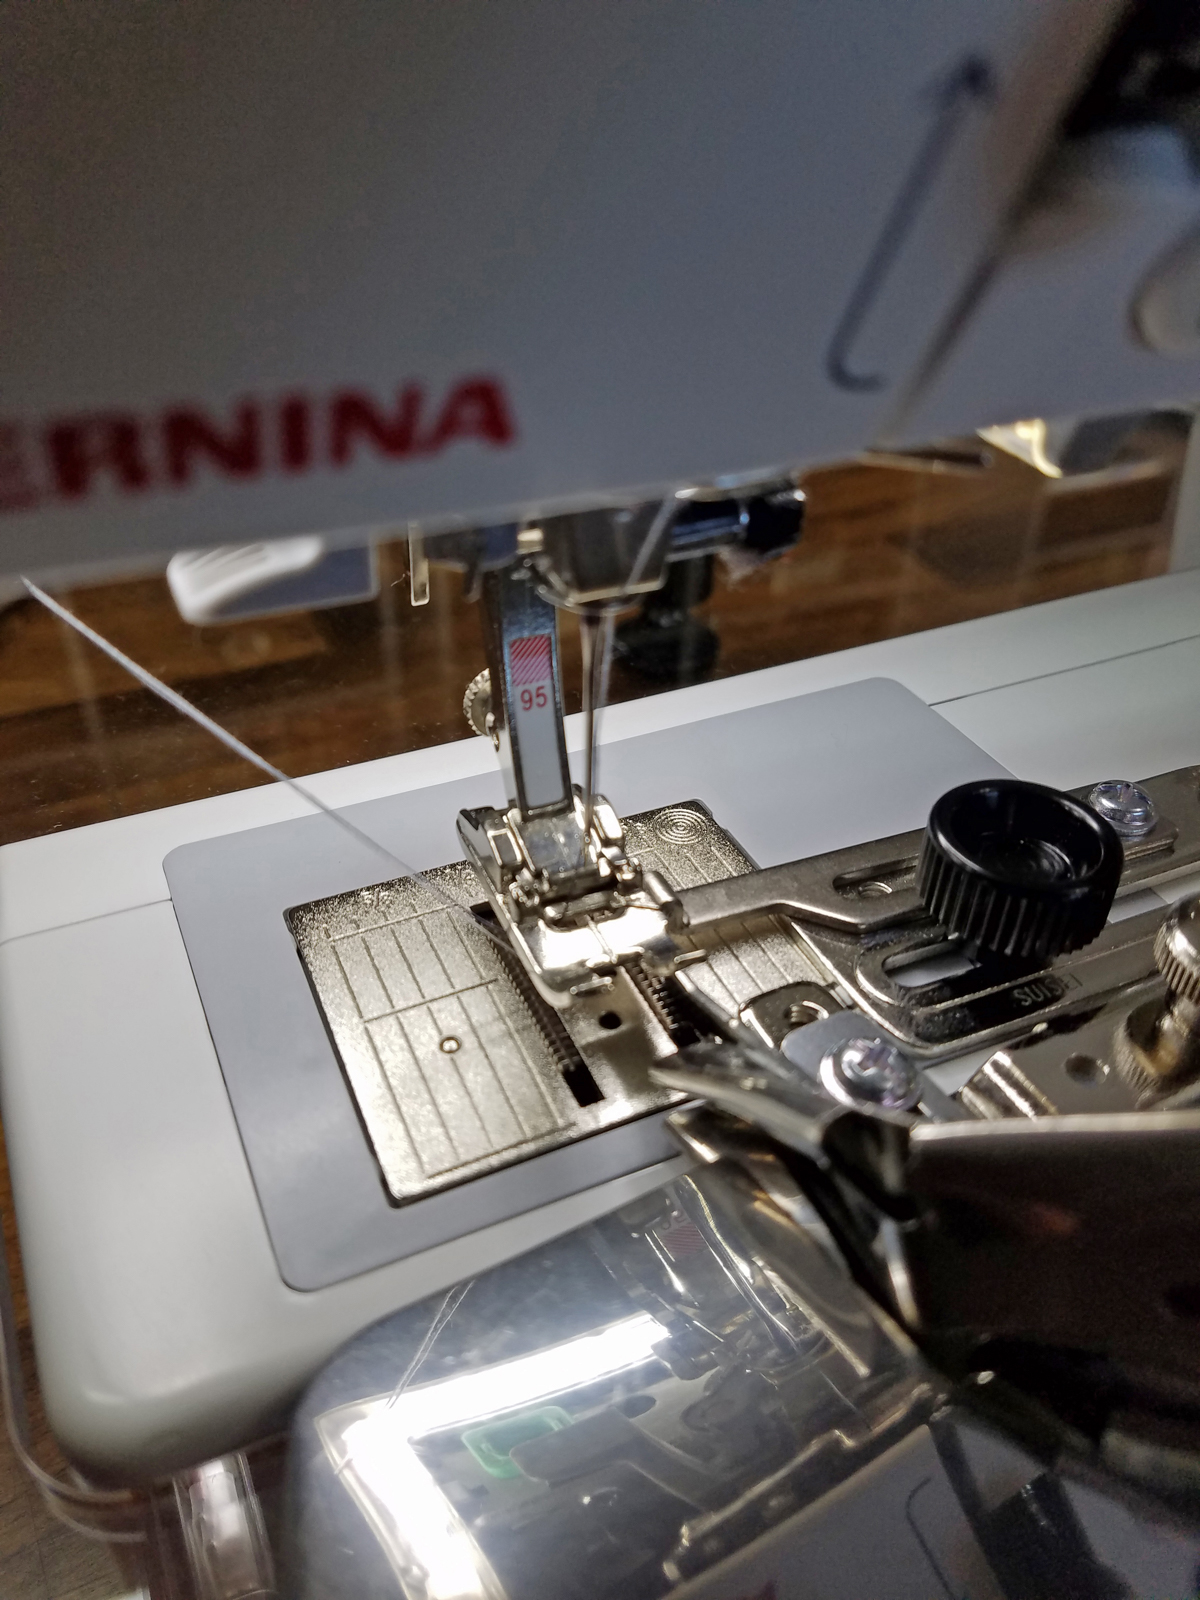
Attach Bias Binder to machine. See video on how to attach it here.

Insert binding into binder.
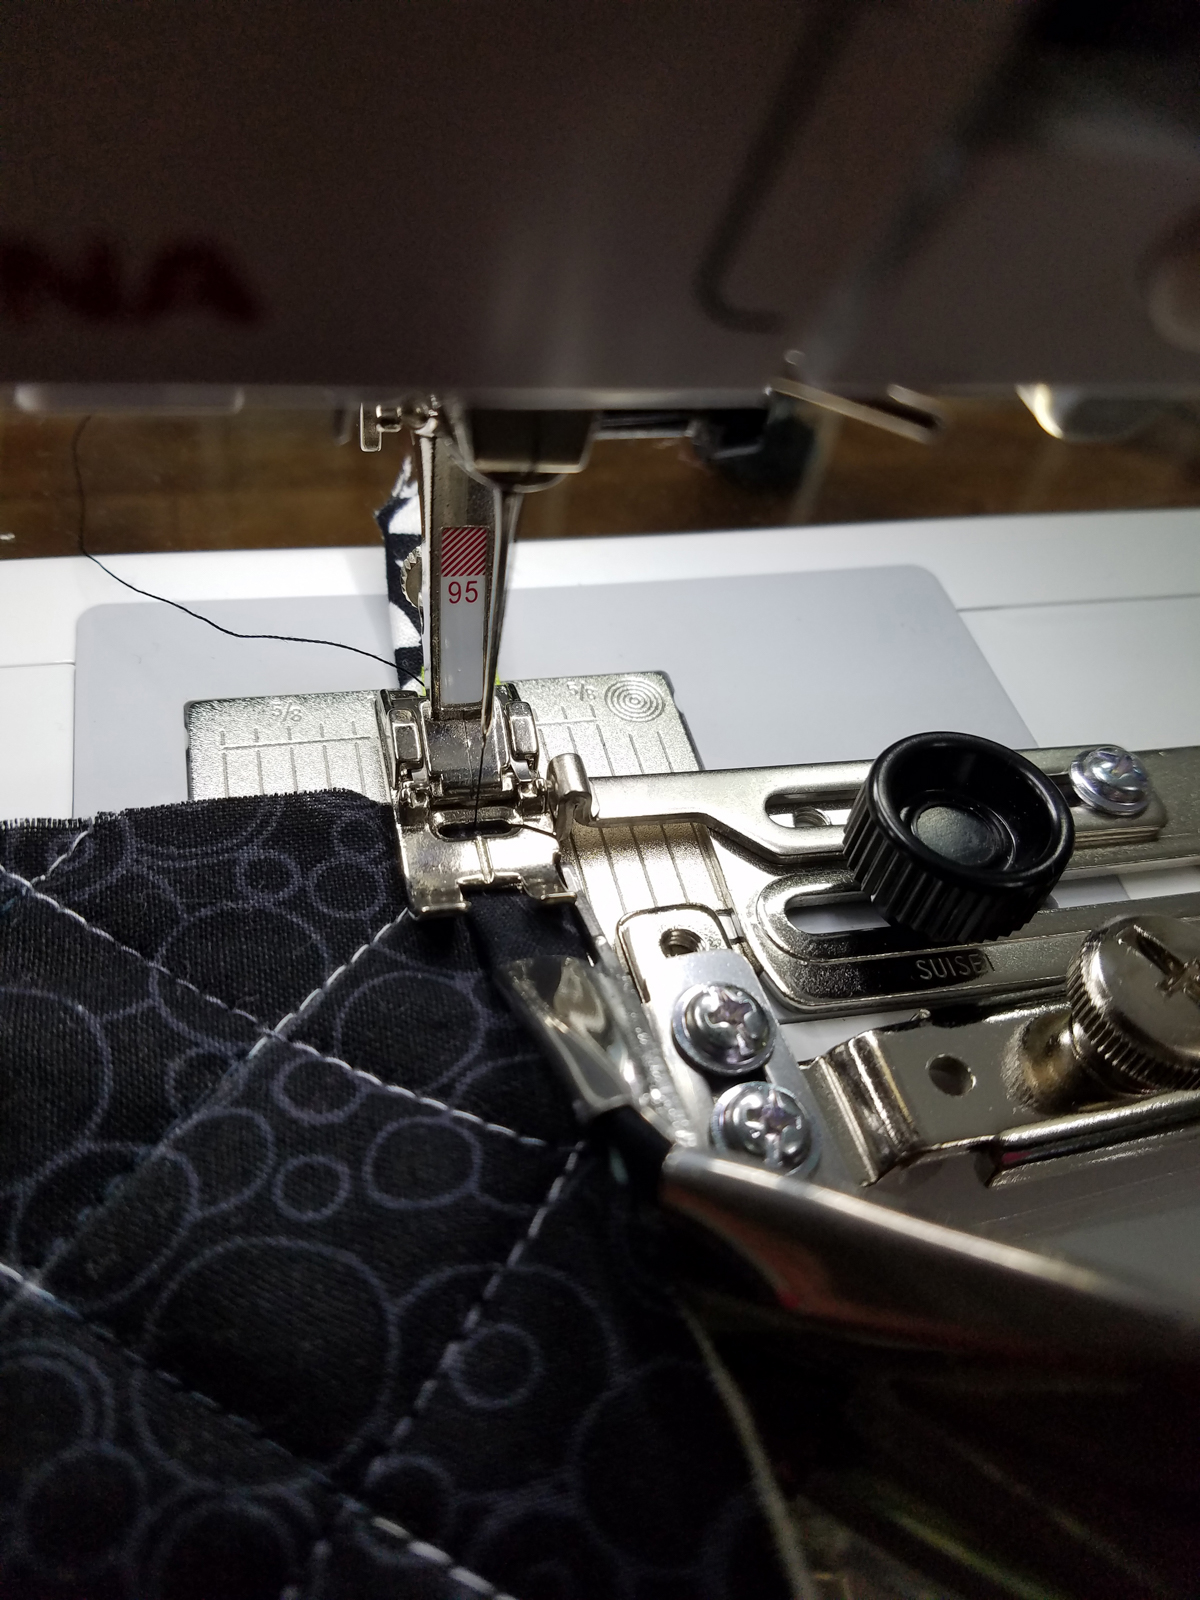
Place top edge of bag in binder and bind the edge.
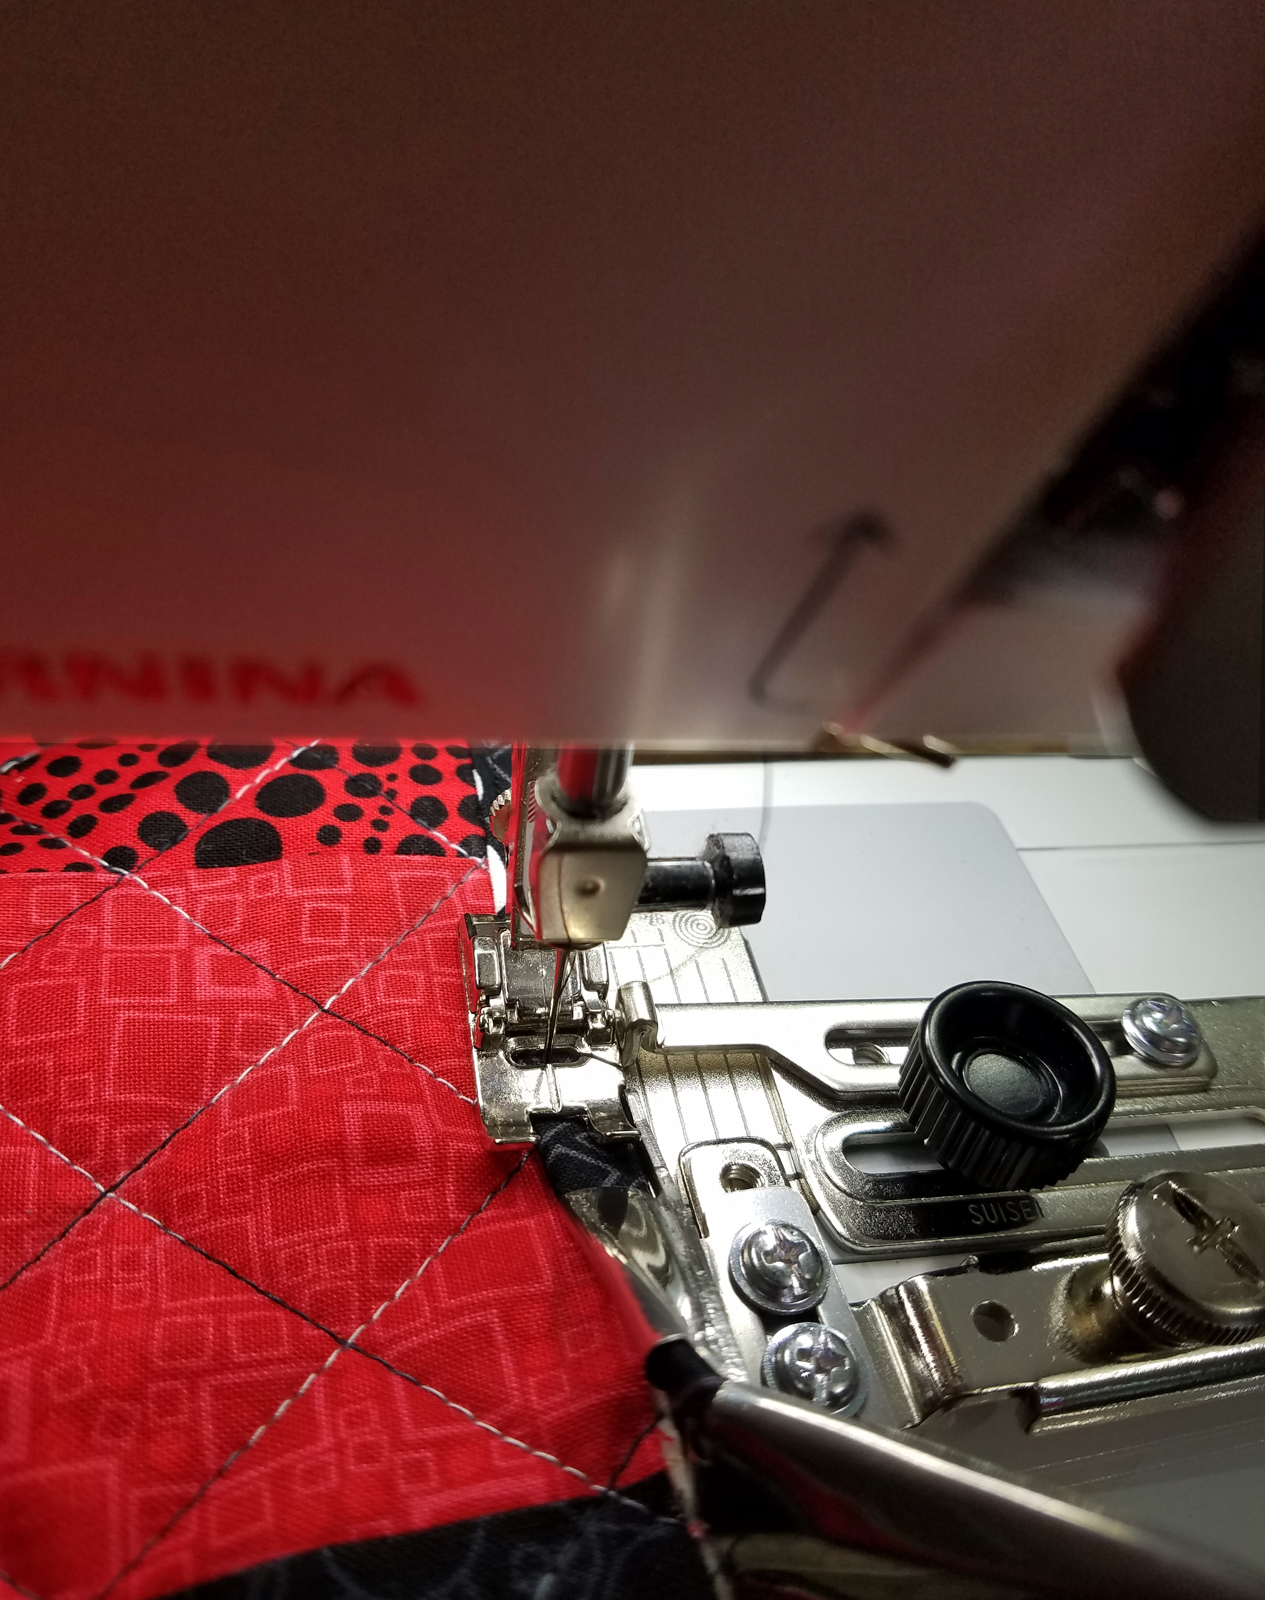
Binding the edge.
Top Edge is bound.
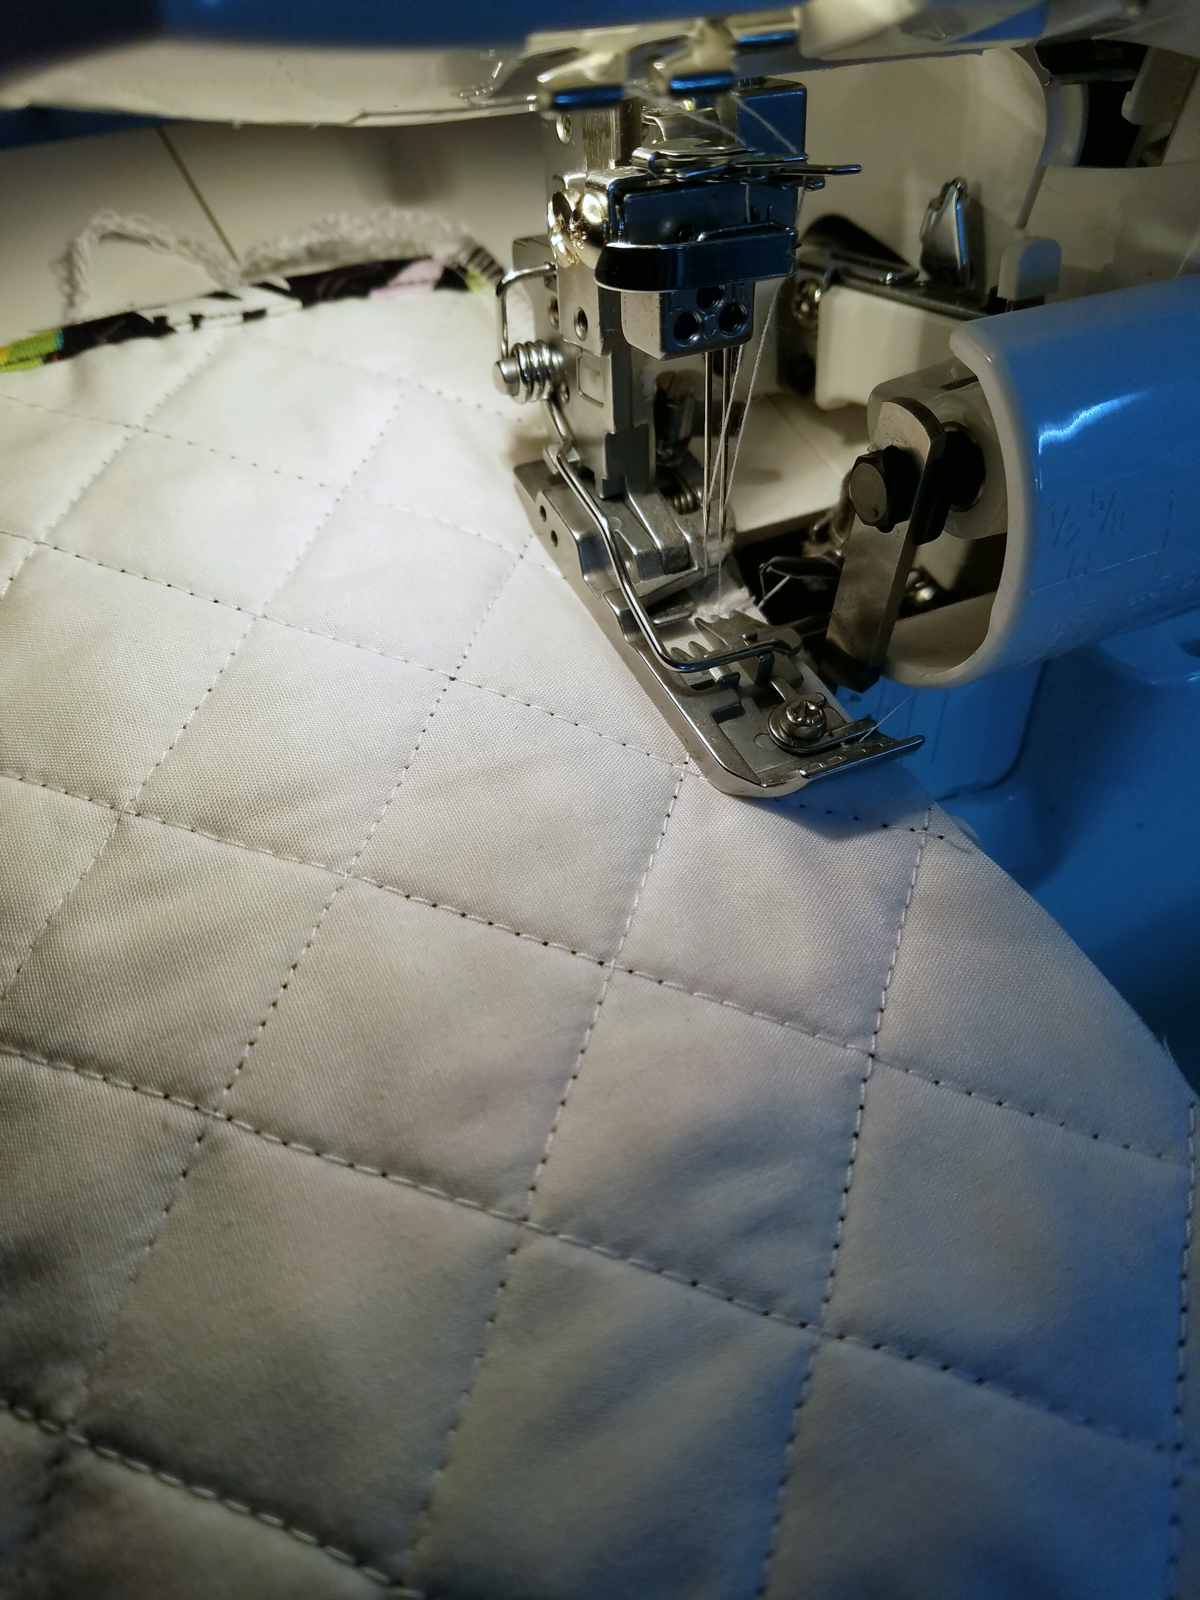
Overlock the other side of bag, making sure the top bound edges are aligned. If you do not have an overlocker, finish the edges by stitching a zigzag stitch off the edge of the project.
Press the seam to one side. Stitch a bar tack or sew very small stitches at the top of seam to hold the seam allowance down.
Box the bottom corners:
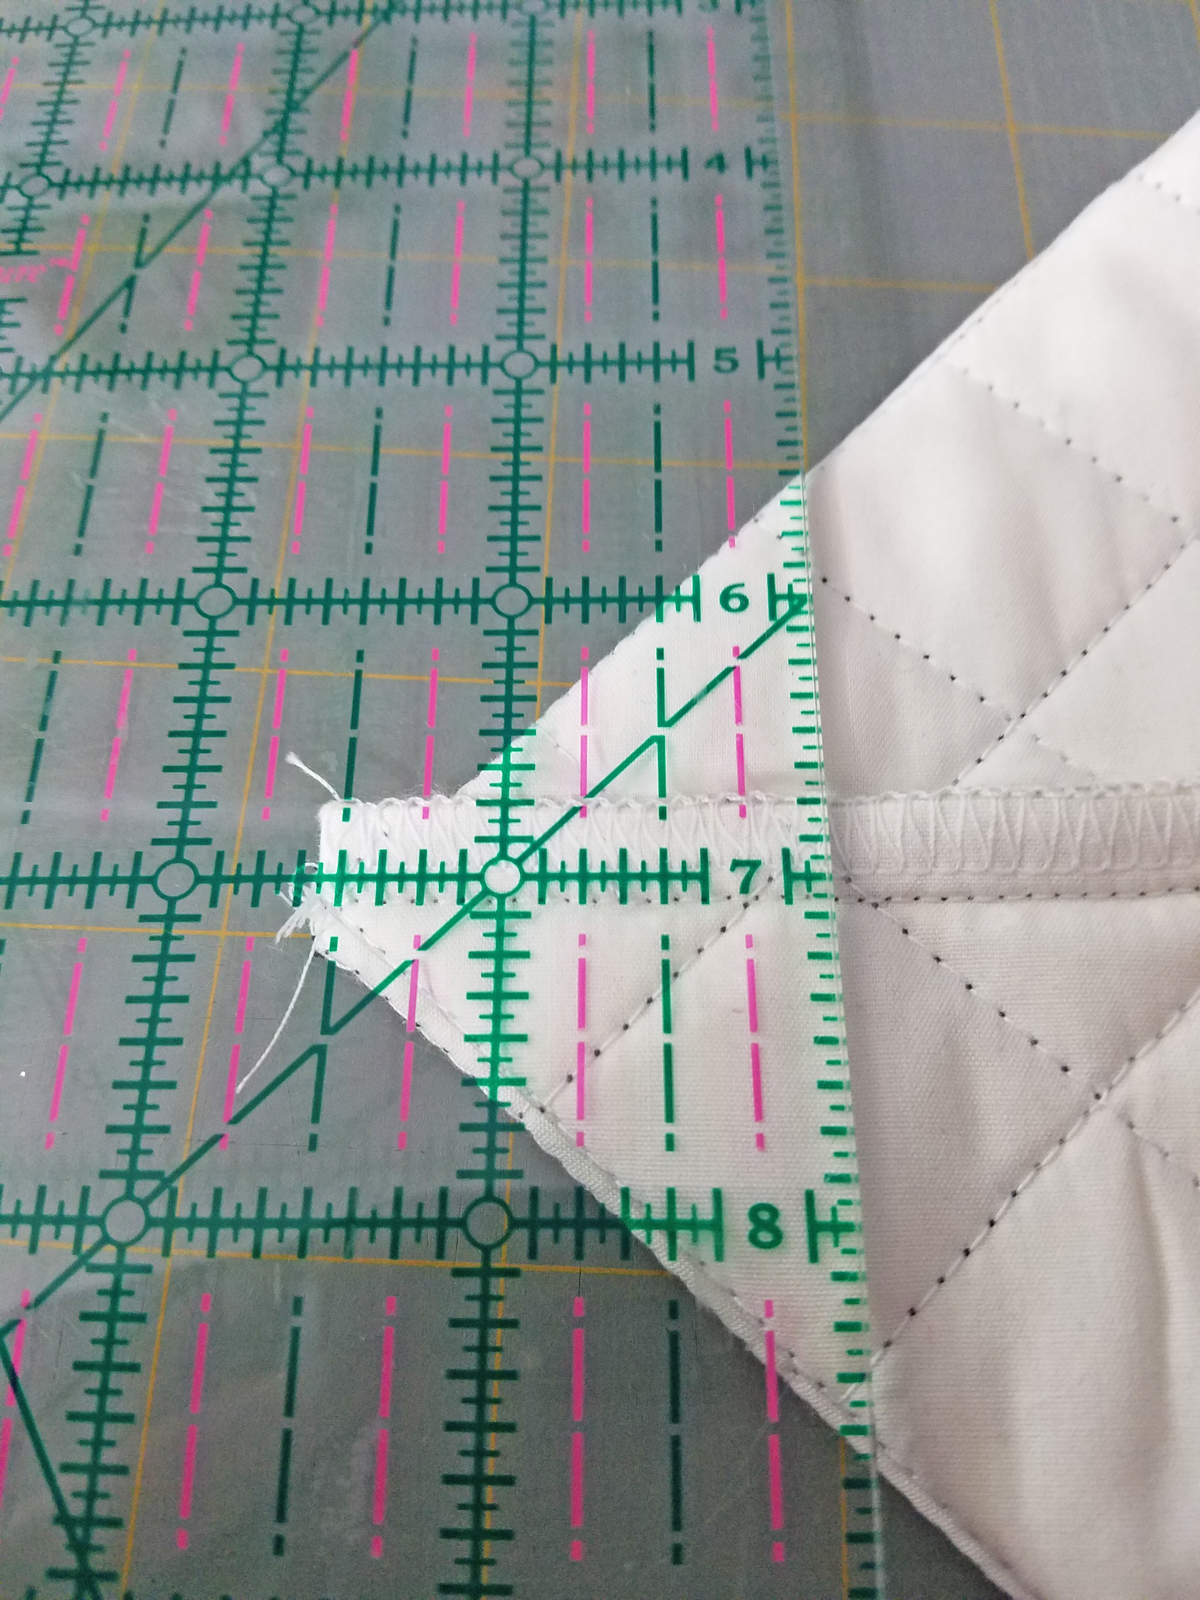
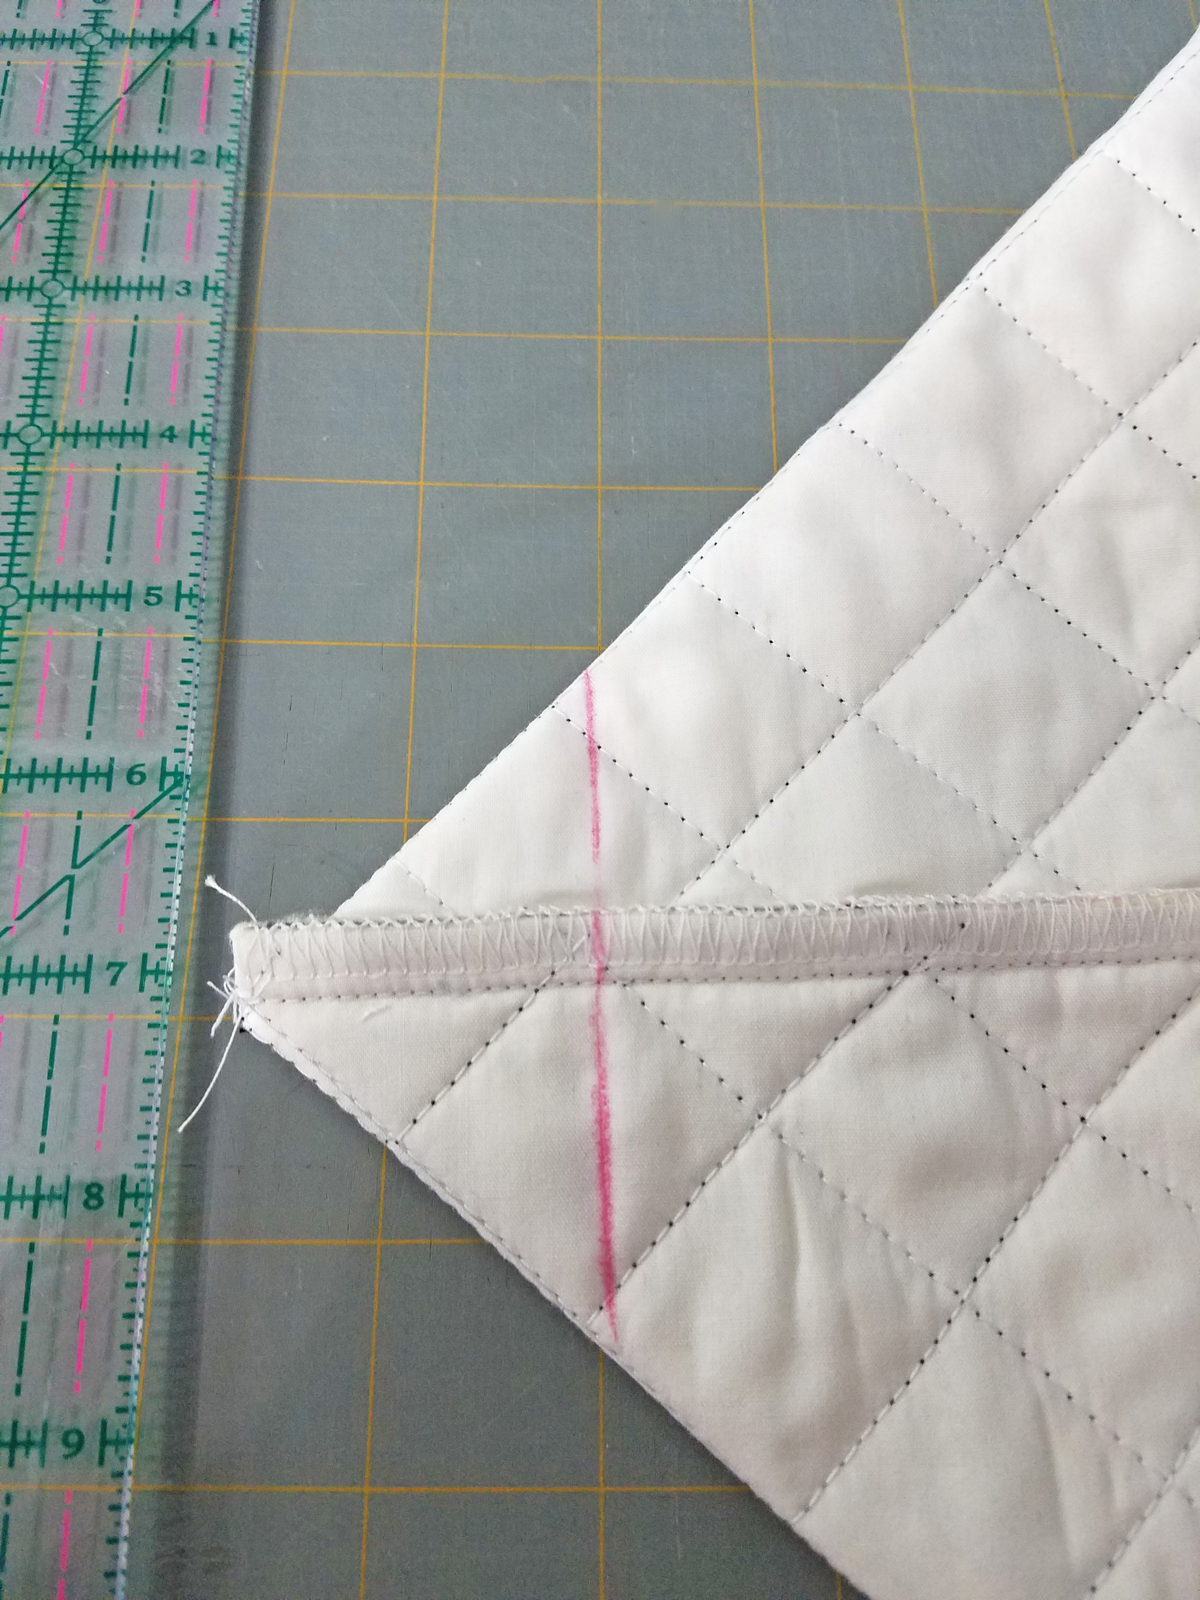
Fold the side seams at the bottom to make a triangle, making sure your seams are nested together. Mark a line 1 ½” from the point of the triangle.
Stitch along the marked line.
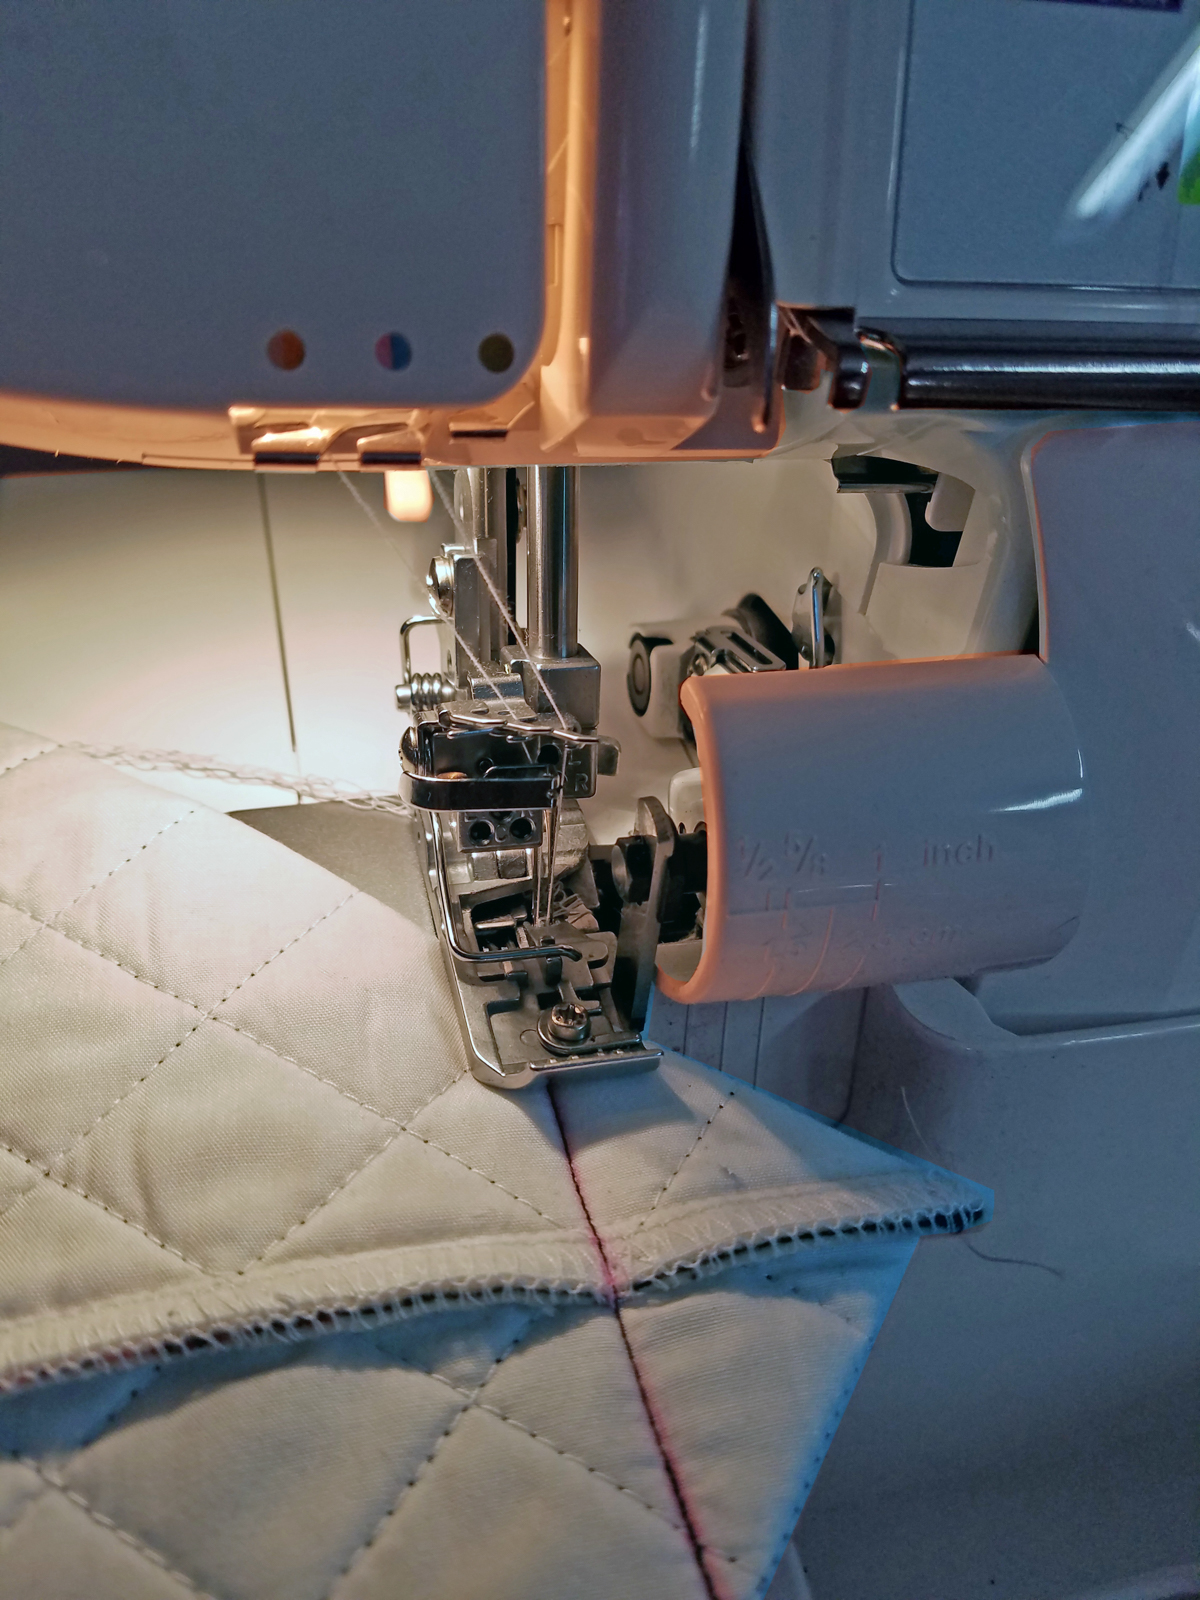
Use the overlocker to trim the seam and overlock the edges at the same time. Or finish the edges by trimming the triangle ¼” away from the stitched line and zigzag the cut edge with the sewing machine.
Turn bag right side out.
It is now time to add the casing to the outside of the bag for the cord to pass through.
Cut 2 grosgrain ribbons pieces to the width of the bag plus 1″. Fold both ends of each ribbon ½” to the wrong side and press.
On one side of the bag, place the lower long edge of one of the ribbons along the lower seam of the top block. Position the folded ends at each side seam. Pin in place.

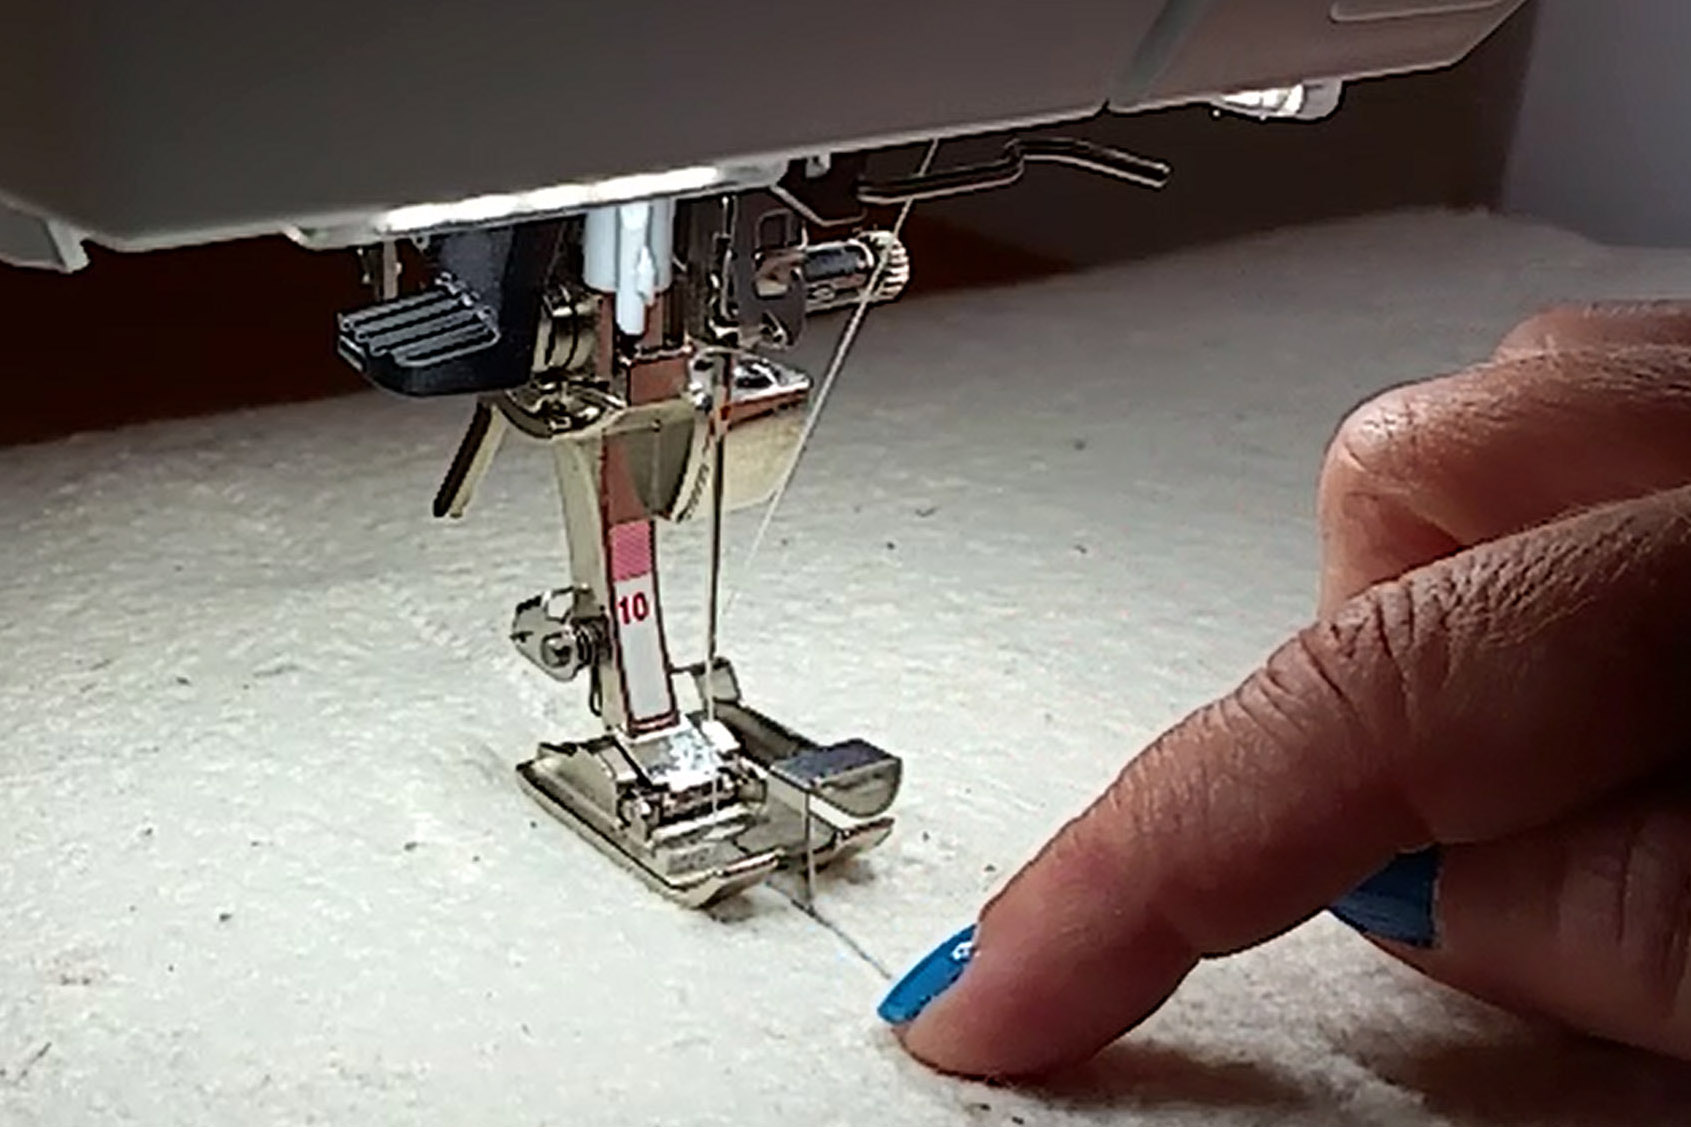
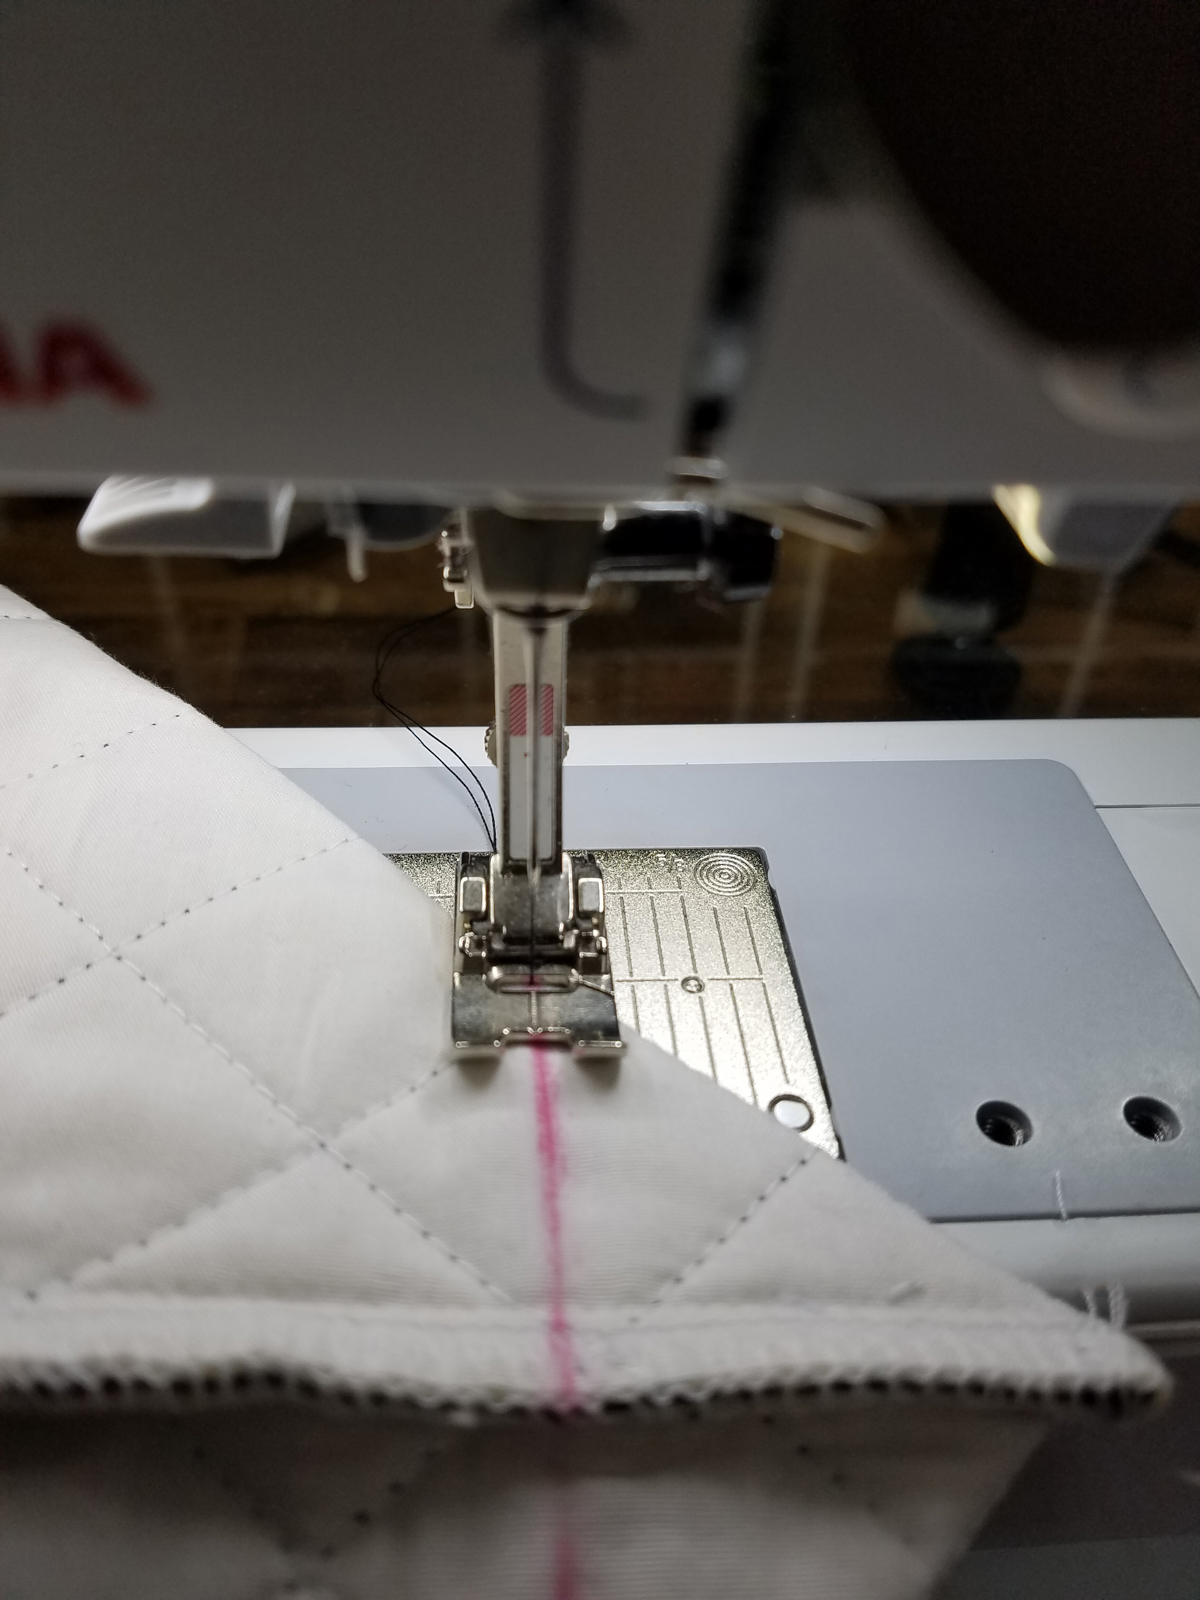
Use the Edge Stitch Foot #10/10C/10D to stitch along both edges of ribbon to make a casing on one side of bag.
Repeat the process for the other side of the bag.
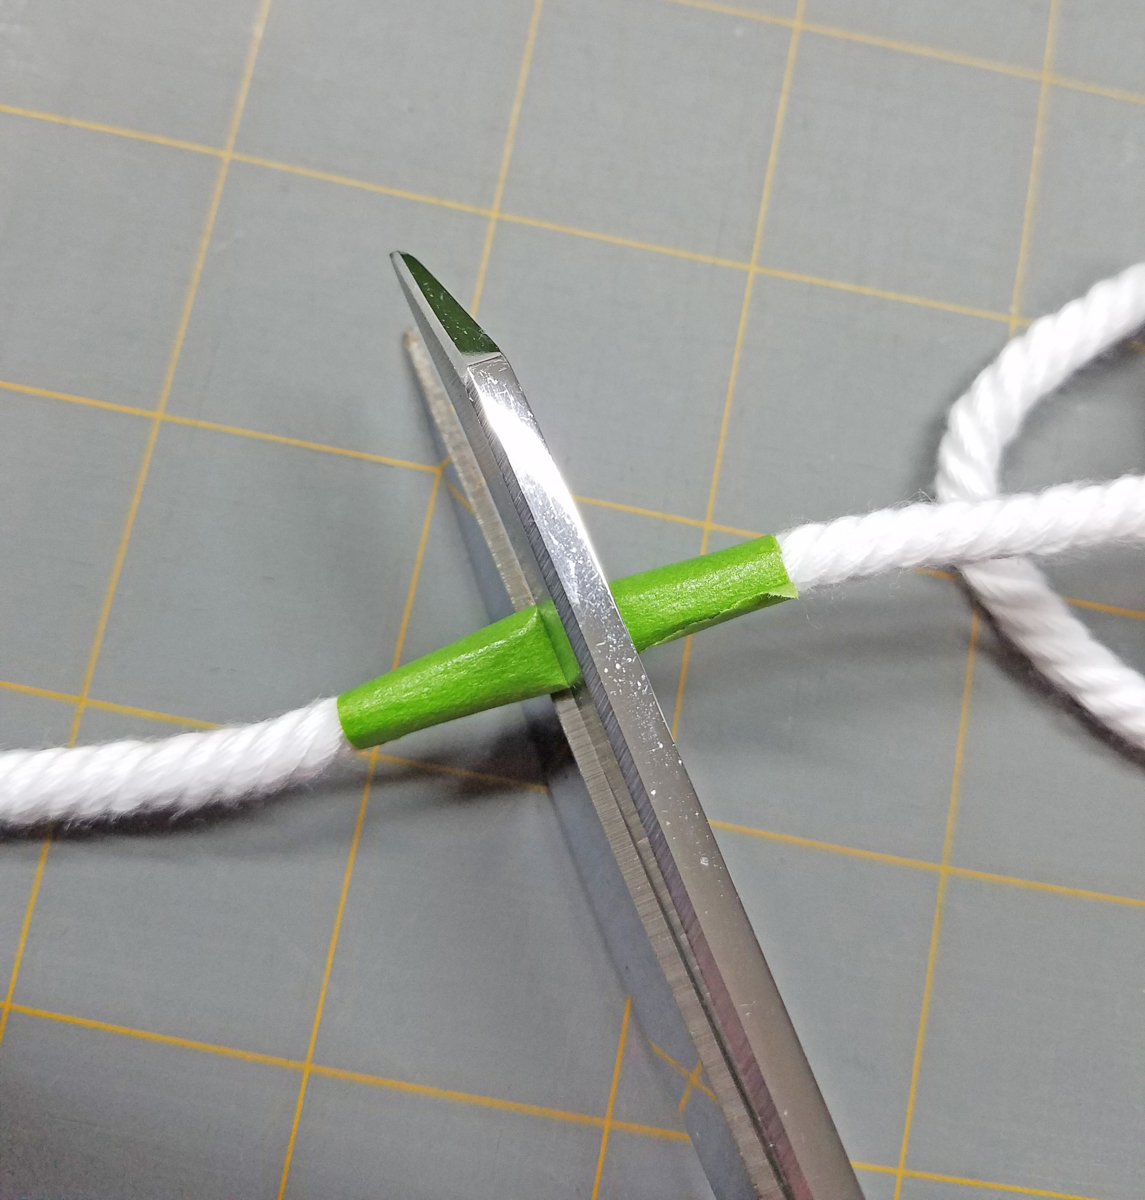
Cut the cording to make two one yard pieces. A trick for cutting cords is to first wrap it with tape and then cut through the middle of the tape. This helps prevent fraying.
Attach a pin or bodkin to the cording to help feed it through the casing. Thread the cord through one side of the casing and then back around the other side so that you have both ends of the cording on one side.
Repeat with the other piece of cording starting on the opposite side of the bag. You will now have two ends of cording sticking out on both the left and right side of the bag.

Tie the ends of the cord, cinch and you are all finished!