How To Distress Your Denim
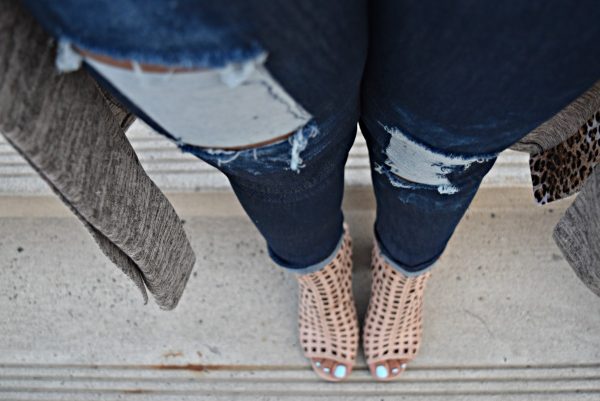
Thinking about making something out of denim? Looking for a way to make your denim stand out? Why not DIY distress your denim? Now I know what you’re thinking, “distressing is for young adults not for me”. Not true, distressing used on a different scales can be for all ages. I’m going to show you how to add a DIY distressed look to your denim. You can use this technique on jeans you already own or that pair of Jeans you’ve been dying to make. You probably already have all the tools you need to make this happen.
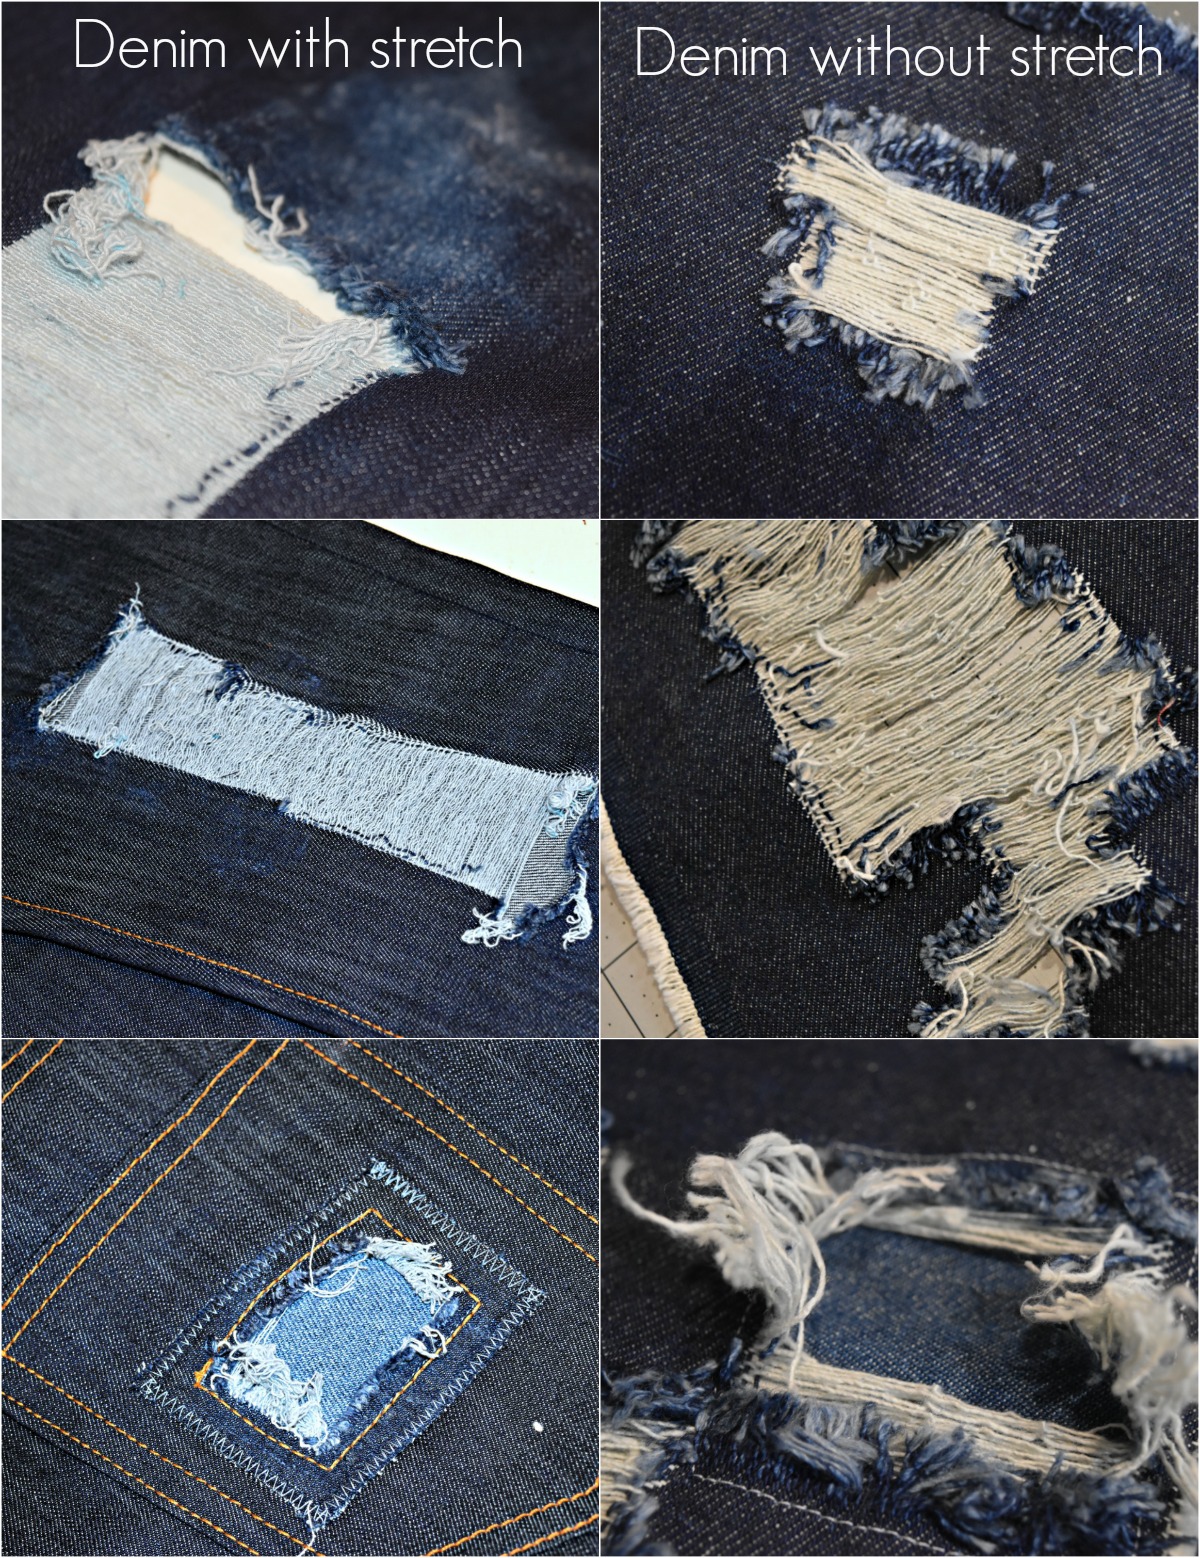
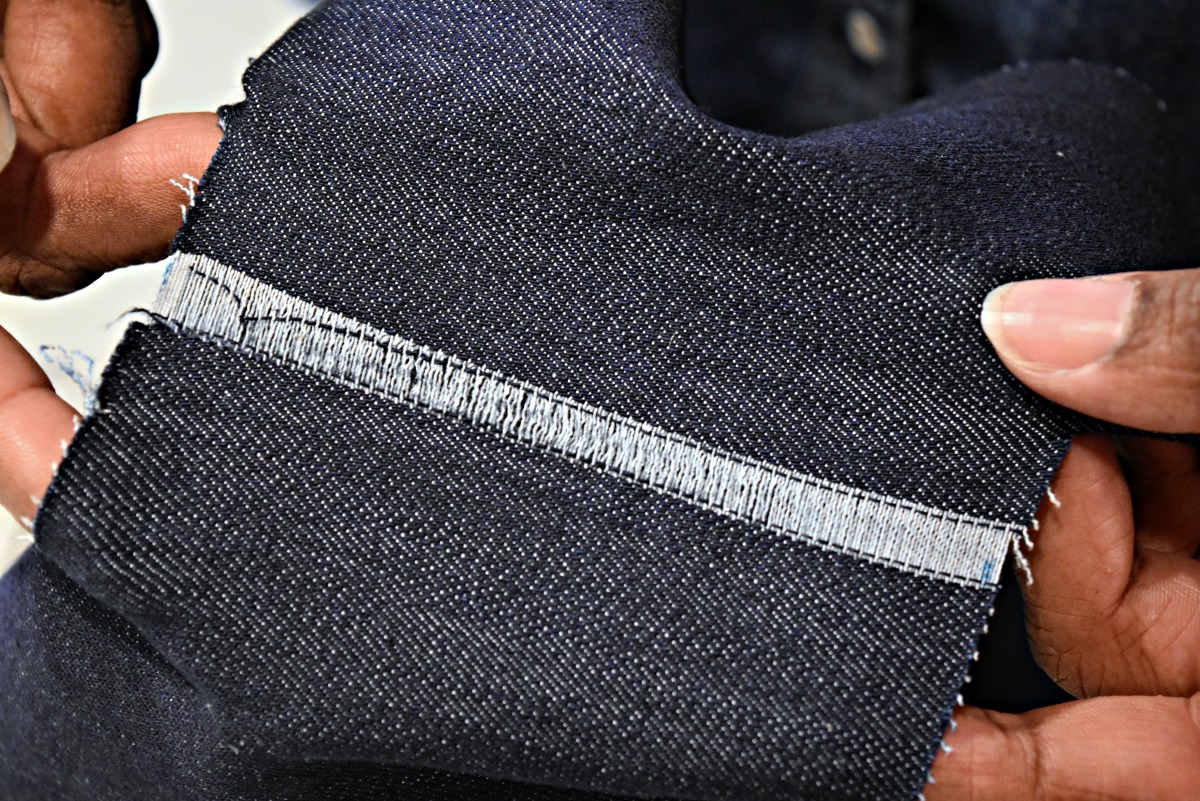
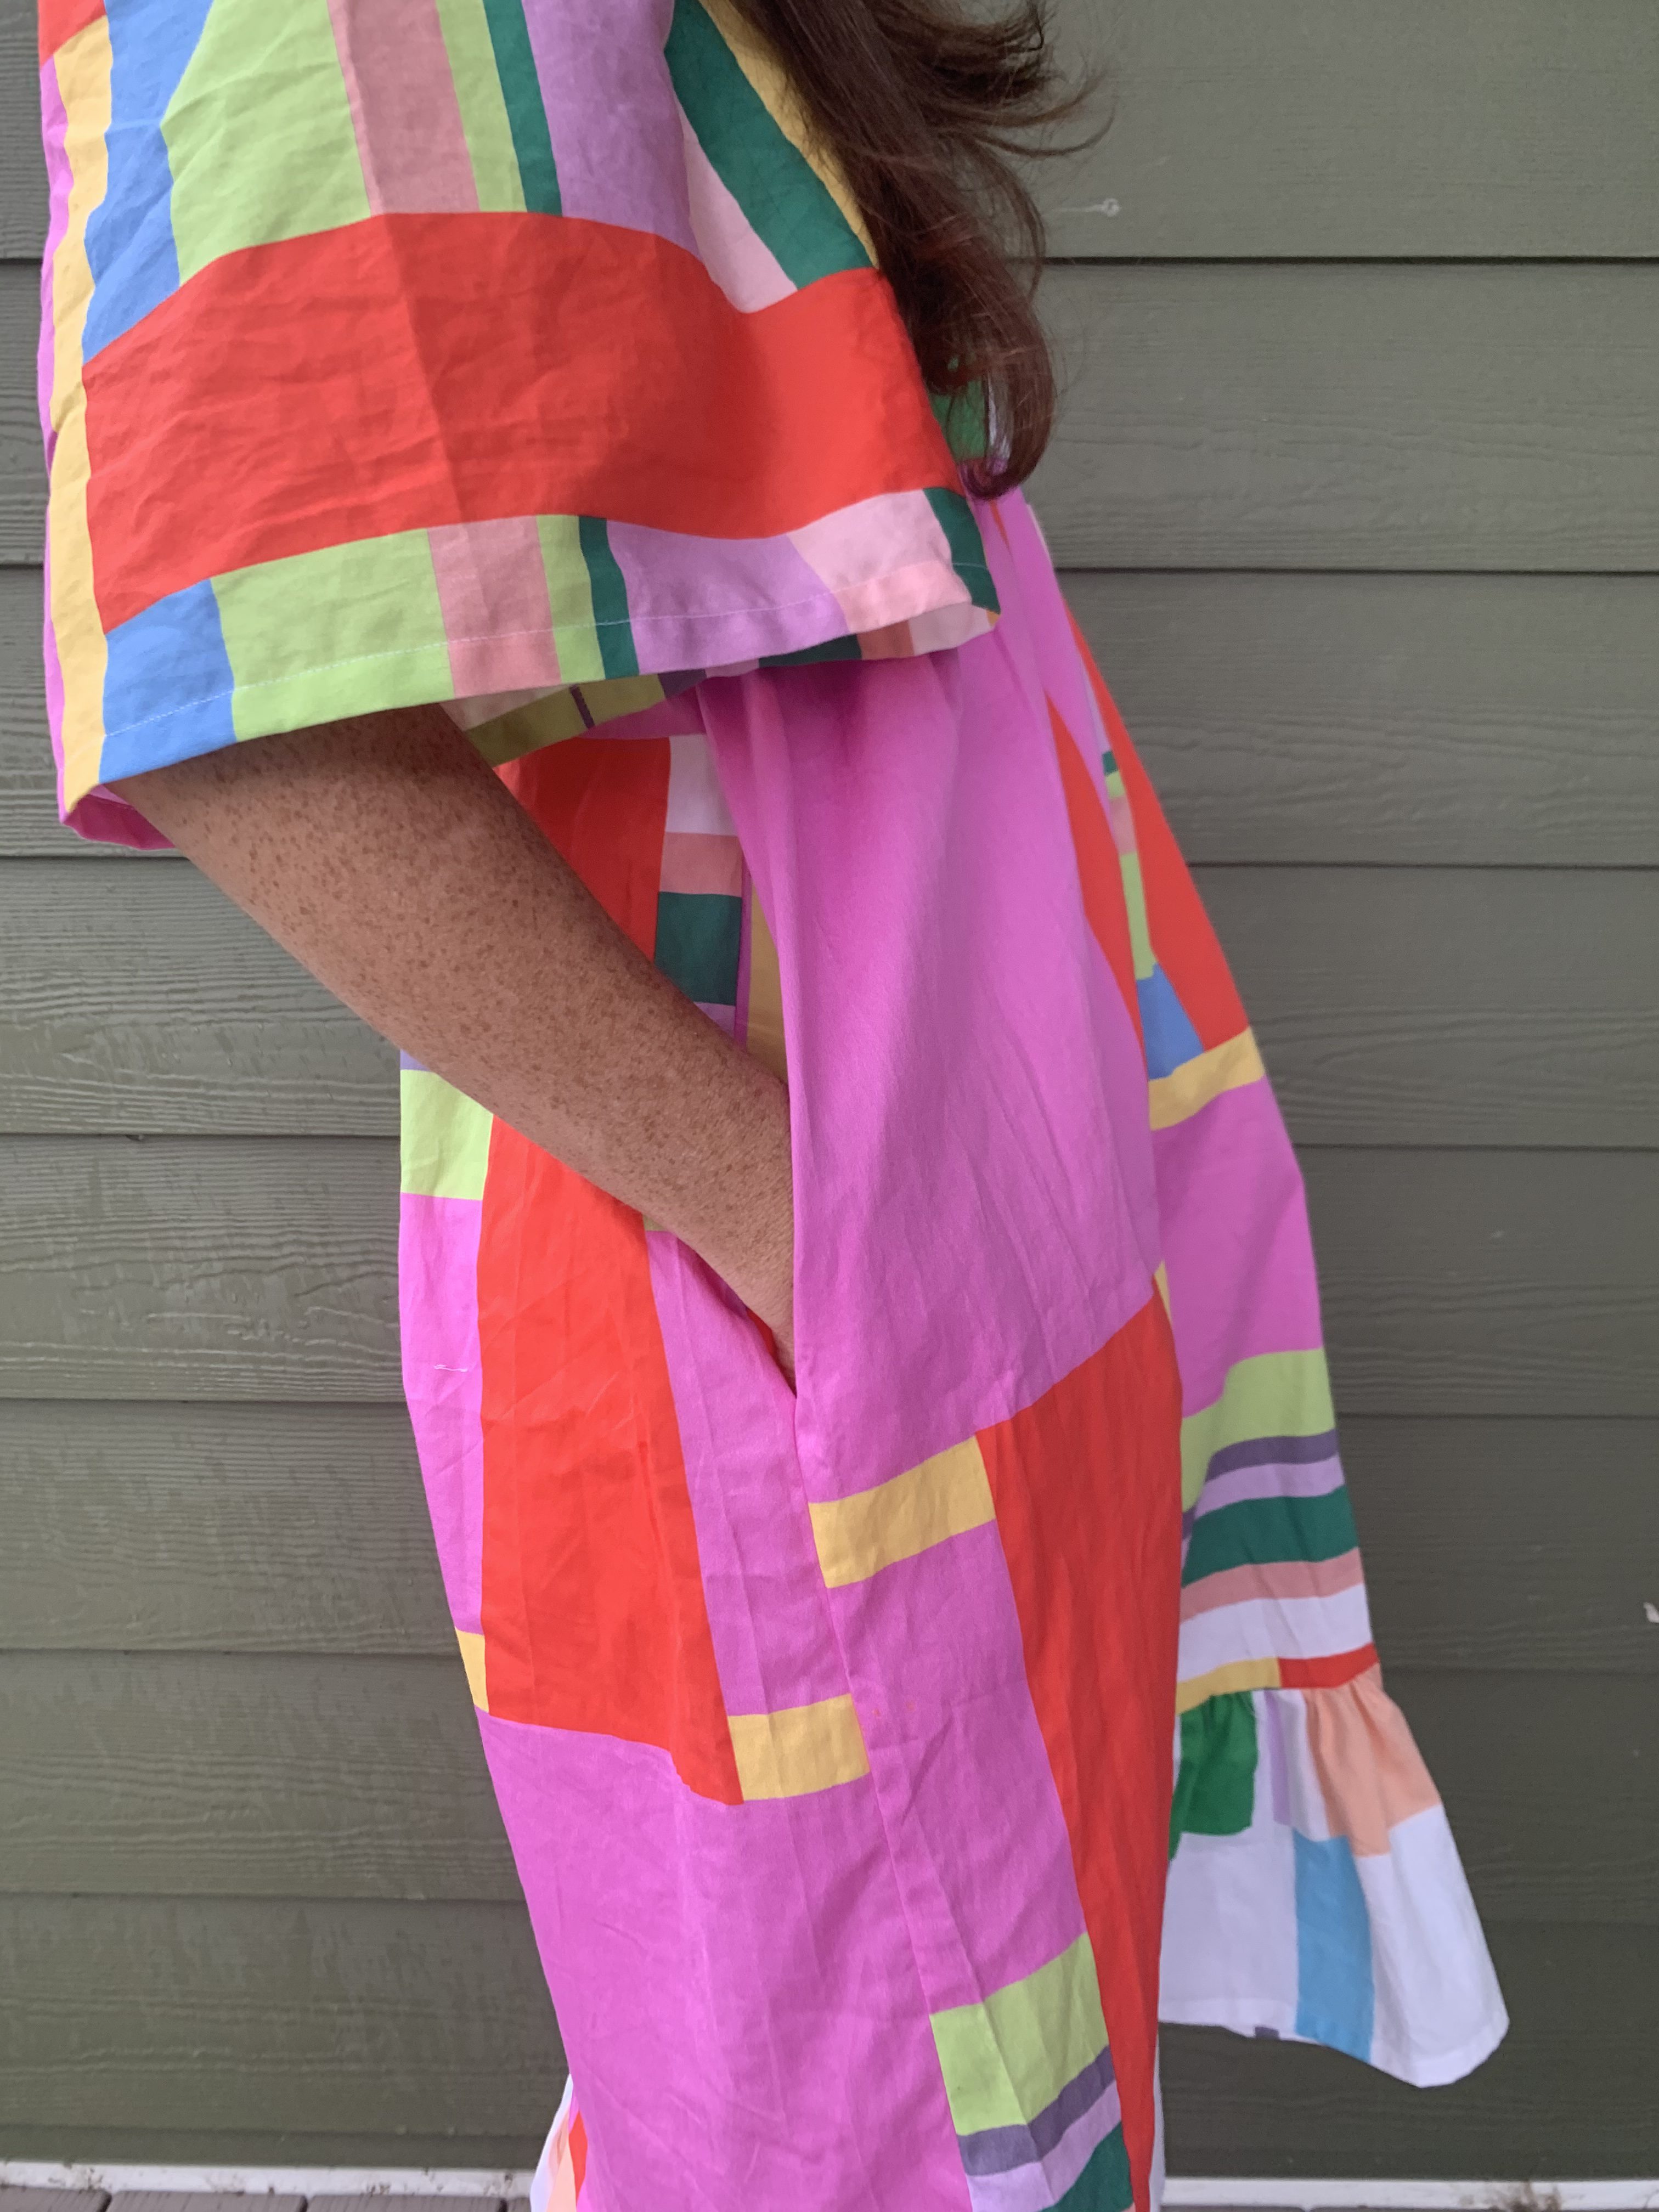
I made a pair of jeans using Simplicity’s Mimigstyle pattern 8222 and this pattern requires a stretch denim. There are a lot of different denim fabrics out there but the best fabric for DIY distressing is 100% cotton denim. The denim with Lycra does not fray as well as the cotton denim, so be mindful of the denim you choose to work with when distressing. I would suggest you practice on scrap denim before you cut up your good denim or your good jeans.
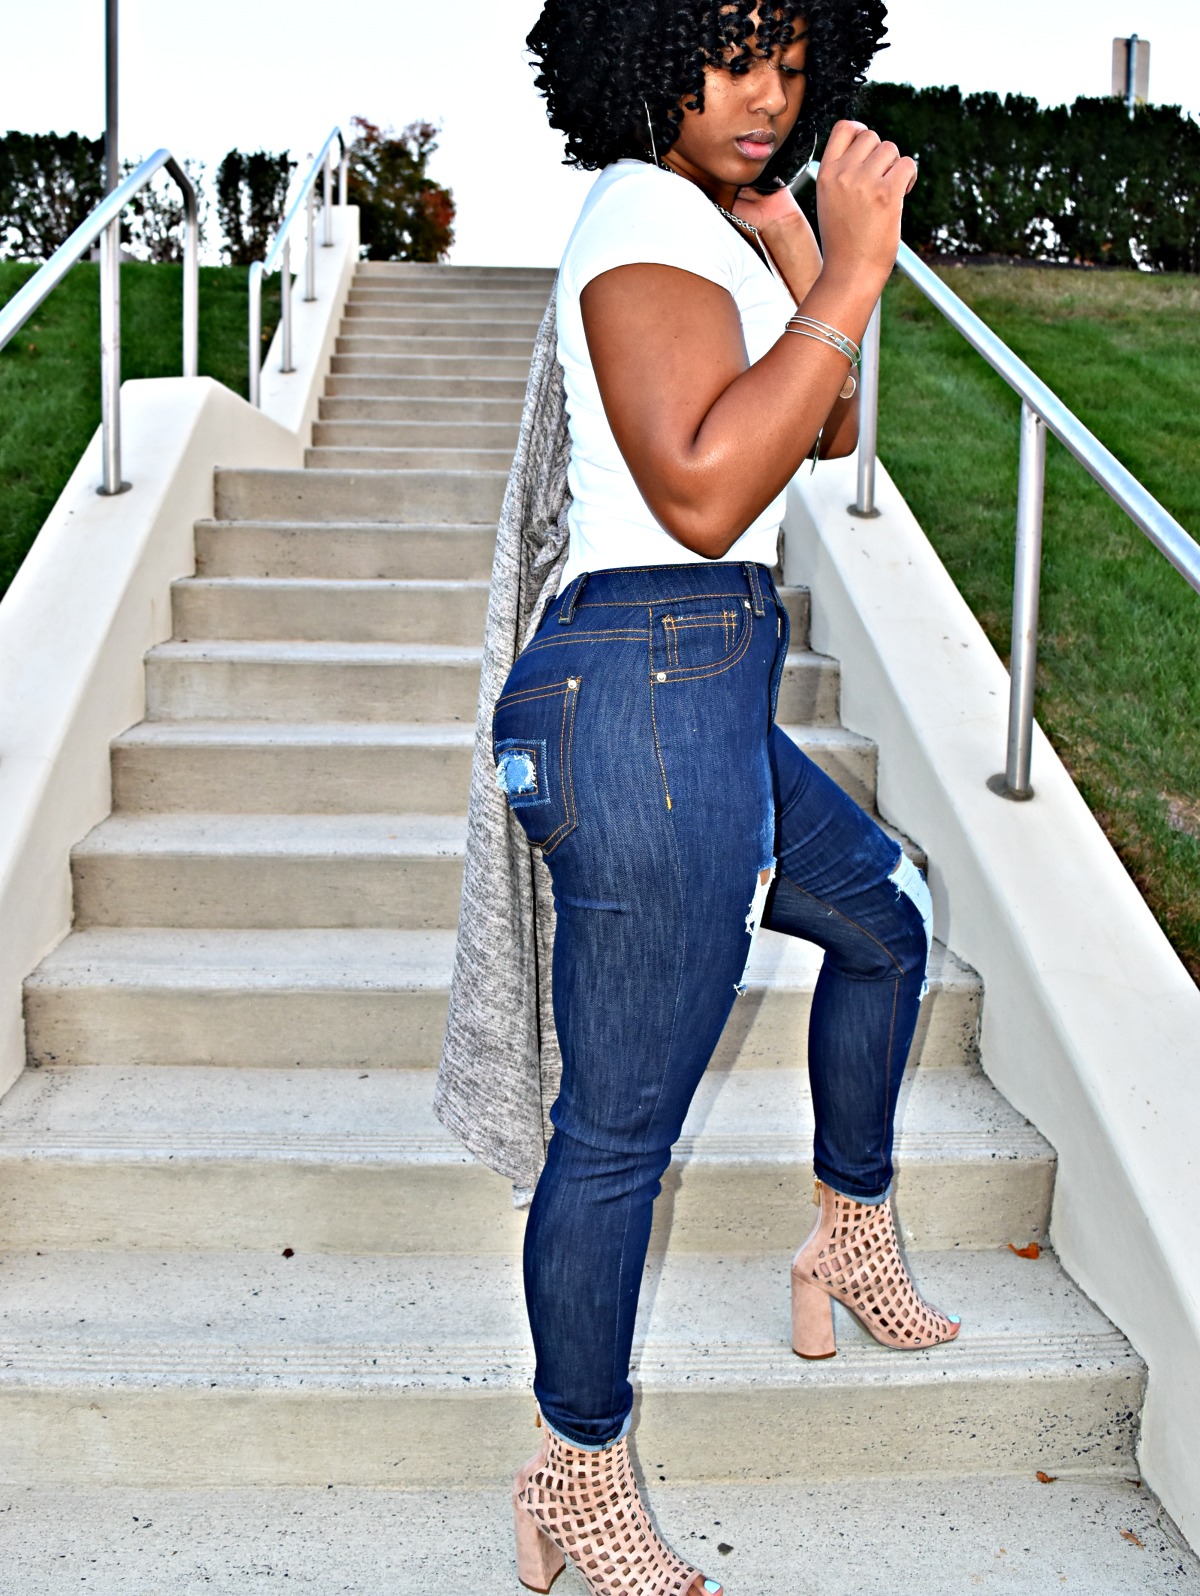
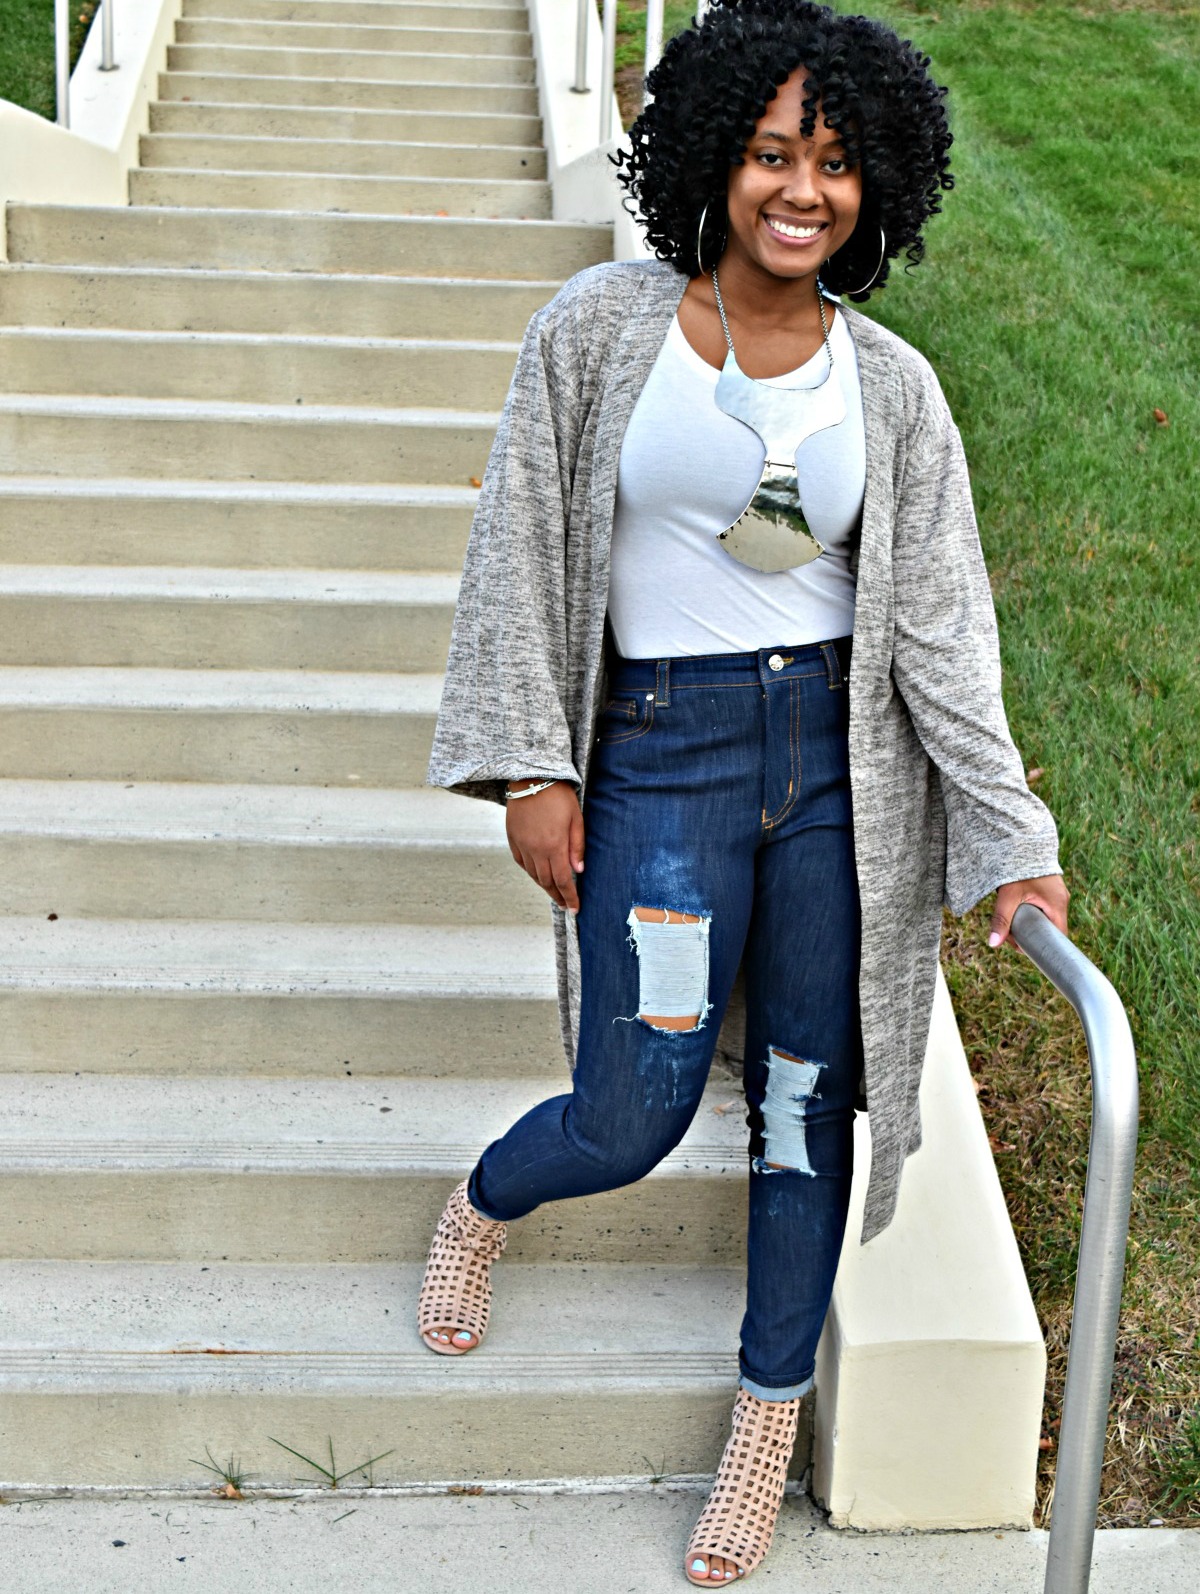
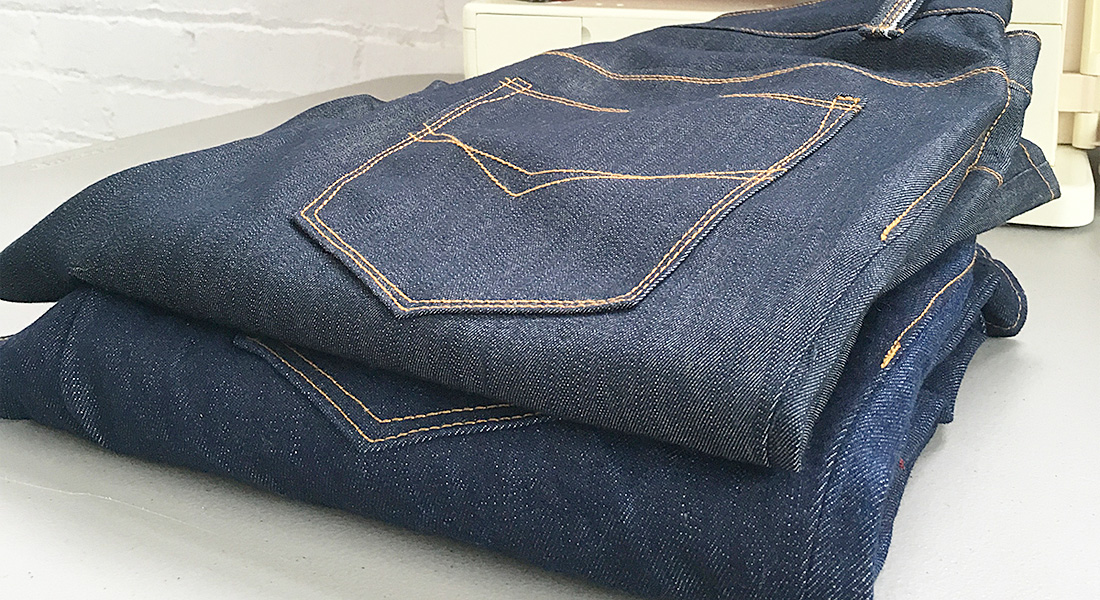
Here some of my DIY distressed projects using denim with stretch and without. You can see the difference between the two side by side.
Materials to Distress Denim:
- Some type of rotary cutter or Scissors
- A good pair of tweezers
- A seam ripper
- Cheese grater
- Denim (you can distress the fabric prior to cutting out your pattern, distress the cut out pattern pieces or distress the sewn or retail jeans)
I started my project with pre-shrunk denim so I was not concerned with shrink issues when washing and drying my pieces after the distressing was completed. Distressing was applied to my denim after I cut out my pattern pieces. If you have concerns about shrinkage be mindful that this process requires washing and drying.
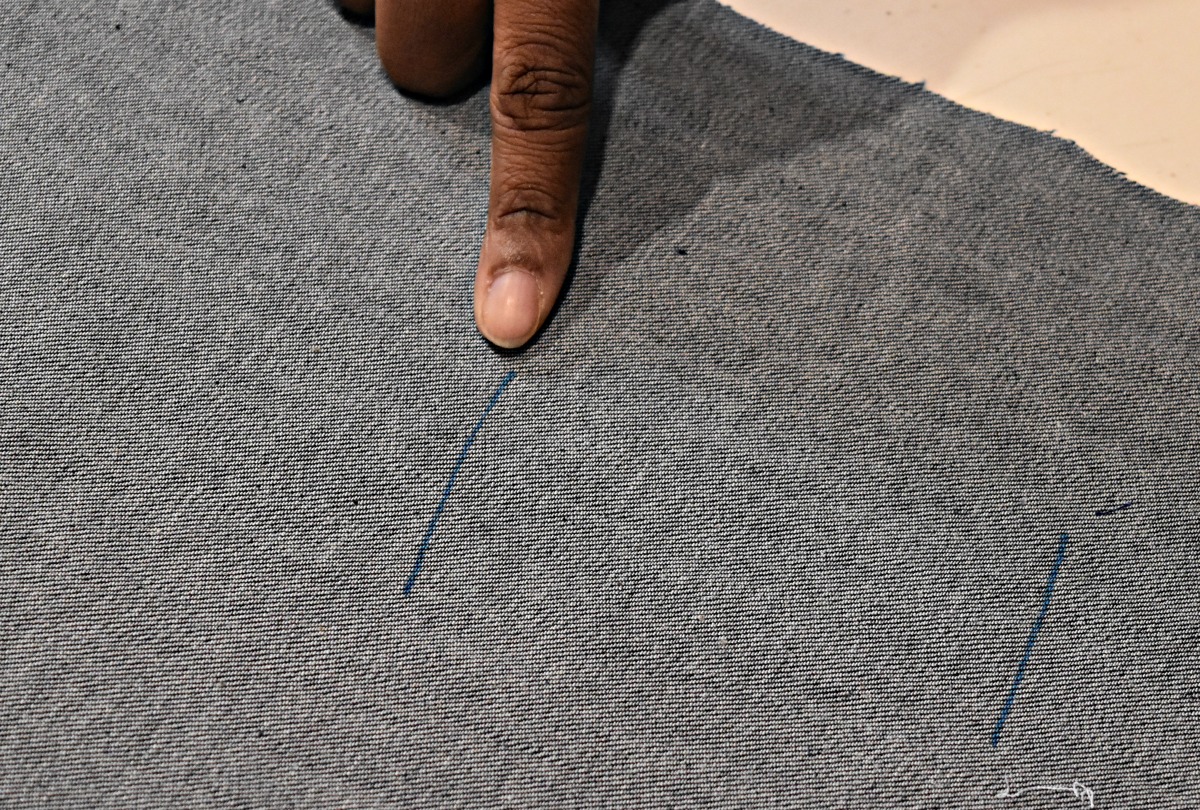
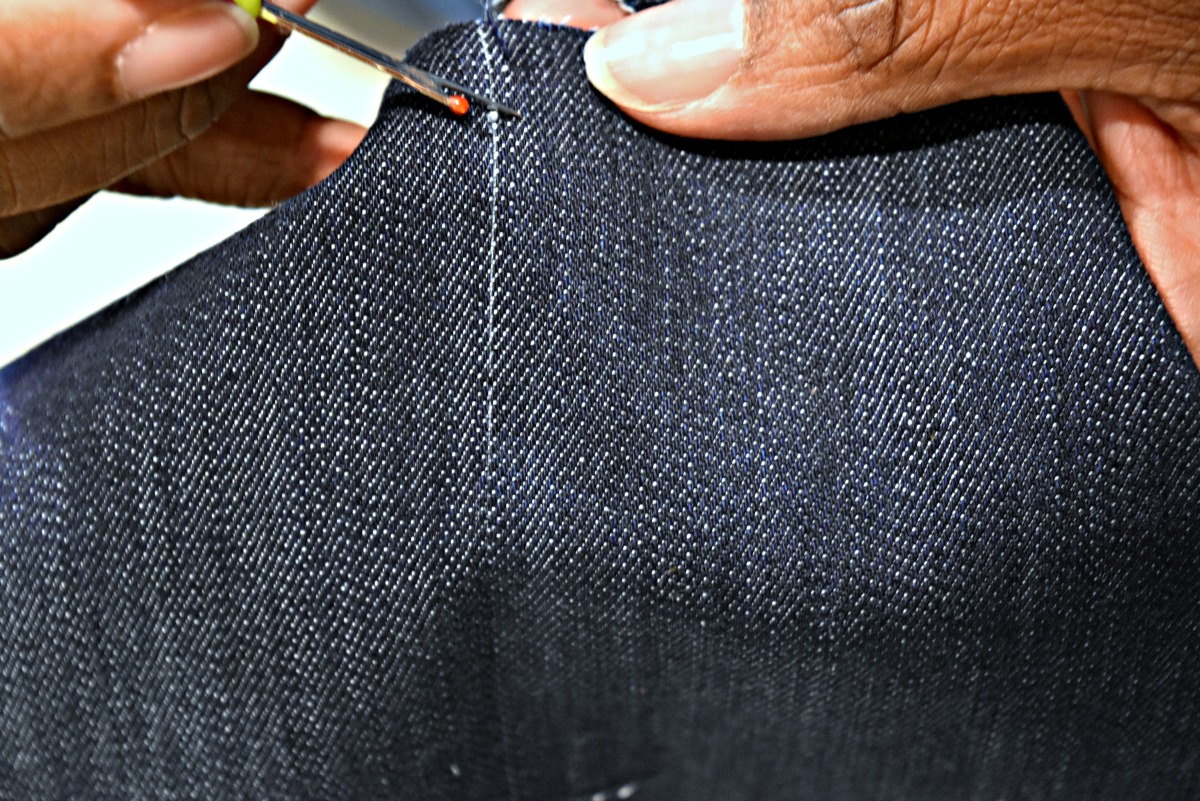
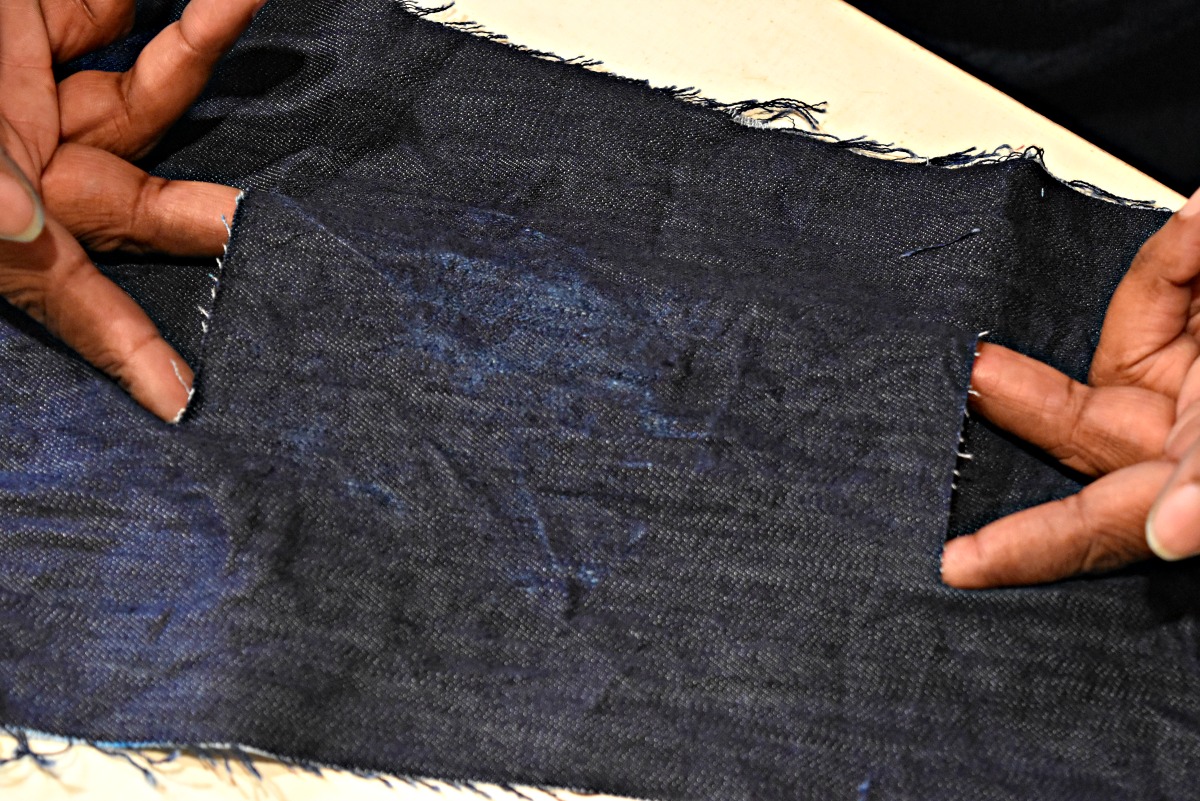
Mark your area that you want to distress (I used a marker so that you can see my work area).
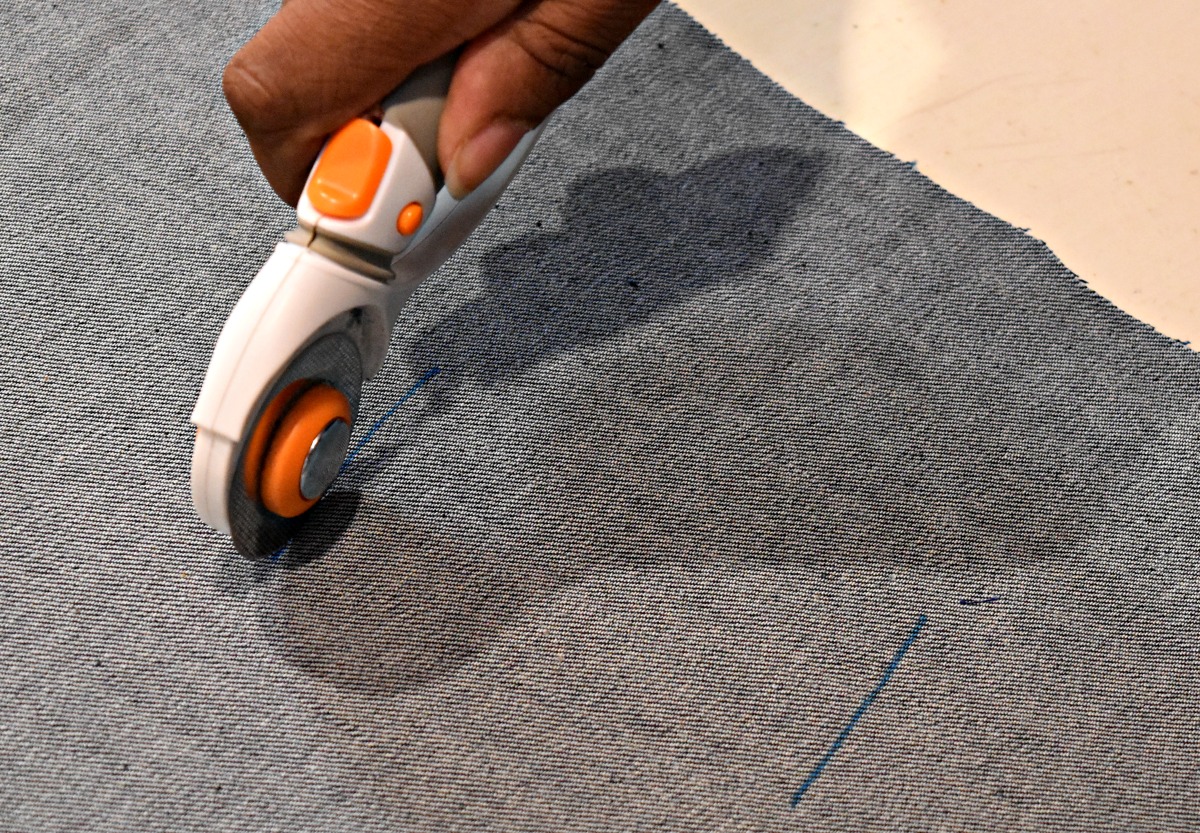
Use your preferred cutting utensil to cut the denim.
This is my work area for this leg.

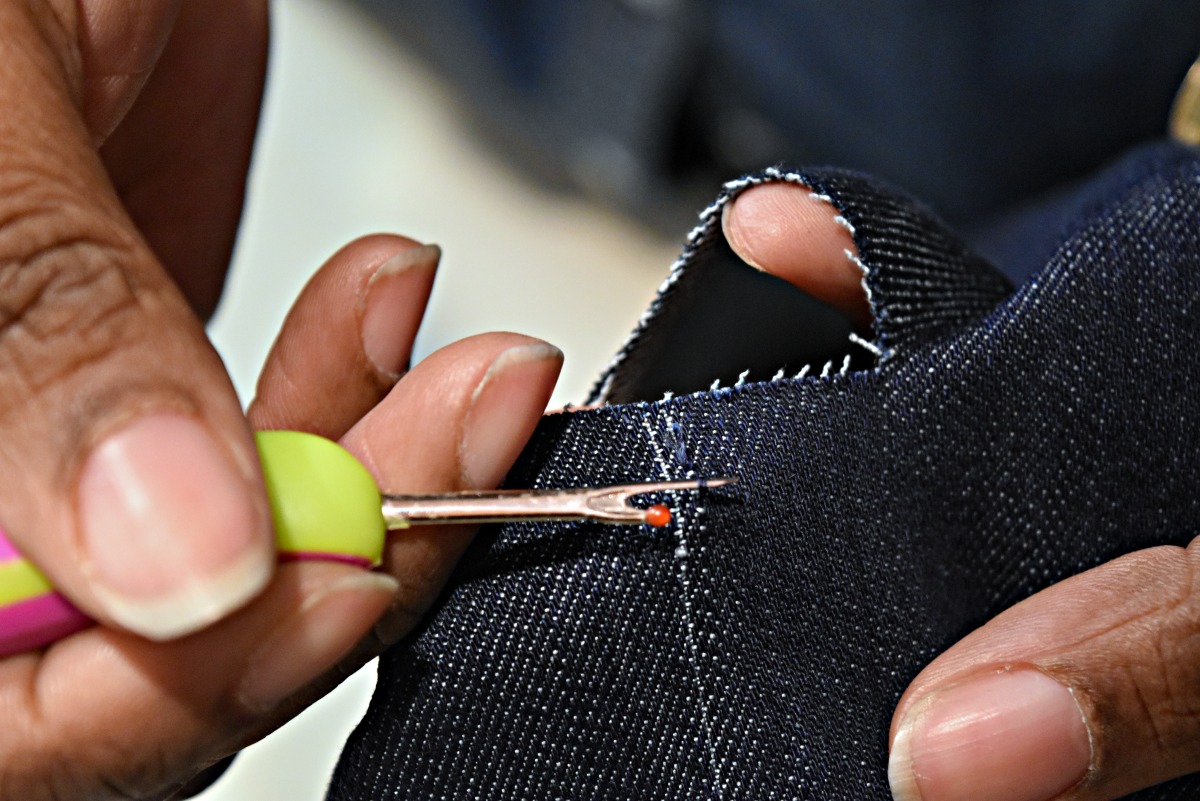
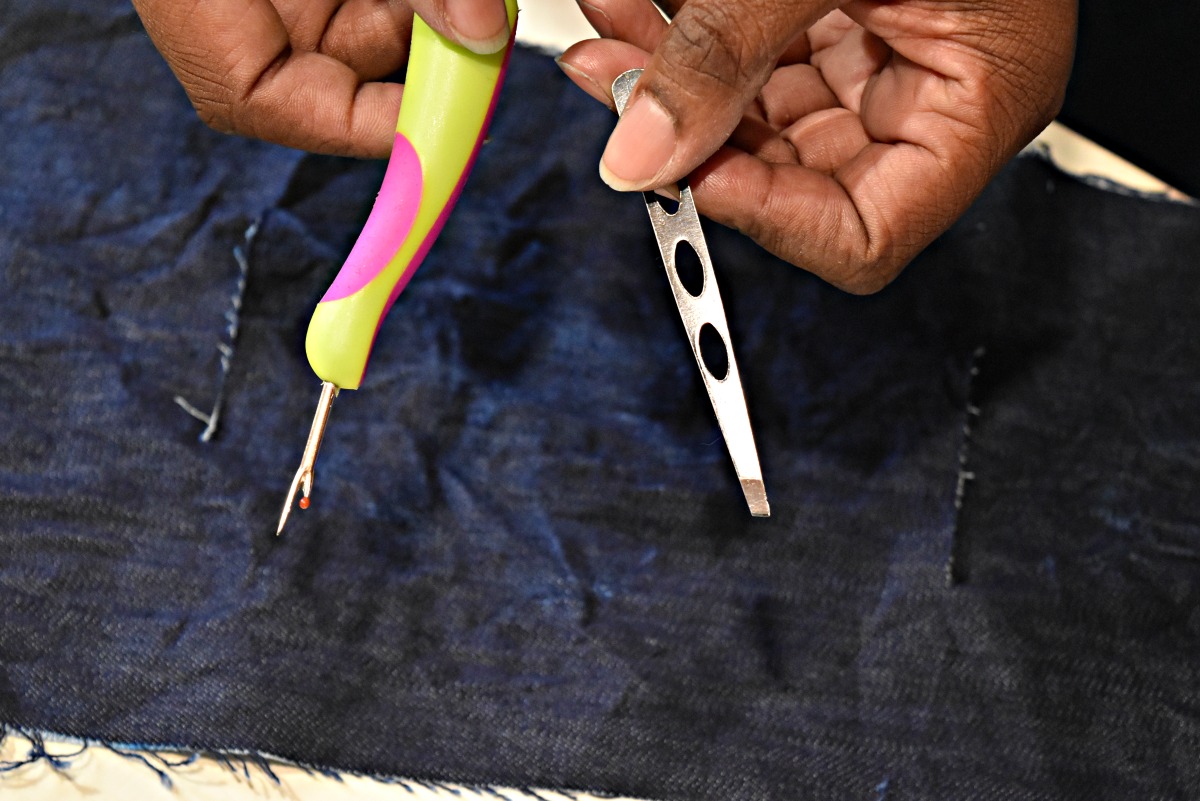
Now take your seam ripper and start picking out the fibers between your cut ends as shown.
Keep at it until you get that thread.
Now pull the thread out with your fingers or use your tweezers to pull the thread out.
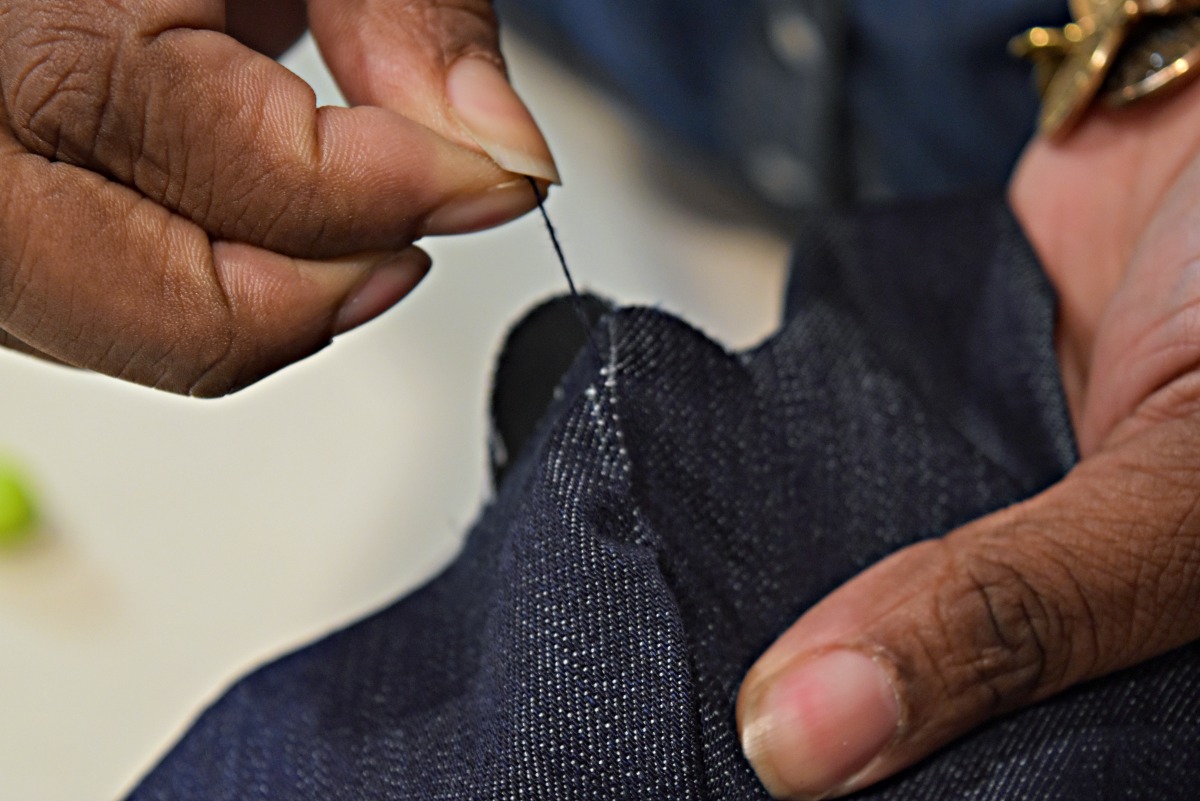
Keep pulling

Ahhh success!
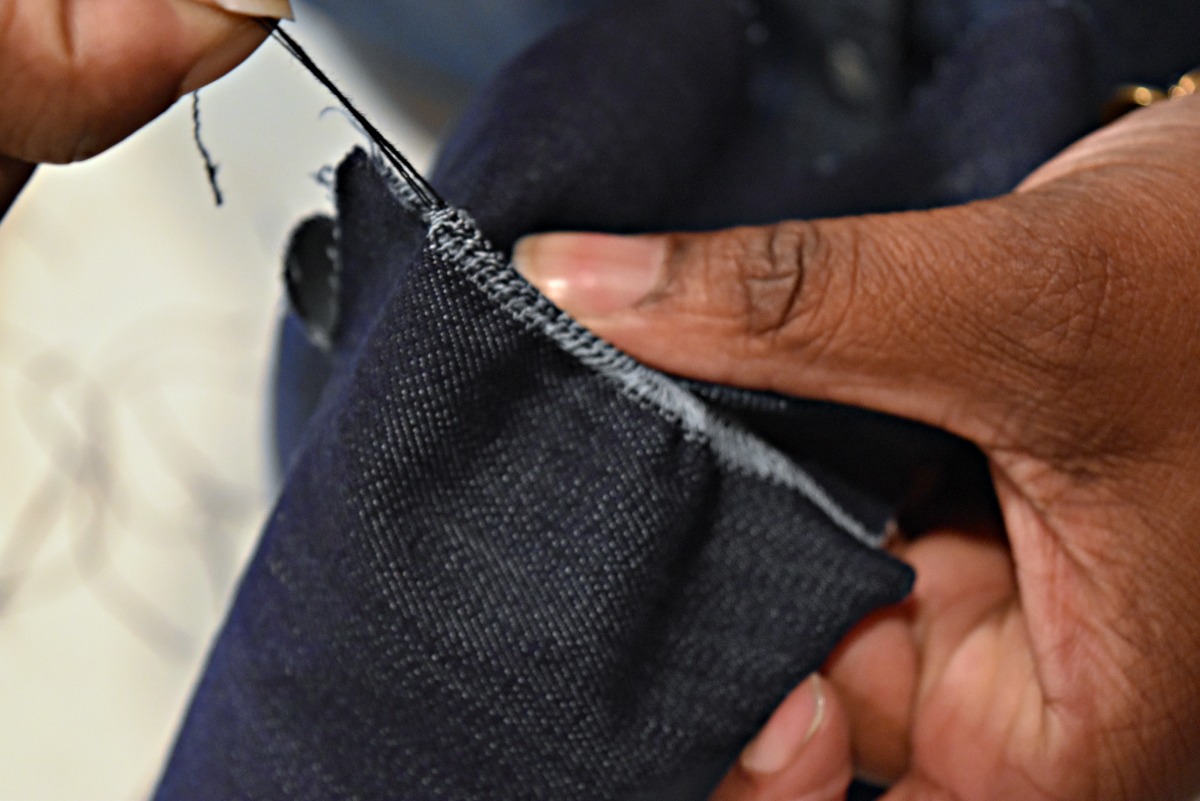
If you did not use the tweezers yet, you will want to use them now. Since you have removed a few threads to get it started, it will be easy to pull out the rest with the tweezers.
Pulled out all the threads in this area.
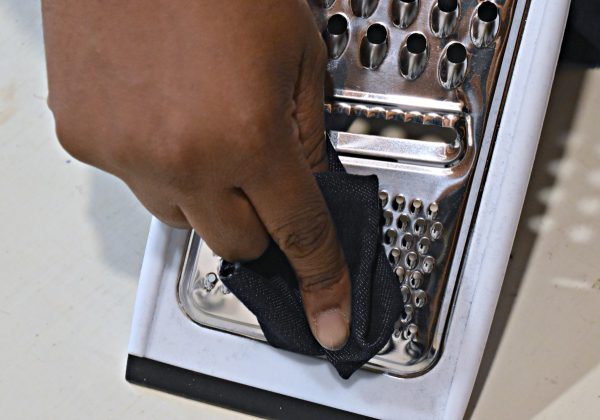
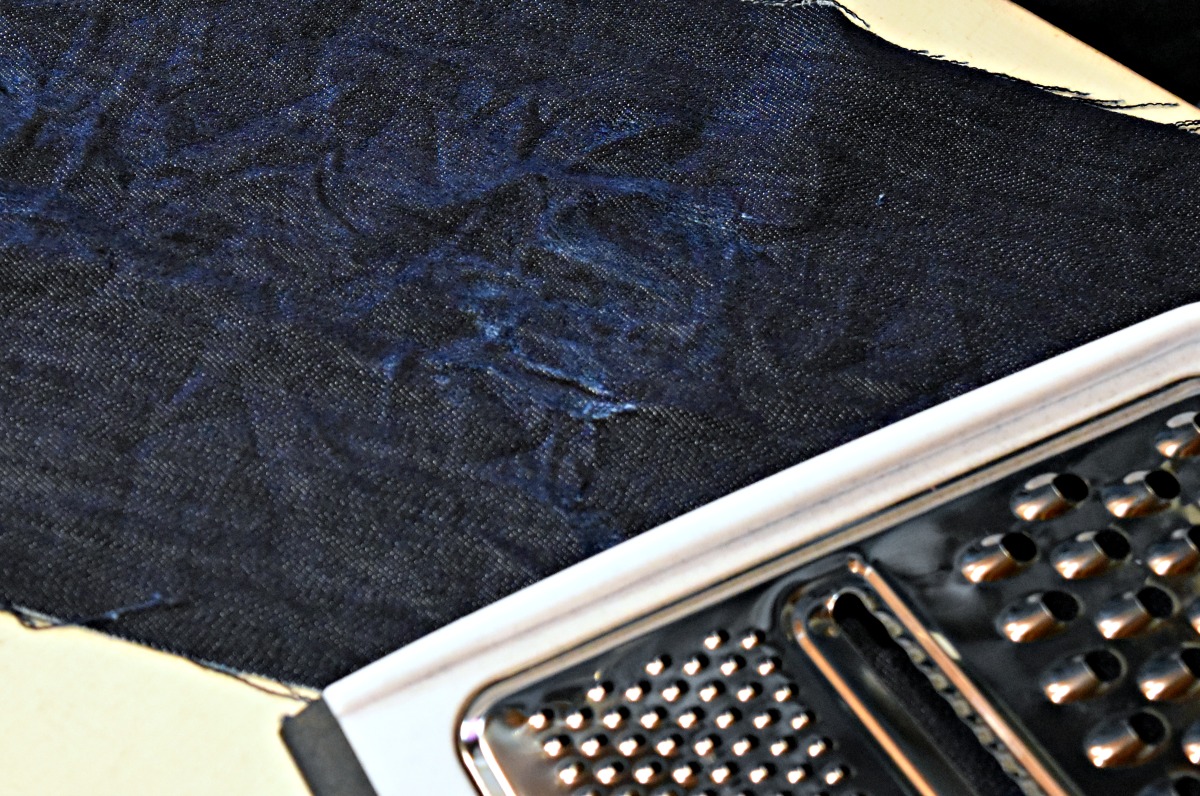
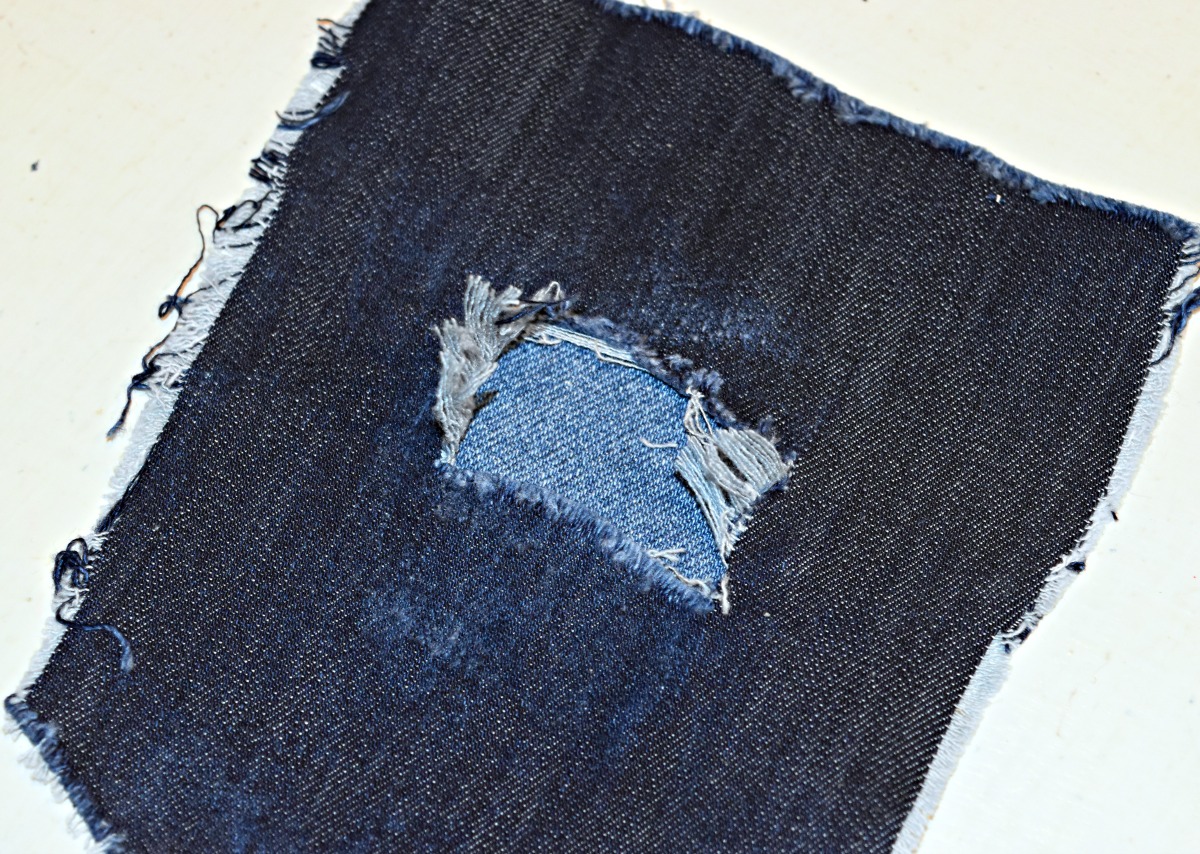
Now I am adding a little more distressing with my cheese grater. I am using the small grater and this will make the fibers on denim worn.
Here is the completed distressing for one leg.
On the other leg I started with the cheese grater on a much larger area.
Cut my work area.
Now using my seam ripper and tweezers I am going to pull out my threads as I did above.
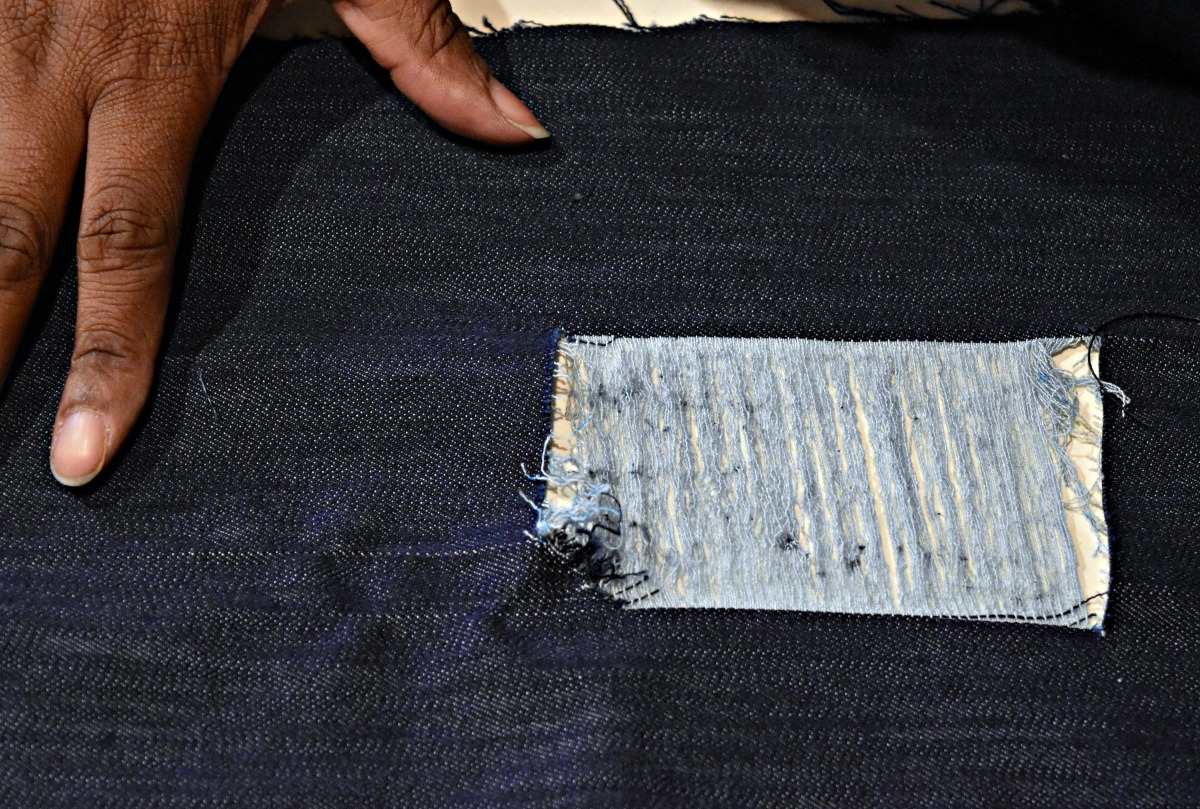
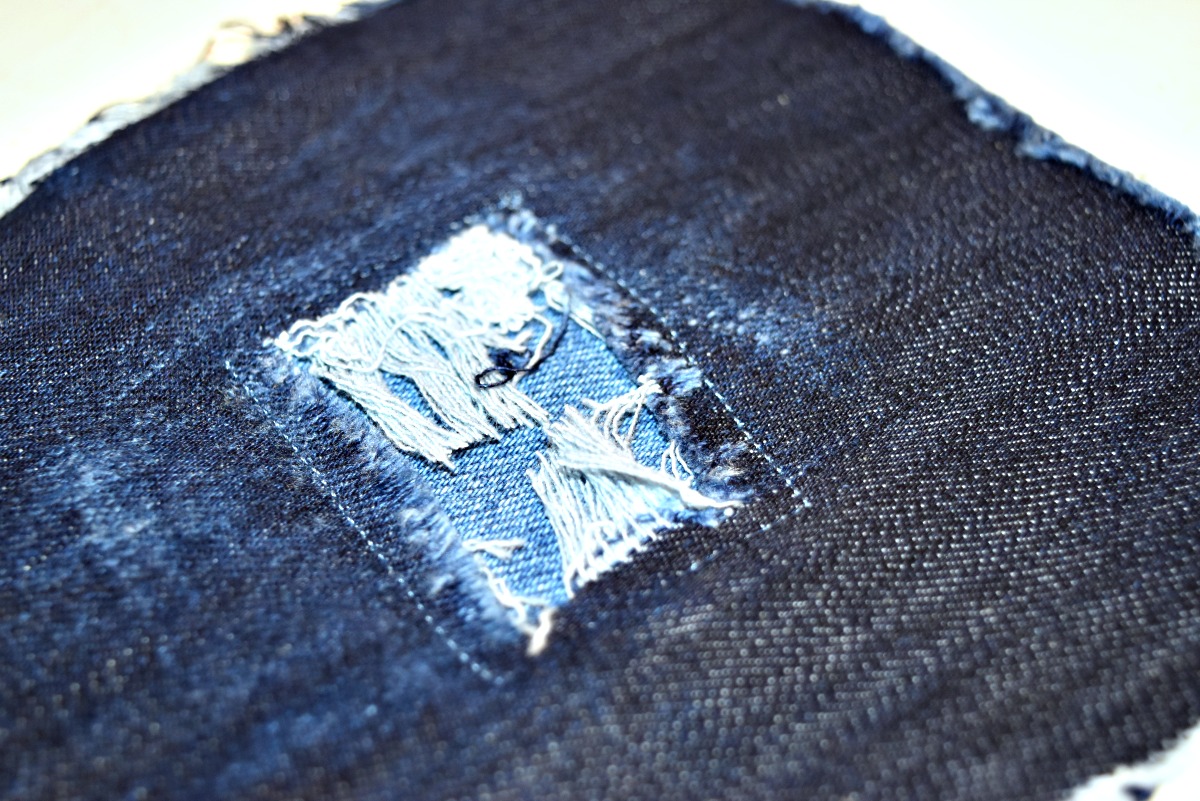
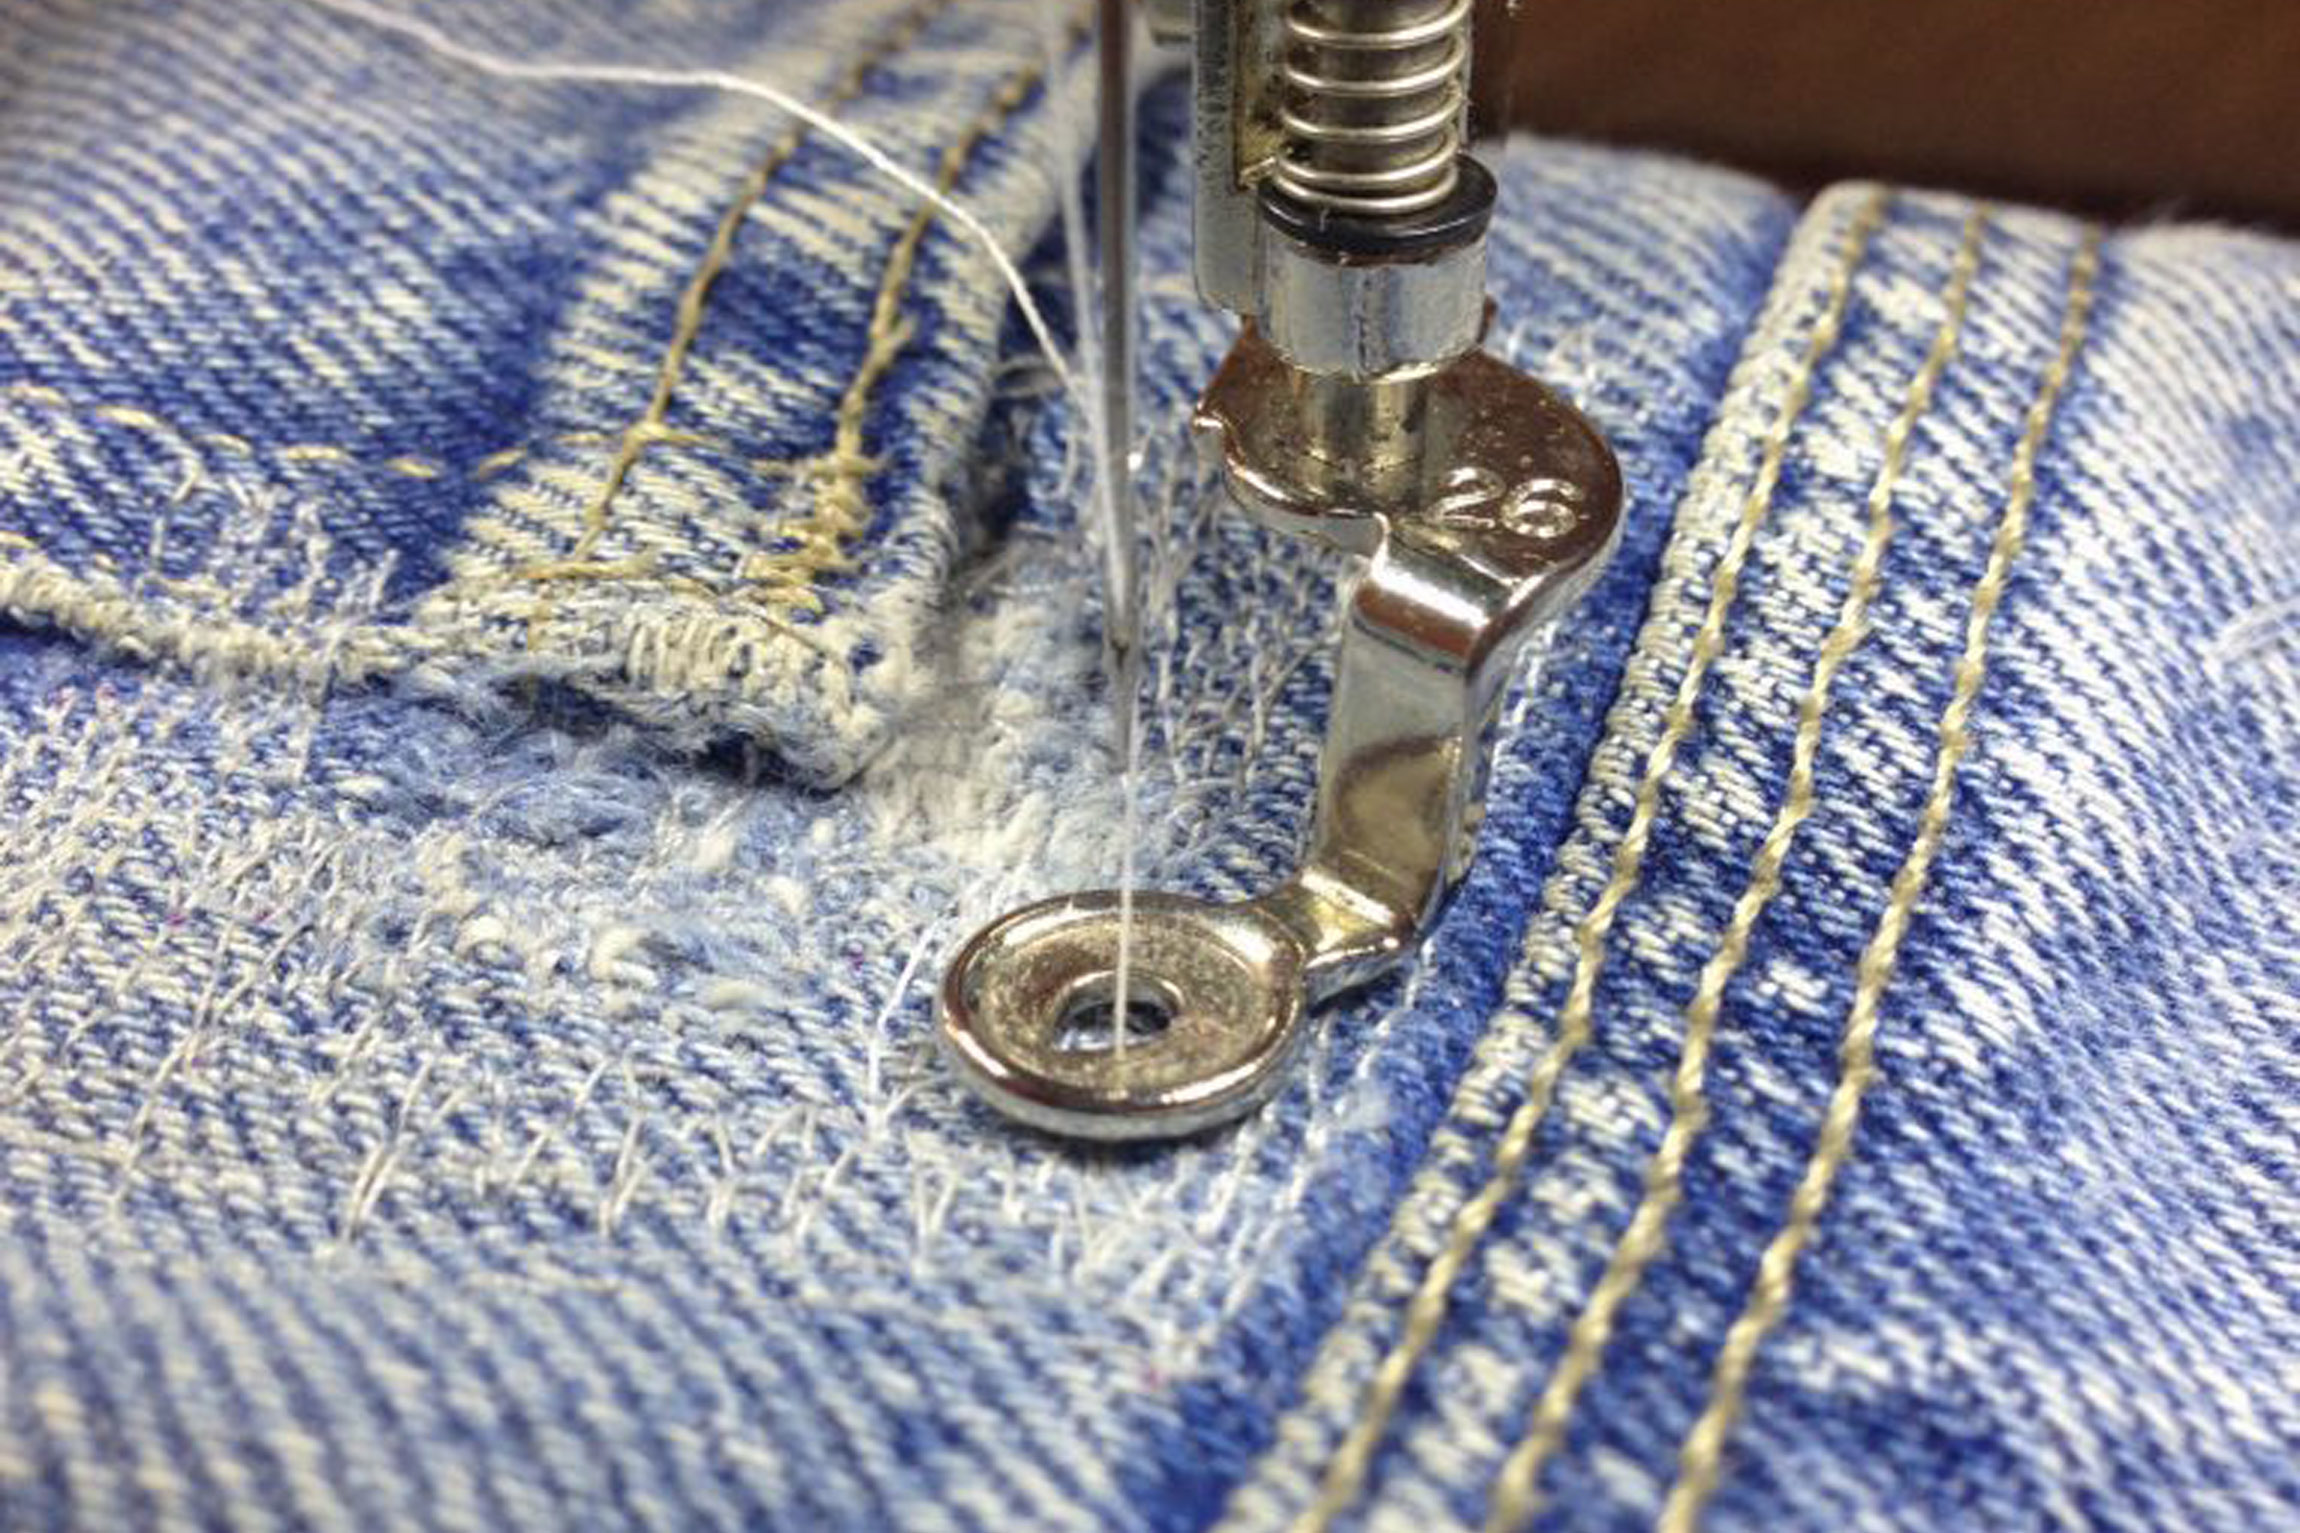
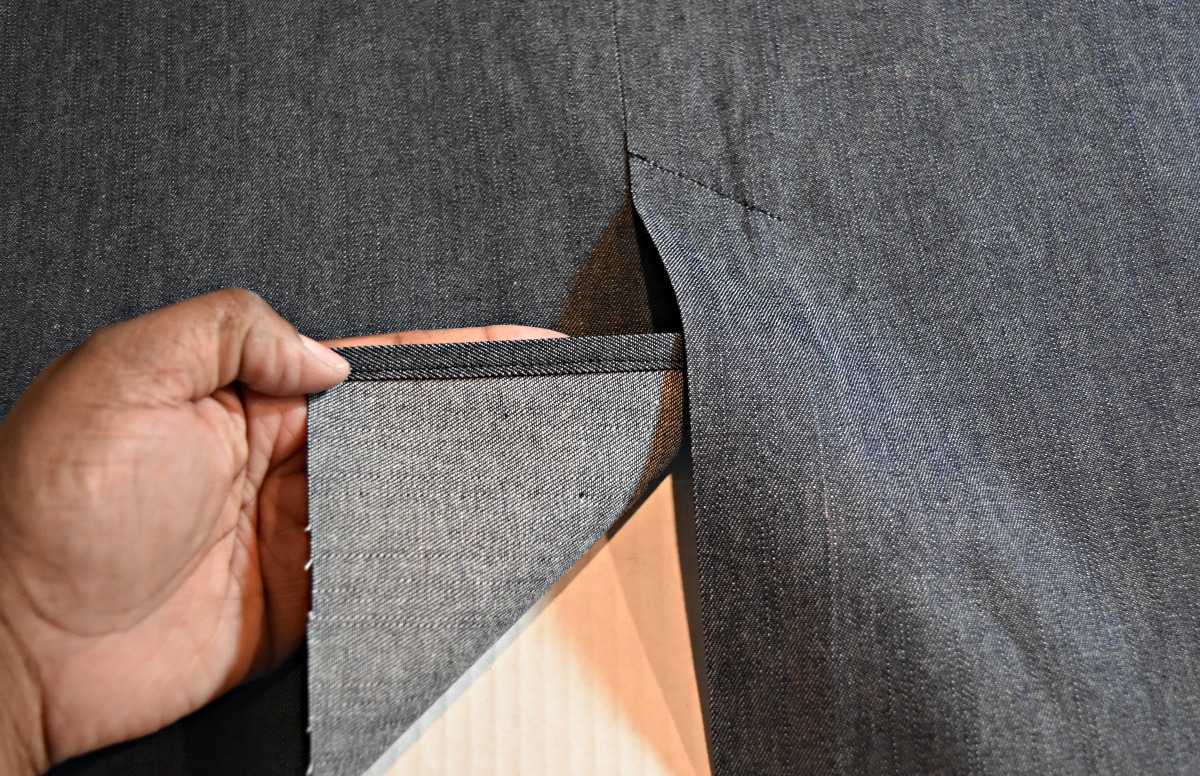
If your distressed area requires an additional piece of fabric so that your skin does not show, you will add that piece now. Add a different color denim to the back of your distressed area and pin it in place. Stitch around the distressed area making sure you are sewing the two pieces together.
Now that I have finished distressing all my denim pieces, it is time to give them a wash in the washing machine and then throw them in the dryer to complete the process. This is necessary to fray the areas that have been cut. Once you have completed these steps you will need to press your denim. This last step completes my How-to DIY distressing for denim.
Thanks for peeping my latest denim adventure. If you have never made a pair of denim jeans I implore you to give it a try. It is not as hard as you think. Be sure to stop by and checkout all my other denim projects on my blog, using search word “DENIM.” Until Next time, keep distressing & sewing! -Michelle


Yay! I have some denim overalls I’m about to sew and will definitely try some of your distressing techniques!