Laminated Drawstring Bag Tutorial
Hi there WeAllSew readers! My name is Melissa Mortenson and I’m excited to be sharing a fun sewing tutorial with you today. I blog over at PolkaDotChair.com and work as a fabric designer for Riley Blake Designs. I love to sew and create projects to share with others.
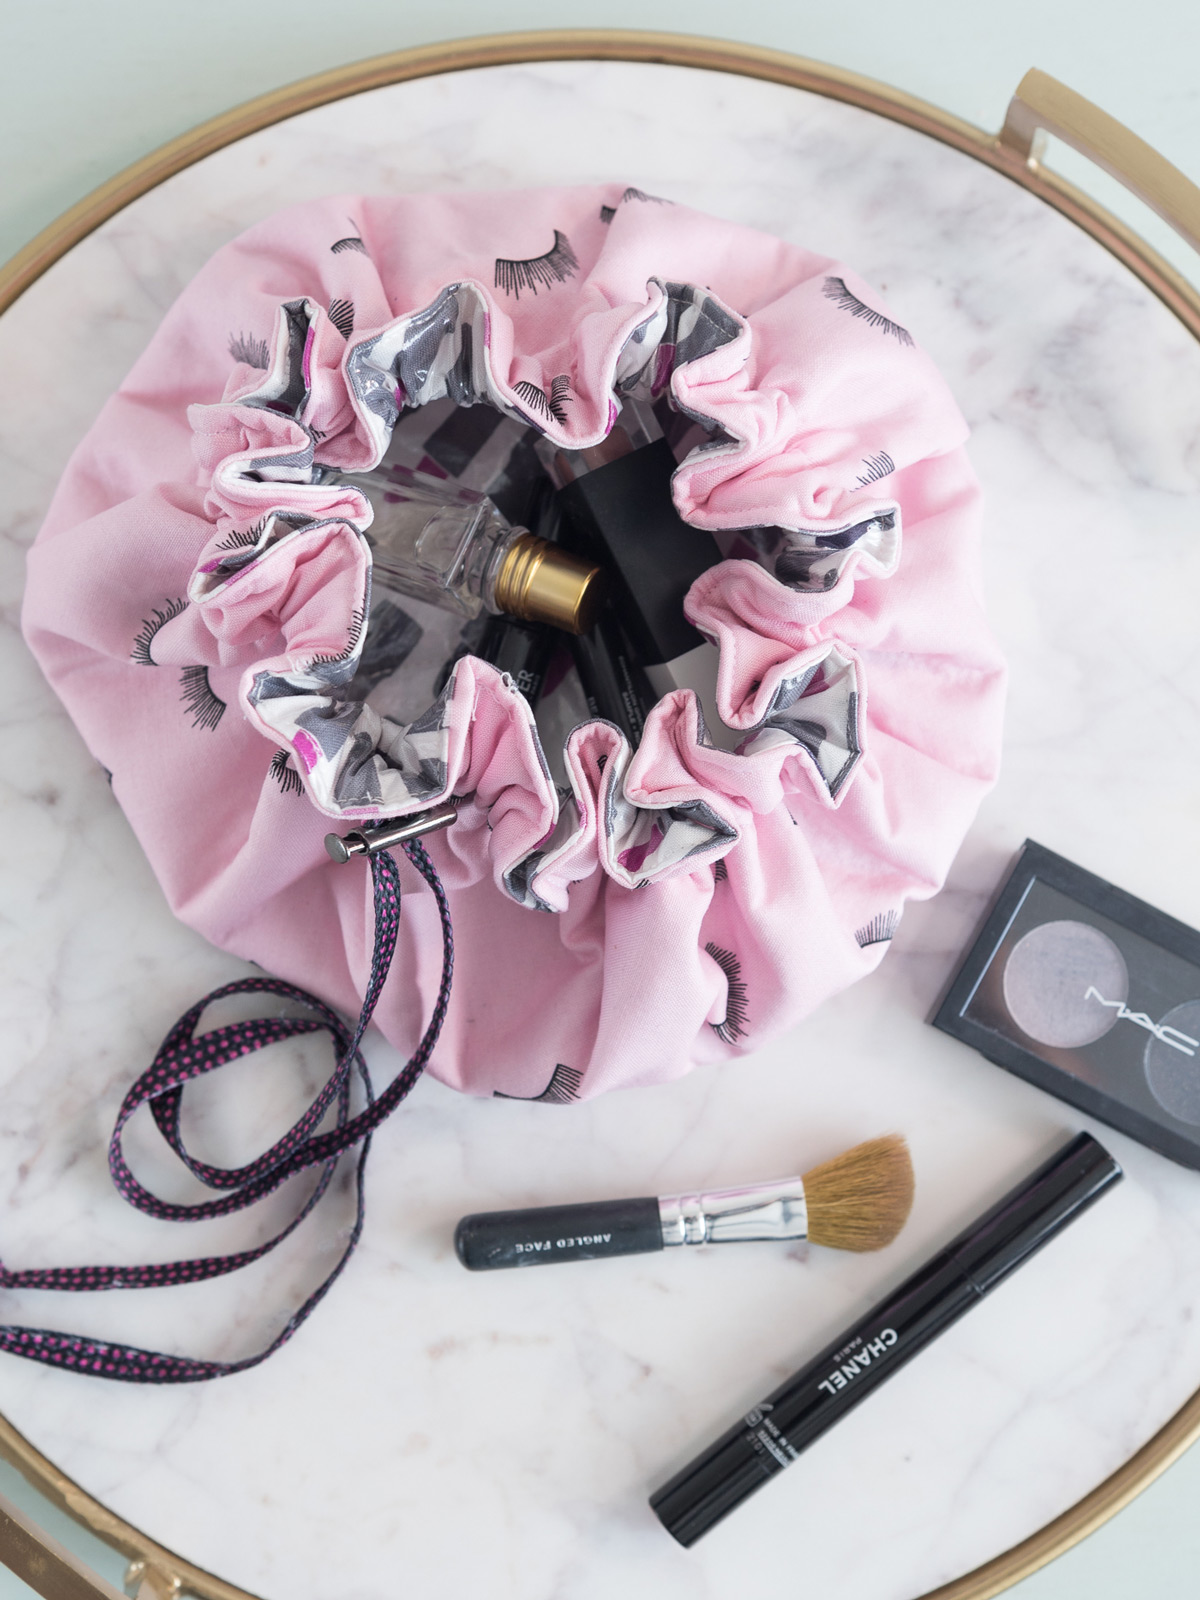
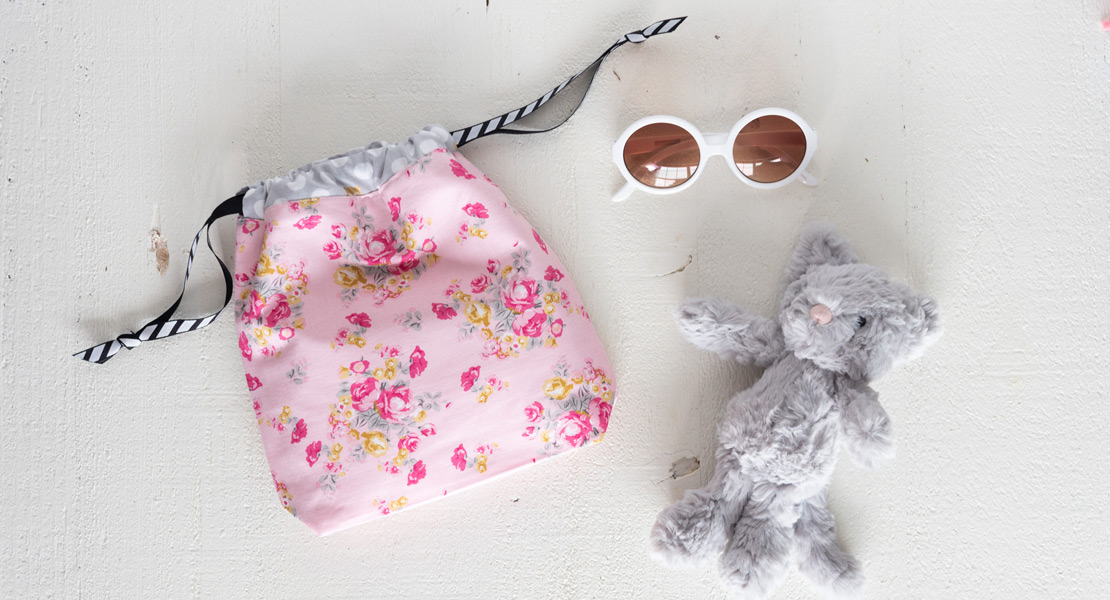
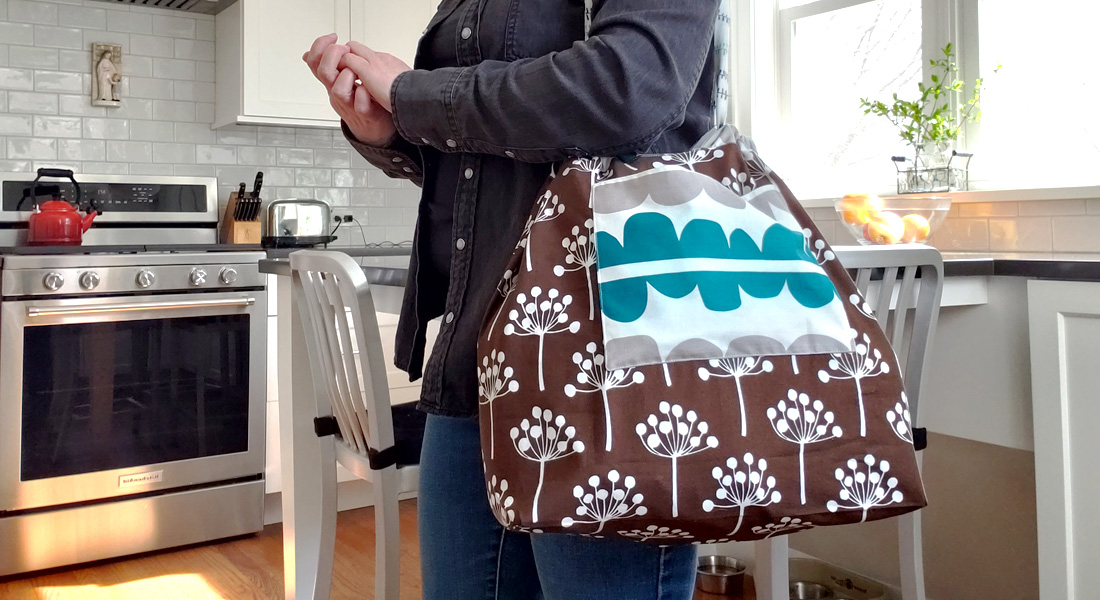
A few years ago I got a round makeup bag as a gift, and have loved it ever since. The one I have is great for travel since it can lay flat so you can see all of your makeup. Then it gathers up and closes so you can take with you.
I thought it would be fun to make a similar bag, one that I could make from cute fabrics and give as a gift to friends and family.

My makeup bag is about 18 1/2″ in diameter but you can make yours any size you’d like. It’s just a circle, so let your imagination go wild. This bag is lined with laminate fabric so you can easily wipe it clean. You can also make this bag without laminate fabric. If you do make it will laminate fabric it does make the bag a bit stiffer, and the first time you pull up the strings to gather them you’ll have to work the shape a bit.
Materials to Make a Laminated Round Bag
- 5/8 Yard Fabric for Bag Outside
- 5/8 Yard Fabric for Bag Lining
- 20″ x 20″ piece of Iron on Laminate (comes in a package at the fabric store, most is 20″ wide and comes on a roll, double check the size before you buy it)
- 20″ x 20″ piece of Fusible Fleece
- 1/2″ Wide Grommet and Grommet setting tools (usually comes in the same package as the grommet)
- 3 yards of 1/4″ wide ribbon
- A double cord stop (you can buy this in the notions area of the fabric store)
- Something to create a circle shape with. It can be a large protractor (like I used) or a pencil tied to a string. You can also use a large plate or platter that is close to the size you want.
- Non-stick presser foot
- Binding Clips
Note: you can also do this with fabric that is already laminated. If you do that, just trace your pattern piece onto a piece of tissue paper or interfacing.
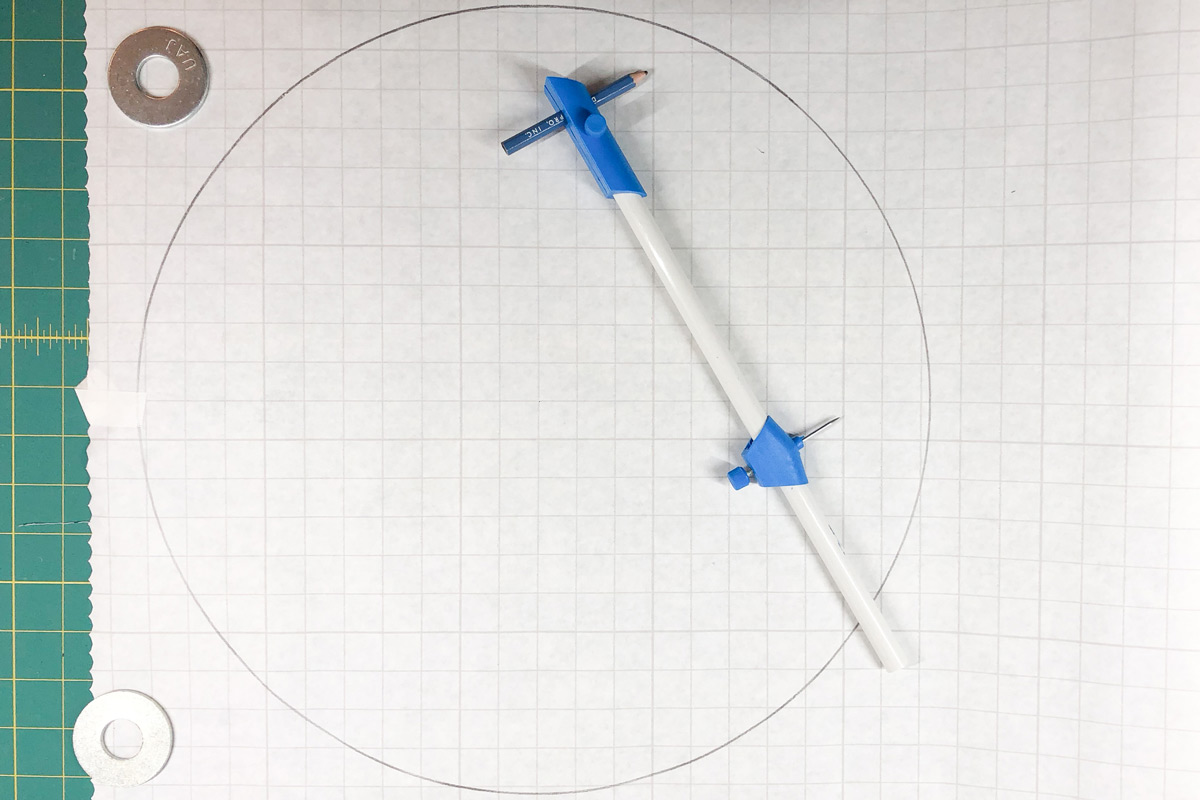
The first thing you want to do is create your pattern piece. If you are making the circle shape with a protractor, trace a large circle that is 20″ (or slightly less, since the laminate is 20″ wide) on the paper side of the iron on laminate.
Cut out the iron on laminate along the line that you drew.
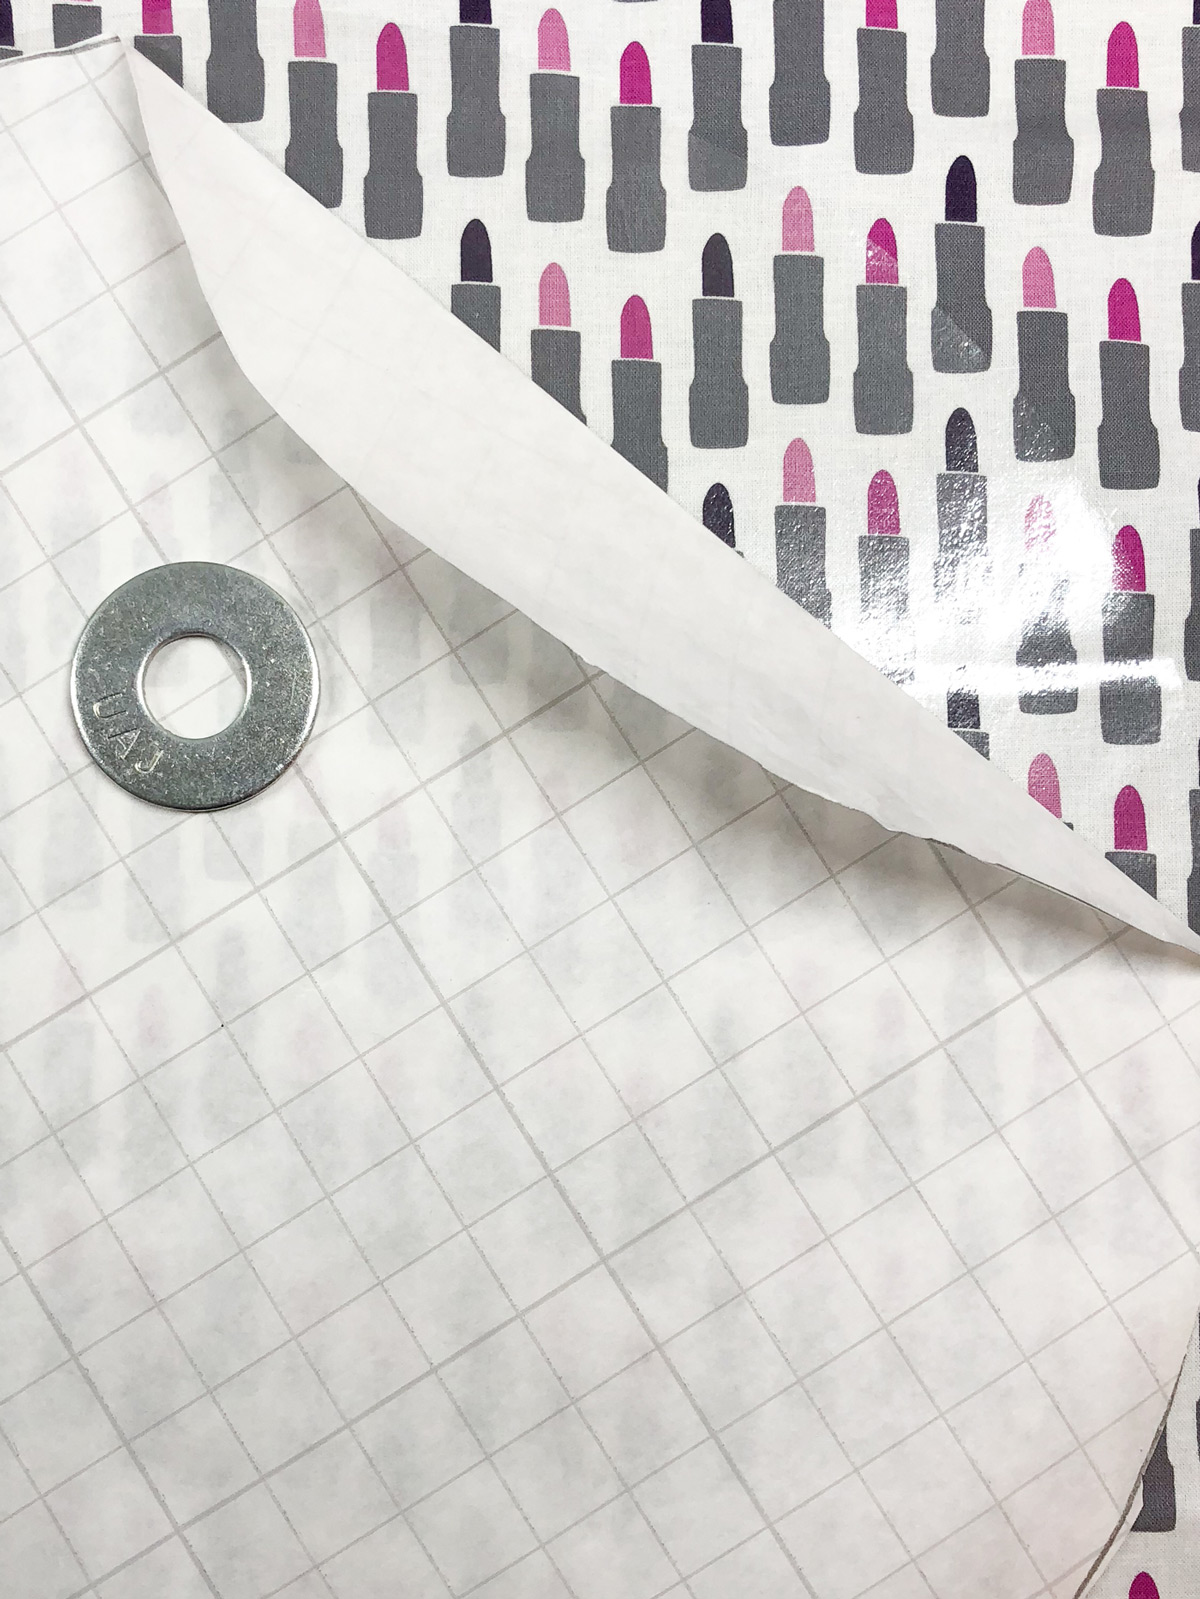
Peel away the paper backing and iron the laminate onto your bag lining fabric piece. You will iron the laminate onto the right side of the fabric. Each package of laminate has different application directions, so follow the directions on your package of laminate to do this.
Now trim your fabric piece along the edge of the laminate you just applied. You will have a large circle of laminated fabric when you are done.
Note: After you’ve applied the laminate to your fabric DO NOT touch it with an iron. The laminate will stick to your iron.
Next, take the paper left over from the laminate and cut 1 piece from your bag outside fabric and 1 piece of fusible fleece.
Press the fusible fleece onto the wrong side of the bag outside fabric according to the directions on the package.
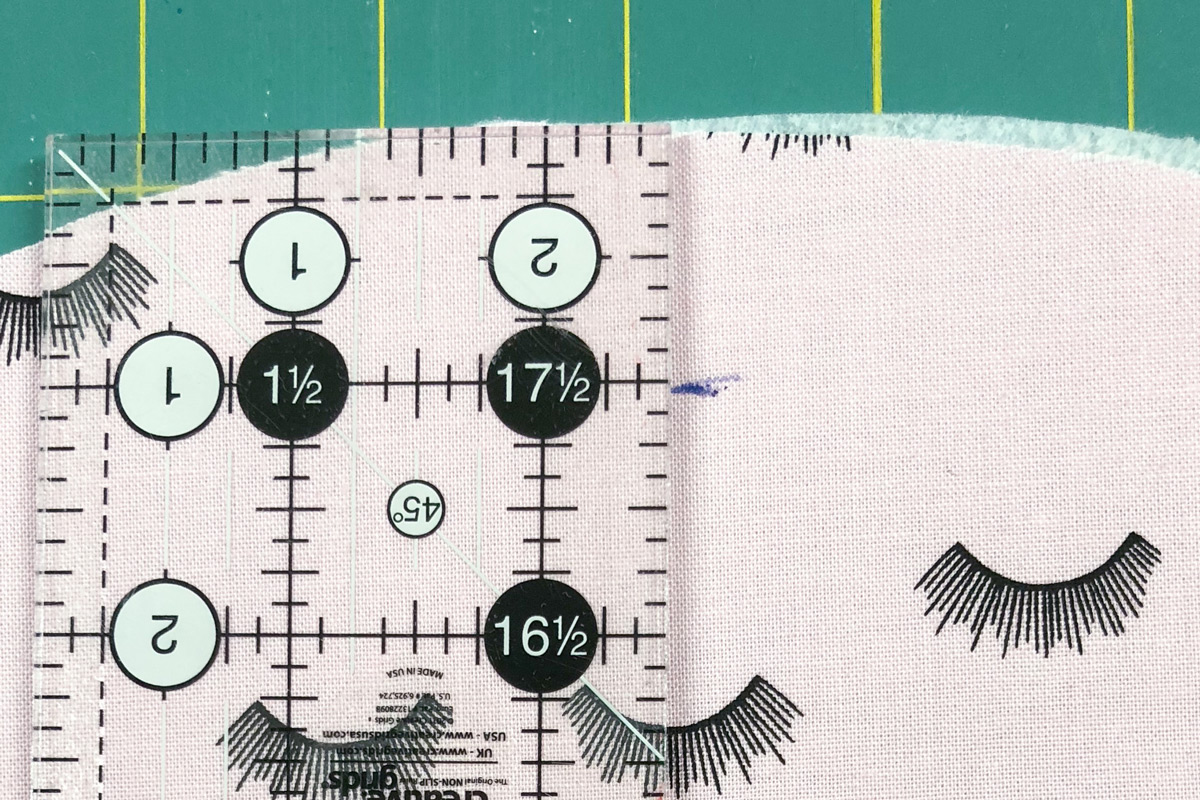
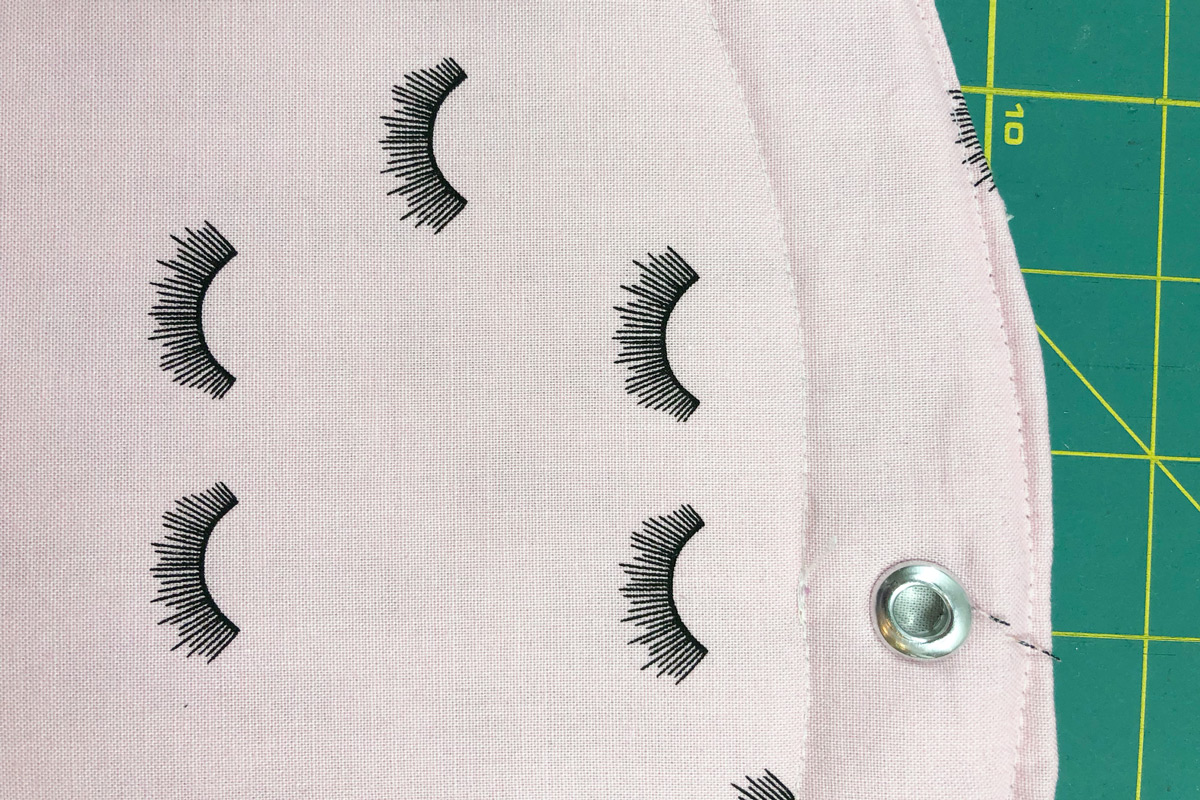
Measure down 1″ from the top edge of your bag outside piece and place a mark. Using your scissors cut a small hole where the mark is and set your grommet through that hole. The mark you made will be the top of the grommet. So the grommet will sit 1″ down from the raw edge of the fabric. Again, follow the directions on the package to set the grommet.

After you’ve set your grommet, use your binding clips to clip the bag lining and bag outside pieces together, right sides facing.

Stitch the two pieces together, stitching close to the raw edge of the fabric (about 1/8″). Leave a 3″ opening in the circle so you can turn it right side out (don’t leave the opening near the grommet).
Turn the piece right side out. Using your iron, gently press the bag piece so that it is smooth. You will want to press the FABRIC side of the bag, not the laminated side. If you do need to press the laminated side of the bag, you can use the paper left over from the iron on as a “buffer” between the laminated fabric and your iron.
When you have a nice smooth circle, switch out the foot on your sewing machine to your Non-stick foot.
With the laminate side up, top stitch around the outside of the circle. As you stitch, make sure you “catch” the opening in the bag piece as you sew to close it up.

Stitch a second line 1/2″ down from the bottom grommet. When you’re done you will have two stitching lines that go all the way around the circumference of the circle about 1 1/2″ apart.
Using a safety pin, feed your ribbon through the grommet in the “channel” you created on the bag. Keep threading it until you get back to where you started. Feed the ends of the ribbon through the cord stop and pull up on the strings to “gather” up the bag.
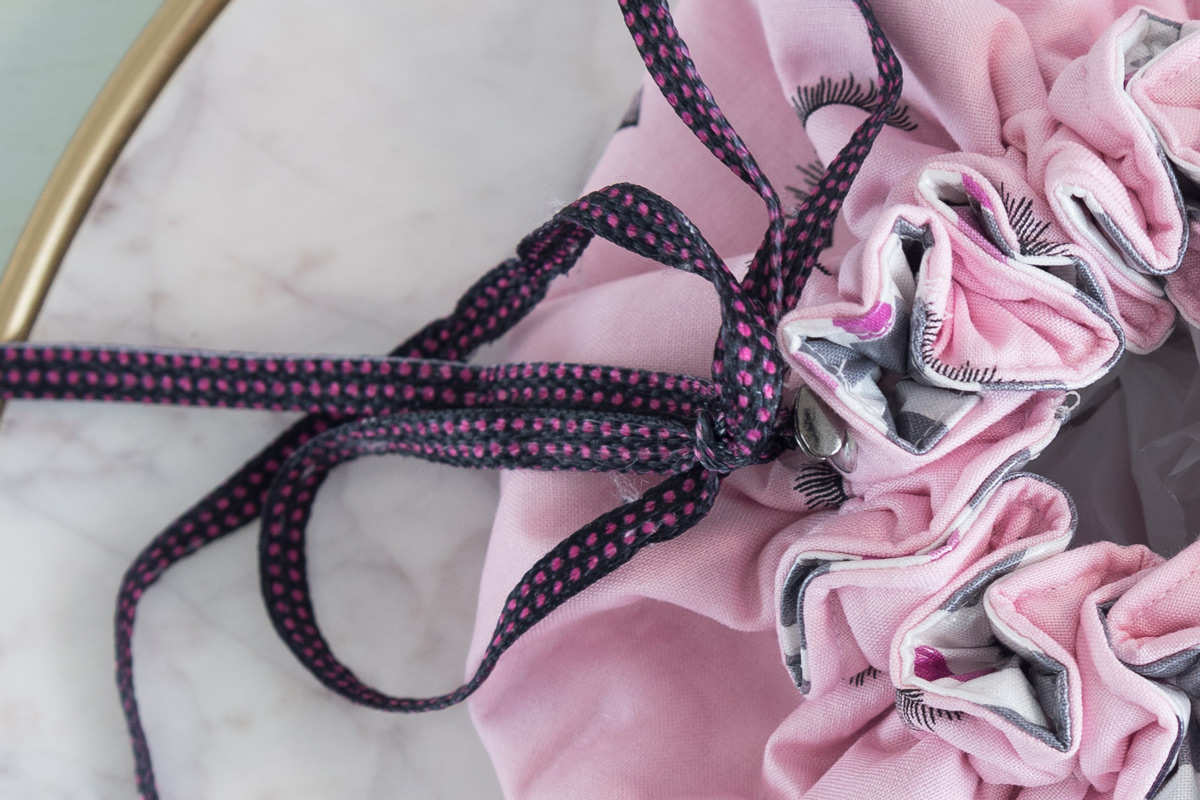
Clip the excess strings you’re done!
Used Products

What you might also like


One comment on “Laminated Drawstring Bag Tutorial”
Leave a Reply
You must be logged in to post a comment.

Hello Melissa,
These instructions are excellent! They are precisely written with clear pictures and easy to understand. I plan to make these for selling at local pop up bazaars. They will make great Christmas presents. Every girl needs this travel makeup bag. I’ll definitely keep some for myself. Thank you!