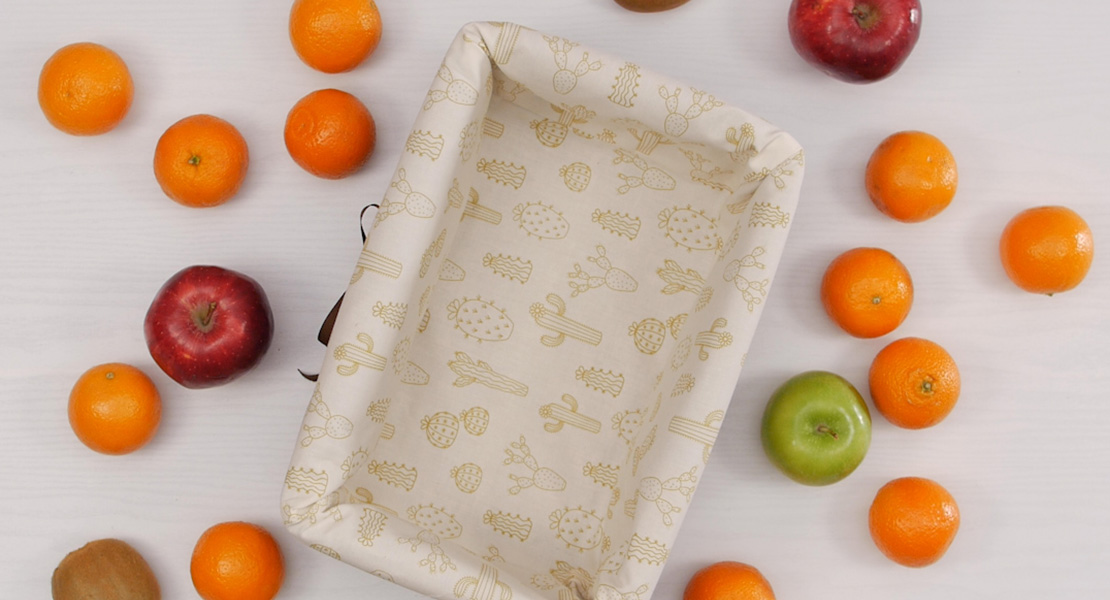
How to Create a Fabric Tzedakah Box
Tzedakah means ‘charity’ and Jewish families consider giving money for charity an obligation. It is a common practice to teach our children to think of others and to put coins into a “tzedakah” box on Sabbath or other holidays. Tzedakah boxes can be anything you want, from simple to fancy. The box itself does not matter.
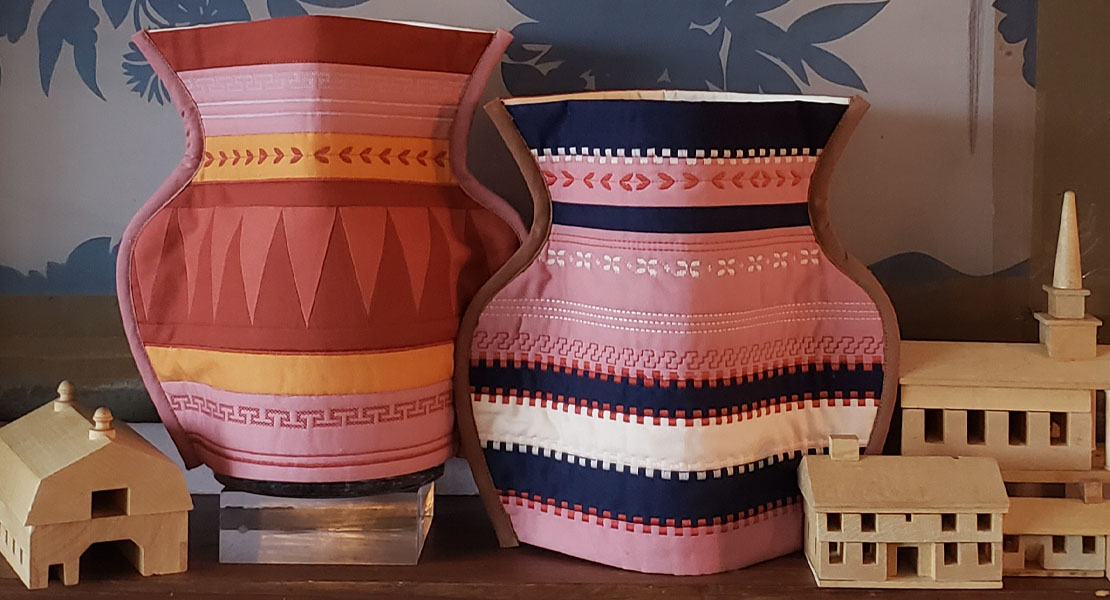
This little box can also be used simply as a savings bank if tzedakah is not your tradition or as a container for small treasures. Use a single fabric or multiple fabrics; keep it simple or go wild with embellishments—the choice is yours.
The finished four-sided box in these instructions measures 5” high and 3.5” wide on each side, but you can easily change the measurements and make the box the same way in any size you want.
I would like to thank Benartex for generously supplying many of the fabrics used in the photos of this project.
Supplies and Materials to Create a Fabric Tzedakah Box
- Fabric: ¼ yard each for the inside and outside of your box (or combination of fabrics for outside of box)
- Fast2fuse or other stiff product like timtex or peltex (it can be fusible or not)
- Fabric glue and toothpicks
- Pins
- Button for closure
- Elastic cord
- Embellishment as you wish
- BERNINA Reverse-pattern Foot #1/1D
Optional Supplies
- Buttonhole cutter
- Nonstick pad like a goddess sheet
- Quilt clips
Instructions to Create a Fabric Tzedakah Box
Cut Your Pieces
Fast2fuse: cut one piece 14 x 5 and two pieces each 3 ½” square
Inside fabric: cut one piece 14 x 5 and two pieces 3 ½” square
Outside fabric: cut one piece 15 x 6 and two pieces each 4 ½ inches square
Creating the Box Shape
Layer your outside fabric facing down, then center your fast2fuse and the inside fabric facing up
Press. This most likely will NOT fuse the outside fabric but may hold it in place a bit. Turn the edges of the outside fabric in and then over to form a finished edge on the inside fabric.
I find it helps to use a bit of fabric glue (and a toothpick) to hold securely in place—this seems like a fussy step but it keeps things nice and neat while you sew. I put straight pins in to hold the fabric once it is rolled over and then slide the toothpick with glue on it underneath.
Flip to the other side and press on the outside fabric side.
Sew 1/8” all around to secure—I use the inside edge of the opening in my standard foot as a guide.

Match the two short ends of your rectangle with the wrong sides together and sew about 1/8” seam allowance. Quilt clips help hold it together if you have them. I find it is best to start in the center and sew down one side, lock the stitching and then return to the center to sew the other side.

Fold and sew 1/8” from the edge on the opposite side. Now line up the two sewn edges so they are in the center, and sew 1/8” along the two outside edges.

Straighten it up and you have a box that is opened on the top and bottom.
Making the Top
Create Opening to Put Coins In (Optional)
On one of the fast2fuse squares, mark a diagonal line from one corner to the opposite one and then again in the other direction. This will establish your center point.
Draw a line ¾” out from either side of that point.
Now draw a line ¼” above that and ¼” below. Close the ends. You have created a rectangle that measures 1 ½” long and ½” high.

Cut this marked rectangle open. A buttonhole cutter is great for this, but a small sharp scissor will do the job.
Fuse the outside fabric to the square or use a few dabs of glue to keep it from slipping around. On the inside of the opening, mark two triangles at either end and a line down the center. Cut on these lines.
Pull these pieces to the back of the fast2fuse square and glue. Lay this onto the inside fabric and line it up to mark and cut the same opening in the inside fabric square. Here, you will pull the fabric to the back of the inside fabric square only, fold them under and glue in place.
Layer and fuse the inside fabric to the raw side of the Fast2fuse square. With everything lined up and fused, finish the edges as you did for the larger piece and sew those edges and the edges of the coin opening.
Create a Box without an Opening in the Top
Prepare the top square the same way you do the bottom and attach as below.
Attach Top to Box
Create a strip of fabric 3 ½ inches by 2”. Press in half with right side out. Press each end to the fold mark and turn in the ends. Sew the folded edges to the top of the box by placing it on top and using a thin line of glue to secure it in place so it lines up and opens and closes. Sew this to the box, starting in the center and sewing to one end and going back to the center and sewing to the other end.
For the bottom, fuse the inside fabric to your remaining square and then the outside, turning the edges under and sewing to secure. This will be hand sewn using a slip stitch to hold it to the bottom of the box. It is simply too small to easily get into the sewing machine. I find putting my non-sewing hand inside the box while I sew allows me to keep it straight and square while working.
Finishing
Hand sew your button to the center of your box in the front (the front is opposite the edge where you sewed your top to the box).
Cut a strip of elastic cord and wrap it around the button, pulling the ends up so they come together at the top. This will allow you to figure out how long to cut the elastic. Knot the two ends and sew it onto the underside of the box top with your machine and a straight stitch.

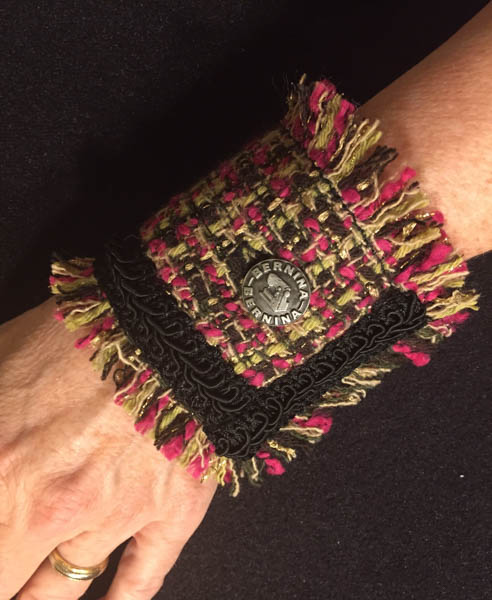
Embellished Box
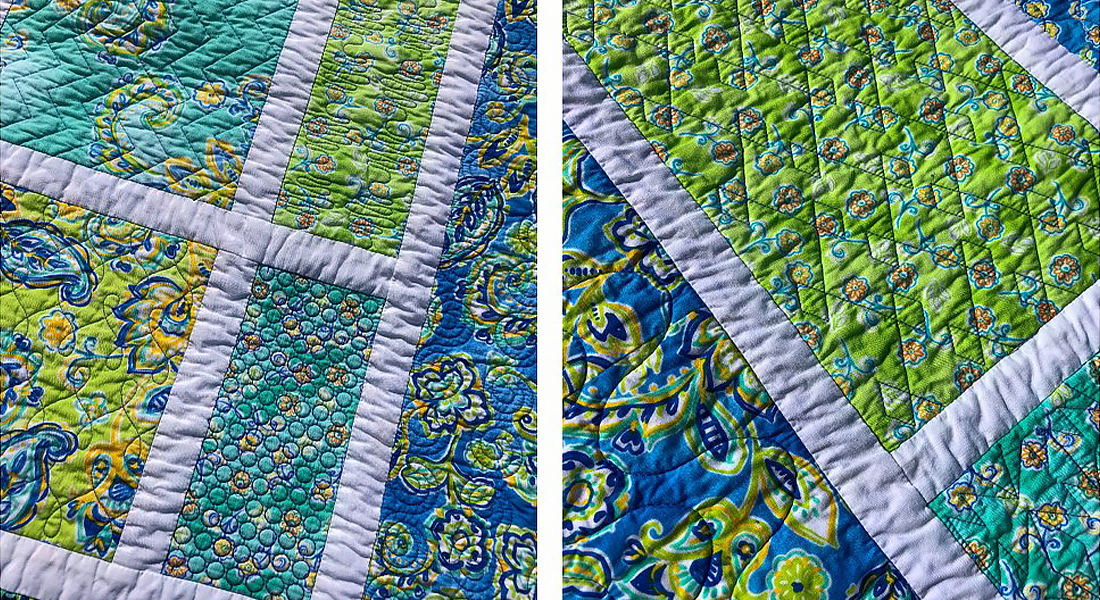
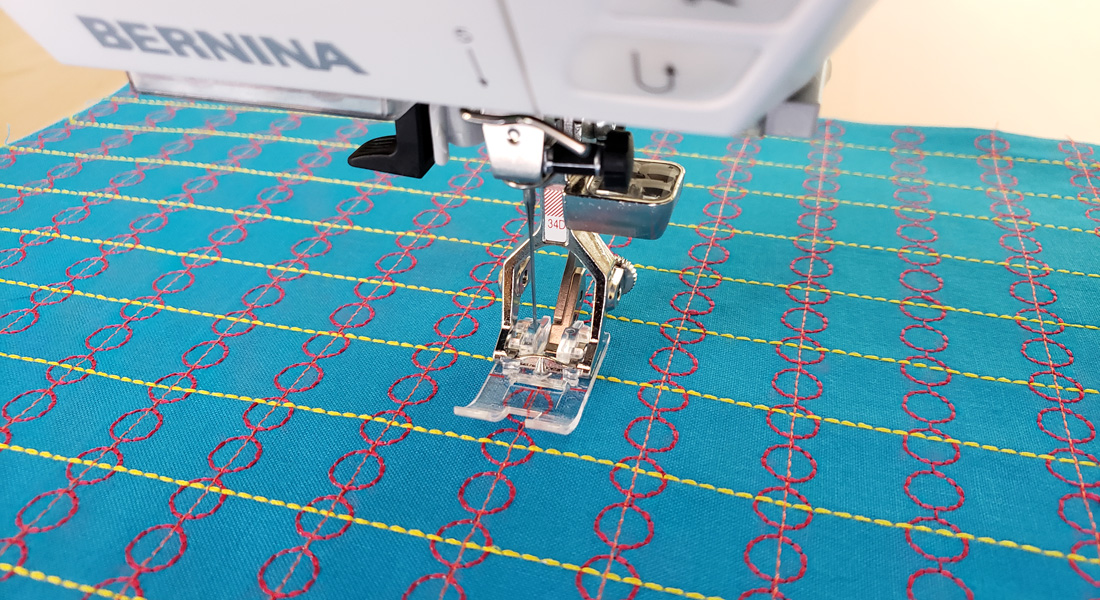
The construction of the box is the same if you want to make it more elaborate, except for the outside fabric of the main box piece. Here I have sewn lots of pieces together and added some fancy stitches on my machine. I decided it was easiest to turn in the short ends as I did before, but for the long ends, I added a binding strip to each side. This strip was straight of grain, cut 1 ½” and folded with right sides out, the way you would create a binding strip for a quilt.
Finish the box in the same way, and add any embellishments.