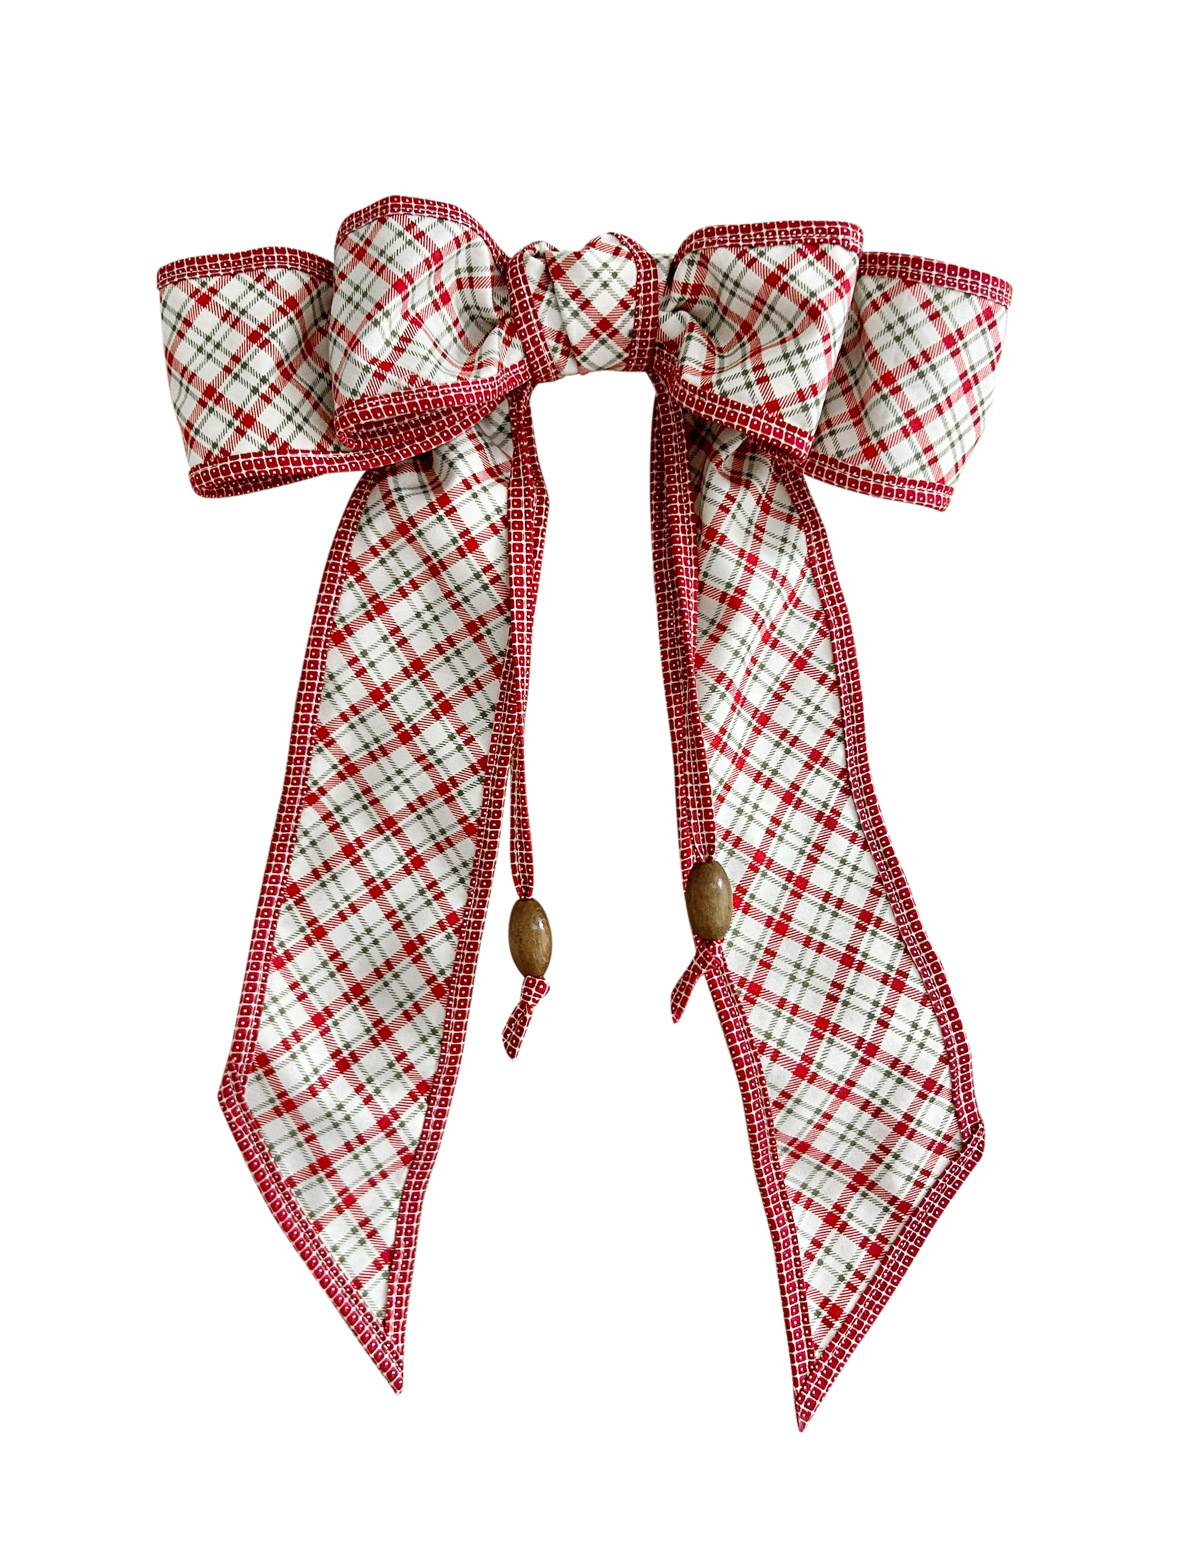
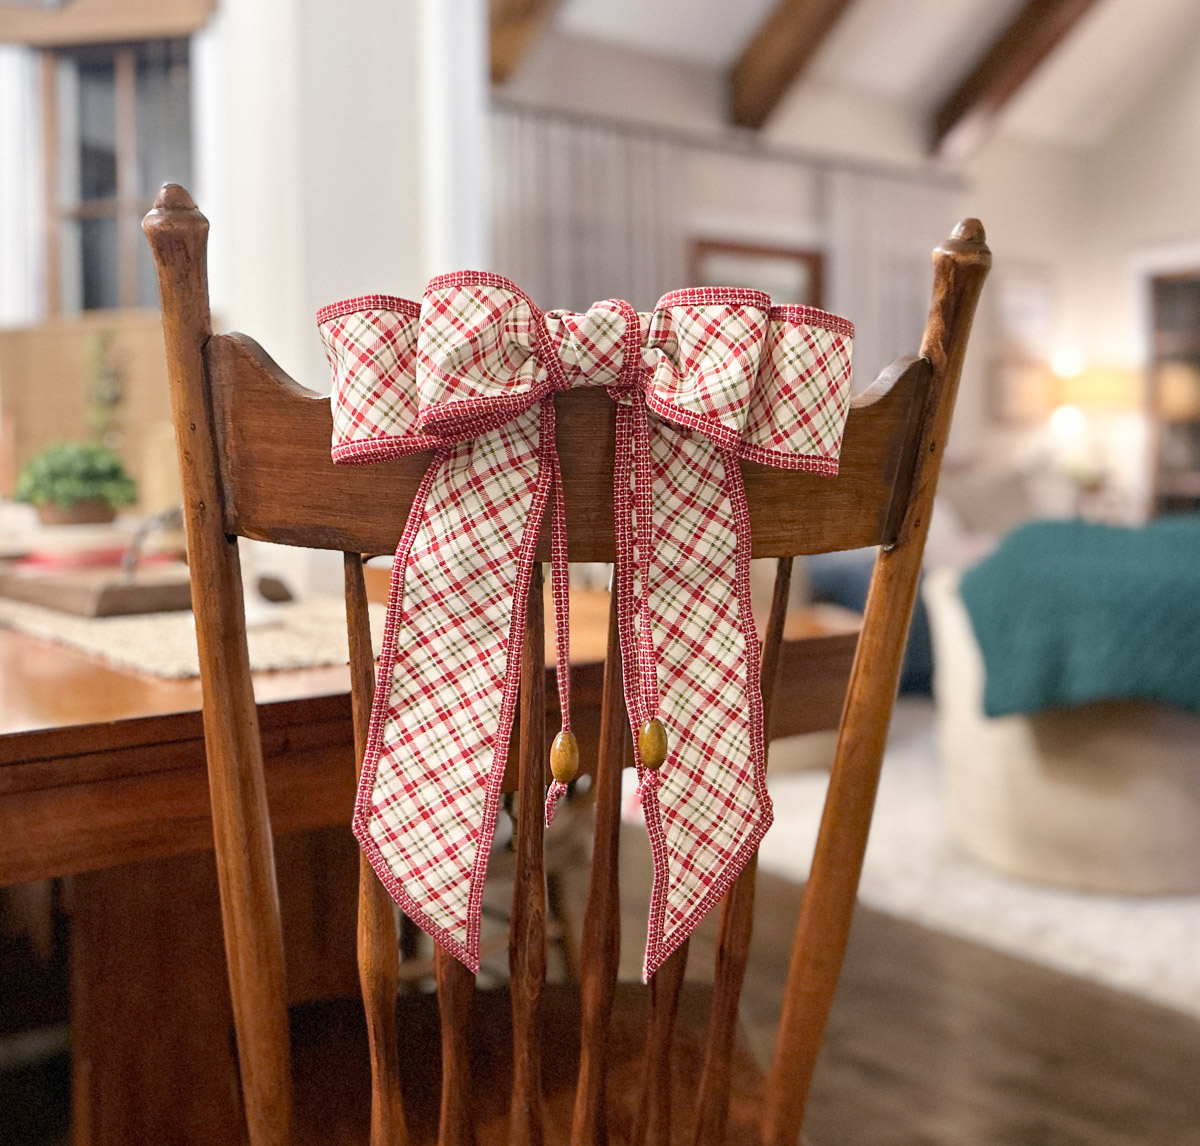
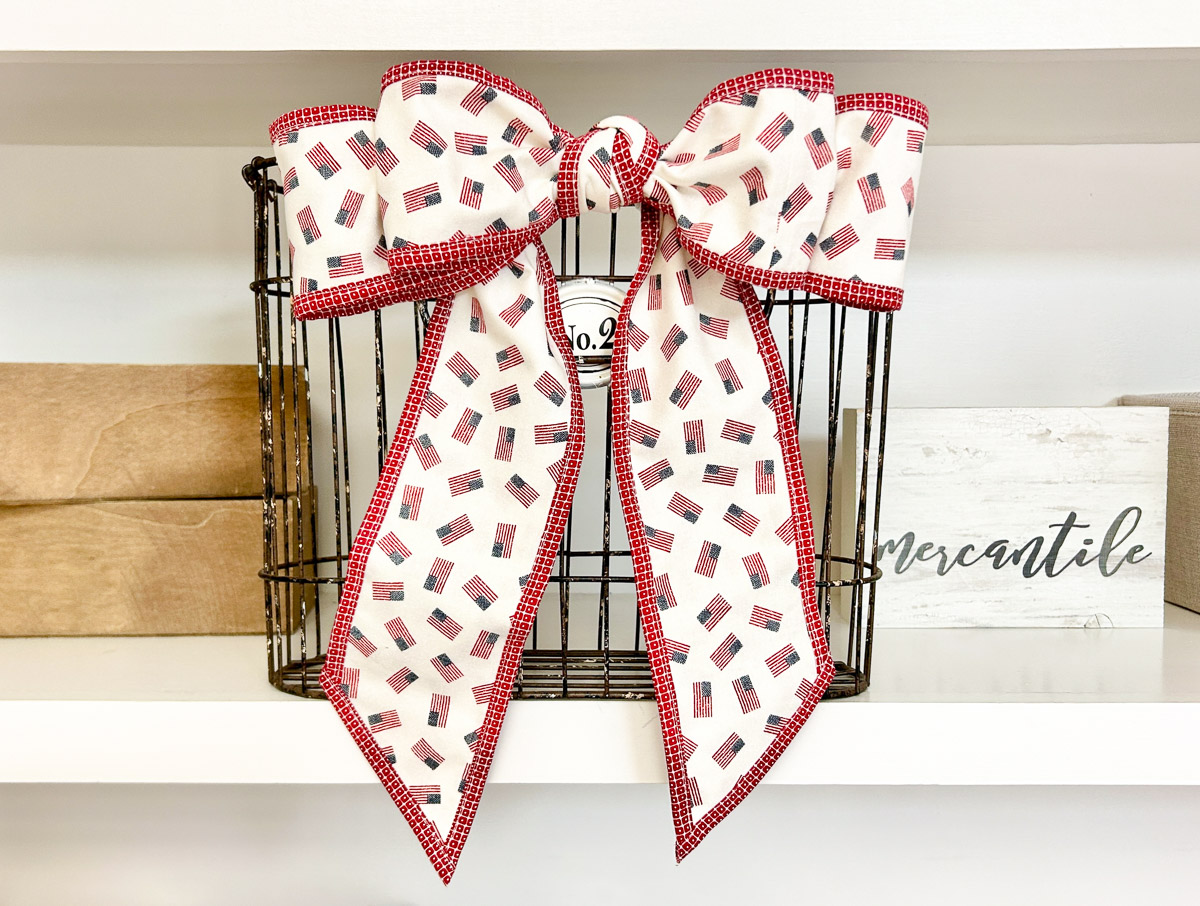
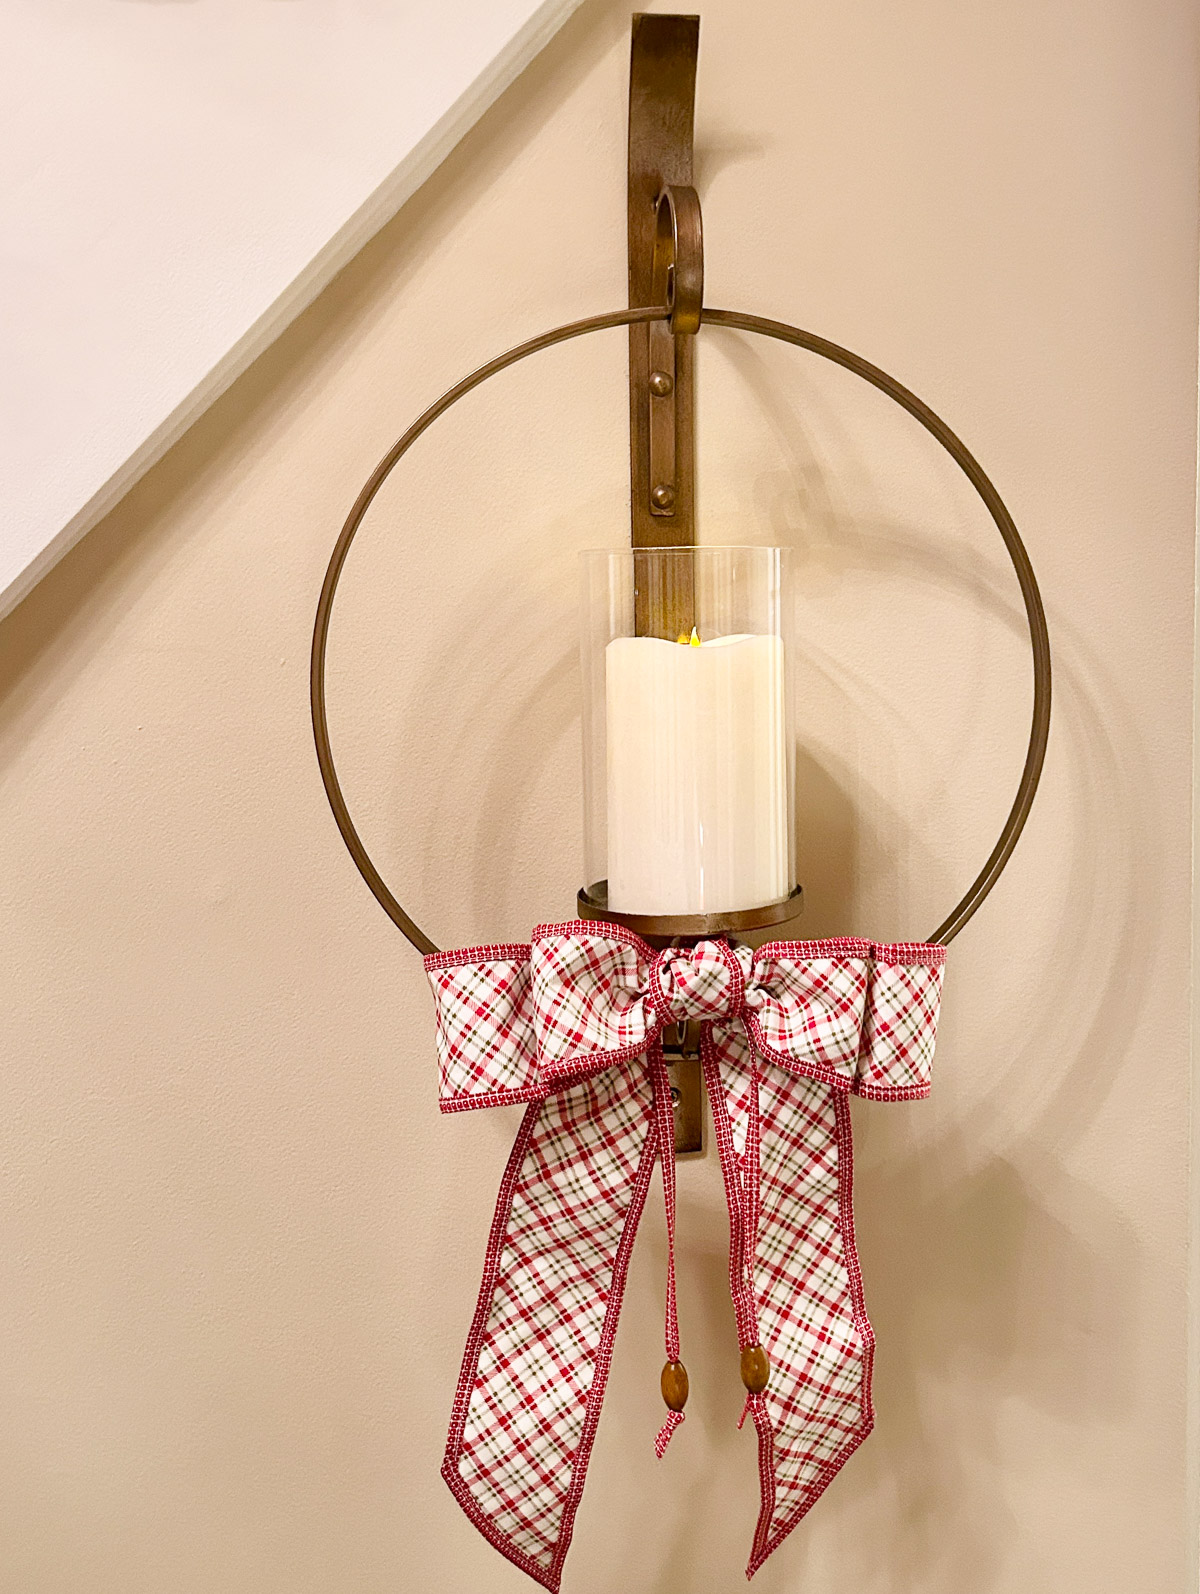
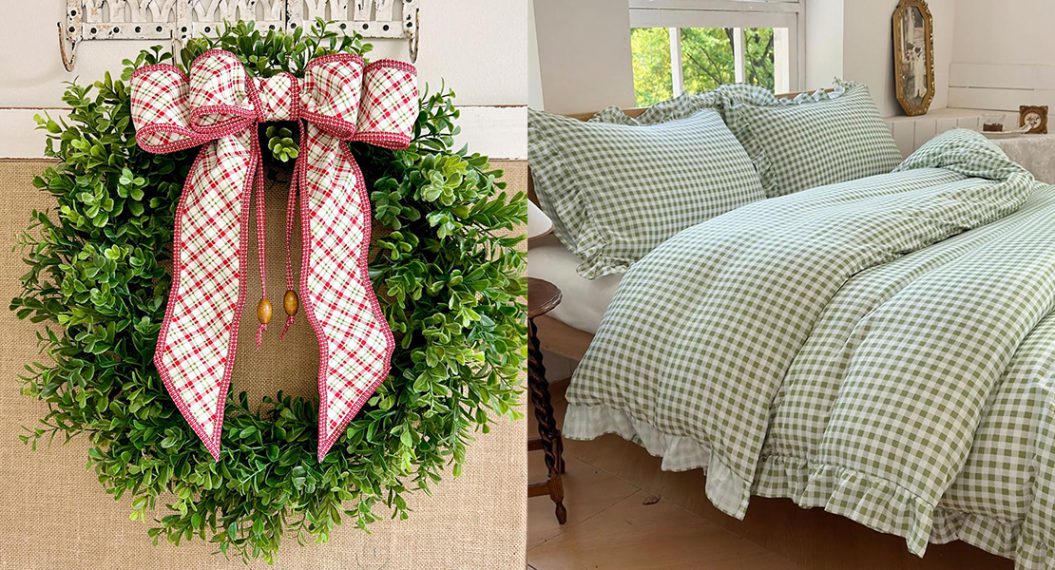
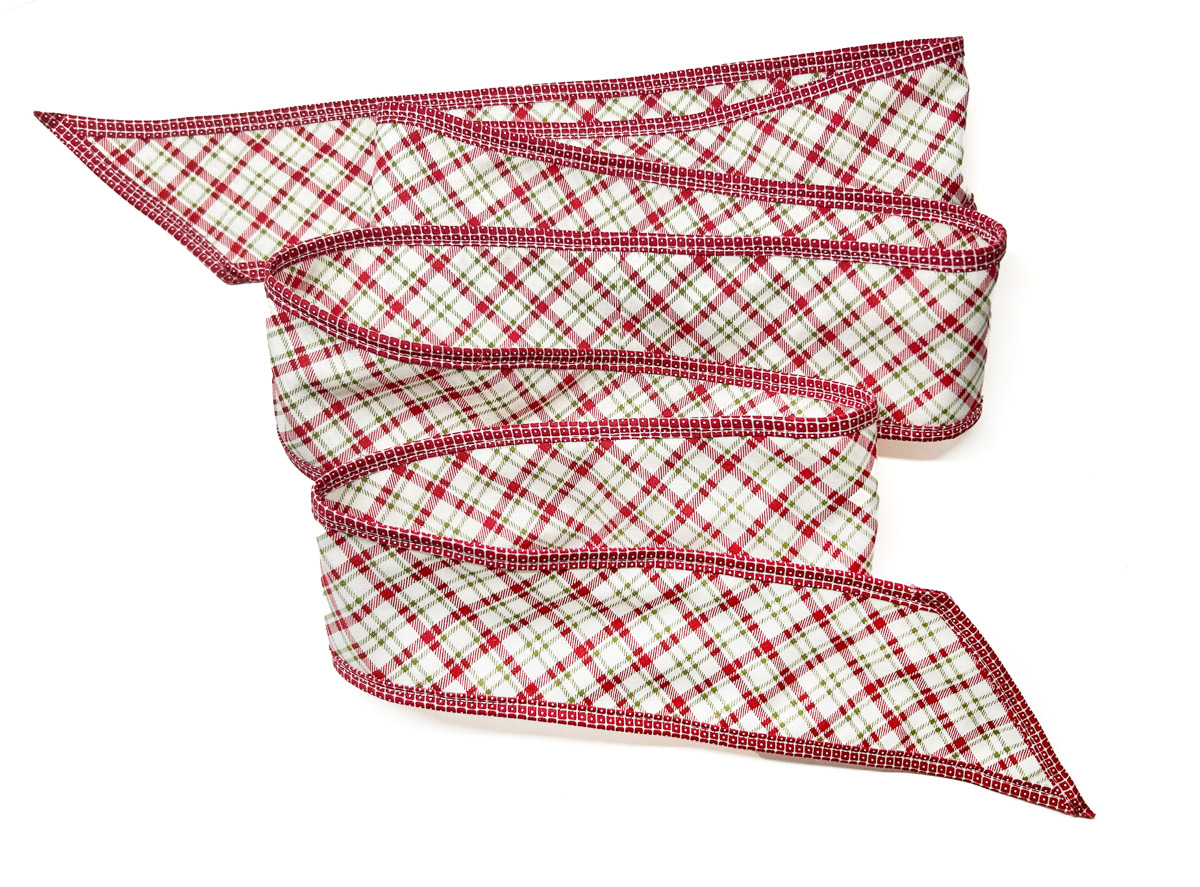
Make a Wreath Bow with Fabric and Wire
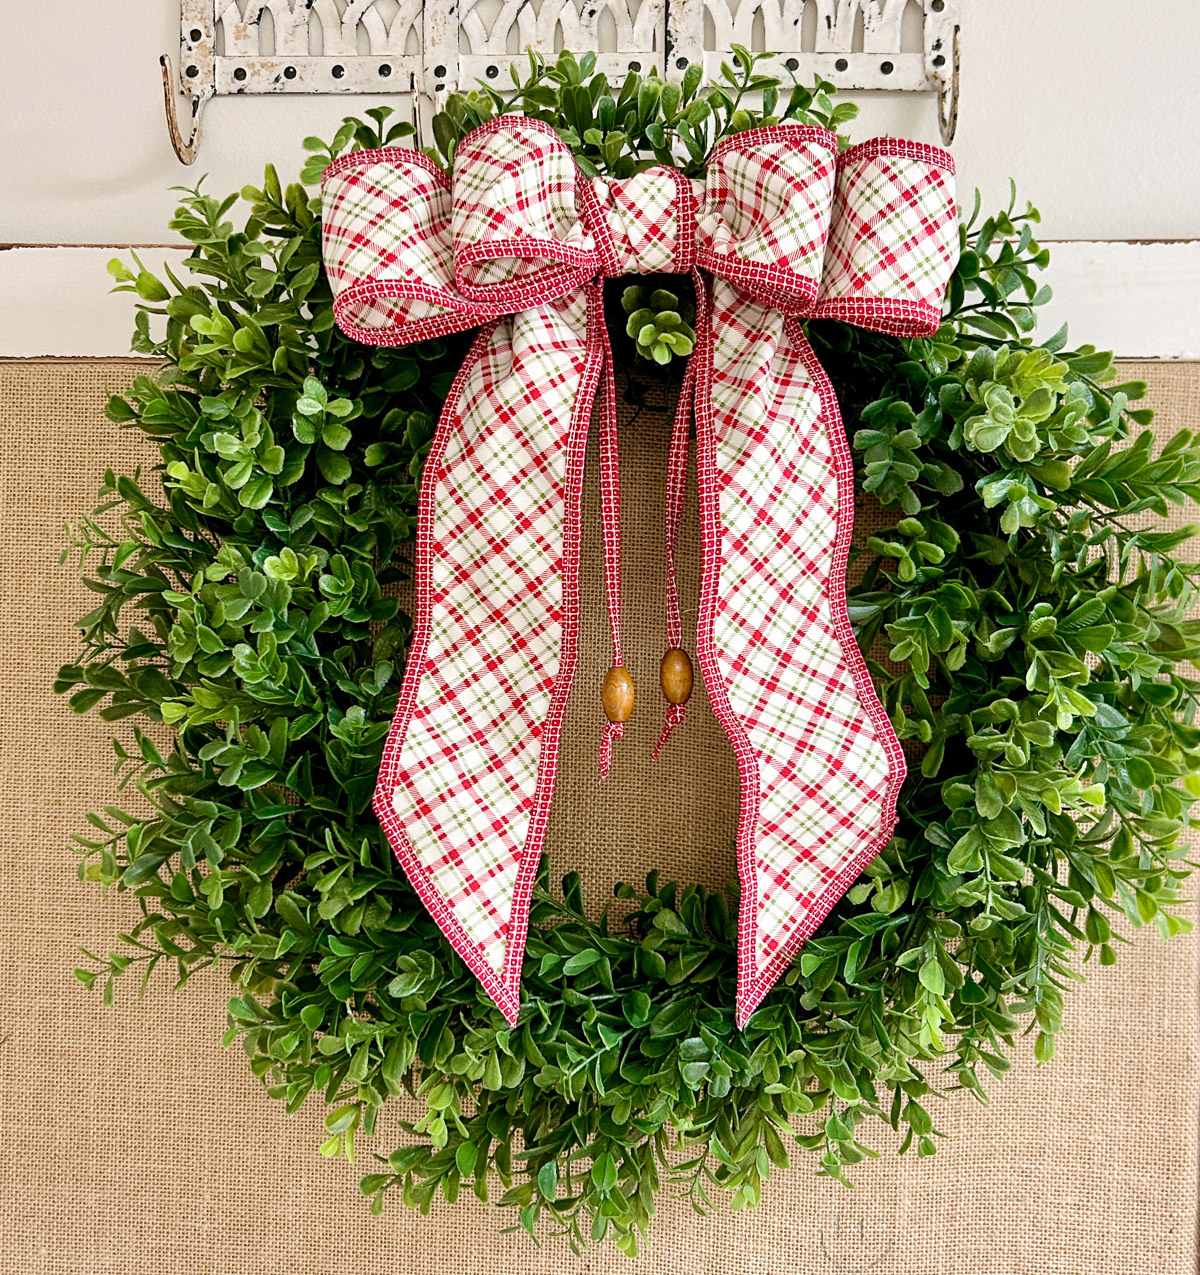
One of the many reasons I love to sew is so I can make custom home decor items that coordinate with my home. Wired fabric is one of my favorite projects to create because I can make bows to go with my door wreaths. Depending on the season, I select fabrics from my stash — one for the main fabric and one for the binding. Adding an accent color for the binding makes all the difference, and the wire allows me to position the fabric into a perfect bow! And don’t you love the wood beads for a special touch? Let’s get started!
Materials for Making Wired Bow with Fabric
- BERNINA 790 PLUS
- Reverse Pattern Foot #1C/D
- Clear Embroidery Foot #39/39C
- Binder Foot #95/95C
- Binder Attachment #88, 32 mm
- Main Fabric — 1/2 yard
- Binding Fabric — 1/4 yard
- Mettler Silk-Finish Cotton 50 Thread
- Spool of 28 gauge wire
- ByAnnie’s Stiletto & Pressing Tool
- Fray Block or Fray Check
Step 1: Prep Fabric
Cut the main fabric into (2) 12 1/2” x Width of Fabric (WOF) strips. Sew the short ends together and press seam open. Press strip in half lengthwise with pretty sides out.

Cut the binding fabric into (5) 1 1/4” x WOF strips. Place 2 strips, right sides together, at a 90º angle. Sew together from the top corner to the bottom corner. This creates a mitered seam which helps distribute the bulk. Trim seam down to 1/4” and press open. Stitch 2 more strips together in the same way. Now you have 2 long fabric strips and one extra fabric strip.
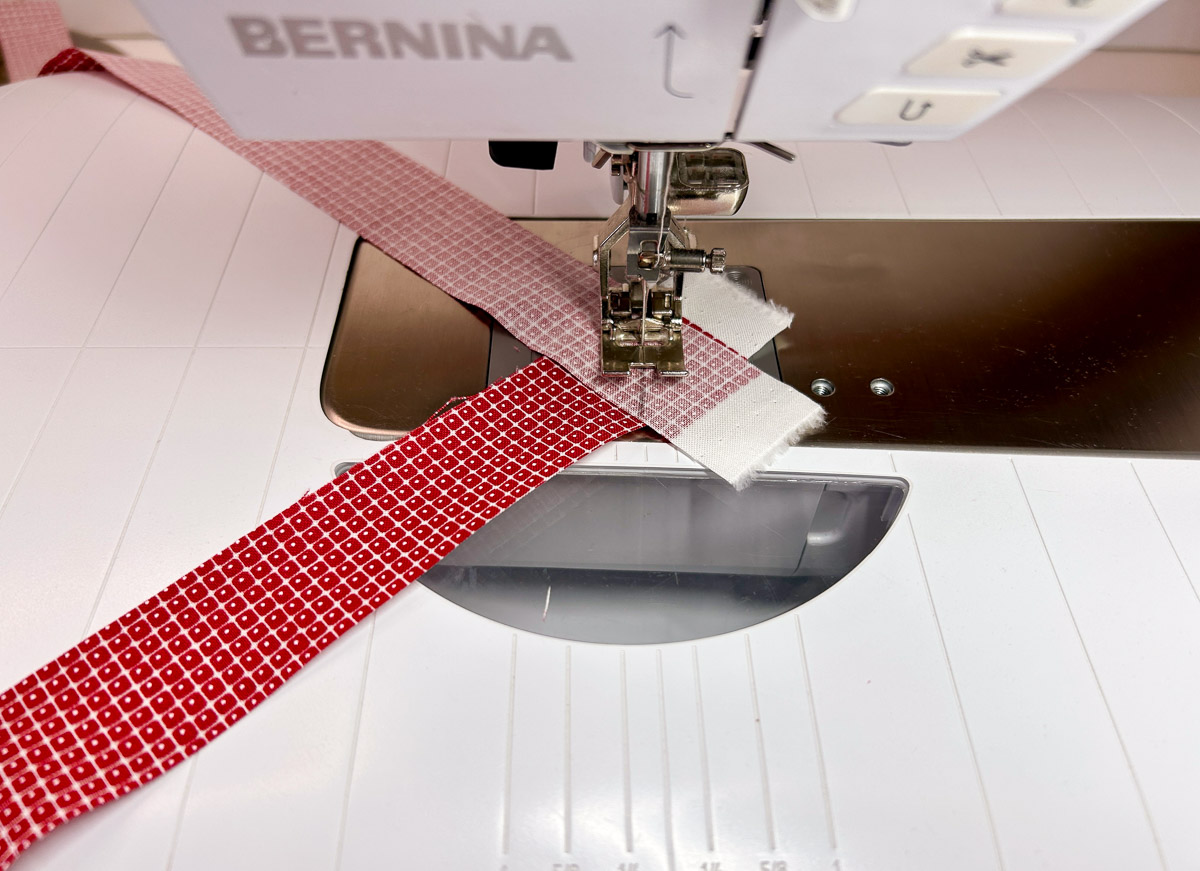
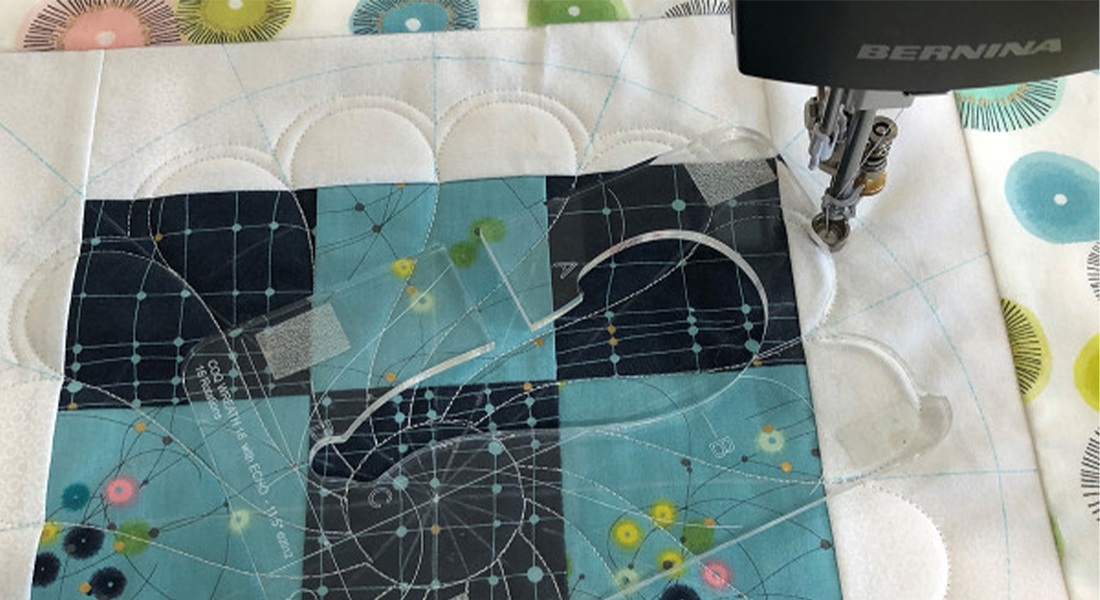
Step 2: Couch with Clear Embroidery Foot #39/39C
Insert wire into the Clear Embroidery Foot #39/39C and pull a few inches to the back. Attach foot to machine. The hole in the foot guides the wire so you don’t have to!
Attach the wire spool to the BERNINA Free Hand System (FHS) or separate thread spool holder to prevent kinks.
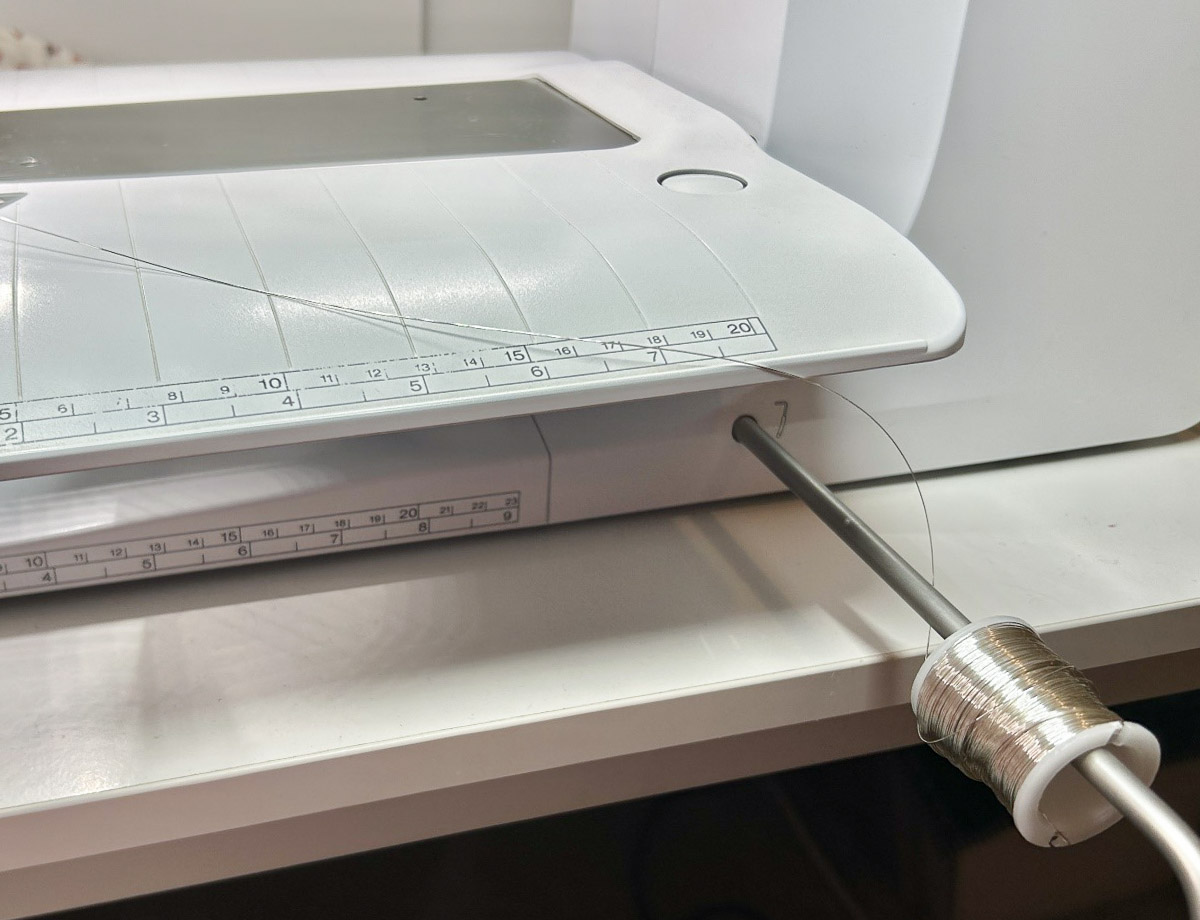
Align the main fabric edge along the inside right toe. Lower needle with hand wheel and check needle placement. Start stitching at a steady pace. With the wire feeding into the hole in the foot, it’ so easy! Just keep the fabric along the inside right toe and make sure the wire doesn’t have kinks. Couch wire to the end and then couch the opposite side.
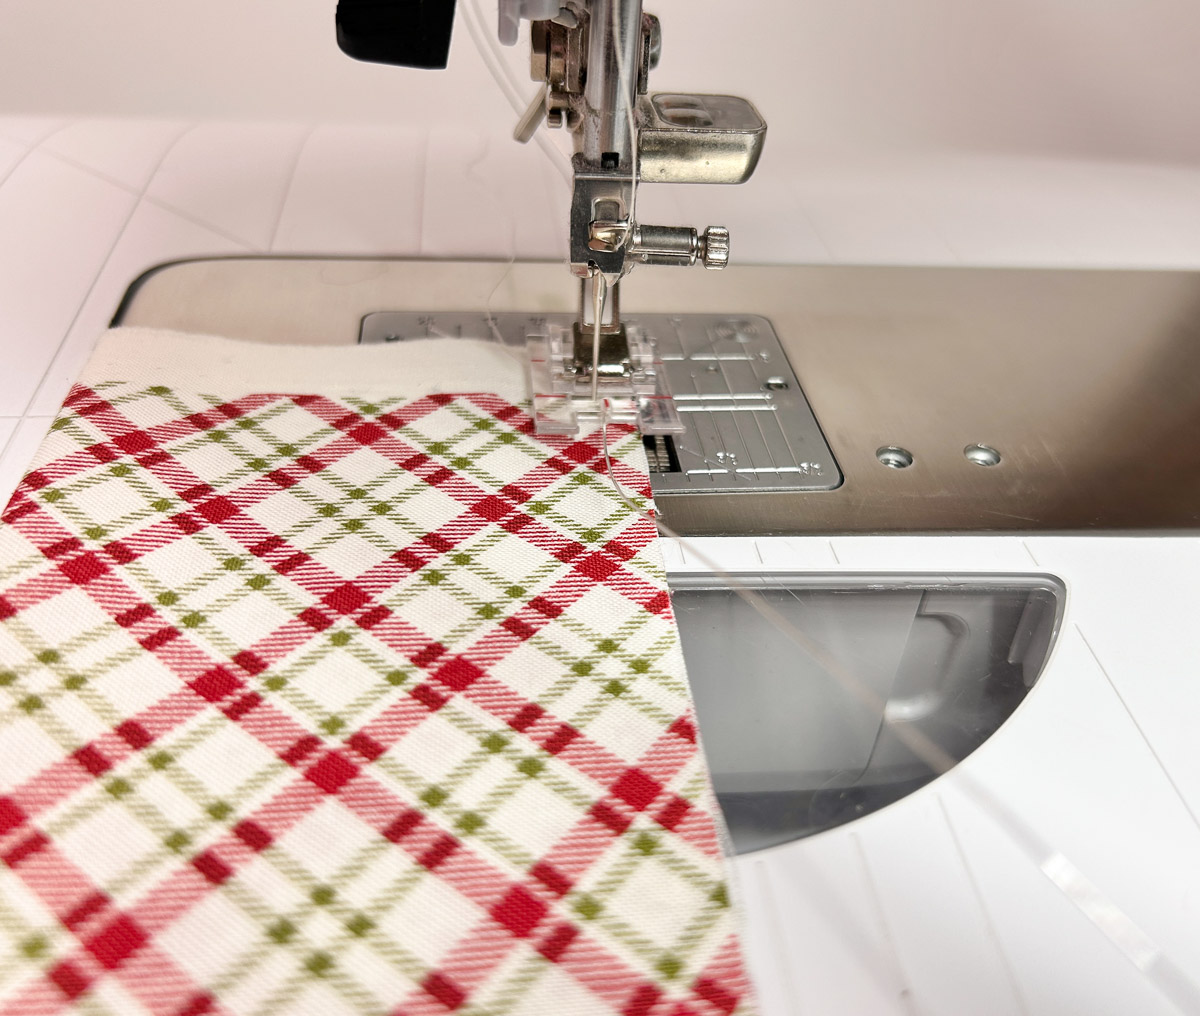
Check the fabric behind the foot. Smooth out, if needed. If there is a lot of bunching, decrease the Presser Foot Pressure on your machine.

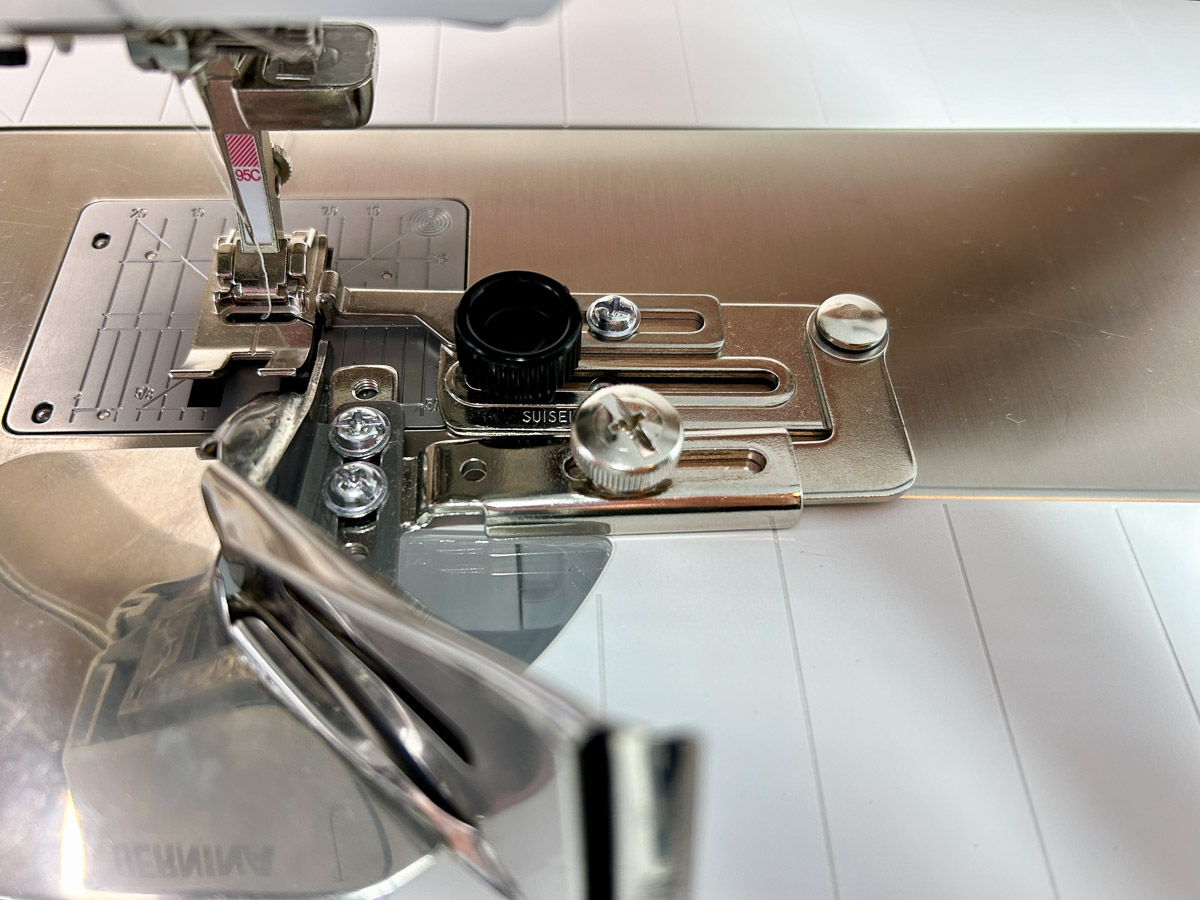
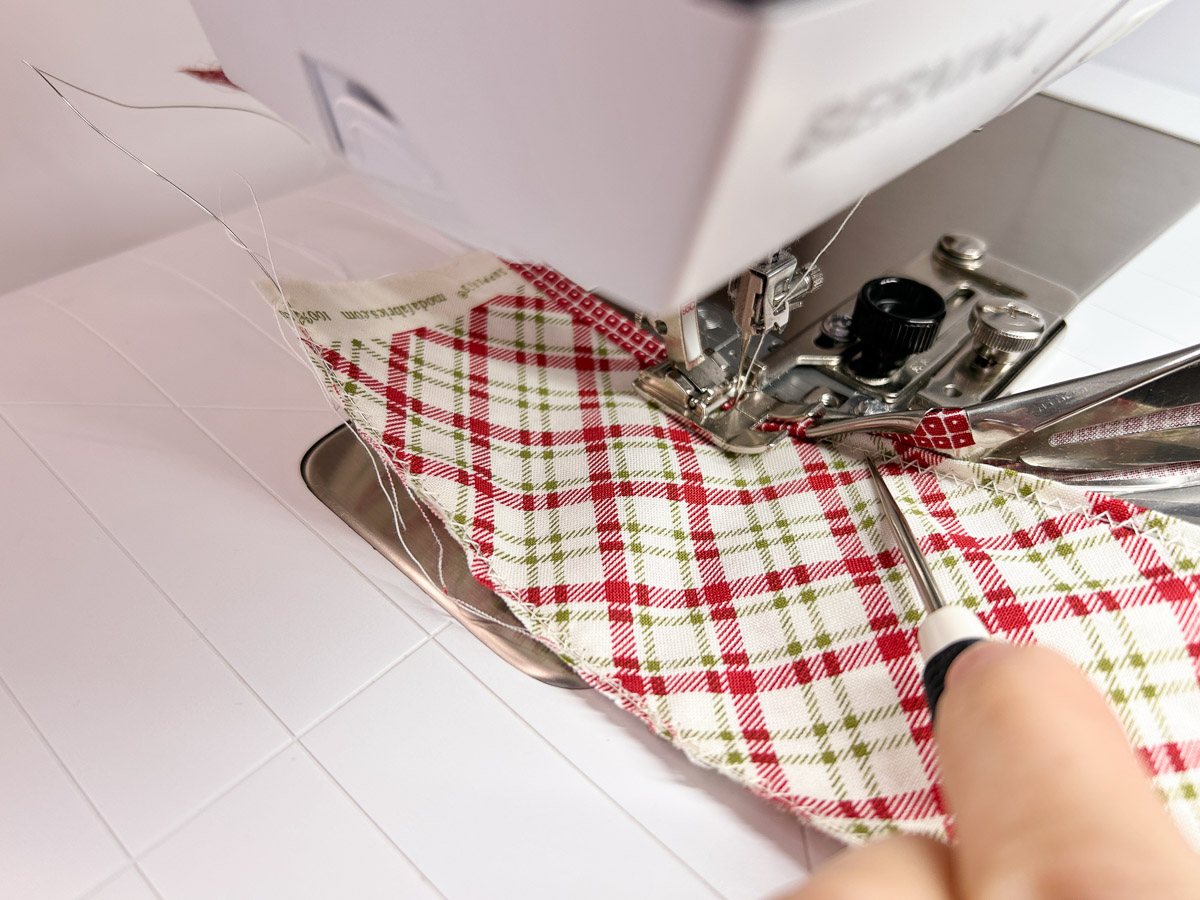
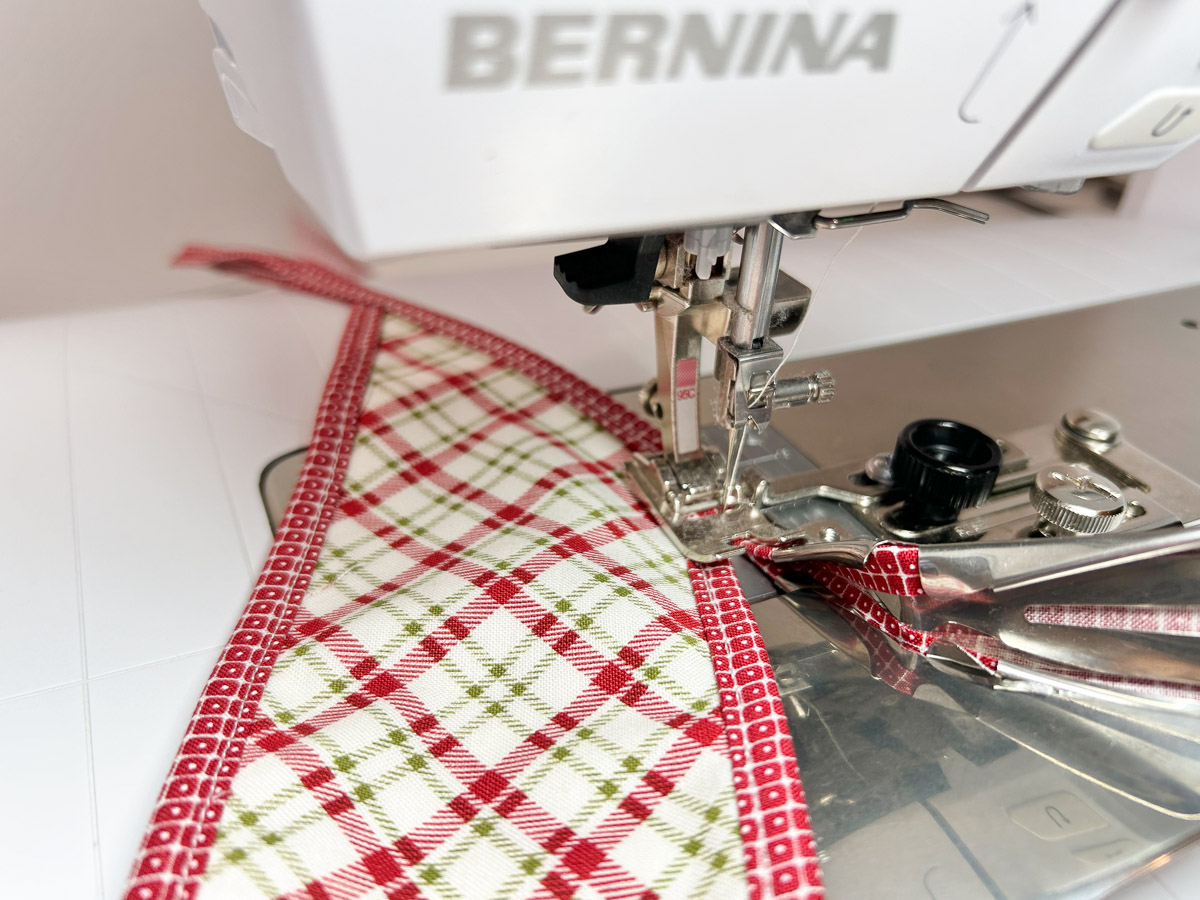
Step 3: Stitch with Binder Attachment #88
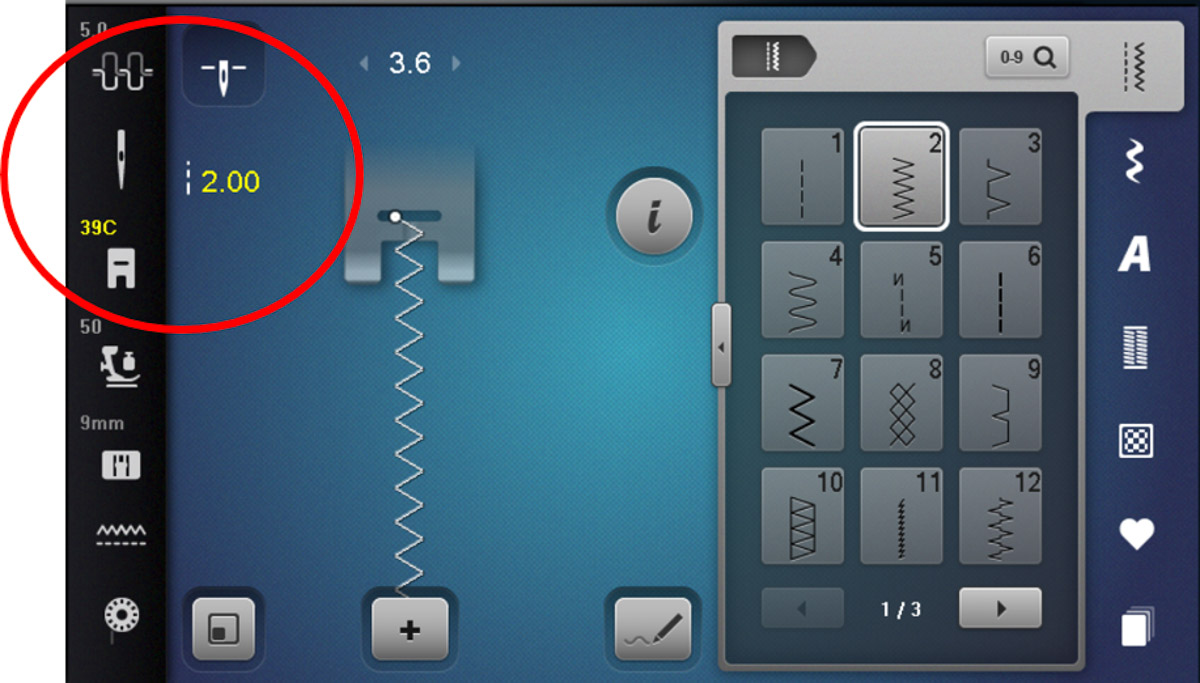
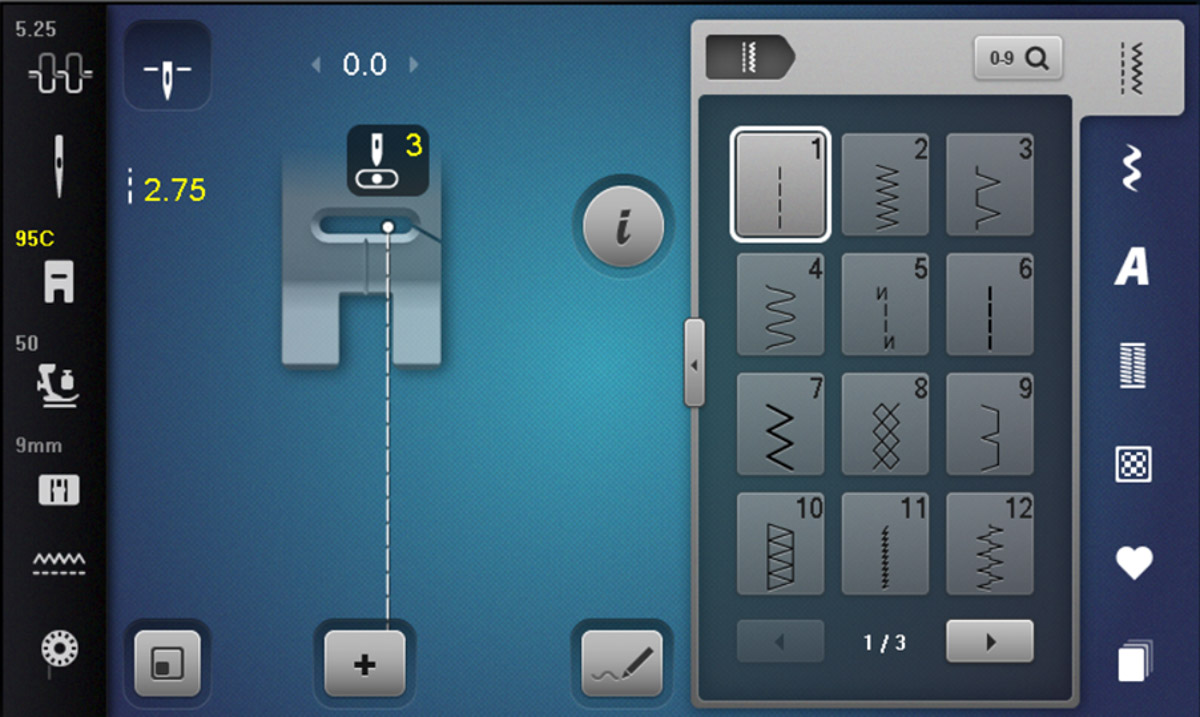
On your machine screen, select Binder Foot #95/95C and Straight Stitch #1. Increase the Stitch Length to 2.75 mm and move Needle Position to 3.
Attach Binder Foot #95/95C to the machine. Next, secure Binder Attachment #88 to the freearm with the black screw. It helps to swing the pivot arm out of the way. Before tightening the screw, lower Binder Foot #95/95C and check the side guide — does it rest nicely against the foot?
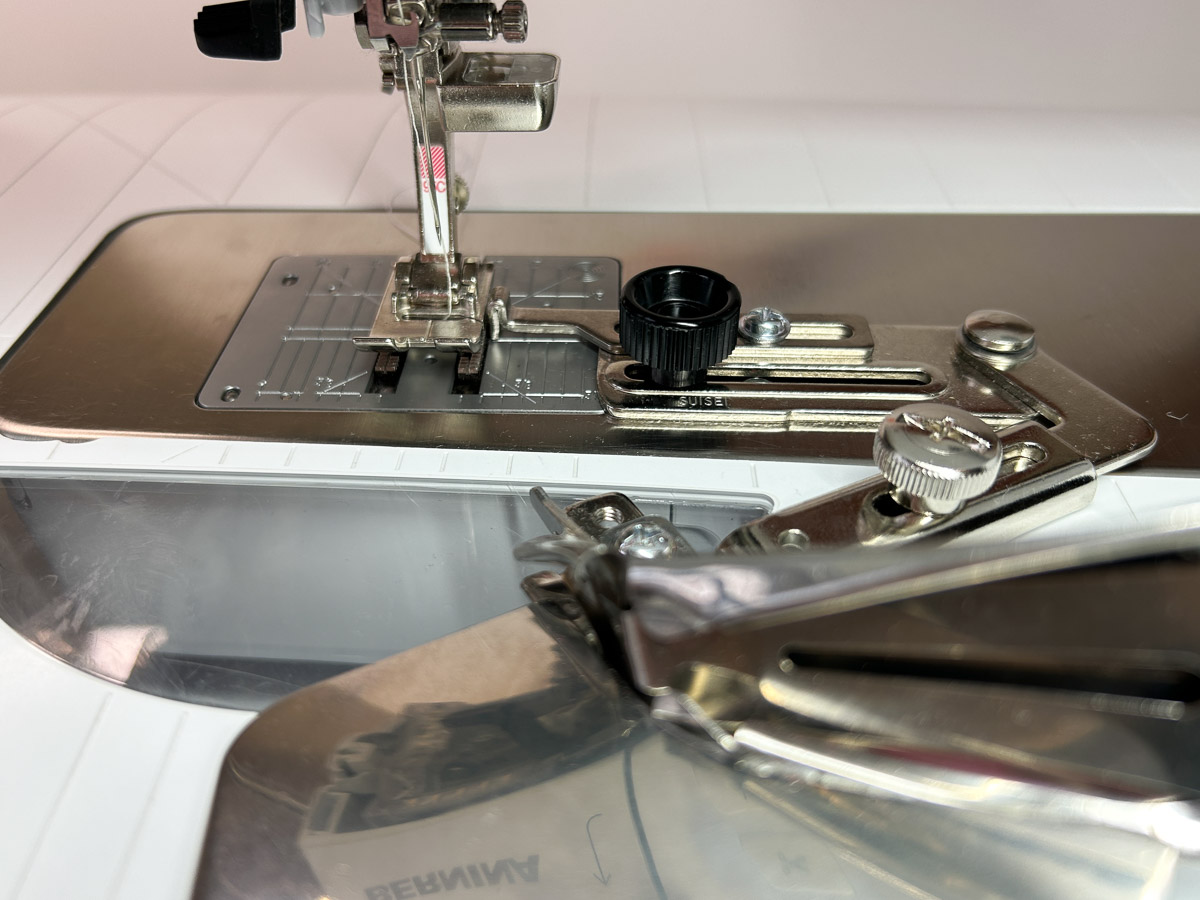
Now, swing the pivot arm back in place so that the end of the fabric channel is up against the right toe. If you need to reposition the channel, loosen the large silver screw.
Cut the end of one binding fabric strip at an angle so it’s easier to feed into the attachment channel. With a stiletto, slide fabric through the channel.

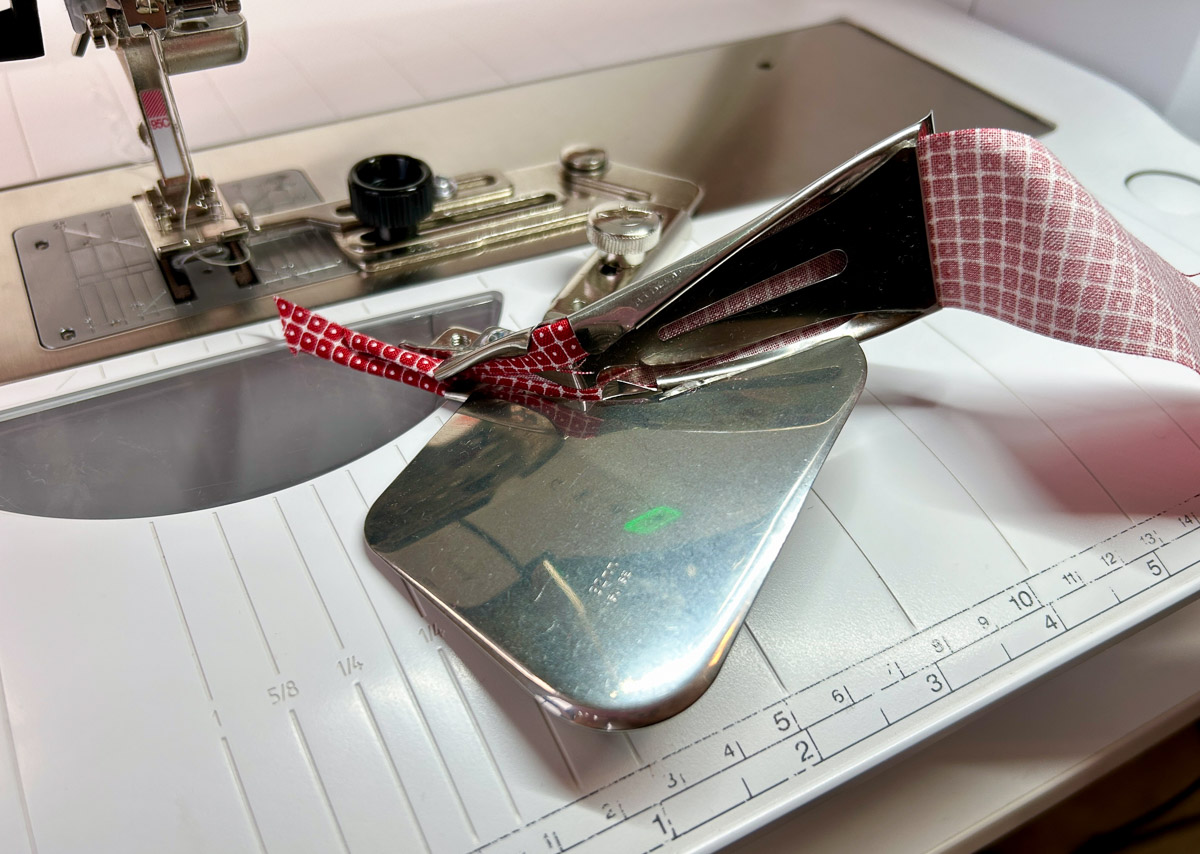
Place fabric under the foot. Sew a few stitches to check needle placement. Adjust needle position if needed.
Use the stiletto to add the main fabric into the channel, with wire side up.
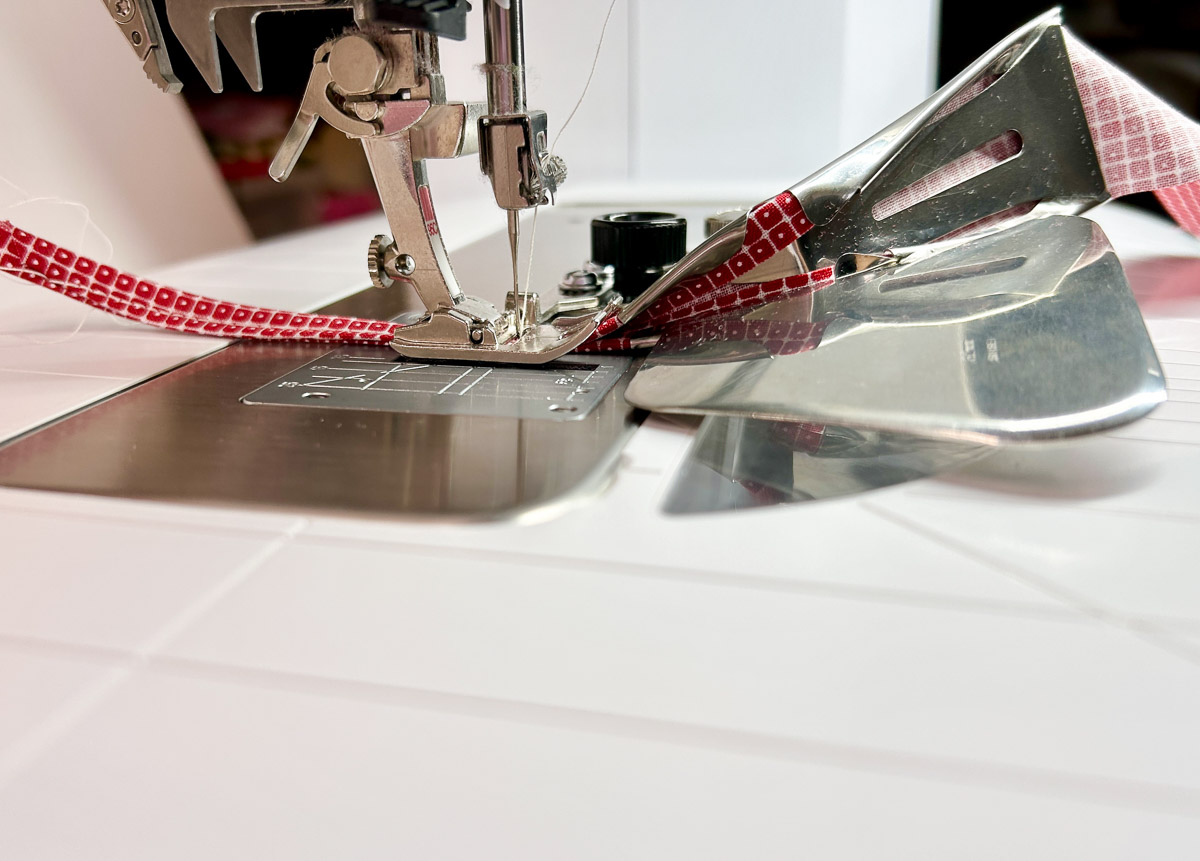
Use the tip of the stiletto to keep the wire and fabric inside the channel while sewing. Notice how I have the fabric slightly raised against the inside of the attachment. Sew to the end. Do the same for the opposite side.
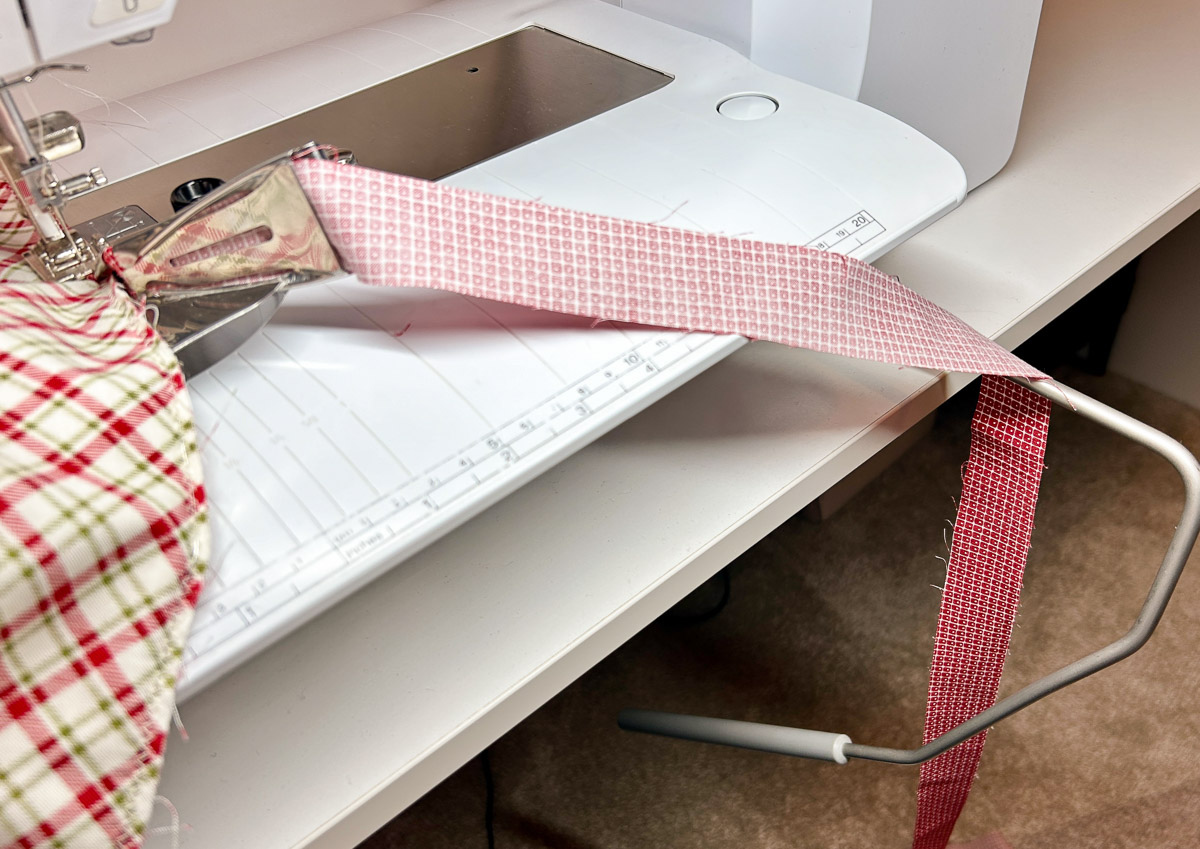
Here, I am using the FHS to help the binding strip feed into the attachment smoothly.
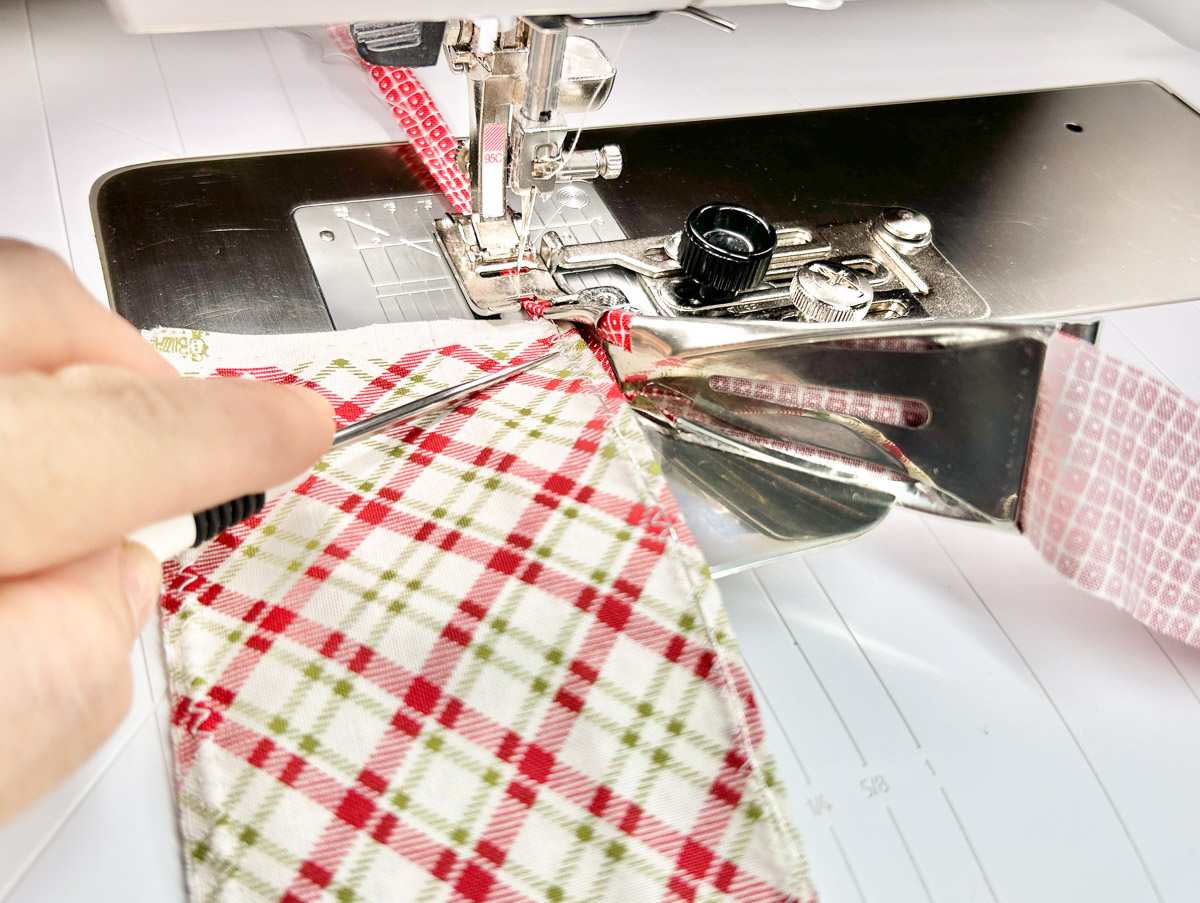
Step 4: Finish Ends
Almost done! Cut both ends at a 45° angle.
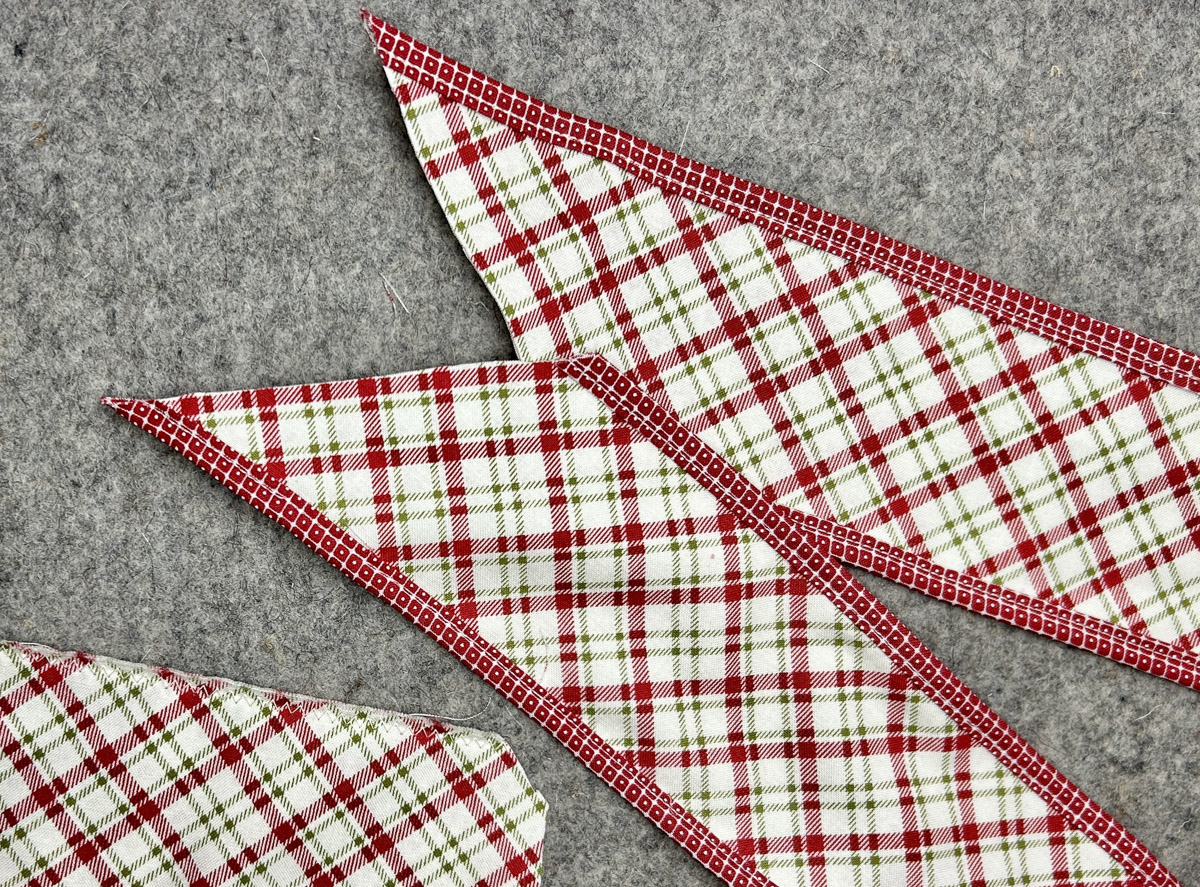
Insert the 5th fabric strip into the binder attachment. Stitch a couple inches. Add the ribbon and bind an inch past the end.

Do the same for the opposite end.
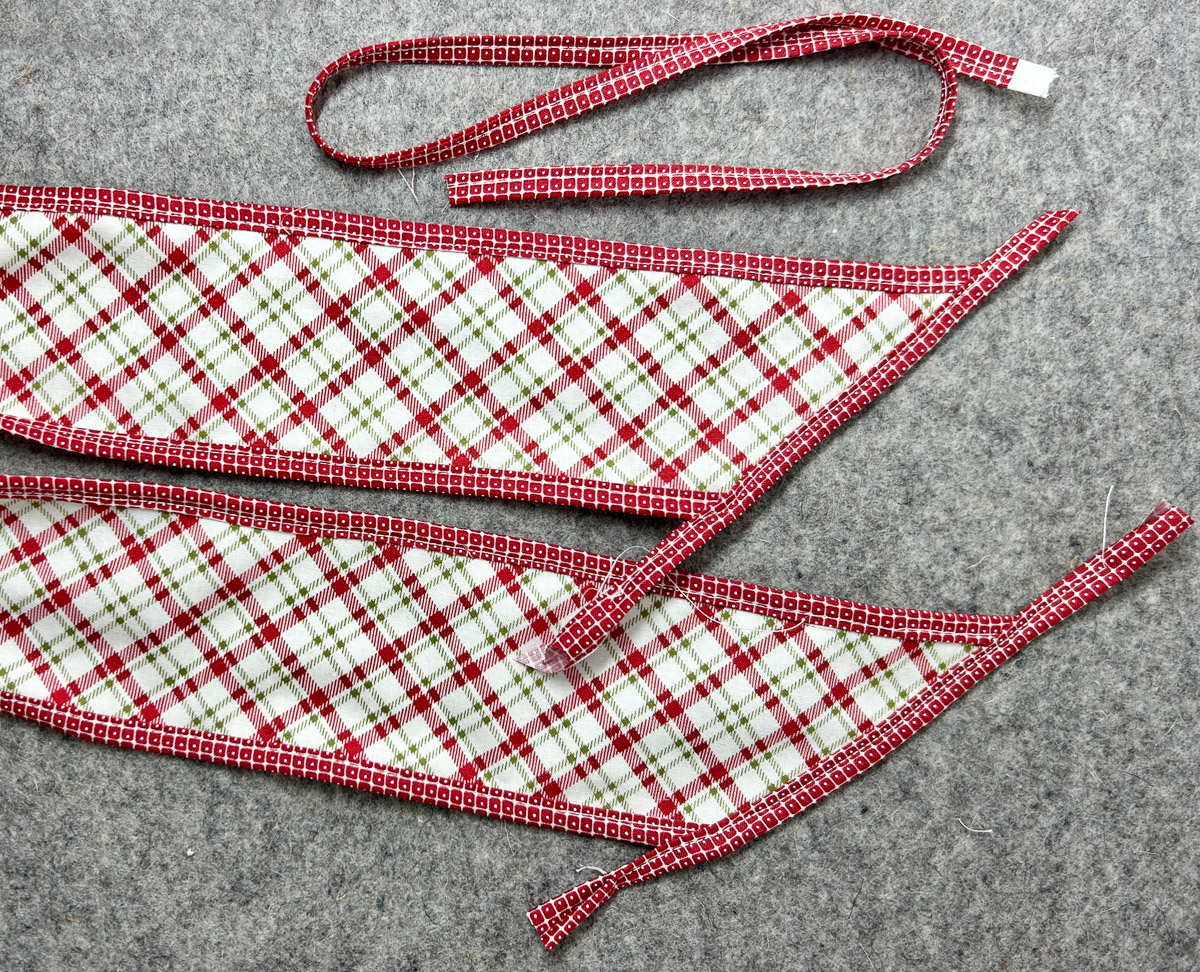
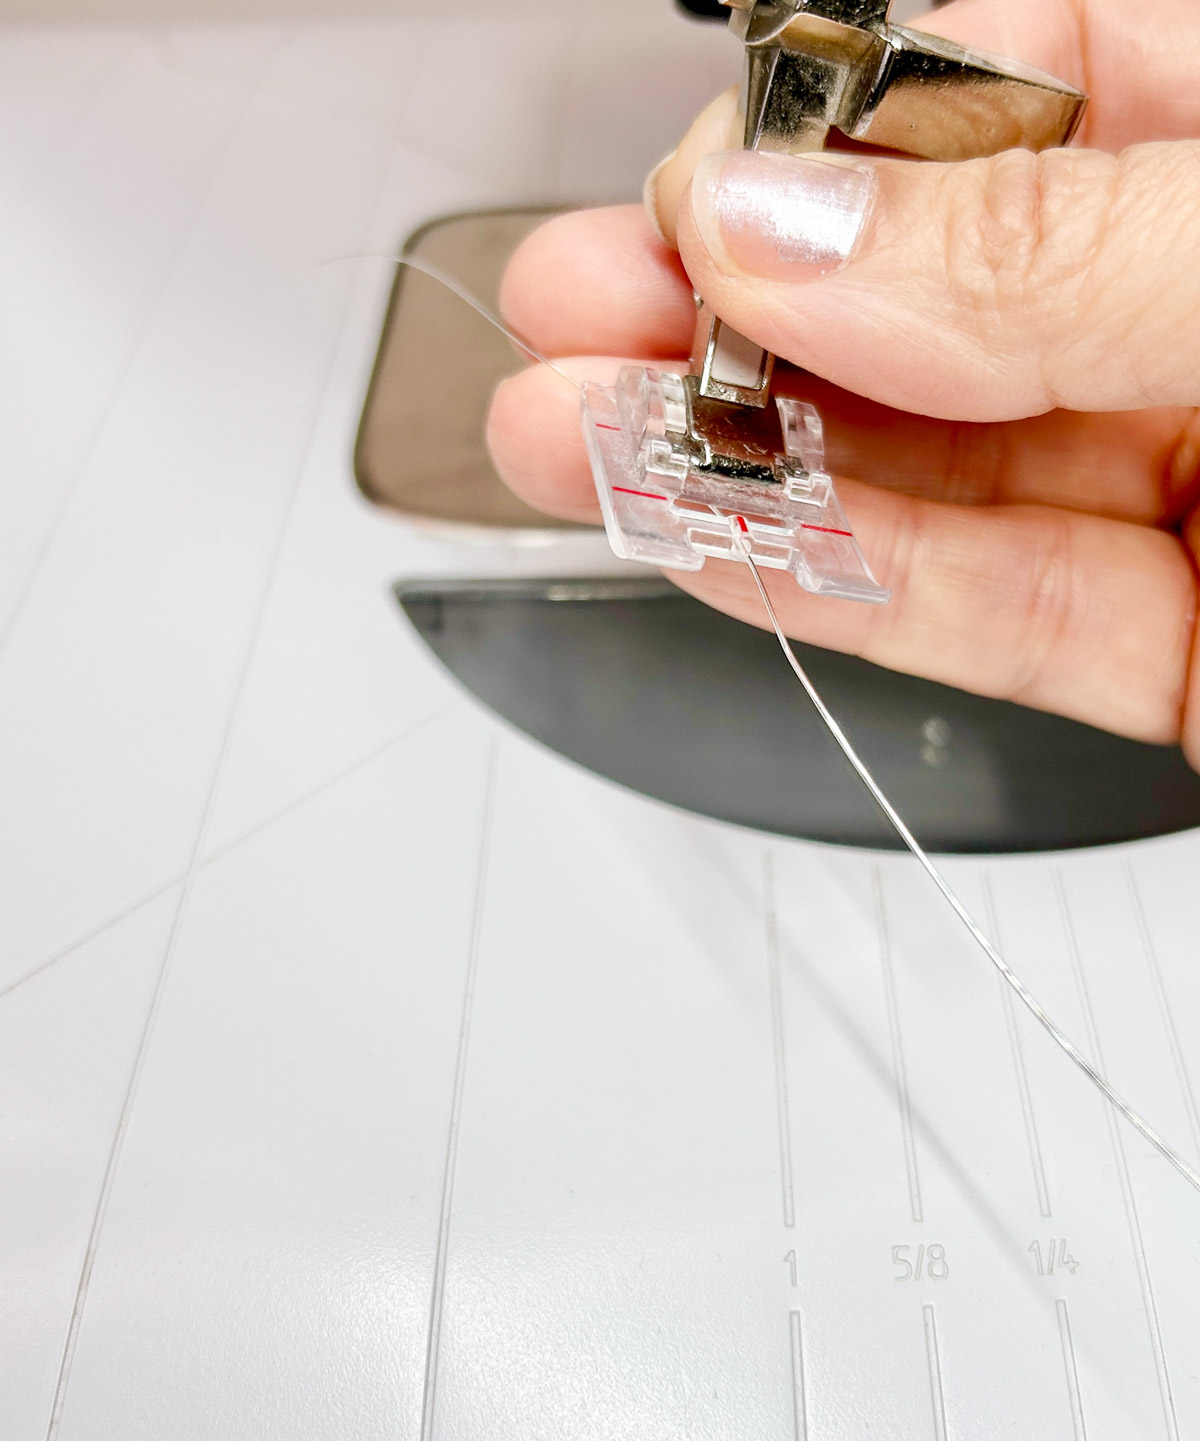
Trim excess binding and add an anti-fray liquid.

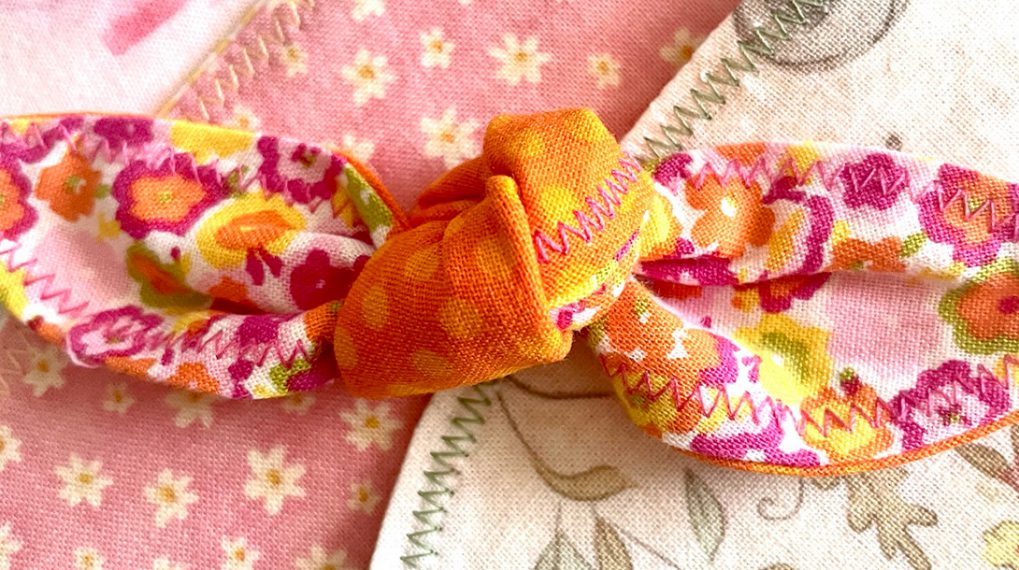
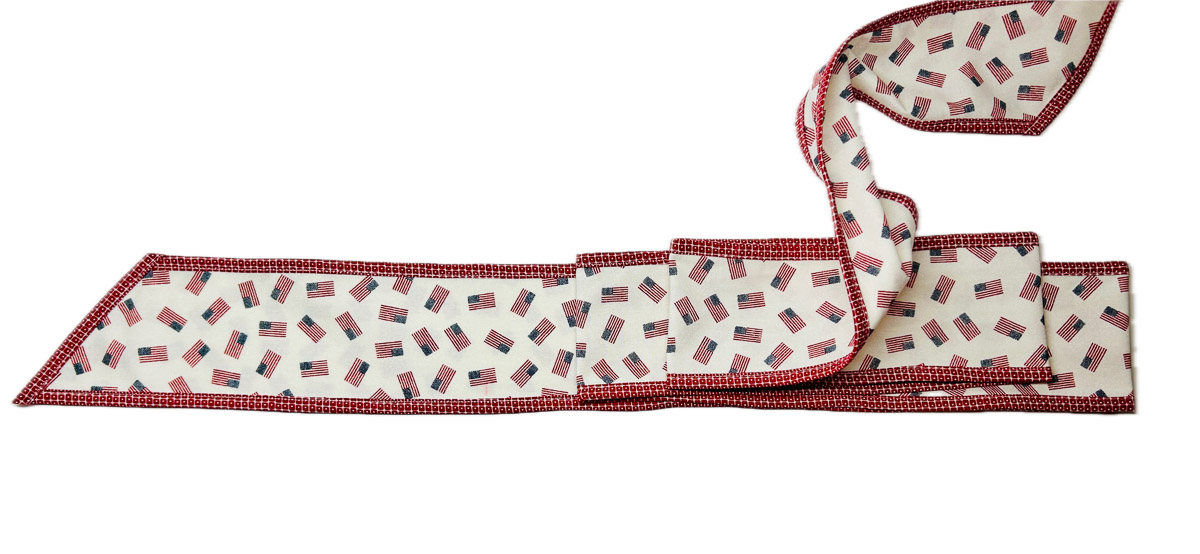
Step 5: Shape into a Bow
Measure 22” from one end. Fold back 12”. Then, fold back 10”. Next, fold back 8”. Lastly, fold to center.
Accordion fold the center and secure with a chenille stick. There should be one tail in front and one in back.
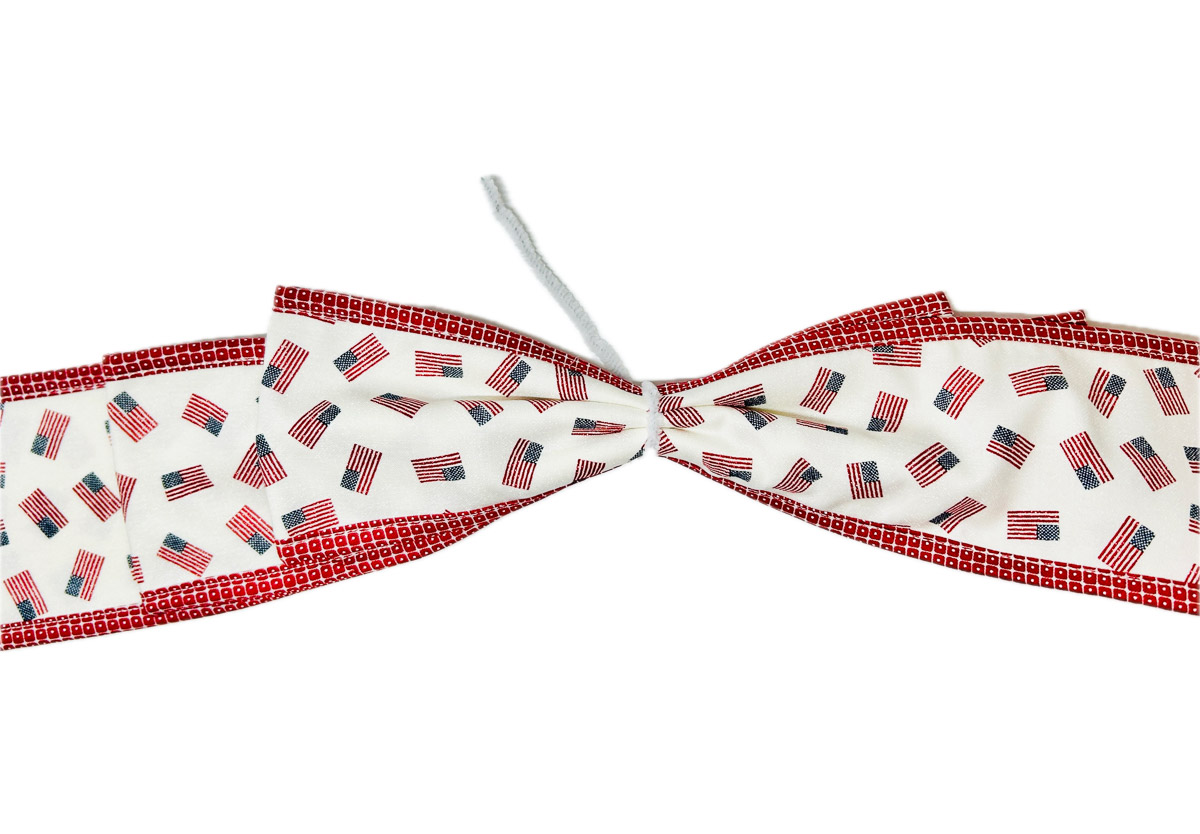
Wrap longer tail around the center and pull a loop through on backside to knot.
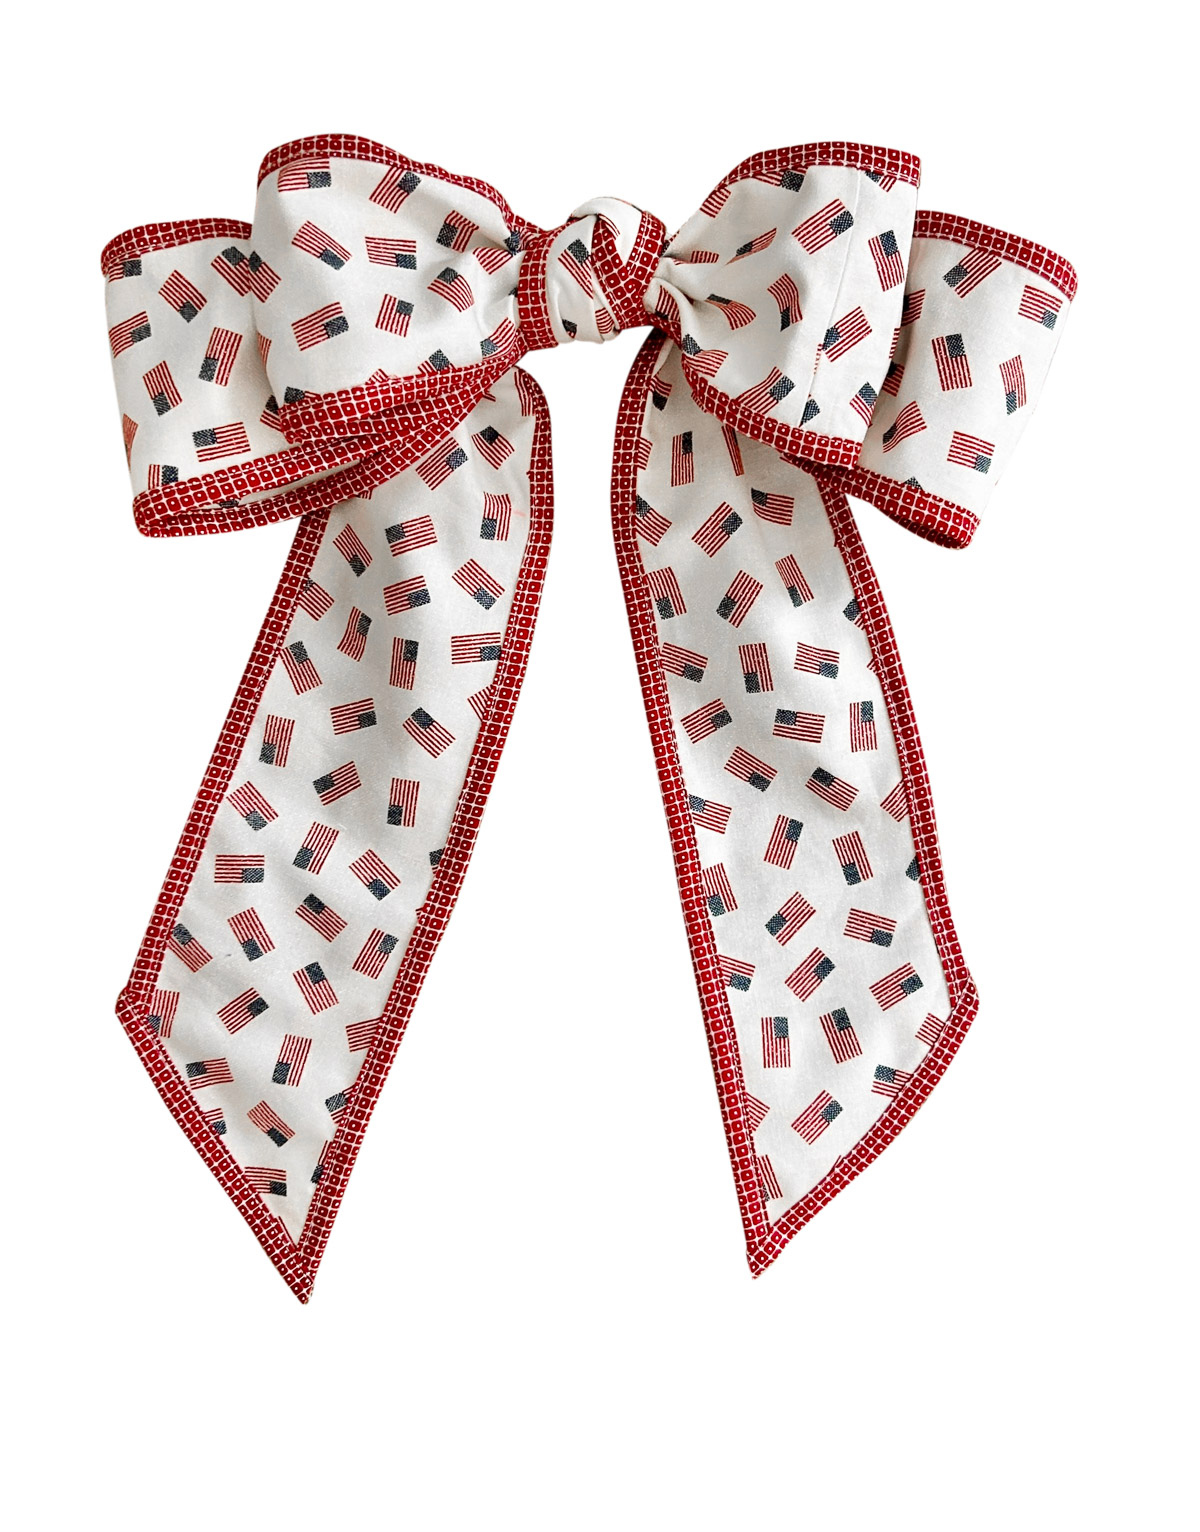
Option: Make a tie with the extra binding fabric using Binding Attachment #88. Follow the same process in Step 3, except don’t add fabric to stitch into binding. Insert tie through the center, add beads, and knot ends. Beautiful!