DIY Reversible Wool Hat
Hello everyone,
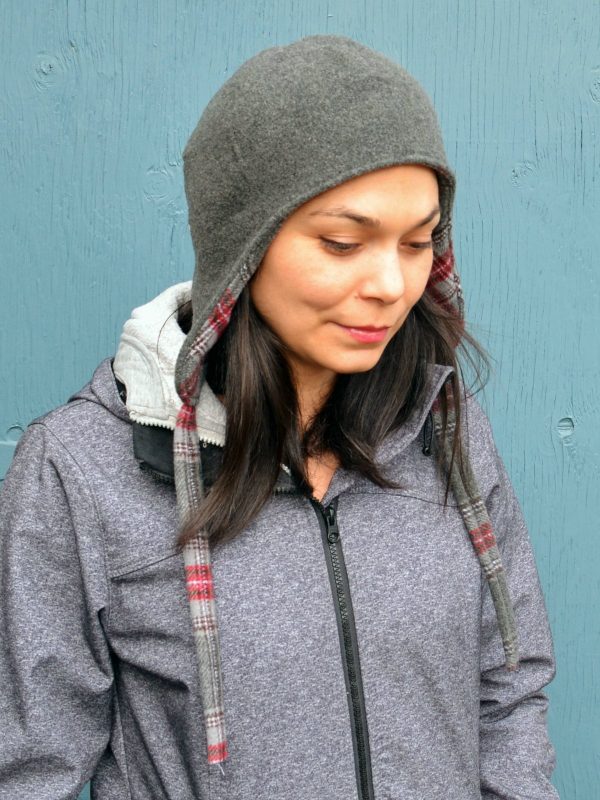
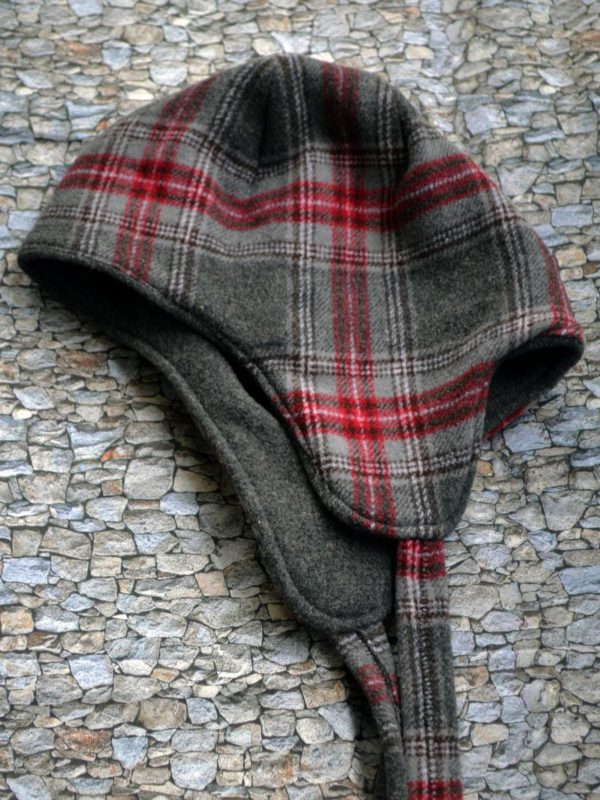
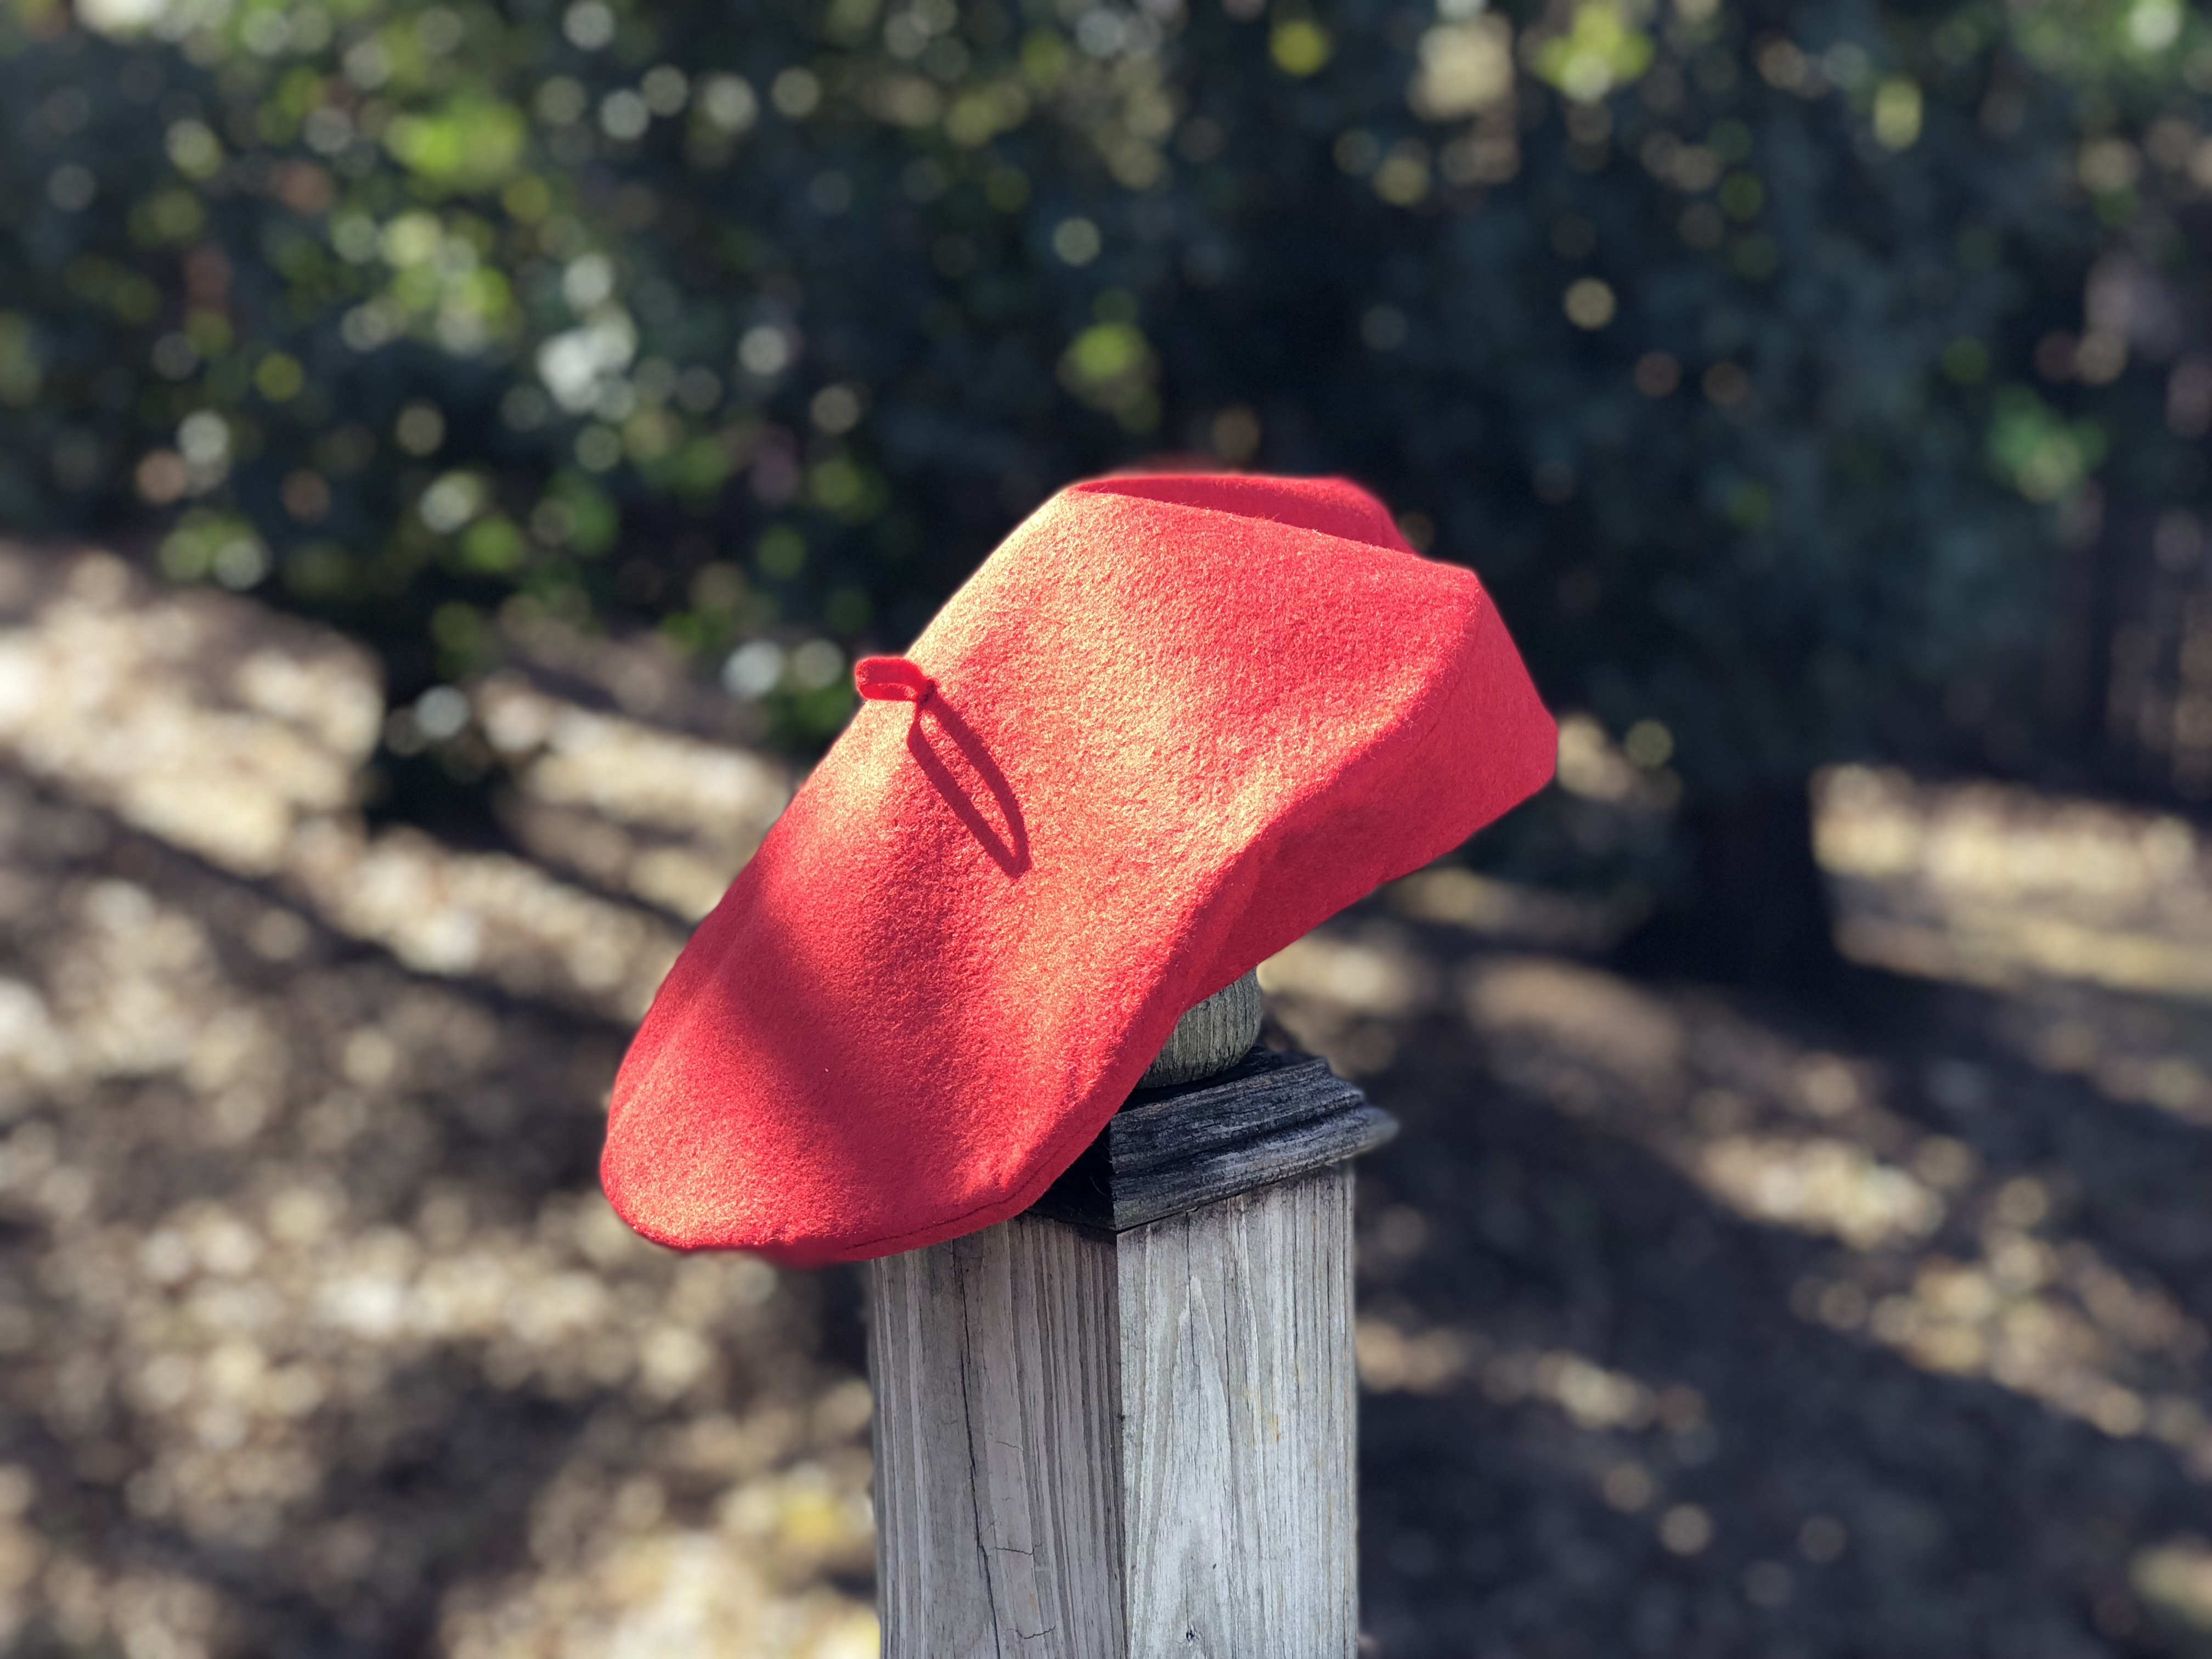
I am Daniela, from On the Cutting Floor. I am glad to be here again with the BERNINA family to present this easy project, the Reversible Wool Hat sewing tutorial. An easy to make reversible wool beanie hat with ear flaps
Finished size: 32” head circumference.
Materials to make a Reversible Wool Hat
- 1/2 yard of wool blend melton
- Coordinating thread
- Basic sewing supplies
- sewing machine (I use a BERNINA 350 PE)
- Blindstitch foot #5
- Download the Reversible Wool Hat Pattern
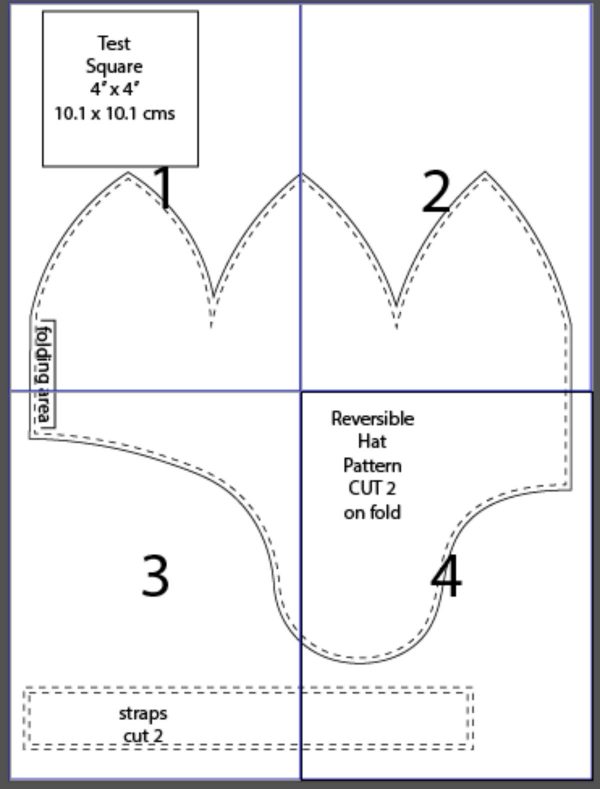
Print the four pattern sheets, and tape them together as pictured below. Cut two hat patterns; one from the main fabric, and one from the contrast fabric. Cut two of the strap pieces.
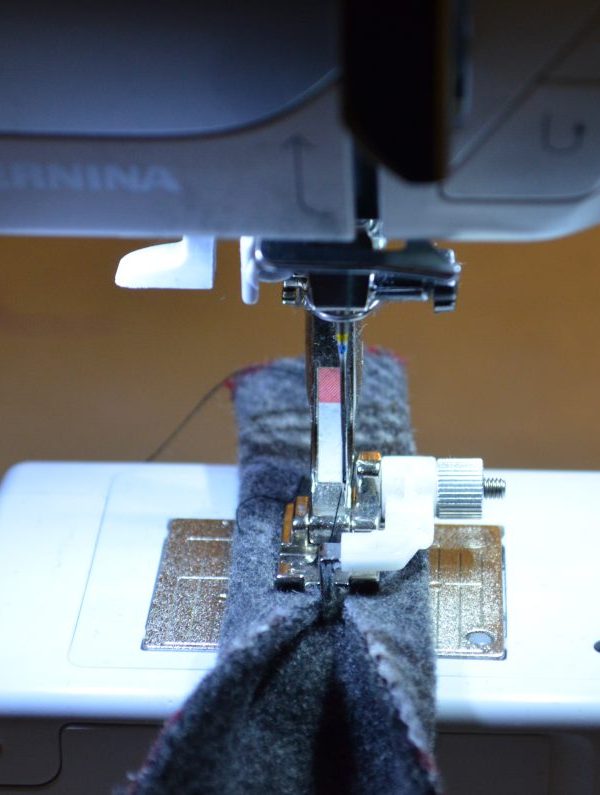
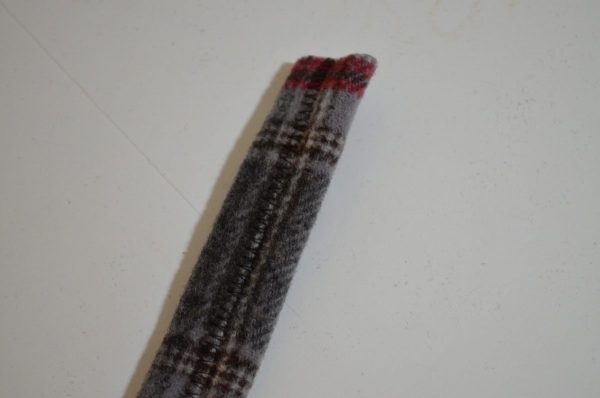
1. Start by folding the hat straps in half, bringing the edges to the center. Place them in your sewing machine and use a zigzag stitch to stitch the sides of the straps to the center.
2. Now, set the straps aside and bring the hat pieces to the table. Fold one side of the hat in half as shown in the image below.
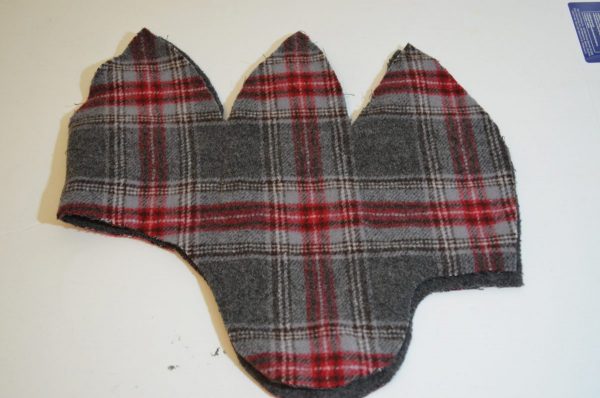
3. Then, stitch along the back center of the hat, placed in this image on the right side. The pattern has a 1/4 inch seam allowance.
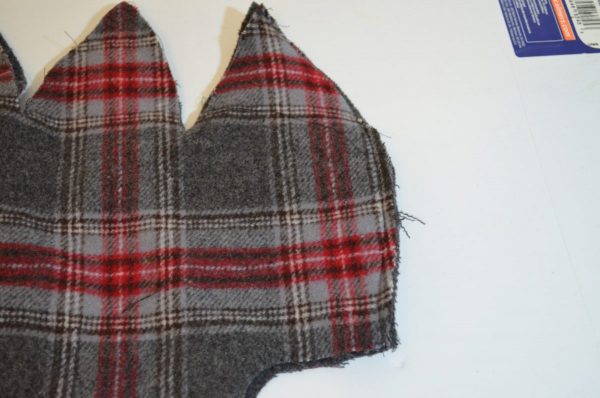
4. Repeat the last step with the other side of the hat.
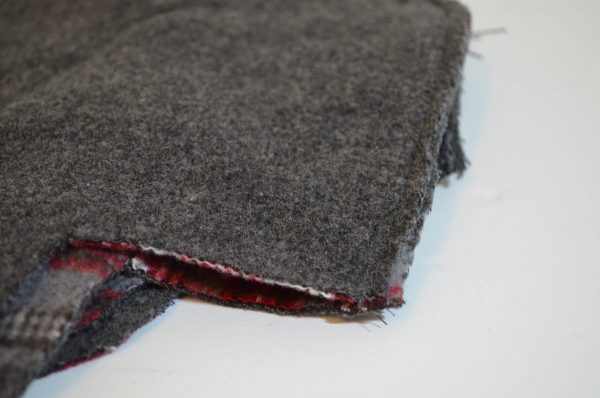
5. Now, take the triangular shapes on the top and join sides together. Start from the center of the hat opening to the edge. Press each side flat.
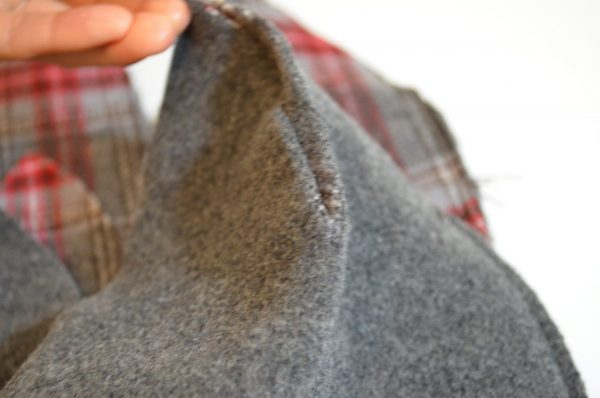
6. Continue attaching the triangles together until a circle is formed.
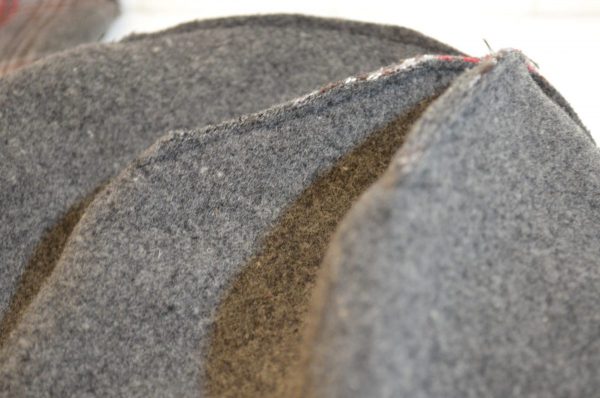
7. Repeat the last two steps with the other side of the hat.
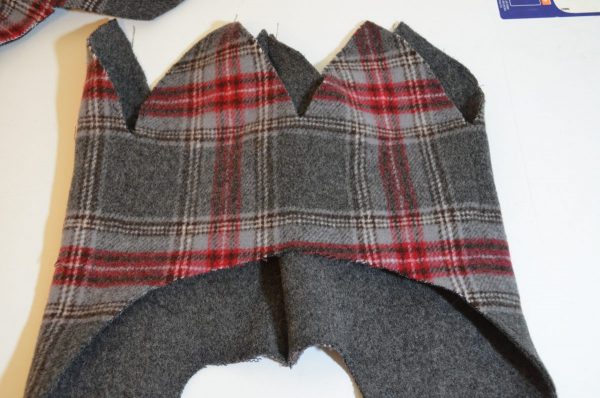
8. Now that you have finished both sides of the hat, insert one side into the other side of the hat, with the seams exposed. In the case of my hat, one side will be grey and one side will be plaid.
9. Match the hats seams and start pinning them together.
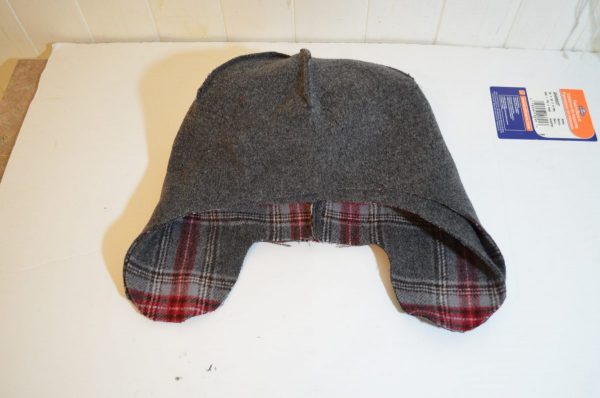
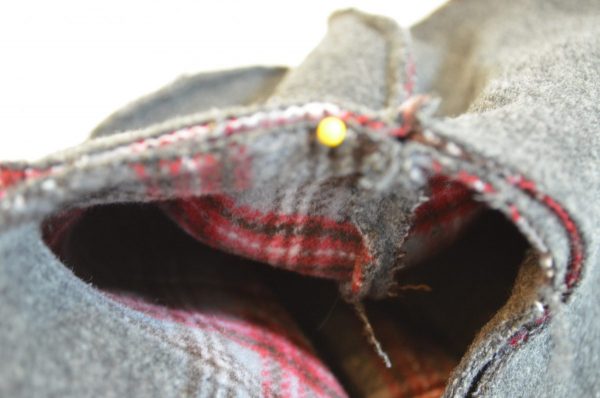
10. Then, bring the straps to the table and insert them into the hat, just at the center of the ear flaps.
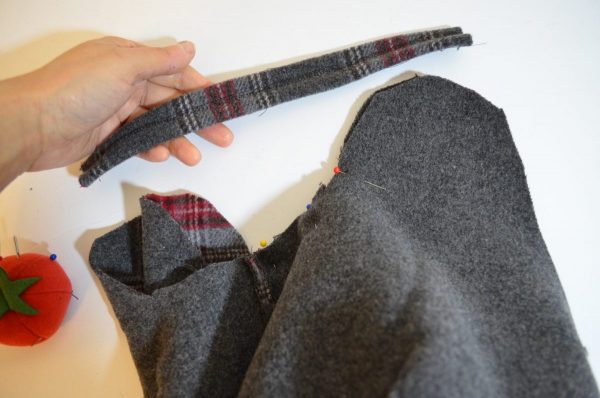
11. And pin them in place.
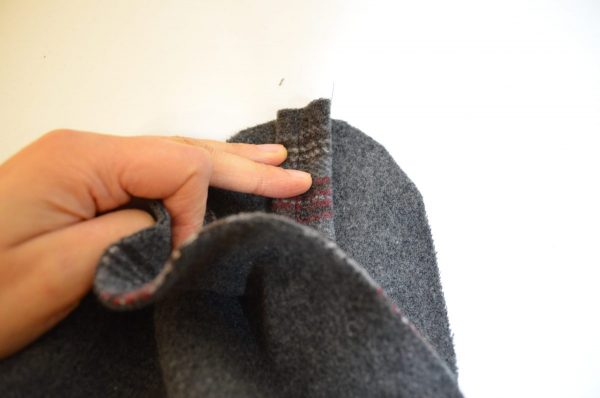
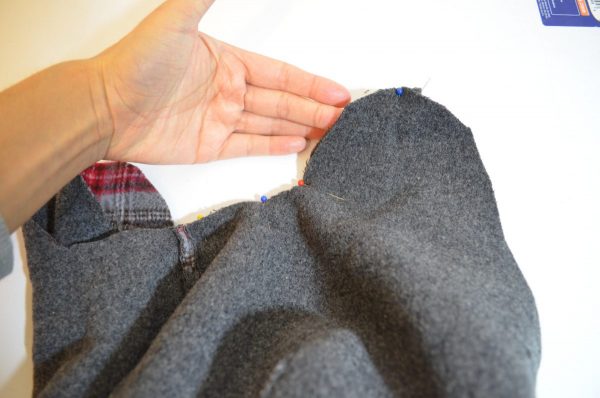
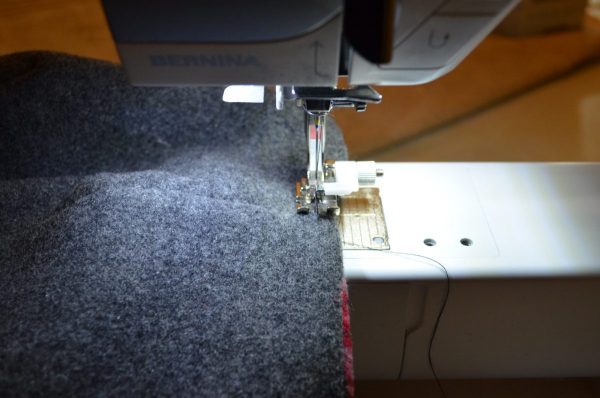
12. Now, take the hat to your sewing machine.
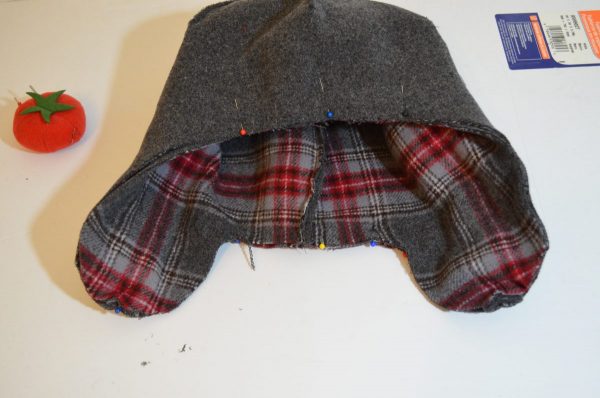
13. Stitch both sides together, with a 1/4 inch seam allowance.
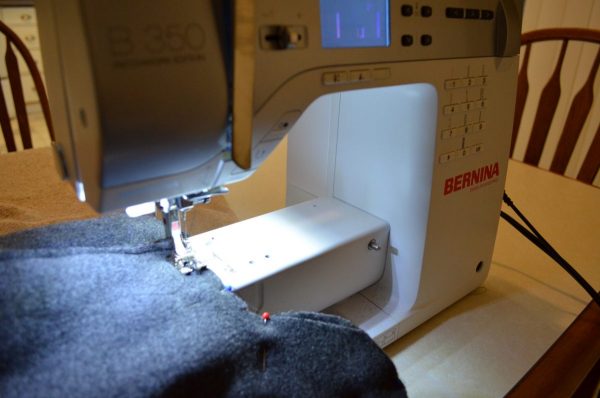
14. Start at the center back and leave about 3 inches opening to turn the hat to the right side.
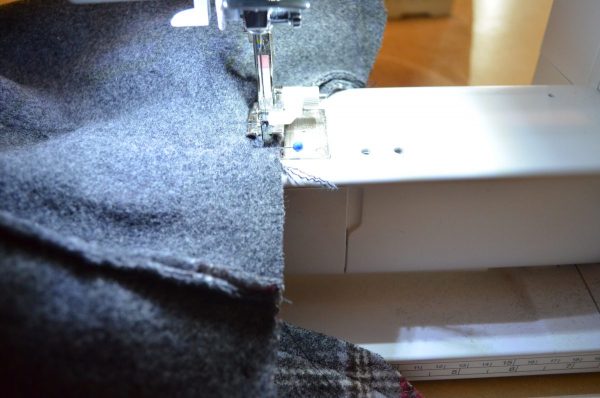
15. Then, use the opening to turn the hat to the right side.
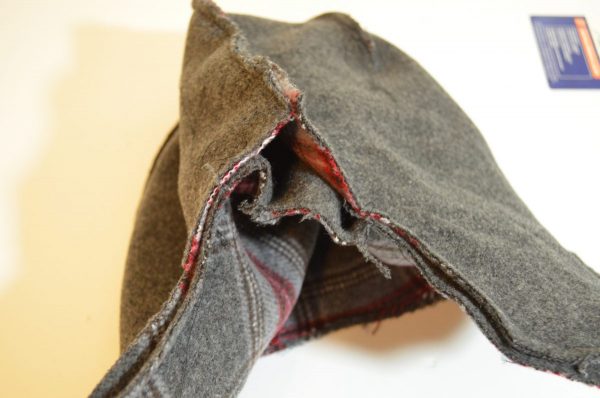
16. Now, close the 3 inches opening using the edgestitch with 1/4 inch seam allowance.
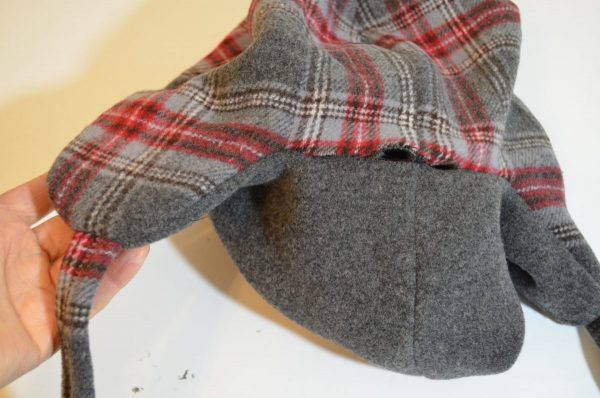
And it is ready!
I hope you like this hat and let me know how it turns out for you.

What you might also like
6 comments on “DIY Reversible Wool Hat”
-
-
I have exactly the same question. :-). I want to make these for my older granchildren but don’t want them to be too large.
-
Make a copy and reduce/enlarge on your printer
-
-
Very nice and warm.
-
May I suggest that the circumference you have stated for this hat pattern is incorrect? Could you have meant 23″? In many years of hat and wig making, I have never seen a head circumference of 32″ nor would it fit closely on an average persons head.
For those who are wondering about making it smaller, measure from edge to edge (stitching line to stitching line) across that horizontal line of the pattern. Double that measurement and you will find the actual size of the hat. Compare that to a head measurement of the intended person to find out how much smaller you should reduce. That will take some math and that isn’t my strong suit. But I believe if you divide your measurement by the original measurement you will find the percentage. Anyone with better math skills, please chime in.
-
It is definitely too large. I have a big head, as do my family members. However, I do think we can scale it a little skinnier. And it is a cute hat, and fun to make.
Leave a Reply
You must be logged in to post a comment.










How would you alter the size of this hat, primarily smaller?
Donna Johnson