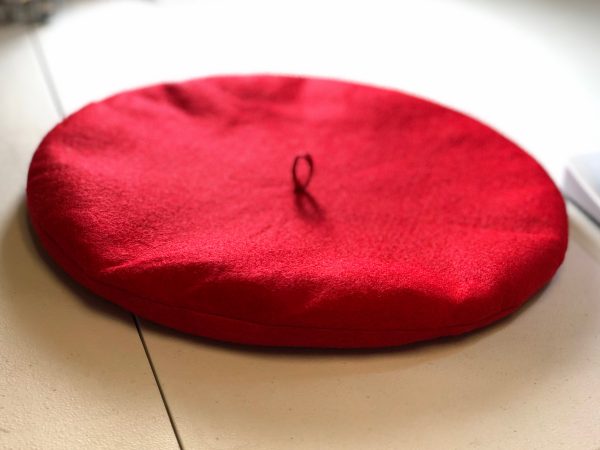
How to Sew a Wool Felt Beret
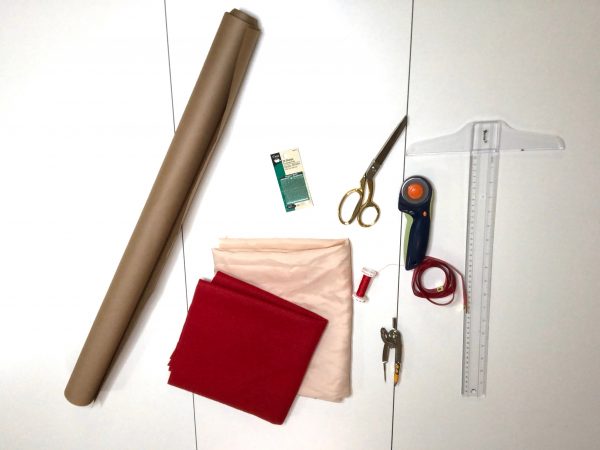
Materials to Sew a Wool Felt Beret
- Machine: BERNINA 350 PE
- Fabric: 1/2 yard of Wool Felt
- Lining: 1/2 yard of lining fabric (I used Bemberg Rayon)
- Coordinating Thread
- Compass
- Scissors or Rotary Cutter
- Ruler or Tape Measure
- Paper
- Pen or Pencil
- Hand sewing needles
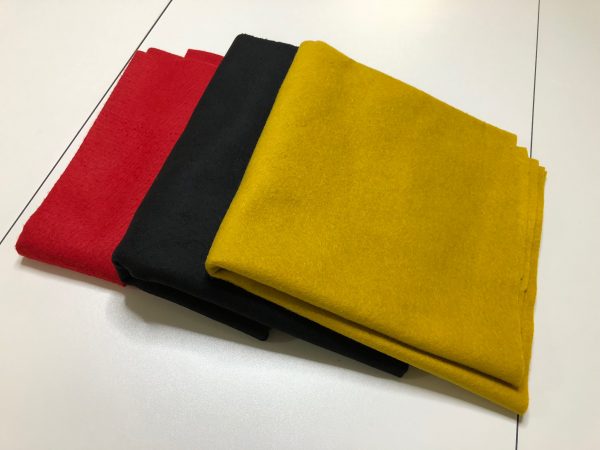
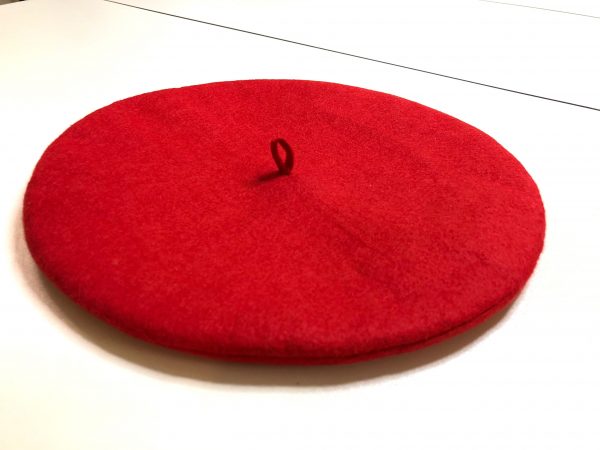
Berets are traditionally made from wool felt. I found wool felt in the utility fabric section of my local fabric store. They carry a large selection of beautiful colors. You will only need about half a yard for this project. Keep in mind that the fabric will rest against your forehead and may be itchy and also, wool can be drying to your hair. This is why I chose to line my wool felt beret.
Here is how to create the pattern pieces for your wool felt beret:
Your beret pattern will have 2 pieces: The top of the beret and the underside of the beret. And each piece will have a quarter of an inch seam allowance.
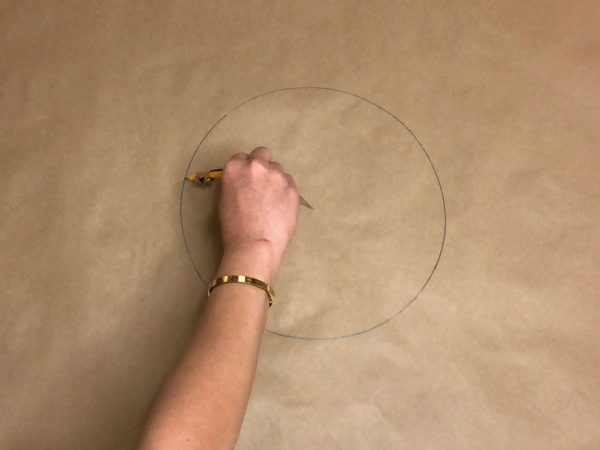
To create the pattern for the top of the beret, which is simply a large circle, you will create a circle with a diameter (the distance across a circle) of 12″. I came up with this number because it’s even and this seems to be the standard size of ready to wear adult size berets, give or take a centimeter or so. Divide 12″ in half and which will give your 6″ (the radius of the circle) and this is the number you will set on your compass.
To create a pattern for the underside, we’re going to use the same circle for the top. Measure around your head with the tape measure — mine is 22″. The distance around your head will provide you with the circumference of the inner circle. The inner circle is the opening of the beret where your head will fit through. Here is how to calculate the radius of a circle: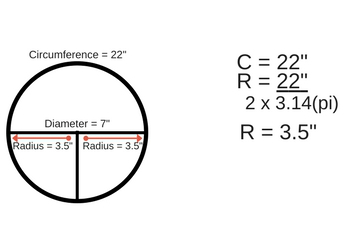 The radius is 3.5″. This is where you will set your compass to create your inner circle.
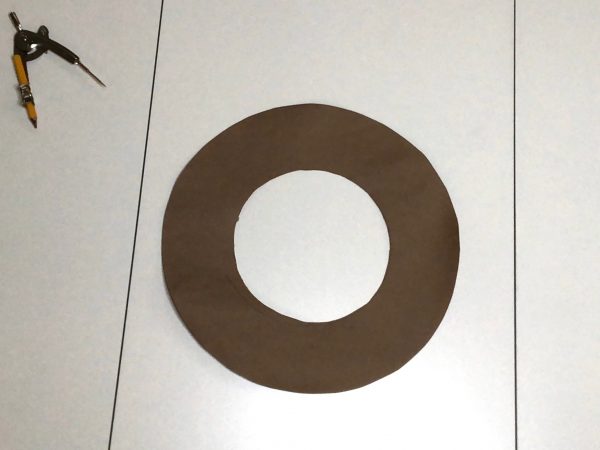
Just cutout the inner circle and use this to create both the top of the beret and the underside.
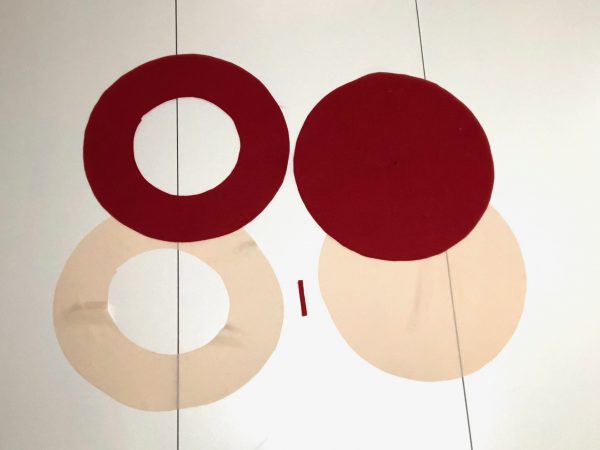
Cut out 1 beret top in fabric and 1 in lining. Cut out 1 underside of the beret in fabric and 1 in lining.
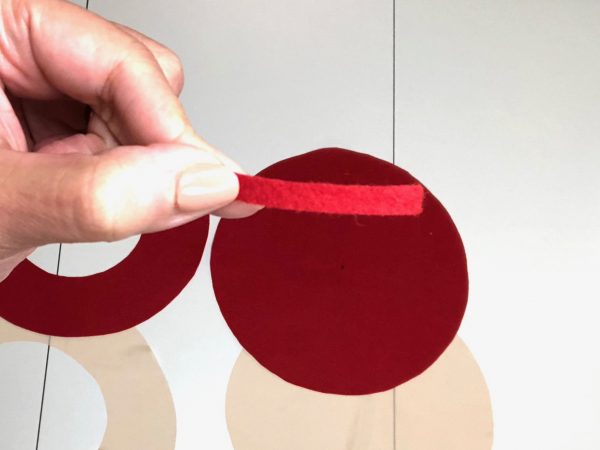
Cut out a strip of fabric .25″ wide and 2″ long. This is optional and will create the “stem” at the center of the wool felt beret.
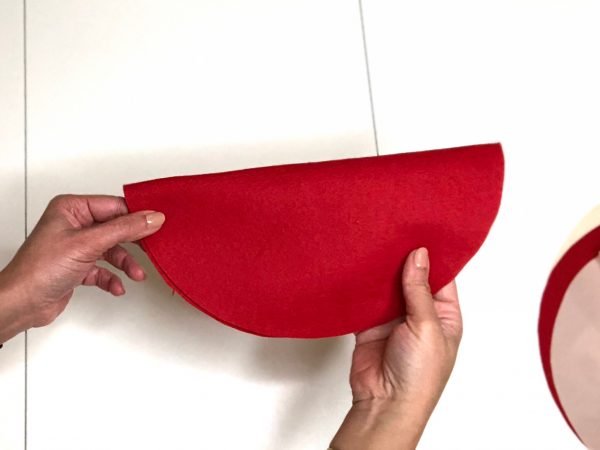
With wrong sides together, fold the top of the beret in the fabric in half.
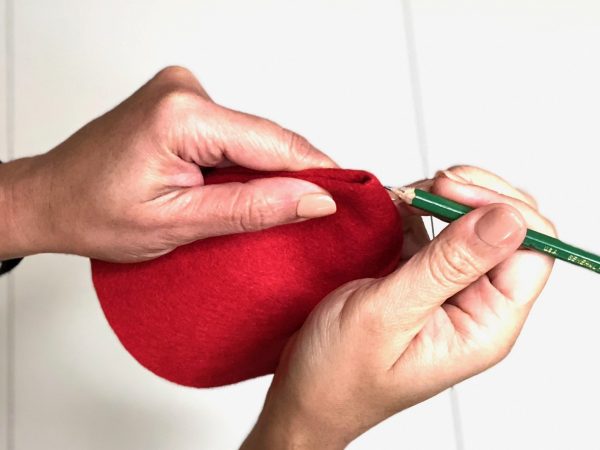
Then fold it in a fourth. Using a pen or pencil, make a mark at the point. This is the center of the top of the wool felt beret.
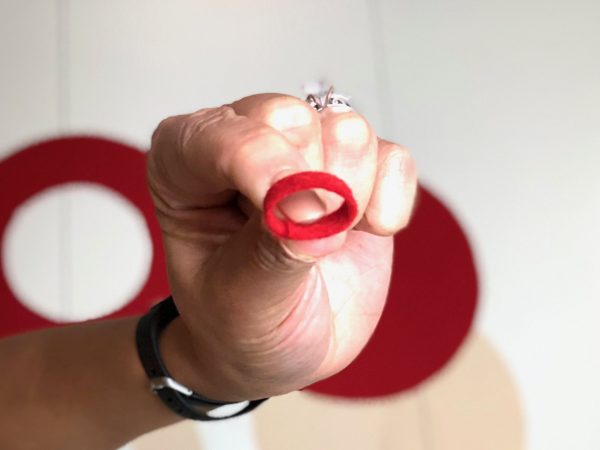
For the stem piece, overlap the ends.
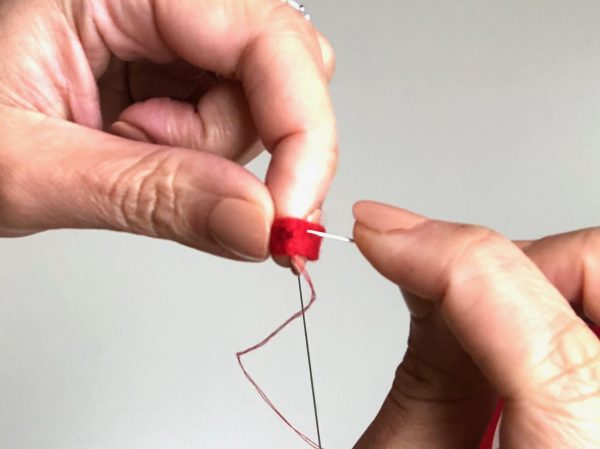 Using needle and thread, stitch together.
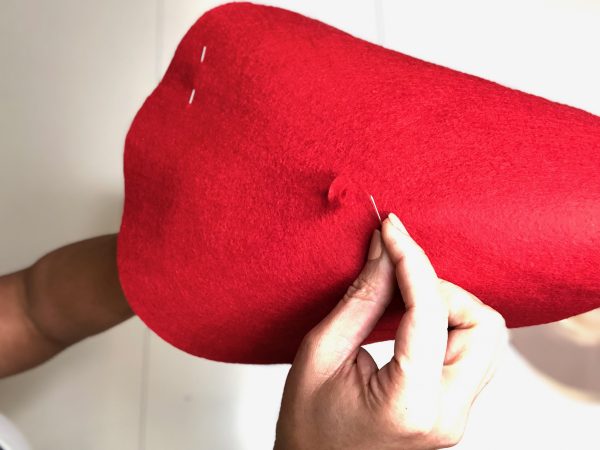
Stitch the stem to the center of the top of the beret.
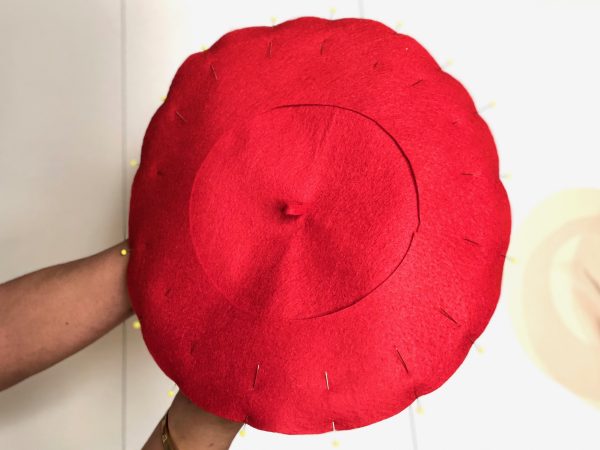
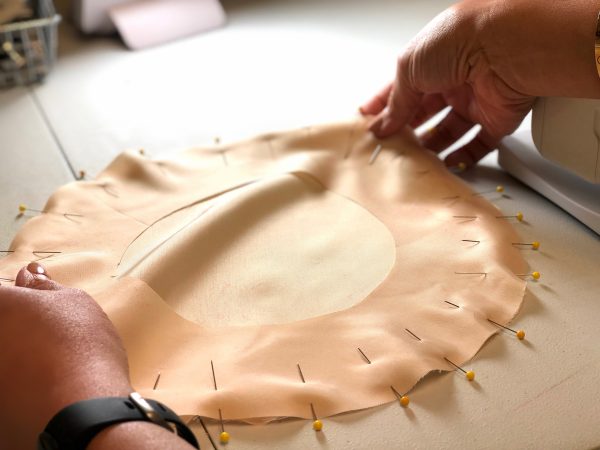
With right sides together, pin the underside of the beret to the top.
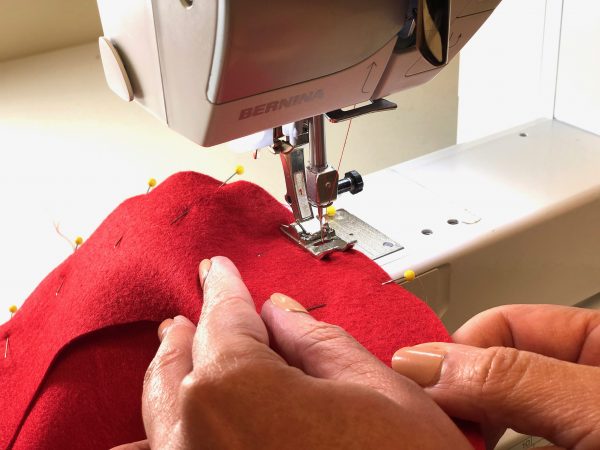
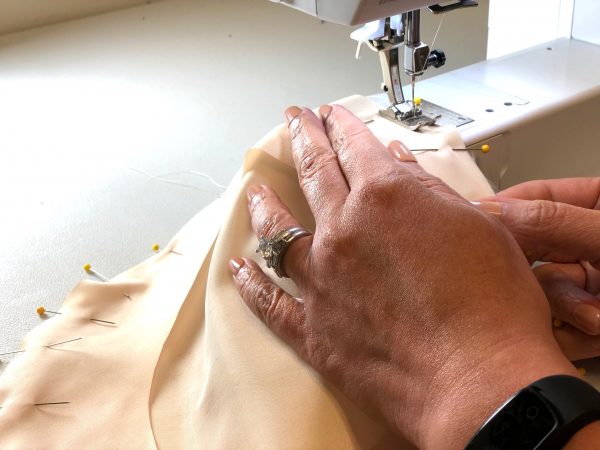
Stitch the seam using a .25″ seam allowance.
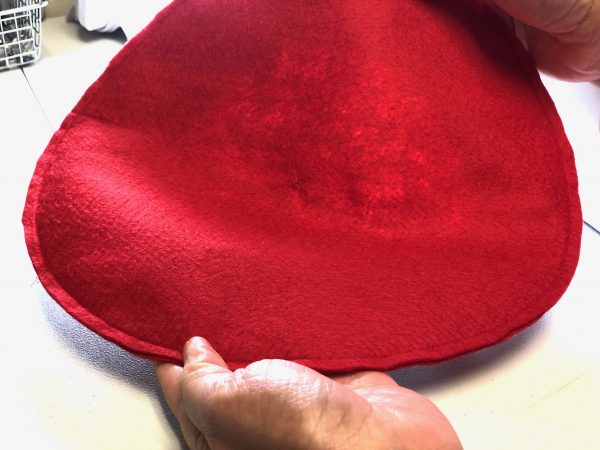
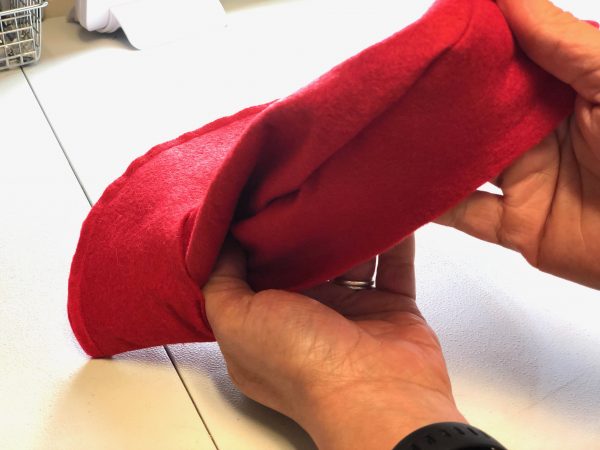 Flip the wool felt beret to the right side.
Flatten your seam with your iron on the proper heat setting.
Pin the top and underside of the lining fabric, right sides together.
Sewing with a .25″ seam allowance, also.
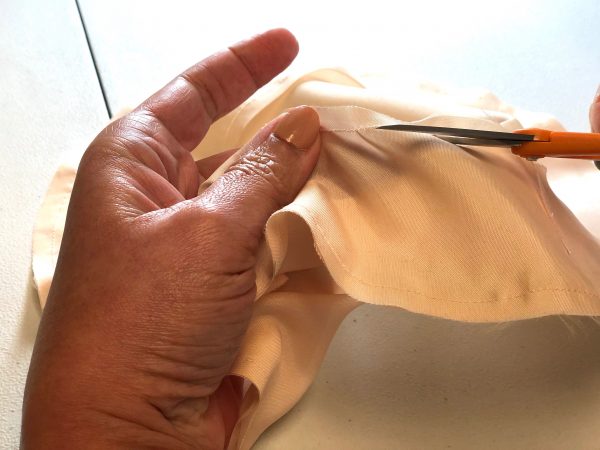
Reduce the inner circle by .25″, so that when it’s sewn to the wool felt beret it will give you a “turn of cloth” and the lining will not peek out.
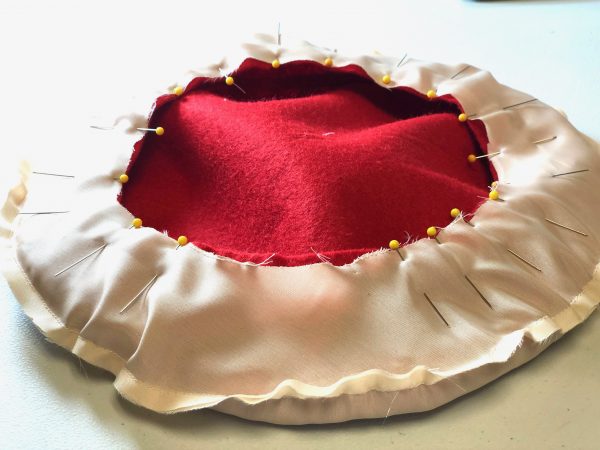
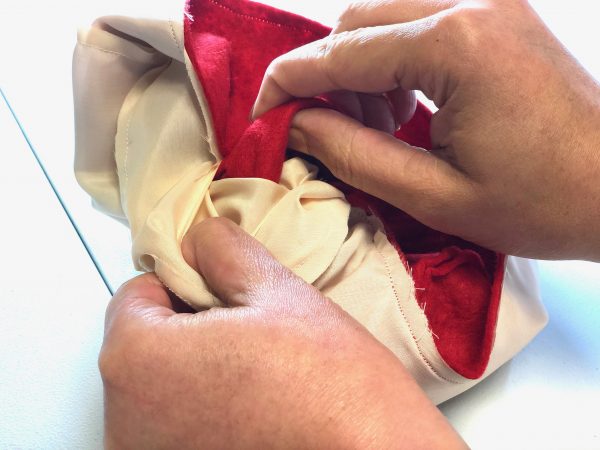
With right sides together, pin the lining to the wool felt beret, leaving a 3″-4″ opening. Stitch using a .25″ seam allowance.
Turn to the right side.
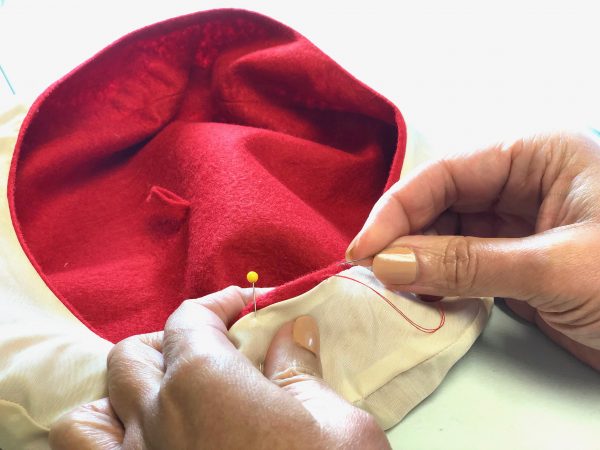
Using needle and thread, slip stitch the opening closed.
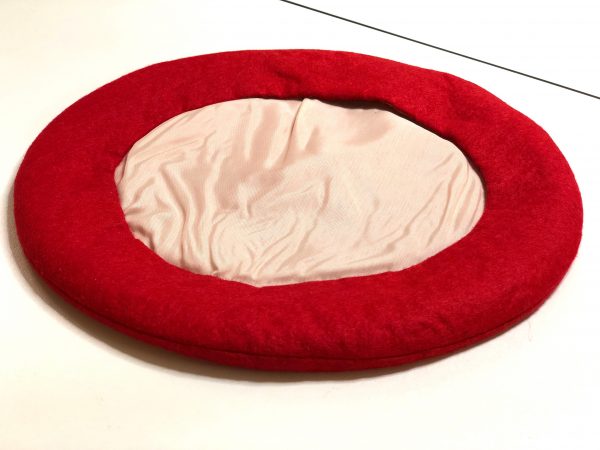
And flatten your seam with your iron.
What you might also like
6 comments on “How to Sew a Wool Felt Beret”
-
-
Great project. Looks so stylish on you. Thanks for a great tutorial.
-
That’s fabulous, and you look stunning in it. I’m going to make a couple of these. Thank you!!
-
That is a very nice beret Erica! I made a beret for my girly daughter that you can check at https://agnescreates.com/how-to-sew-a-beret-hat-with-ribbing/. I would make her a beret using your tutorial and I know she’ll love it!
-
Thank you Erica! I will making this for my self. I have thinning hair and I think this is just what I need to help keep me warm this Fall and winter!
-
Lovely lady thank you for the tutorial, will be completing this project soon out of lambskin leather. Always wanted to make a beret for myself.
Have a great Christmas!
Leave a Reply
You must be logged in to post a comment.










this looks so easy ,I might have to try this