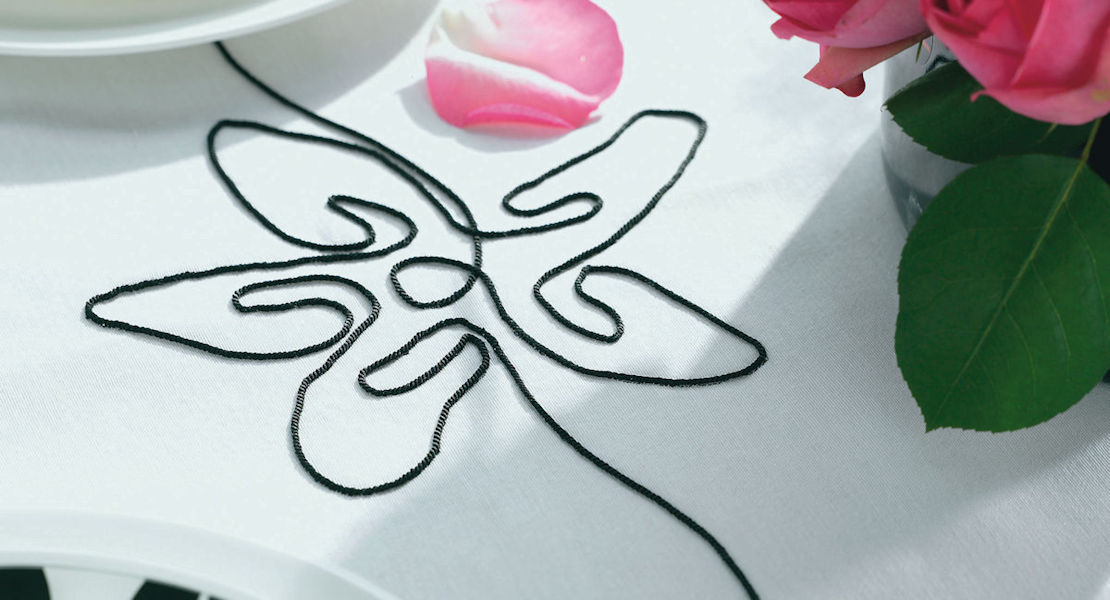
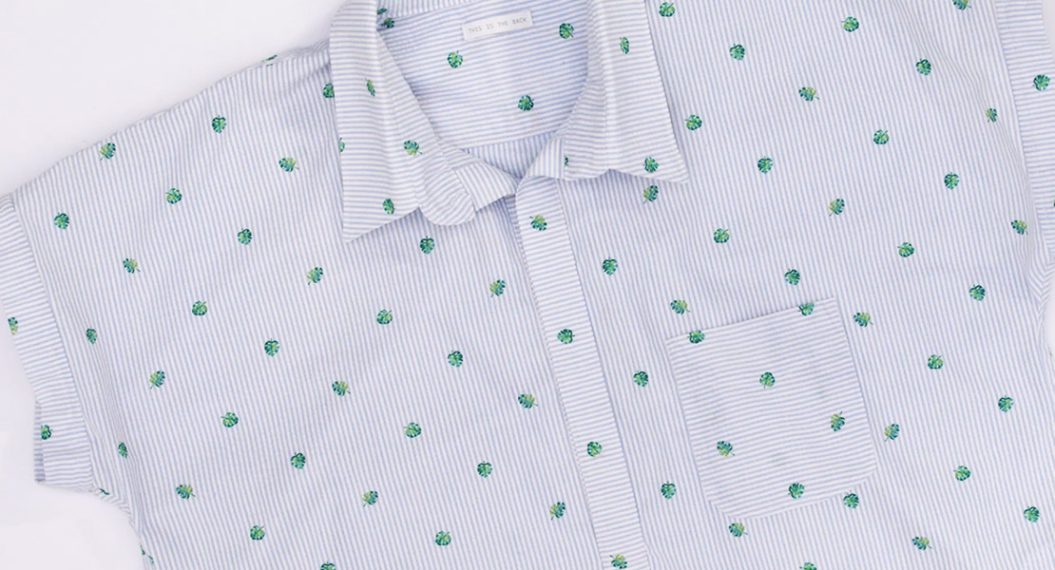
Easy Couching Techniques with Q Series
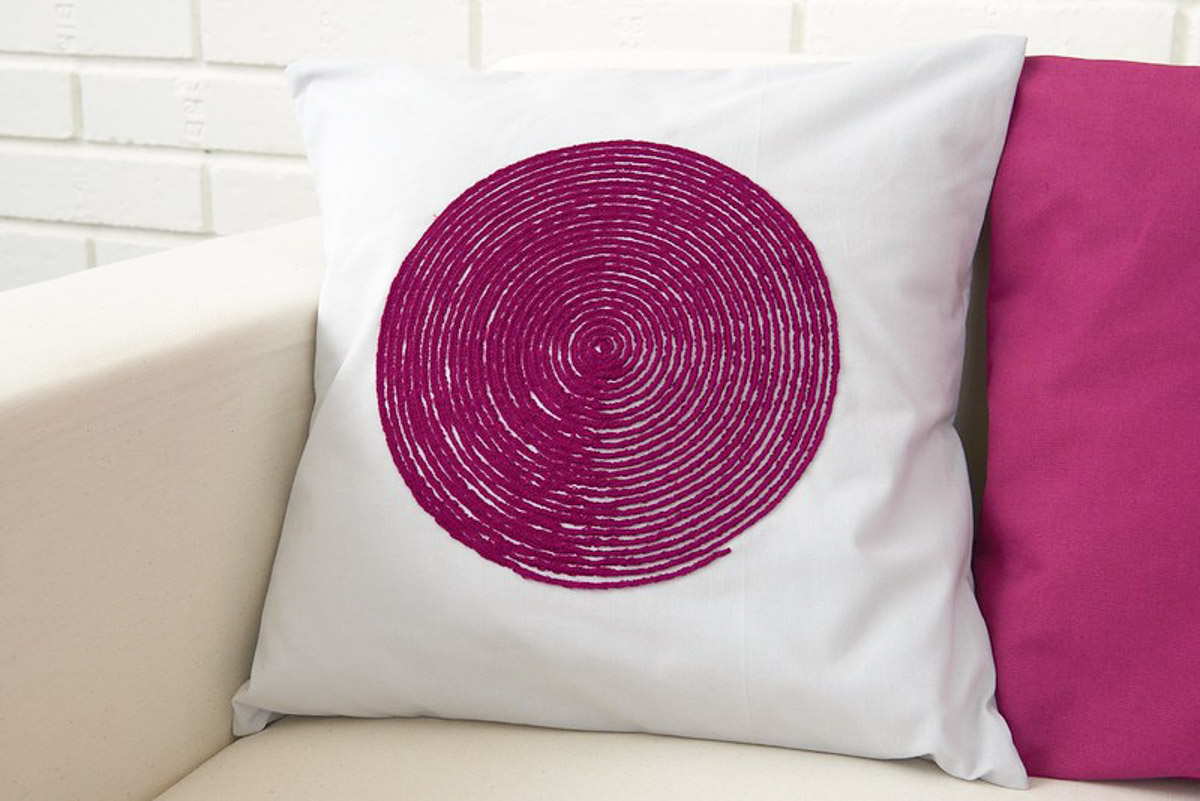
Ahhh, couching! All those pretty ribbons, yarn, and cording decoratively attached to a project in what looks like an intimidating and time-consuming process. While it looks difficult, couching is anything but with a BERNINA Q Series Longarm. Pair the additional throat space of a Q Series Longarm with feet and accessories designed specifically for couching and you will see it’s a quick, easy, and fun way to express your creativity. In this blog post, I’ll share three options for couching on a Q Series Longarm so you can achieve stunning results.
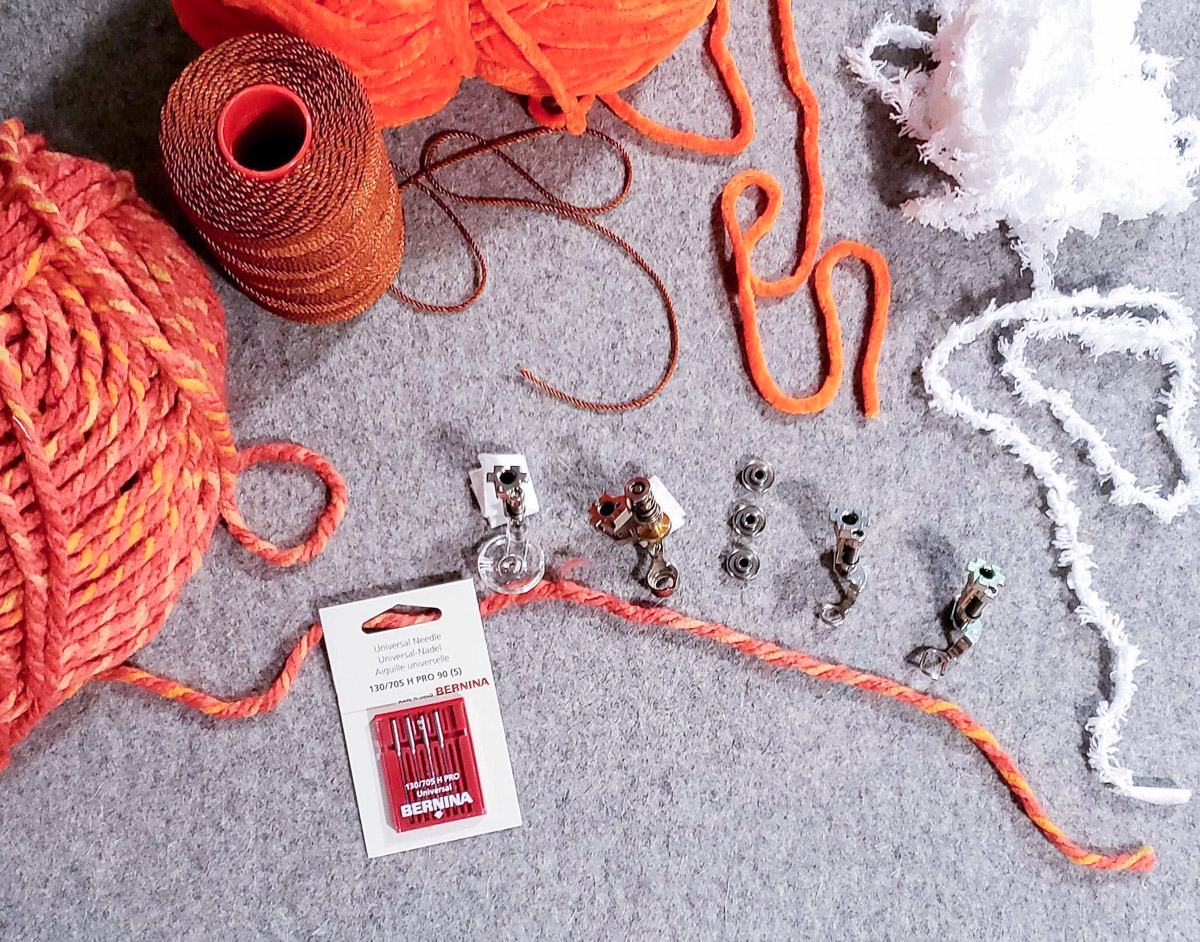
Materials for Couching with a BERNINA Q Series Longarm
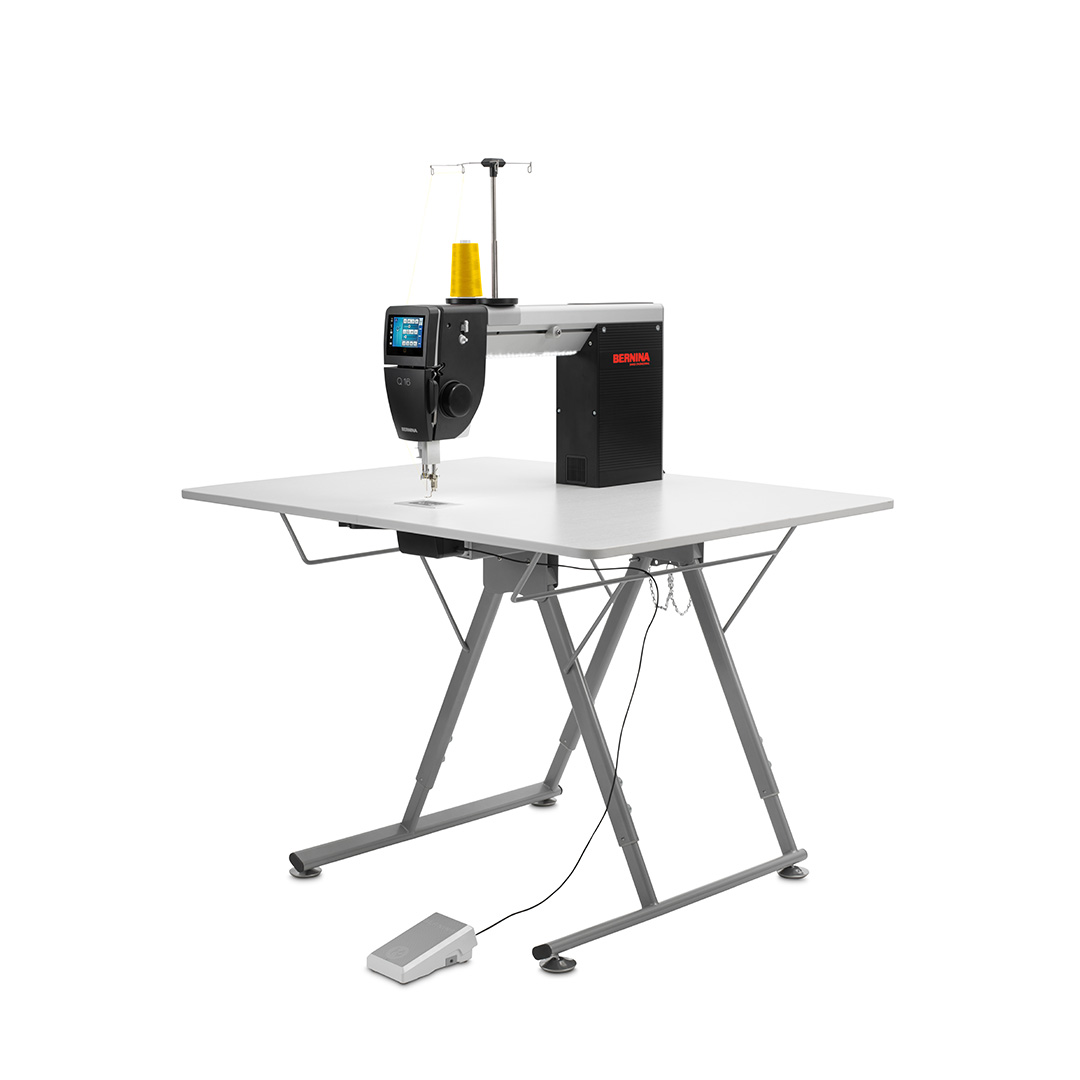
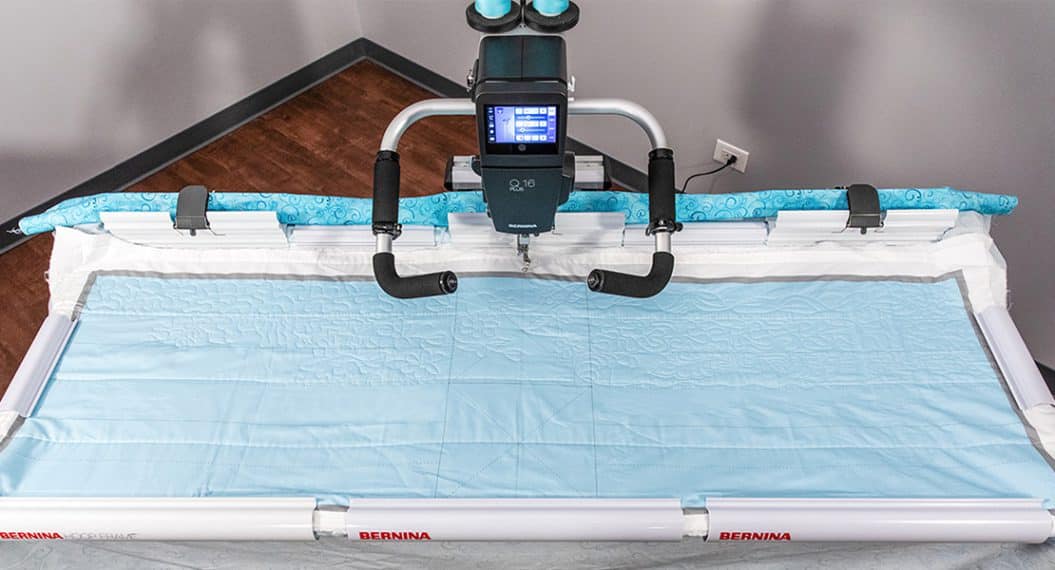
- BERNINA Q16, Q16+, Q20 or Q24 Longarm on either a table or frame
- Free-motion Couching Foot #43
- Adjustable Ruler Foot #72
- Couching inserts
- Embroidery Foot #15
- BERNINA Universal 90/14 needle
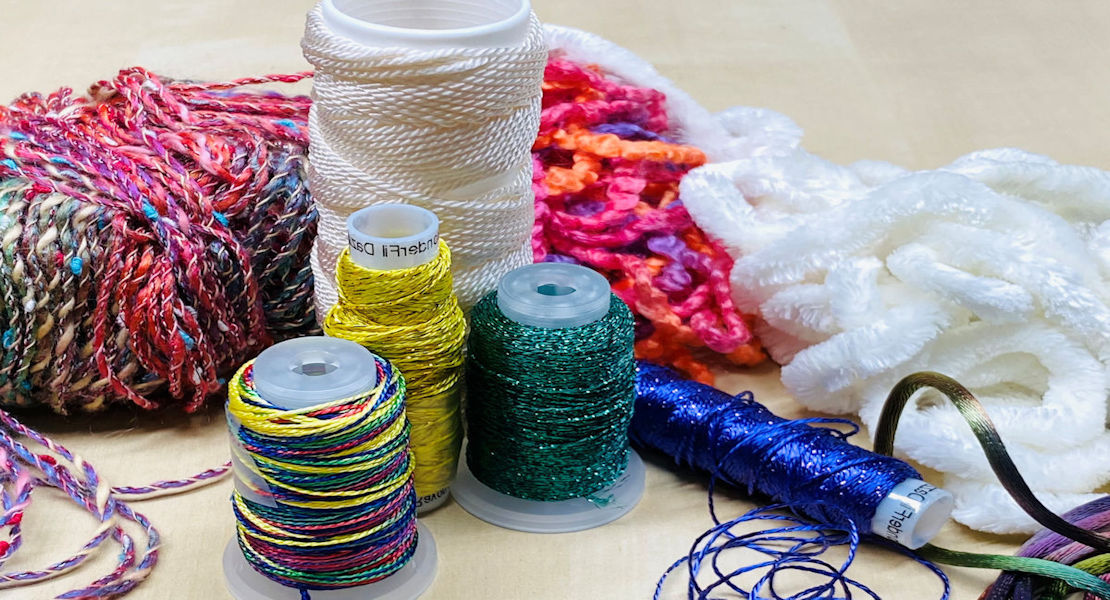
- Assorted yarns, cord, ribbons, and fibers for couching
- Quilting thread to match couching materials or clear mono-filament thread
- 6 fat quarters of quilting cotton and 3 fat quarters of cotton batting for Q Series on the table models
- (2) 1-yard pieces of quilting cotton and (1) 36” x 45” piece of cotton batting for Q Series on the frame models
- Snips, scissors, and other standard quilting and sewing supplies
Prepare practice quilt sandwiches or load the frame
If you are using a Q Series machine on a table, prepare practice quilt sandwiches by layering the batting between the wrong sides of two fat quarters. Smooth and baste, if desired. Prepare three, one for each technique.
For those using a Q Series on a frame, load one yard of quilting cotton for the backing, the batting, and the remaining yard of quilting cotton as a quilt top.
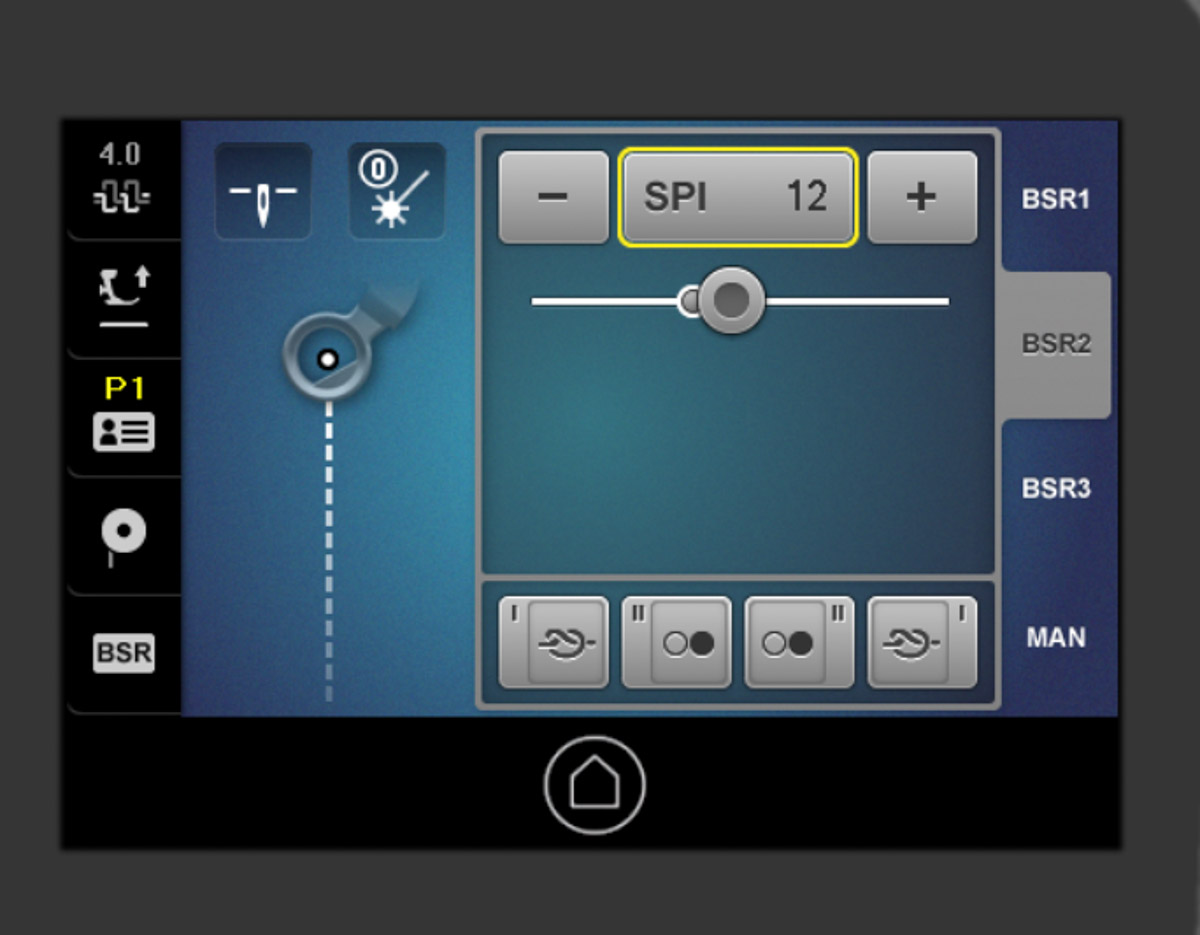
Setting your machine for couching
I prefer the Stitch Regulated BSR2 Mode for couching so the needle pauses as I pause when moving either the fabric or the machine. This allows me greater control of my stitches. I set the Stitch Length to 12 stitches per inch. Adjust your stitch length depending on the fiber you’re using to ensure the couching is securely stitched to the fabric. Regardless of which technique you use, always stitch a test swatch first so you can make any needed adjustments.
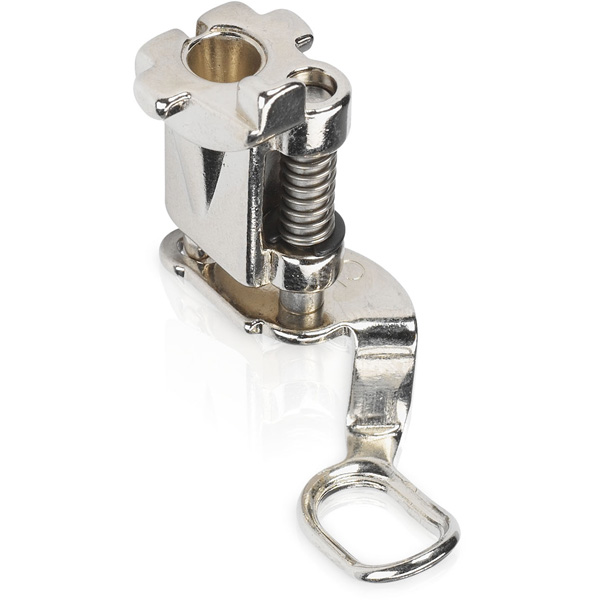
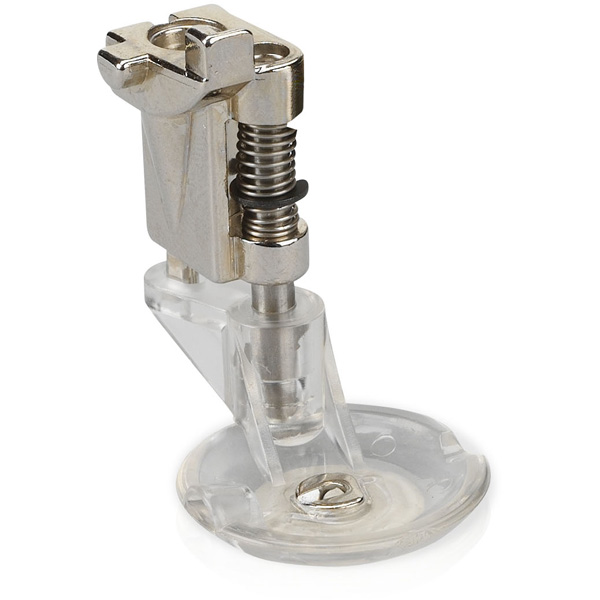
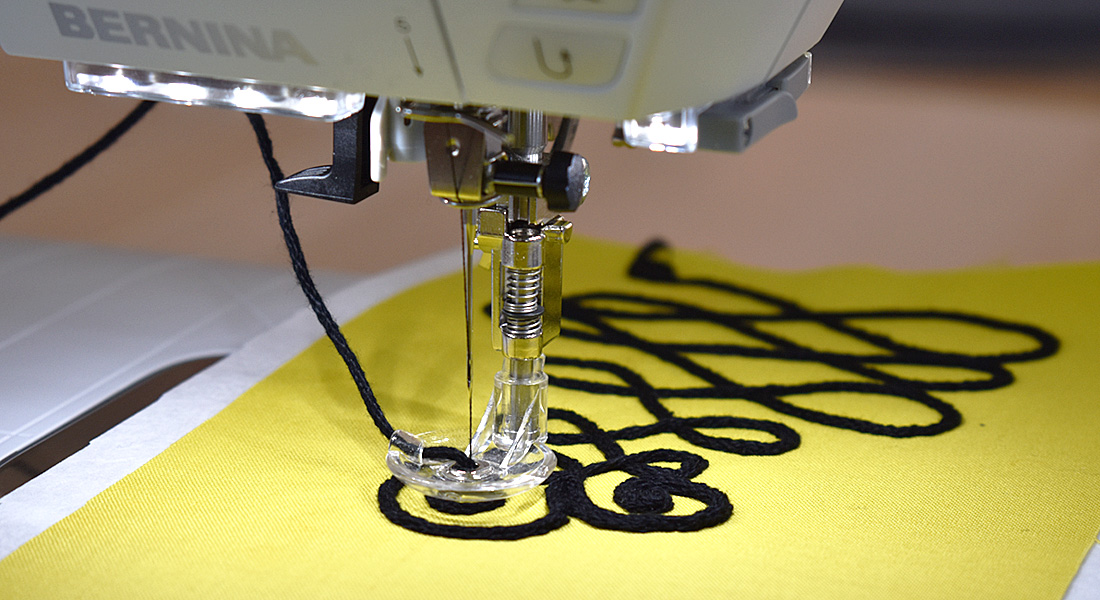
Couching with the Free-motion Couching Foot #43
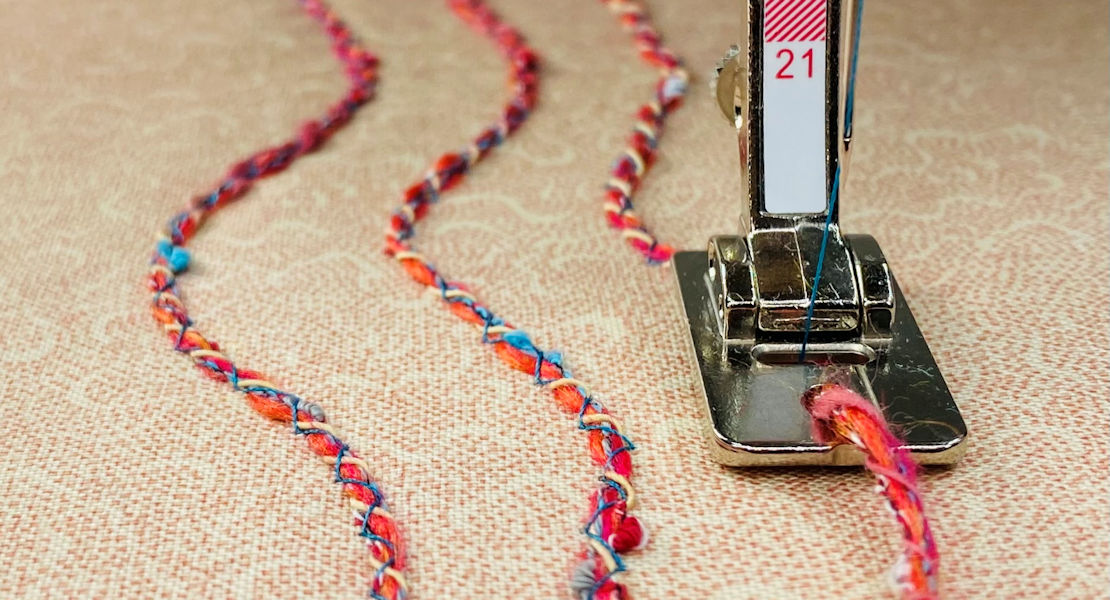
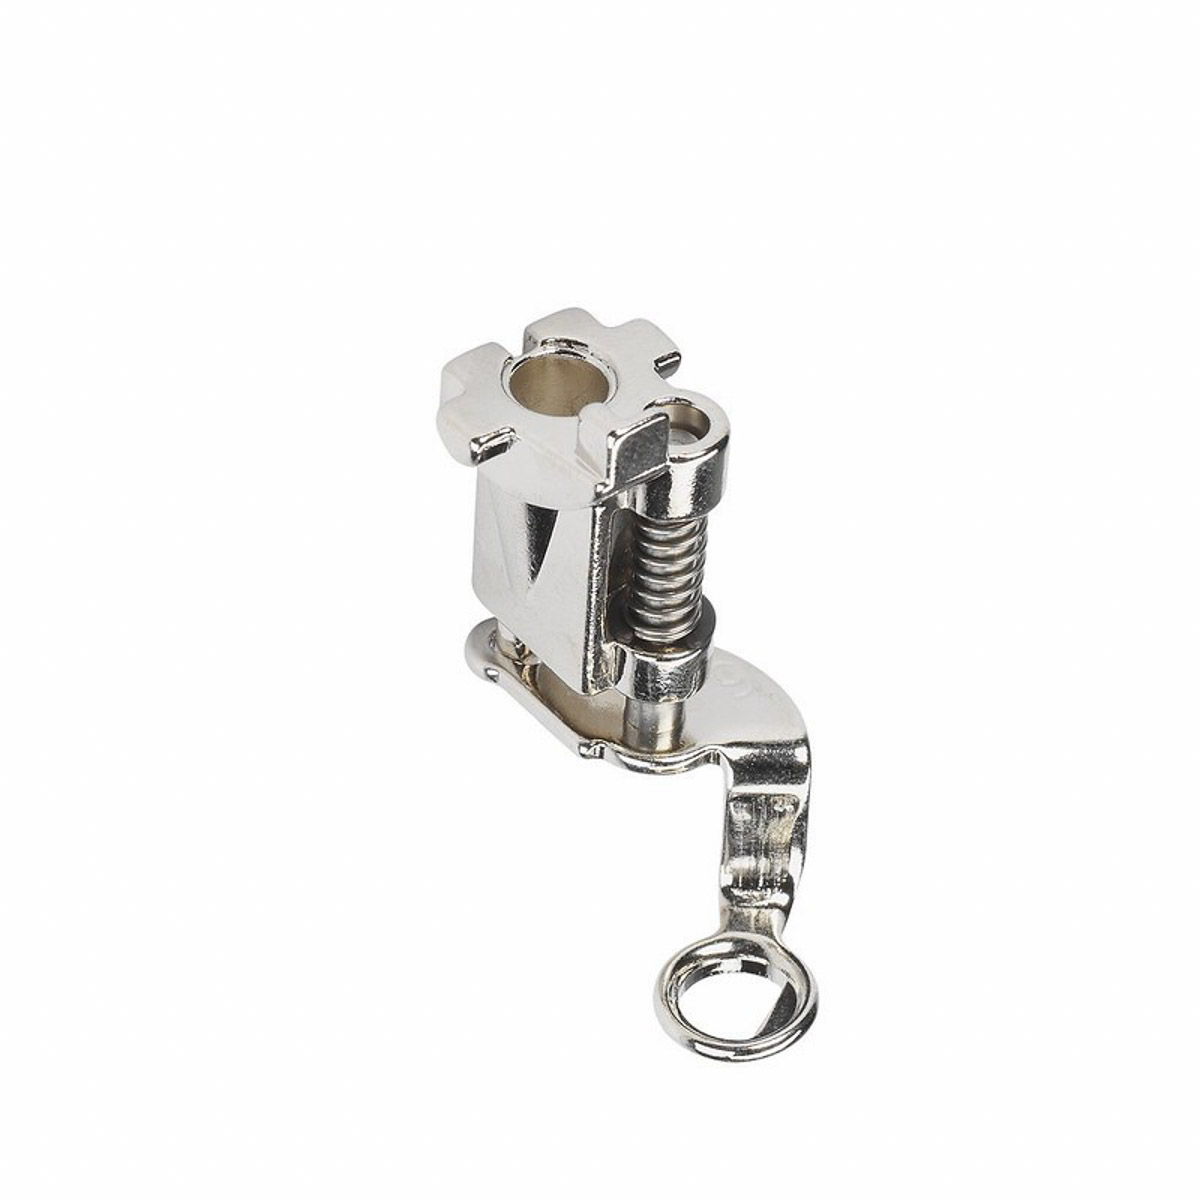
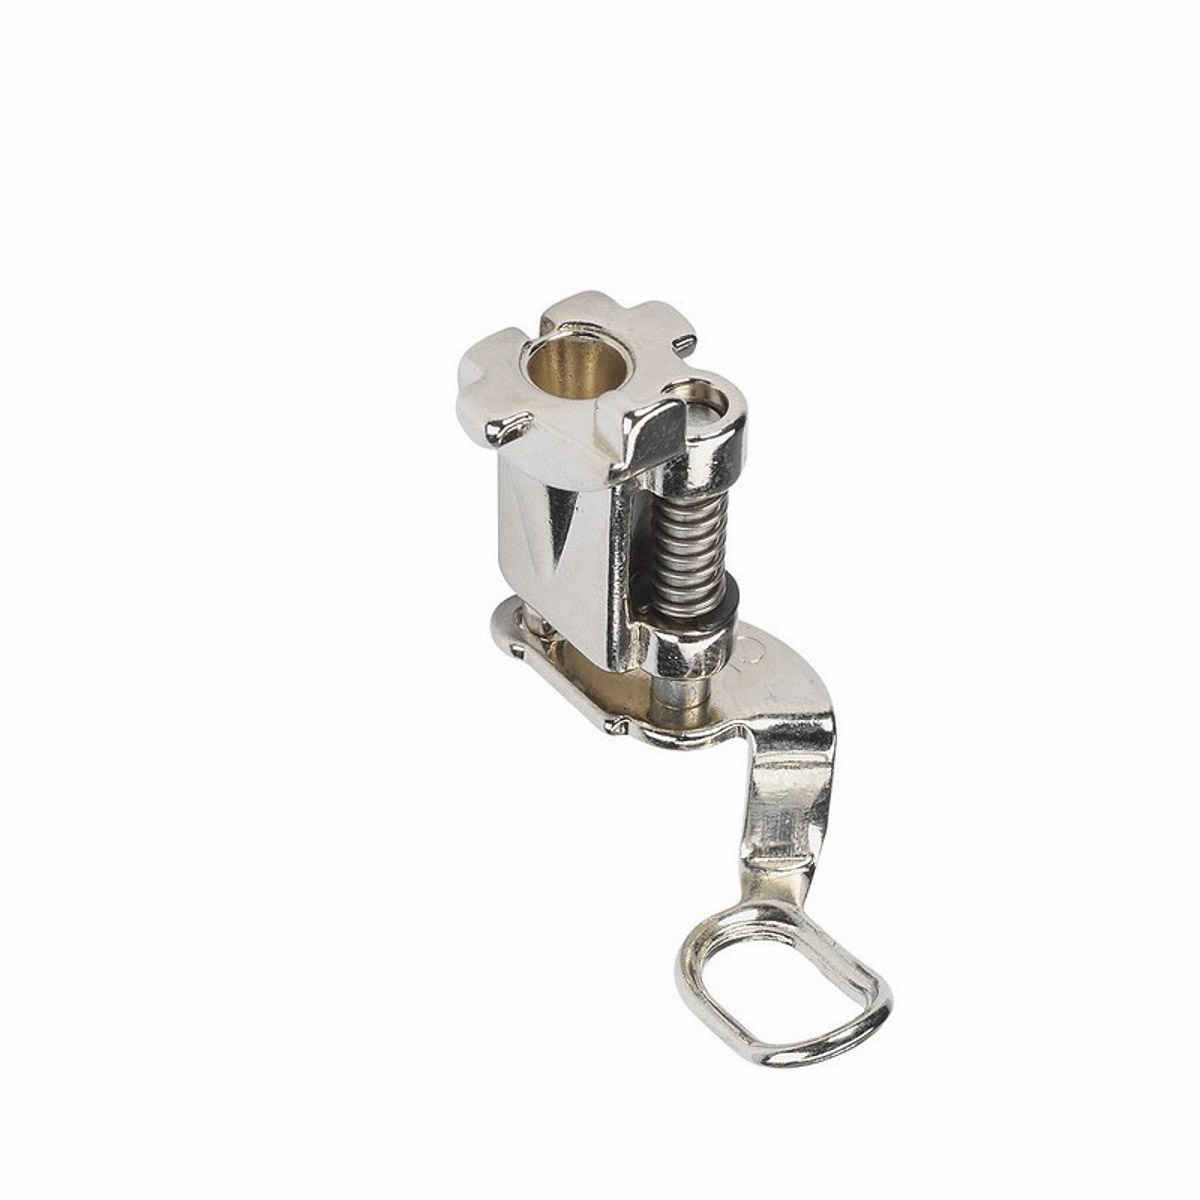
The free-motion couching foot #43 is specially designed for appliquéing with cords, yarn, and ribbon up to 2 mm in diameter. The cord is guided directly to the needle through a hole in the sole, enabling it to be sewn onto the quilt in any line or shape using either free-motion quilting or automated designs.
The first step is loading the foot. I am using La Espiga nylon cord for my sample. You may be able to insert it into the guide on the side of the foot and through the needle opening without any problems. Some softer or twisted fibers are more challenging to load, but the Free-motion Couching Foot #43 comes with a wire threader to help pull the fibers through. An alternative is using a dental floss threader, which is what I am using. Place the cord through the threader and then, using the threader, pull into the side opening on the foot.
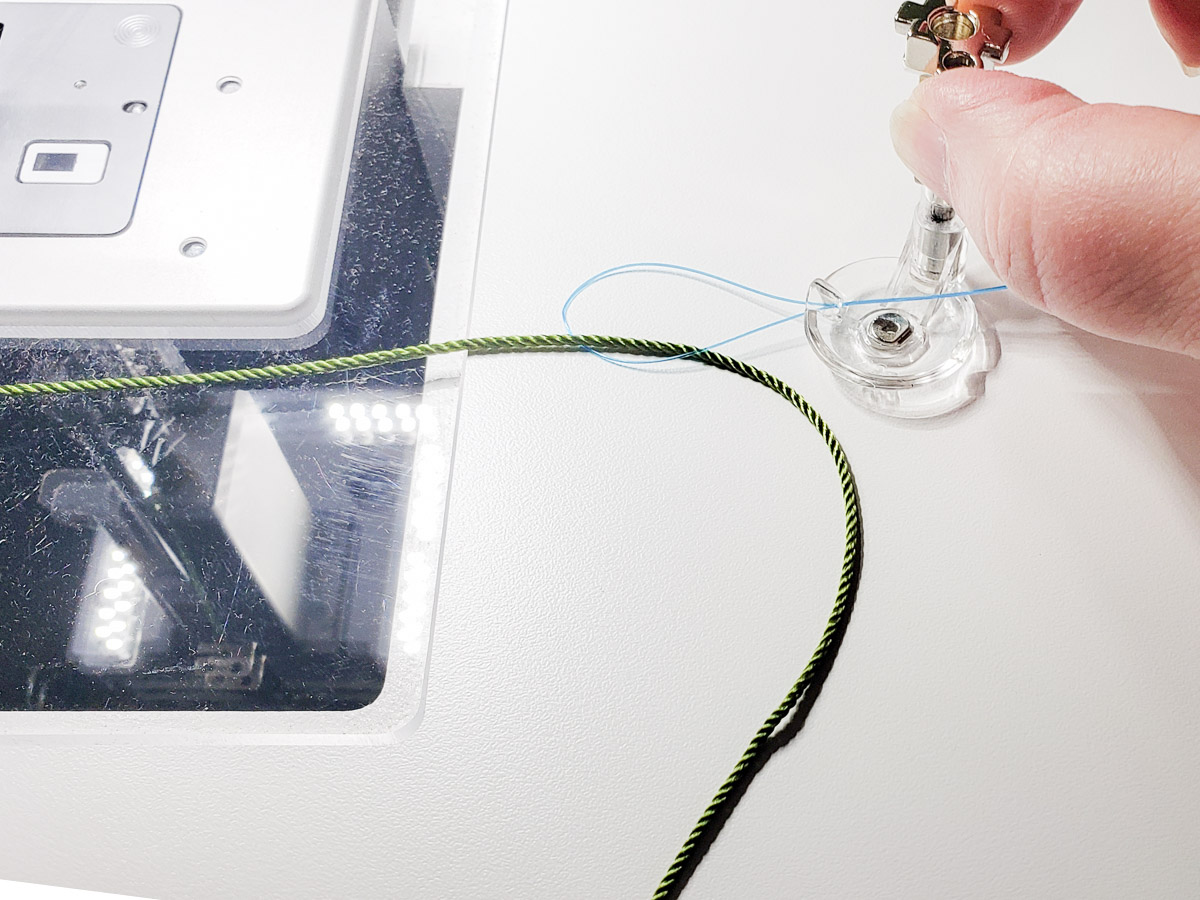
Again with the threader, bring the cord through the needle opening in the center bottom of the foot. When properly loaded and placed on your sew head, the foot will look like this.
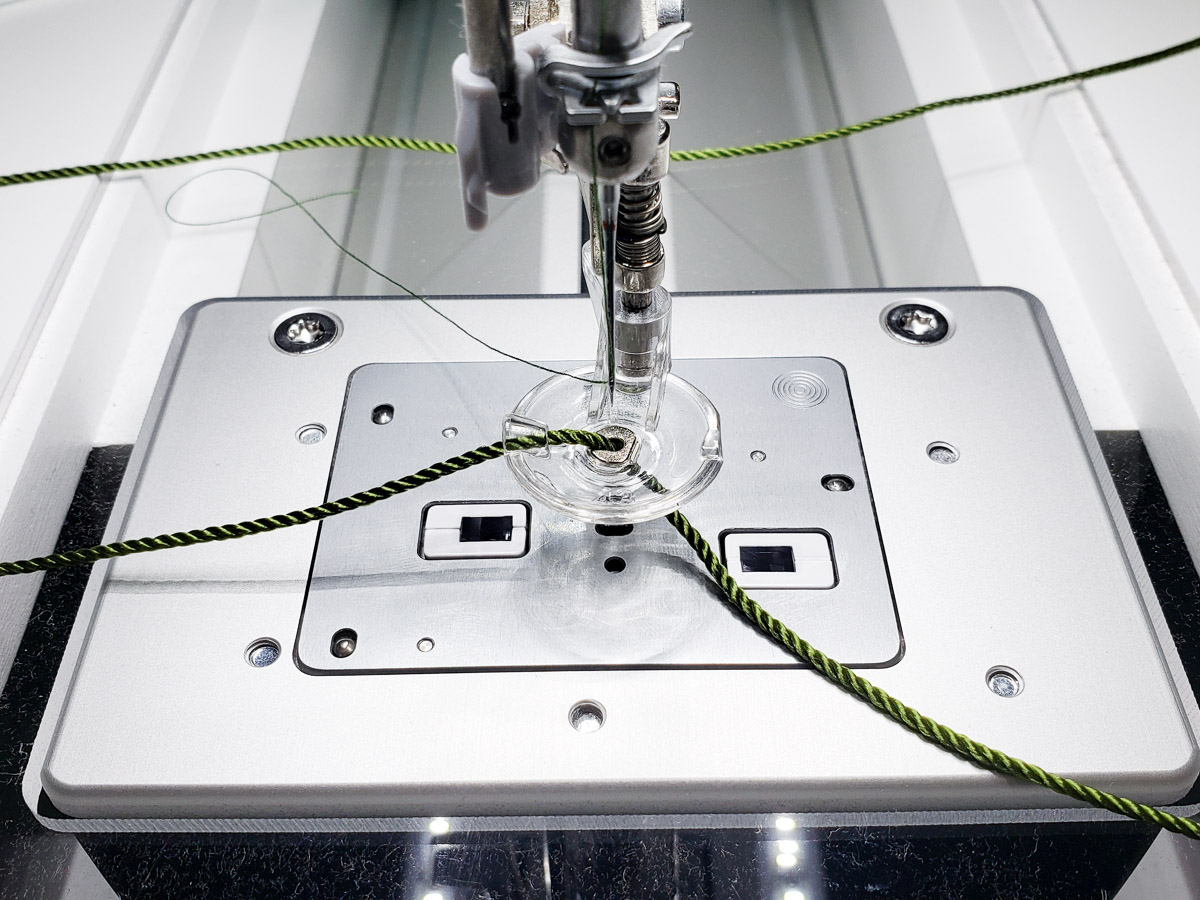
Now we are ready to start stitching!
Bring your bobbin thread to the top and, while holding the bobbin thread, top thread, and couching fiber, stitch a series of securing stitches. Then start stitch by moving either the fabric or the machine.
Couch the cord by guiding the fabric with smooth, round movements and progressing the cord loosely. The foot does all the work by precisely placing the cording under the needle so it is securely stitched in place. I did some quick doodling so you could see the results.
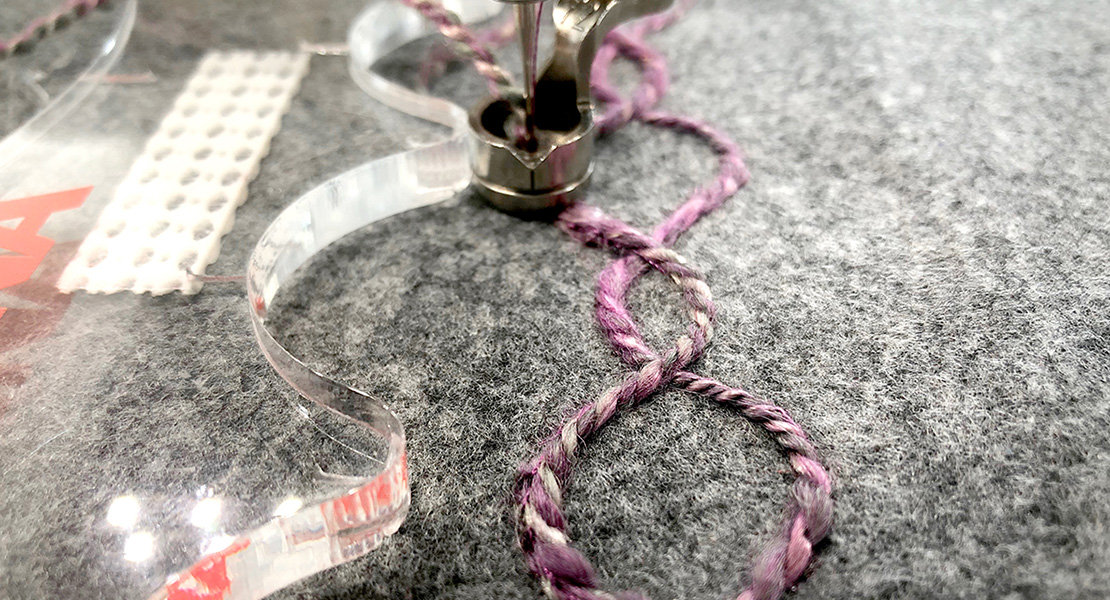
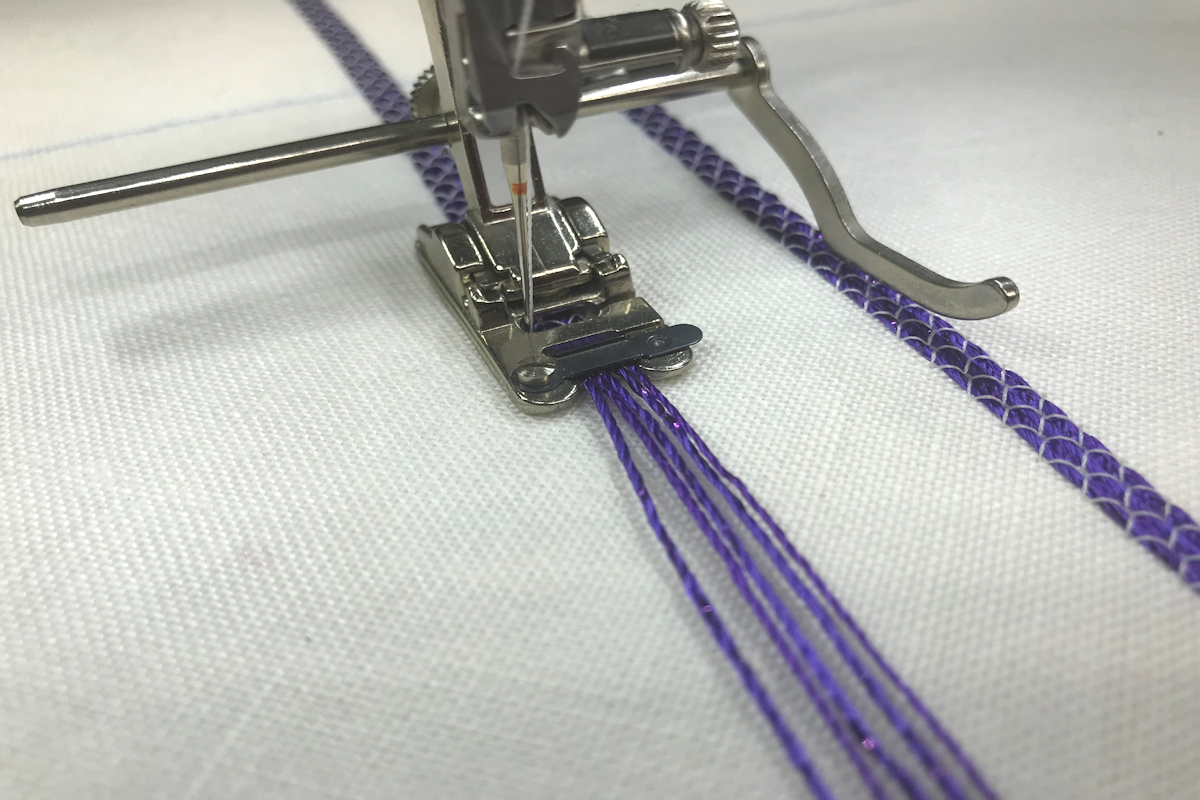
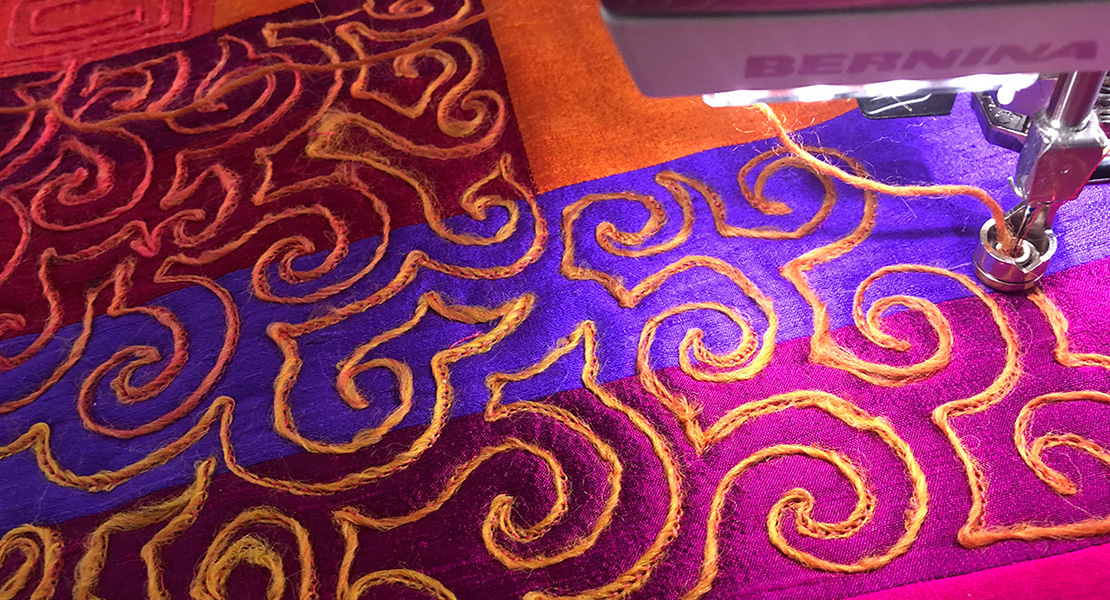
Couching with Adjustable Ruler Foot #72 and Couching Inserts
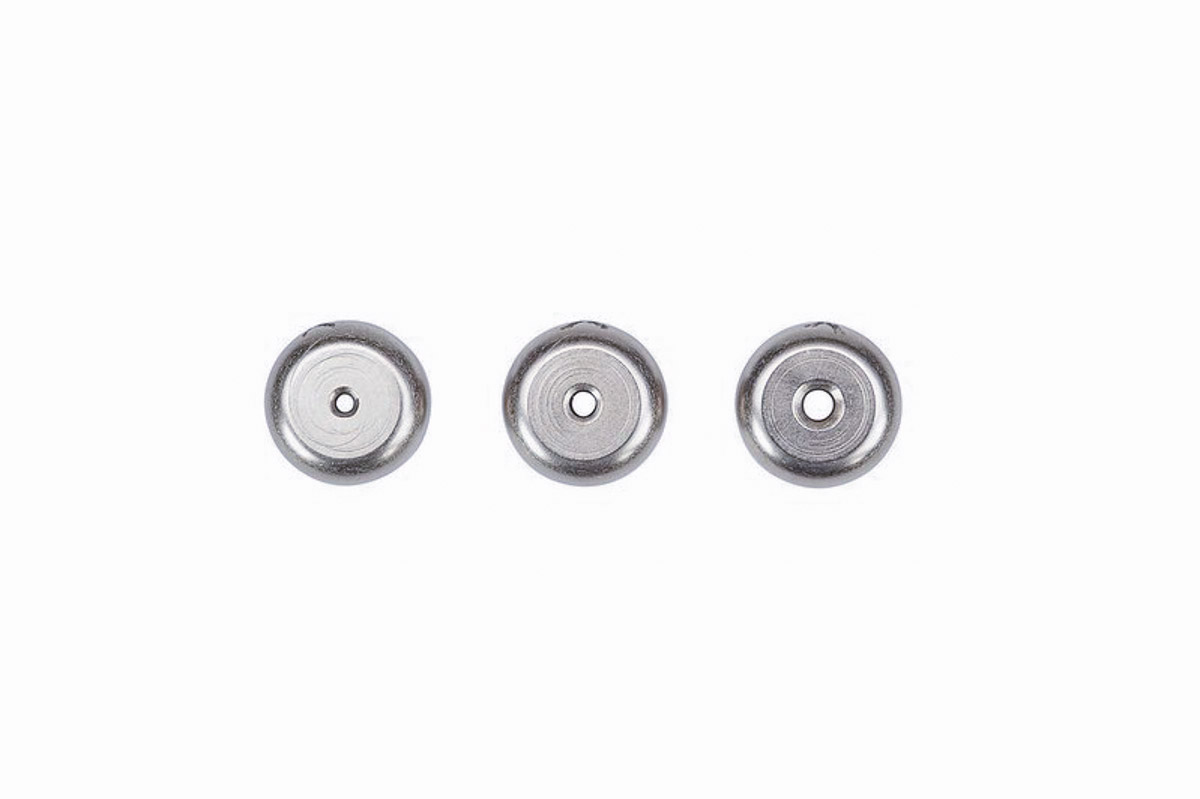
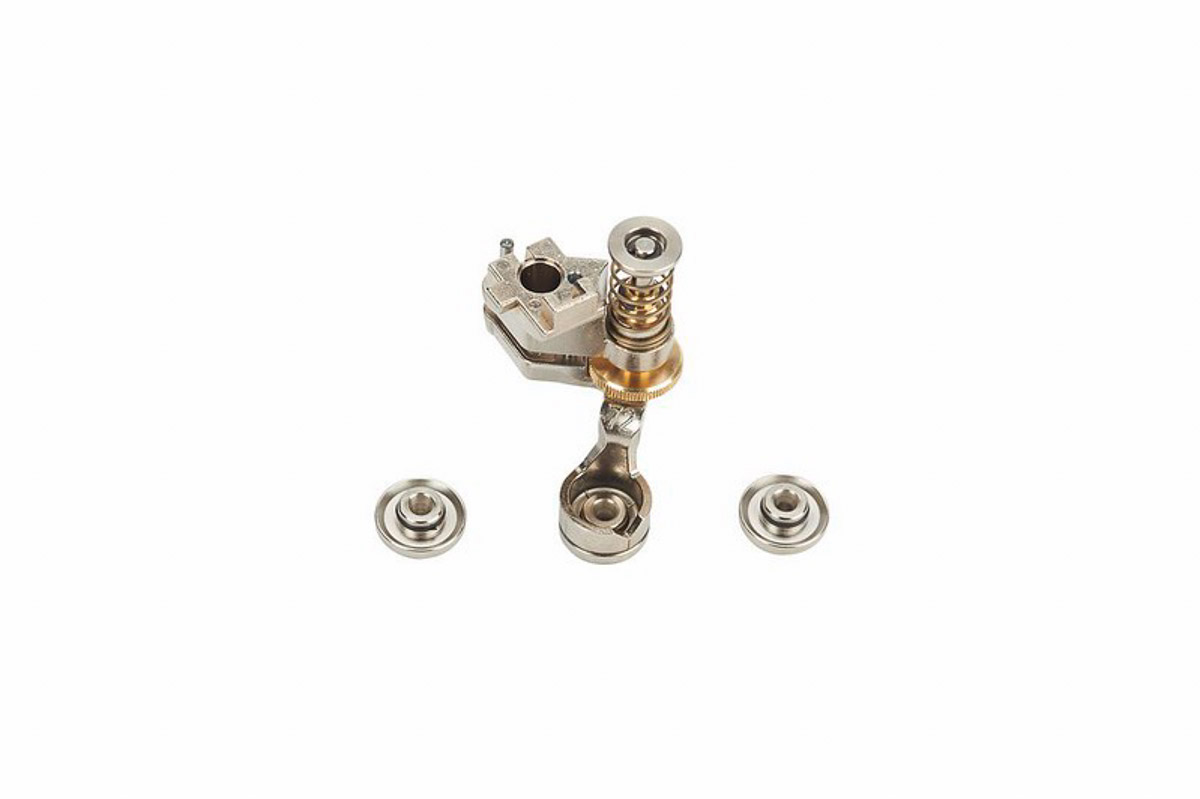
The Adjustable Ruler Foot #72, when paired with the couching inserts, allows yarns, cords, wool, or felt threads to be creatively sewn on to your project. The inserts attach to the bottom of the foot and include three sizes: 1.4 mm, 1.8 mm, and 2.2 mm.
Select the couching insert suitable for the fiber you are using. Push the couching insert from bottom up into the opening of the presser foot’s sole. Adjust the height of the presser foot with the dial so the foot glides over the material easily.
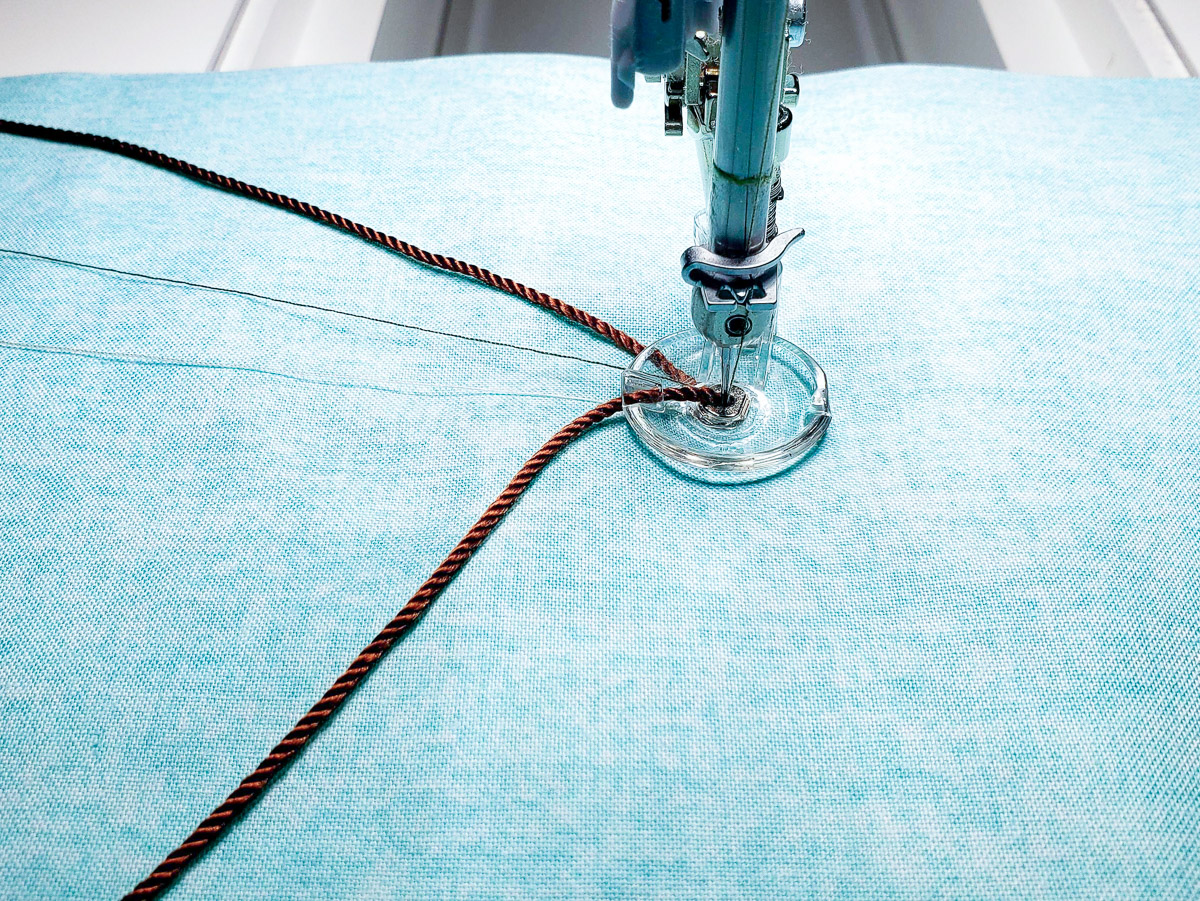
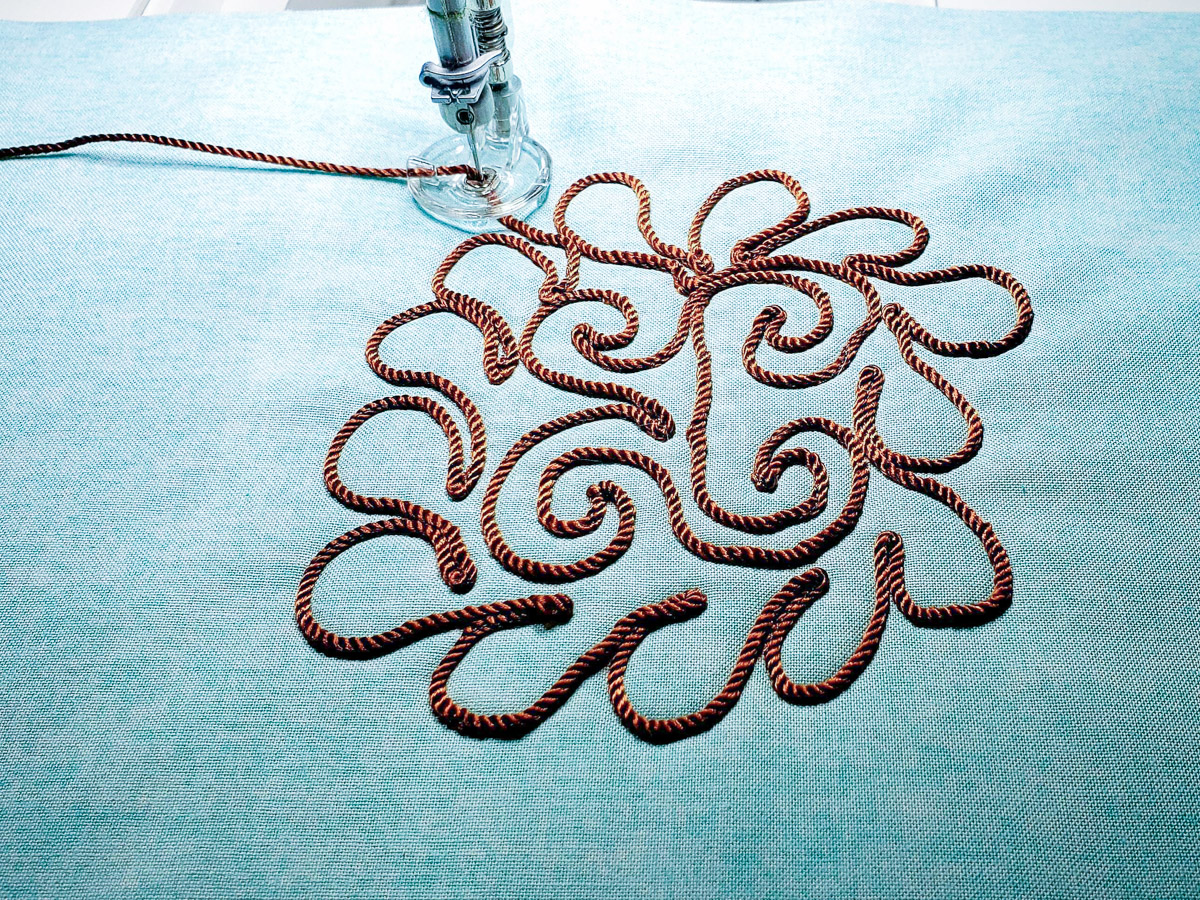
I am using Pipsqueak polyester baby yarn. The start process is the same: bring the bobbin thread up to the top and secure with a few stitches. You will want to unwind enough yarn, place it on the fabric, and let it glide smoothly through the opening of the presser foot sole and couching insert. Manually guide the yarn from the front in the sewing direction to make sure it passes under the needle. I doodled a quick one sided feather as a sample.

One of the bonus features of using the Adjustable Ruler Foot #72 with the couching inserts is that it allows you to couch while doing rulerwork at the same time. How cool is that? You can sew along rulers to create decorative quilt designs such as lines, circles, etc. Experiment with any of your 1/4” thick acrylic quilting rulers and see what wonderful designs you create.
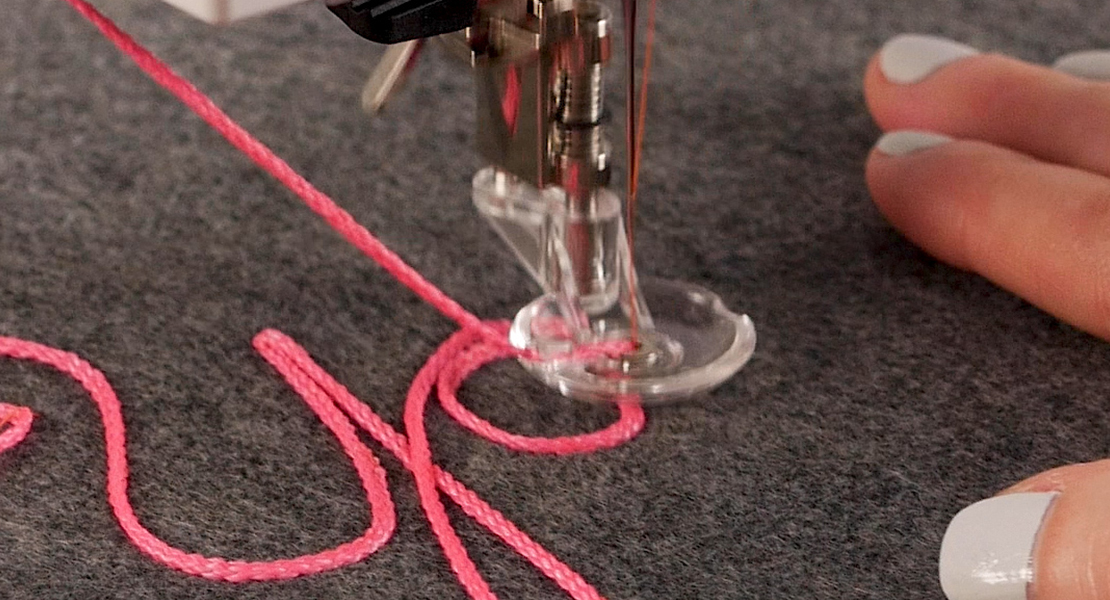
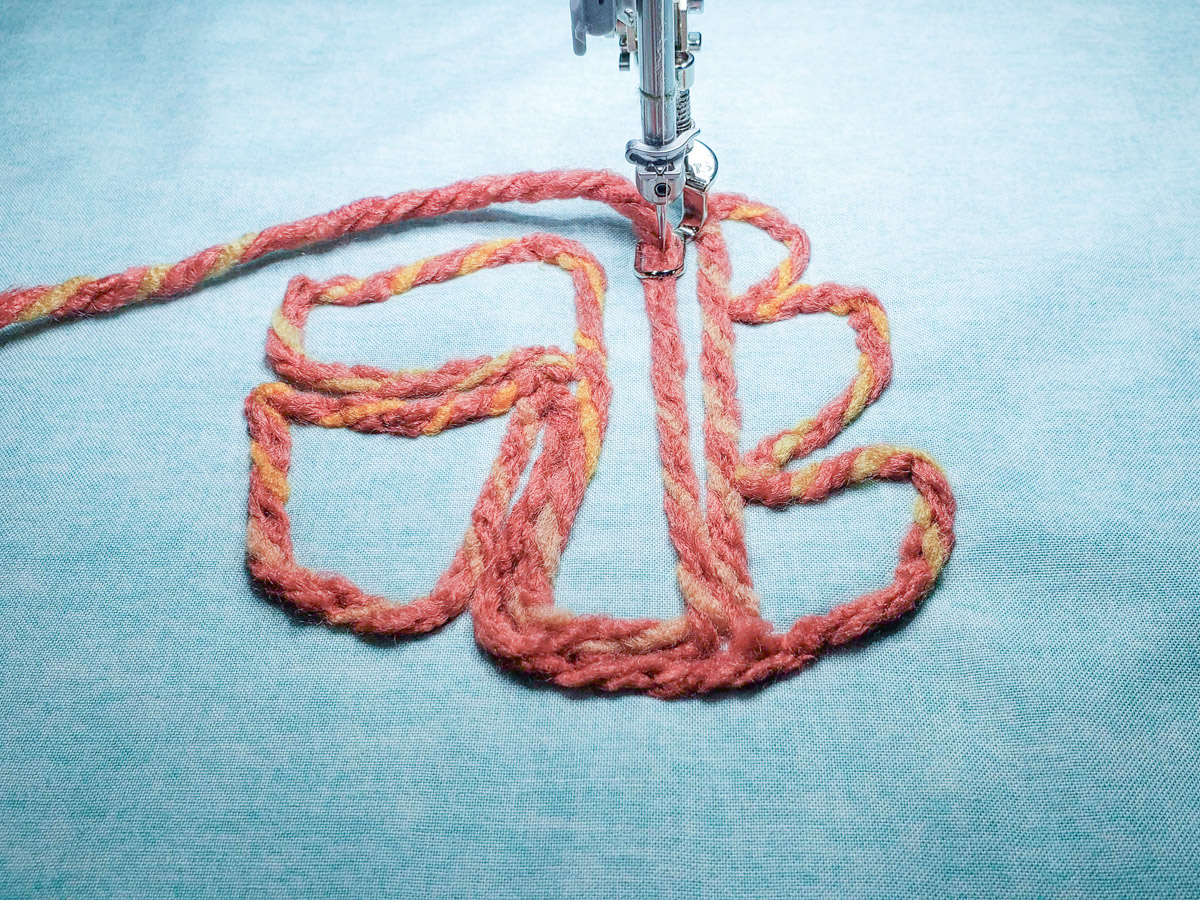
Couching with Darning Foot #9 or Embroidery Foot #15
Either the Darning Foot #9 or the Embroidery Foot #15 can accommodate thicker fibers threaded directly through the opening in the foot, enabling the needle to stitch through the material to couch it in place. Both feet have a hopper mechanism combined with the vertical spring that presses the foot firmly to the project, preventing the material from pulling up with the needle during sewing (flagging) and ensuring a neat stitch pattern. The Darning Foot #9 comes with your Q Series Longarm, so you are ready to couch as soon as you get your machine set up.
With the larger opening, you’ll need to make sure the fiber is in the correct position to be stitched secured by the needle. Like the couching inserts, manually position the fiber in the direction that you will be stitching. The start process is the same. Bring bobbin thread to the top, secure, and then stitch. I doodled a quick free-form design using a thick acrylic yarn and the Embroidery Foot #15.
Couching with Q-Matic
Yes, couching with any of these methods can be accomplished with automated quilting. You will want to slow down the stitching speed so you can manually guide the couching fiber as needed. Be sure to have your couching material unrolled, untangled, and ready to progress through the foot. With Q-Matic, the quilting direction can shift suddenly, so it’s important to anticipate how the pattern will stitch out.
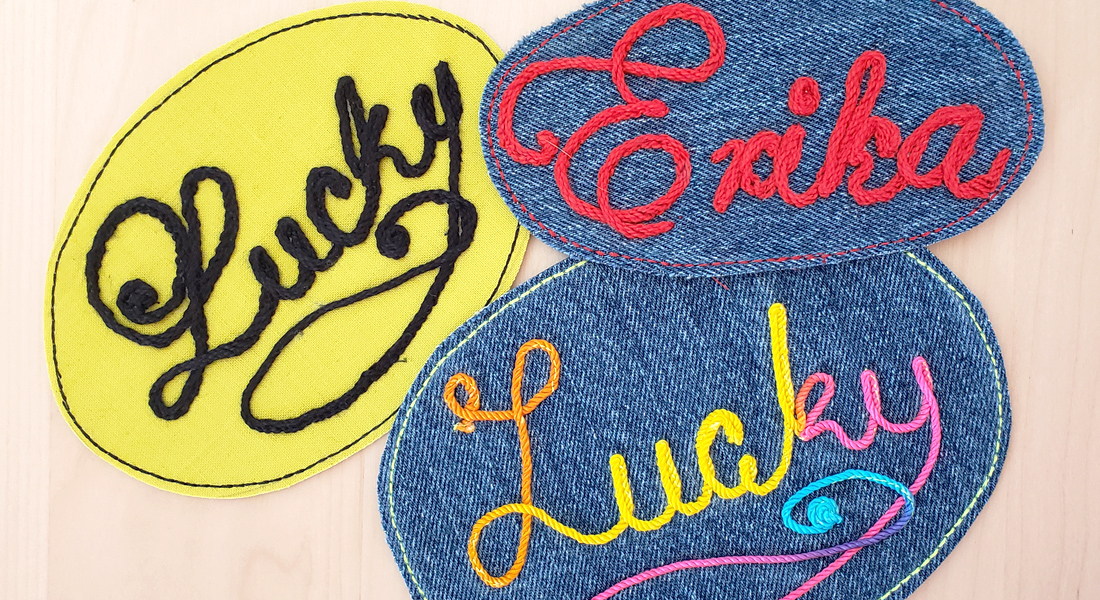
Couching play time
If you haven’t tried couching yet, set up some play time for yourself. Don’t worry about working on a specific project. Grab some fibers, set up your machine, and simply explore. Yes, mistakes may happen along the way, but that is how learning occurs. During play time, you’ll learn which fibers work better with which technique. Fine tune the stitch length as needed and experiment with which thread color blends best. Play is when you grow your couching skills and confidence.