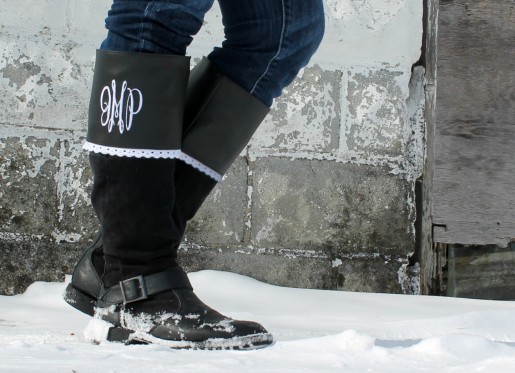
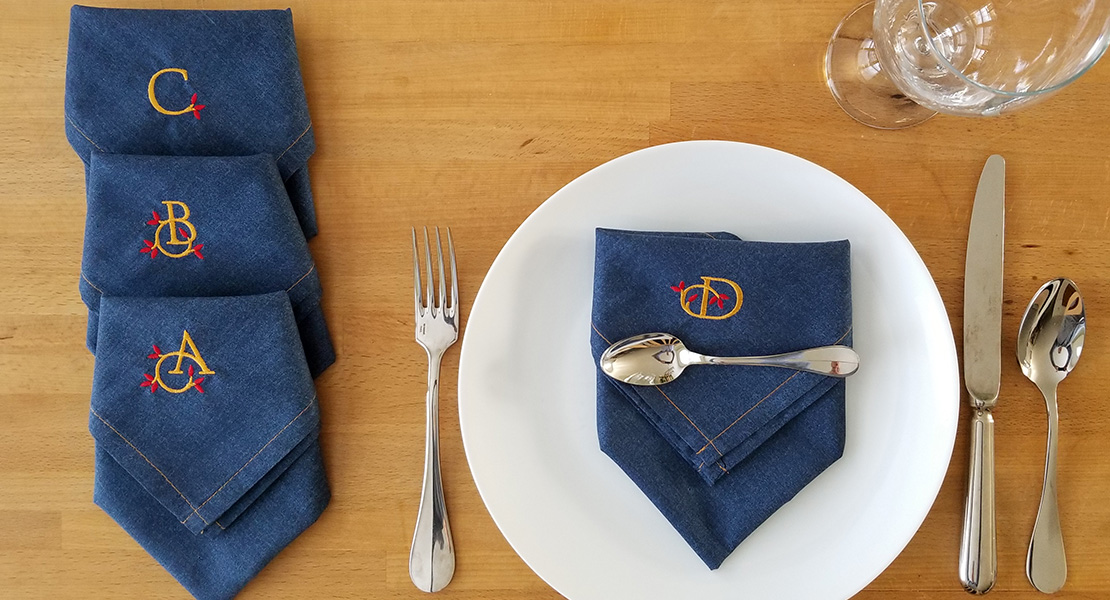
How to Make a Removable Monogrammed Boot Cuff
Both sewing and embroidering on faux leather present a few minor challenges but with the right tools, tricks, and with the help of specialty BERNINA presser feet I’ll show you how easy it can be! Last summer, Cheryl Kuczek shared 6 Tips for Sewing Pleather—a recommended read for anyone wanting to learn more about sourcing quality pleather and selecting the right presser feet. I’ll be walking you through the steps of measuring and cutting faux leather, how to hoop leather, and what steps you need to take for setting up your machine. Then we’ll put your new found knowledge to the test while making a removable monogrammed faux leather boot cuff that can be added to any pair of boots to create an entirely new look for boots you already own!
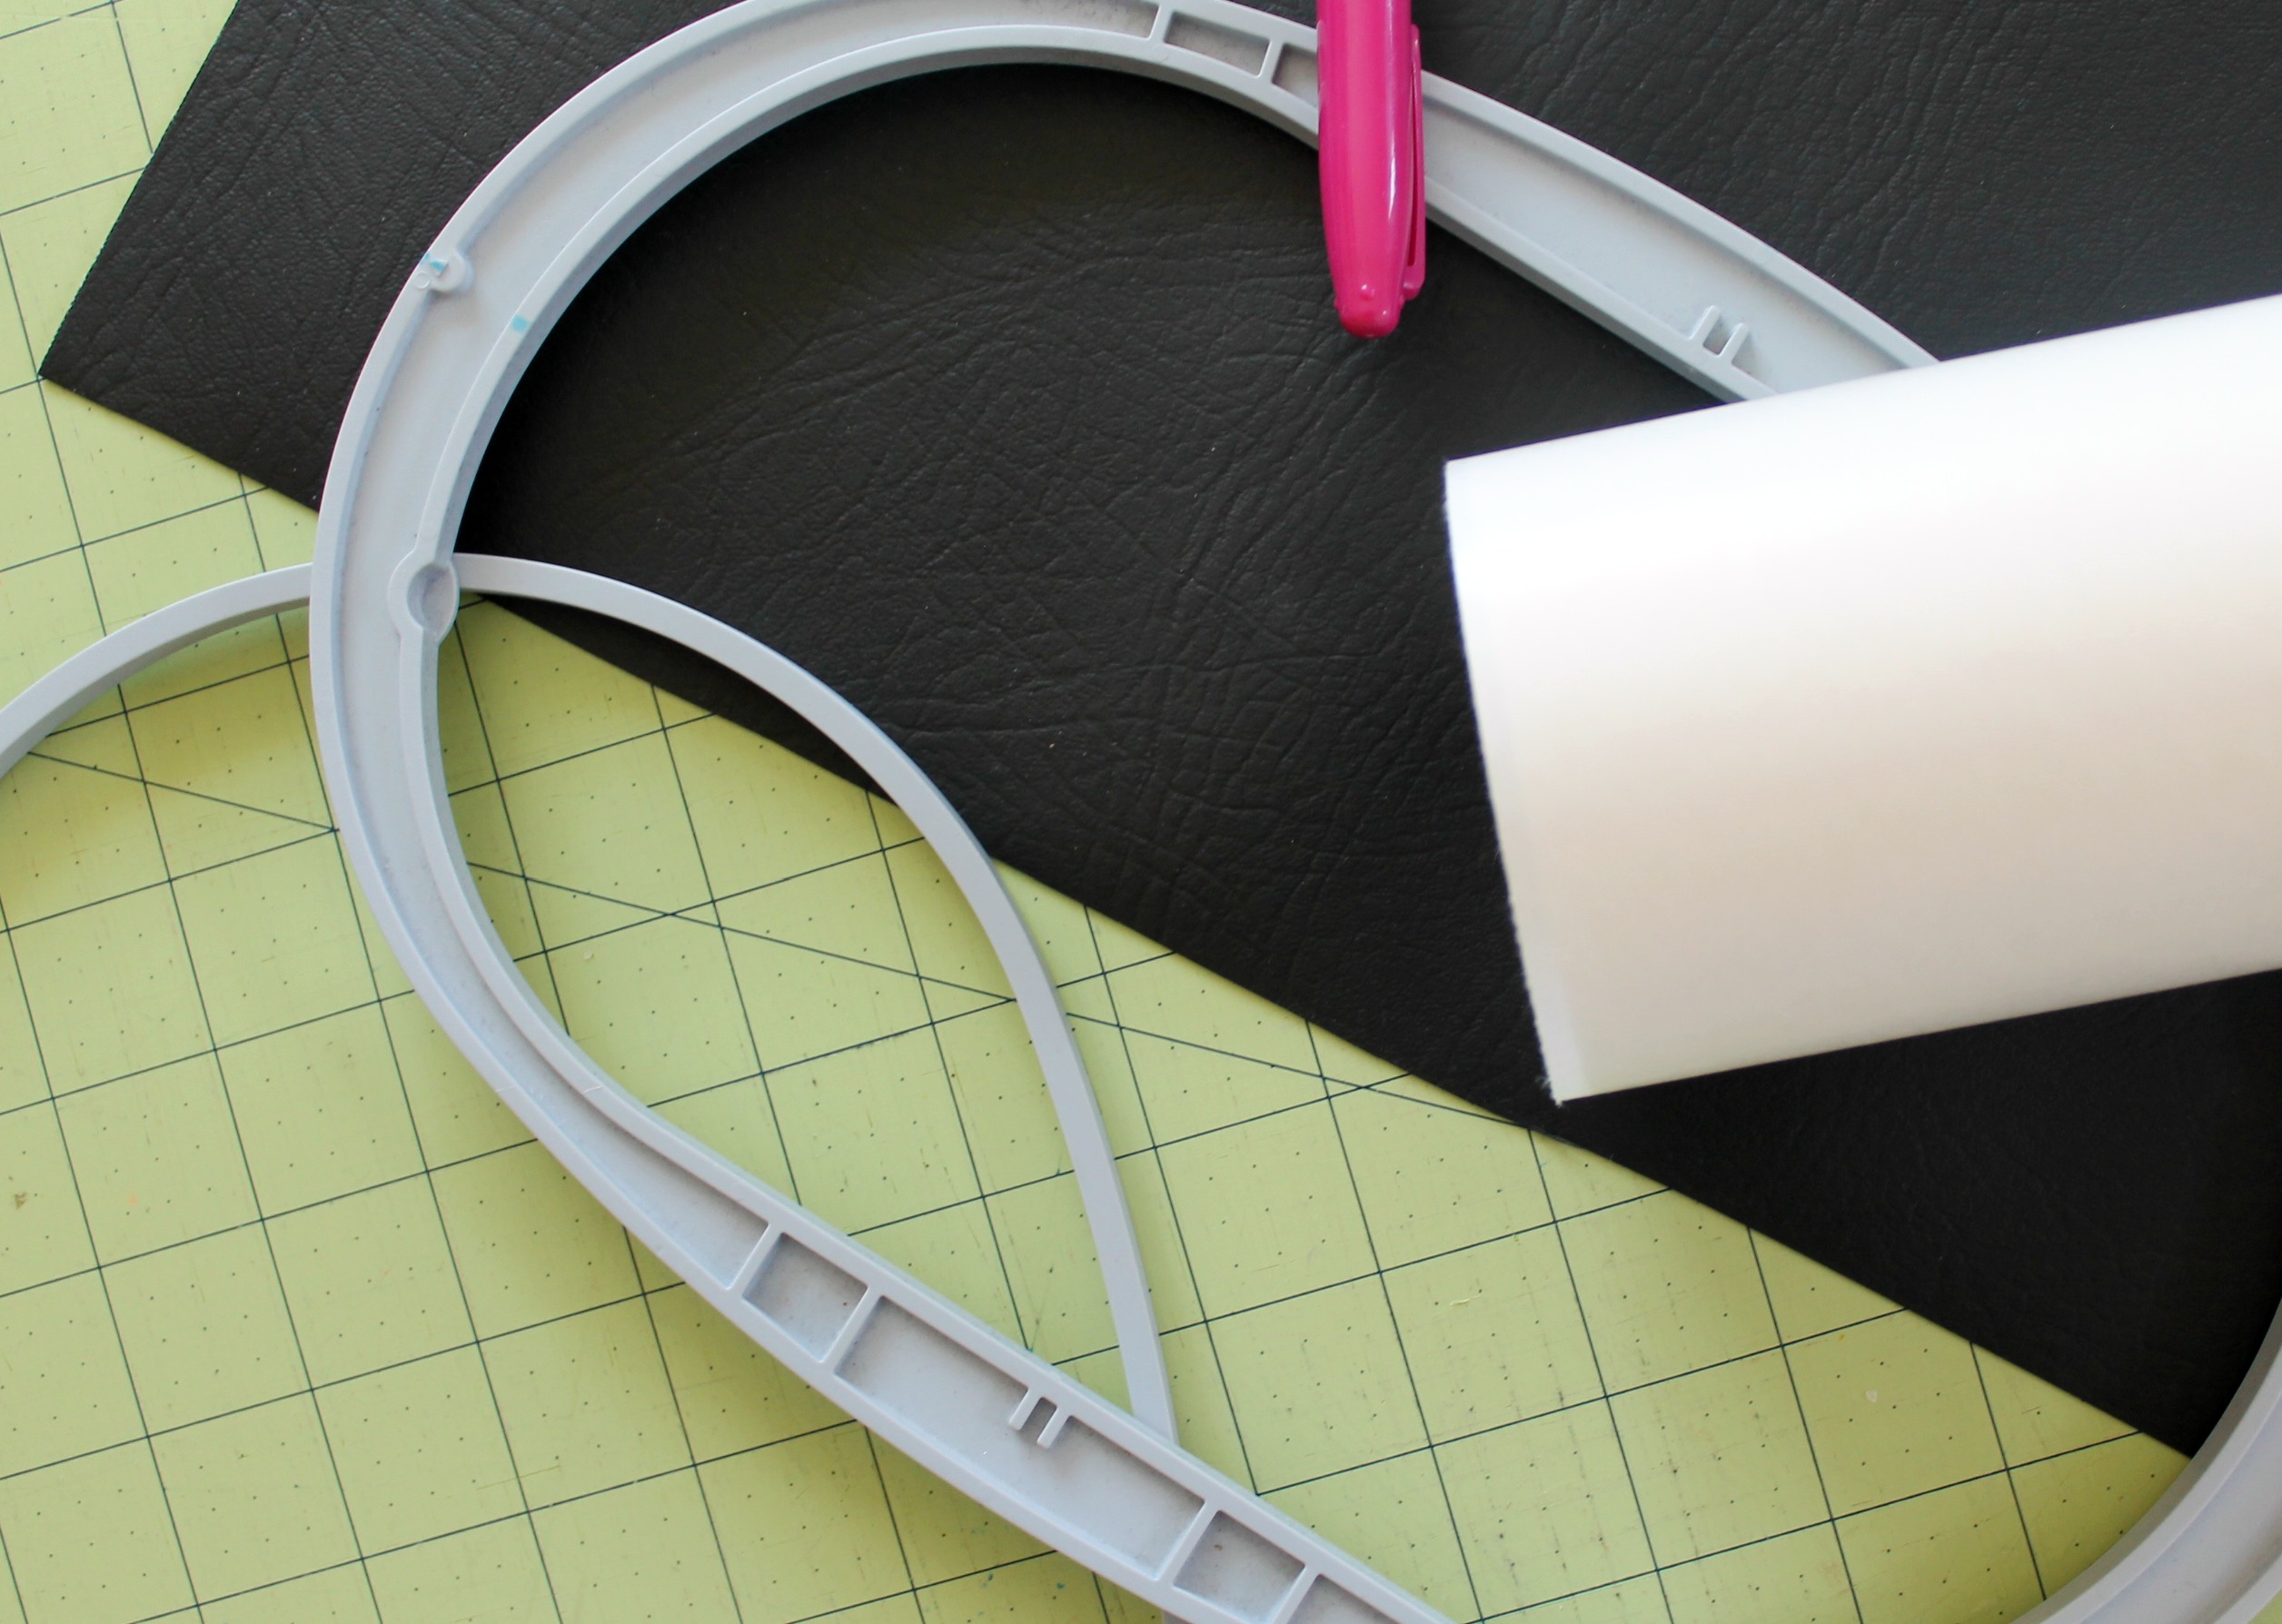
Measuring and Cutting
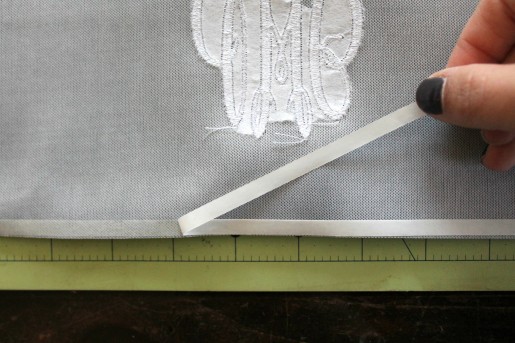
Pins will leave permanent holes in your material so they’re not the best option for holding your template pieces down. Use a chalk pencil to make your marks and be sure to avoid using Sharpie markers on the wrong side as it could bleed through. The best way to cut out your material is to lay the faux leather flat and face up on a rotary cutting mat. Place your pattern pieces on top of your material and hold them in place with pattern weights. Using a straight edge ruler and rotary cutter will ensure you get crisp clean straight edges which are hard to achieve using scissors alone.
Hooping Faux Leather
The success of any embroidery project begins with proper hooping. You can not hoop suede, faux leather, or similar fabrics to because it will damage the material with permanent marks. This is known as “hoop burn.” The marks are embedded in the fabric when the hoop is removed. There are great products on the market that help combat this problem. With the boot cuff project I started by hooping Floriani Perfect Stick Tearaway Stabilizer drum tight (you can also use Stabil Stick). Make sure that the waxy paper side is facing up.
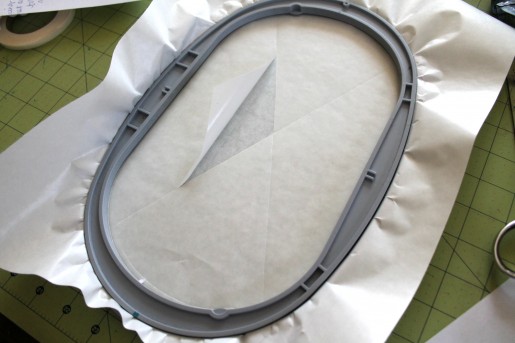
Next, I like to score around the inside edge of the hoop and create an ‘X’ in the center. Carefully do this using a straight pin—be sure not to puncture the interfacing. I find it’s much easier to cleanly remove the top film in sections. Removing the waxy paper exposes a tacky pressure sensitive surface which will hold your faux leather in place while stitching.
![]()
Setting Up Your Machine
Not all materials will be the same thickness, the black faux leather I used is medium weight so I opted to use an 80/12 needle. Keep a few extras on hand since faux leather can dull the point more quickly than other fabrics. A good thing to note: leather sewing needles are available—but they’re made to use on genuine leather and not recommended for this material.
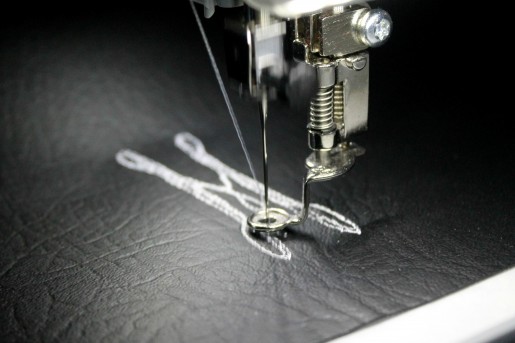
Today’s boot cuff project requires both embroidery and some machine sewing. Having a #BERNINA Roller foot is the perfect foot for sewing the stubborn right side of faux leather as tends to stick to metal sewing feet. Click the link to see it in action! Don’t have a roller foot? That’s okay, too. You’ll see a little later on in the post that I used a time tested hack of placing a piece of clear tape on the bottom side of my presser foot to lessen the resistance and smoothly sew on top of the pleather material.
Caring for Faux Leather
Faux leather and pleather are two names used for marketing the same material. Both are much easier to care for and maintain than real leather. Wipe down with water and a mild detergent for a quick clean up. Refer to care instructions for additional information.
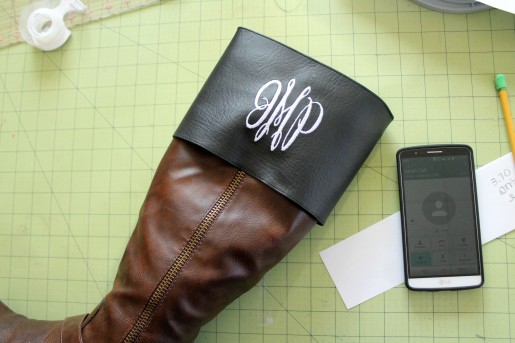
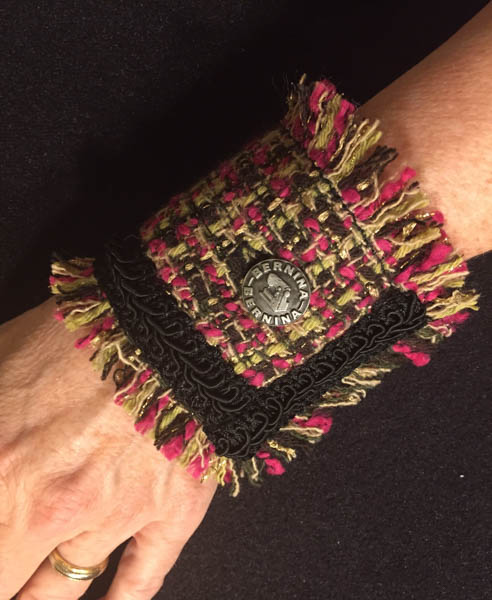
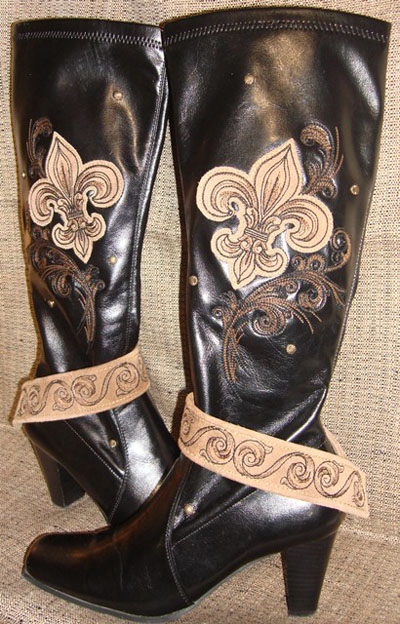
Bring a punch of personality and versatility to your closet by creating a removable faux leather boot cuff. This easy to make accent can transform your favorite boots to create a two toned look perfect for walking through the rest of winter and straight into spring.
Materials:
- 1/4 Yard of Pleather, Suede, or Leather 1/2 Yard of Trim (optional)
- Floriani Perfect Stick Tearaway Stabilizer
- Pellon EZ Steam II 1/4” Tape
- Isacord Thread
- 80/12 Needles
- 2.5” Monogram Embroidery of your choice
- #10 Edgestitch Foot
- Clear Tape
- Marking tool
- Ruler
- Rotary Cutter
1. Measure (2) rectangles 17 1/4” wide by 9 3/4” tall and cut from your faux leather, pleather, suede or leather material. Using chalk pen mark the center of the boot cuff area for your monogram 2 3/4” up from bottom and 8 5/8” from the either side. (Later you will sew the short sides using 3/8” seam allowance on both sides and hem the bottom long edge 1/4”).
2. Prepare your hoop using the tips I provided above. Then align your center marks in the hoop by pressing firmly to adhere faux leather to tacky adhesive in the hoop. (Don’t worry it will not leave behind any residue!) Stitch out your design.
3. When finished remove hoop from machine, easily tear away any remaining interface from back side of boot cuff.
4. Apply Pellon EZ Steam II Tape to bottom hem. It’s double sided sticky so you’ll apply it first to desired location. Cover with damp cloth and heat for 10 seconds with a light hand. Let cool before peeling off the backing. Then fold up 1/4” and press firmly with wrong sides of pleather now together. (Add trim on this step if you choose to.)
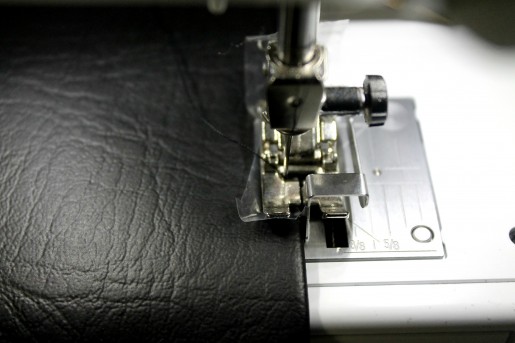
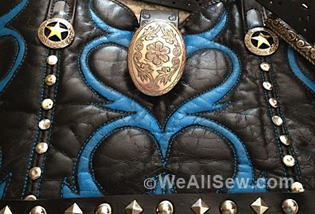
5. I went directly for my trusty #10 Edge Stitch foot to create crisp even stitches. Remember the clear tape hack I mentioned earlier? Check out the picture above to see it in action. I also lengthen my stitches to 3.70 and moved my needle position all the to the left.
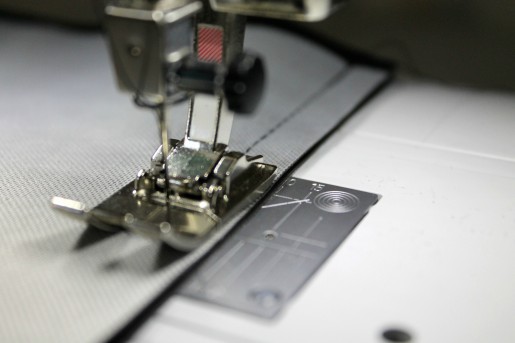
6. Now line up the short sides right sides together. You won’t need any specialty feet to sew on this side of the material. Sew with a 5/8” seam. Once you’re finished fold open the seam allowance, again using the Pellon EZ II tape to hold the faux leather in place. Top stitch each edge into place. Adding additional seams will help make your faux leather projects look more authentic.
7. Unfold the cuff so that the right side material is out. It will look like a tall tube. Tuck into boot so that it creates a cuff—seated over top of the existing boot top. Once you are satisfied with your placement and size. Remove cuff and add final top stitch along top edge of cuff.

Tip: This cuff was designed from collective measurements of womens boots sized 6-9 US and to be used on universal boots. If your boots are zip closure to the top—the best way to wear your faux leather monogram cuff is to first pull the cuff inside out onto leg. Pull boots on, zip up securing the cuff inside—then fold cuff down over the outside of your boot.
Used Products


What you might also like


One comment on “How to Make a Removable Monogrammed Boot Cuff”
Leave a Reply
You must be logged in to post a comment.
Favorite item to monogram- bags!