Whole Cloth Quilting Tips: Designing the Quilt
Whole Cloth Quilting Tips series by textile artist Roxane Lessa.
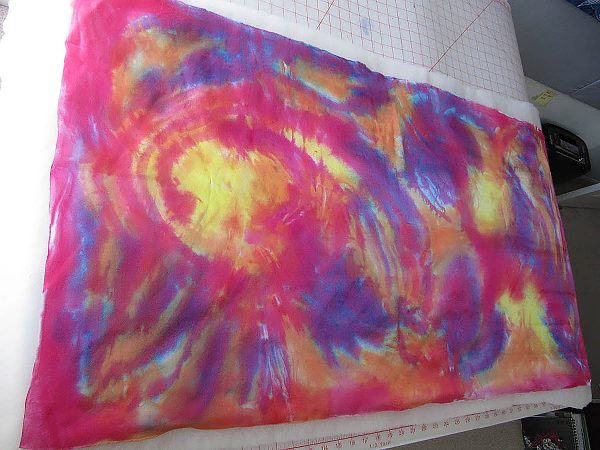
Last year I dye-painted a piece of silk charmeuse in my favorite colors. Then it sat in my closet for a long, long time. You see, I knew I wanted to create a whole cloth art quilt with it (since I couldn’t bear to cut it up!). I was paralyzed by the fear of wrecking this beautiful piece of silk I had made. Eventually I got it out of my closet and pinned it to my design wall.
Preview Quilting Stitches
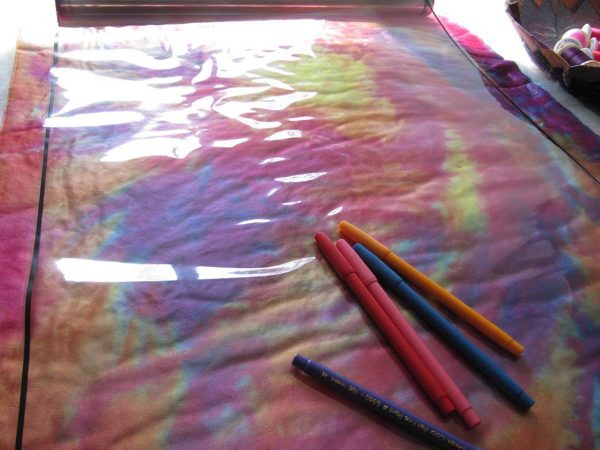
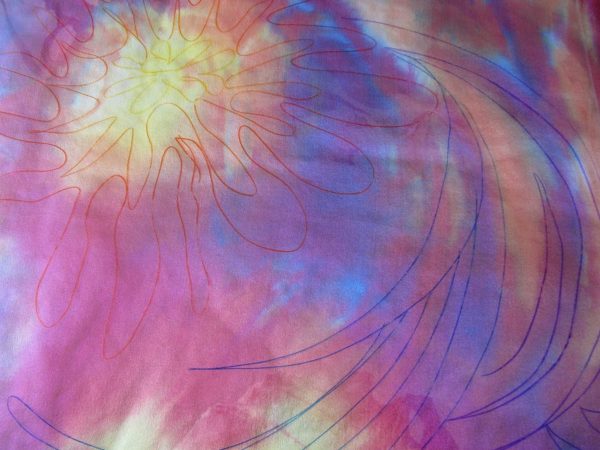
I know, I thought, I’ll do what I tell my students to do! I’ll get my clear plastic sheet and my washable markers out, and lay it on the top of my fabric. That way I can try out some quilting designs by drawing them out first. I just needed one good idea to get me started.
Divide the Whole into Sections
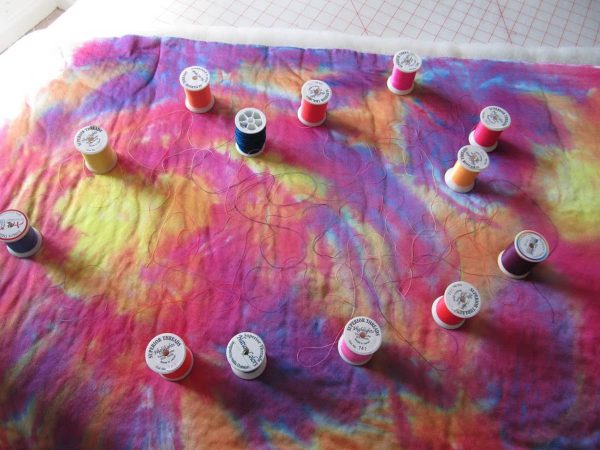
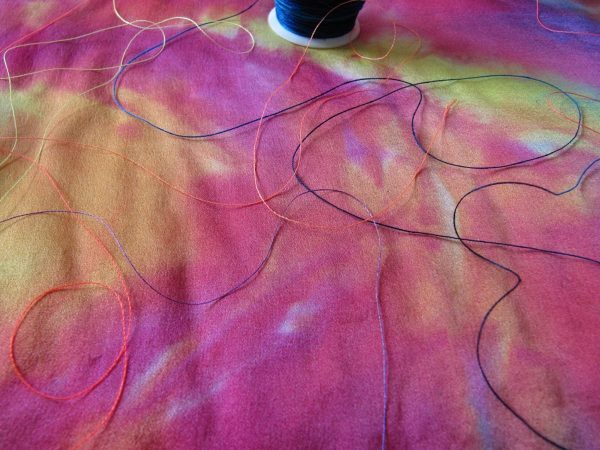
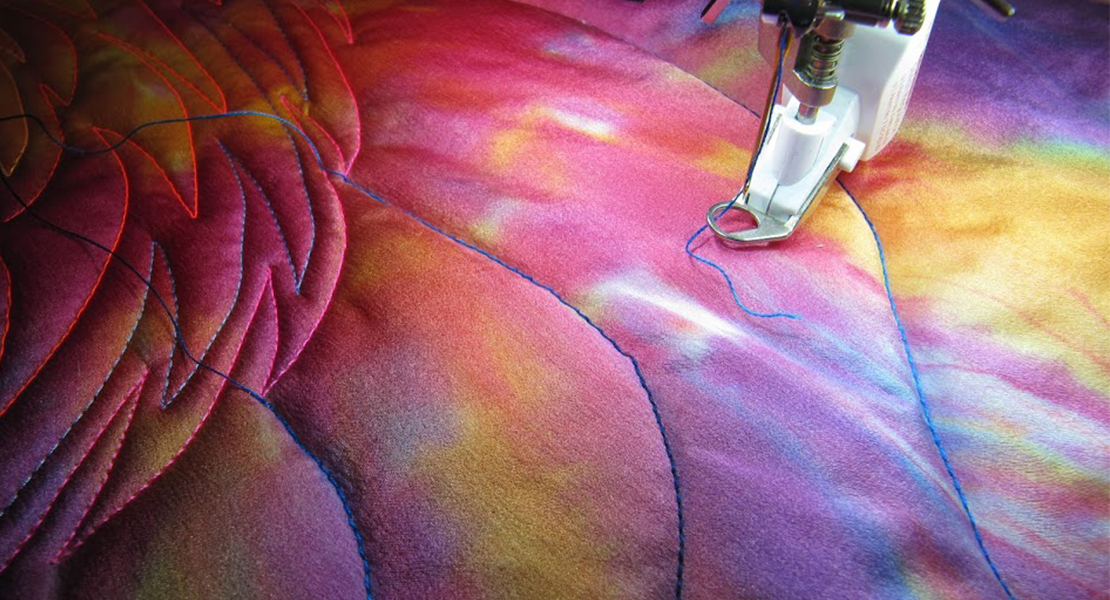
It can help to break the whole quilt surface into sections, and think about each of the sections one at a time. I decided that emphasizing the movement of the painting was going to be the most important feature of the quilting. But where to begin? I began pulling threads in different colors and weights by puddling them on top of the quilt. I always want some that will blend in and some that will show.
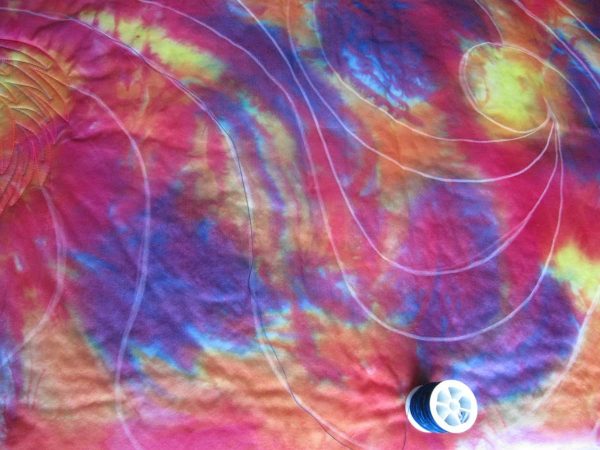
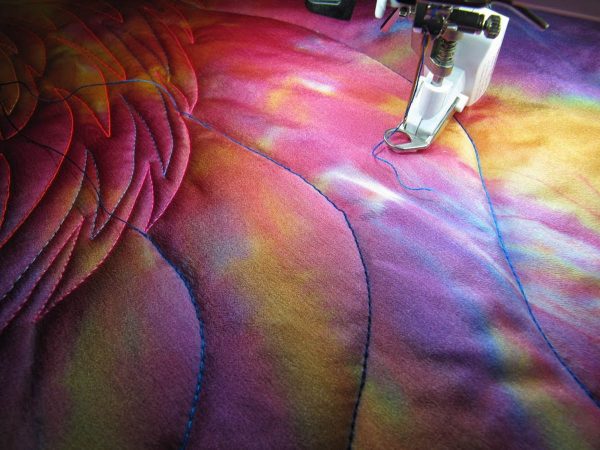
I had a 12 weight hand dyed cotton thread in deep blues that I thought would be great. It would make a nice heavy line and really stand out. Then I had a light bulb moment! Why don’t I use that thread to divide up the spaces of the quilt? With all that space to quilt, it was much easier to divide it into manageable sections. So I got out my trusty chalk pencil and started roughly marking out some curved sections.
Areas of Emphasis
Like all art work, a whole cloth quilt needs areas of emphasis, otherwise it will all blend together in a boring mass. Deciding ahead of time which areas you will emphasize will definitely save lots of ripping out stitches later. In this case, I had painted in two areas of yellow which stood out the most. Since yellow is the most advancing color and value, I figured these areas will be noticed first.
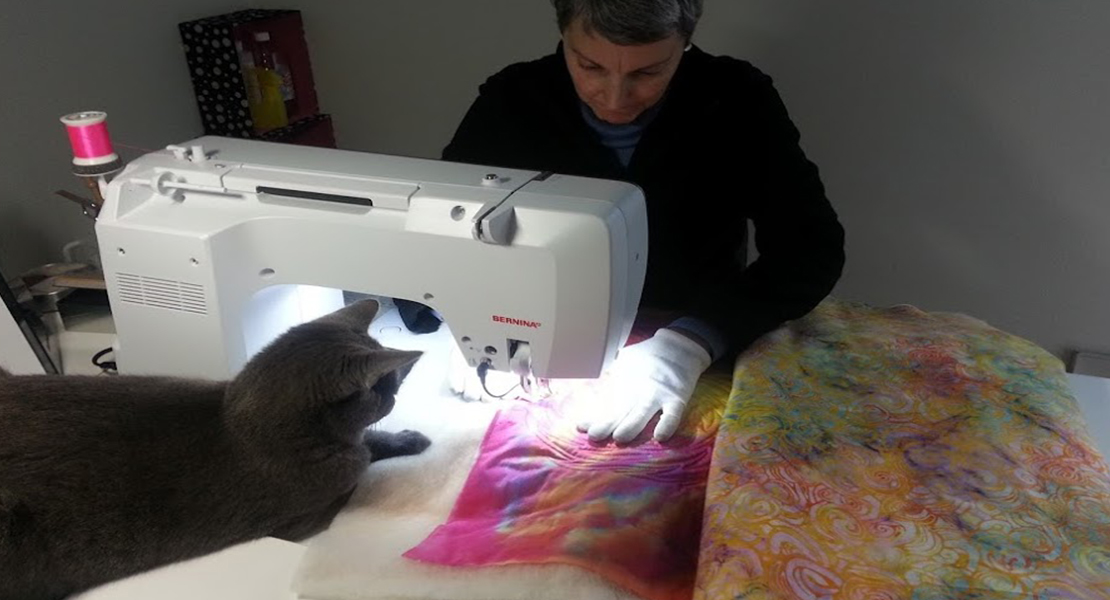
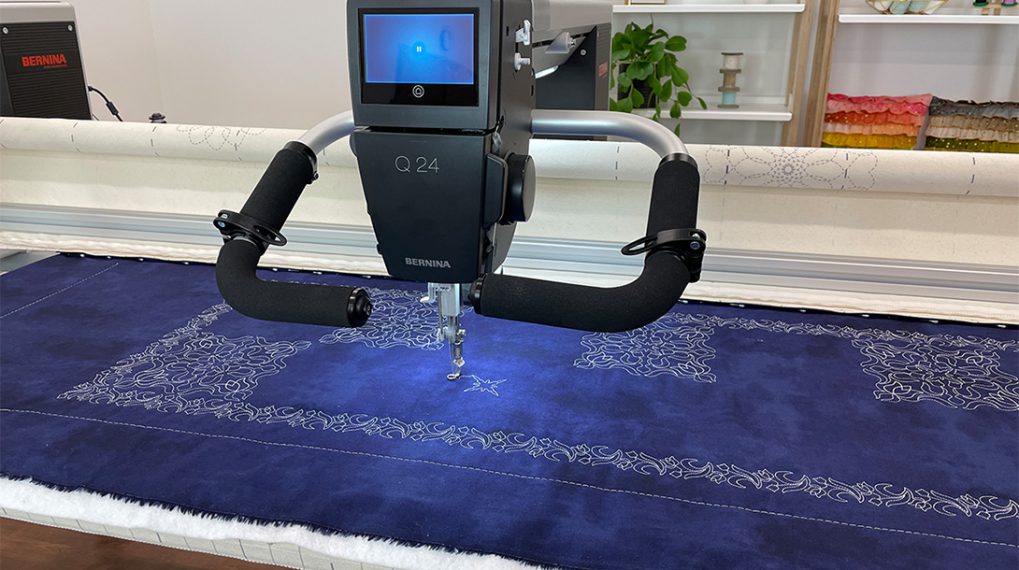
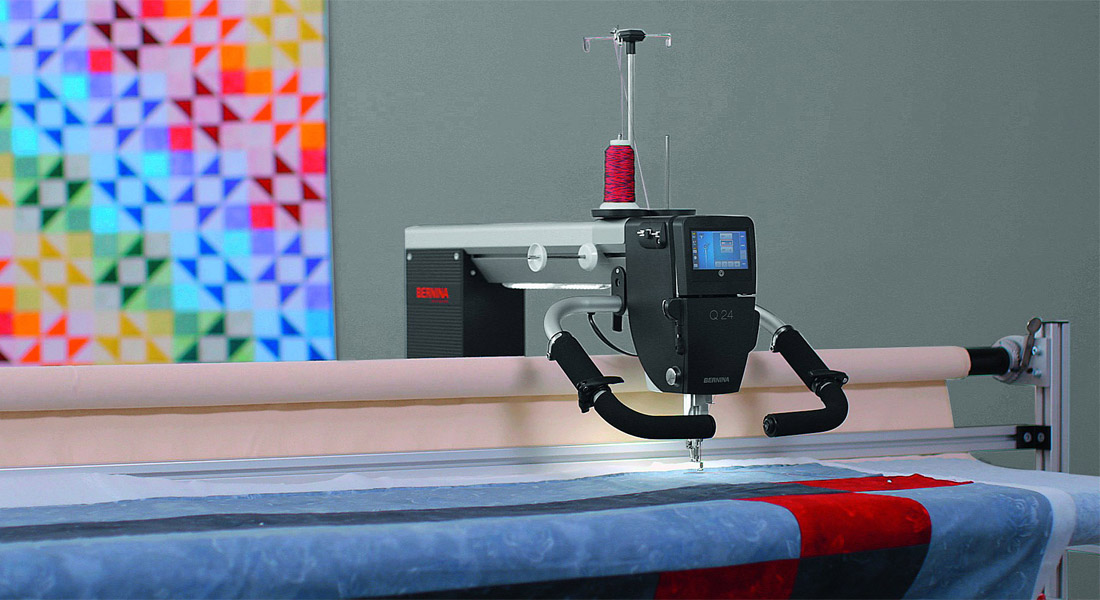
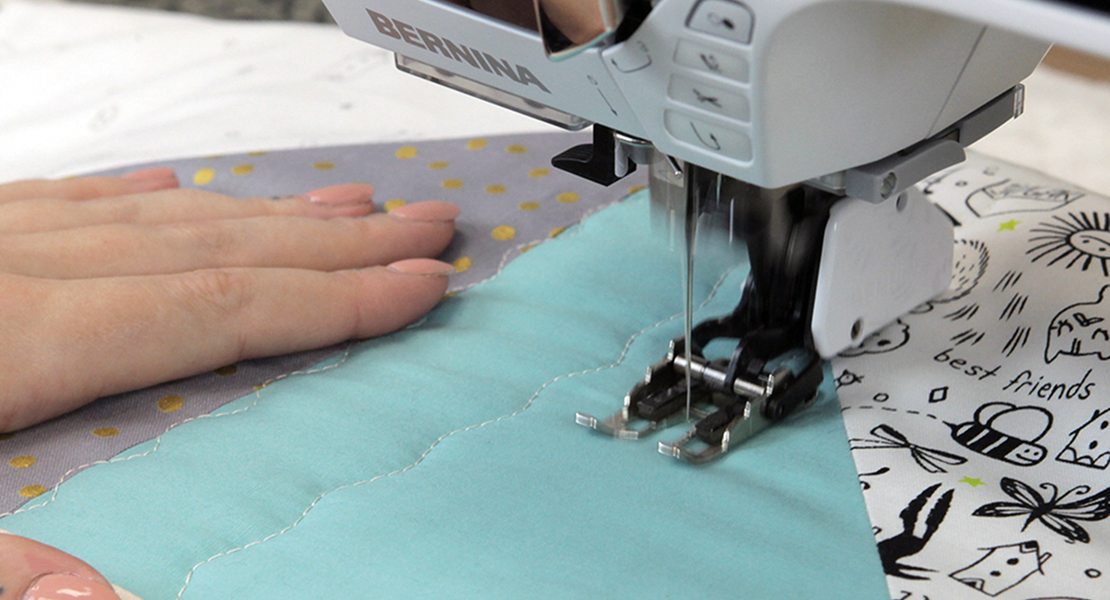
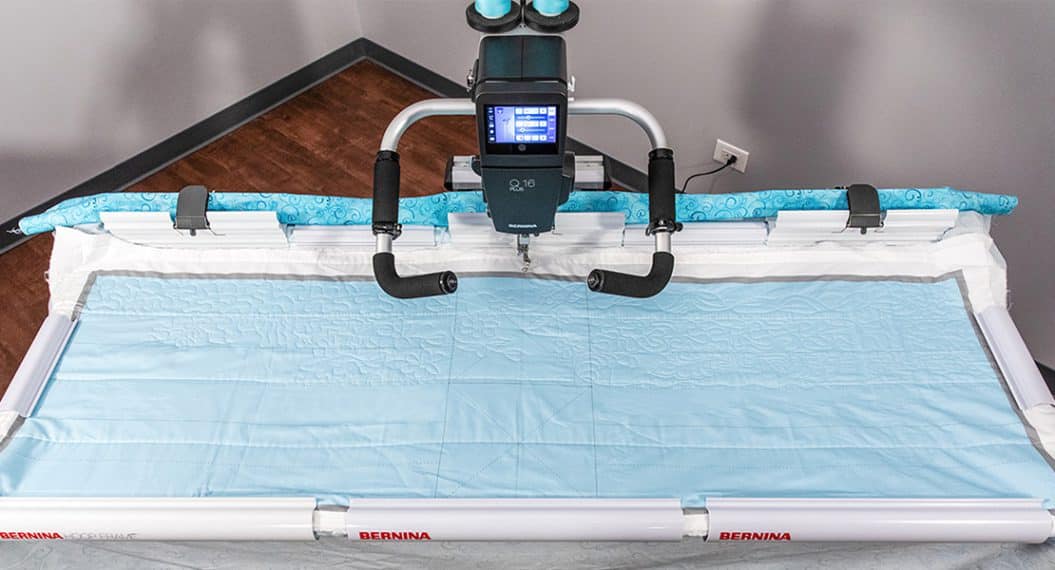
So I began my quilting there with my BERNINA 770 QE including the BERNINA Stitch Regulator and let the rest of the quilting develop from there. At last I had the beginnings of a plan! In the next part of the series I will show you how I prepped the quilt for quilting, and how I went on to fill in some of the other areas.
What you might also like
3 comments on “Whole Cloth Quilting Tips: Designing the Quilt”
-
-
Thanks! Please consider following my blog for more tutorials like this one. http://www.Blog.roxanelessa.com
-
-
What was the purpose of laying the plastic over the piece? It looks as if the design was added directly to the cloth with chalk pencil rather than transferred from the plastic! What happened to the plastic and why use it in the first place?
Leave a Reply
You must be logged in to post a comment.




This is a fascinating method I am excited to hear more about from you.