Jumbo Stitch Quilted Christmas Stockings
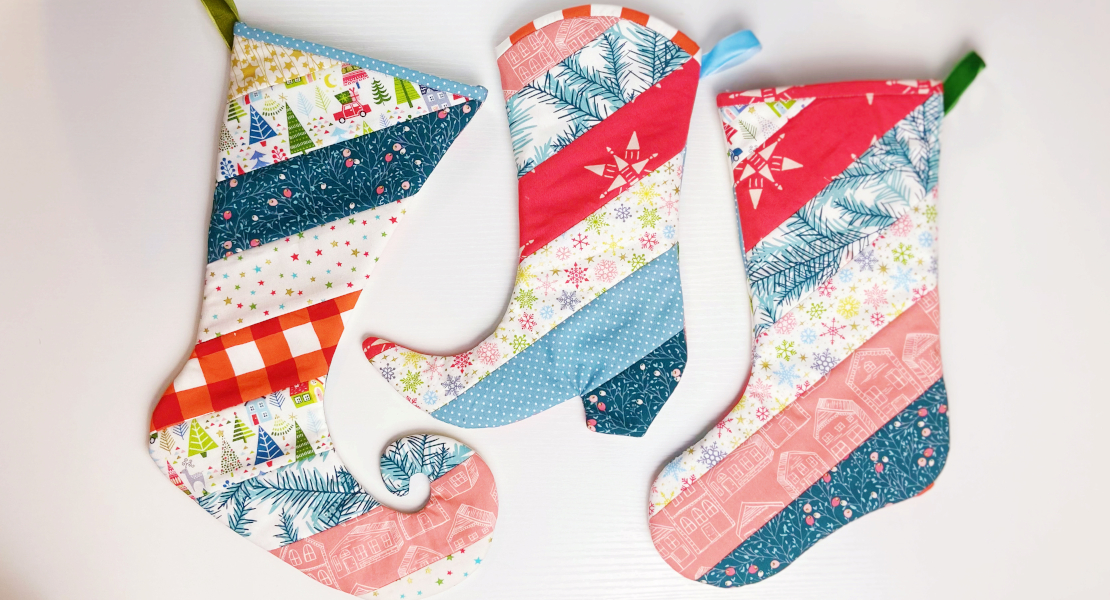
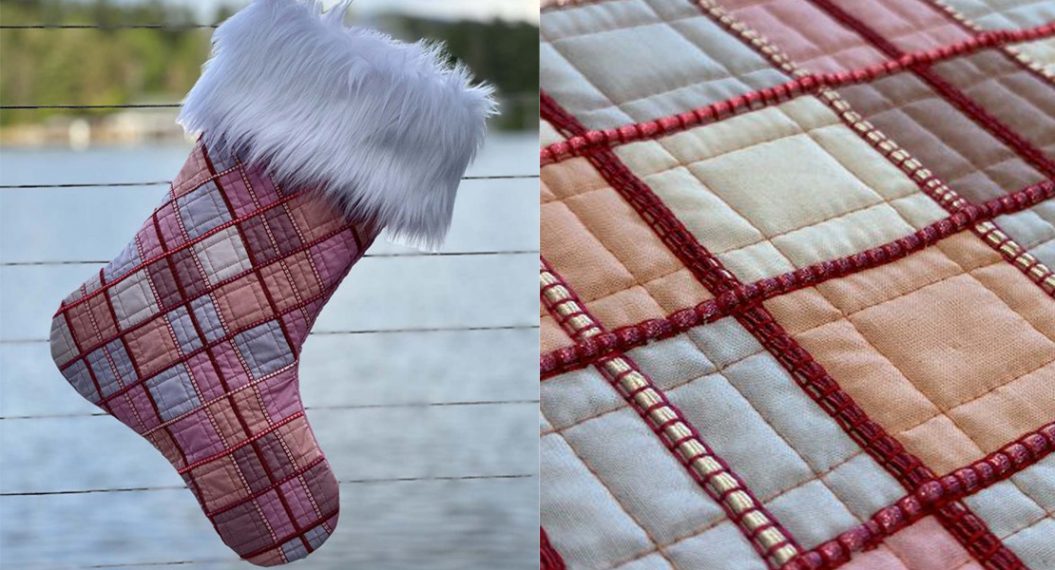
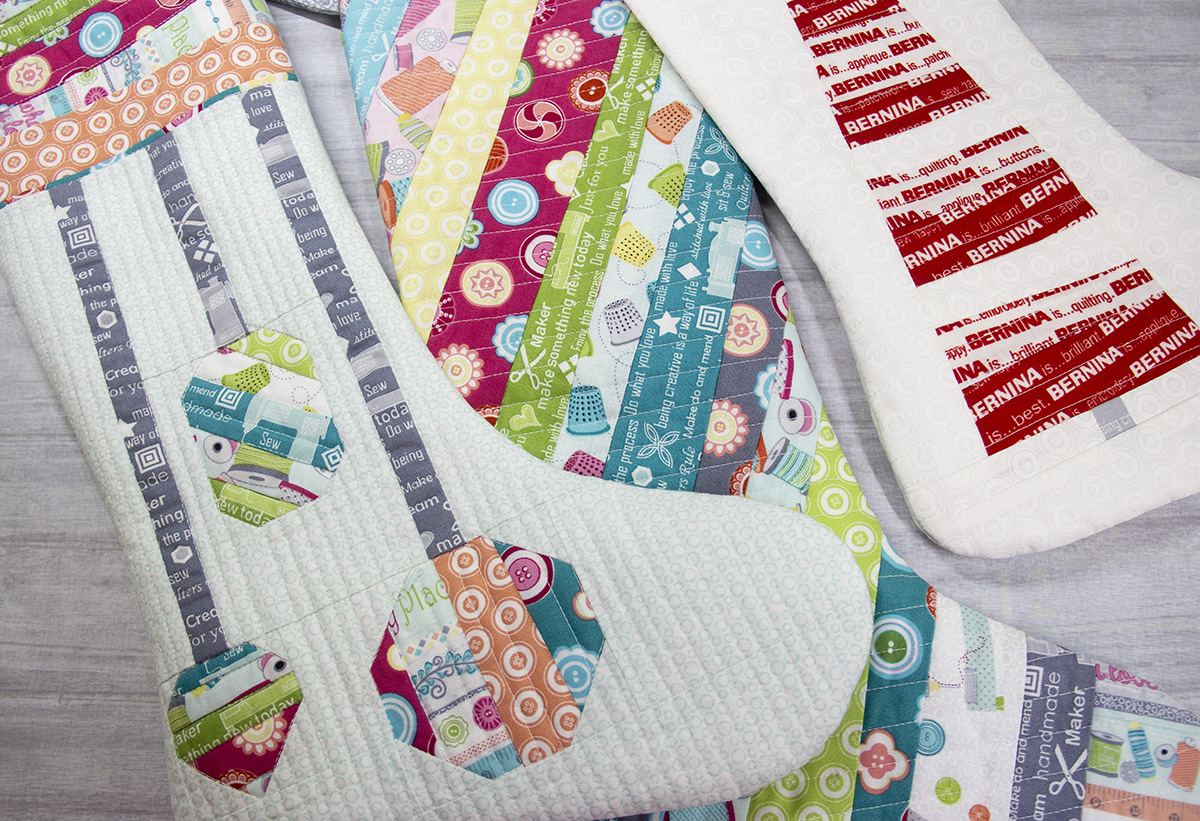
One of my favorite projects I have ever created for WeAllSew were these fun and versatile Christmas stockings. There are just so many ways to play around with your machine to customize them!
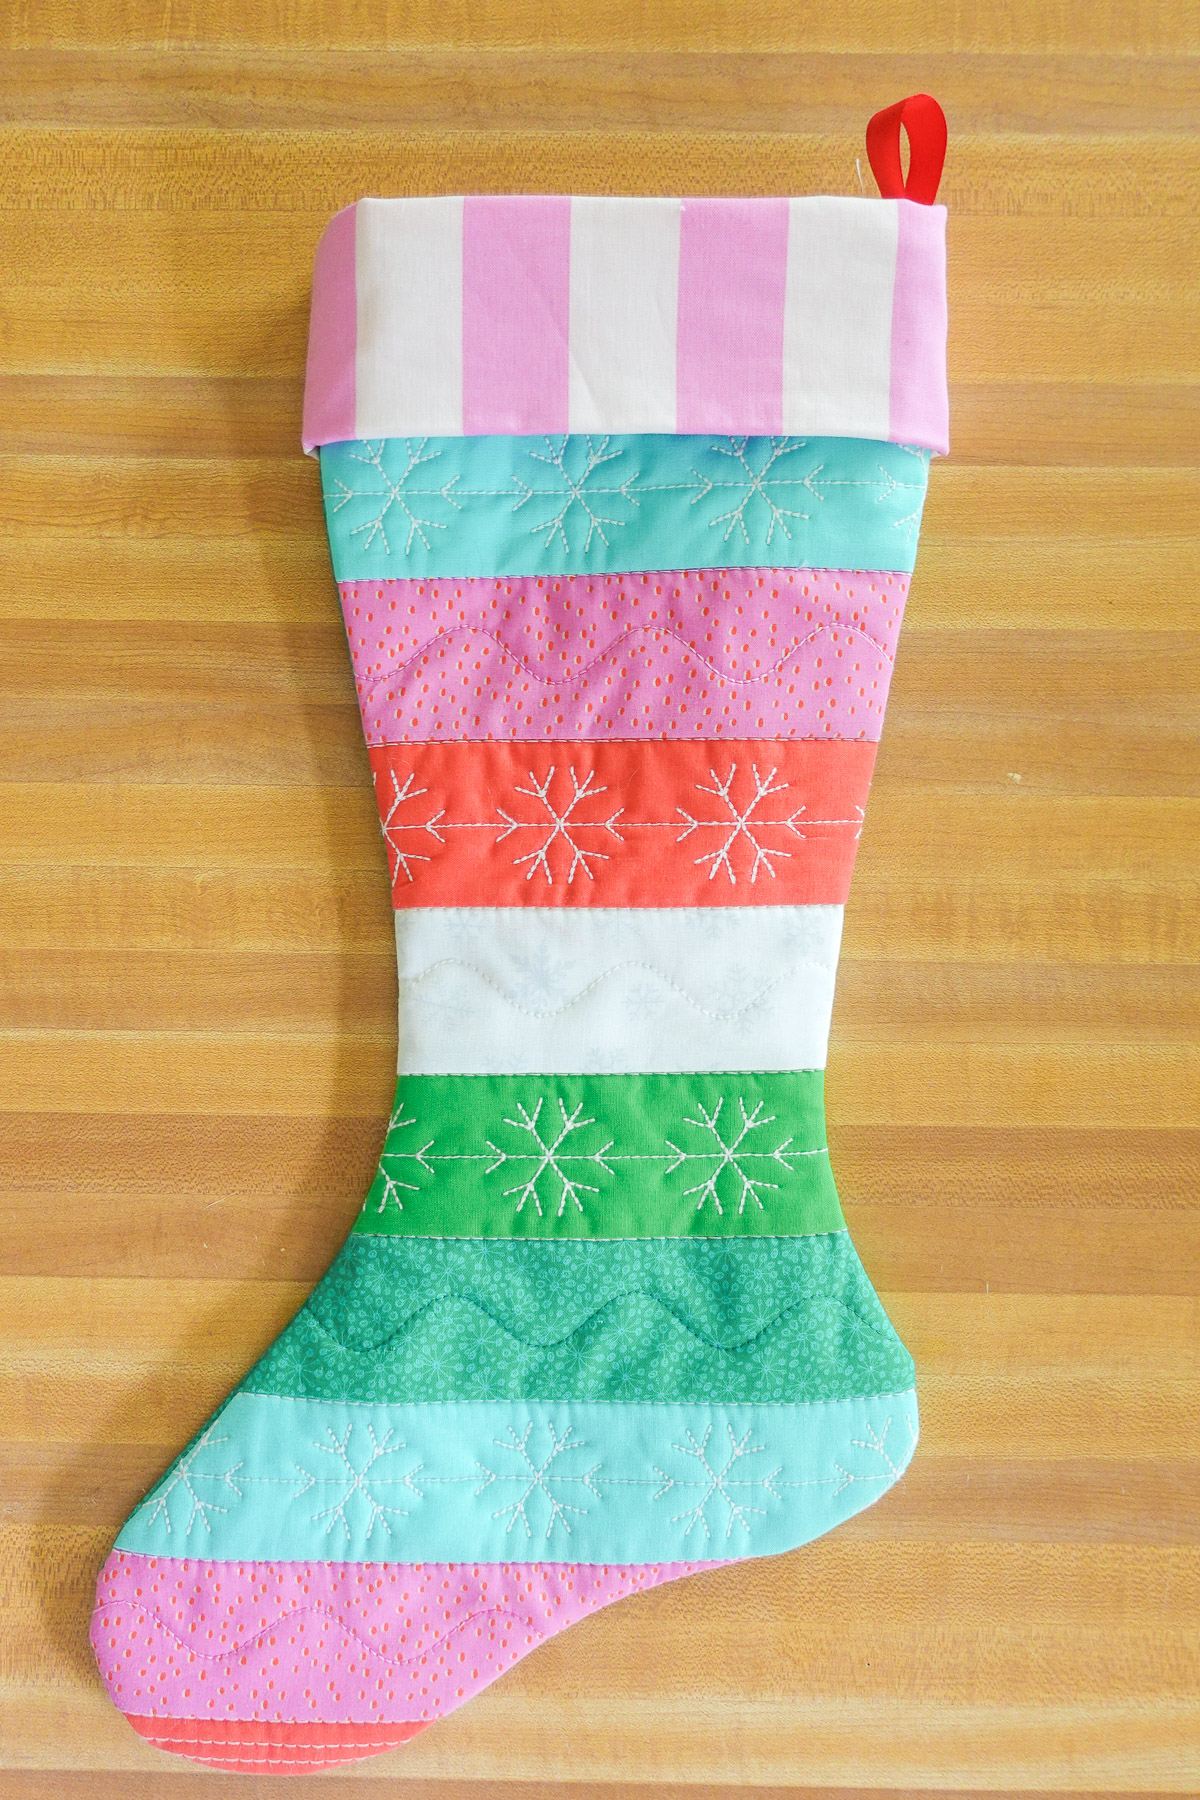
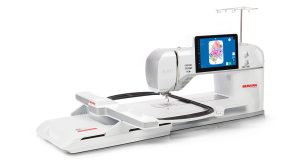
Jumbo Stitches are a new BERNINA feature that you can find on the incredible B 990. With the BERNINA 990, you can resize any of the machine’s stitches from 25% to 500% of its original size using Jumbo Stitch! Not only will this feature increase or decrease the size of your stitch, but it also recalculates the length and width of the stitches within the pattern to maintain the integrity of the stitch. While sewing with this feature is great, I especially love creating fun embroidery and quilting designs with Jumbo Stitches! Let me show you how I used this feature to create these cute Jumbo Stitch Quilted Christmas Stockings.
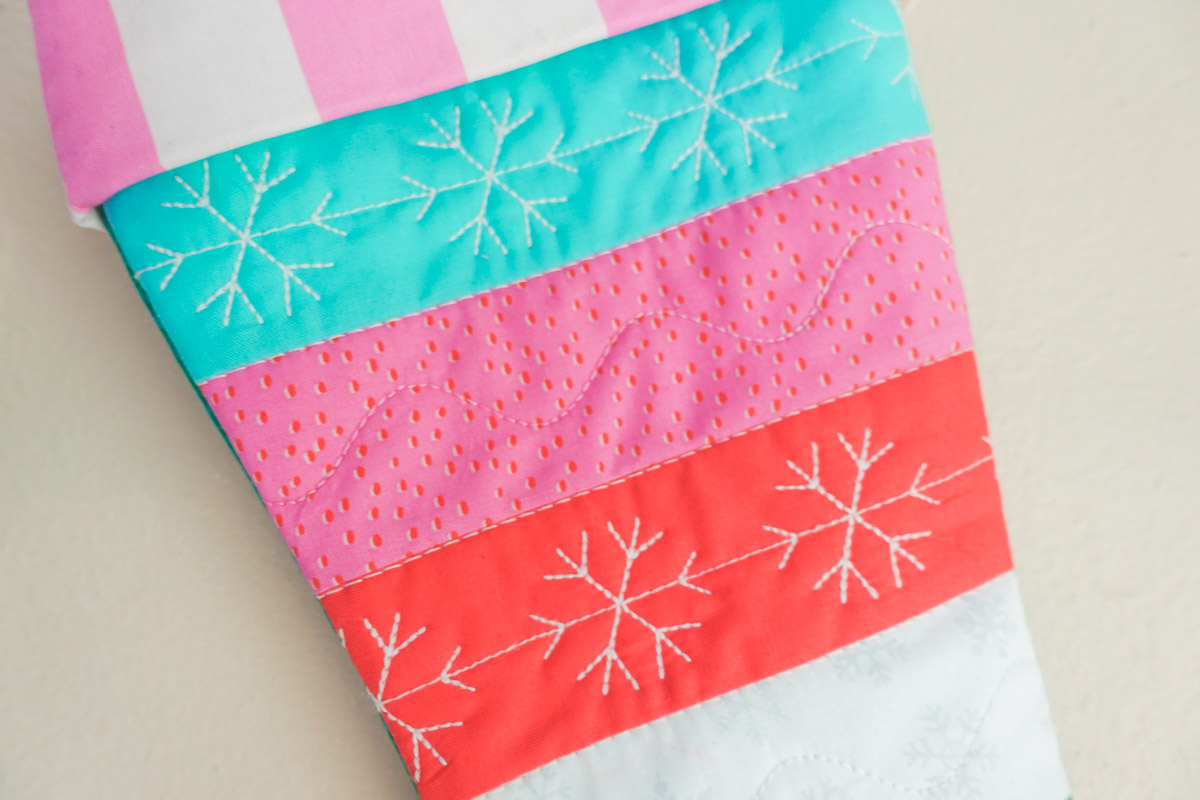
Materials for Making the Jumbo Stitch Quilted Christmas Stockings
- BERNINA 990
- Embroidery Foot #26L
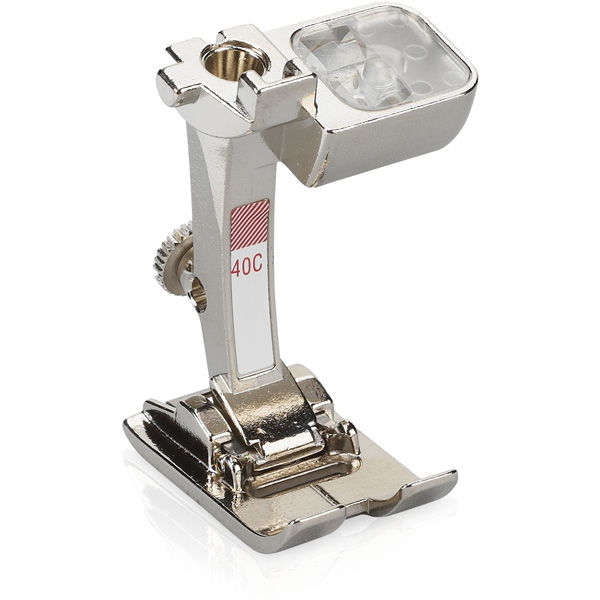
- Sideways-motion Foot #40C
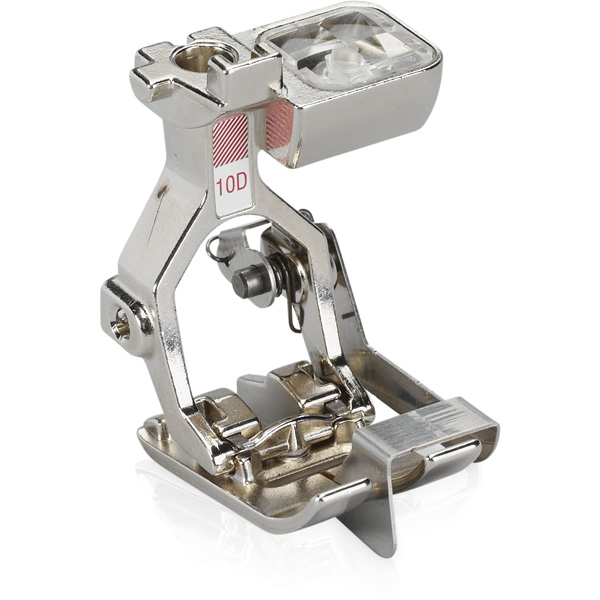
- Edgestitch Foot #10D
- Giant Hoop
- Fabric:
- Exterior: (2) 12.5” x 21” (try piecing your own striped fabric or use striped fabric for the front of the stocking. Check out the beginning of Step 1 for more information)
- Lining: (2) 12.5” x 21”
- Optional: (2) 14” x 21” pieces of muslin to back quilt sandwiches
- (2) 14” x 21” pieces of batting
- 100/16 Topstitch needle
- 90/14 Quilting needle
- 12 weight cotton thread, white
- OESD Bobbin thread or 40 weight cotton thread, white
- 50 weight cotton thread to match fabric colors (the same used green, pink and white to match the fabric)
- Marking pen
- Christmas Stocking Pattern Template
Step 1: Prepare the Fabric
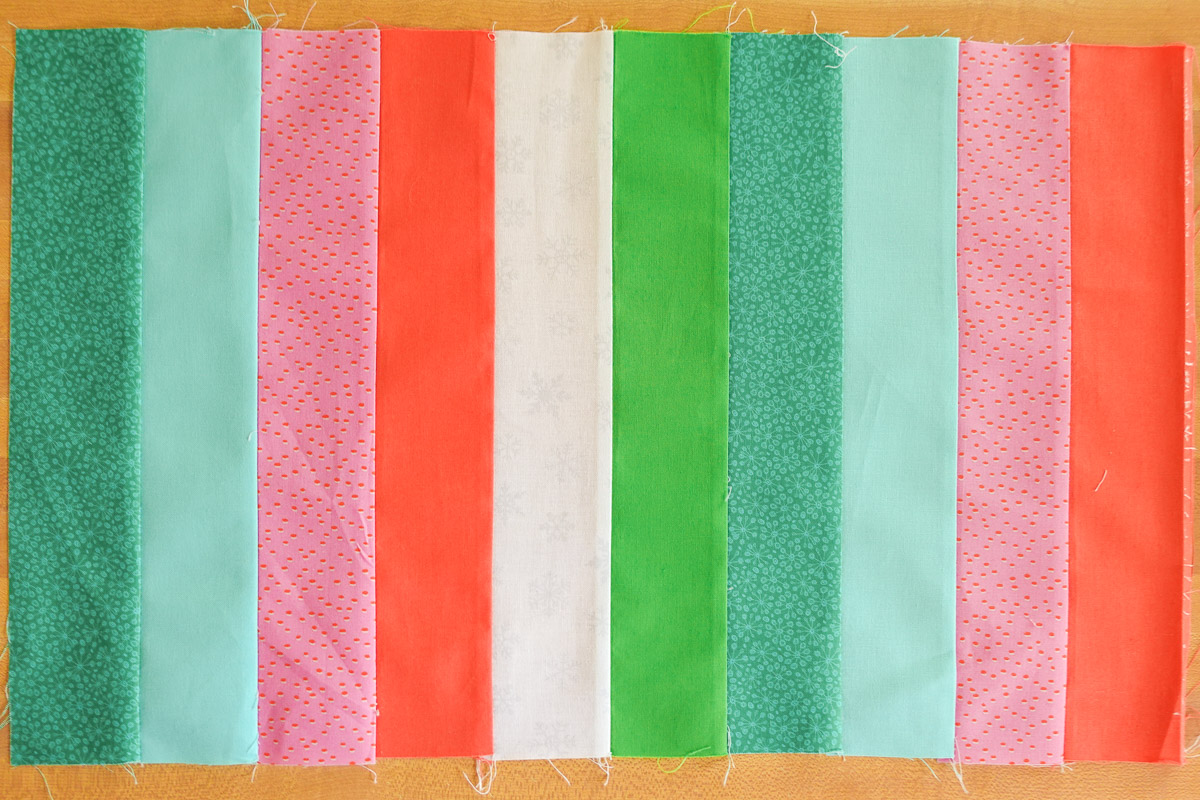
To piece your own striped fabric, take (10) 2.5” x 13” pieces of fabric and sew them together to create a 13” x 21” rectangle (repeat if you wish to have stripes on the back of the stocking, as well). In this tutorial, the back of the stocking is a solid piece of fabric, prepared with fusible fleece as shown in the original Machine Embroidered Christmas Stocking blog post.
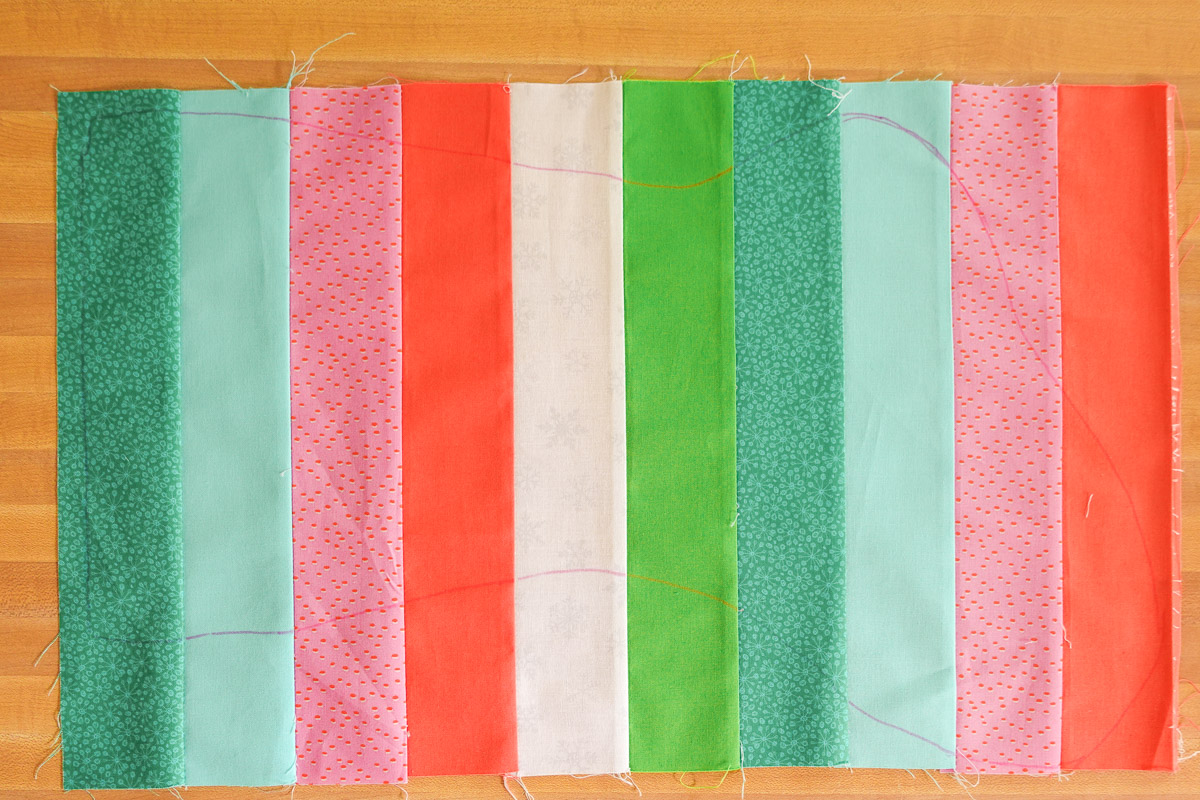
On the front piece, trace out the Christmas Stocking Pattern Template, leaving about .25”-.5” around the template. This will help you understand how much of the fabric needs to be quilted so you don’t waste too much time or thread on places that won’t show. You will quilt out beyond this line every time to ensure you have plenty of quilted fabric to work with.
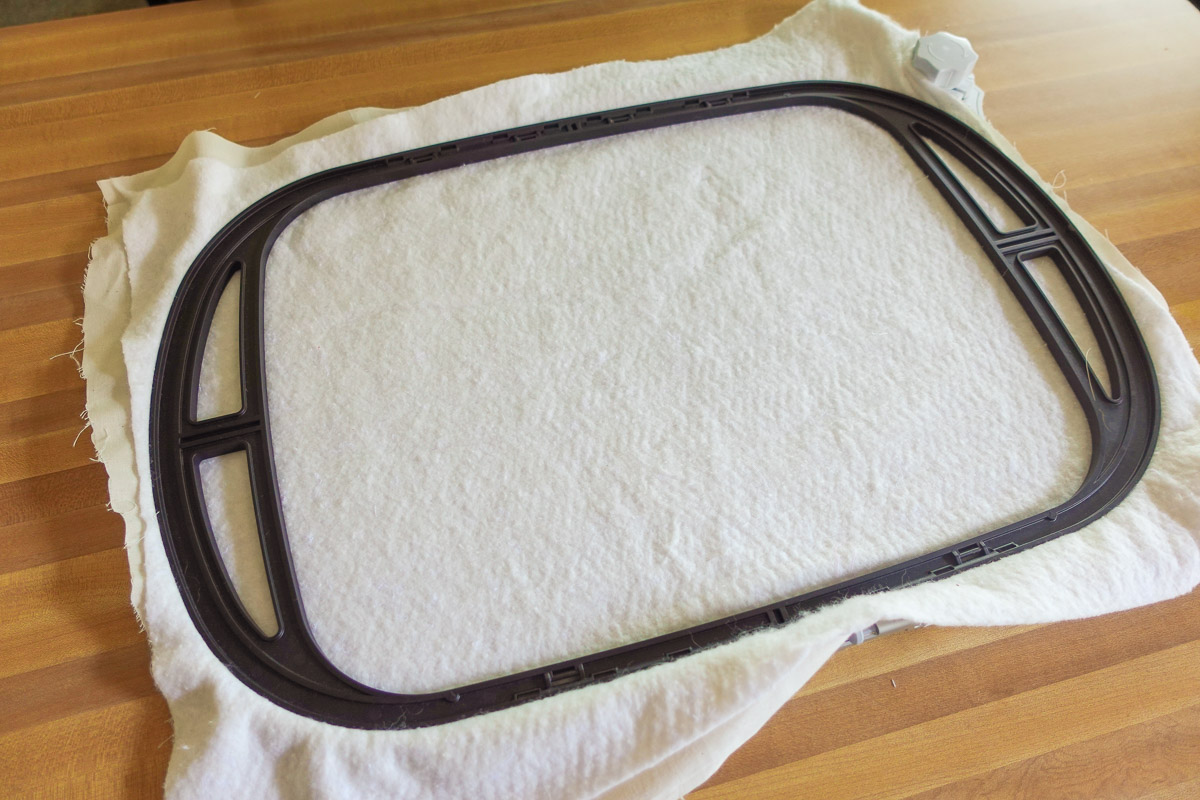
Hoop Muslin and quilt batting (right-side up) in the Giant Hoop.
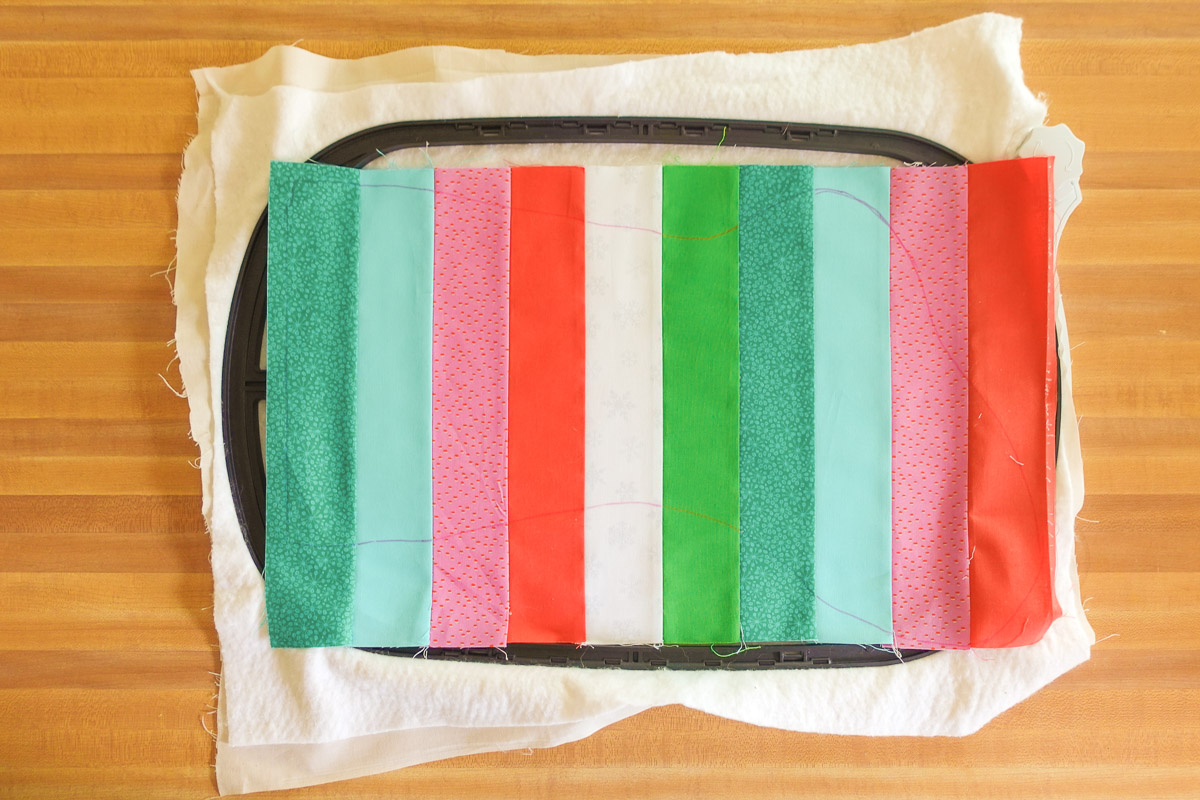
Place the fabric on top of the batting, adjusting to fit as much as possible within the hoop. Not everything will fit, but that’s okay! You will only embroider every other stripe, so skipping the top and bottom stripes will be fine.
Optional: Use spray baste on the batting to help ensure the fabric stays in place
Step 2: Prepare the Machine
Install a 100/16 Topstitch needle. Thread the machine with white 12 weight cotton thread. You may want to skip the Automatic Needle Threader with this thread weight, though I use mine every time and it works wonderfully. Wind a bobbin with OESD Bobbin thread or 40 weight cotton thread. I have used both in my thick-thread embroidery with great success; try them both out and see which you prefer. Attach the Embroidery Foot #26L and the 0 mm Stitch Plate.
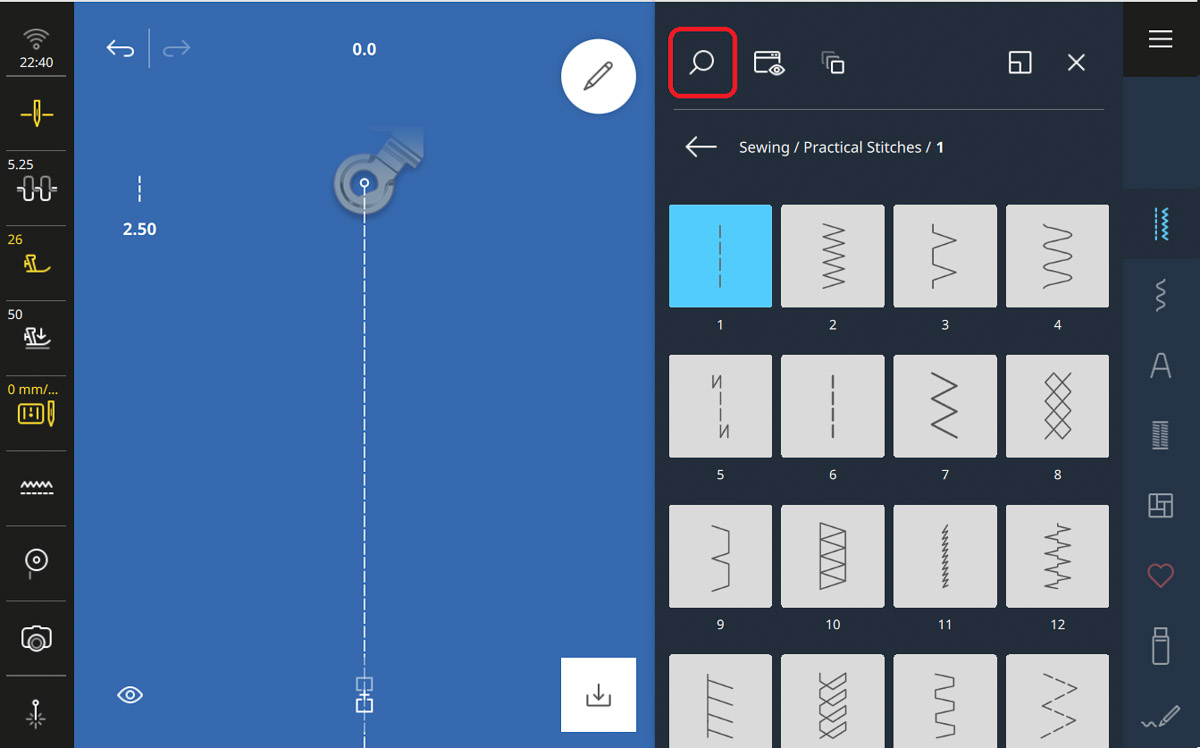
Start the machine on the Sewing Screen and tap the Search icon.
Search for stitch #2003 and confirm with the green checkmark.
It will appear red on the screen, indicating that you cannot stitch out with the current foot and stitch plate. However, it still shows this stitch in its full width and length and will continue to as you edit the stitch. This is a very handy feature on the B 900 that makes using Jumbo Stitches as quilting motifs even easier.
Select Combi Mode at the bottom center of the screen.
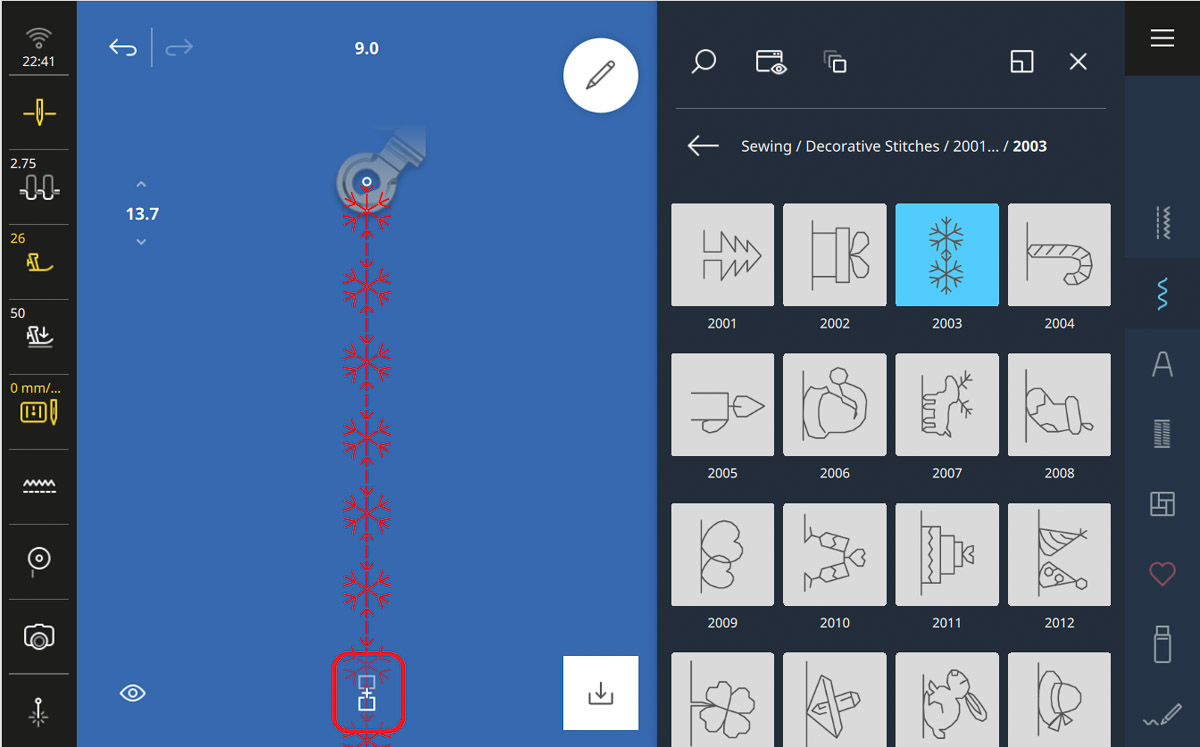
The stitches will disappear, but that’s not a worry. Tap stitch #2003 five times to create a 5-stitch combination.
Open the Edit Menu.
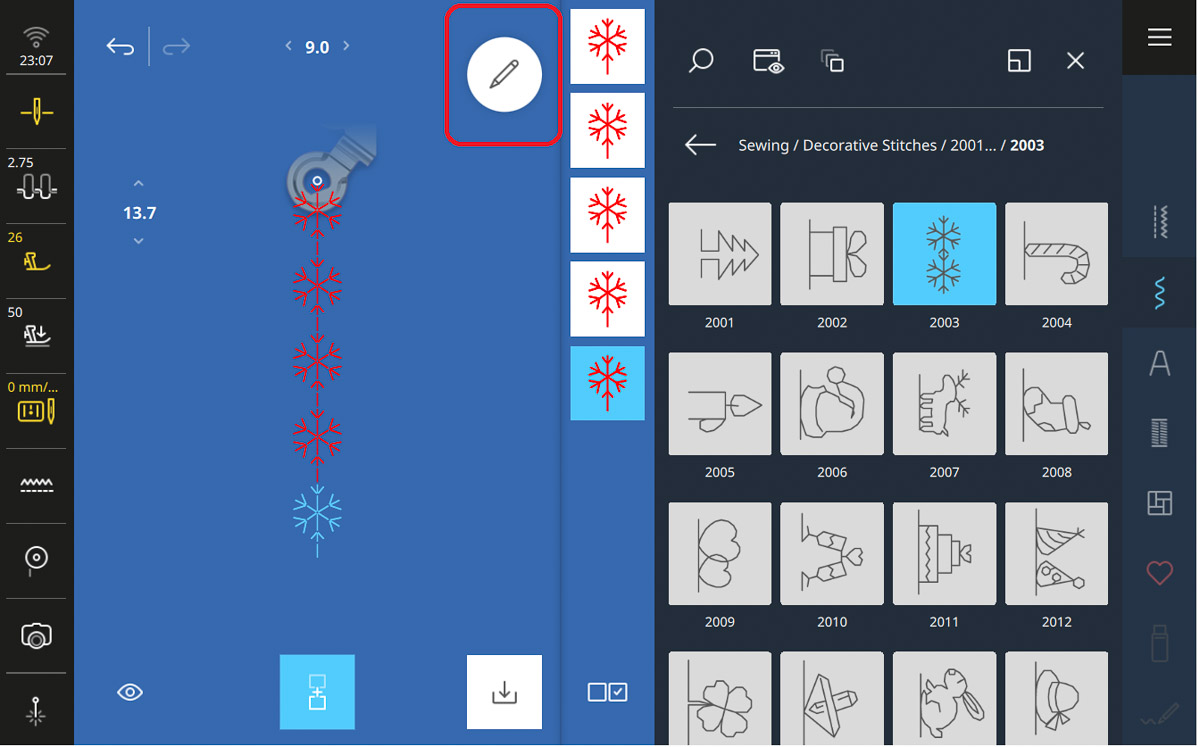
Under the Edit submenu, select Jumbo Stitch.
Then select the Selection Options menu.
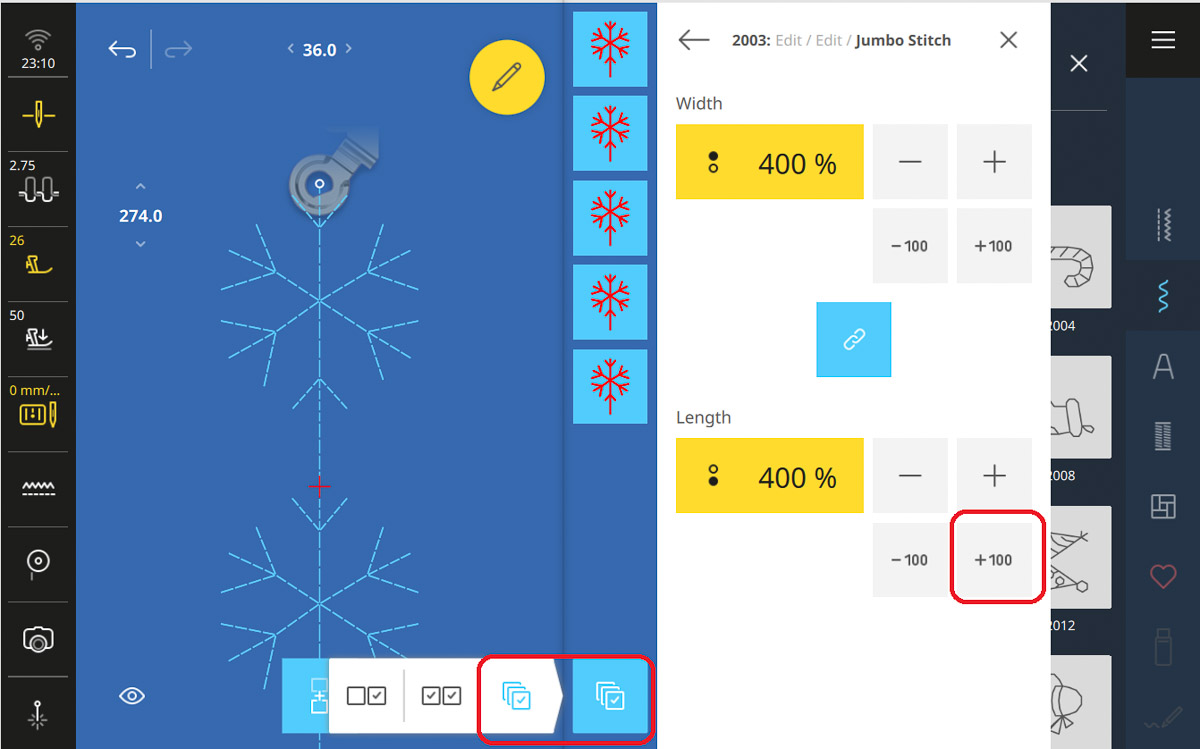
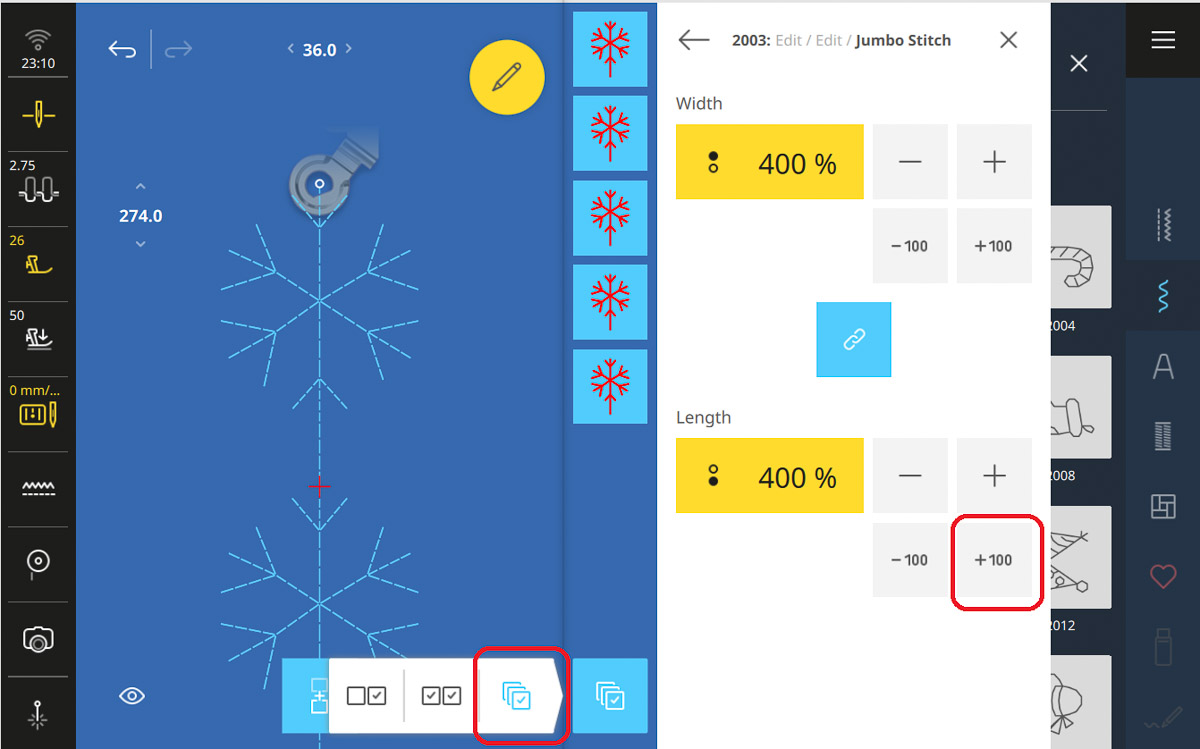
In the Selection Options menu, choose Select All. Then, select the +100 button to make the design 400% bigger than the original size. Once finished, select the Main Menu and return to the Embroidery Screen.
Step 3: Scan the Hoop
Open the View menu and select the Background icon.
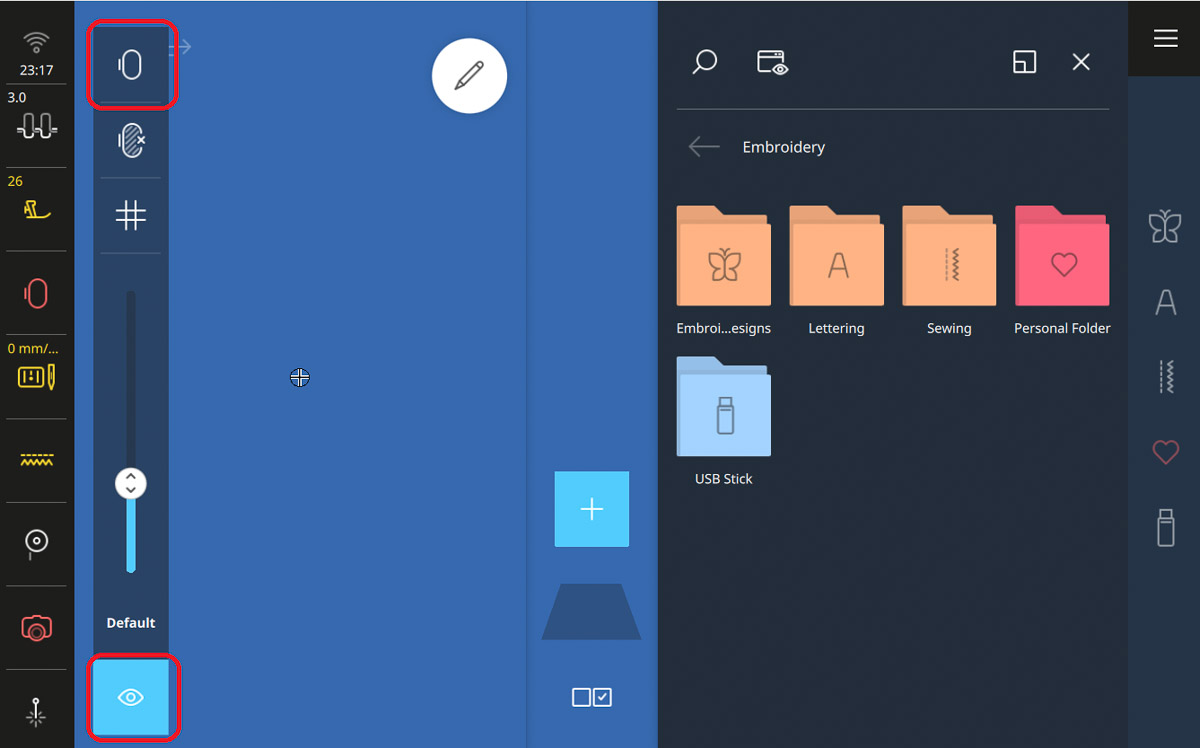
From the drop-down menu, select Scanned Image.
Tap Scan Hoop and follow the prompts to complete the hoop scanning.
When the scan is finished, tap the green checkmark.
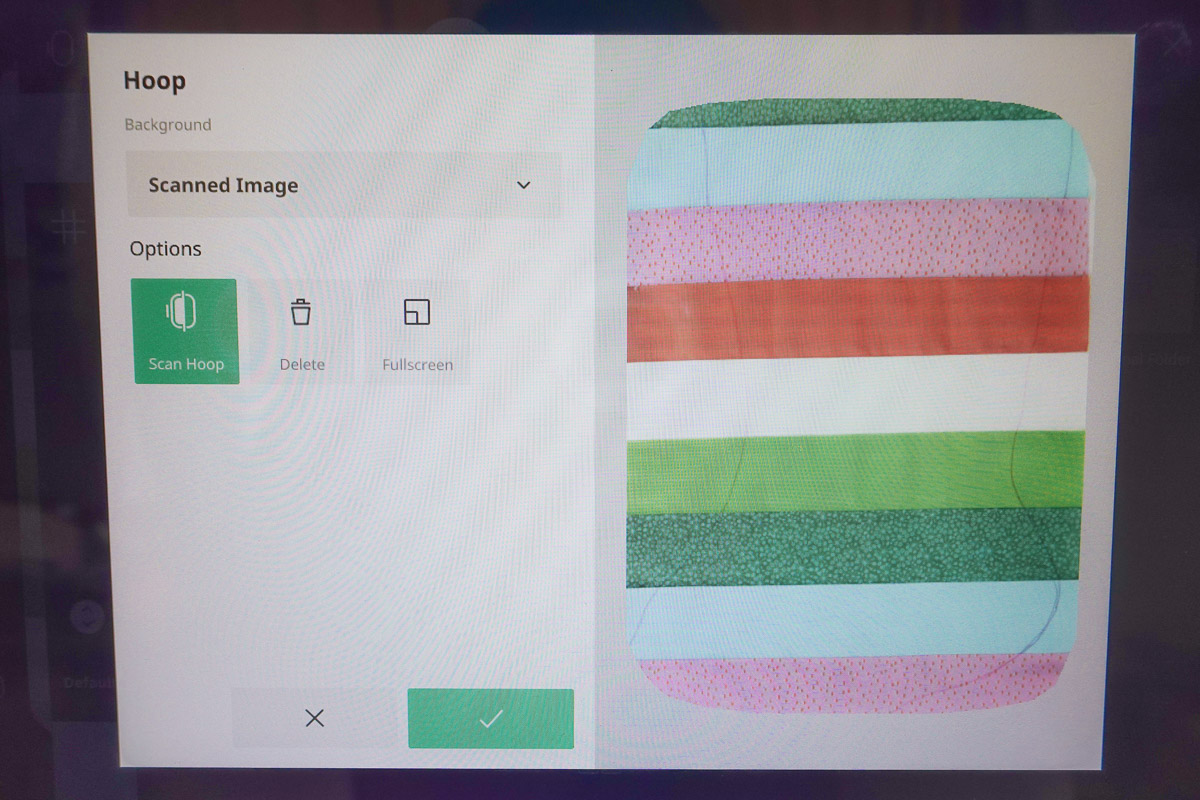
Tap the View menu again to close it.
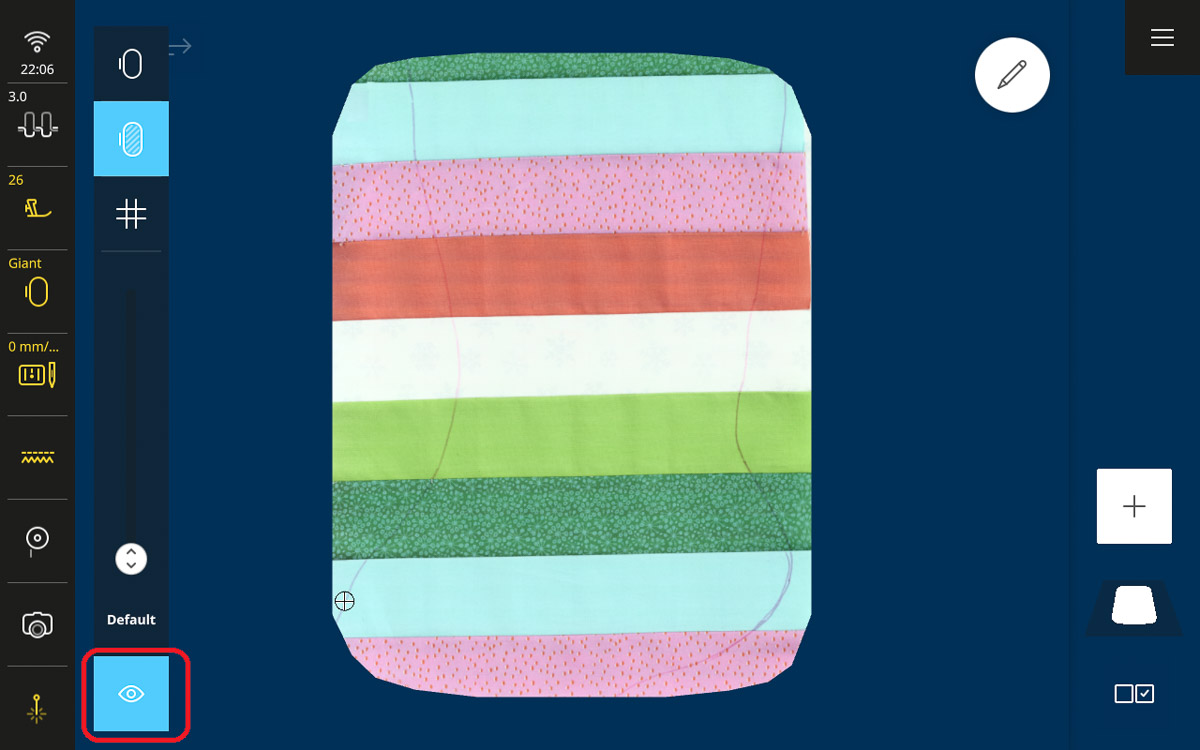
Step 4: Place the Design
Tap the Add Design icon and select the Personal Folder. There, you will see the snowflake combination we created on the Sewing Screen. Tap the stitch to select it.
Tip: The active stitch from the sewing side will always show up in pink in the Personal Folder. So, you may see a design that looks like a single pink line sometimes. That’s the straight stitch from the sewing side. I have seen many people try to delete or alter this stitch and now you know why you can’t! It’s meant to be there!
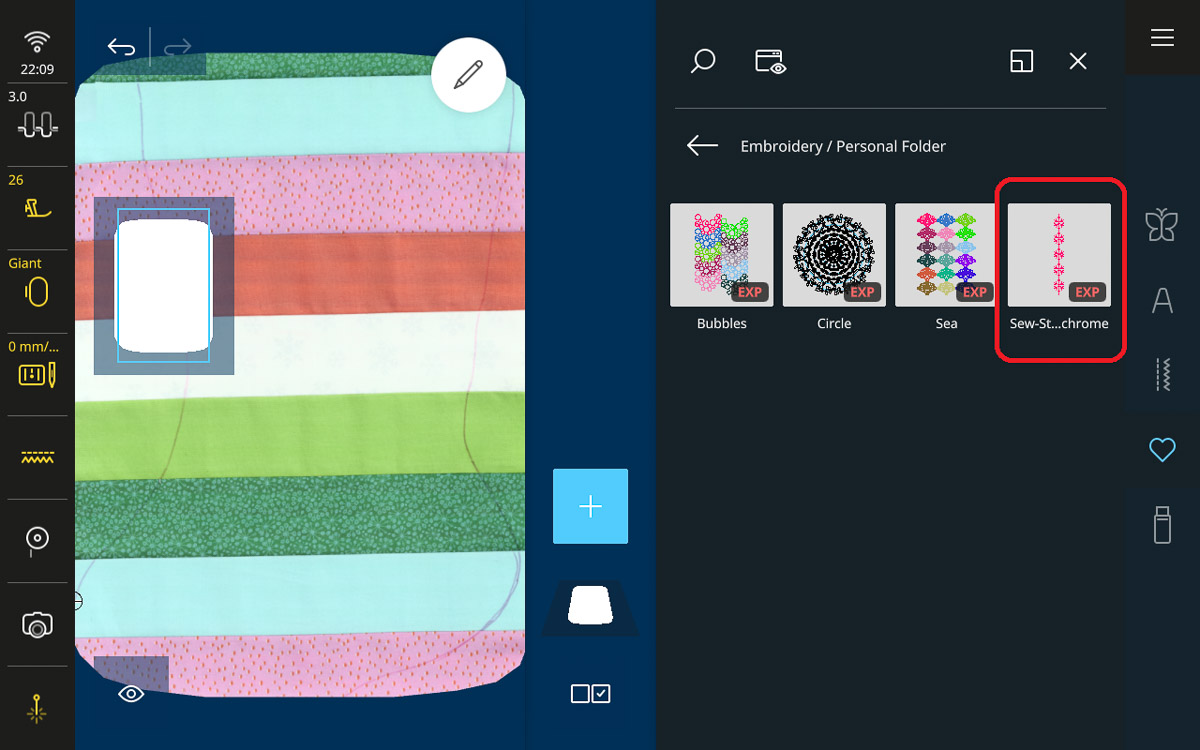
The selected design will open in the middle of the screen.
Open the Edit Menu and select the Rotate Icon. Use the slider to rotate the design to 270 degrees.
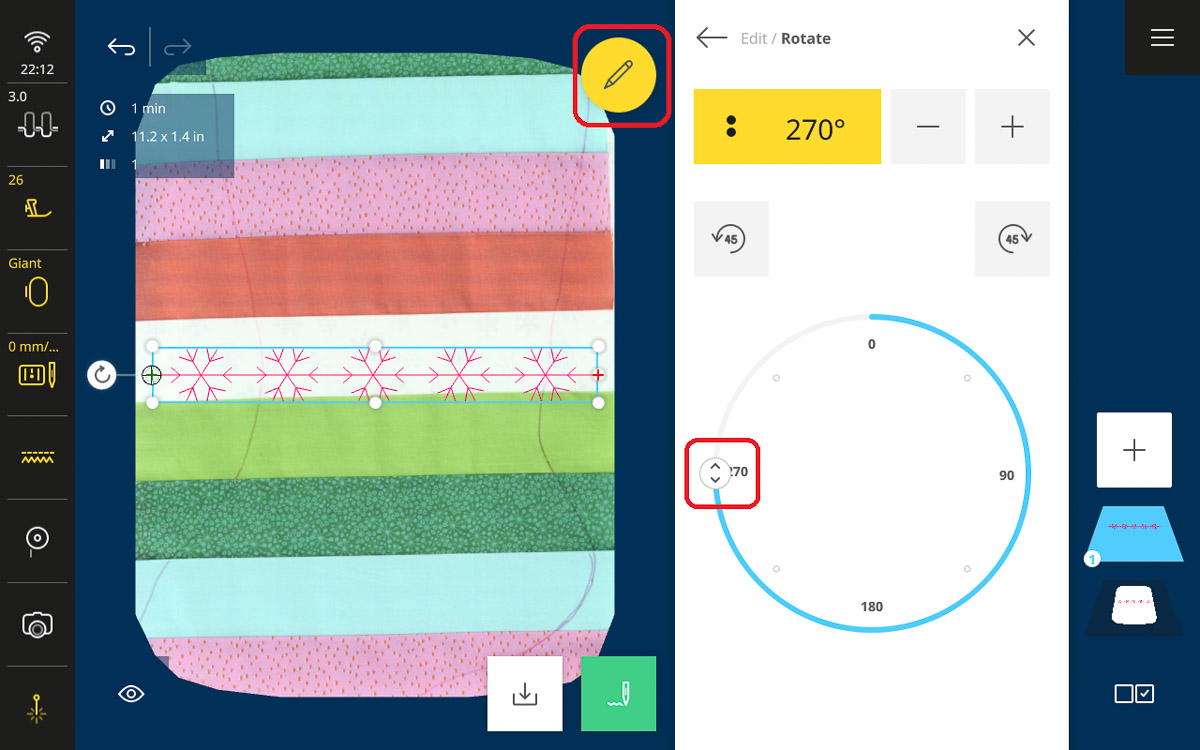
Drag your design to the lowest, fully visible stripe (that is the teal one in the shown example).
Turn on the Pinpoint Laser in the bottom-left corner of the screen.
In the Edit Menu, select Pinpoint Placement, then select Four Point, Fit, and Scale Lock.
Four-point placement allows you to choose all four points on the fabric to adjust the design acutely. Fit means the design will not morph to the shape set within the four points; the design with fit itself within those boundaries. And last, the Scale Lock tells the machine you do not want the size of the design to change during the Pinpoint Placement process; it will lock in the original size of the design.
Select the bottom-right placement node. The machine will move to exactly where that point is within the hoop.
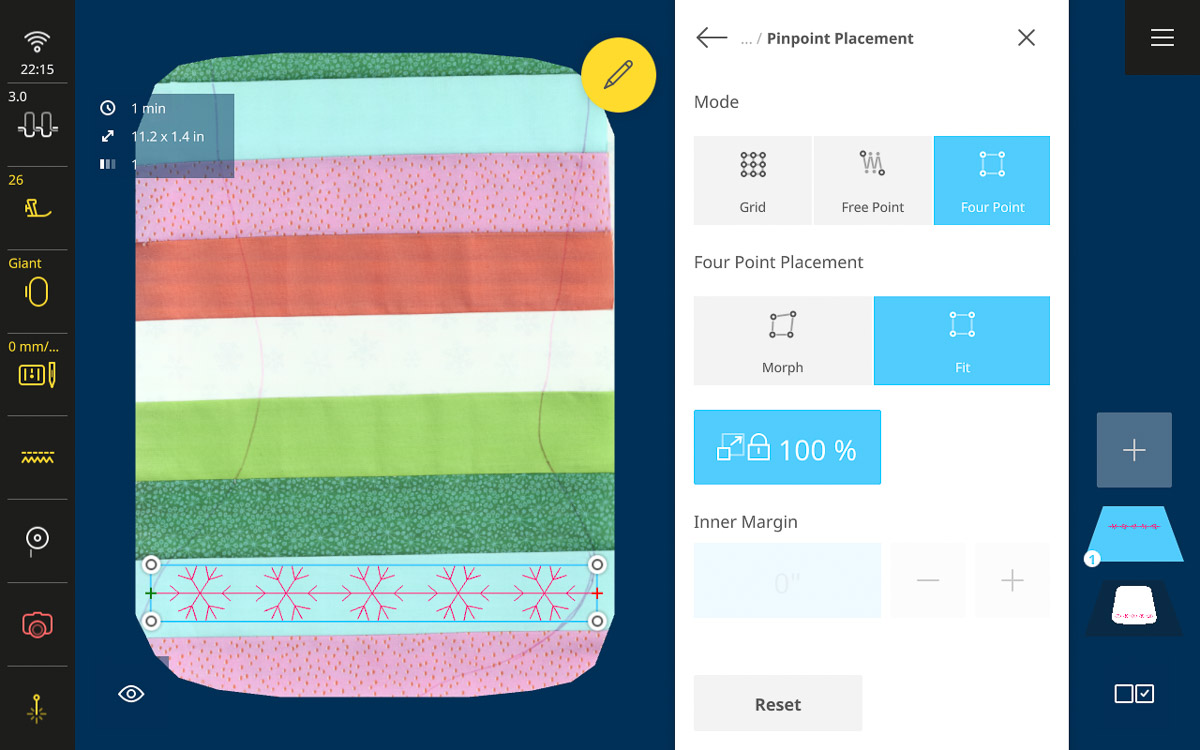
The Pinpoint Laser will show you the exact position of the needle. Using the Multi-function Knobs adjust the point as far to the right as possible and just within the stripe. Repeat this for all four points of the design, making sure each point is also as far to the left or right as possible and just within the hoop.
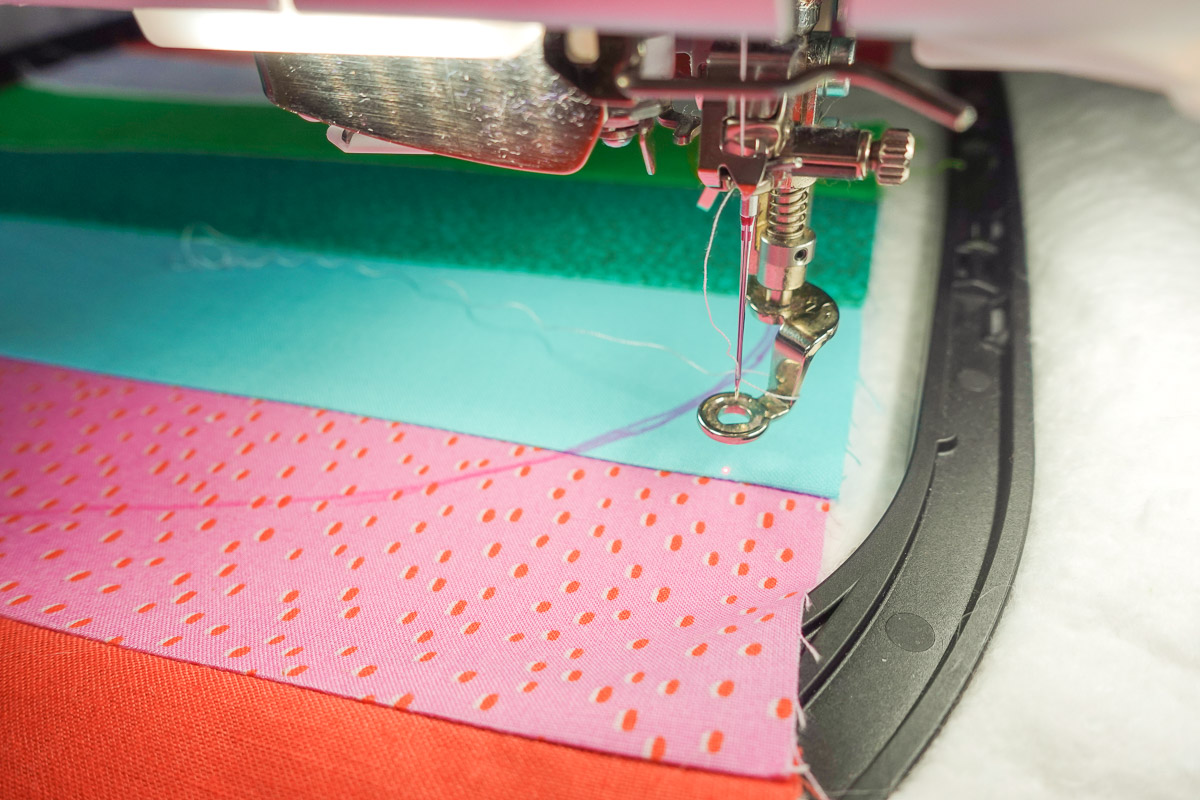
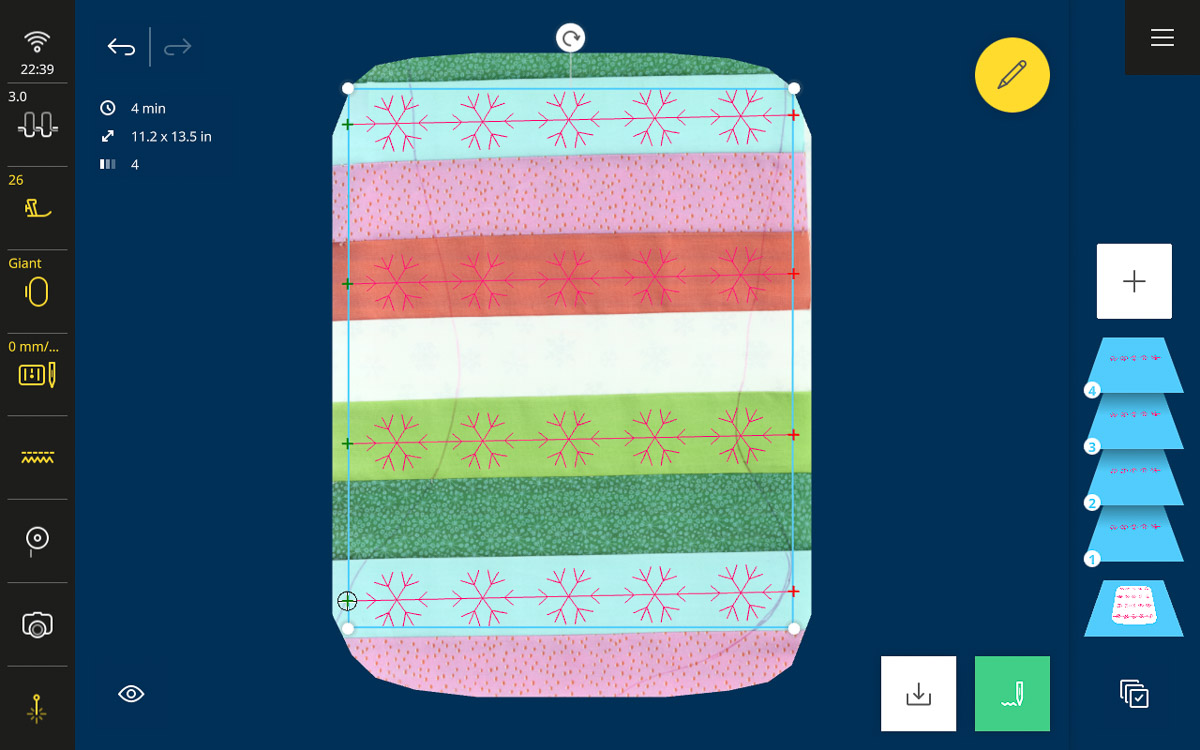
Once the design is in place, tap the Add Design icon again and repeat the placement process on every other stripe.
Step 5: Stitch Out the Design
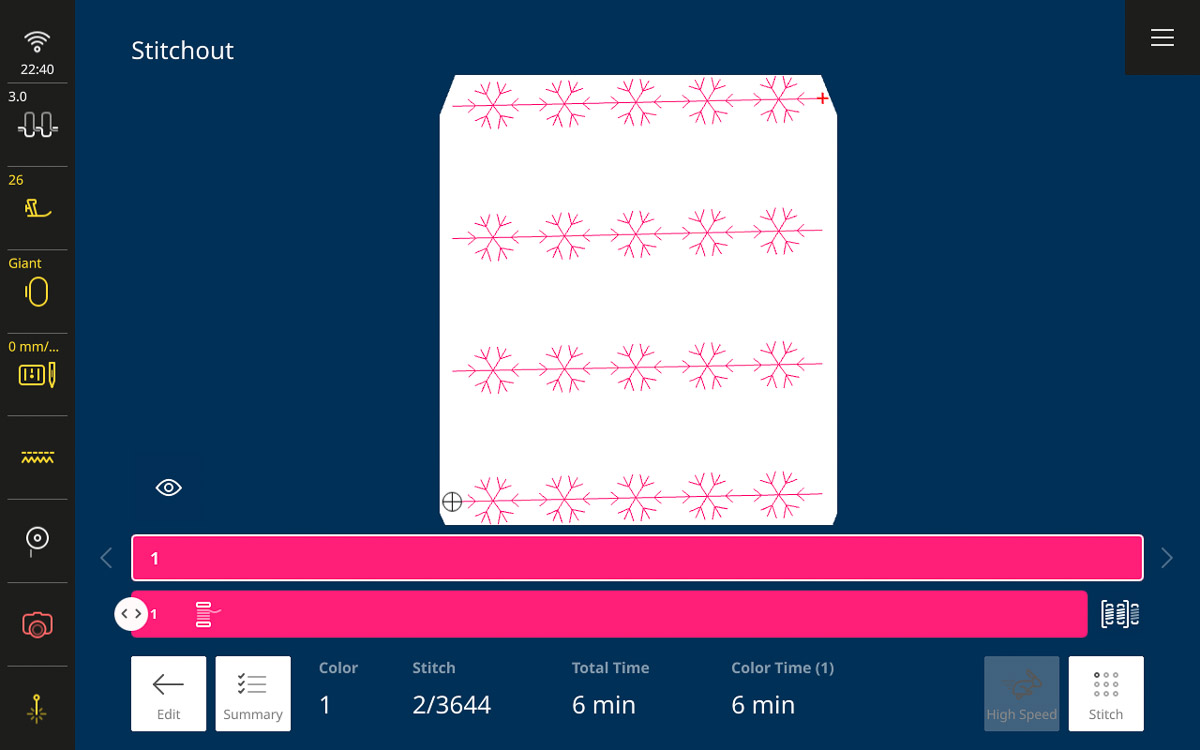
When finished, tap the Stitchout Icon in the bottom of the Design Altering Area.
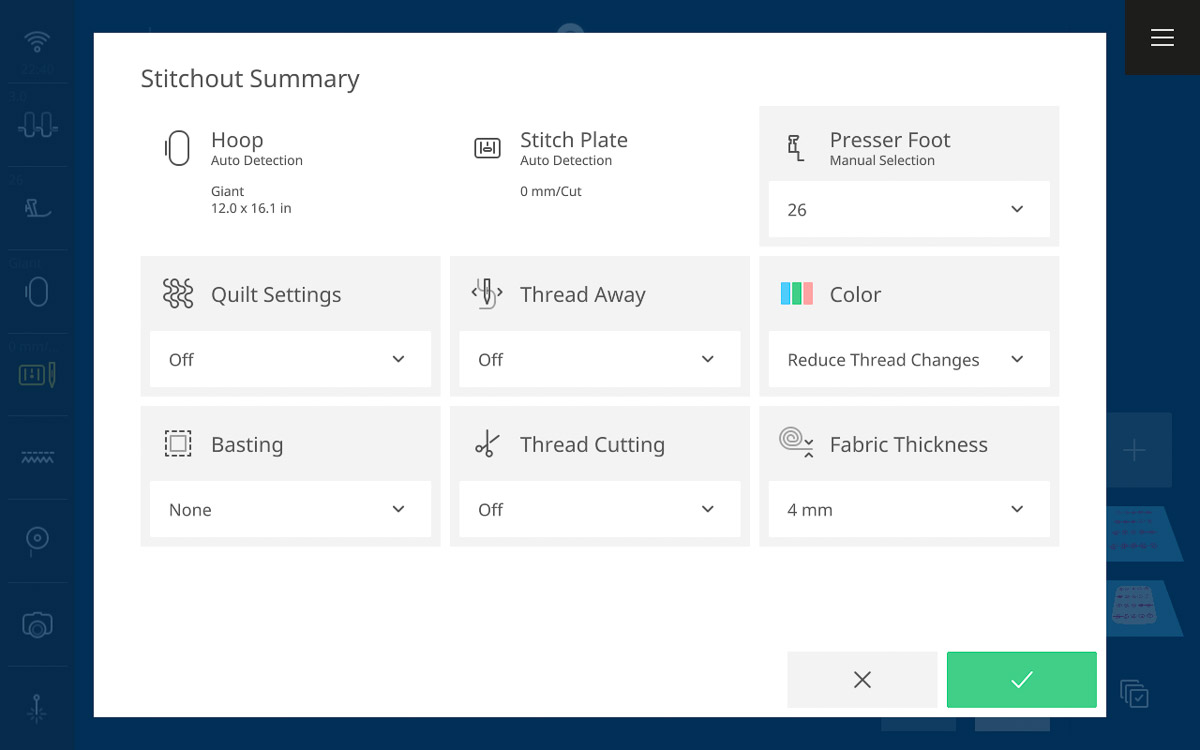
When the Stitchout Summary screen opens, select the following:
- Quilt Settings: Off
- Basting: None
- Thread Away Mode: Off
- Thread Cutting: Off
- Presser Foot: 26
- Color: Reduce Thread Changes
- Fabric Thickness: 4 mm
The thread cutter must be off for the thick thread, which can damage or dull the thread cutter.
Reduce Thread Changes is important to ensure each stitch stitches out without stopping in between.
Feel free to change the fabric thickness if you have a particularly thick batting.
Ensure you have the Giant Hoop, 0 mm Stitch Plate, and the Embroidery Foot #26 on the machine.
When everything is set, tap the green checkmark.
Once you see the Stitchout Screen, you can press and hold the green button on the front of the machine to begin stitching.
Tip: I have rarely had issues with the 12 weight thread stitching at top speeds when I have the right needle in (100/16 Topstitch). If this is your first time working with thick thread in embroidery and you are nervous about starting out at top speed, start at half speed and increase as you feel more comfortable. Alternatively, if you are stitching at top speed and get looping, fraying, or distorted stitches, then slow the machine down. At that point, I would also advise you to re-thread the top and bobbin thread and check the thread path for lint or other obstructions.
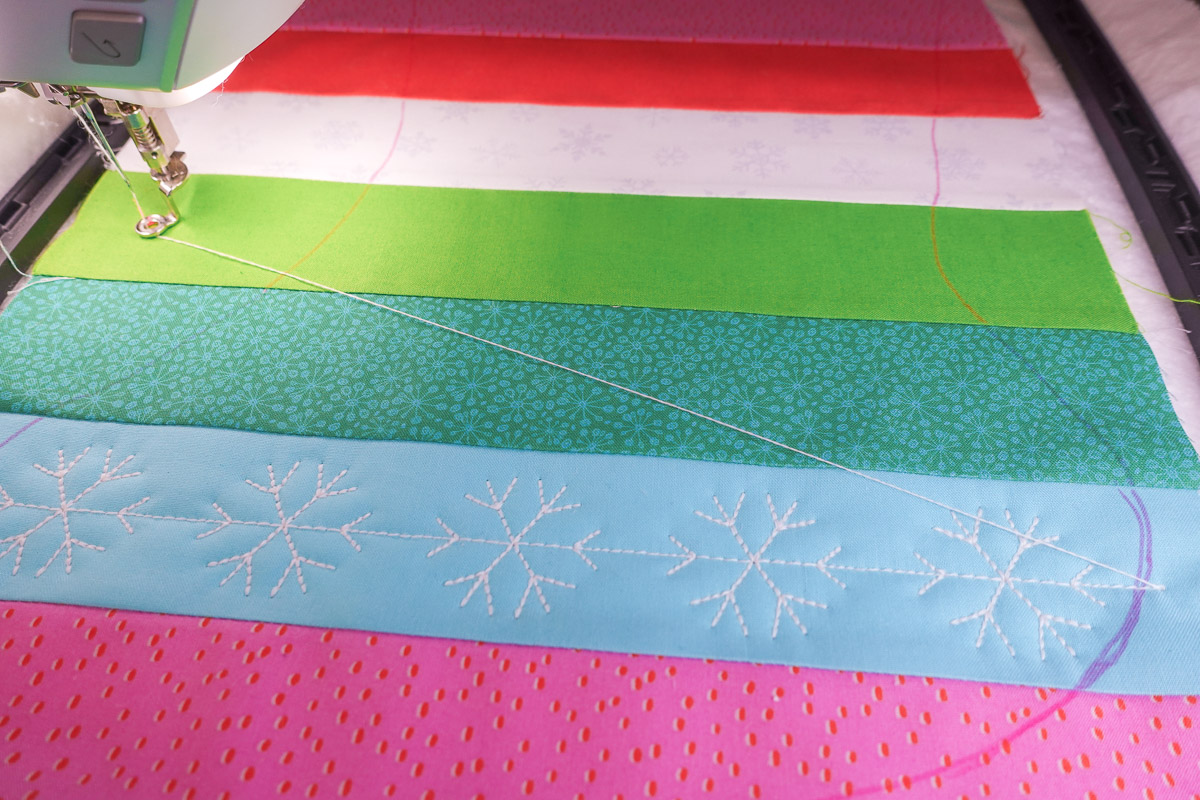
Pause the machine and manually cut the jump stitches as the stitchout progresses.
This will stop the machine from catching the thread in the foot or stitches and will make the result look much cleaner.
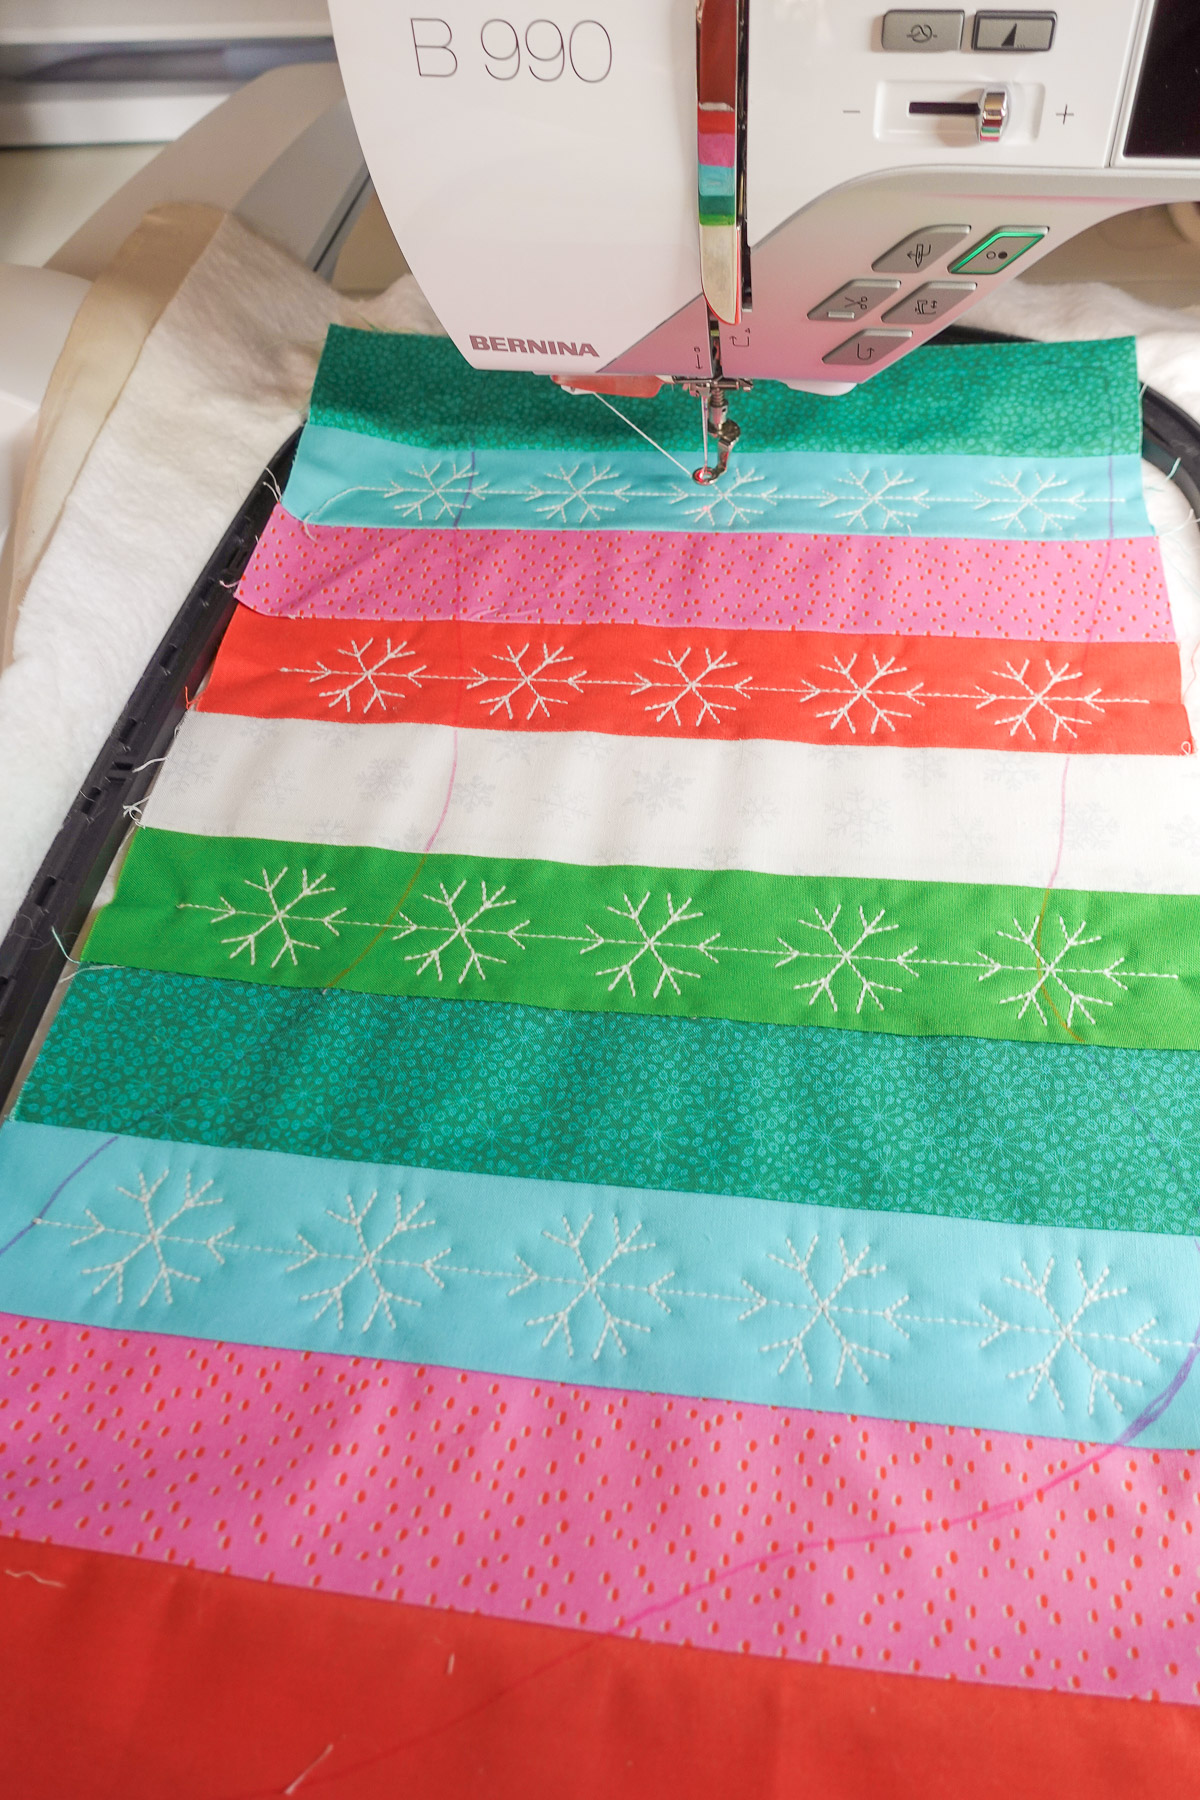
Wow! What cute embroidery this turned out to be! When the design is finished, tap the Finished Embroidering icon. Remove the hoop from the machine and remove the fabric from the hoop.
Step 6: Sew the Final Touches
Attach Edgestitch Foot #10D and the 9 mm Stitch Plate. Select Straight Stitch #1 and increase the length to 5 mm.
Align the blade of the foot in the ditch and stitch slightly to the right of the seam. Remember not to hit the Automatic Thread Cutter but use snips or the thread cutter to the left of the machine head.
Sew across each seam along the stripes.
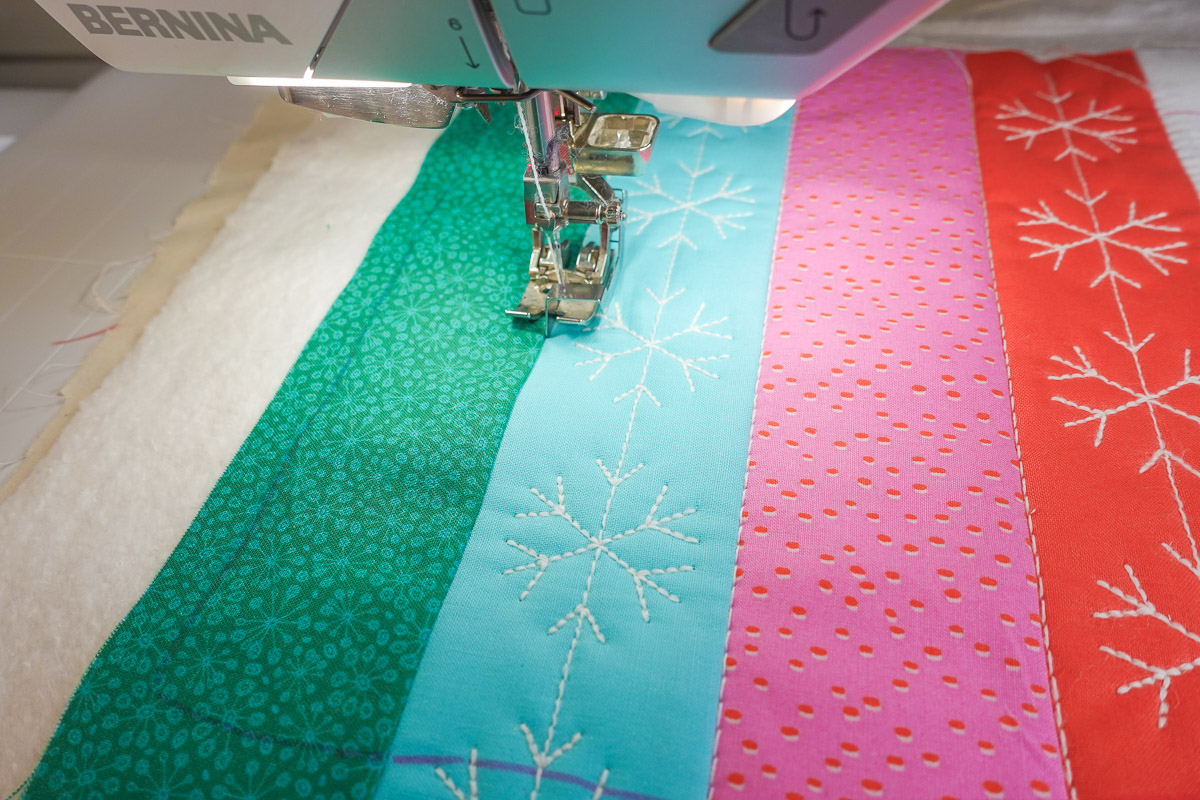
Attach the Sideways-motion Foot #40C and set it within the machine. Select stitch #1317 from the Quilting Stitches folder in the File Manager.
Select the Edit Menu, then select Jumbo Stitch. Set the stitch length and width to 200%.
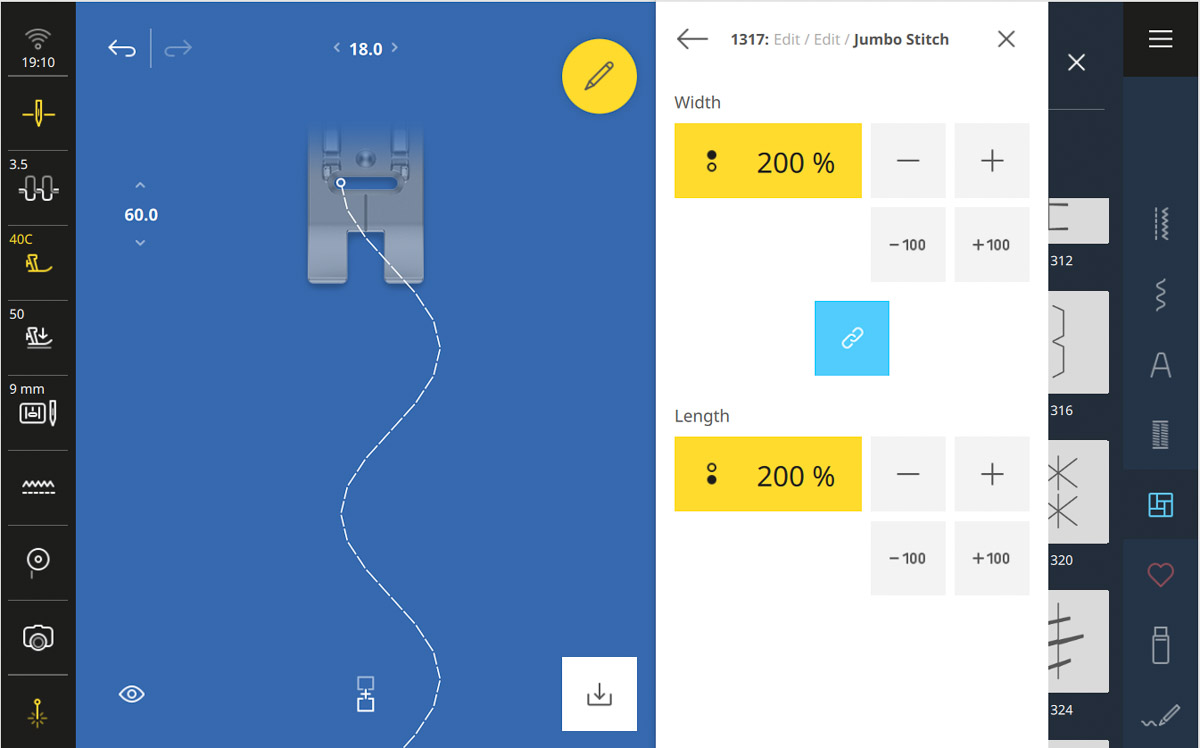
Change the 50 weight cotton thread to match each stripe and then sew down the center of every stripe that doesn’t have snowflake embroidery. Practice a couple of times so you can better understand how this jumbo serpentine stitch will move.
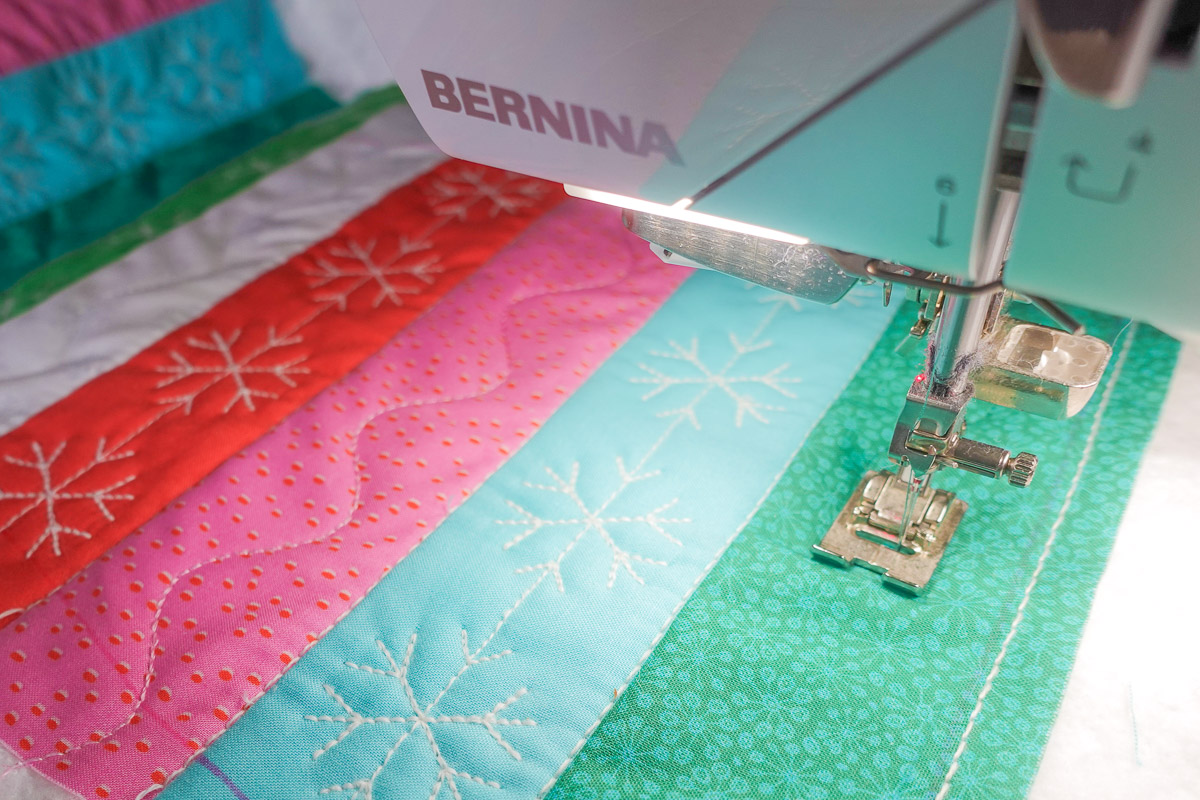
Finished!
From here, you can cut out the stocking shape and finish sewing your super cute quilted stocking according to the original blog post instructions.
I think Jumbo Stitches would also be really cute on the cuff, as well. Have fun playing around and making all sorts of stitches jumbo!
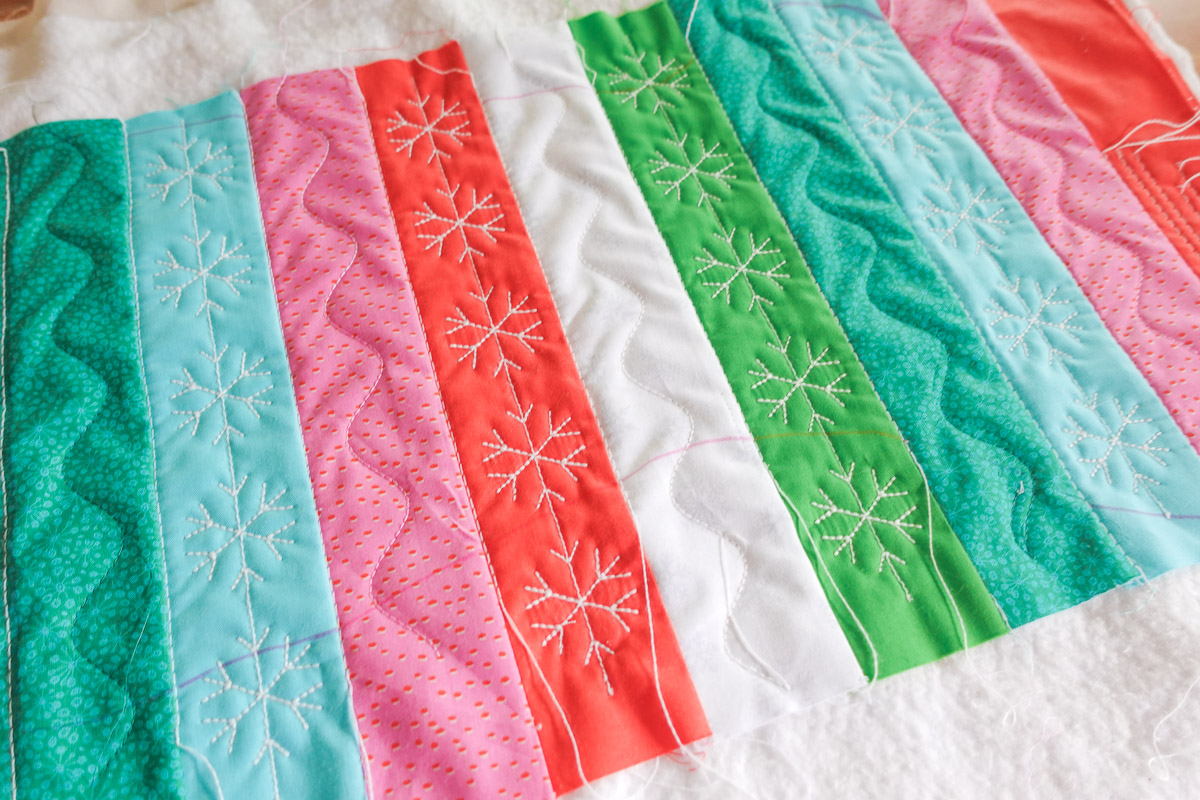
I loved making this stocking and have plans to make more for the whole family! Now I want to try out a 9-patch stocking with Jumbo Stitch quilting.
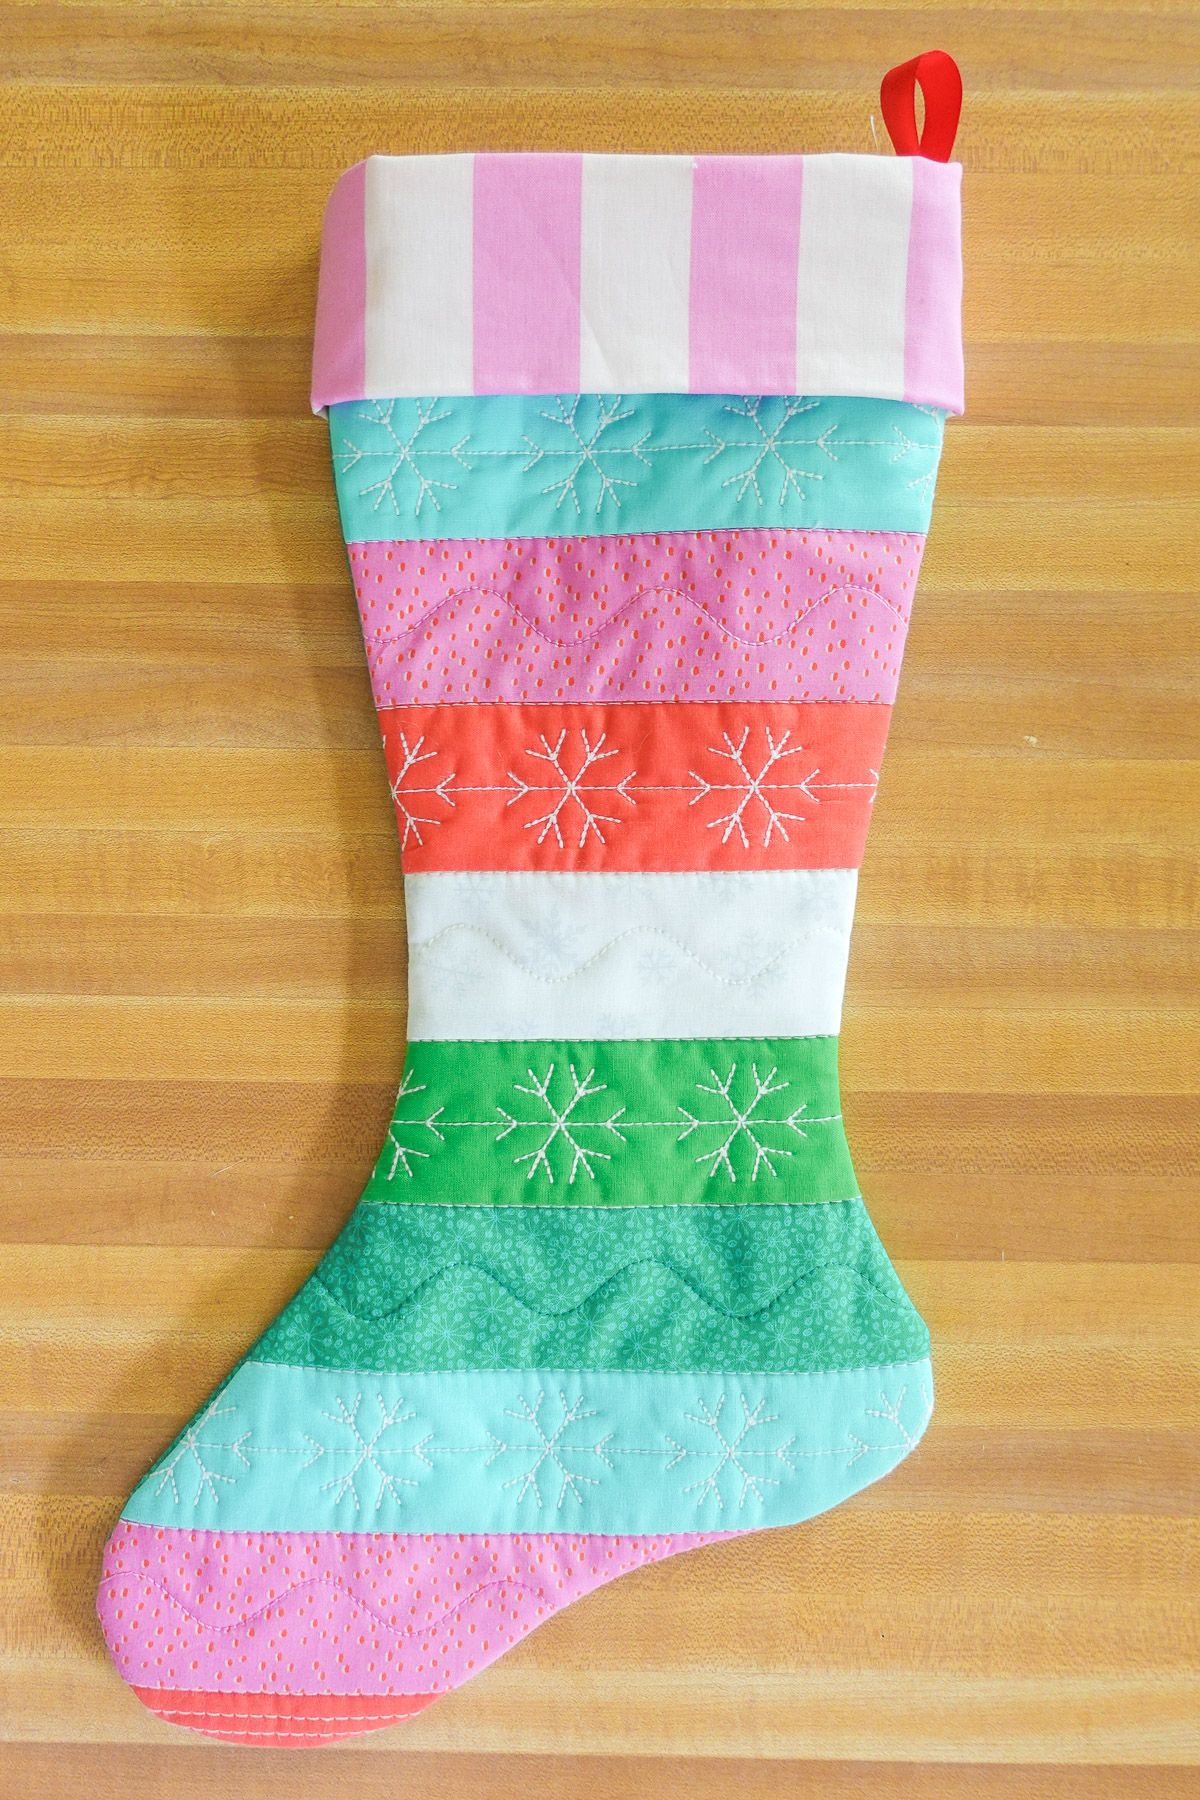
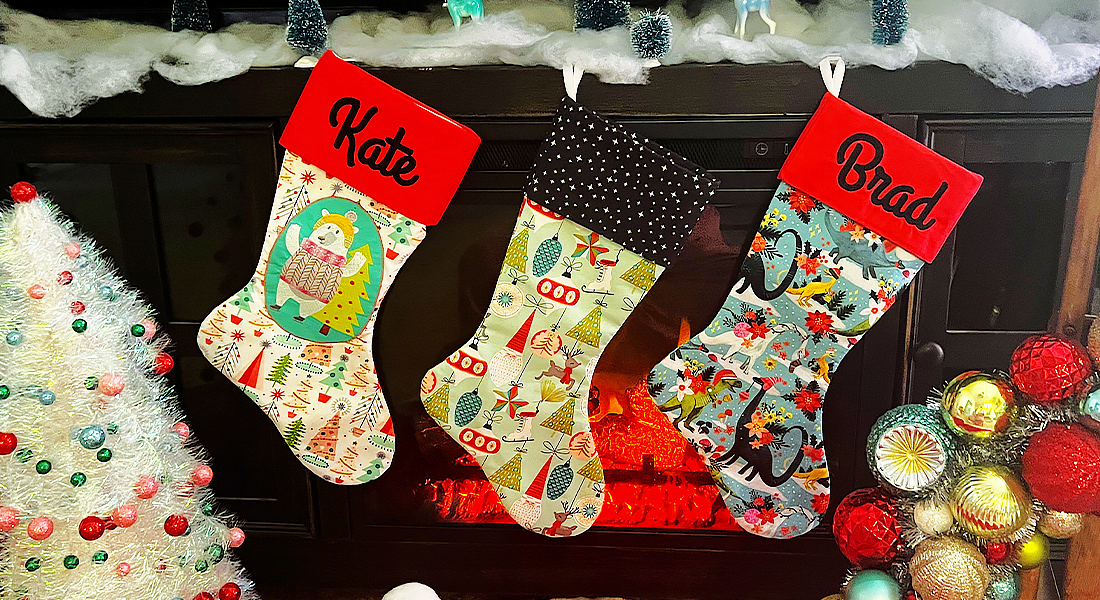
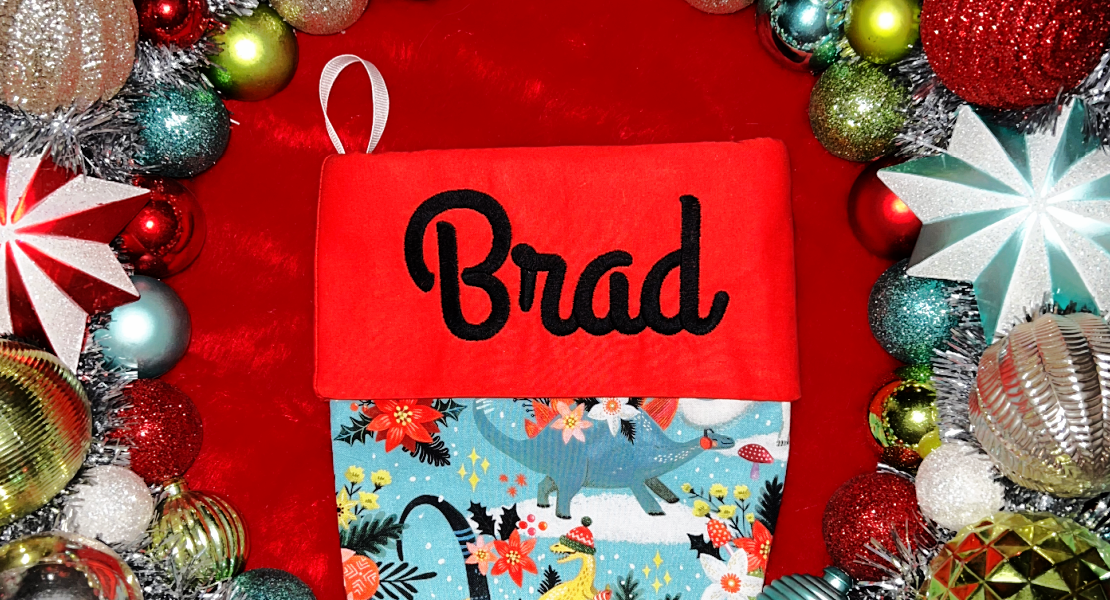
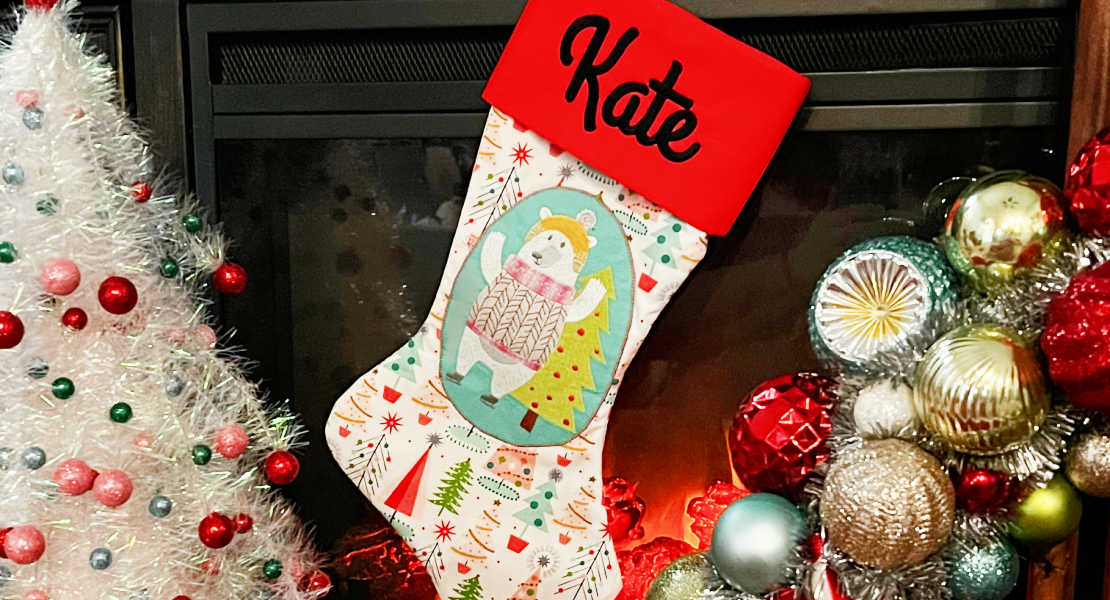
If you want to learn how to embroider a name on the cuff, check out the second part of this series: Machine-Embroidered Christmas Stocking Part 2: Embroider the Cuff.
Can’t wait to see what you make this holiday season!
What you might also like
2 comments on “Jumbo Stitch Quilted Christmas Stockings”
-
-
Is there a work around for 790 pro?
I like the shape of the stocking and it has a cuff.
Leave a Reply
You must be logged in to post a comment.





Kate, what a great tutorial! I have been playing with jumbo stitches but not yet stitched them out in the embroidery hoop. Step by step details you give here are very helpful. Can’t wait to make this stocking!