Peter Rabbit Wall Hanging
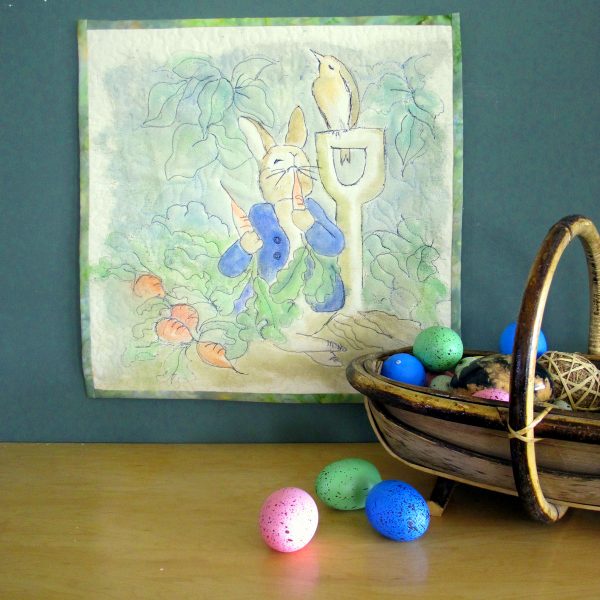
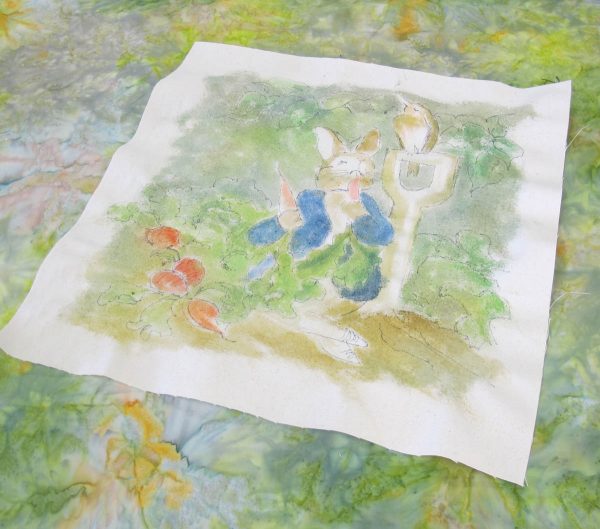
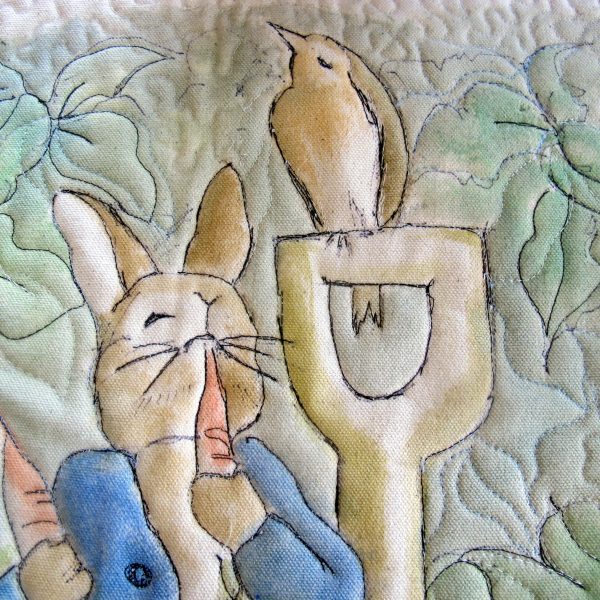
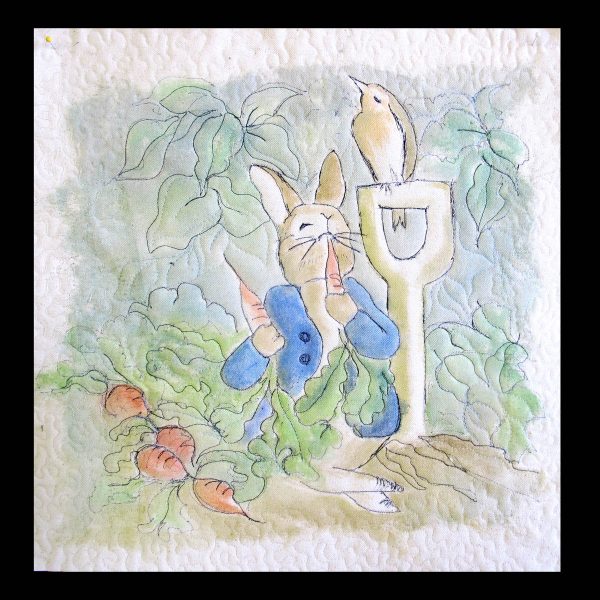
I love the Beatrix Potter books, especially those that involve Peter Rabbit. He is always getting into trouble! This little wall hanging or pillow is a great Easter, spring or child’s birthday project.
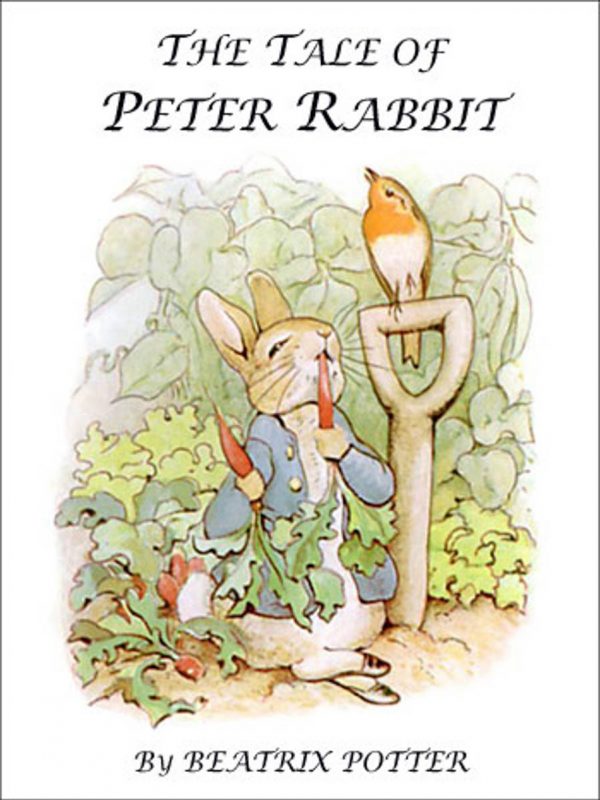
Any drawing or painting can use the same techniques as described here. Just be careful about copyright issues and check that the image you want to use is not copyright protected! This image was downloaded here. They have many choices that might work for a similar project.
Materials to create a Peter Rabbit wall hanging:
- 1/3 yard Cotton duck fabric (heavier weight)
- Batting
- 2/3 yard backing fabric (to be used for back and binding if making a wall-hanging). Choose something that feels right for your piece.
- Fine black sharpie marker
- Water color paints or acrylic paints (preference for water colors)
- A couple of small artist brushes, water cup, paint tray (a paper plate will work fine) and a rag
- Black, beige and light blue or grey thread
- BERNINA sewing machine, Free-motion couching foot #43, Reverse pattern foot# 1
- Pins, scissors, rotary blade and mat
Instructions on how to create a Peter Rabbit wall hanging
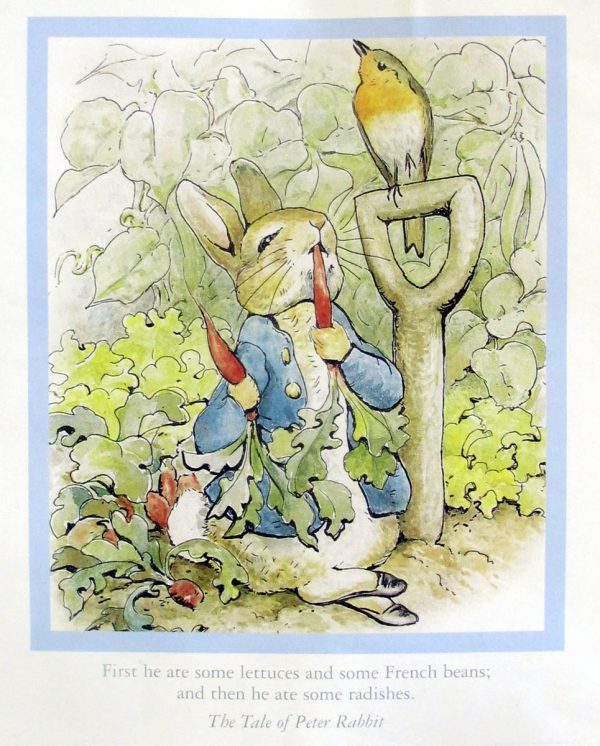
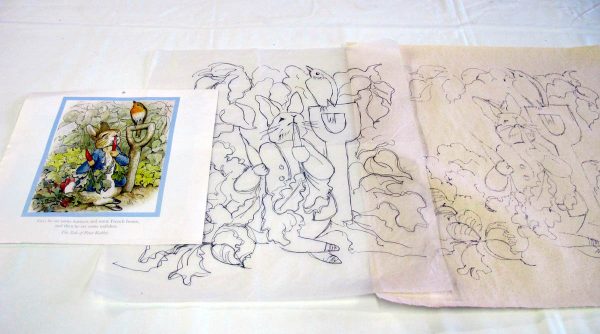
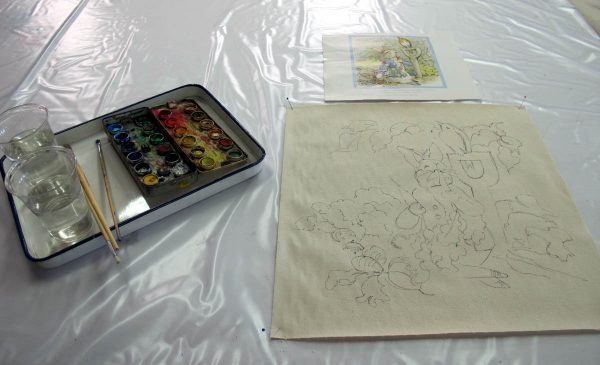
Find an image online or in a book that you want to use. The Peter Rabbit images are easily available. I used a calendar page as my starting point. (You can also use your own imagery!)
Enlarge the image to the size that you want to make your wall-hanging. Scan on your home scanner and print in two halves if need be, or take it to a copy store like Fedex or Staples. You can make a black and white copy or a color copy. Pick the one that you think it will be easier for you to make a tracing of the outlines of your image. The sample piece is enlarged to make an 18 inch square finished piece.
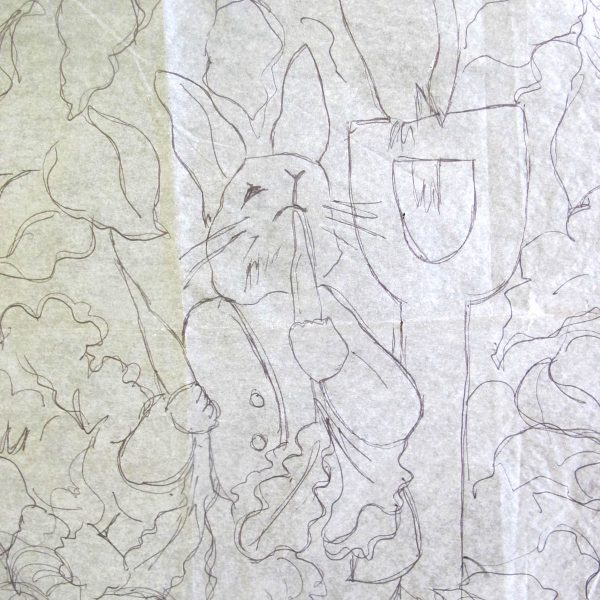
Once you have the enlarged image, lay a piece of tracing paper over it and trace the outlines of the major elements of the image with a marker.
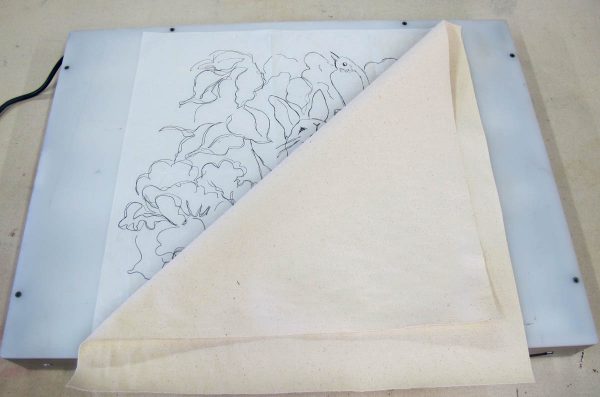
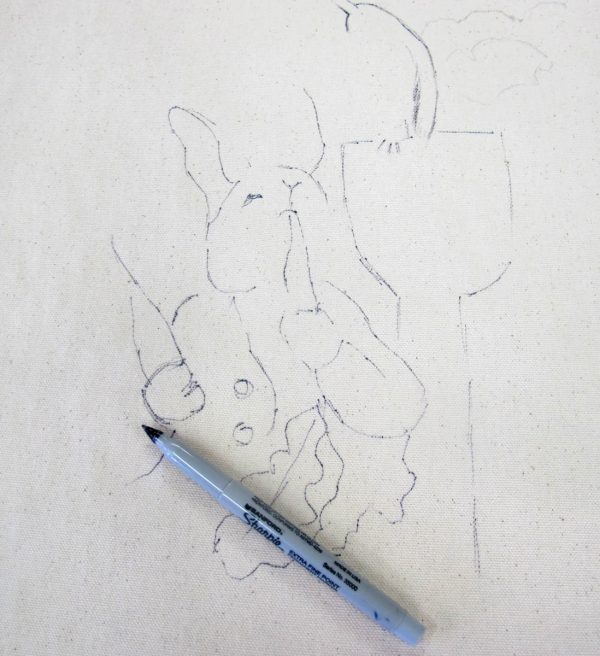
Cut a piece of cotton duck fabric 2-3 inches larger than your final piece. Lay the cotton duck fabric over the tracing paper on a light table or in a bright window. Using a black fine Sharpie marker, trace the outlined images on to the duck. You don’t have to press hard; you want it to have a sketchy feel to it as you will be doing some stitching over it later.
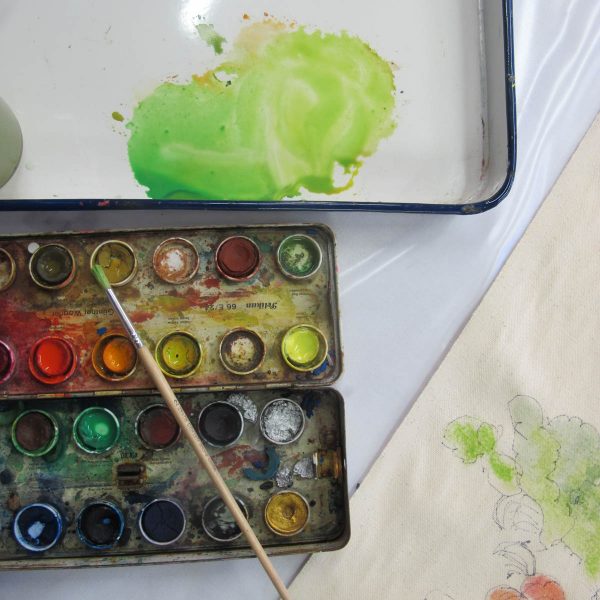
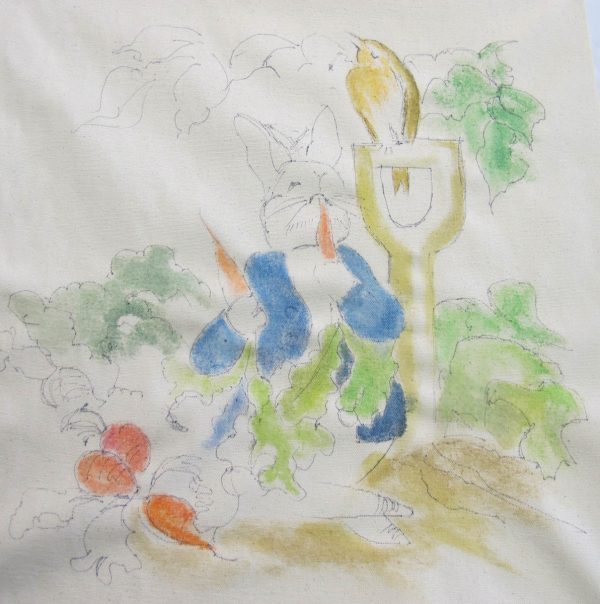
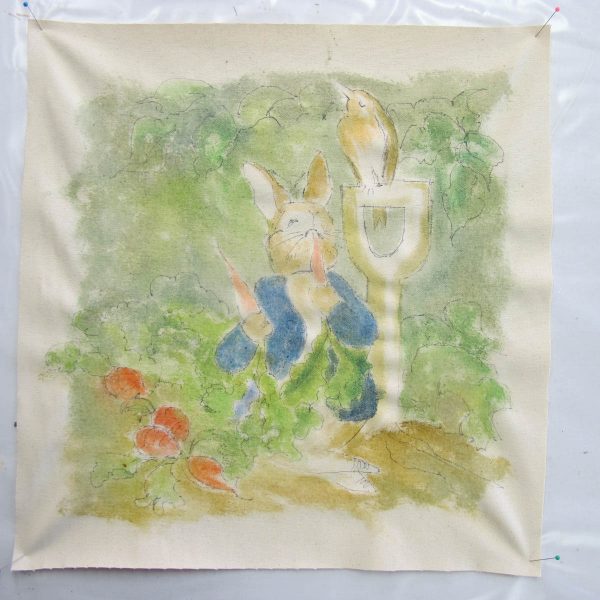
Now you are ready to paint! Pin your sketch to a table covered with plastic or a piece of foam core. Set up your paints with a tray or paper plate for mixing colors and a cup of water for your brushes. Keep a rag nearby.
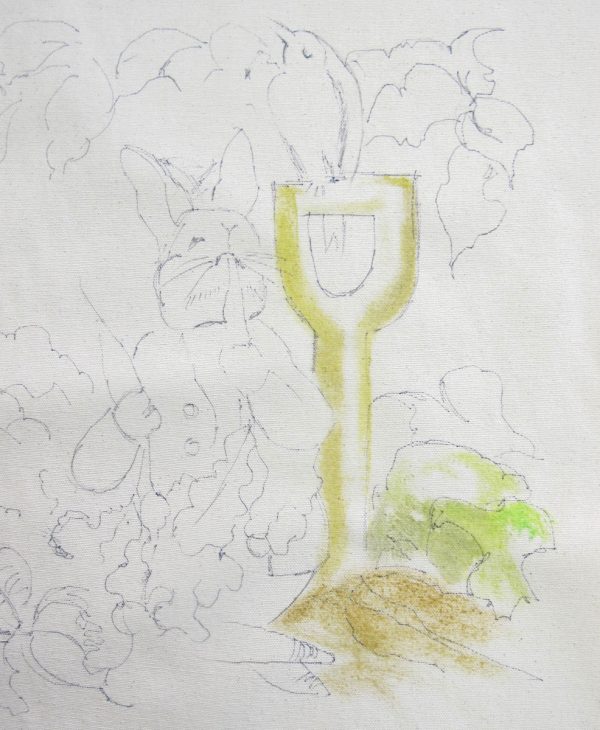
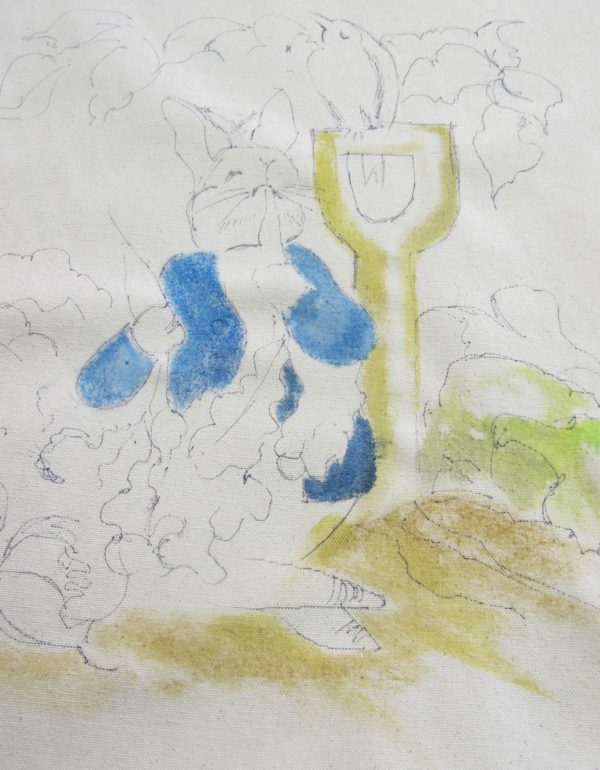
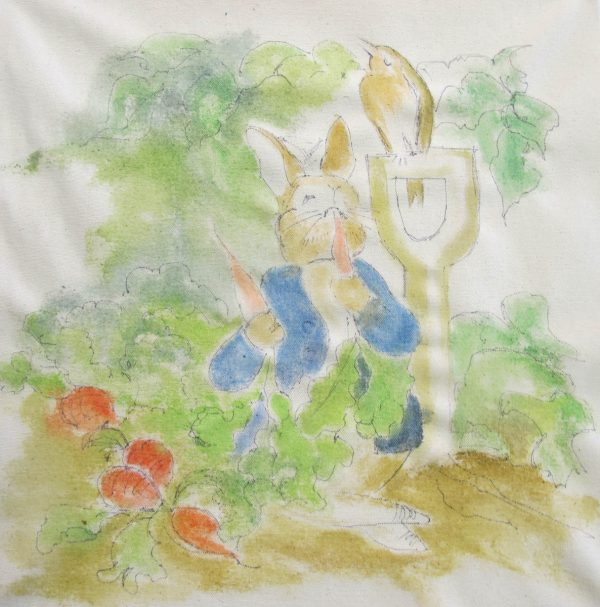
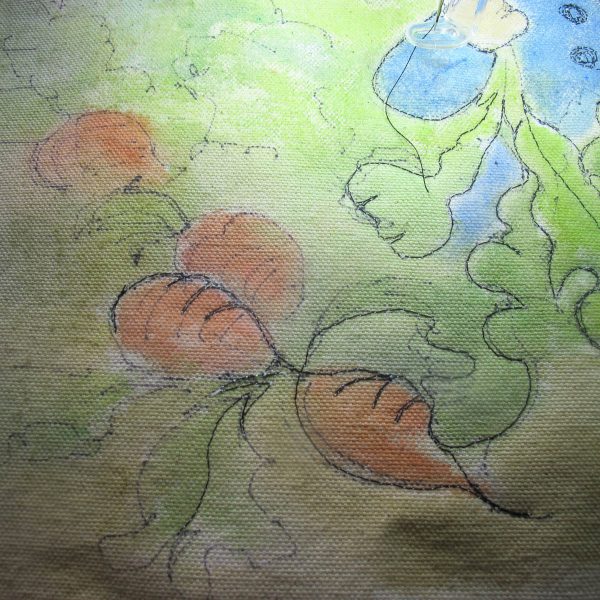
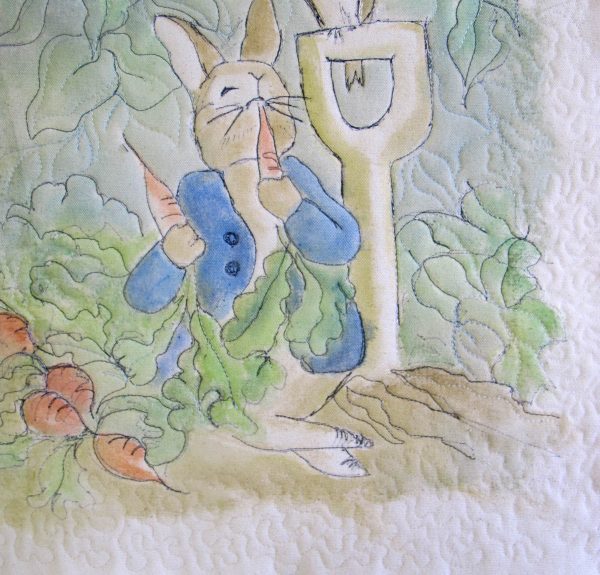
The painting that you are going to do is very light and intuitive. Don’t be worried about painting within the lines! The painting will be enhanced by the stitching that you do at a later point. I like working on the duck because it does NOT absorb the paint easily which gives you some time to work. Adding more water helps to let it bleed a bit into the background. You can come back to any area and brighten it up more if things seem too light. I start painting the major elements, the shovel, the bird and Peter because these elements are the most “solid” things in the painting. I add the carrots and the bird next. Then I work my way out to leaves which are less defined.
Once you have painted everything you can go back and see where you might need to strengthen areas or add more detail. Let the image dry. The cotton duck will pucker a bit.
After it is dry, iron the piece from the back to flatten it out again.
Cut a piece of batting and a backing fabric that is a little larger than the front. Pin together (If you prefer you can do the stitching just with the batting and add the backing fabric later).
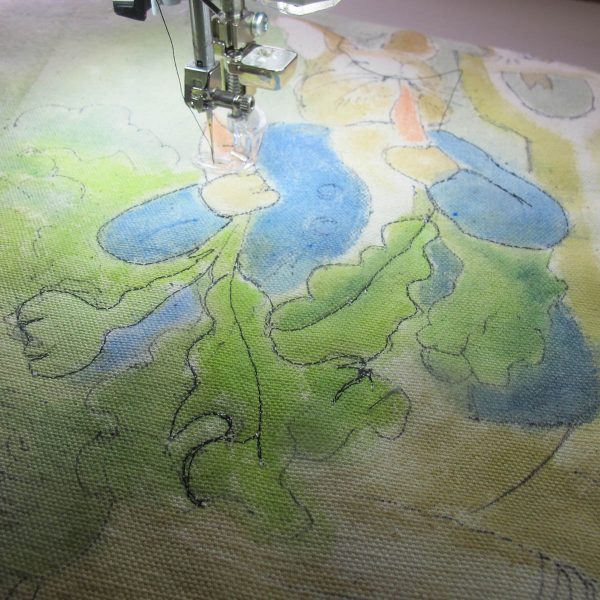
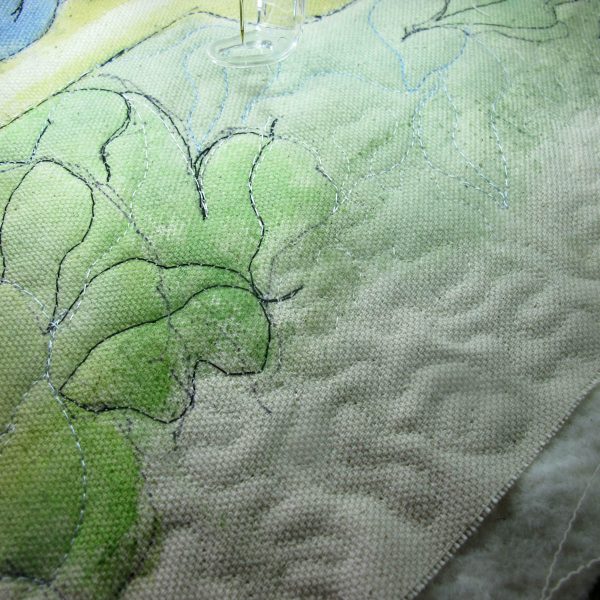
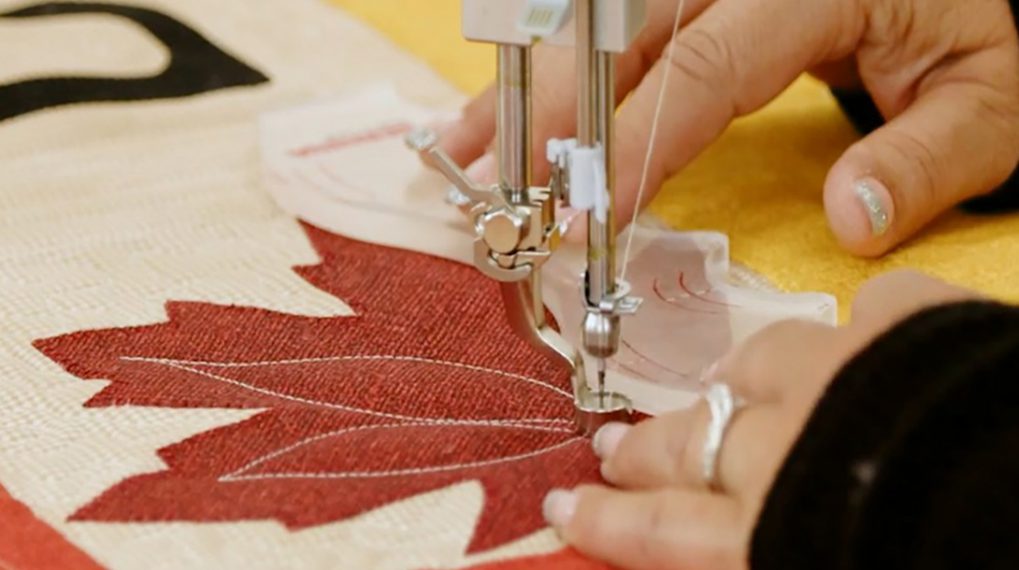
Using your BERNINA sewing machine and a free motion stitch foot, and black thread, go back over some of your marker lines to strengthen them. Think of the stitching as a marker. You want it to have a sketchy, scratchy feel as though it were hand drawn. This allows for a lot of flexibility. You might want to add more detail then shown in the sample piece.
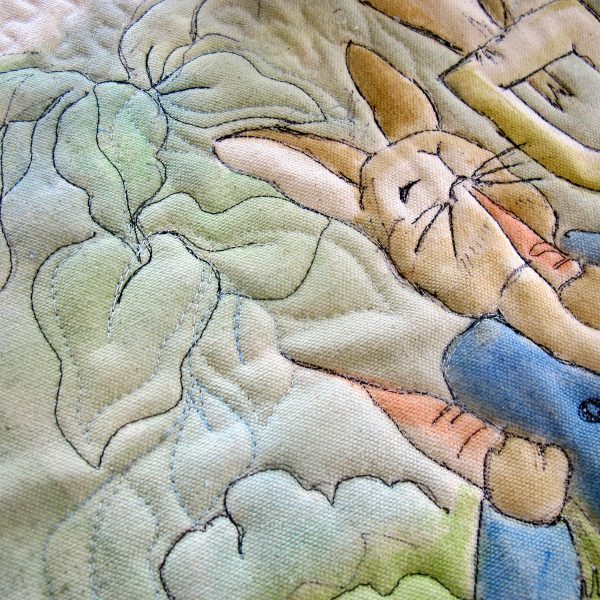
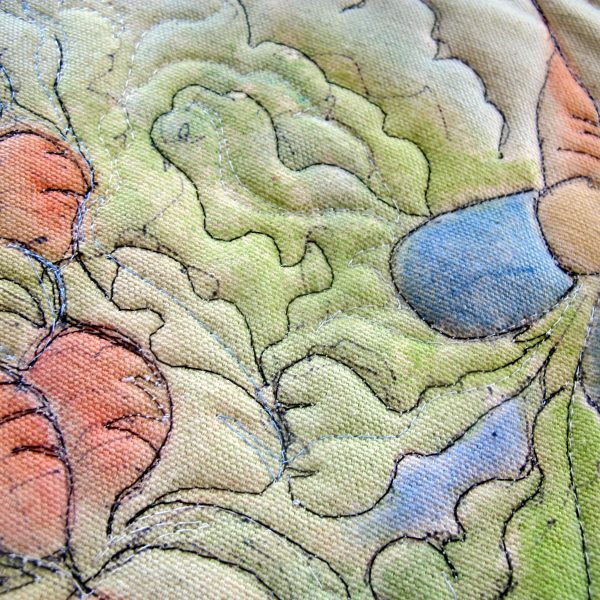
After stitching the black sketchy lines, I use a light blue/grey thread and add some detail into the background, especially the leaves, around Peter’s jacket, the bird, and other places that might need more definition.
Lastly, using a thread to closely match the cotton duck background, stipple the background out to the edges of the piece. I start moving out from around the painted edges in an irregular way and continue to the edges. In the sample, I did half in a thread that matches the duck almost perfectly and half with a more beige thread. It is up to you!
When you are done stitching, press again from the back to neaten everything up and trim any threads. Using your rotary blade cutter and a mat, trim the wall-hanging down to a neat square.
Add a binding any way that you want, a rod pocket on the back and you are done.
Tips!
- Don’t be scared of trying the painting. Using a light touch and less paint than you think you need and you will get a nice watery effect. And then you have the option of going back over some areas to strengthen them. I try to achieve the look of the original Beatrix Potter illustrations and they are very pastel in feel.
- If you use acrylic paints you will need to water them down more so that they are more like water color paints.
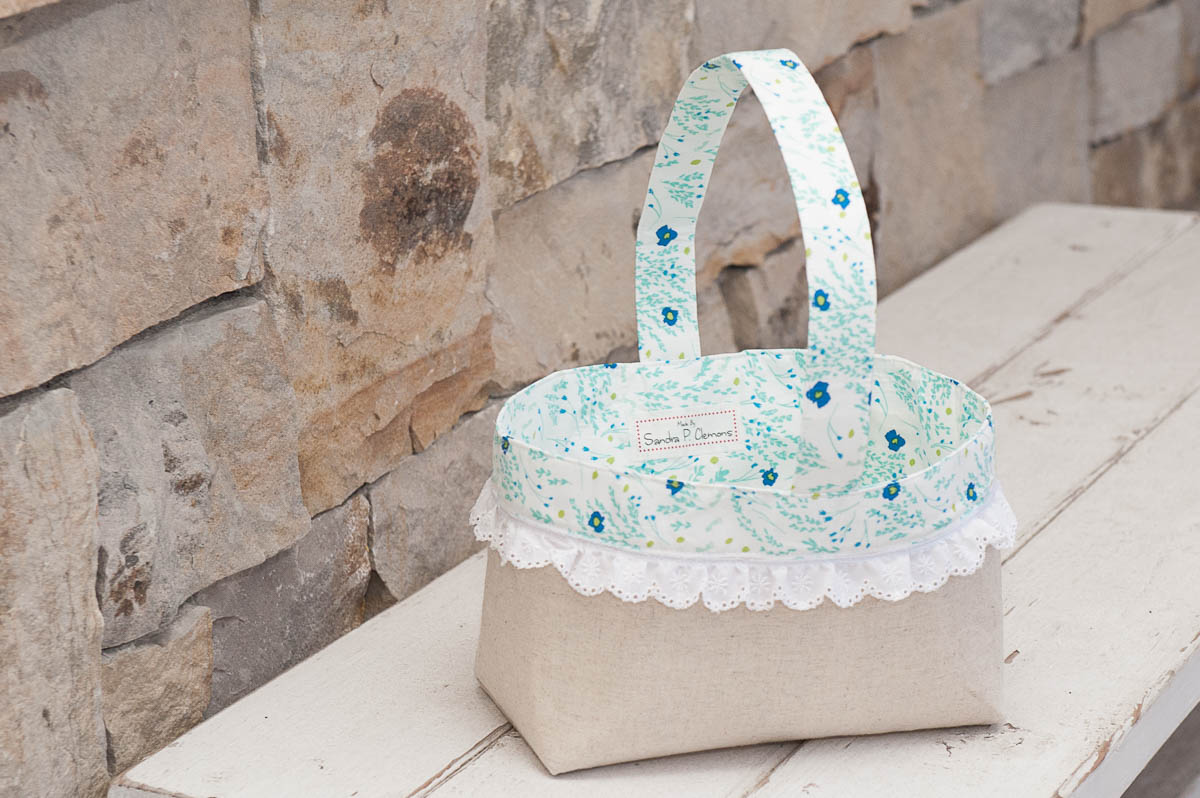
- This sample would also work well as a decorative pillow. Just add some interesting trim around the edges.






4 comments on “Peter Rabbit Wall Hanging”
Can you wash it?
No, because it is done with watercolor paint. If you did it with acryclic paint or fabric paint and set it with iron you could but I owuld do a little test piece first.
This is absolutely wonderful