Teach Kids the Joy of Sewing
Currently, our local elementary school is year-round. This means that at odd times of the year my kiddos are out for weeks. I am left with the task of finding a way to keep their little minds and bodies active during seasons where weather won’t allow them to play outside. This last long break I decided it would be the perfect opportunity to start to teach my eight-year-old and six-year-old some sewing basics. I’ve sewn for them many items and they have seen me at the machine many times, so they were excited to learn something that mom does. During our sewing lessons, I discovered 5 ways to teach kids the joy of sewing.
Tip #1: Pick a Project They Can be Excited About
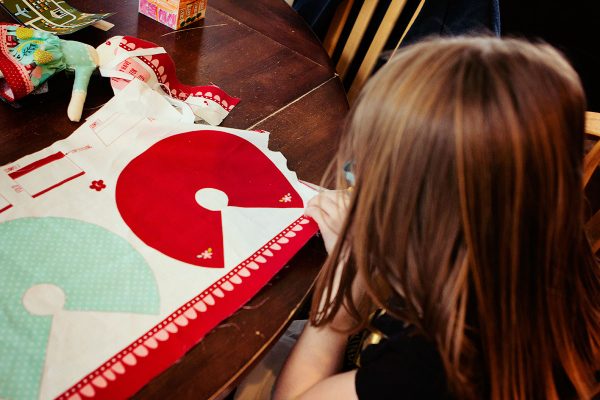
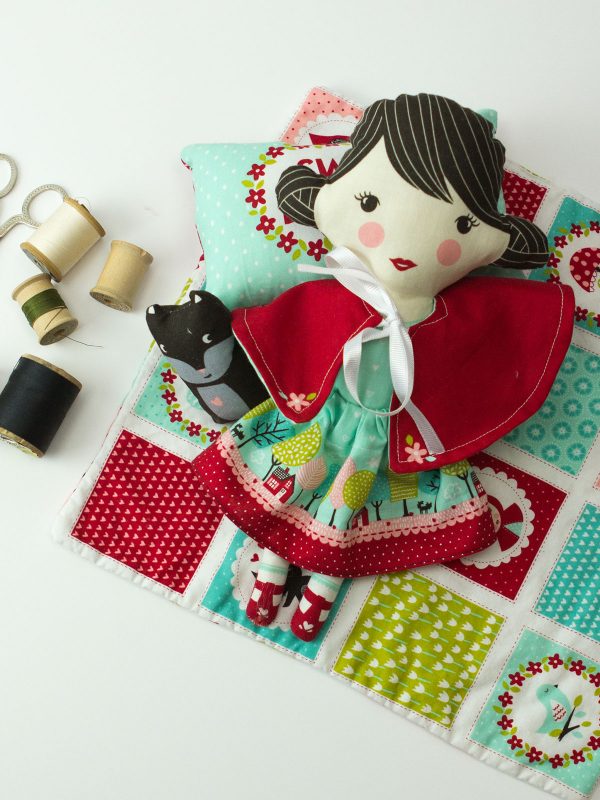
About a year ago I found some wonderful doll panels by Moda. One was for the Lil Red Line and the other was Coral Queen of the Sea. I purchased them because I knew they were something that my little girls would love.
When I pulled out the panels and showed them what they would be making, their eyes lit up. I knew that there were parts to the panel that they couldn’t complete on their own and I would have to help quite a bit. But I felt that their excitement for making the project outweighed the extra work.
Tip #2: Cater the Lesson to Your Little One’s Attention Span
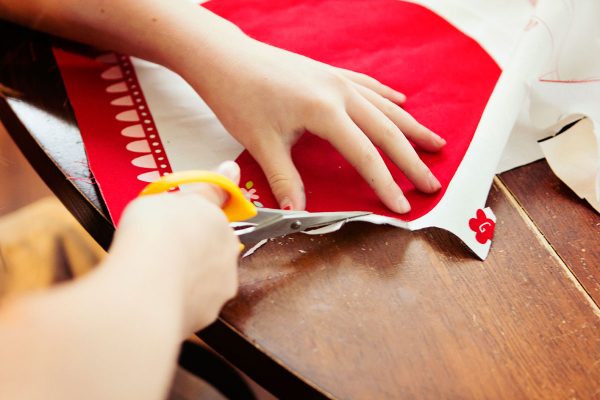
I know many sewing teachers like a student to complete an entire sewing project all on their own. But given the age of my youngest and that my oldest has ADHD I decided to break up the lessons and teach them principles. Rather than worry about them completing all the steps to a project. For example, I had them carefully cut out some of the panel elements (like the dolls), but I sewed up most of the doll since I knew the curves could be tricky. On each element for the doll I would try to focus on a single lesson. For the quilts, it was learning how to sew a straight seam and turn on corners. When we made the skirt, we learned about using the iron to press the cloth and seams.
By breaking it down into a mini lesson for each element I found it was a great way to build their knowledge, without overwhelming them.
Tip #3: Mistakes are Part of the Learning Process
As an experienced sewist, I still make mistakes! So it would be silly to be annoyed with my little beginners when they make a mistake. Understand that your student will mess up. And better yet when they do, use it as a teaching moments to show them how to selvage (hopefully) the project.
Tip# 4: Slow and Steady Wins the Race
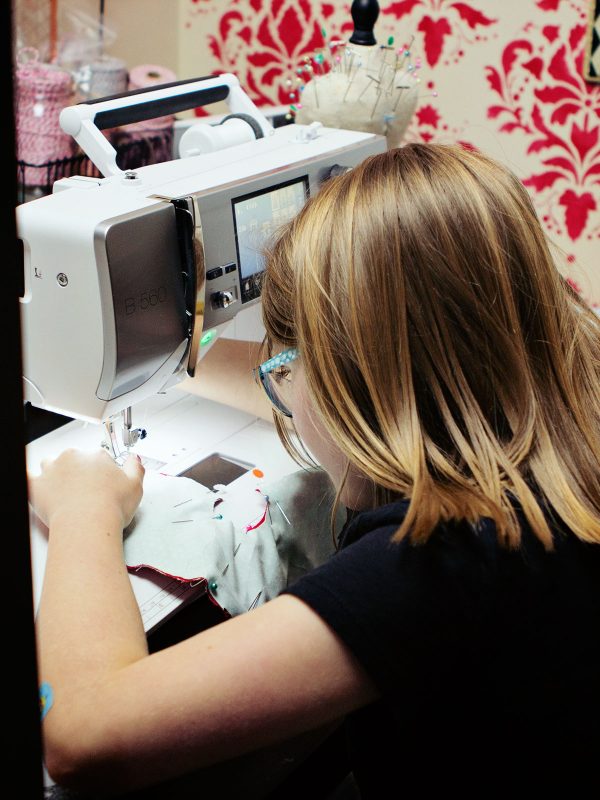
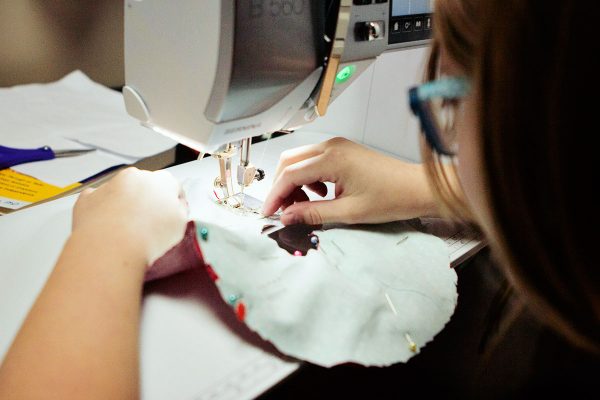
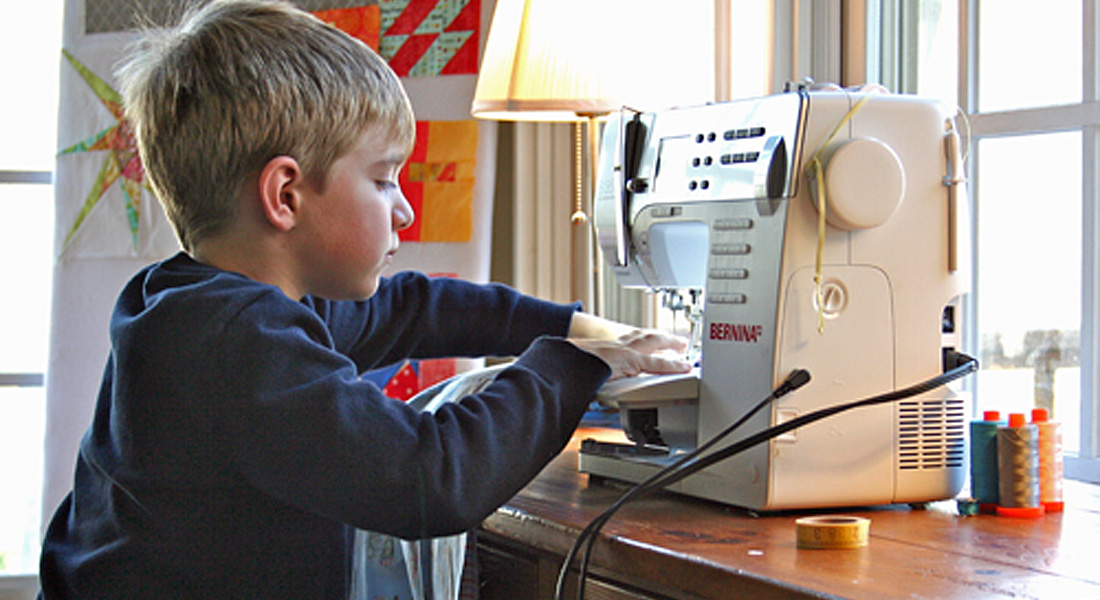
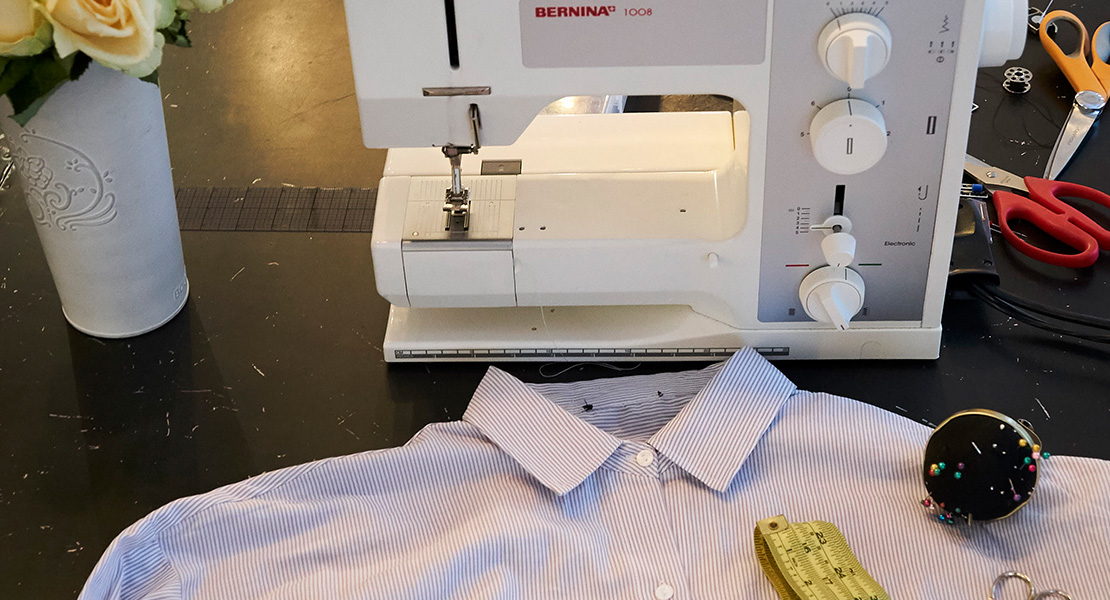
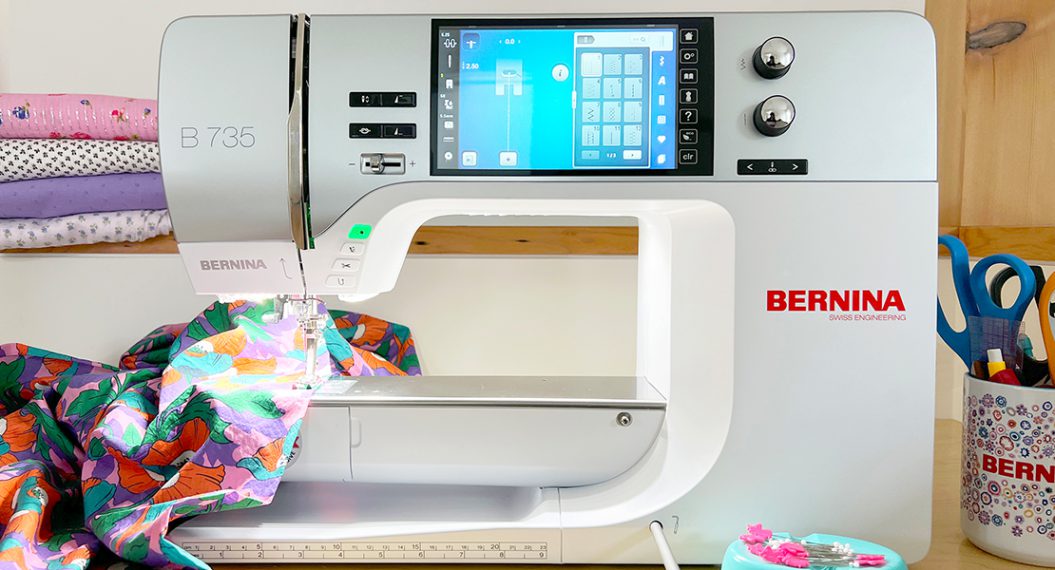
I was thrilled how enthusiastic my little girls were with sewing lessons. But I had to remind them that it was important to take their time. One of the features on my BERNINA 560 that I love is that I can easily adjust how fast the machine sews. By slowing down the speed of the machine it made it more comfortable for my girls to sew on and get a feel for using the BERNINA machine. After a little practice, I was able to speed it up a bit to make it go faster.
Tip #5 Give them Proper Tools
Proper sewing tools when handled incorrectly can be dangerous. However, trying to sew with poor tools is extremely dangerous. One of the most important skills a sewist has is how to properly use tools. With very careful supervision I had my girls use very sharp scissors, a very hot iron, and a powerful BERNINA. Learning how to correctly use these tools will not only make them better sewists but safe ones also!
Most sewists I know learned from a friend or relative. I hope that you continue the wonderful tradition of teaching kids the joy of sewing.
What you might also like
5 comments on “Teach Kids the Joy of Sewing”
-
-
I taught my daughter and my son to sew and now I have 4 grandchildren all anxious to make projects on Grandma’s embroidery machine. The eldest (18years. – 6 ft 5 inches tall) makes costumes. That black Jedi cape, (extra long and with a wider hood designed by grandma), was quite the project! It is a labour of love.
-
Do you have any project suggestions for teaching a 12 year old girl and a 14 year old boy to sew?
-
T shirts are easy and fun. Summer shorts with elastic waistband. Pillowcase
-
-
My 10 year old grand daughter made pillow cases for 2 siblings and 2 cousins during summer vacation.
We read the instructions; made a list of fabric and notion needs; went to the fabric store where she selected fabric for each person she thought they would like- ex. baseballs for the boys. She chose contrasting fabrics.
She cut, pinned, sewed and pressed with little assistance. Used the Bernina sewing machine for the first one then decided she would use the serger for the rest. Took pictures of all of the steps. They cases were darling and the kids loved the gifts she presented to them and use them to this day.
Leave a Reply
You must be logged in to post a comment.






Great tips for everyone – thanks.