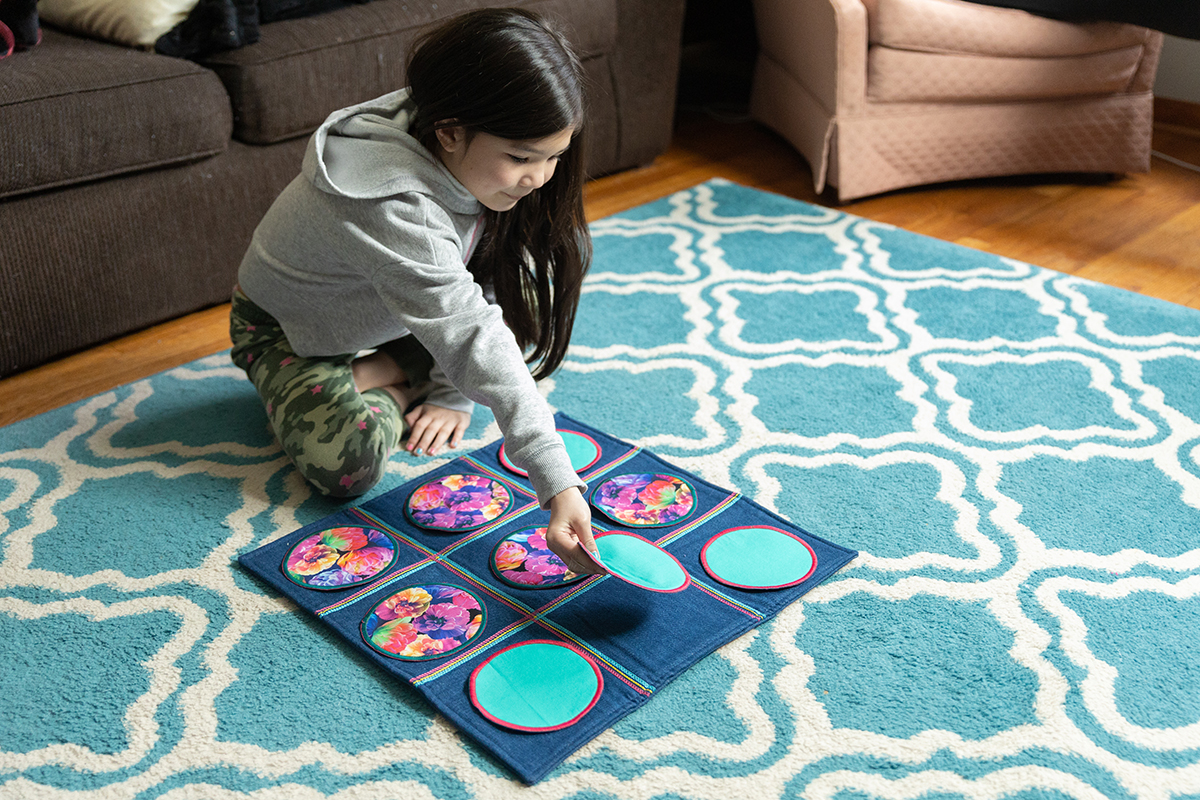
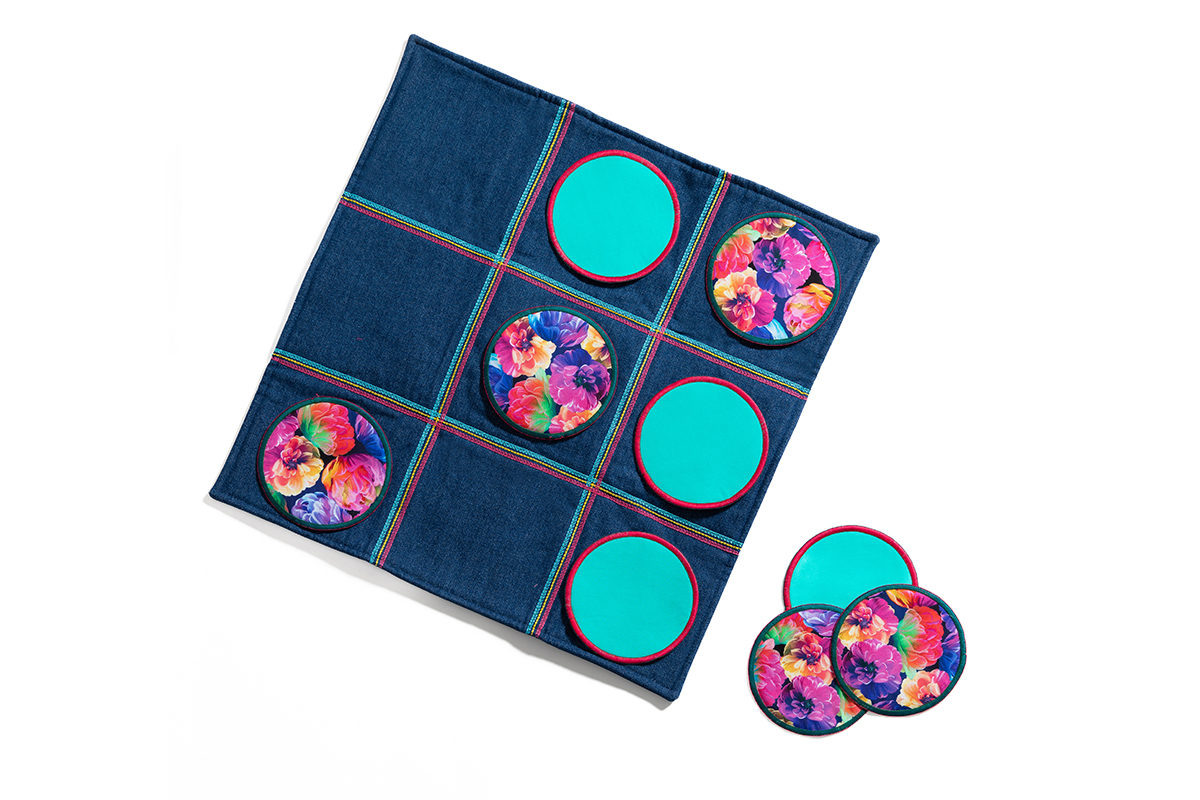
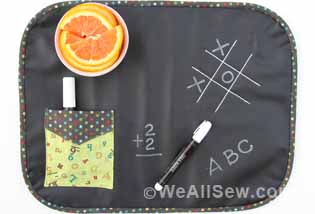
Tic-Tac-Toe on the Go, Part One
Have you ever played Twiddles and Bears? If you are from Norway, you know that I am referring to the game of Tic-Tac-Toe! This fun game is for all ages and is often the first one learned because of its engagement and simple rules. In Roman times, it was played with pebbles, although nowadays, paper and pencil are the game pieces of choice.
Today I’m going to show you how to make a fabric version of the game using your overlocker. Young ones who haven’t mastered writing will enjoy playing with you at every opportunity! You might even have an older friend who finds it hard to write looking forward to a friendly competition, too.
Today’s post is all about curved serging while making the playing pieces. In Part 2, we will stitch the playing surface.
Materials and Supplies (For Playing Pieces and Game Board)
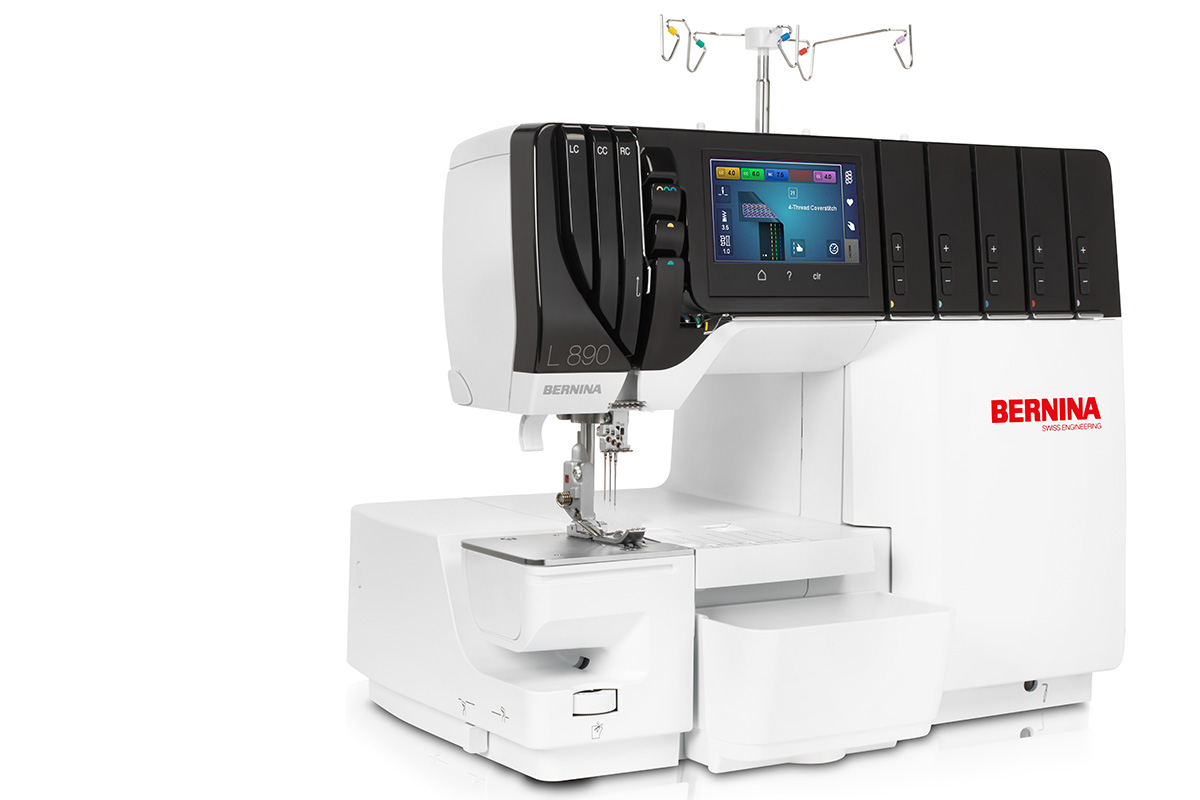
- Overlocker (I’m using the BERNINA L 890)
- 1/3 yard cotton print fabric
- 1/3 yard cotton solid fabric
- 5/8 yard denim
- 1 yard Fusible Fleece
- 1 1/2 yards of 3/8″ wide ribbon (satin or grosgrain)
- 1″ button
- Serger thread, such as Seracor by Mettler
- Assorted decorative threads (I used SoftLoc by WonderFil)
- Basic serger supplies
- Curve Foot #C23 (#L23 for the L 850/L 860)
Making the Playing Pieces
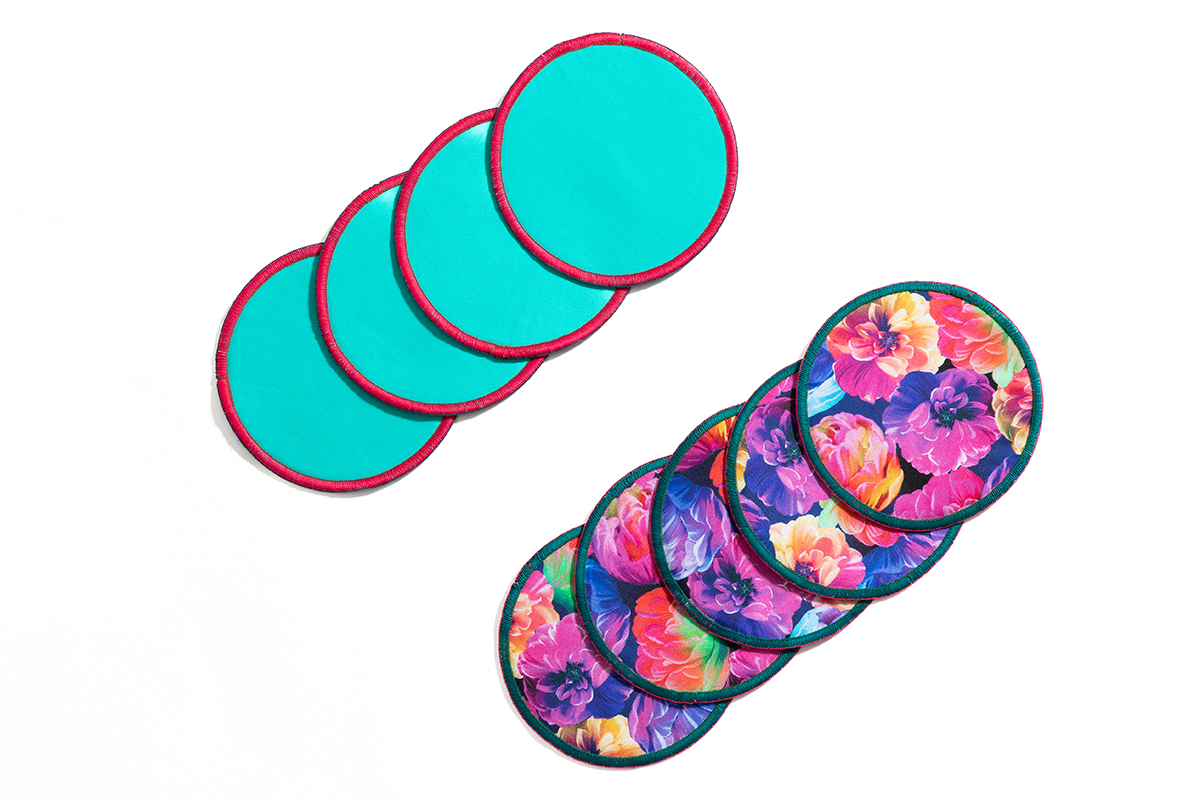
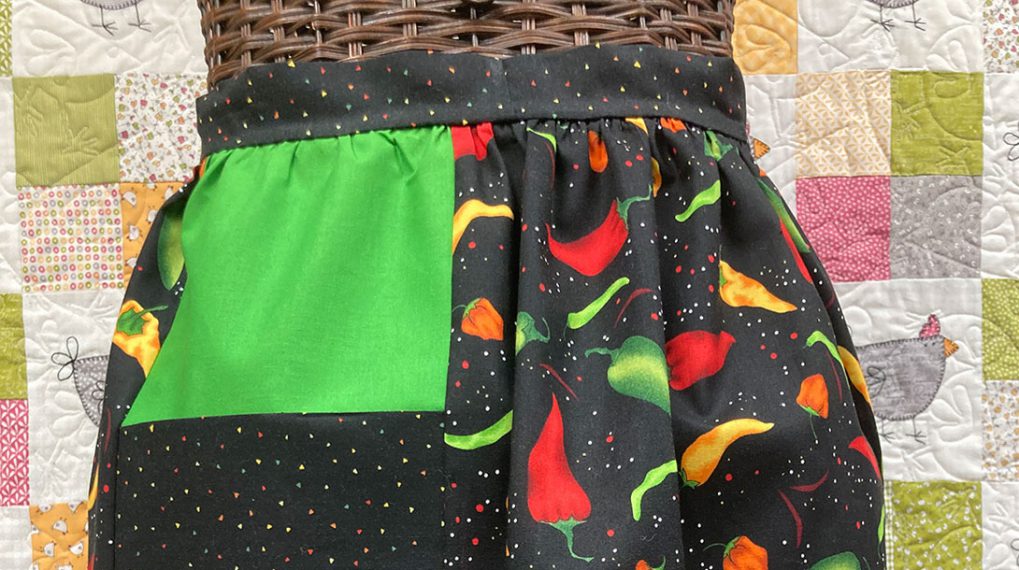
The playing pieces are going to be double-sided with print fabric on one side and solid fabric on the other.
Begin by fusing the Fusible Fleece to the wrong side of the solid fabric according to the package directions.
Trace 5″ circles from the fabric/Fusible Fleece combination and also from the print fabric. You need nine pieces for the game, but you will want extras to test your stitching and to practice serging in a circle.
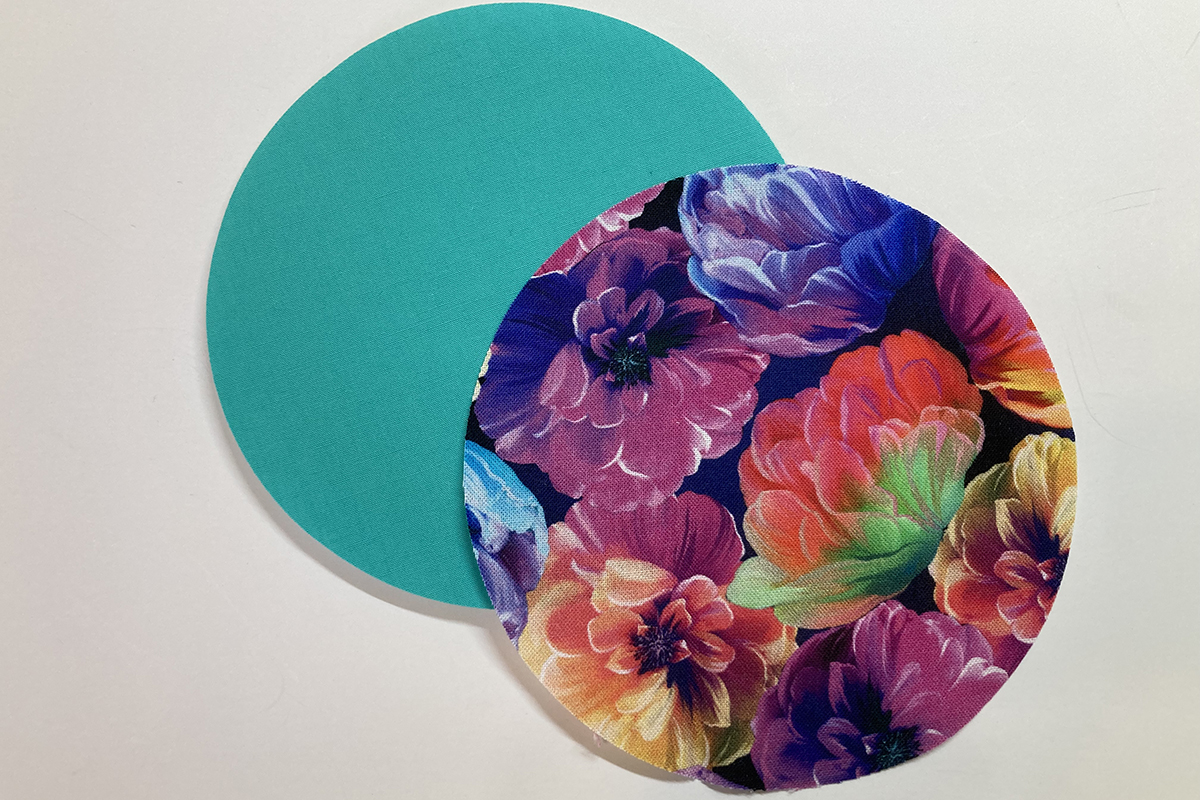
Layer a print circle and a fleece/solid circle wrong sides together. Repeat with the remaining circles. Use a pin to hold the layers together if you like.
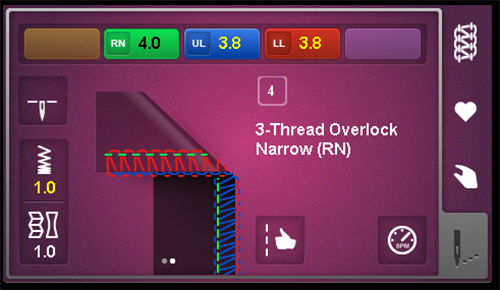
Thread your overlocker for a 3-thread Overlock Narrow (RN) using the right needle. Thread both loopers with contrasting colors of decorative thread and the needle with regular serger thread. After a test sew, these were my settings using SoftLoc in the loopers. Note that I have set the needle in the down position so that nothing moves if I pause during sewing. I also decreased the Presser Foot Pressure to 2.
Attach the Curve Foot #C23 (on the L 850/L 860, use Curve Foot #L23).
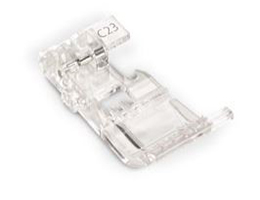
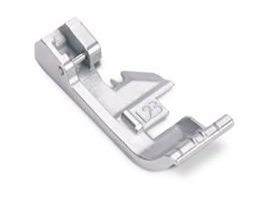
Take a closer look at this foot. You will notice that the toe is shorter than the toe on the standard overlock foot. Because of this, it is much easier to guide fabric that is rounded or curved. #C23 is transparent and #L23 is metal.
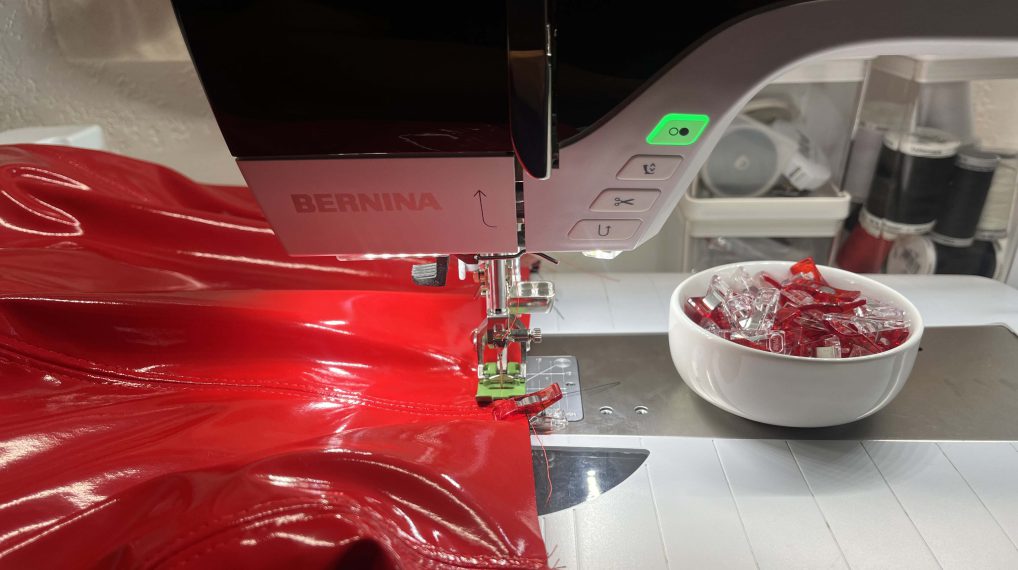
The circle is going to be sewn right along the edge, barely skimming the fabric. This is a technique that you will want to practice in order to get a feel for how to move the fabric. You will also take your time!
Place the fabric under the foot so that the circle edge is just covering the stitch finger. I placed my fabric so that I saw just the tiniest bit of the stitch finger to the right of the fabric. This is where my eye is going to be watching as I sew.
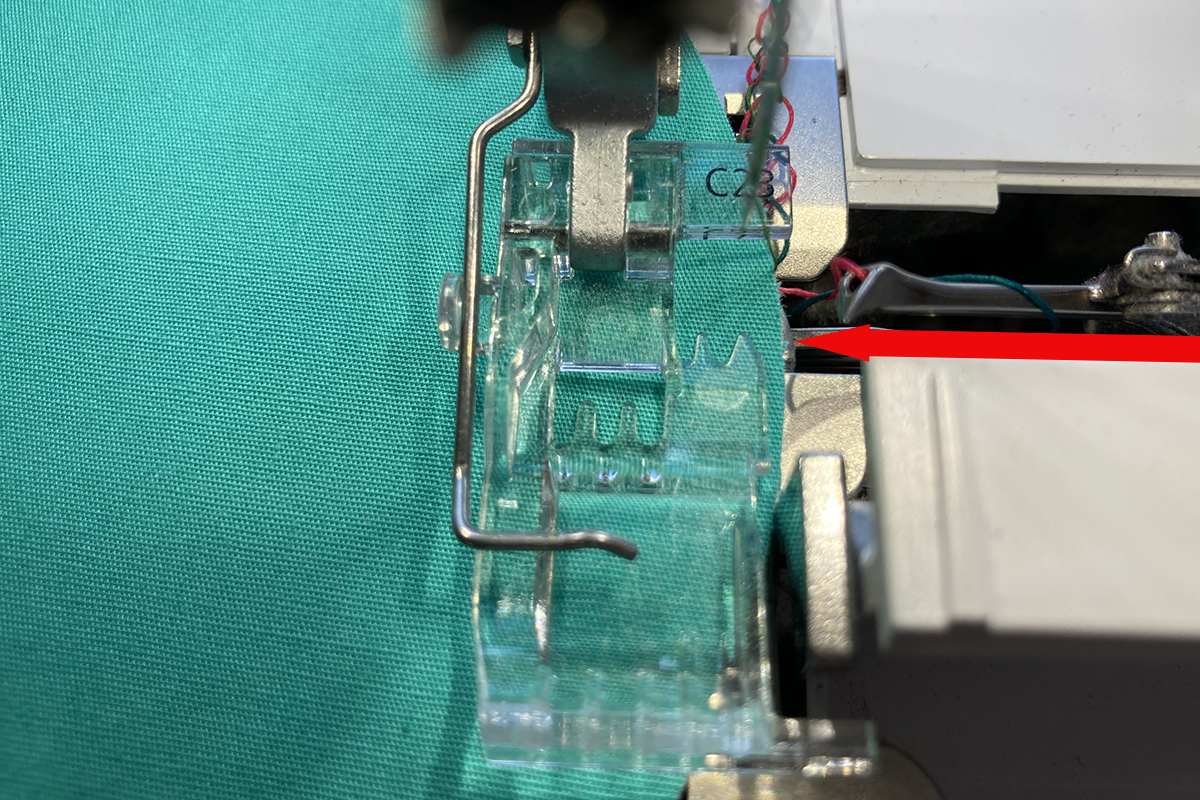
Begin stitching. Remember to take your time. Use the fingers of your left hand to rotate the fabric and use the fingers of your right hand to keep the fabric flat. Take care not to push or pull against the feed dogs. Finger guiding is the key, not a heavy hand. Once you get the rhythm, you will find this very easy. And don’t forget to breathe! 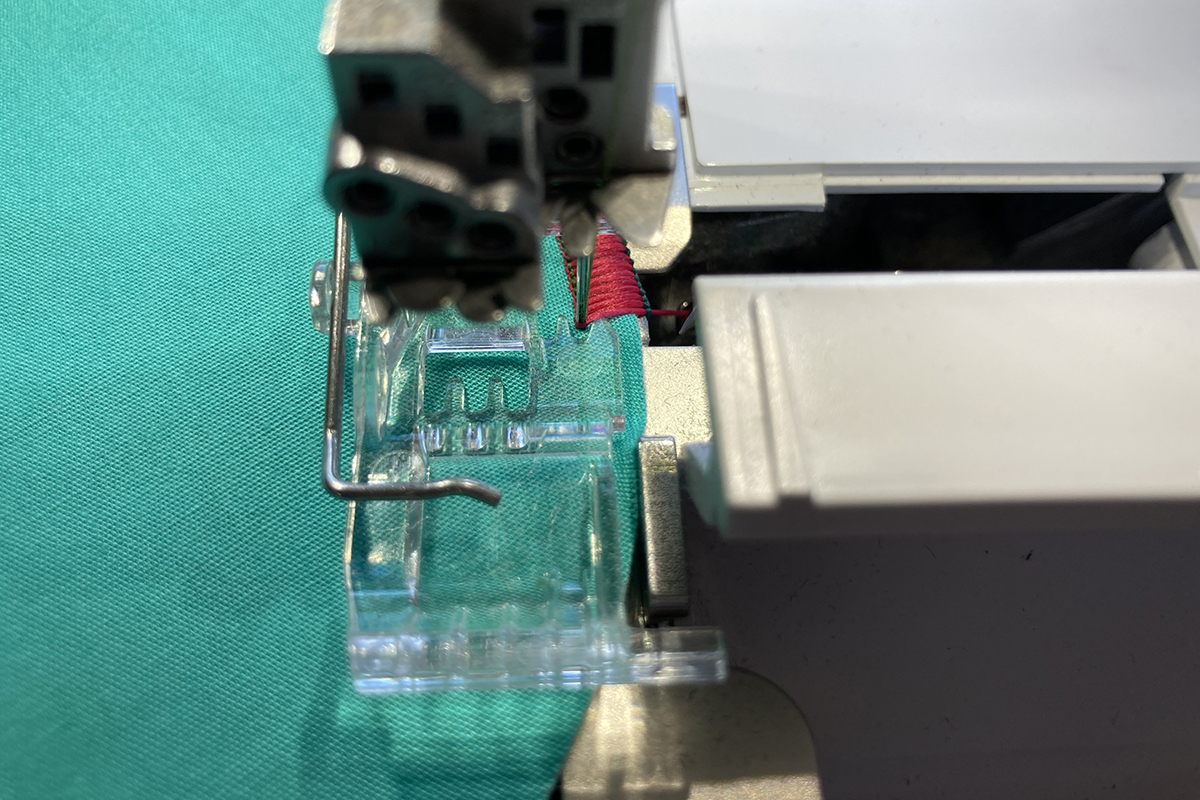
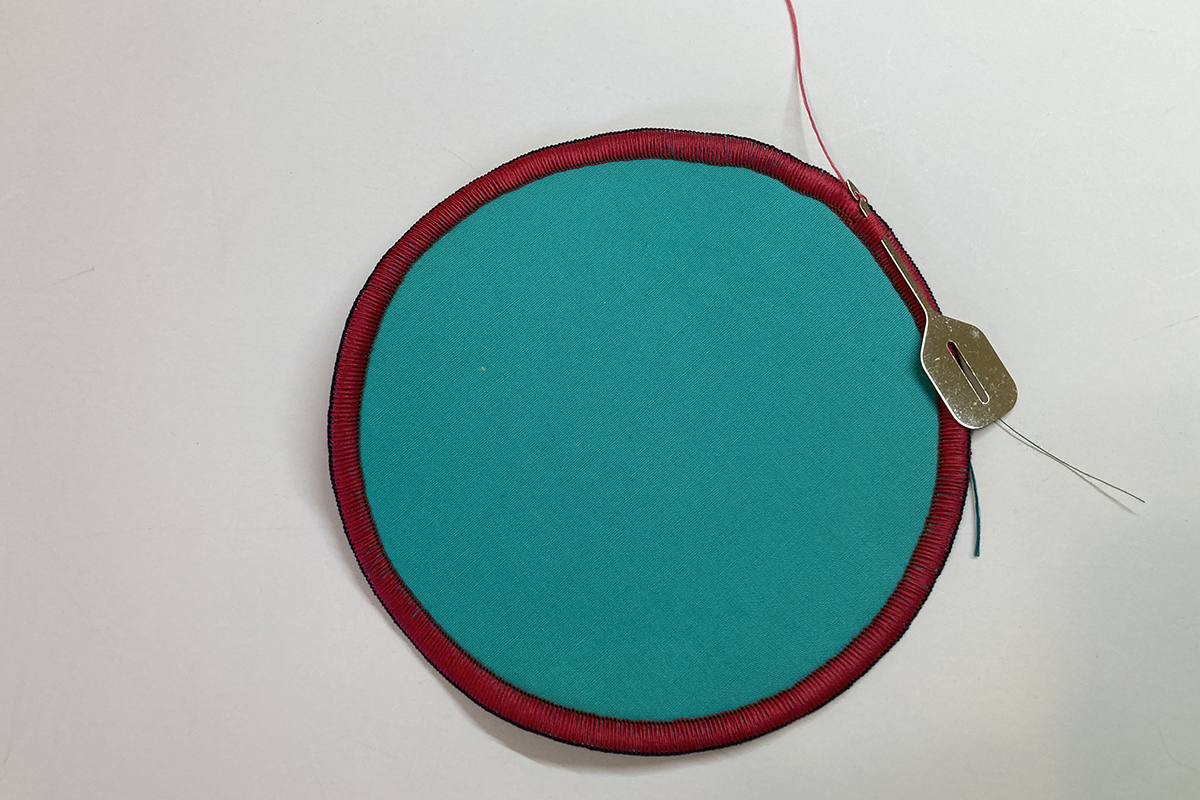
Stitch around until you are close to the beginning. Allow the knife to trim the starting threads and then stop. 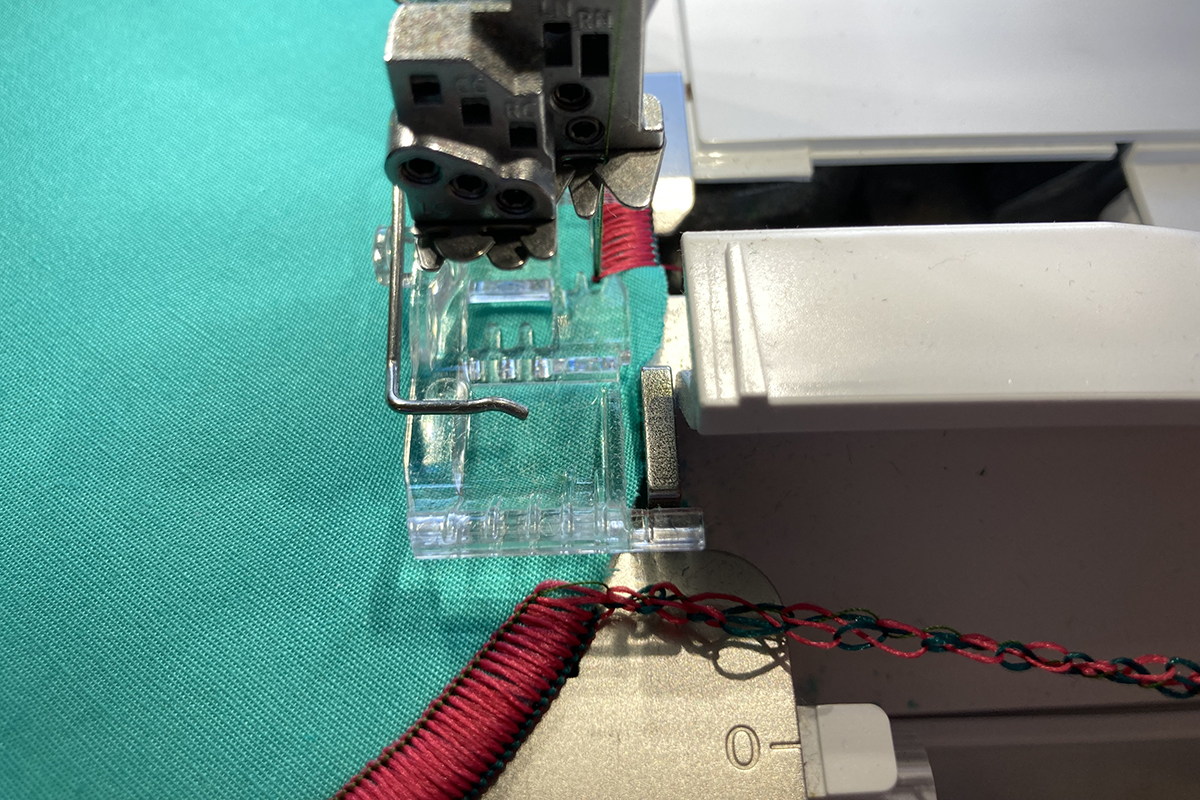
Lower the knife. Continue stitching until you have overlapped the beginning stitches by about one inch. 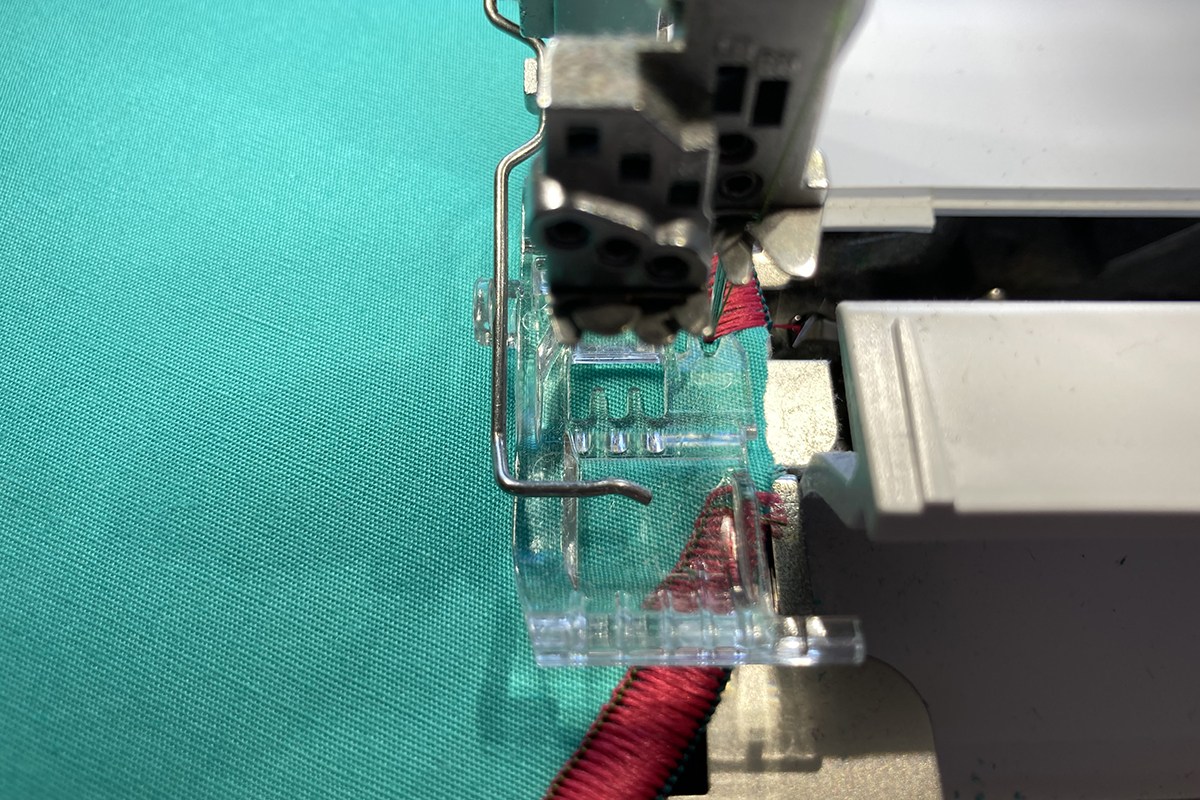
Raise the presser foot. Use the CS Lock Tool to bring the needle thread forward and trim. 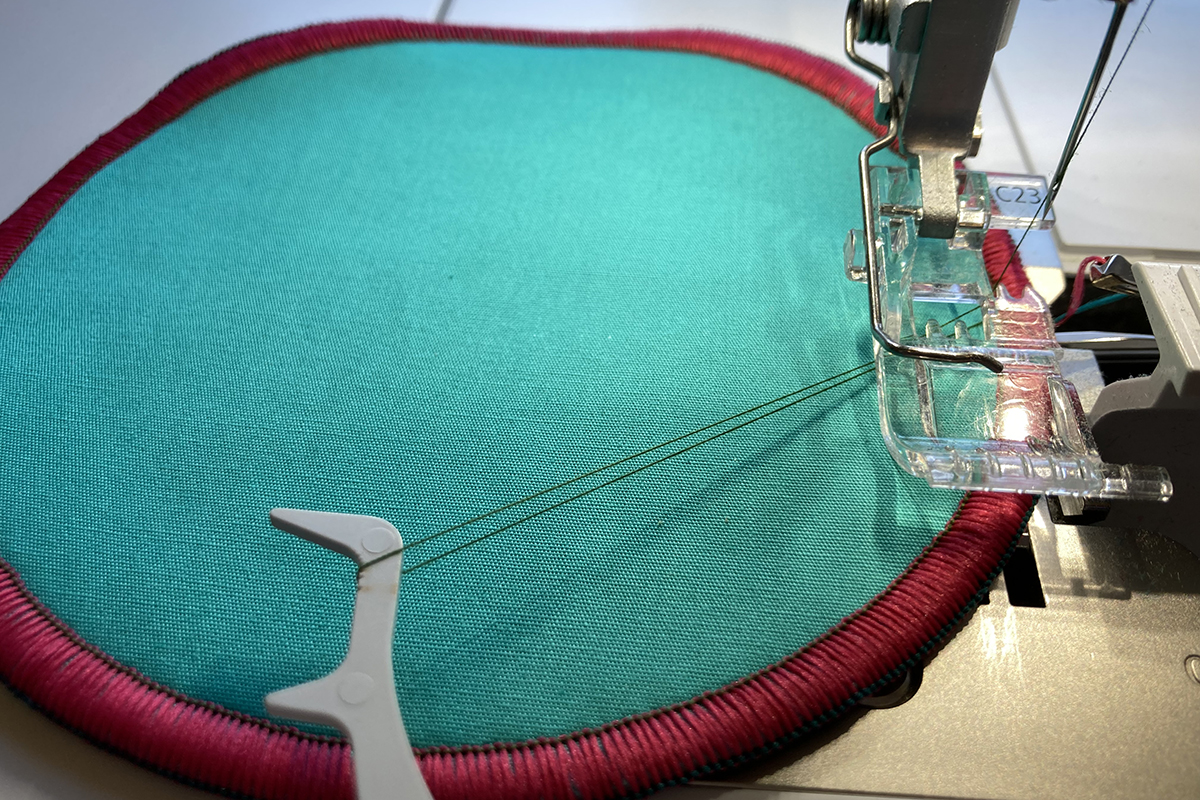
Pull the circle back from the foot and trim the looper threads. Leave a long enough tail to weave back into the stitching. 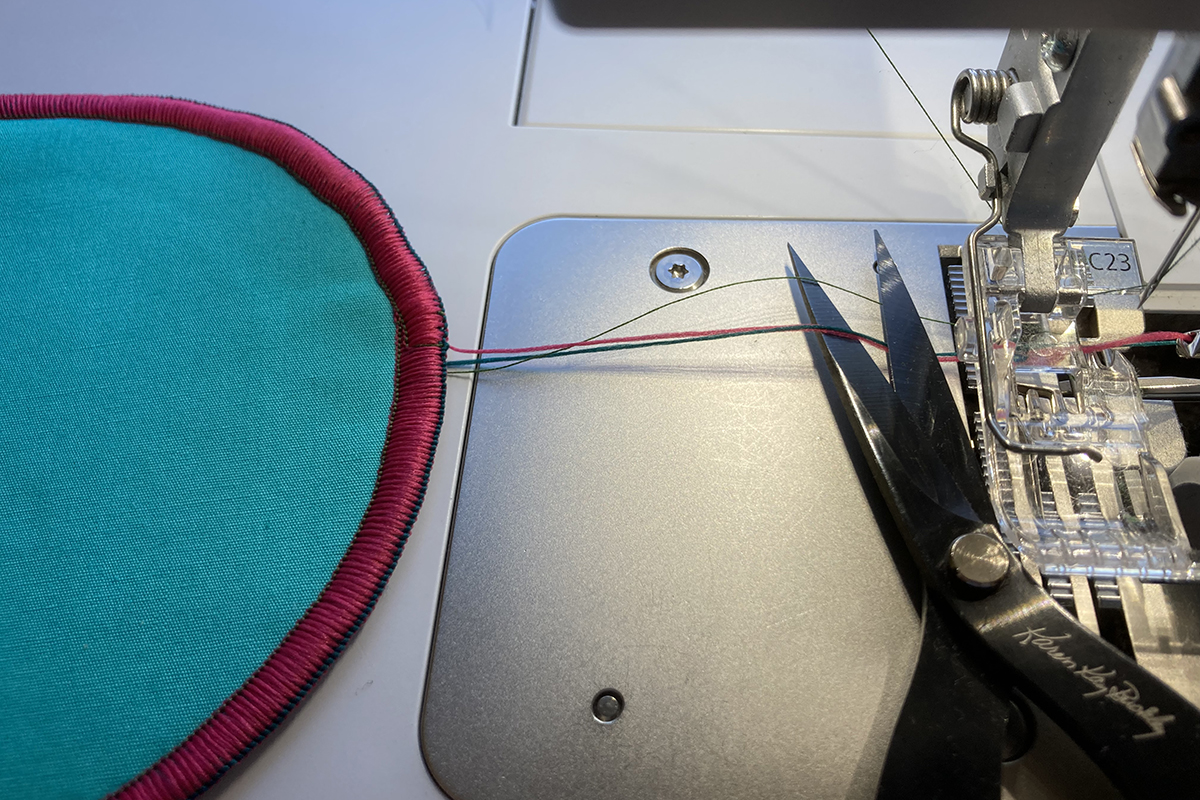
Bury the thread tails.
Repeat this process to make a total of nine game pieces. You’re a pro at circle sewing now!
Think how many projects you can make from just this one technique! But we will see you next time when we will make the game board and put it all together.
Used Products

What you might also like


5 comments on “Tic-Tac-Toe on the Go, Part One”
-
-
Hello – cute idea!! when will we see the instructions for the tic tac toe game board? thank you, Kathy
-
Hi Mary Beck, Very cute idea… would you also have the instructions for the game board? Are the pieces stored in the middle of the board , board folded up and secured with a button? Looking forward to your response. Thank you!
Leave a Reply
You must be logged in to post a comment.

Love it! And Pippa is so cute!