Top 5 Tips for Sewing With Suede
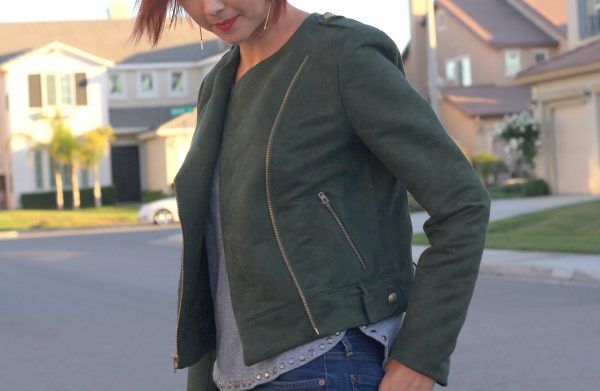
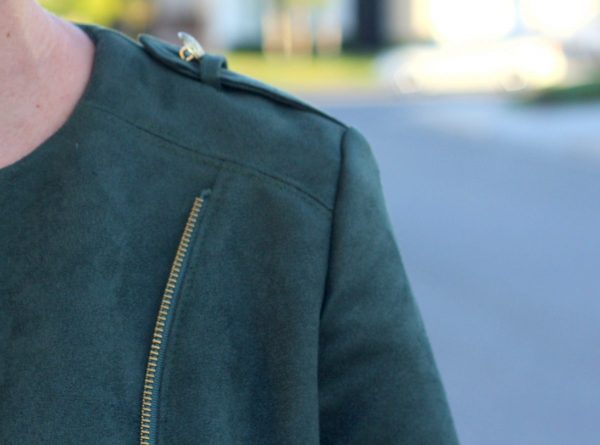
When I was offered a chance to try out some lovely apparel faux suede, I knew it would be a challenge but one I couldn’t pass up. Suede is all over the runways and in ready-to-wear stores and the structure and texture it adds to a wardrobe is amazing. I dove right in by making the most elaborate jacket I’ve attempted to date. I was feeling brave! It turned out beautifully, but it was not without a few struggles. The fabric is thick, unwieldy and can be tricky to work with. So, while I was taming it into this lovely moto jacket, I made notes to share my top 5 tips for sewing with suede.
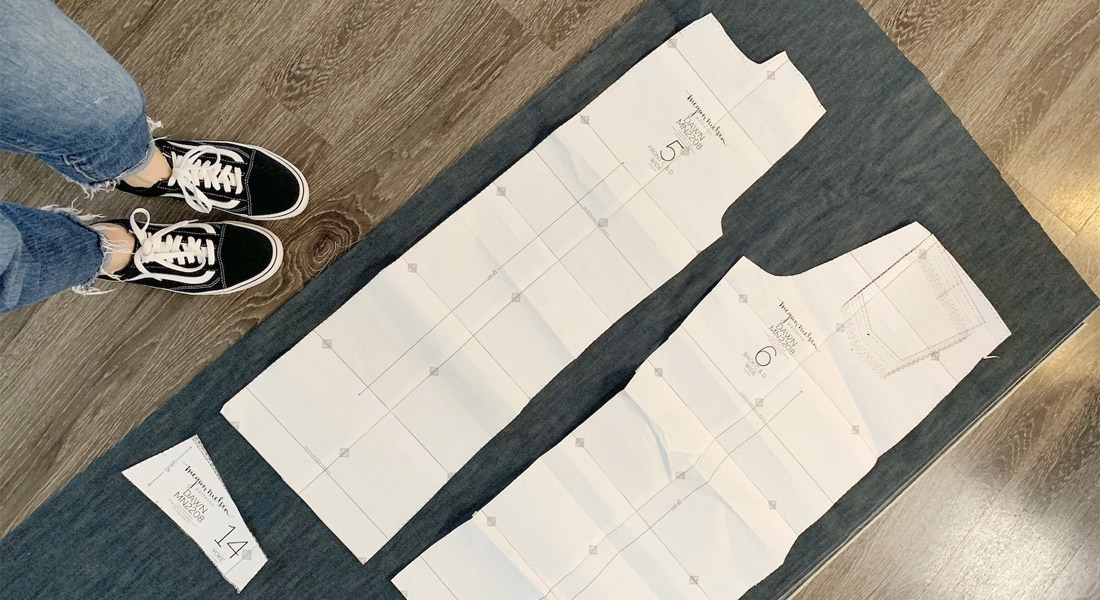
1. Cut with the nap! Before you begin to even cut it out, you must be certain all your pattern pieces are facing the same direction. Since I love to squeeze my pieces on the smallest length possible, I had to remind myself to spread out and be ultra careful that all my pattern pieces faced down the length of my material.
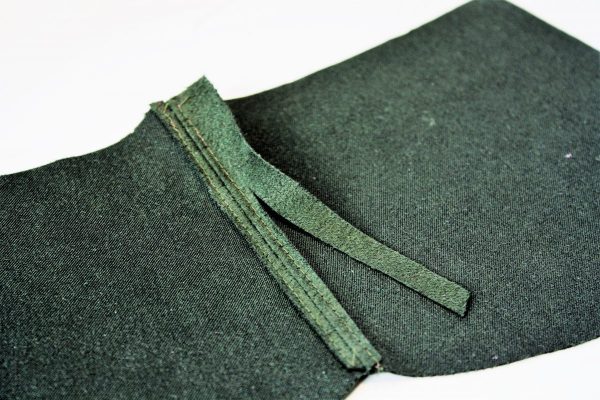
2. Press seams open with steam from the wrong side. The steam is the key! It made the suede more pliable and after it cooled it held it shape better. I used a low heat and was able to press a bit from the right side on seams where necessary, like around the sleeve cap. This temporarily smashed the nap, but it was okay once I brushed it out.
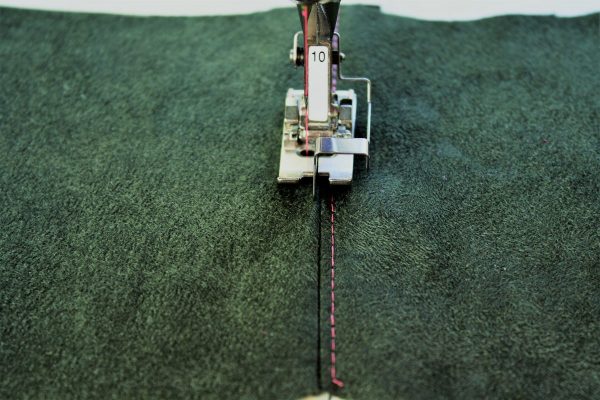
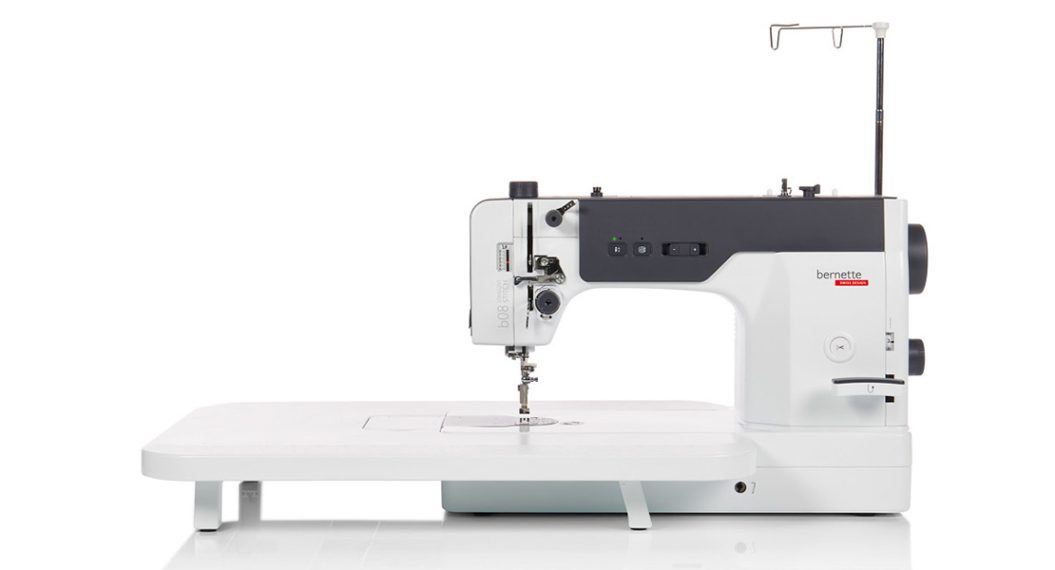
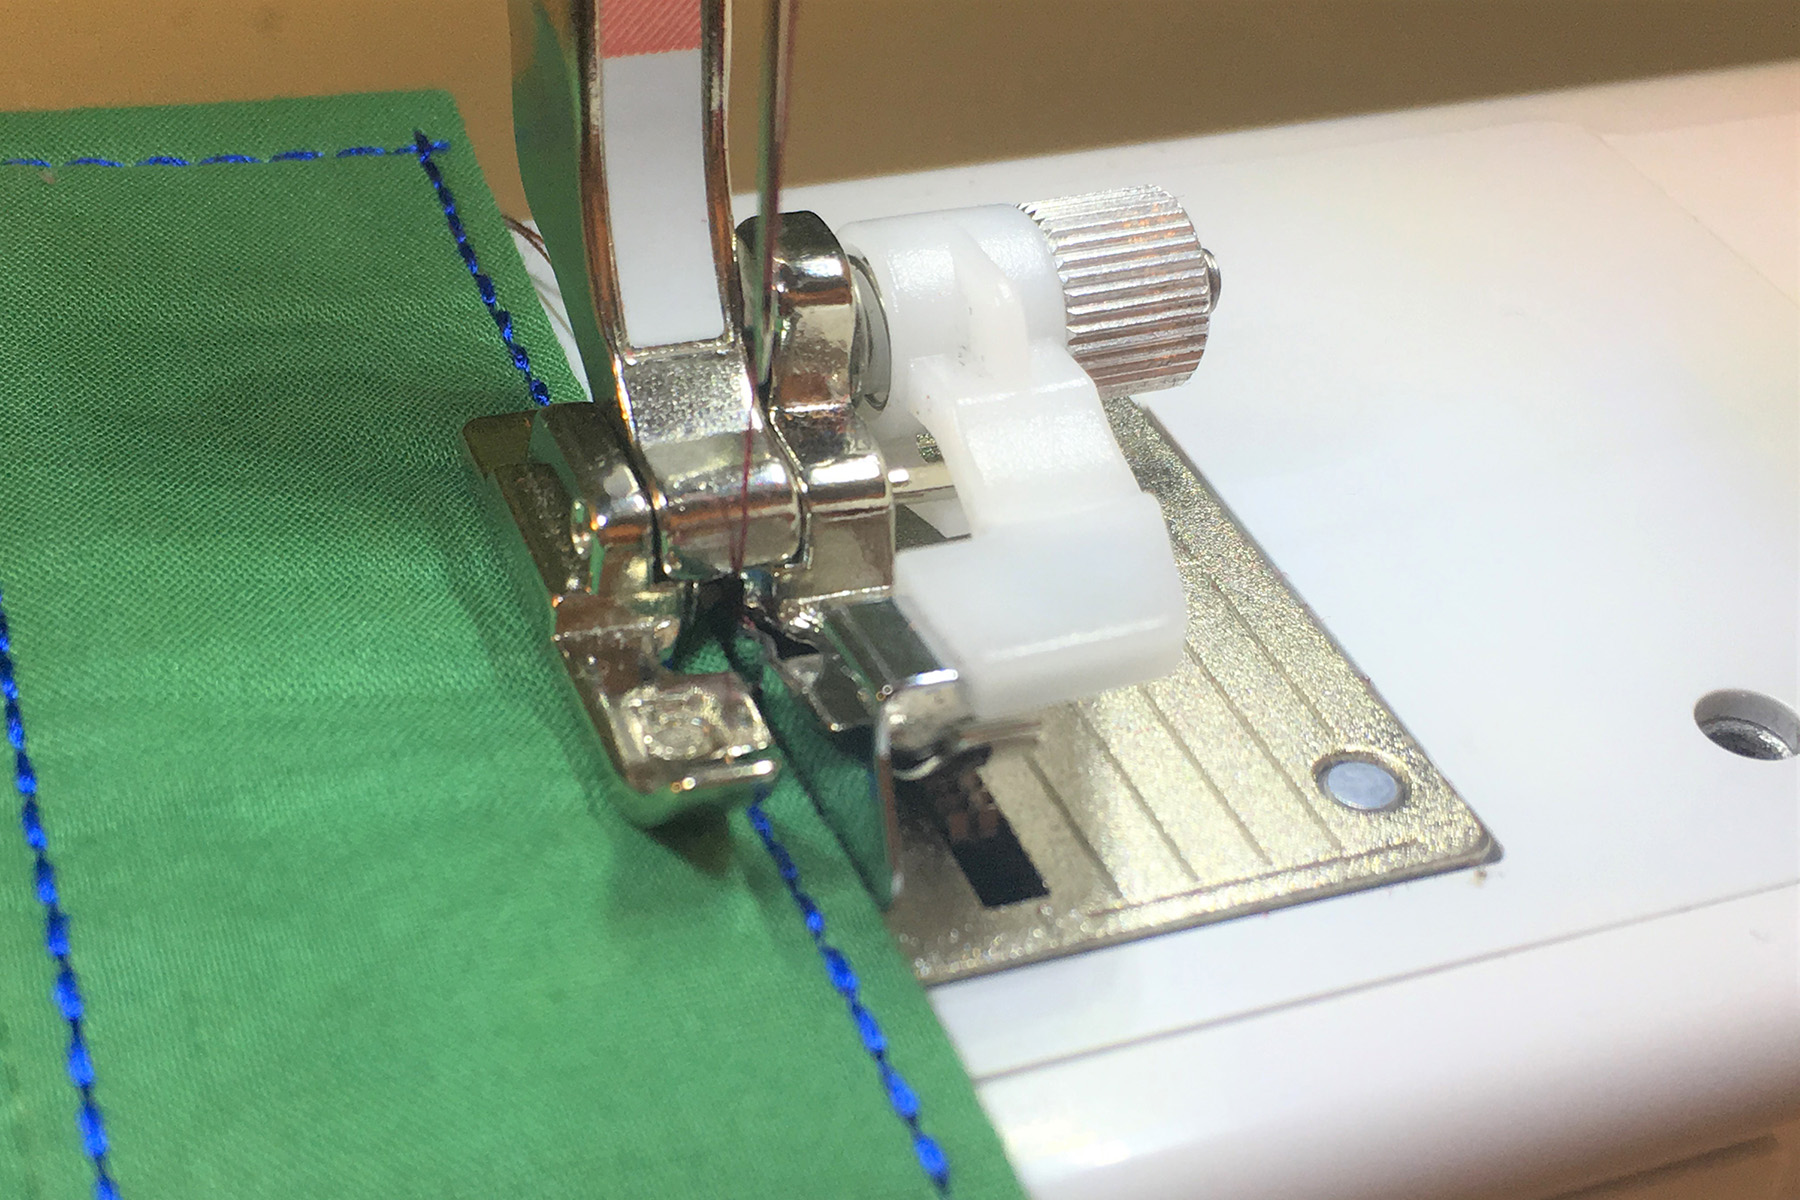
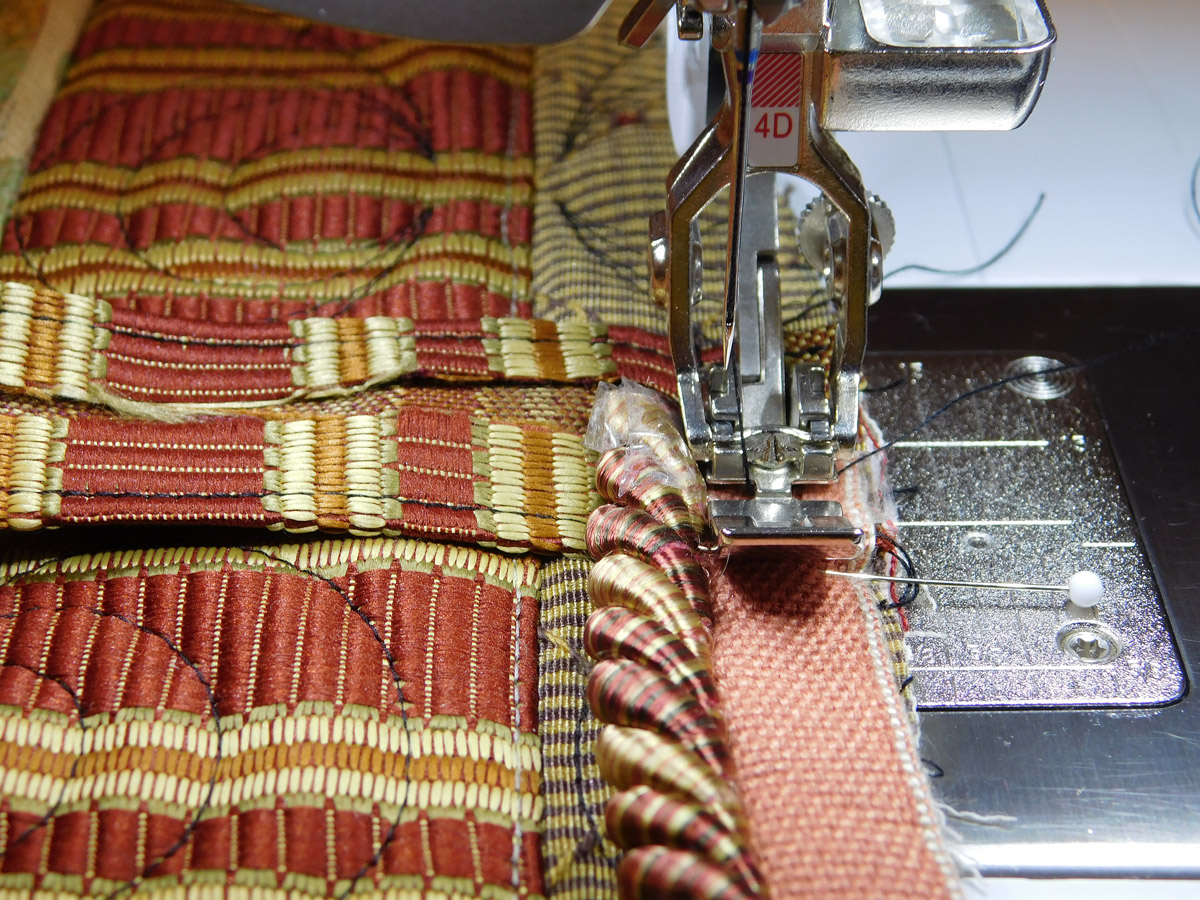
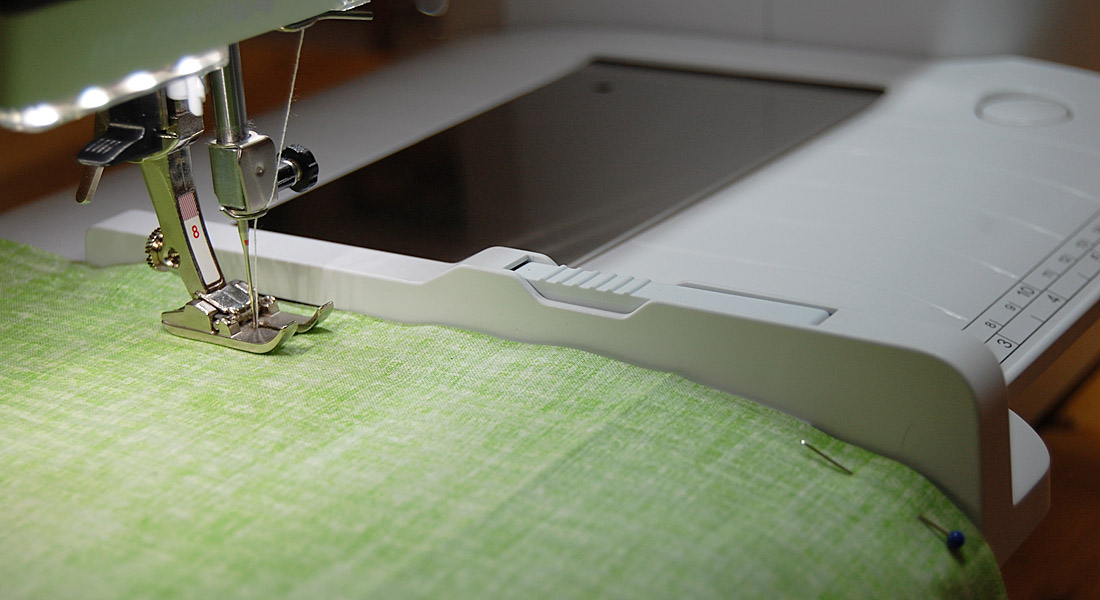
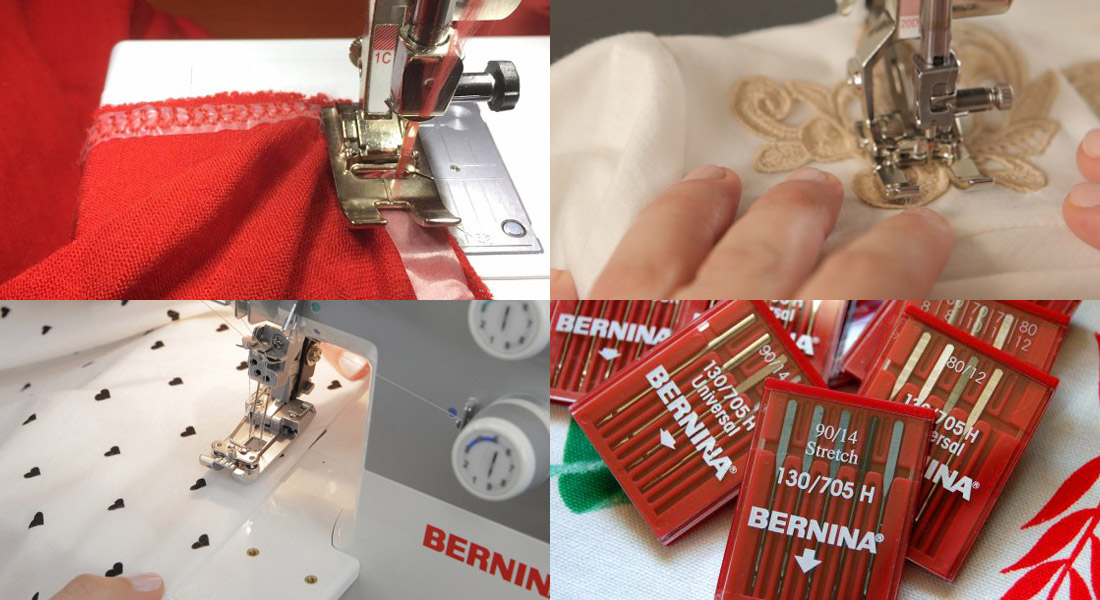
3. With your seams pressed open, topstitch your seam allowances down on either side. On the BERNINA you can use my favorite foot – the #10 Edgestitch foot. That foot will keep your topstitching nice and neat, but you can also use the Blindstitch foot #5. Just move your needle to the left or right and keep the flange in the seam. With a thicker fabric like this I recommend a bigger needle, like a 14, and do lengthen your stitch to around a 4 – 4.5 mm.
4. After completing that lovely topstitching, your seams will be very strong, but also less pliable with the extra thread bulk. Trimming away the rest of the seam allowance will soften those seams. It will also help with turning facings and hems. I trimmed my topstitched seam allowances down to 1/8 inch, since the seam is reinforced. The other seams I trimmed to 1/4 inch, like the facing edges and neckline.
5. Ideally, Wonder Clips would keep tricky seams together instead of pins. The suede doesn’t forgive pin holes, so keep your pins in the seam allowance. I don’t have Wonder Clips, so I started out using heavy duty pins for heavy duty fabric. Disaster! Those wouldn’t punch through and when I got them in they distorted the fabric, making it difficult to sew smoothly. I found that silk pins worked very well. The best thing about this textured fabric is that when right sides are together, the nap holds the pieces in place and only a few pins are necessary. They do have a tendency to bend the thinner pins, but I sacrificed a few for the good of the project.
With these tips in mind you can leap into the wonderful world of faux suede and make some beautiful and trendy garments!
