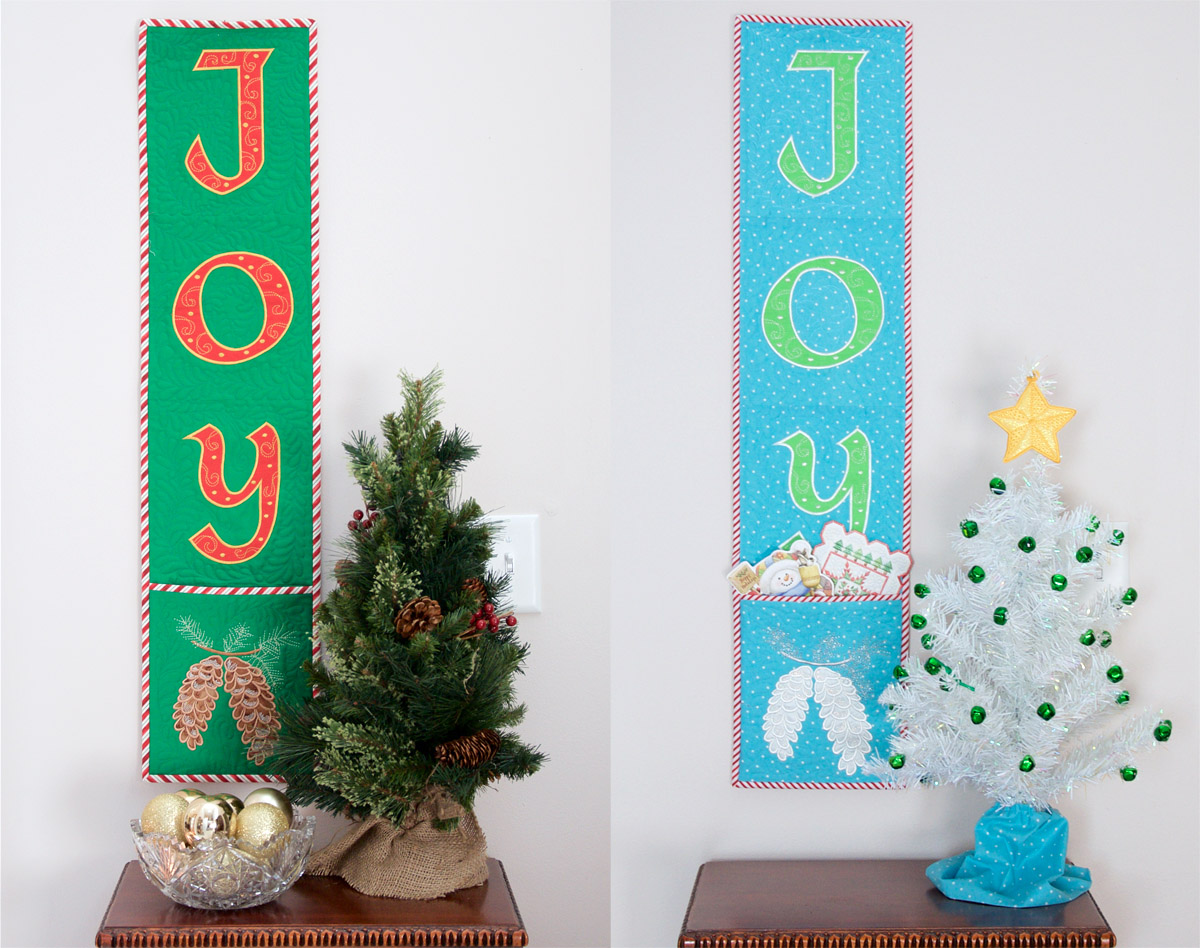
“Joy” Holiday Card Holder Part 2—Quilting and Finishing Touches

This is part 2 of the JOY Holiday Card Holder, a lovely quilted wall hanging that is the perfect decoration to collect holiday cards. Please see part one here.
Download the Embroidery Files: JOY Cardholder Quilting Designs
In this part of the project, you will use the following embroidery files:
- JQuilt.###
- JTemp.###
- OQuilt.###
- OTemp.###
- YQuilt.###
- YTemp.###
- CrosTemp.###
- CrosDesn.###
Where ### is the extension of the file format for your embroidery machine.
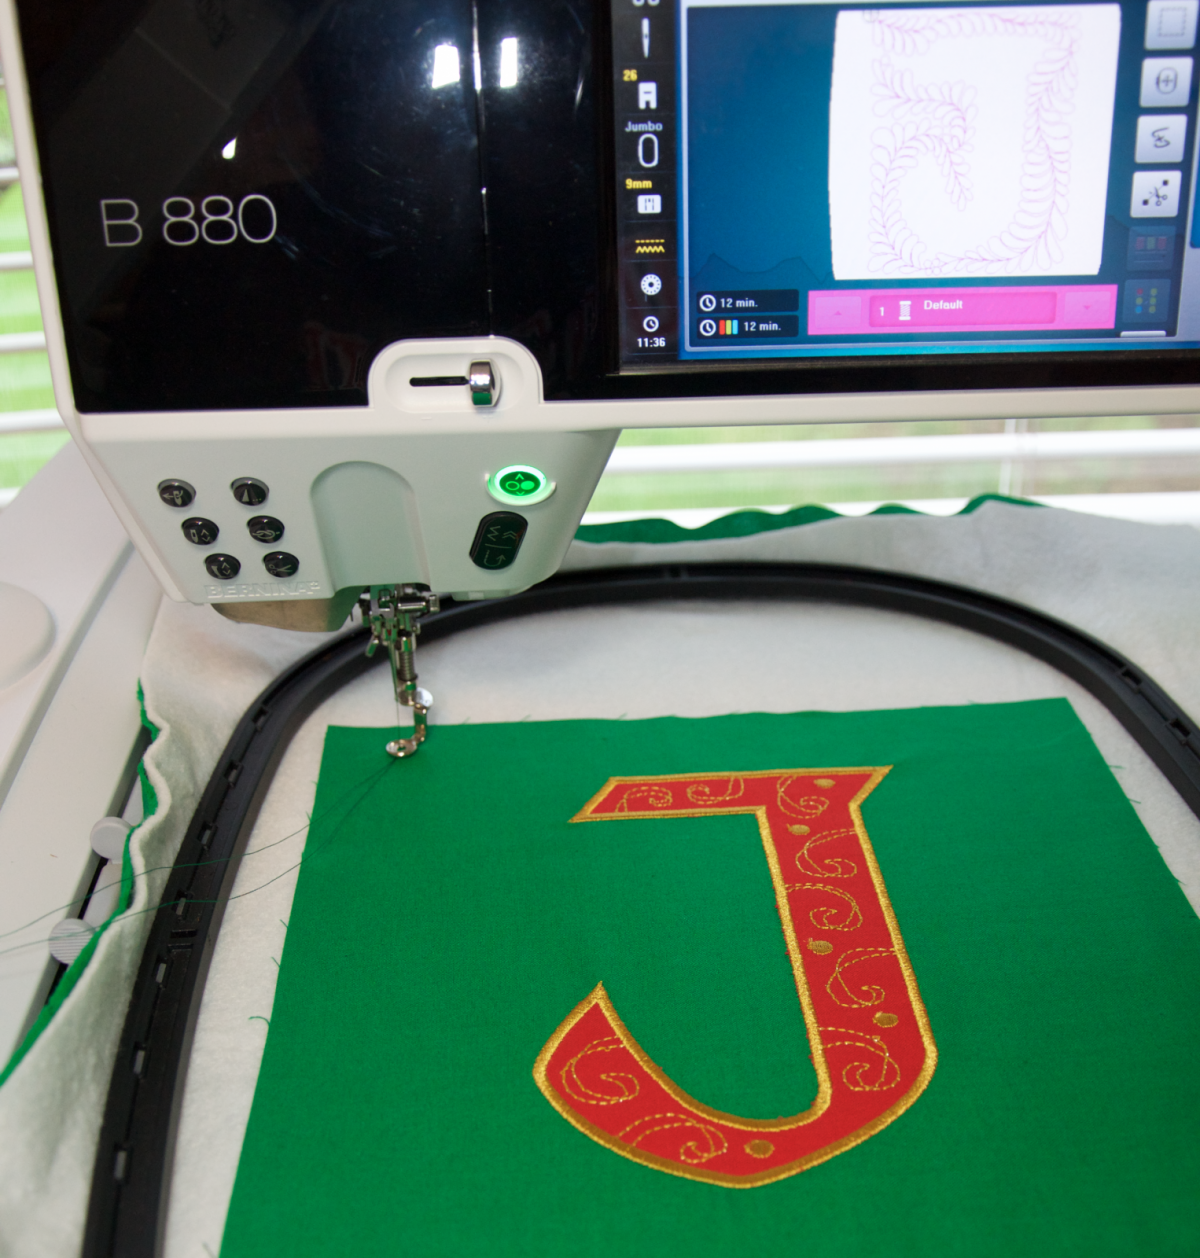
Step 1: Making the Quilting Templates
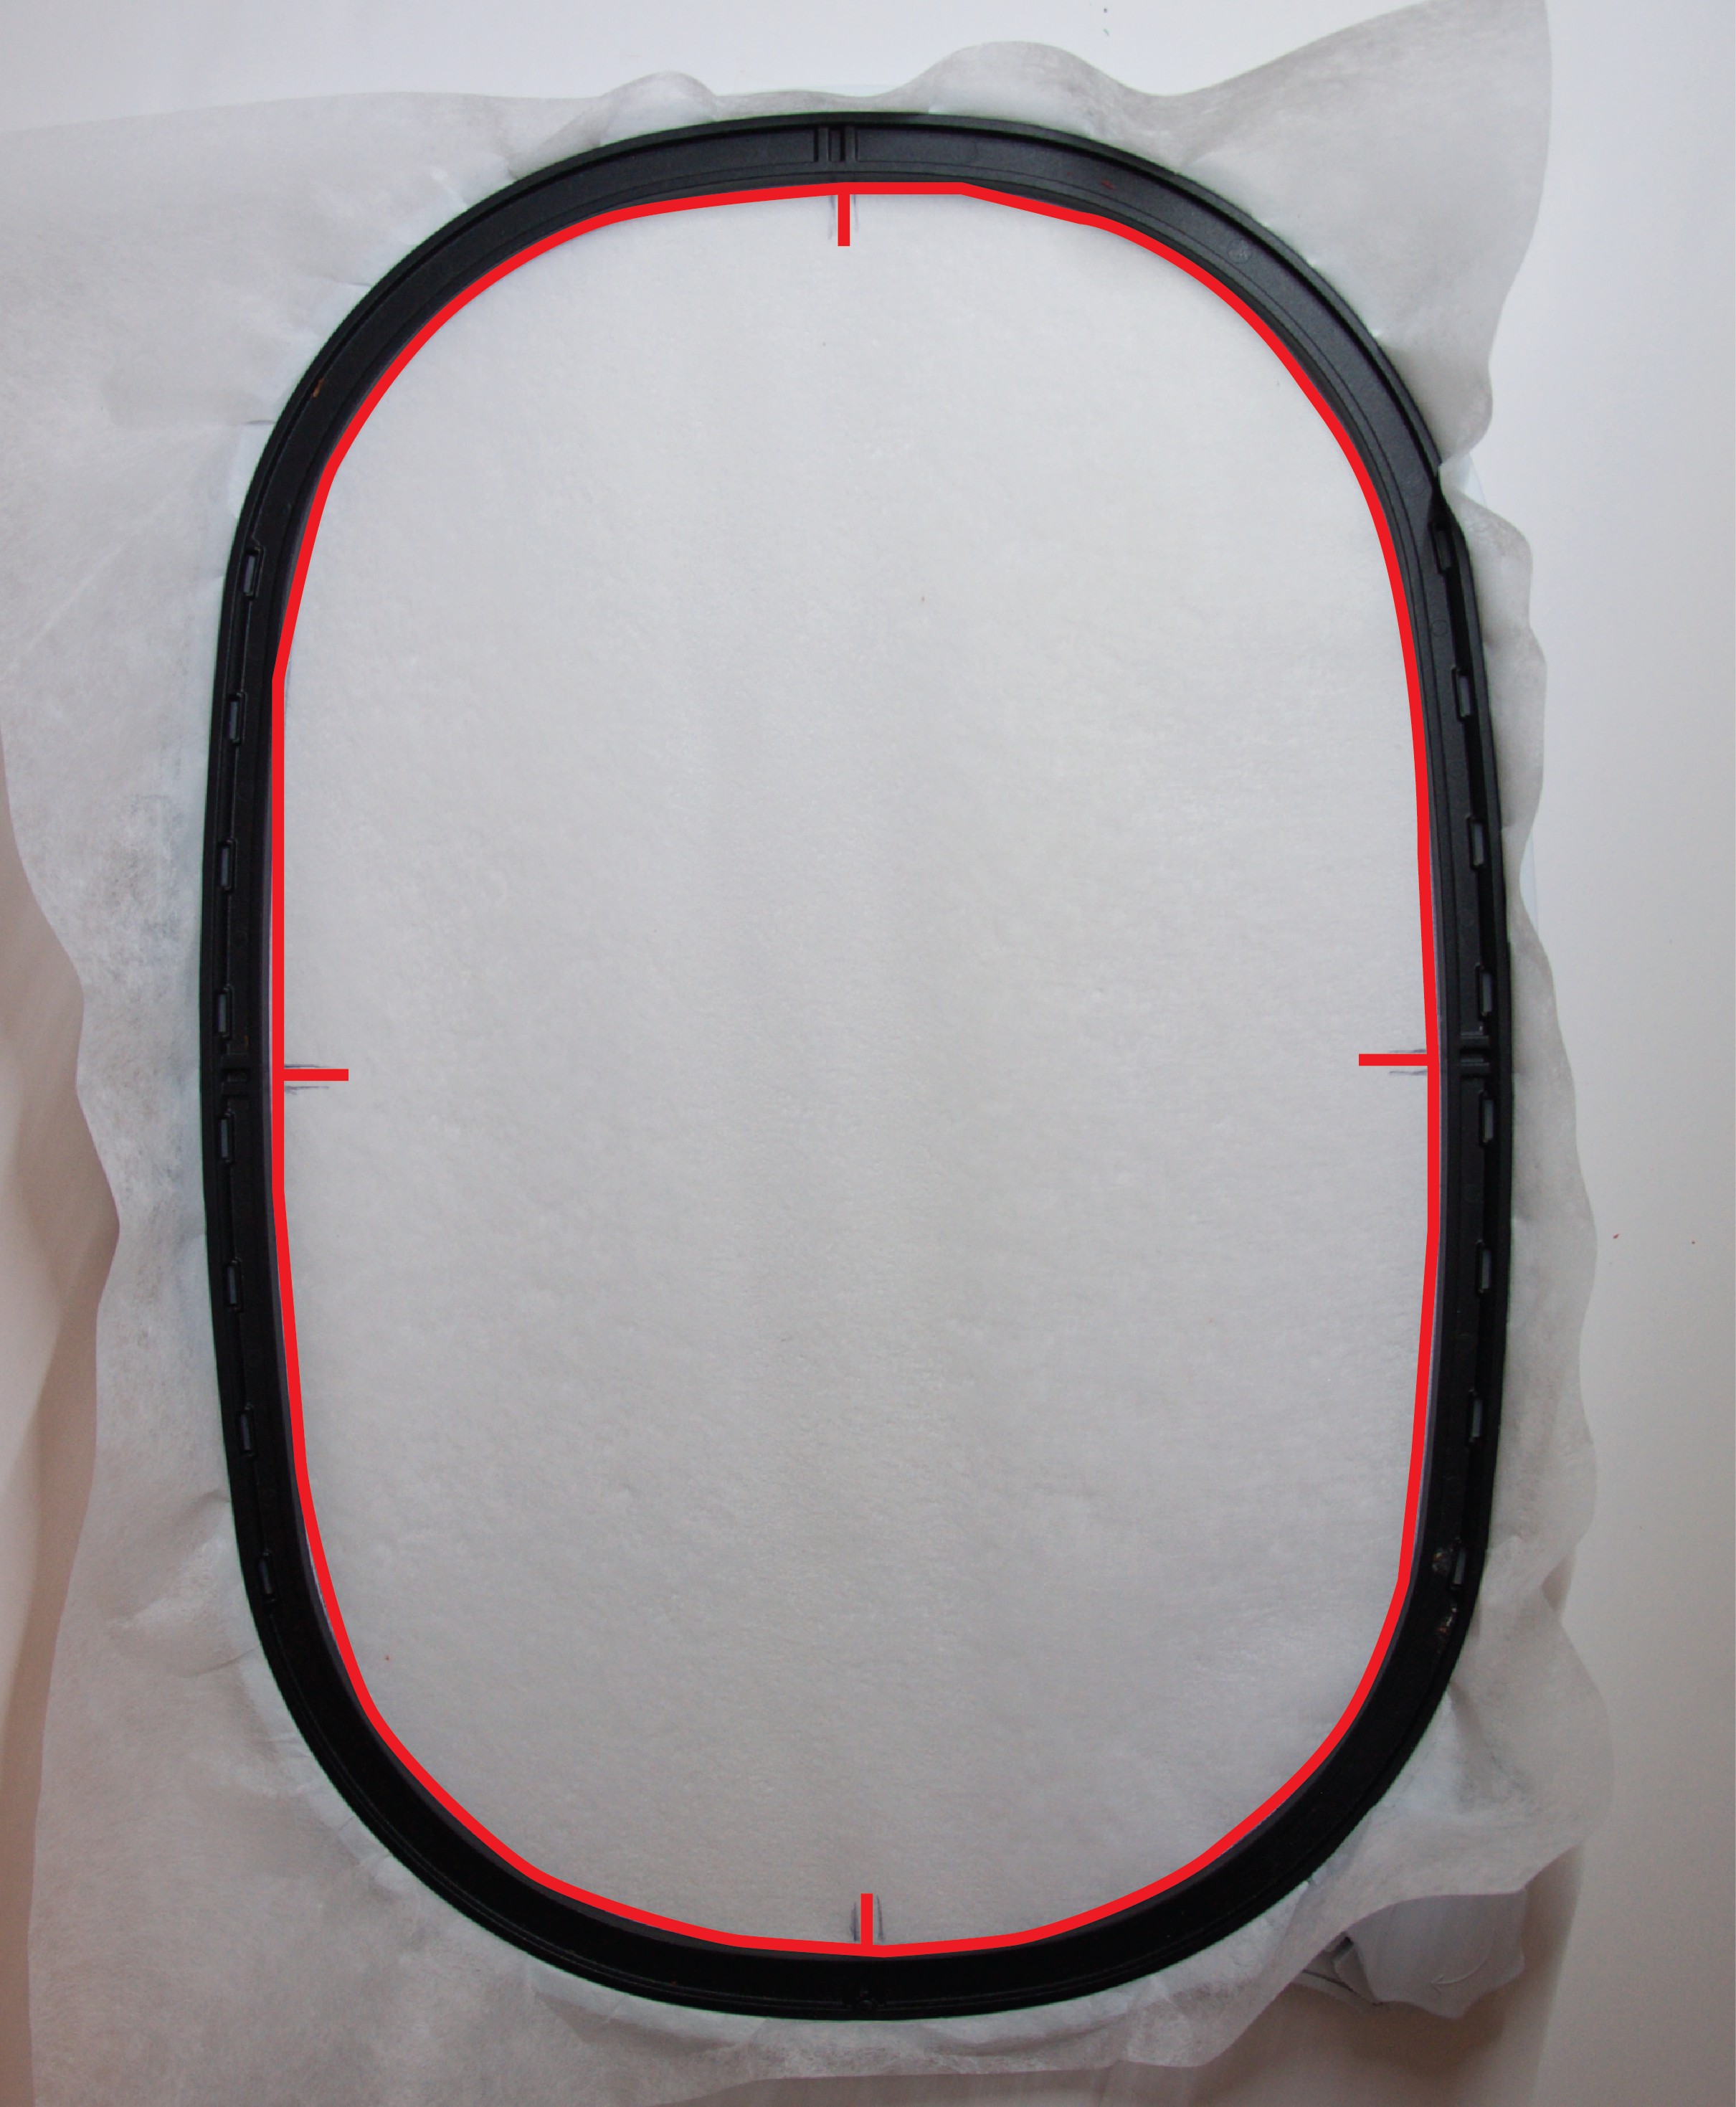
Templates help position the hoop, so that the quilting goes around the designs in the correct area. Hoop a good quality stabilizer like OESD Tear Away. Take a ball point pen, and trace around the inside of the hoop. Draw lines indicating where the vertical and horizontal centers of the hoop are located.
Step 2
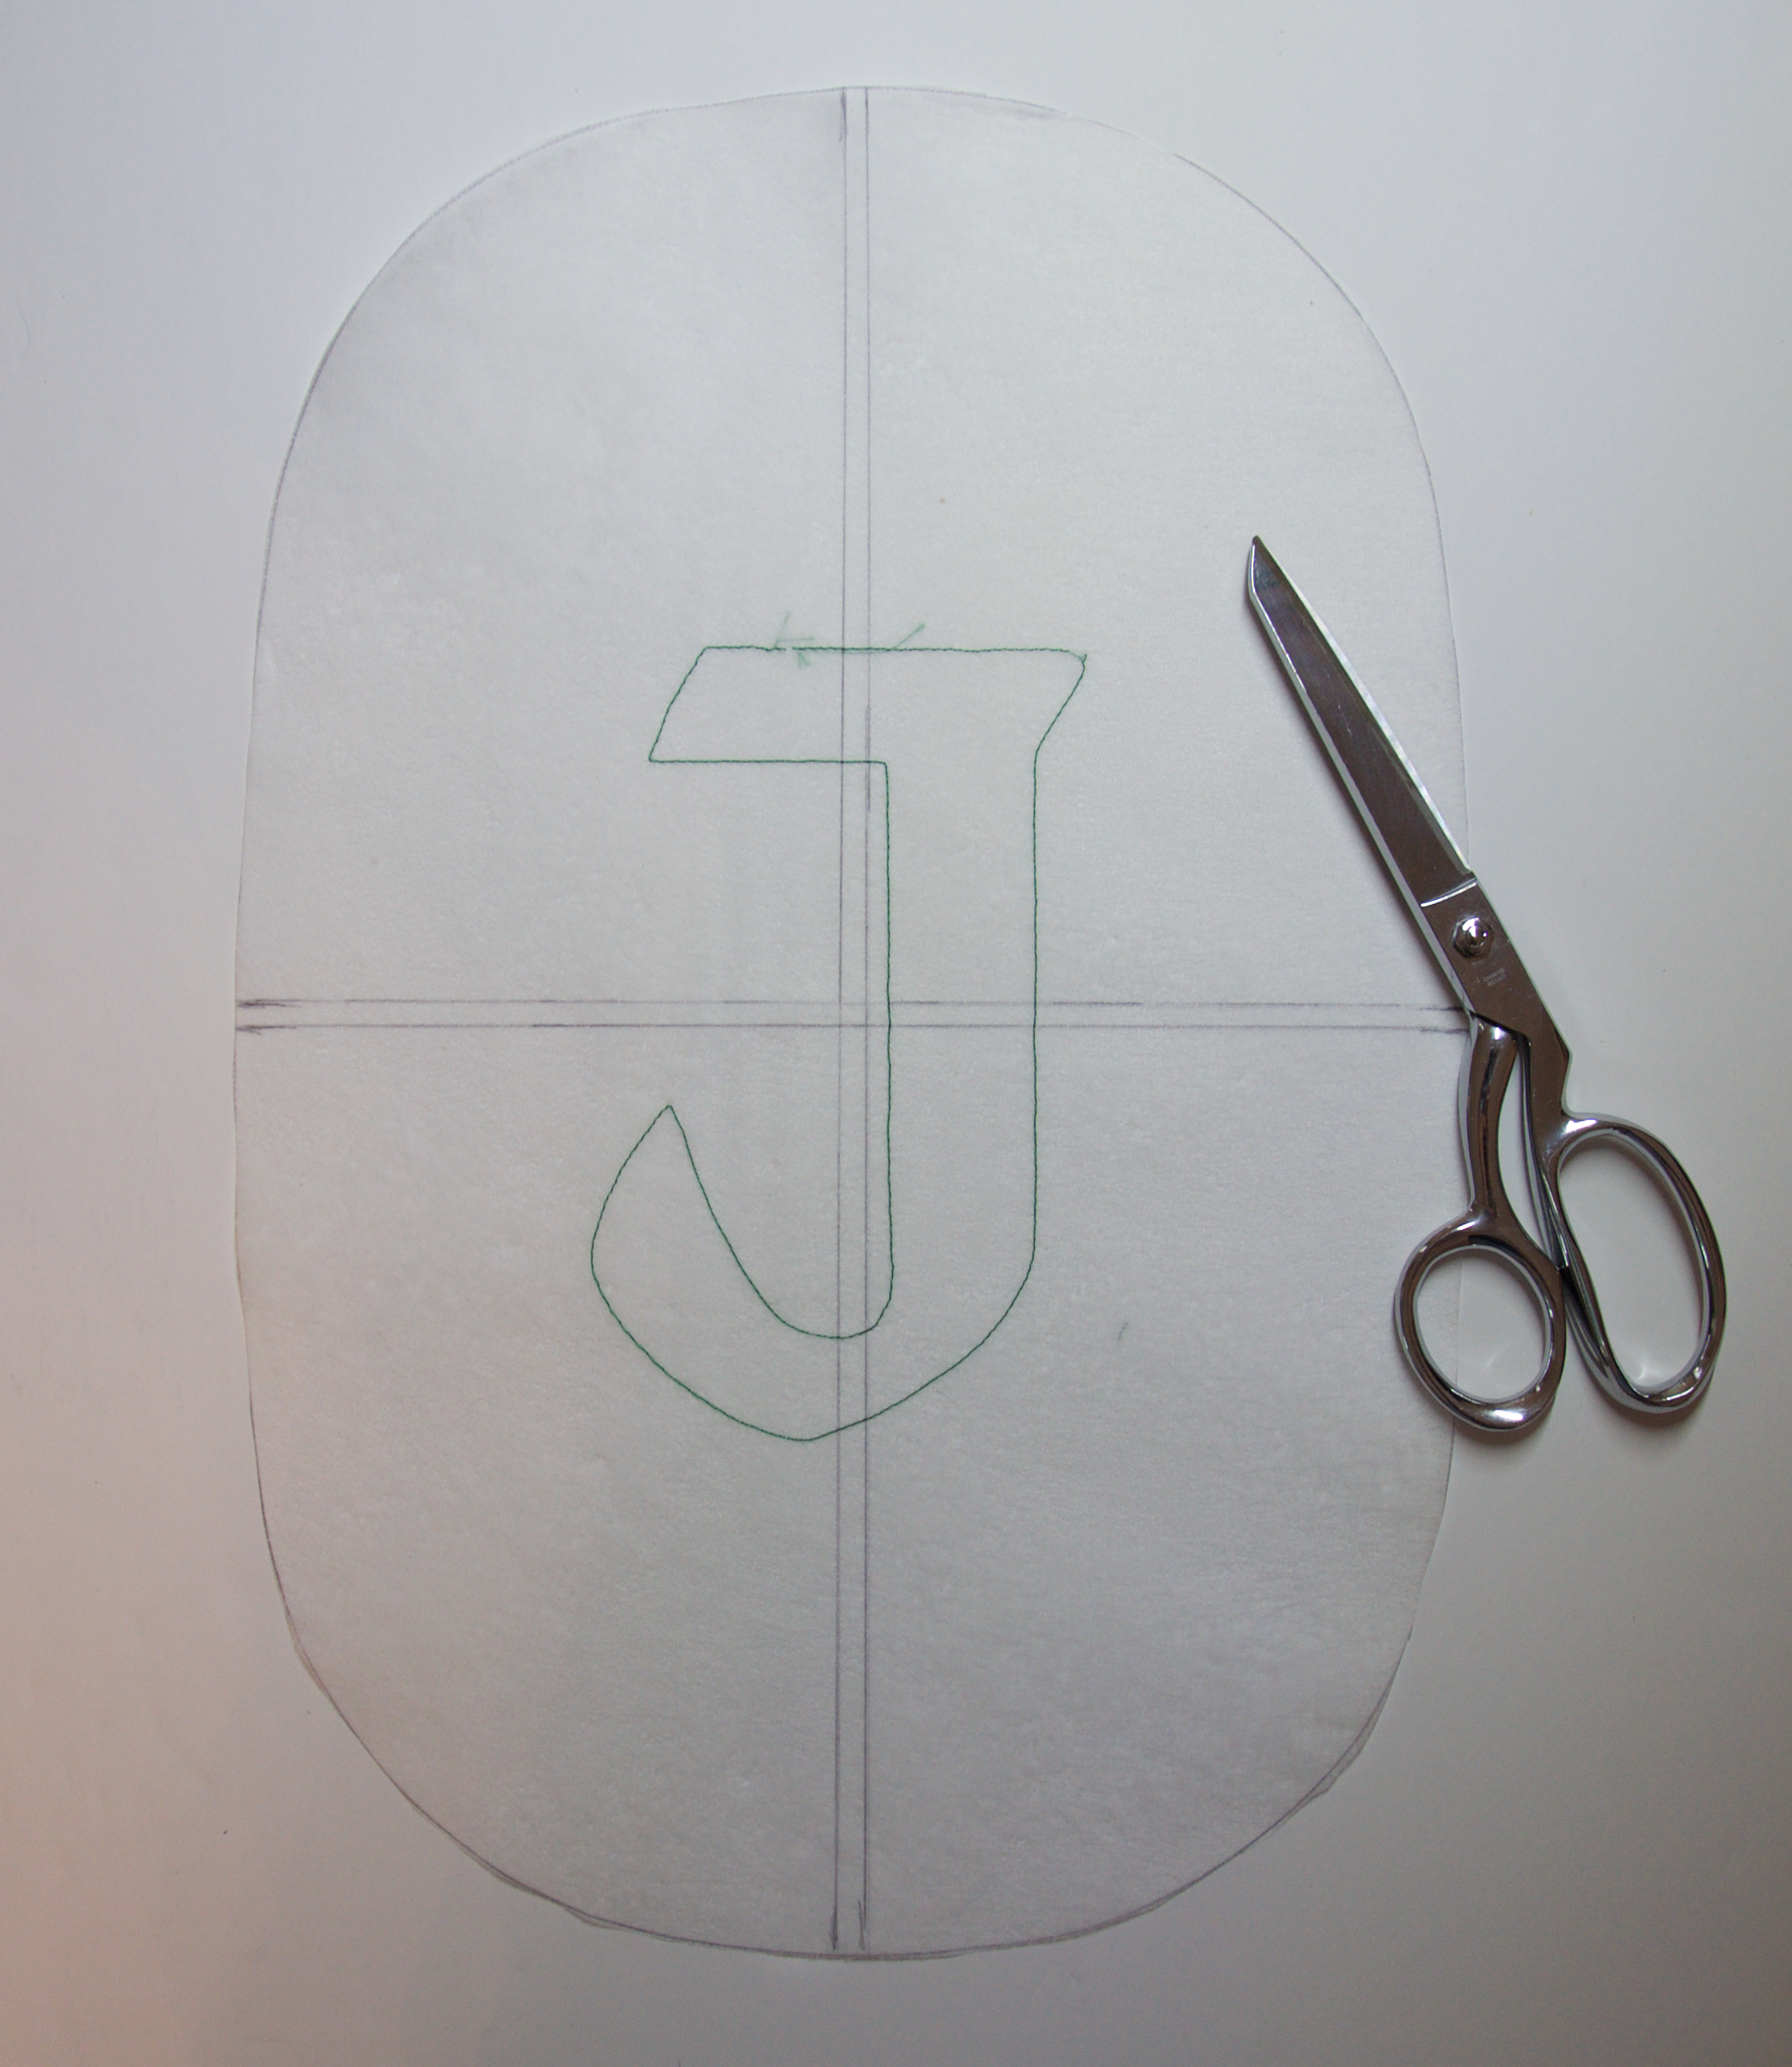
Place the hoop into the machine. Load the JTemp.### file. Start the machine. The machine will stitch out the letter J. Remove the template from the hoop. Trim the stabilizer on the “inside of the hoop” line you drew in the previous step. Take a ruler, and connect the horizontal and vertical markings. This is your finished template to help you hoop the project to perfectly place the quilting around the letters.
Repeat steps 1 and 2 to make the O template, and the Y template.
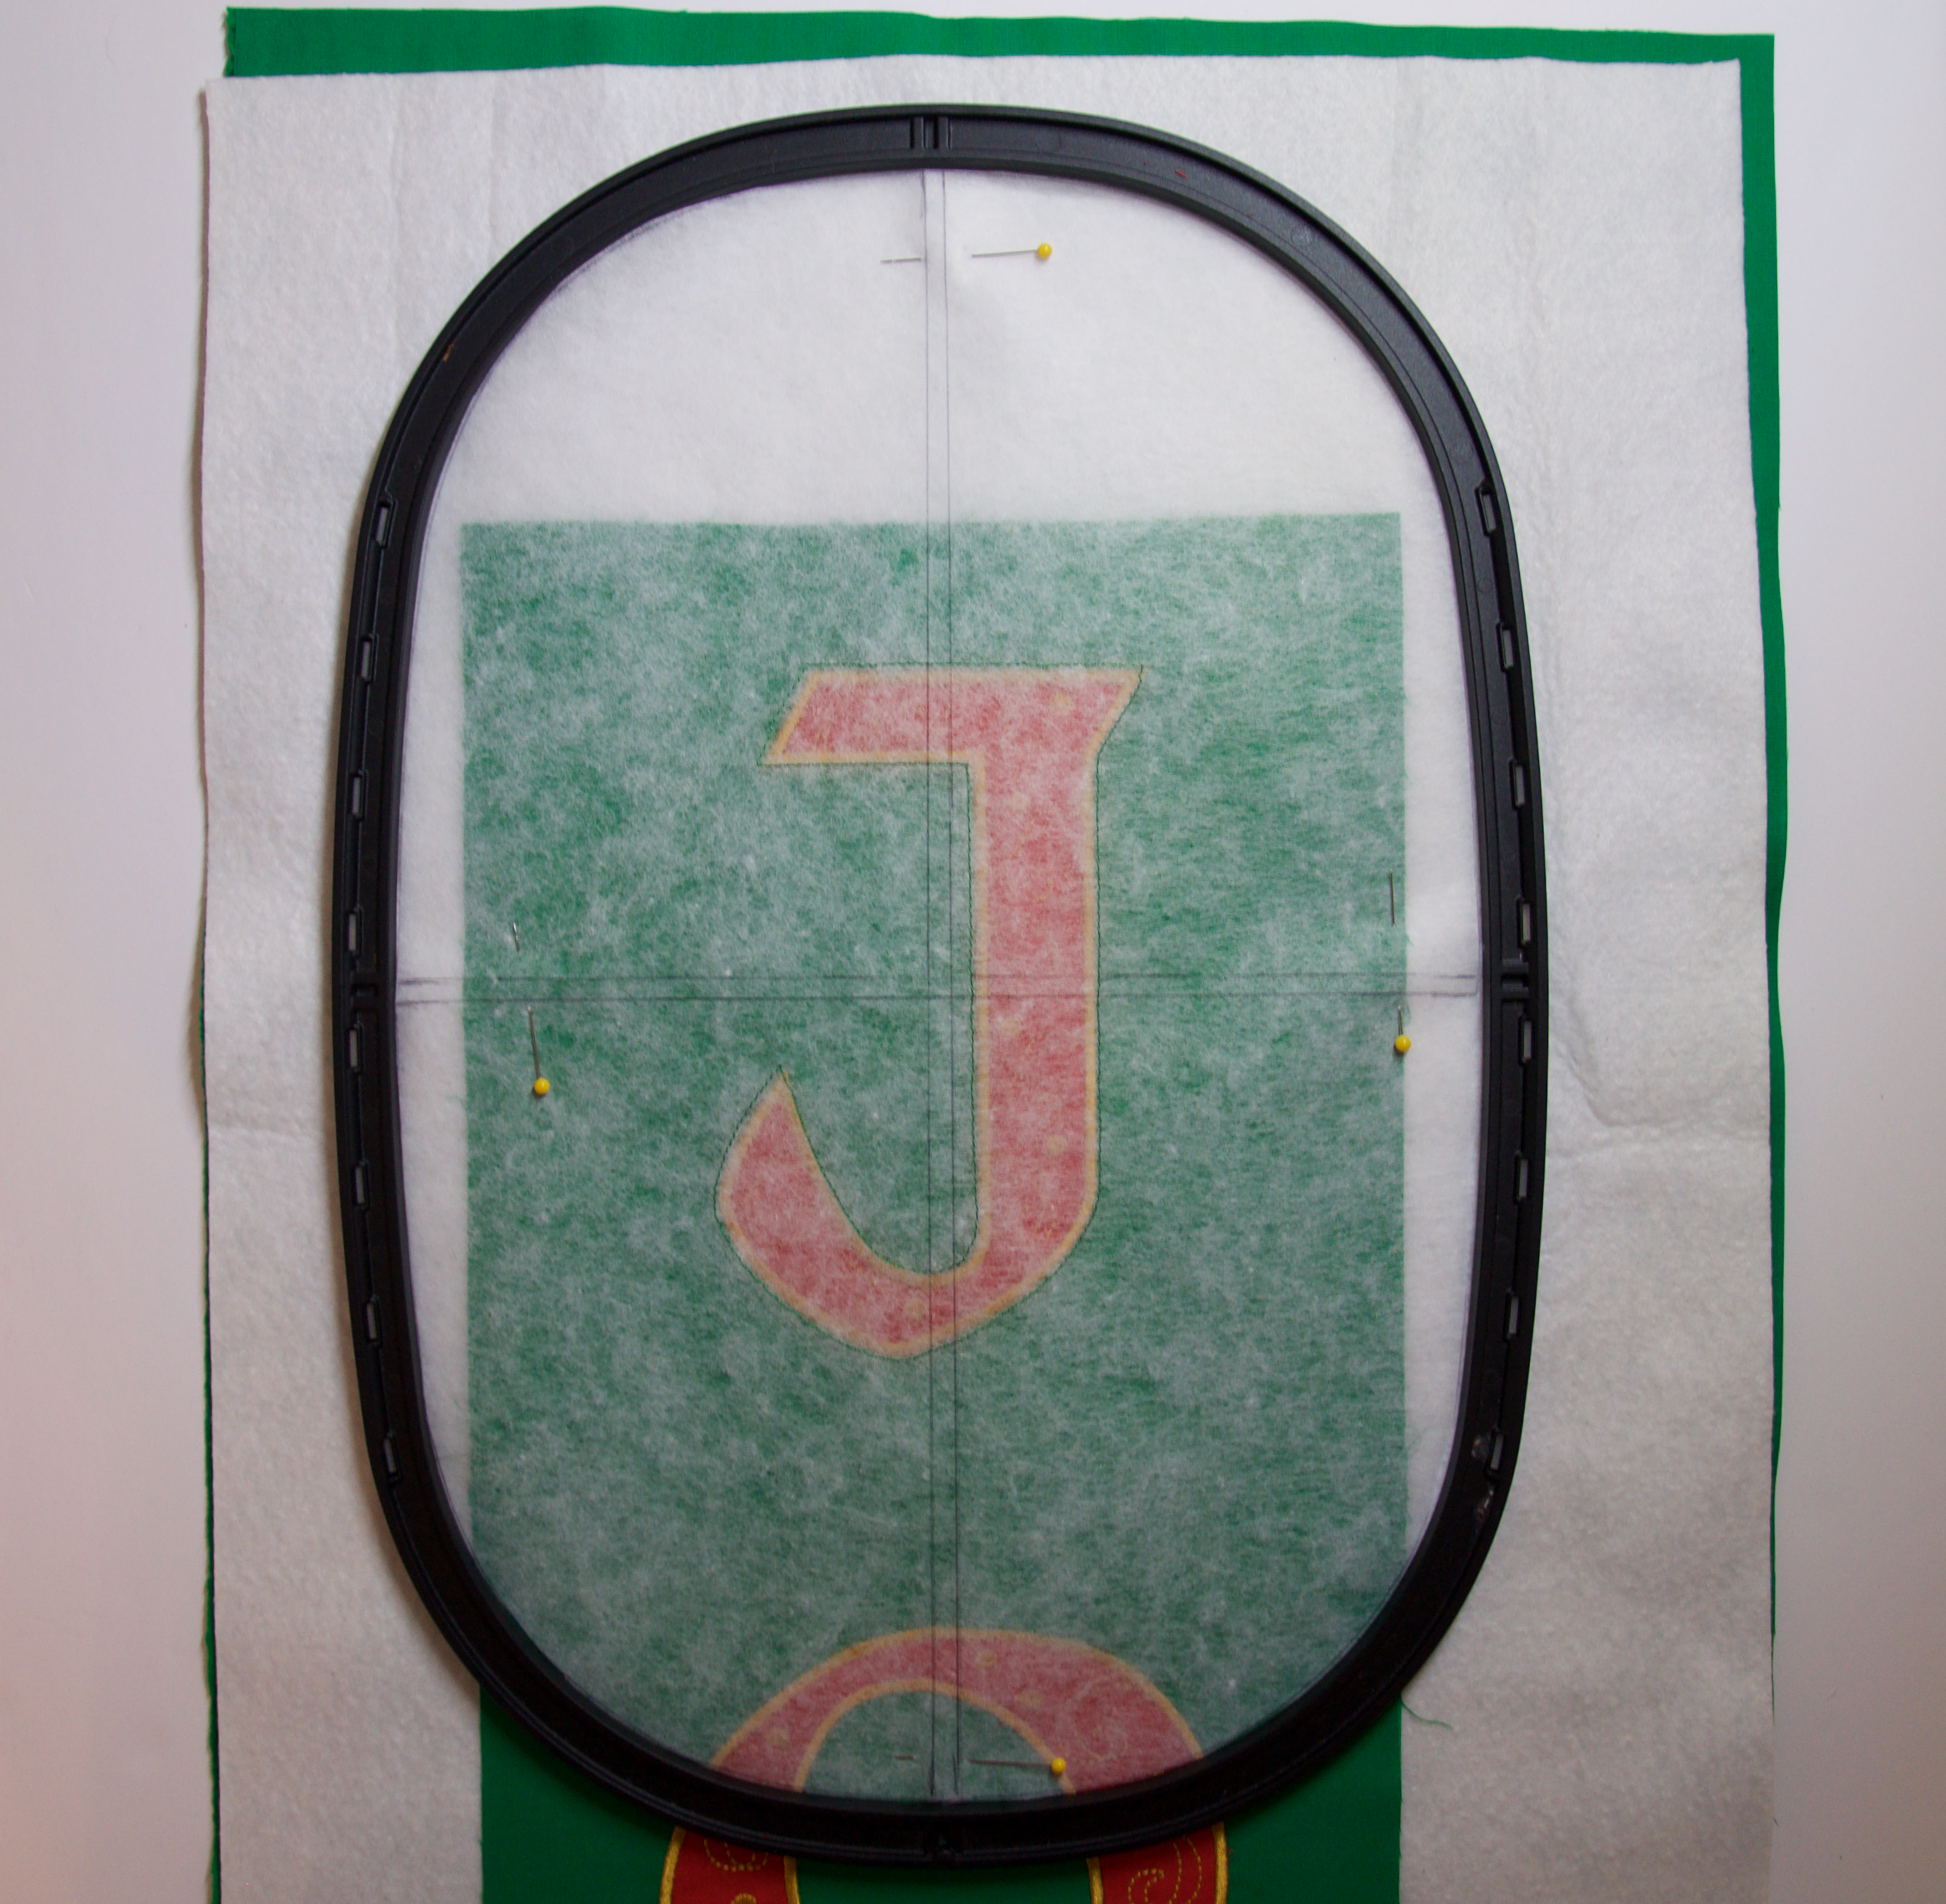
Step 3
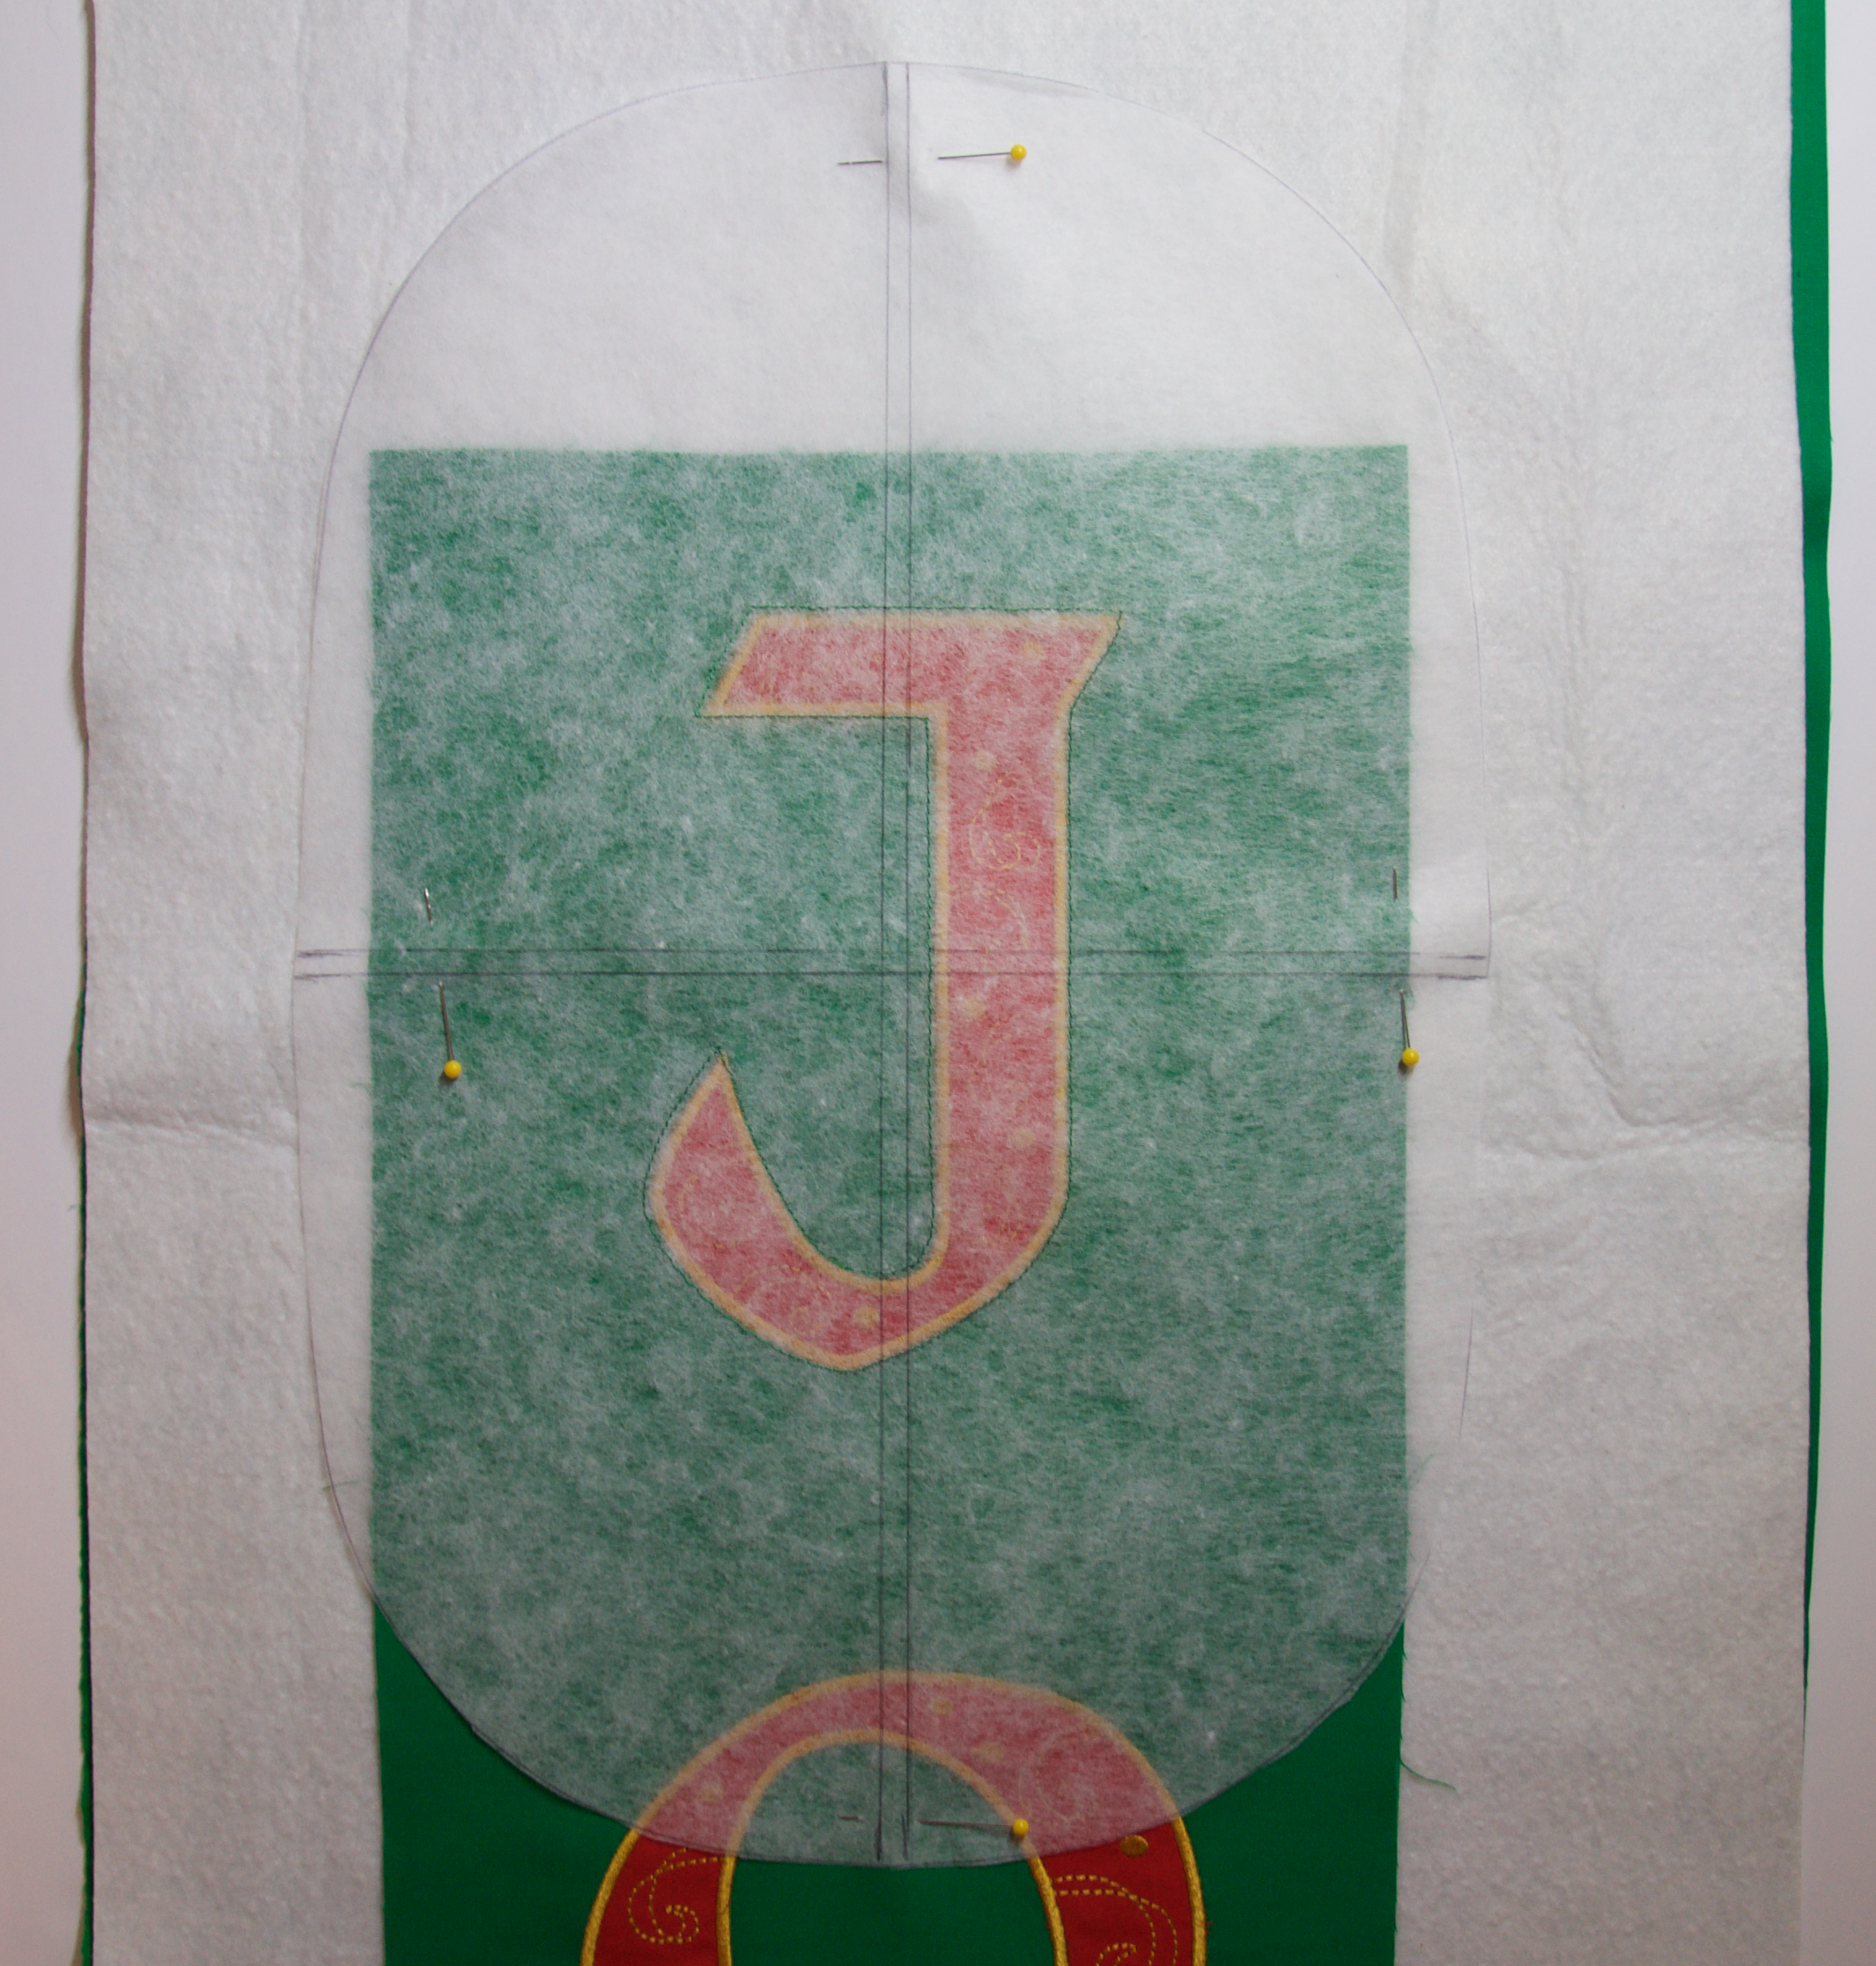
Prepare the runner for quilting by layering the back fabric (wrong side facing up), the batting, and then the JOY quilt top (right side facing up). Spray baste the layers with temporary basting spray. Lay the J template over the letter J. Pin in place.
TIP: Backing and batting must be larger than the quilt top, so that there is material to hoop. If the backing fabric is too small, baste additional fabric to either side, so that the fabric will be held by the hoop.
Step 4
Lay the top hoop around the template. Then, place it into the bottom portion of the hoop. Remove the template. See the next step if hooping is difficult for you.
Step 5
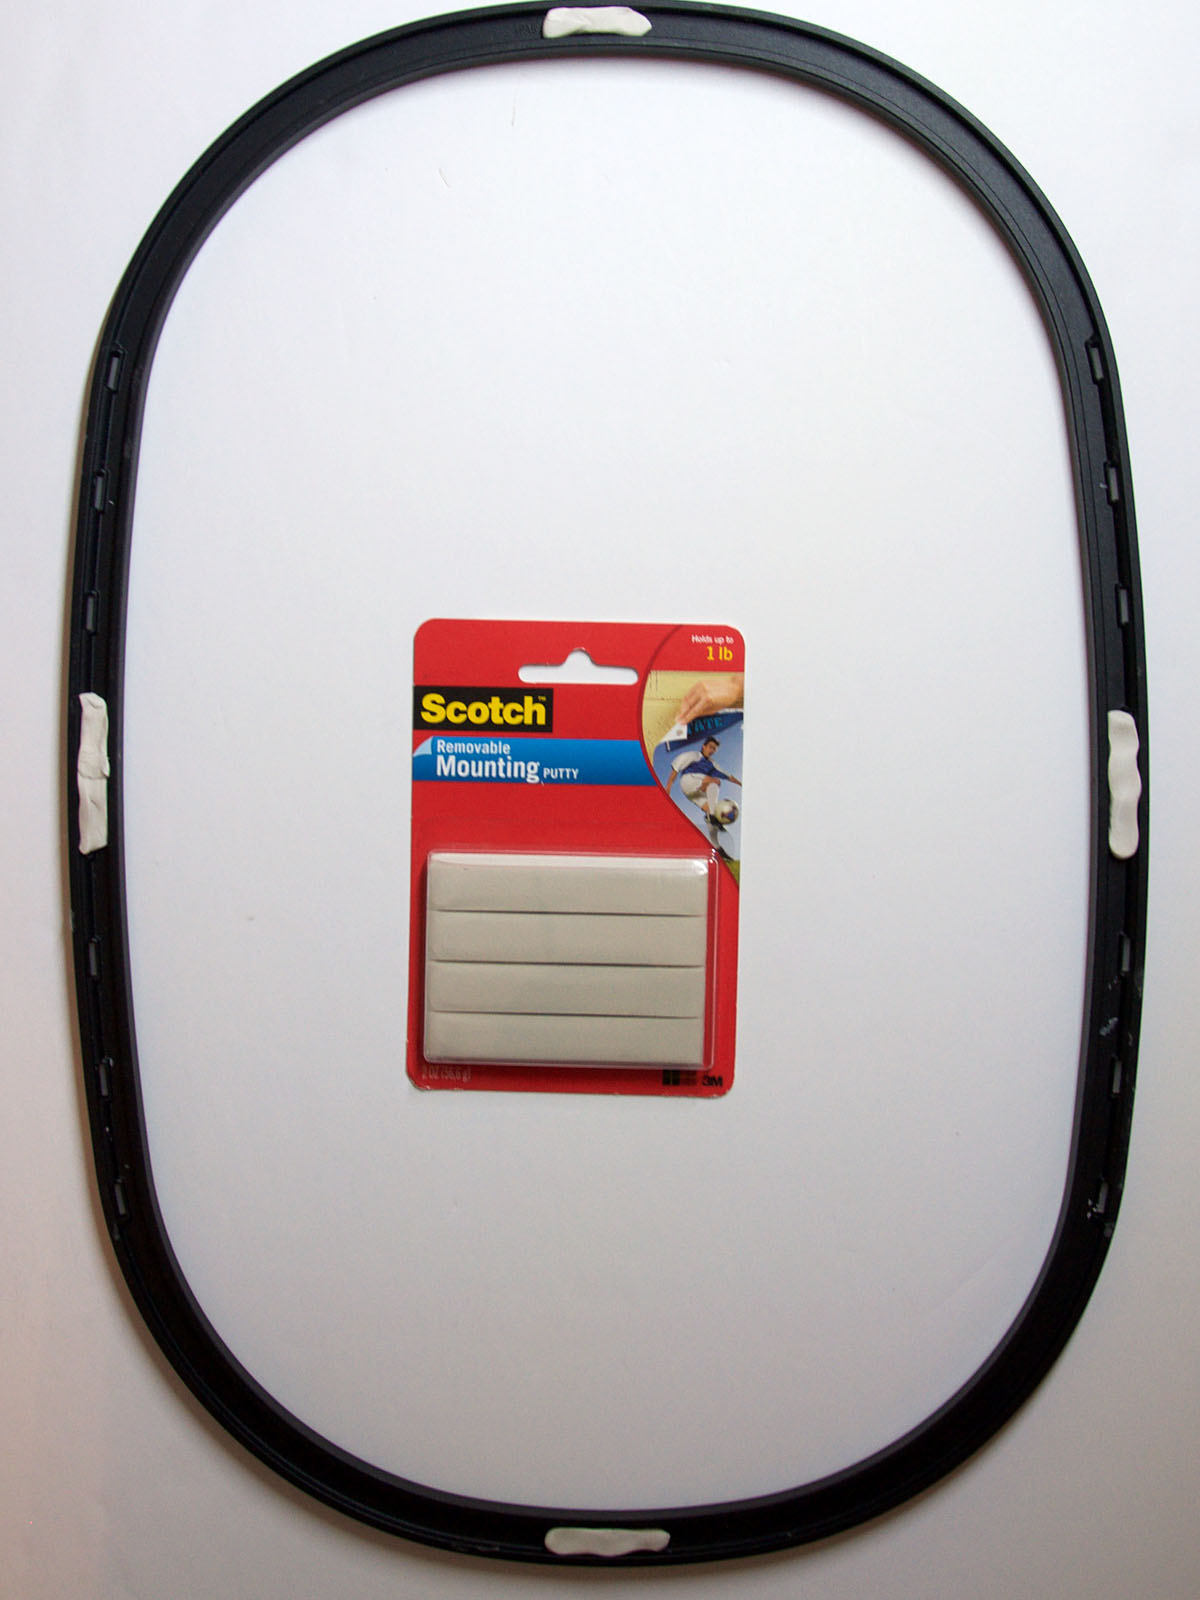
TIP: I have two great tips that make hooping a breeze.
- I fill in the groves on the back of my Jumbo Hoop with Scotch Removable Mounting Putty. This gives me a flat area for the next step.
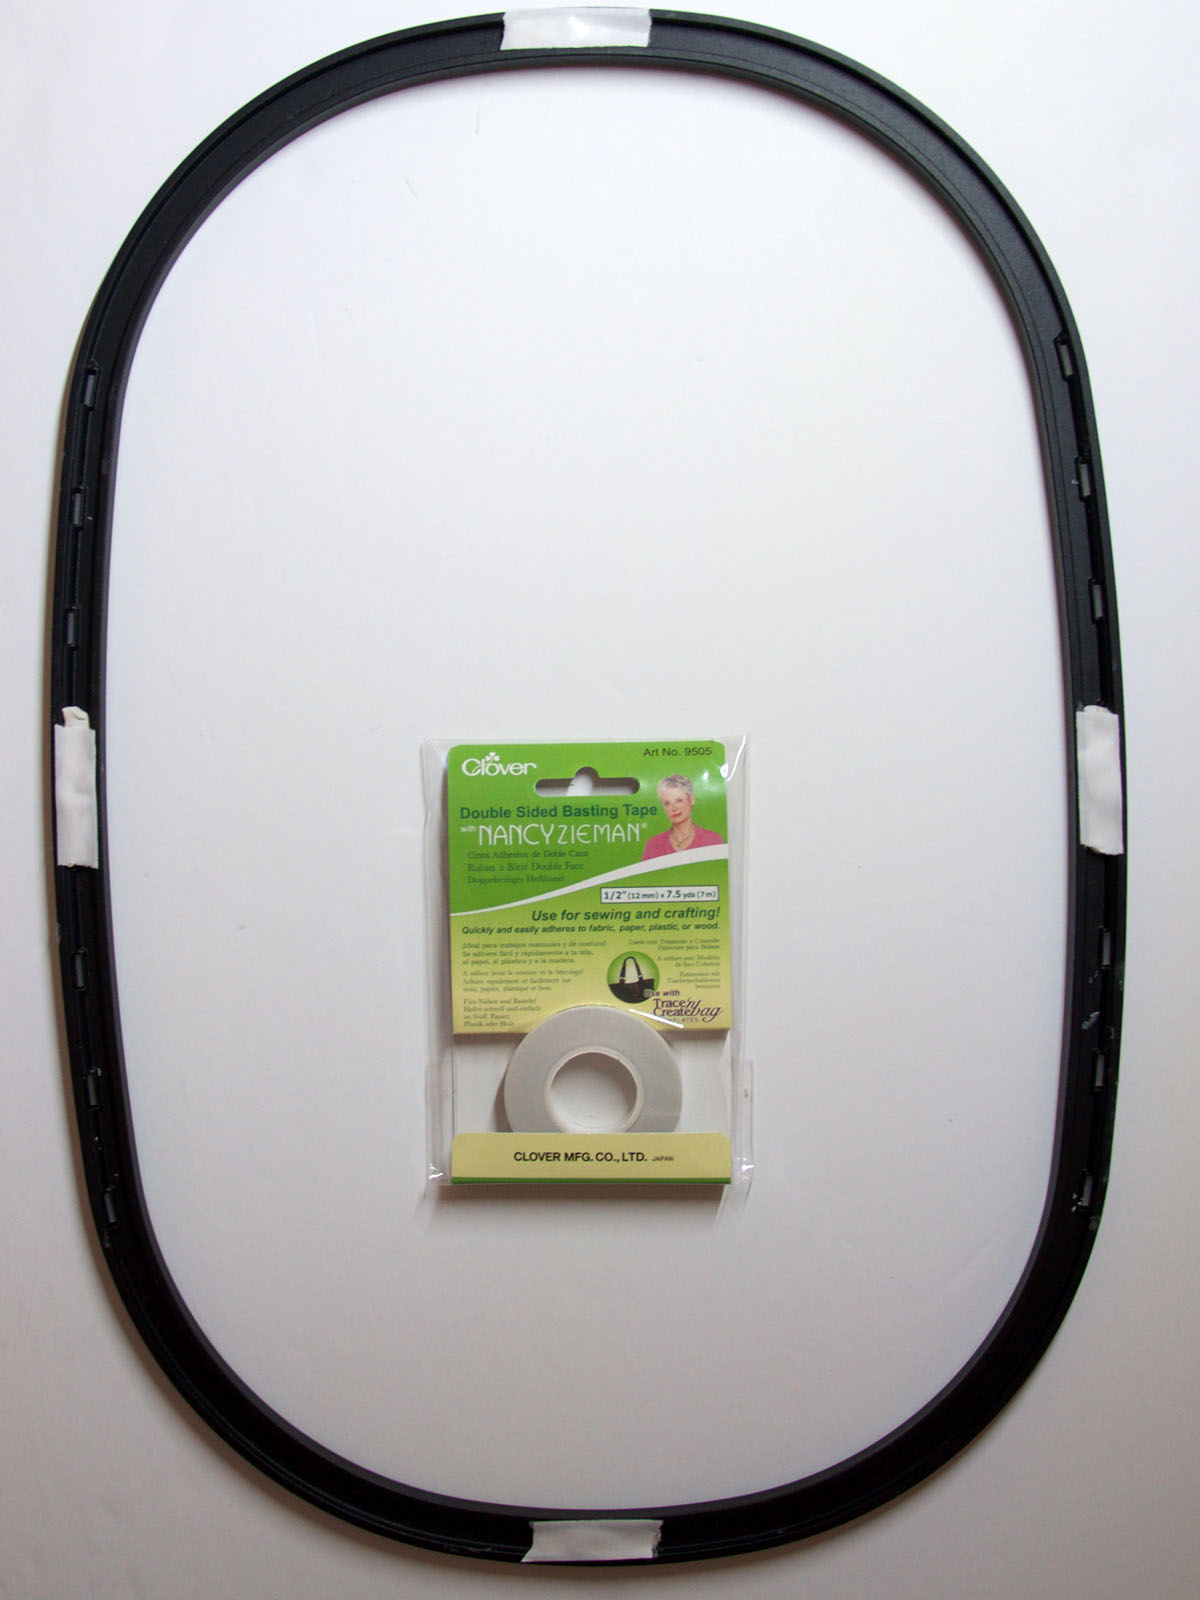
- I place 1/2″ Double Sided Basting Tape over the areas that I filled in with putty. Remember to remove the paper from the basting tape.
Then, when I lay the top hoop around the template, it won’t shift around. The putty removes easily. WD40 will remove any tape residue.

Step 6
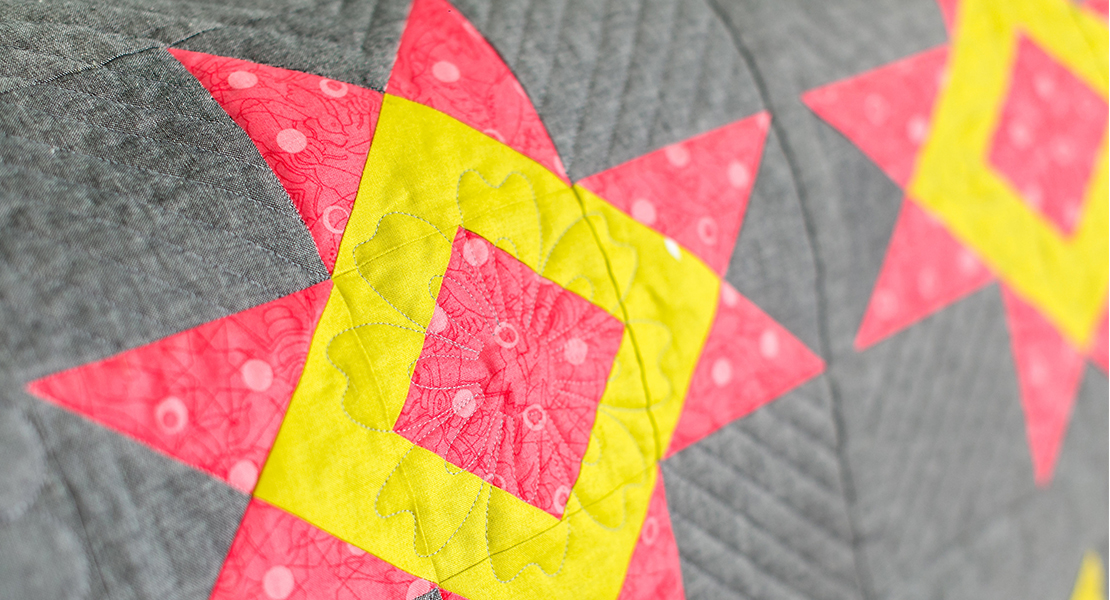
Place the hoop in the machine. Load the JQuilt.### file. Bring up the bobbin. Start the machine. The machine will quilt around the J. Repeat Steps 3-6 for the O and the Y blocks.
TIP: The “O” quilting will start with the inside of the letter. The needle should start 1/4″ above the bottom center. Even with the template, you may have to use positioning to ensure that the stitching starts in the right place.
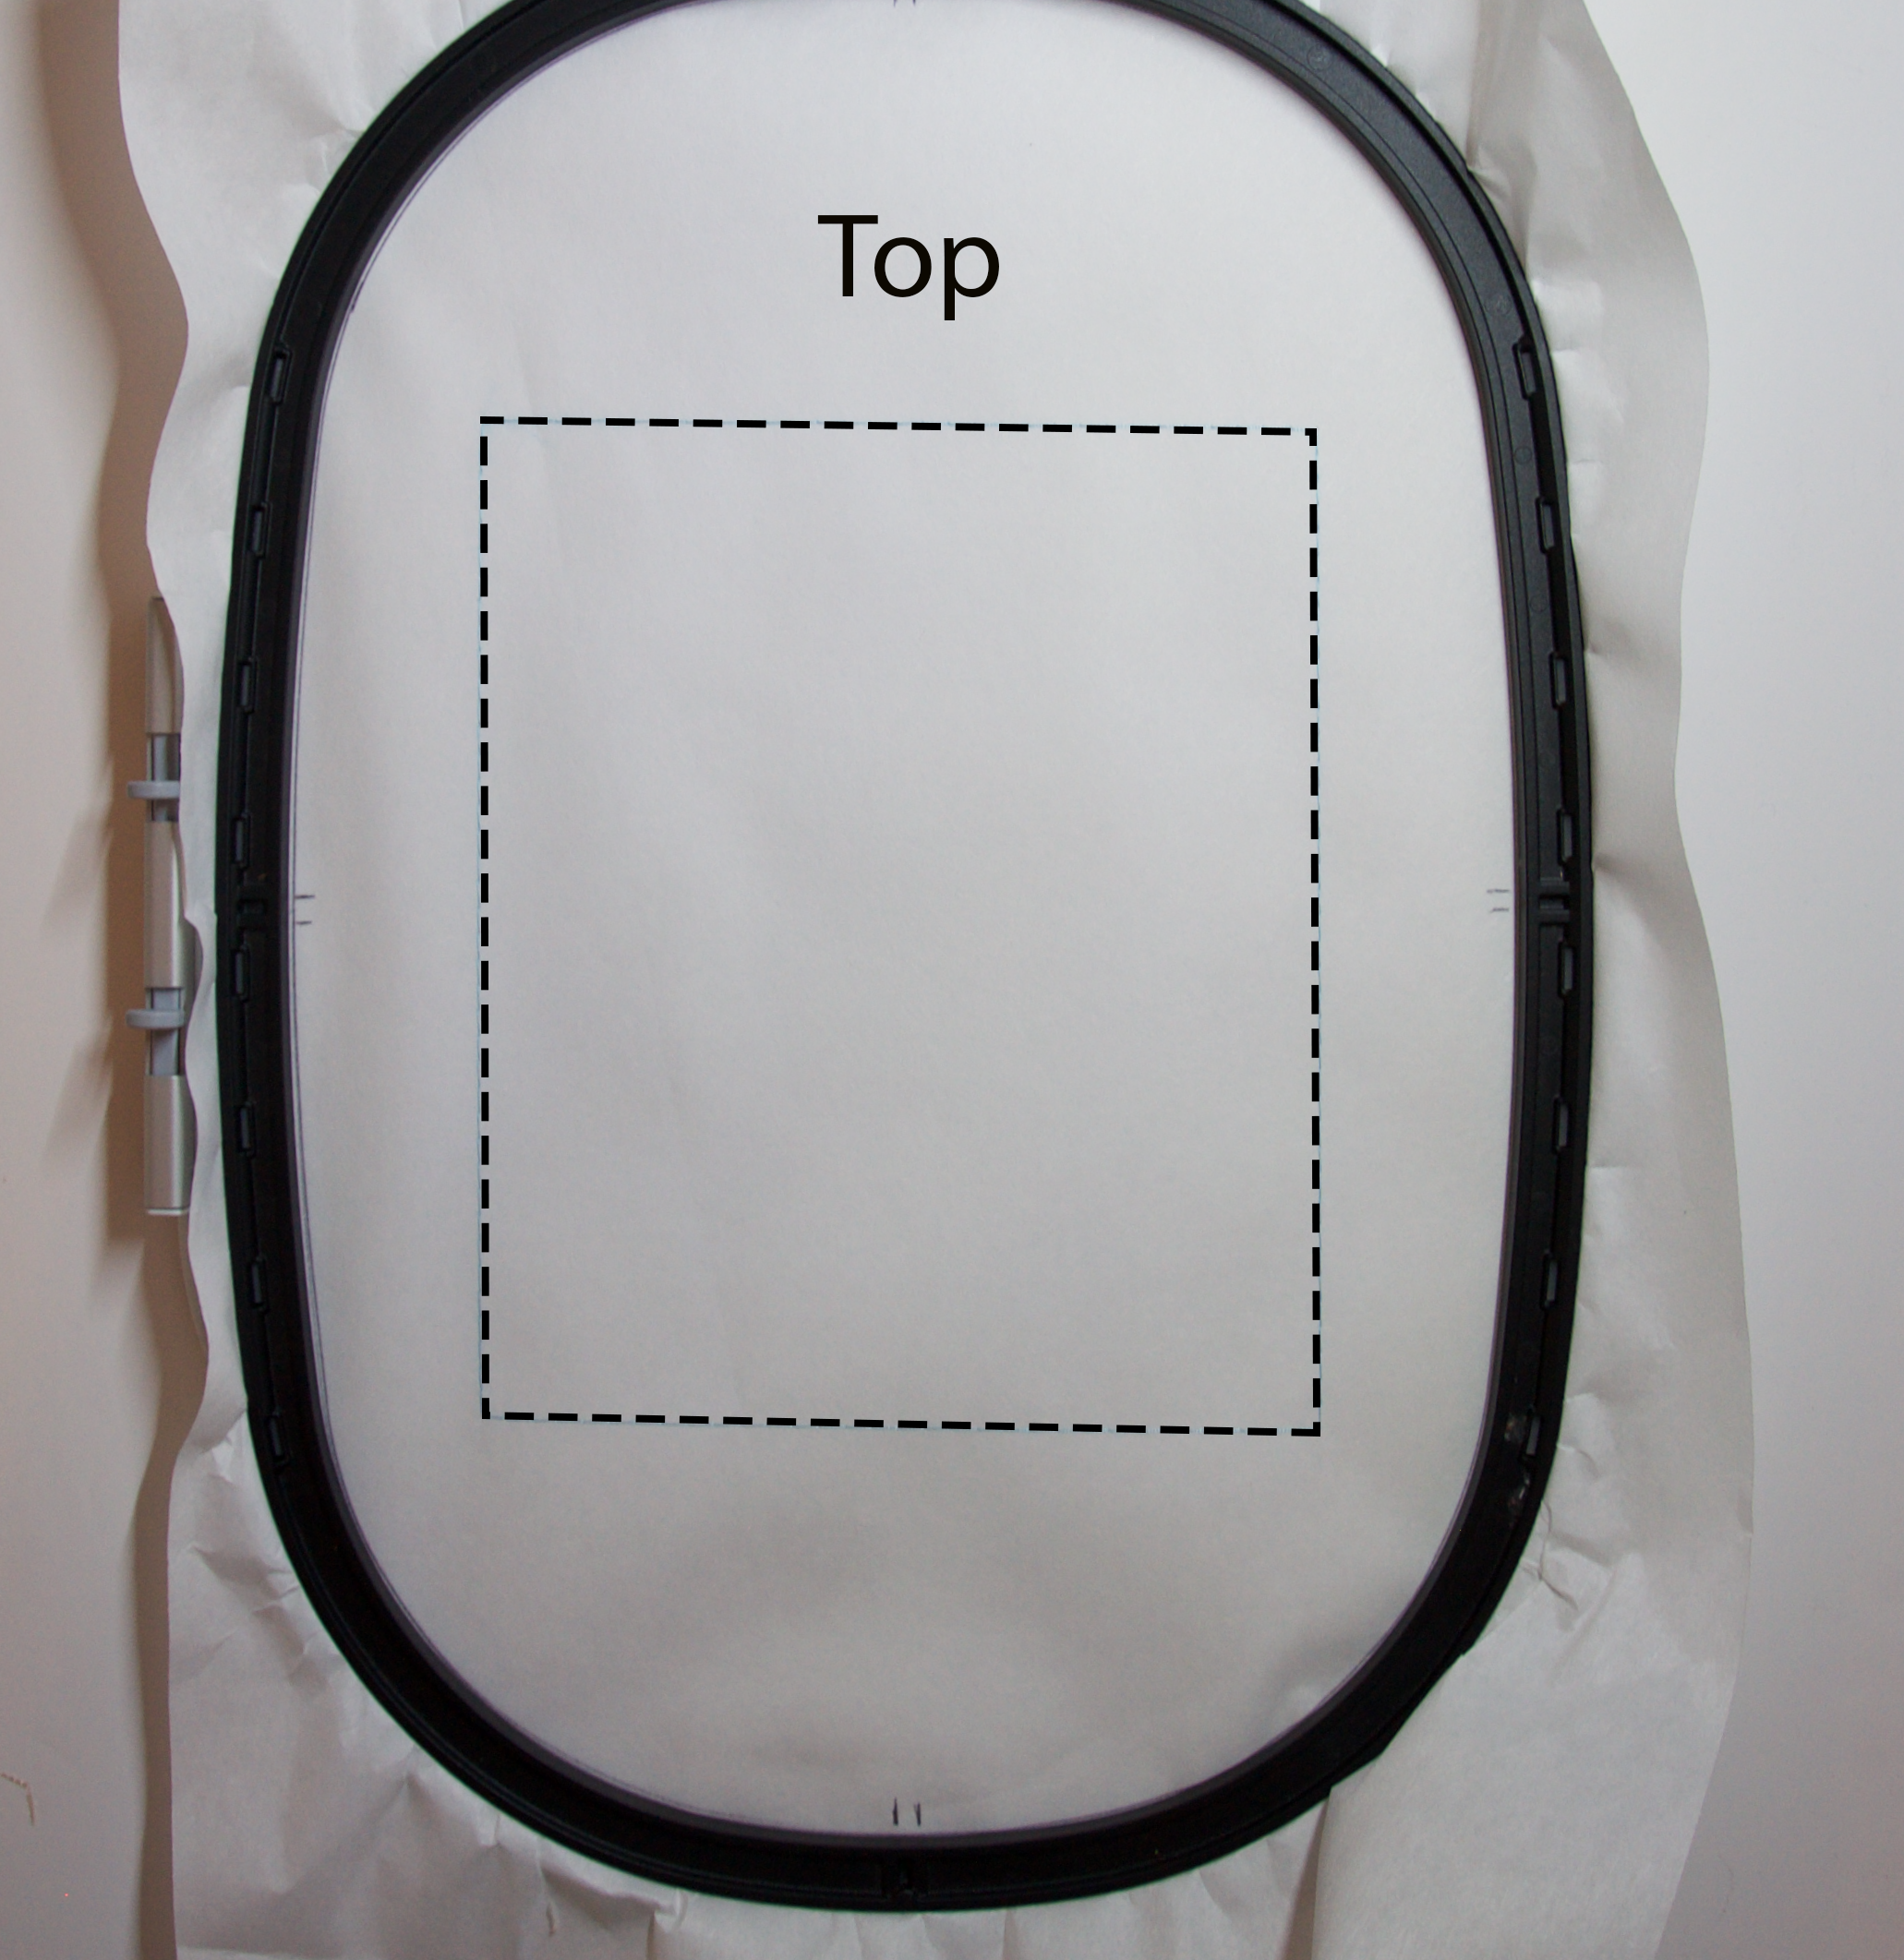
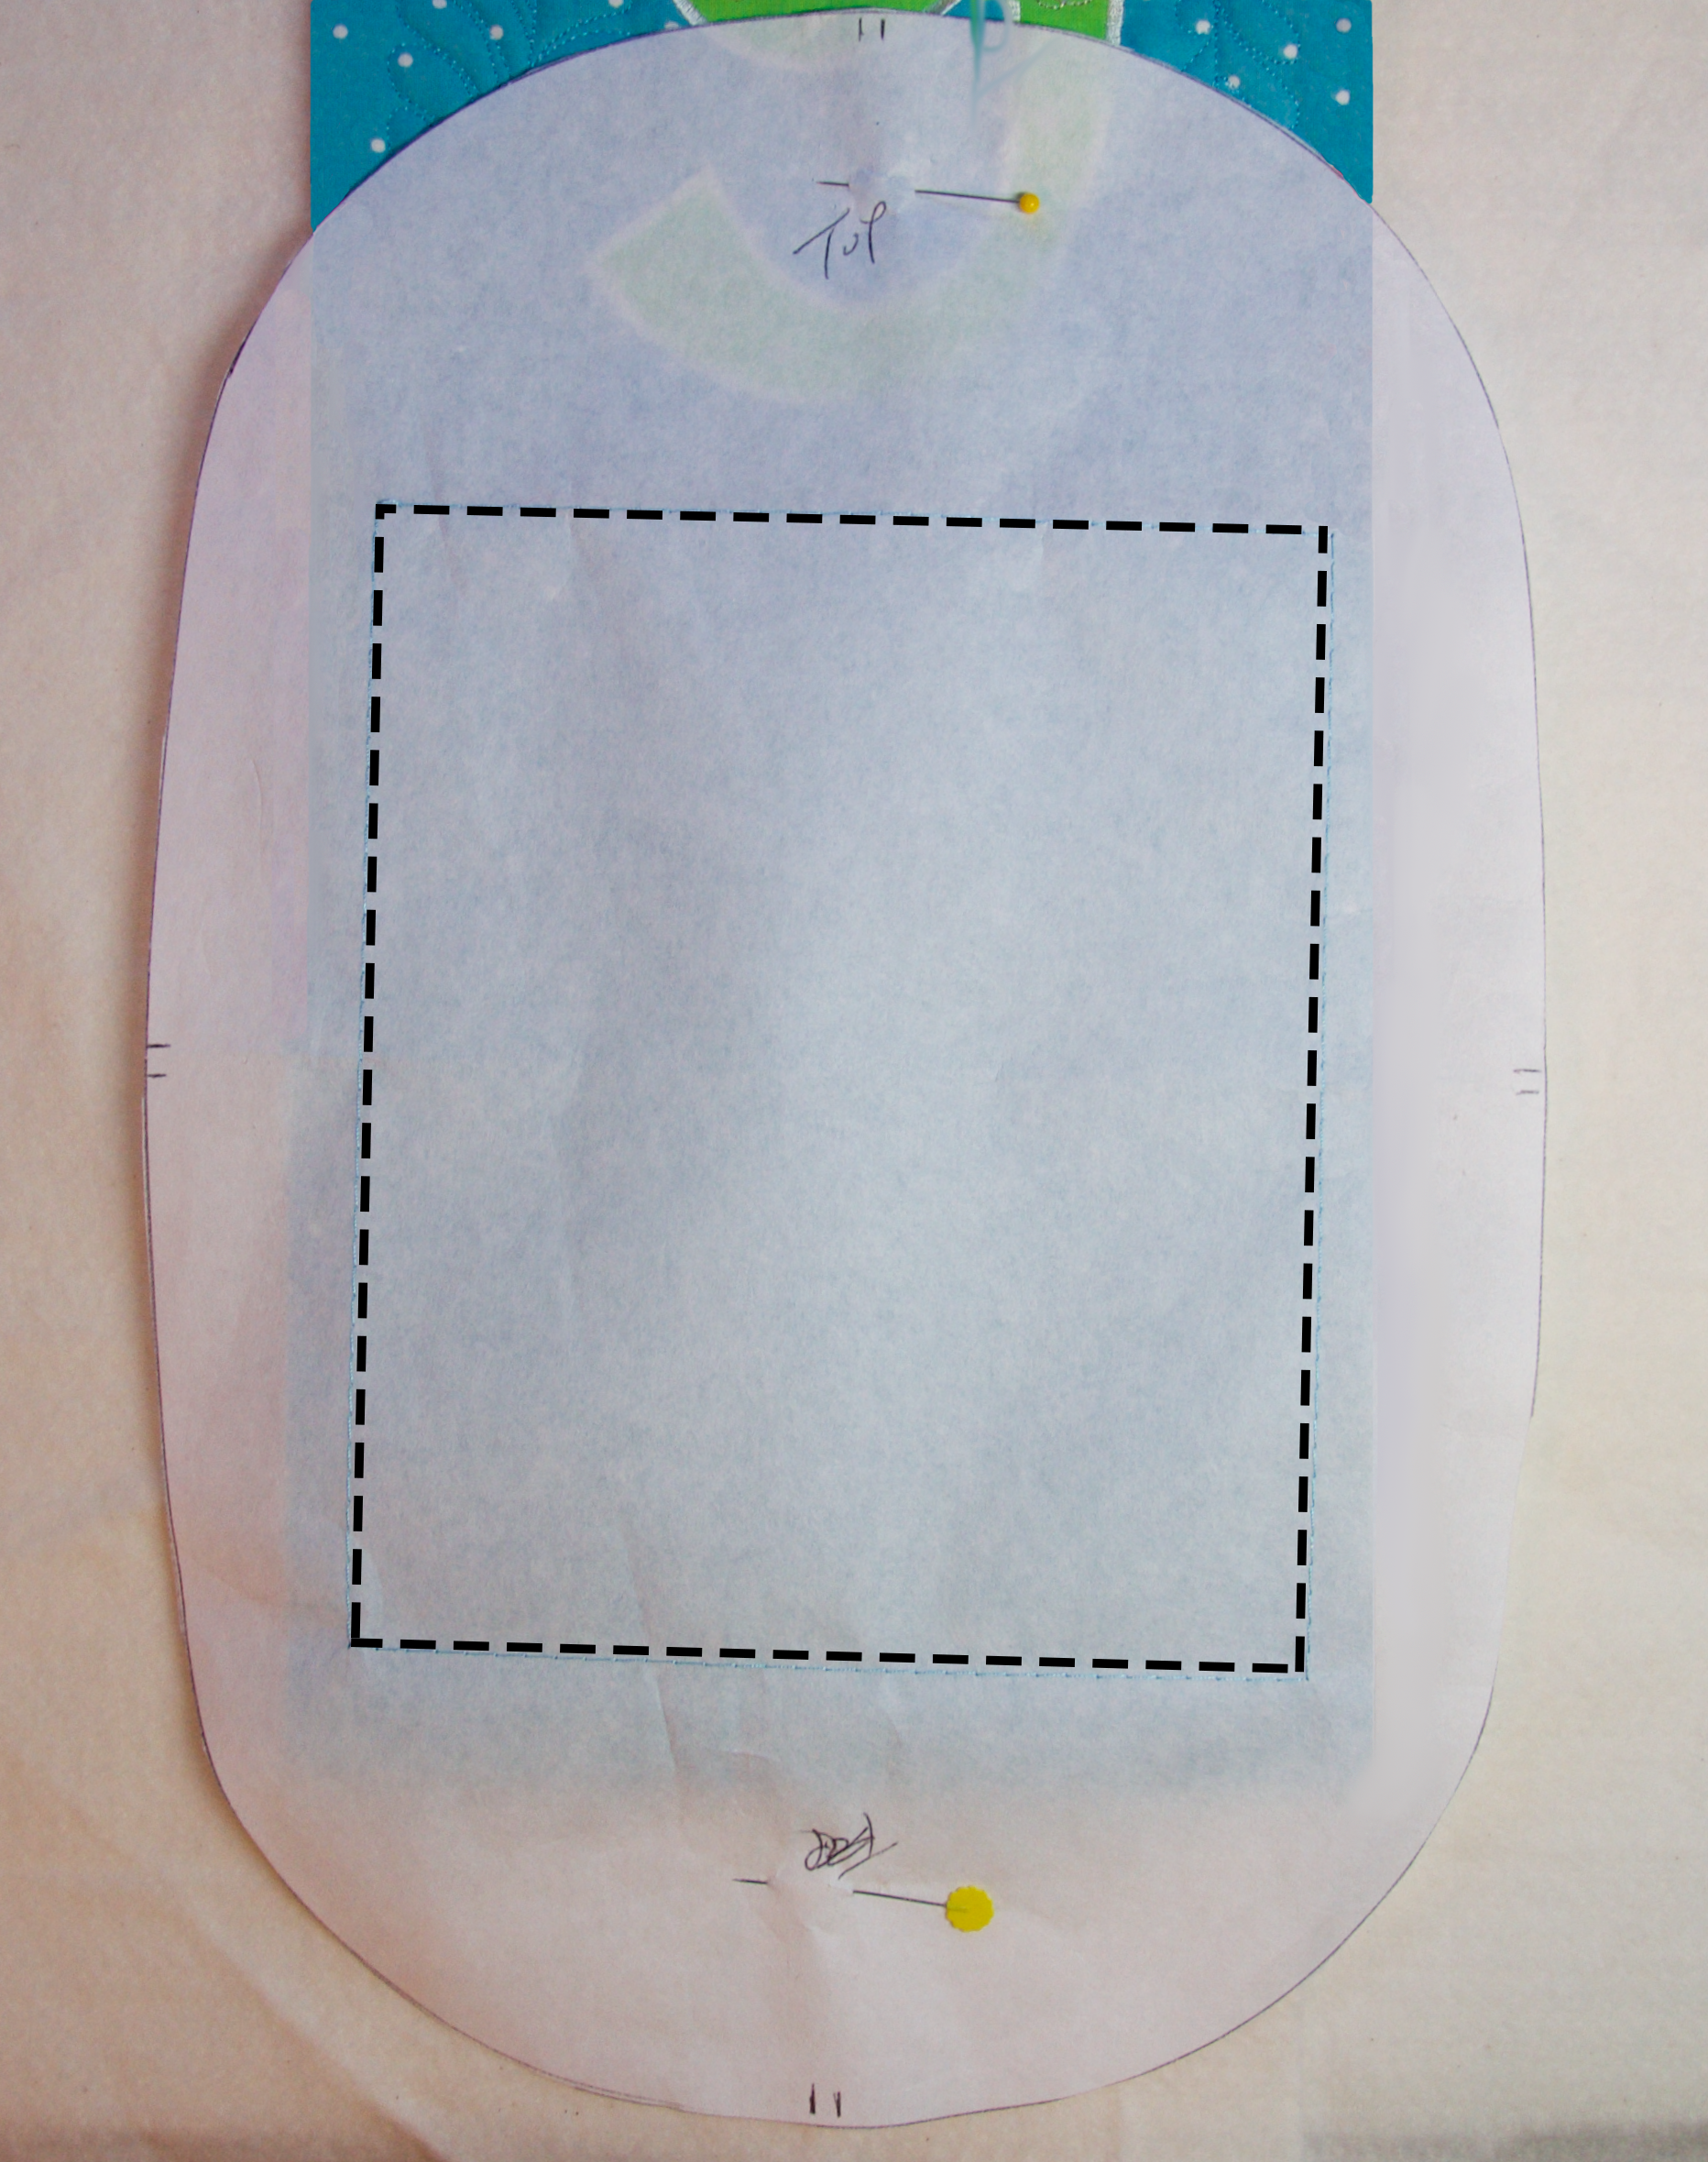
Step 7: Making the Cross Hatch Template
Inside the pocket is some cross hatch quilting that you won’t see unless you look inside the pocket. Hoop the stabilizer, and use a pen to mark the inside of the hoop and the horizontal and vertical center of the stitching field. Write “Top” at the top. Load CrosTemp.### file into your machine. The machine will stitch a rectangle.
Note: I’m showing the modern sample in steps 8 and 9.
Step 8: Using the Cross Hatch Template
Lay the template so the top of the rectangle is just slightly below the seam. Place the hoop around the template. Place the bottom portion of the hoop in place. Put the hoop in the machine, and remove the template.
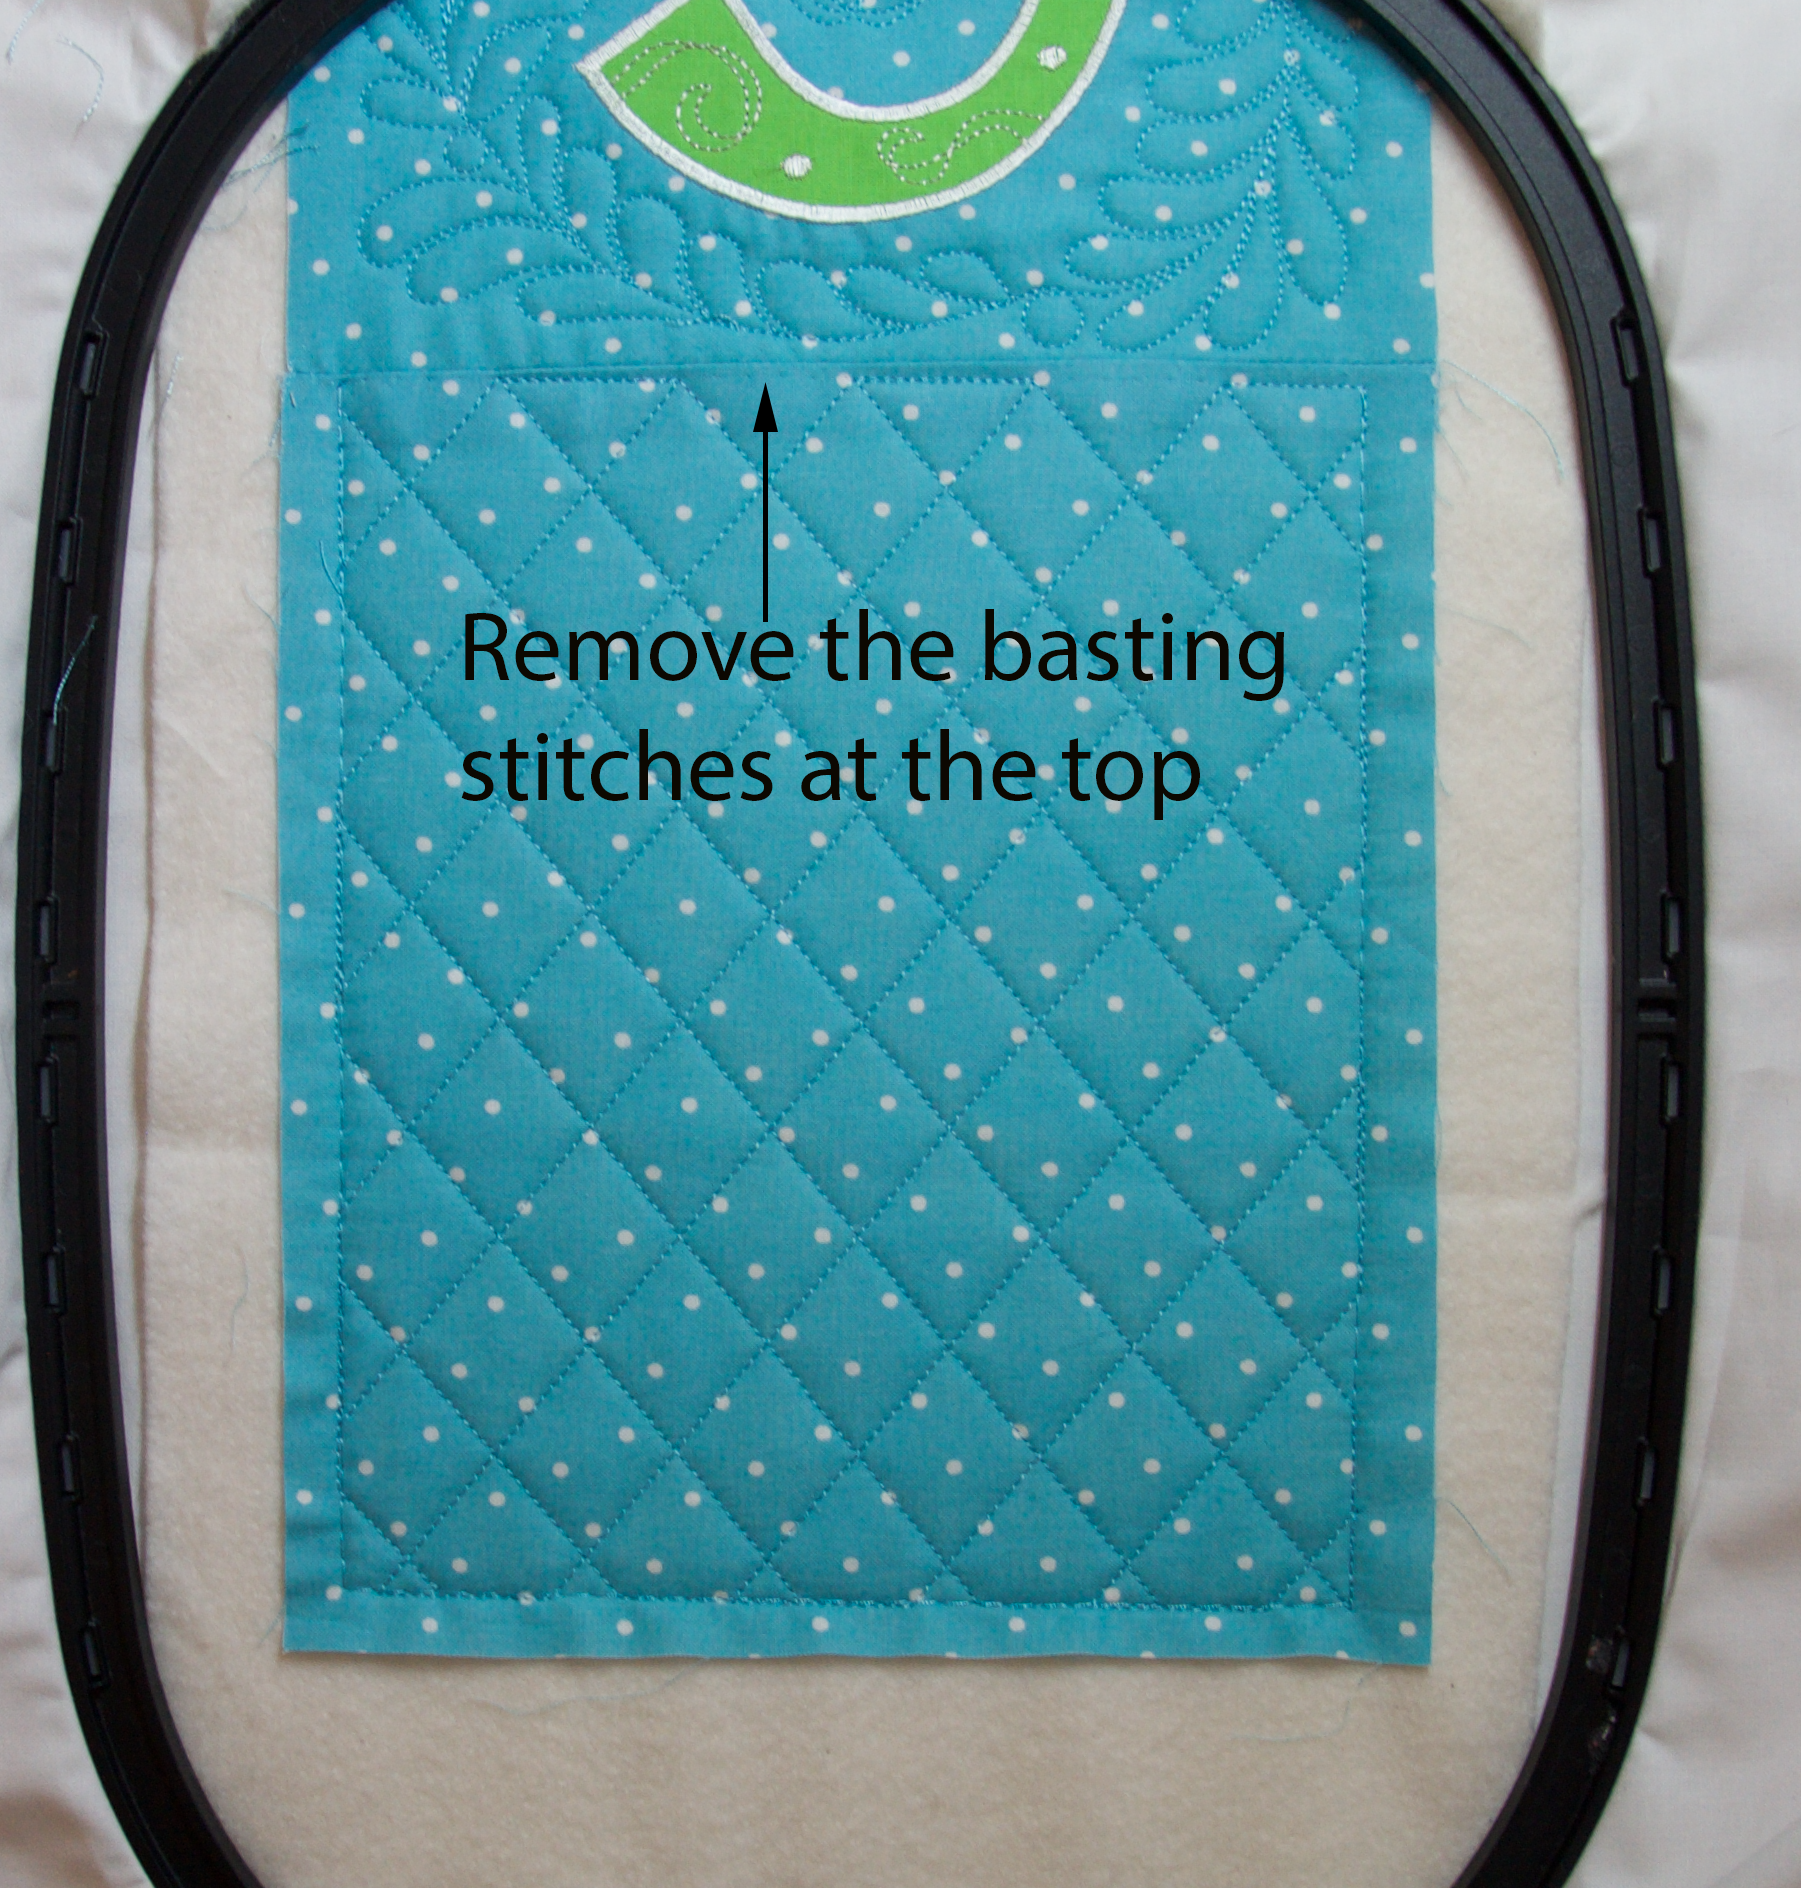
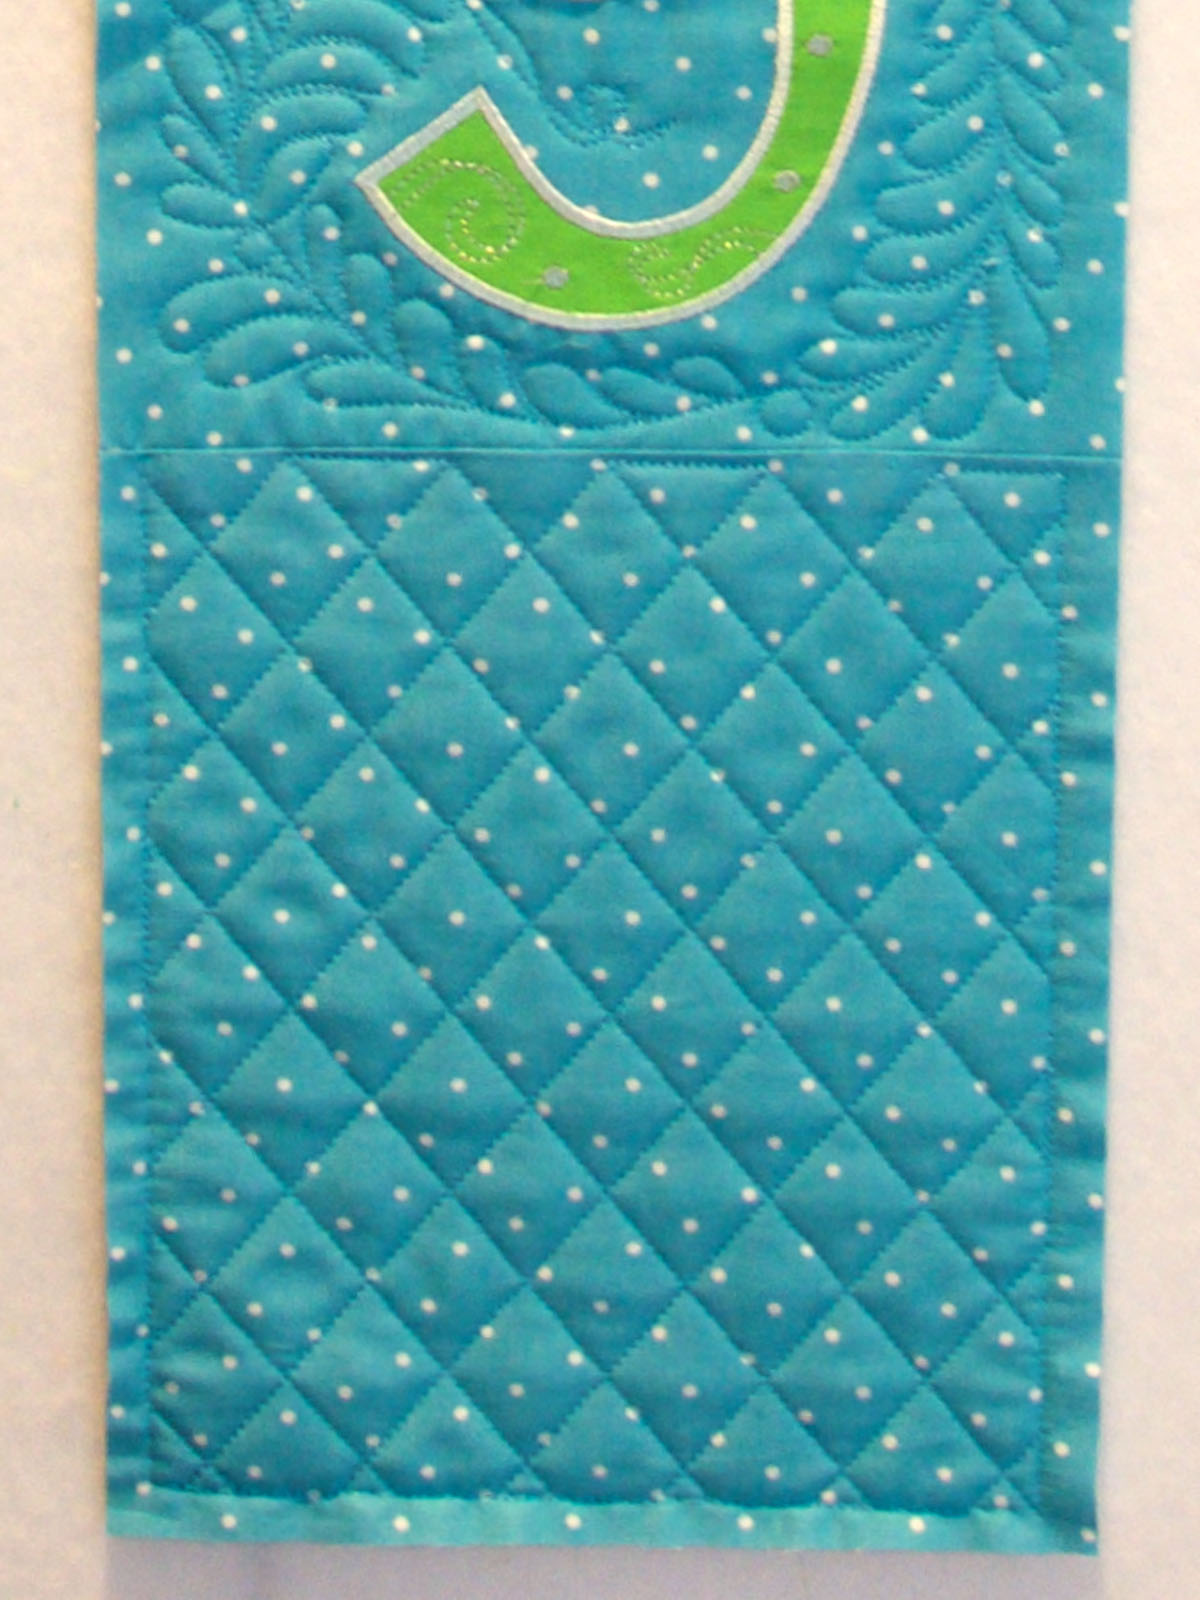
Step 9: Quilting the Cross Hatch Design
Load the CrosDesign.### file into your machine. Start the machine. The machine will stitch a basting rectangle, and then stop. When machine stops, remove the top portion of the basting stitches. Start the machine again, the machine stitch half of the cross hatch design. Start the machine again for the second half.
Step 10
When you have finished the cross hatch quilting, trim away the excess batting and backing fabric. Your hanging should be about 8.5″ x 36.5″ when trimmed. Sometimes, quilting and embroidery shrinks the fabric dimensions, so your project should be close to the above number, but it might not be exact.
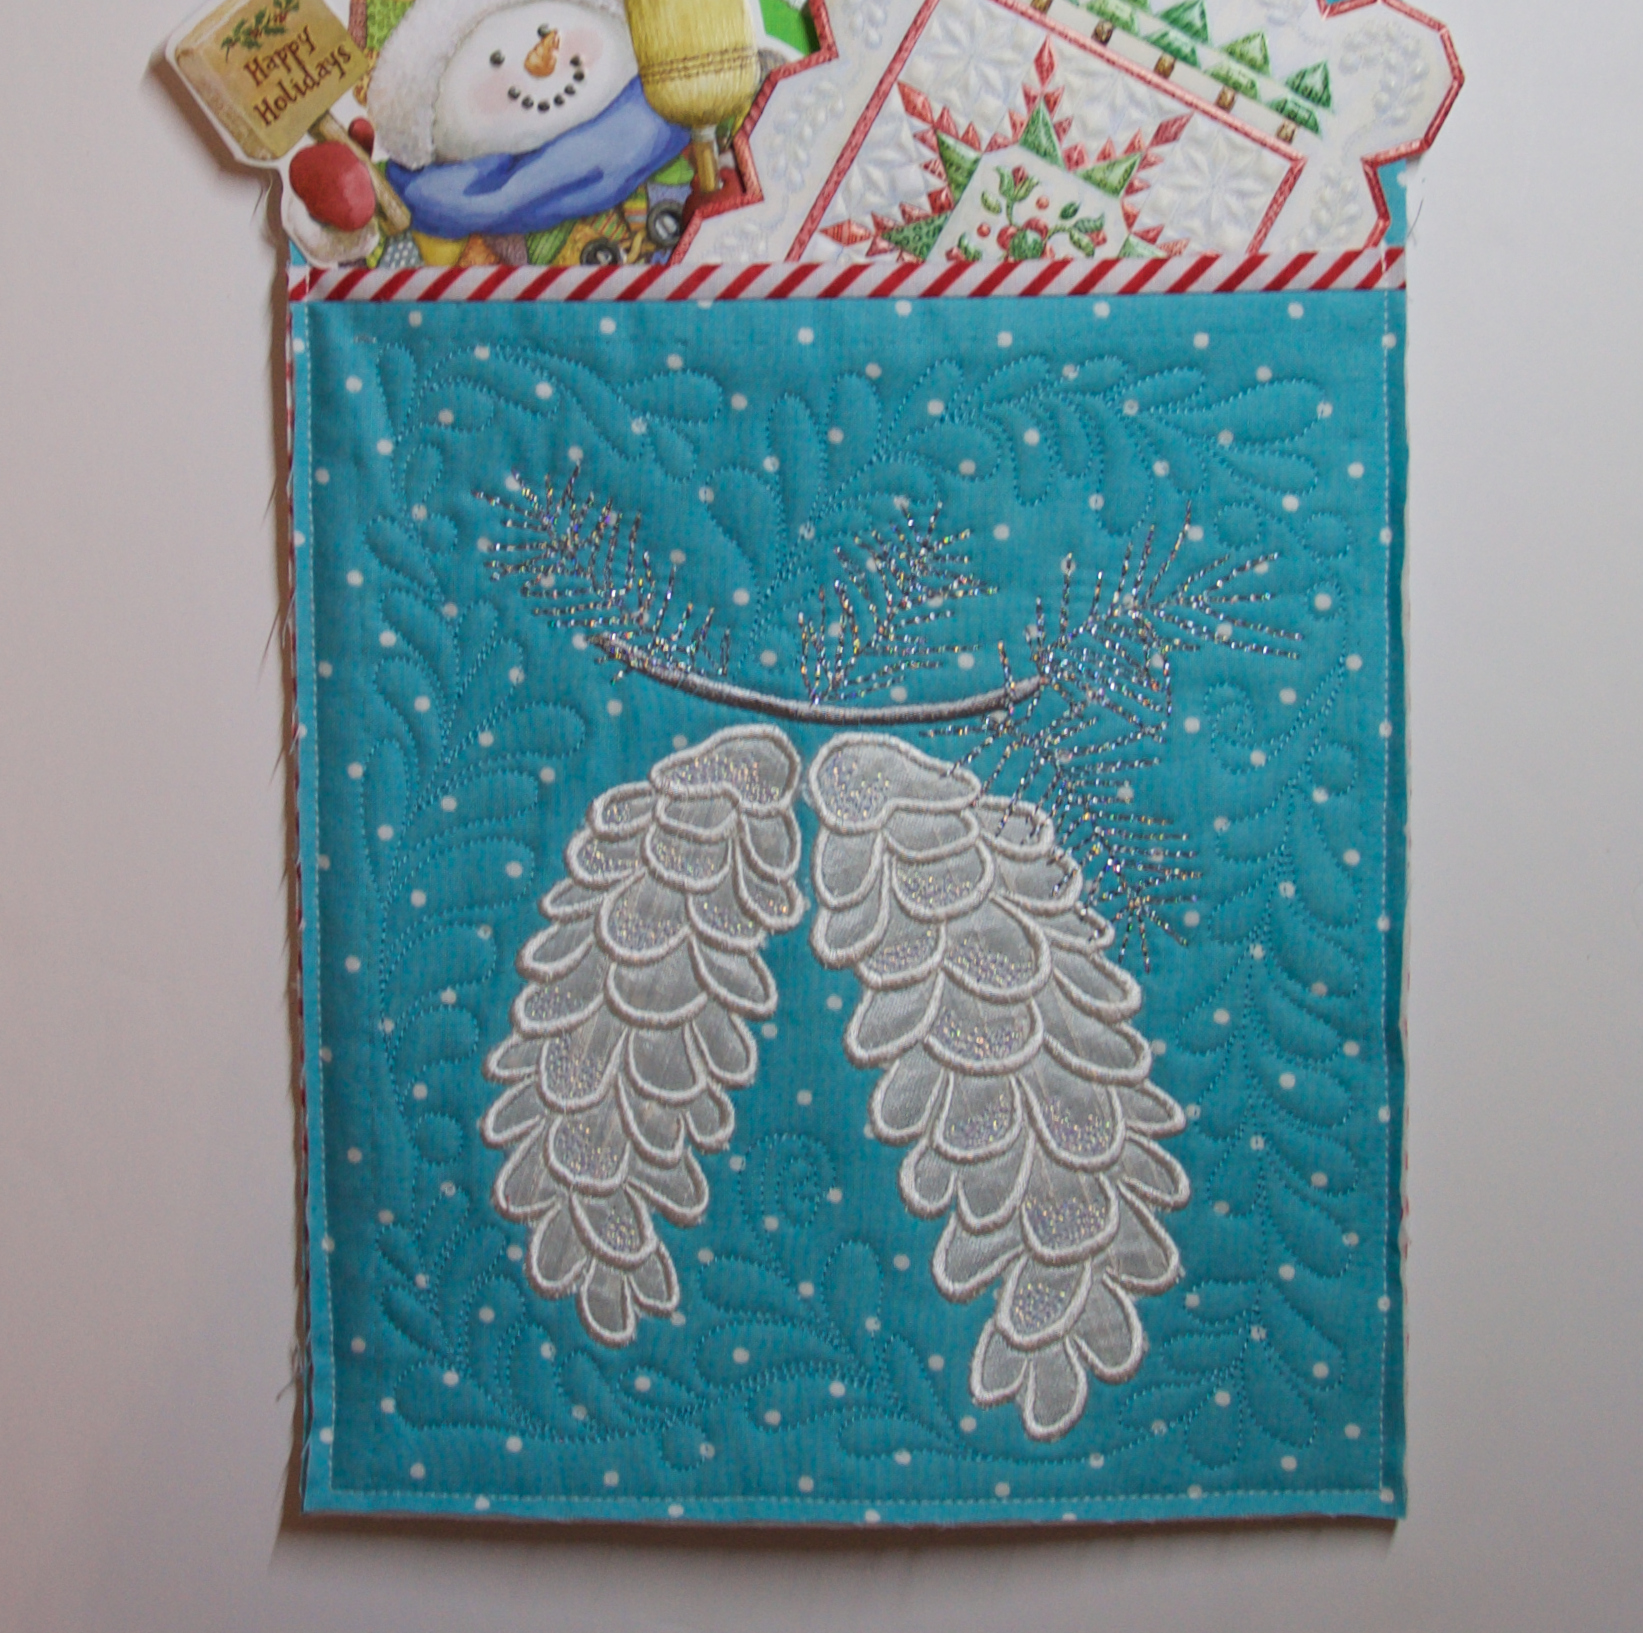
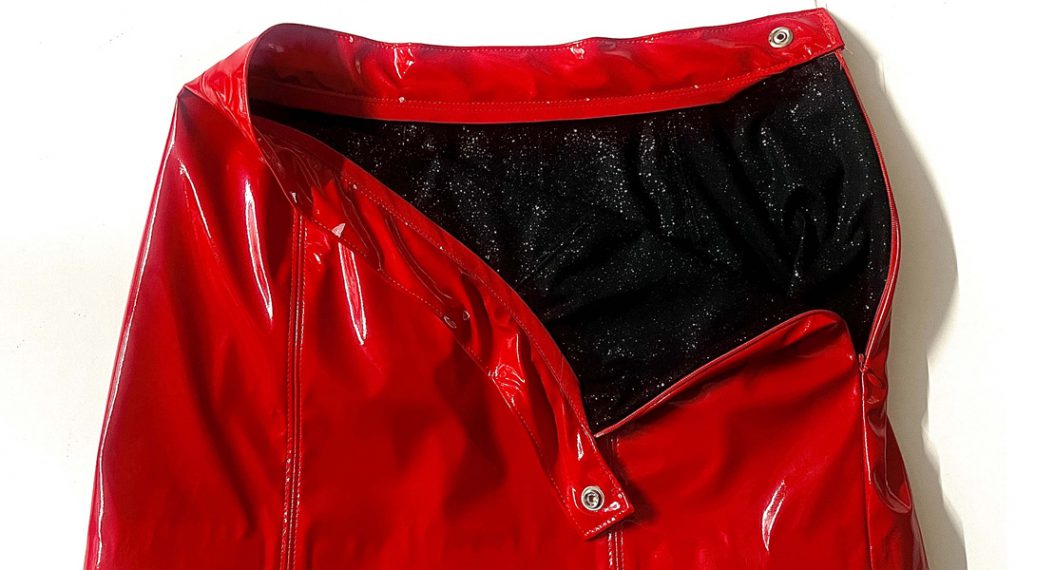
Step 11: Adding the Pocket
Trim 1/2″ off the bottom of the pocket and the backing fabric. Place the pocket over the cross hatched block. Pin in place, and stitch with a scant 1/4″ seam.
Note: The sides of the pocket may be a tad bit larger than the cross hatched area. Quilting often pulls the fabric inward making it smaller. You may need to trim a bit of the edges of the pocket too.
Step 12: Binding
Attach the three 2.5″ x width of fabric strips together. Press the binding in half lengthwise, so the right side of the fabric is showing. Attach to the front of the wall hanging with 1/4″ seam around the raw edges of the wall hanging. Bring the folded edge to the back, and hand stitch to hold in place. Hand sew a ring for hanging on the back side.
Now… Enjoy!
Christine’s December 4 Gift For You
Today’s gift is the download of the JOY Holiday Card Holder Quilting Designs for all awesome WeAllSew fans.
Enjoy!
Used Products


What you might also like


16 comments on ““Joy” Holiday Card Holder Part 2—Quilting and Finishing Touches”
-
-
Thank you! I’m glad you like it. –Christine
-
-
Hummm….wish I could afford a Bernina that could do all this stuff.
-
You should check out the BERNINA 700 Embroidery Machine at your local dealer. It only does embroidery, so the price tag is very competitive. You can use the Maxi hoop which is about 8.25″ x 15.75″ in size. Awesome machine and it was just recently released.
–Christine
-
-
I love this Joy Card Holder and plan to make it for my newly married daughter and son in law.
-
Thank you for such a lovely comment and congratulations on gaining a new son-in-law.
–Christine
-
-
Thanks again for this project. We are starting on it and the instructions are easy to follow.
-
Thank you so much! I work hard to make it easy. We are so blessed in this decade to have all this wonderful technology available to us: cameras, photo editing software, publishing software, blogs, and wonder BERNINA machines whose buttons we just such all day.
-
-
Christine, just downloaded both programs. There is no .EXP in either program. That is my extension for my Bernina. Am I not able to use the program without the EXT. Can you please let me know if that will be available? I really love this project.
Thank you so much
Lena Hewitt-
UGH! Mark did all the batch conversions and forgot to include THE MOST IMPORTANT file format. EXP is the one I use too.
So, everyone who knows me, knows I’m good at creating this stuff, but I can’t organize thousands of design files if my life depended on it, so that’s Mark job. In order to maintain our wonderful marriage of 30 years, I don’t touch his files…otherwise I would send them right now to you Lena.
He will have the EXP file formats uploaded tonight, and I will make sure he sends you a copy directly. Sorry about that, but thanks much for letting me know. –Chrisitne
-
-
Sorry, typo….I meant to say .EXP, that program is not on either of the projects, Joy 1 and/or 2.
Lena
-
Thanks for reposting the .EXP files. I’ll check back so I can get the correct ones.
-
Hi Christine:
I just purchased a Bernina and i’m new to applique. My experience sewing sister told me about your website. Do you have a tutorial video site? Just in case I need help?
Hesitant Newby
Kathy -
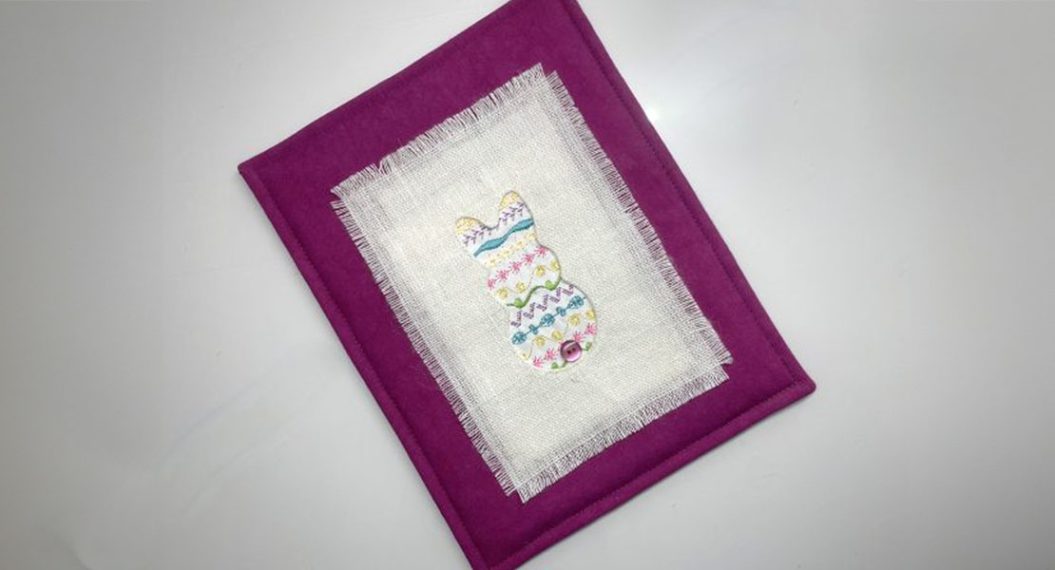
Congratulations on your new machine! You are going to LOVE it! The JOY project is a good tutorial on how I do most of my machine embroidery appliqué. There is also a Flower Mug Rug on the We All Sew Blog which has an appliqué component to it. It is a quick project and I think you might enjoy it. The project is step by step colored photographs so it is easy to follow along.
-
Beautiful. Recently purchased a new to me bernina 830 with embroidery unit. This inspires me to learn how to use it to make something like this.
-
Thank you for your lovely comment / compliment. I want to make it again too but as a pillow this time.
You are going to LOVE your new machine! Have fun! –Christine
-
Leave a Reply
You must be logged in to post a comment.

This is a very nice idea