Simple Strips Quilt-along Part 4 – Decorative Stitch Machine Quilting
Welcome to part 4 of the Simple Strips Quilt-along! If you are just finding this tutorial, be sure to check out Simple Strips Quilt Along Part 1 for the materials list and quilt along schedule and part 2 for the pieced quilt top tutorial.
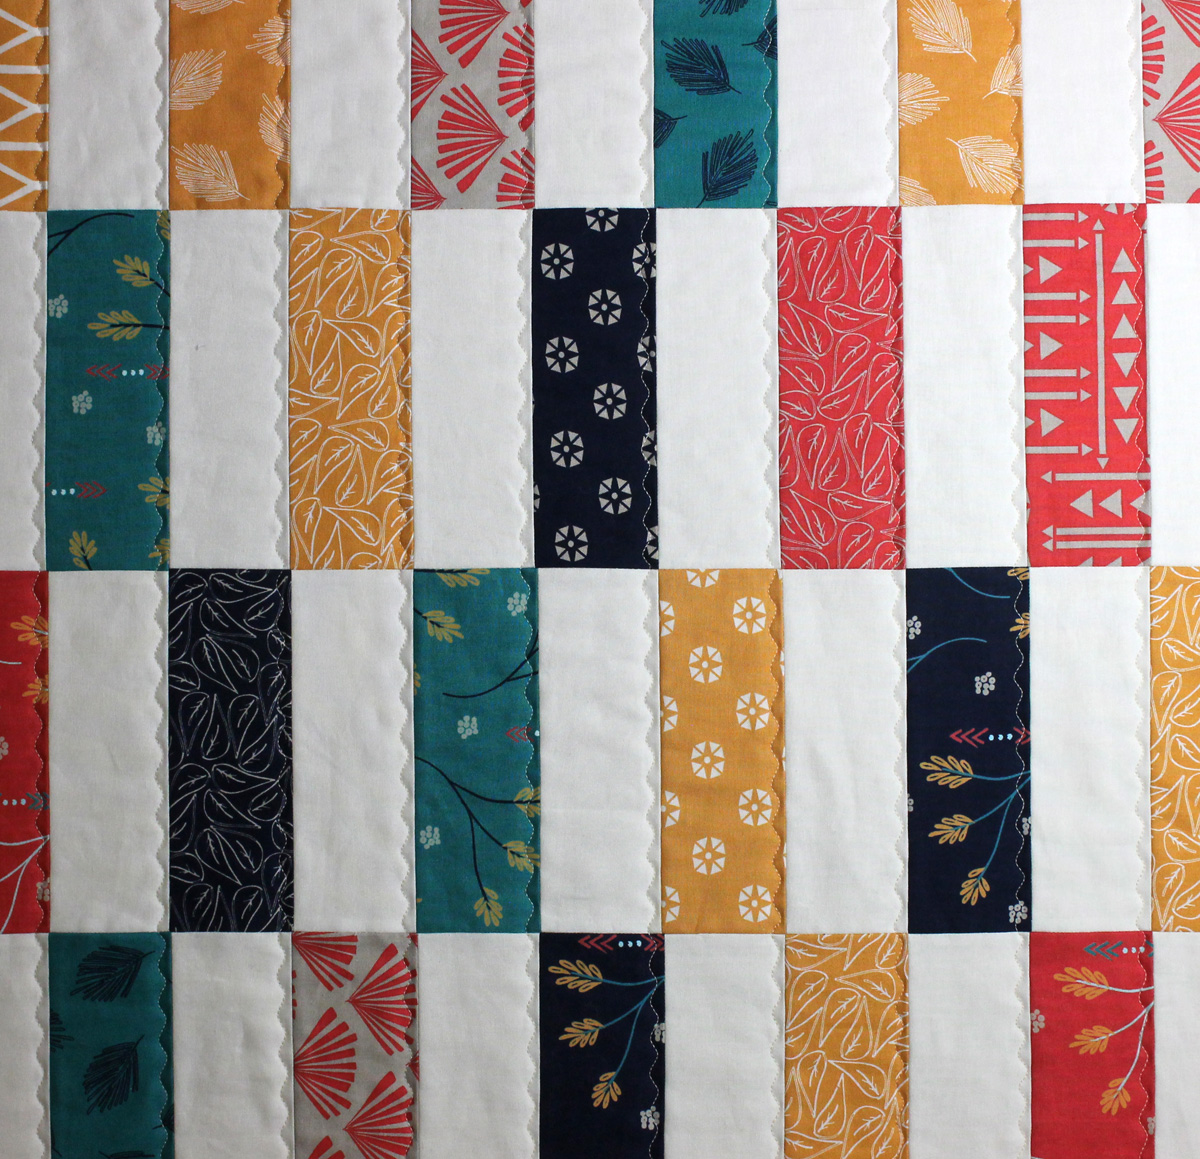
Last week we basted our quilts so we can machine quilt them today using a decorative stitch. This is probably one of the quickest quilt designs to do so you can literally finish it up in a weekend!
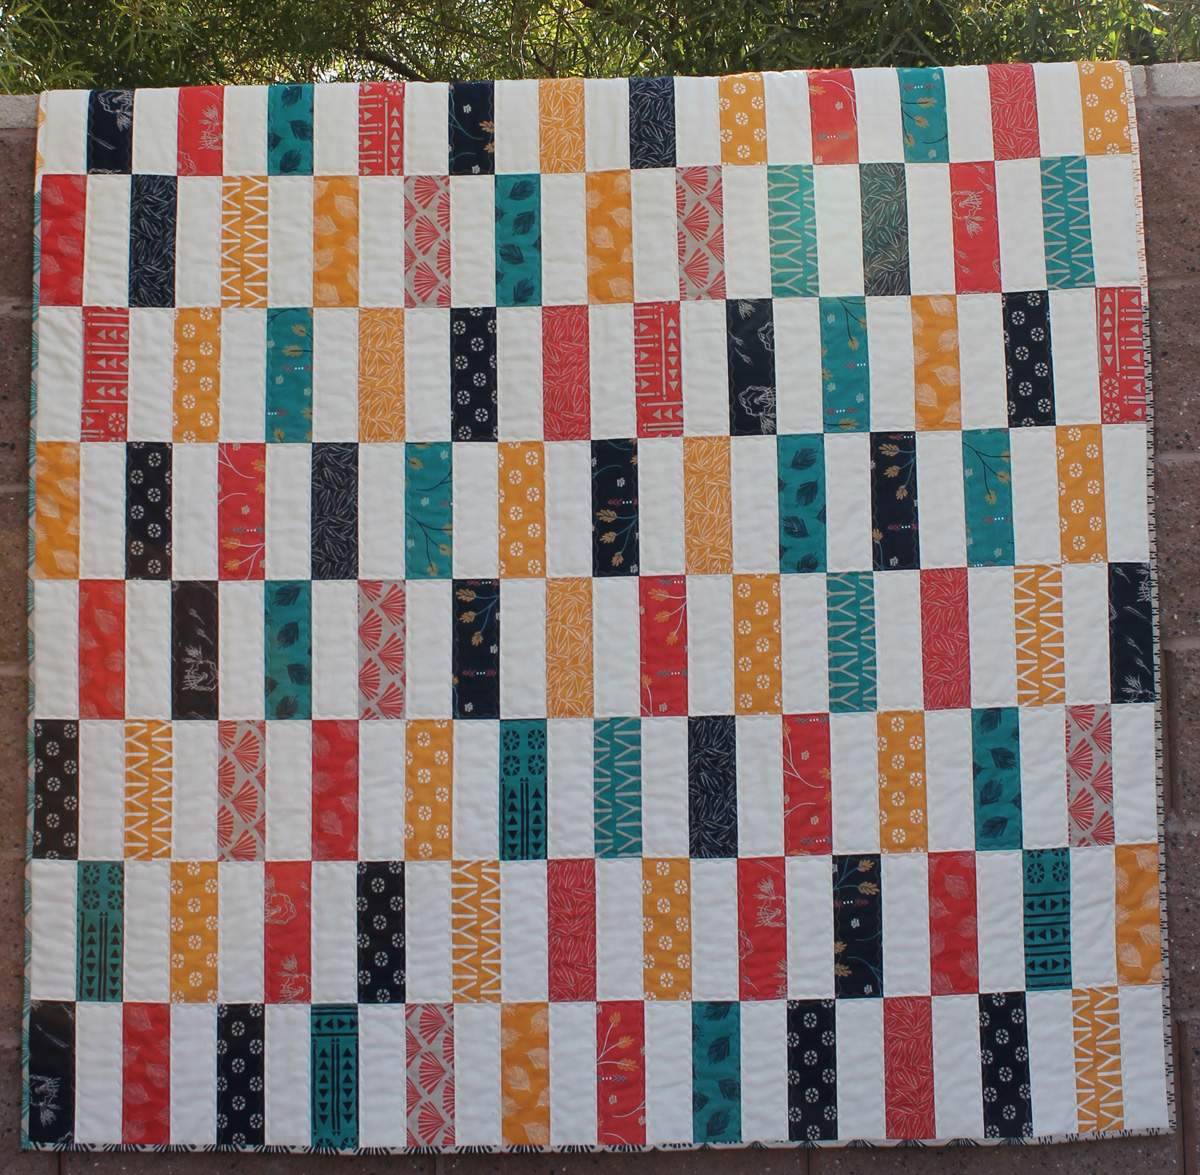
About This Quilt
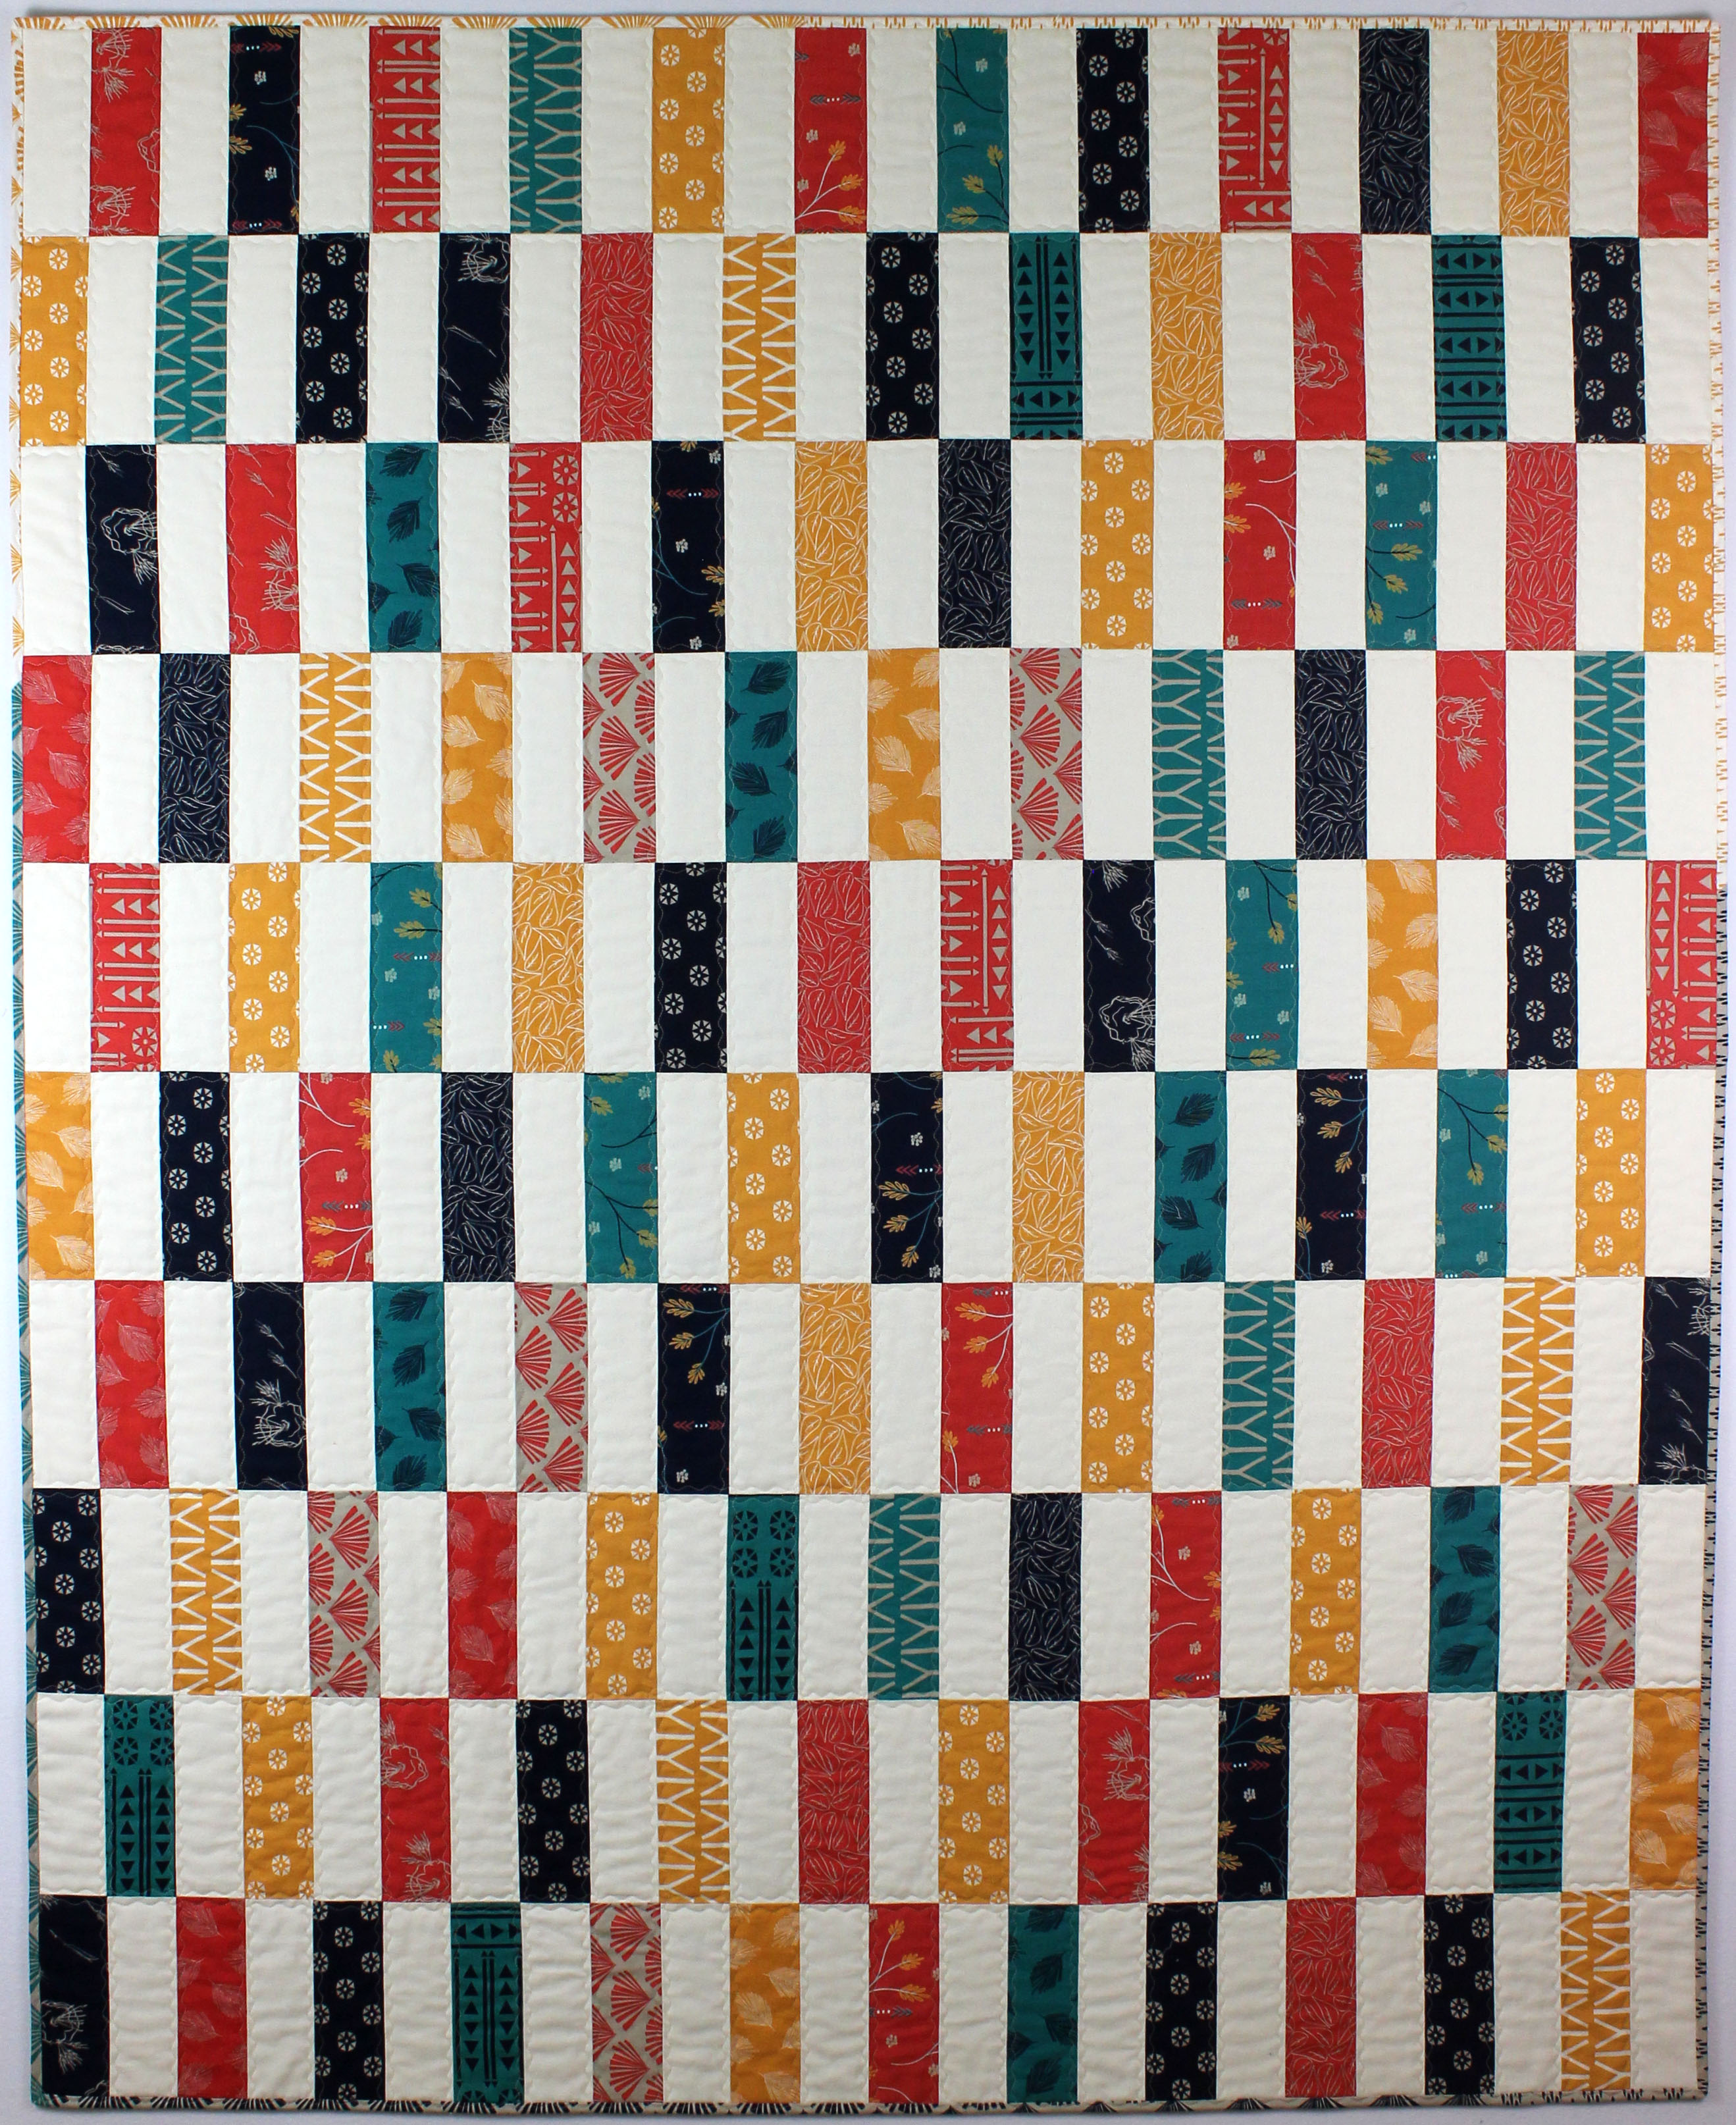
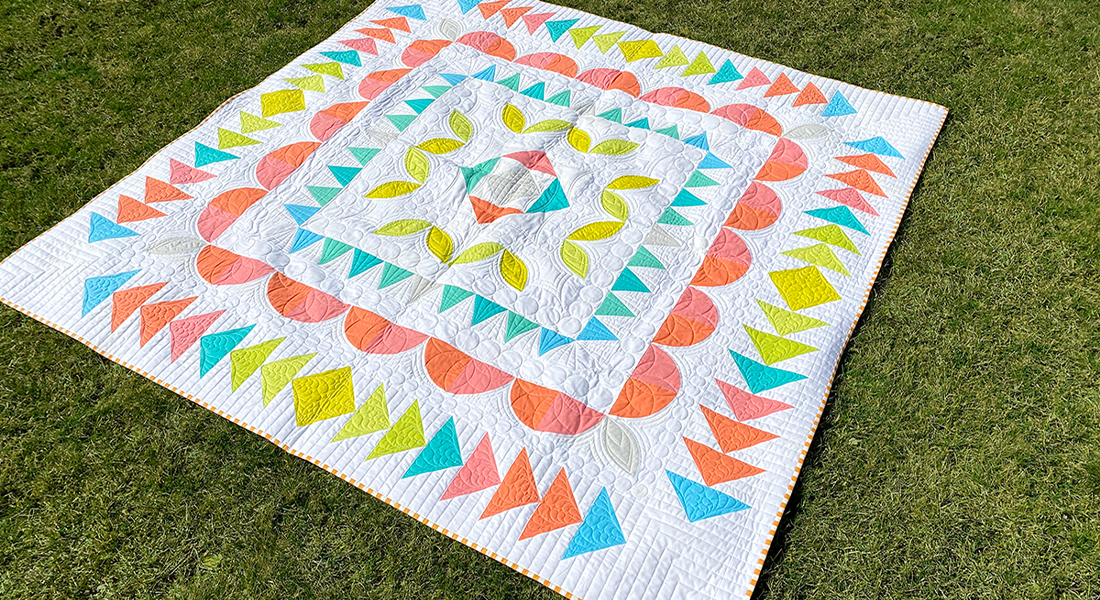
Finished Quilt Size: 48″ x 60″
Finished Block Size: 12″ x 12″
Number of Blocks: 20, set 4 x 5
Fabric used: Valley collection by Sherri and Chelsi with Bella Solids, both from Moda Fabrics
Quilted with Aurifil 50 weight cotton, #2315
Preparing Your Work Space
My number one tip for domestic machine quilting is to use a table with a large surface that allows your machine to drop down so that the bed of the machine is level with the table. This will prevent gravity from dragging on the quilt and will make the machine quilting process so much nicer! To extend your work surface, add a small portable table to your left, forming an “L.”
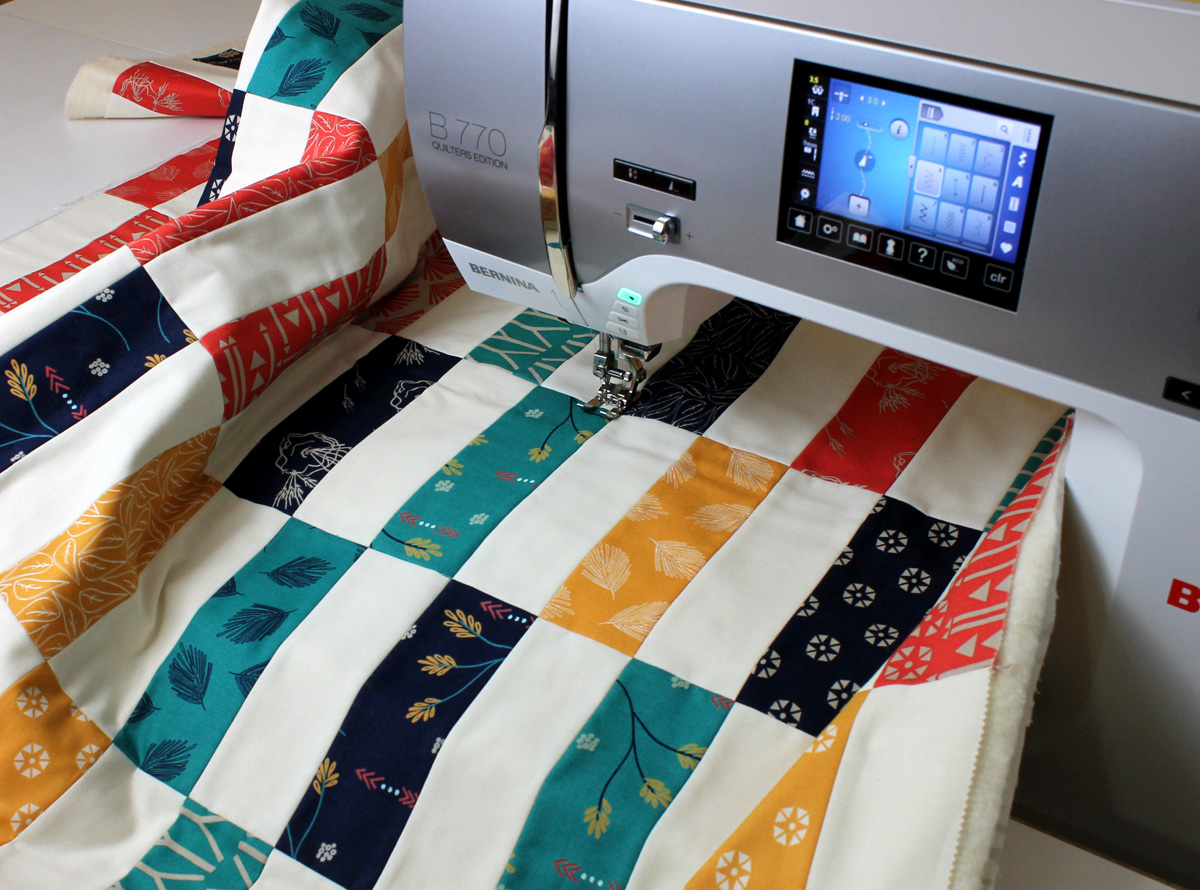
My number two tip is to invest in a sewing machine that has an extra-wide space between the needle and right side of the machine, called the “throat” space or “harp” space. I am thrilled to work on a BERNINA 770 QE that has a full 10 inches of space in which to work.
Audition Your Thread Choices
I prefer to piece and quilt with 50 weight cotton thread for two reasons: first, cotton holds up over time and I like using natural fiber materials whenever possible. Second and more importantly, it makes things simpler for me.
I hoard thread like I hoard fabric and I love to match my thread to my quilts. If I were to collect all the colors in all the thread weights in all the different fibers, that would get too overwhelming! So I stick with cotton because it’s thin, sinks into the quilt, and I know I can use it for both piecing and machine quilting. Plus, all my leftover bobbins from machine quilting can be used up the next time I piece a scrappy quilt!
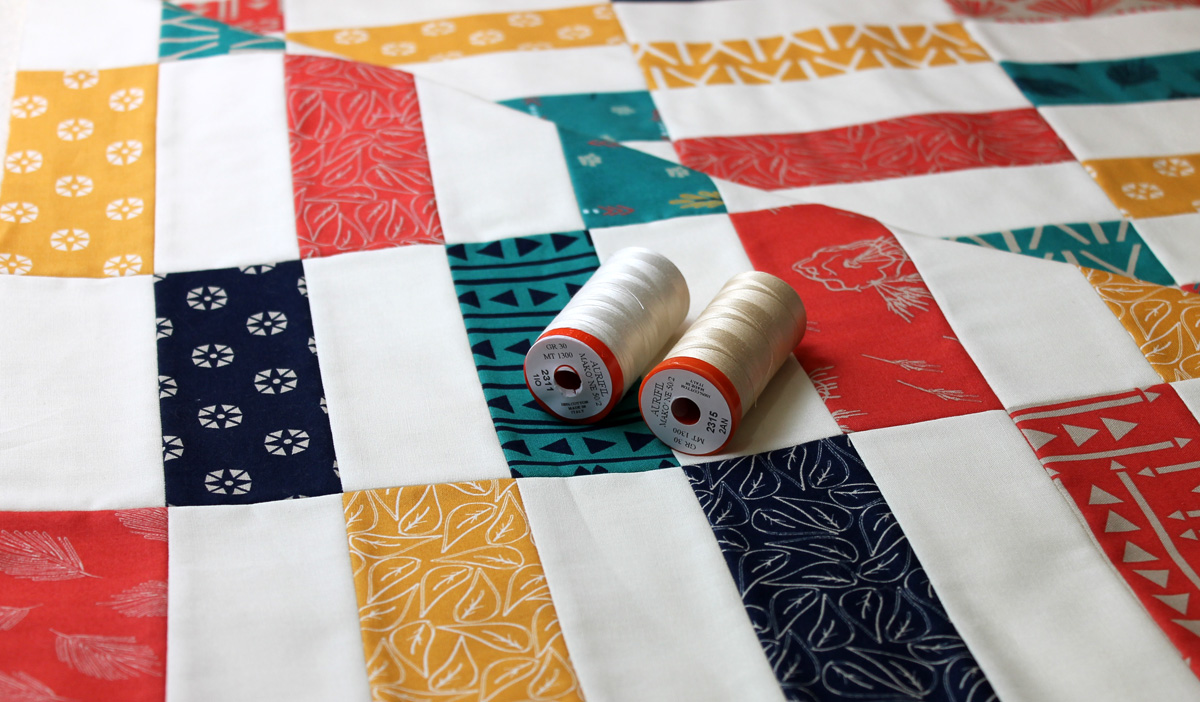
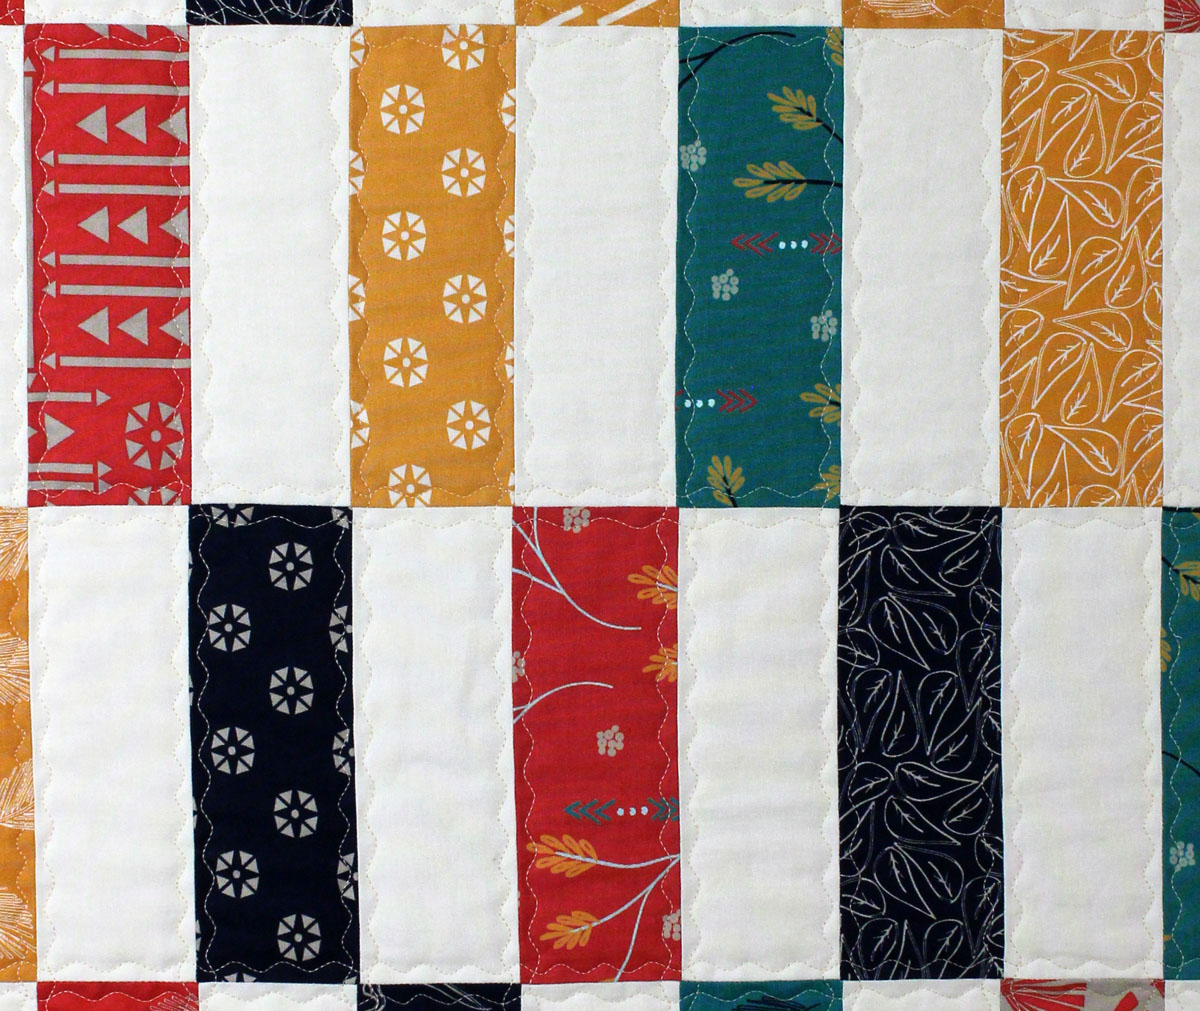
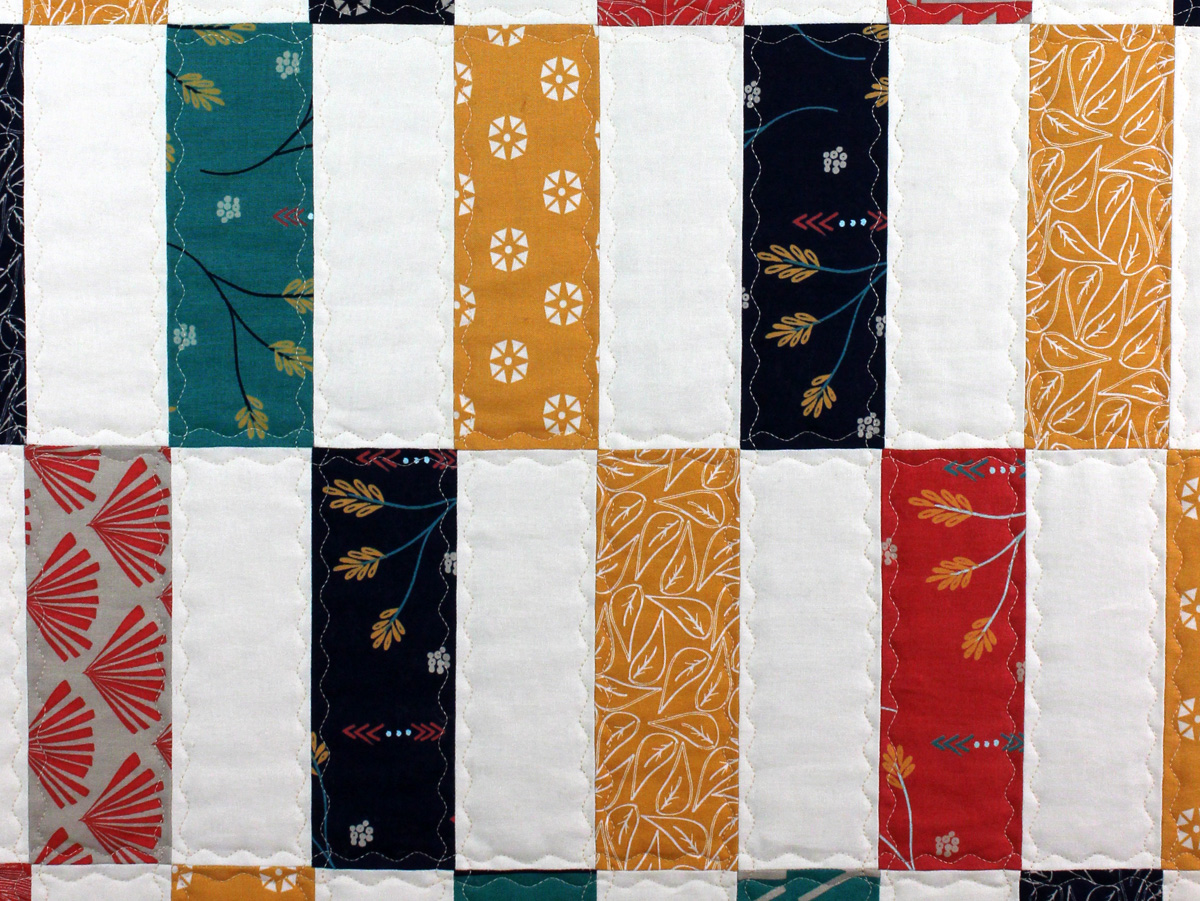
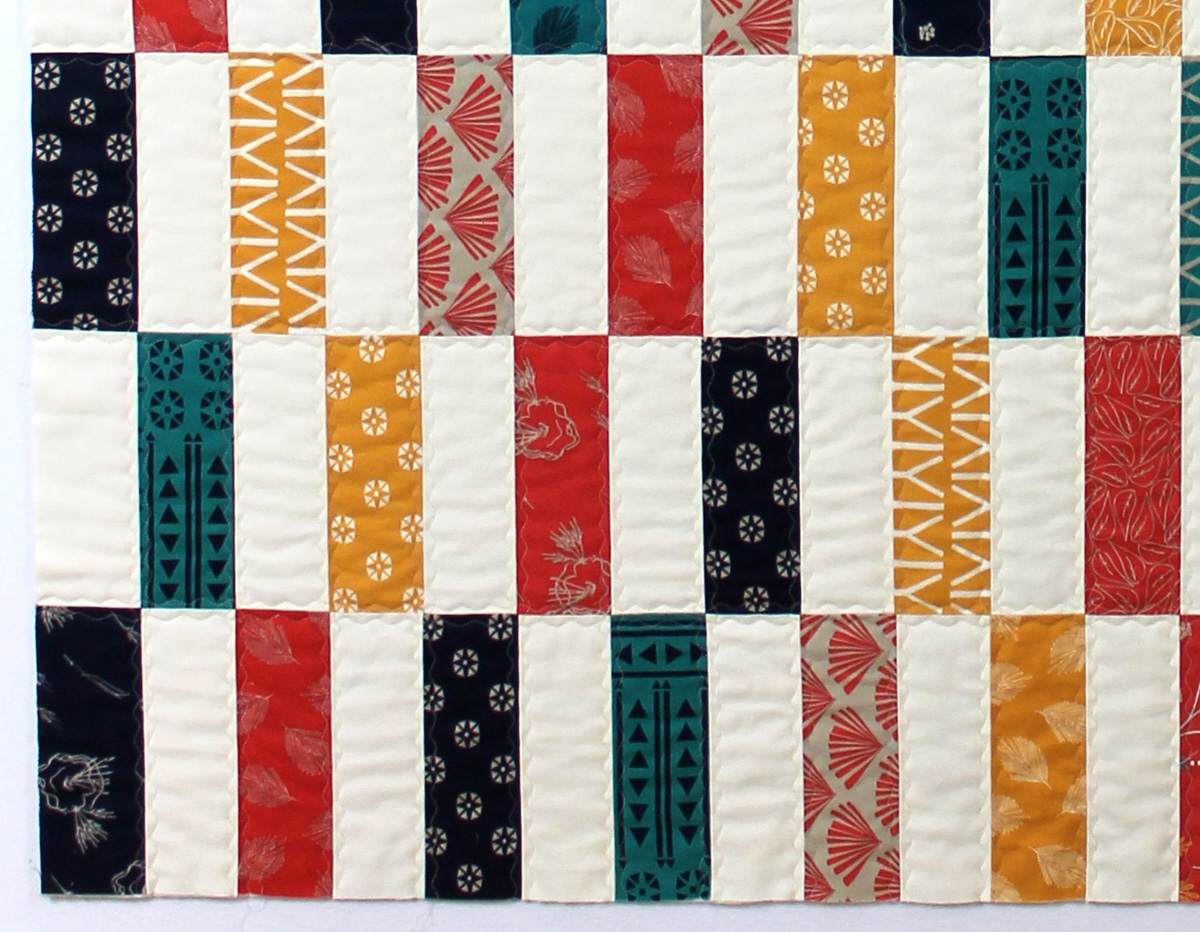
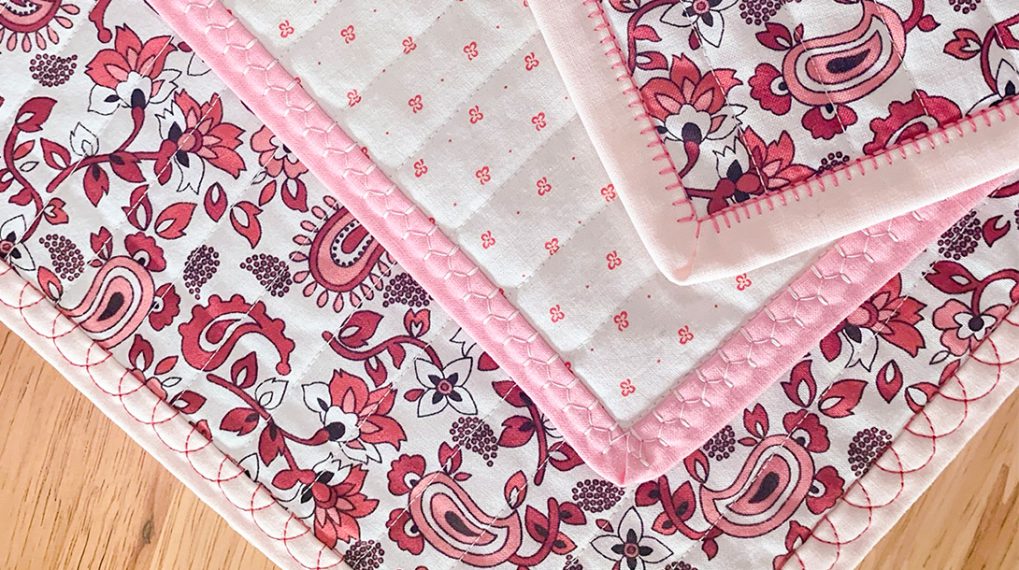
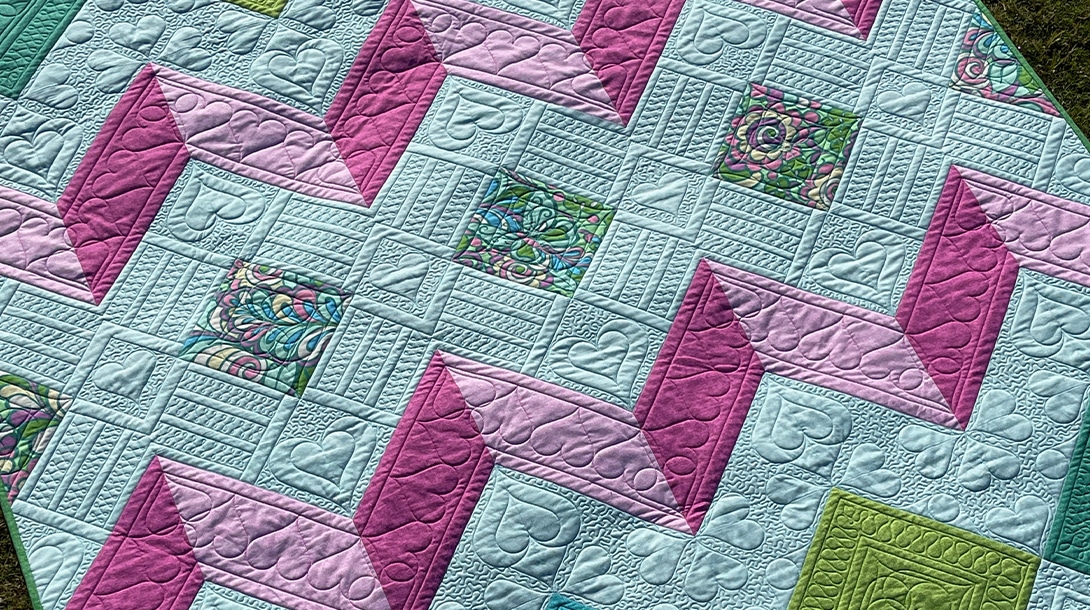
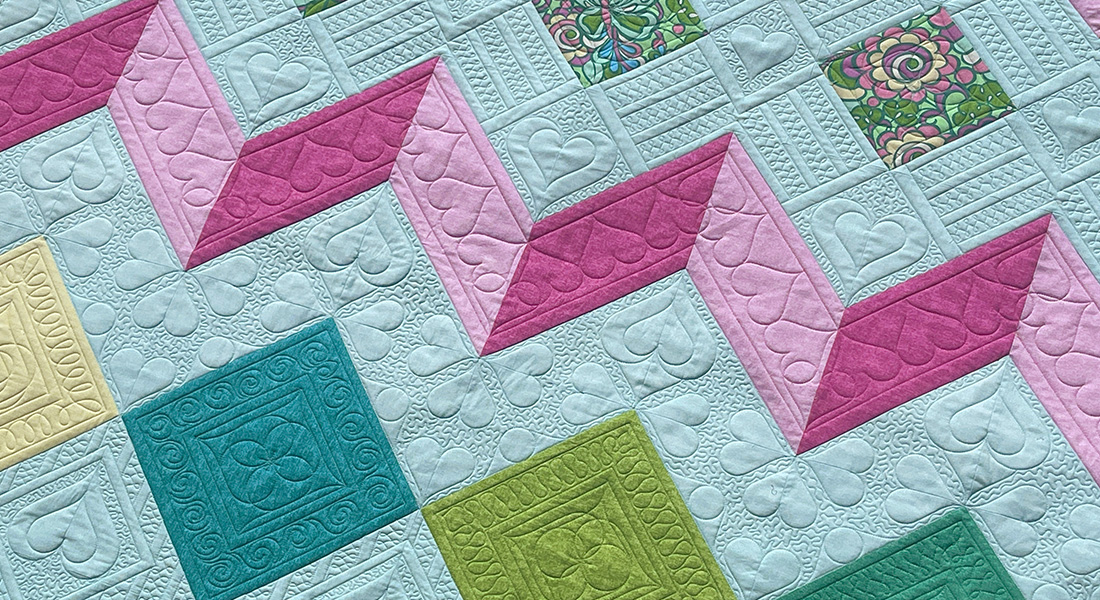
Lay out a couple of different spools of thread on your quilt top to see which color disappears the most. I want my threads to blend so that only the texture of the quilting will show, not the individual stitches. In my quilt above, I chose to go with the slightly darker tan color. Although the lighter cream would virtually disappear on the background fabric, it would contrast more on the darker prints. The tan is a good choice for both as you can see in this closeup image:
Audition Your Quilting Design
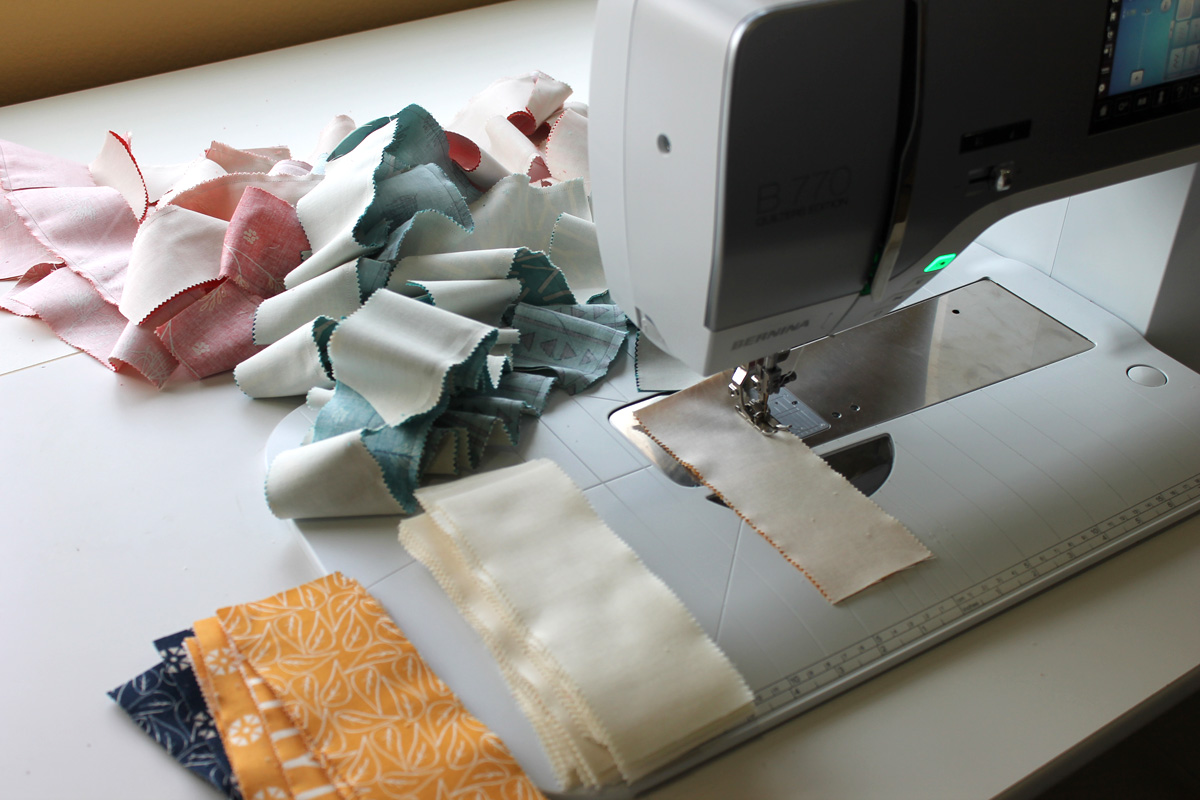
Just like auditioning the thread you plan to use, it’s a good idea to audition your quilting design, too. Before quilting, I make up several practice samples consisting of 10″ fabric squares and leftover pieces of batting. I test out everything I plan to use in my quilt—the same thread, needles, batting and quilting stitches I plan to use. I would rather work out the kinks on a scrap piece I don’t intend to keep.
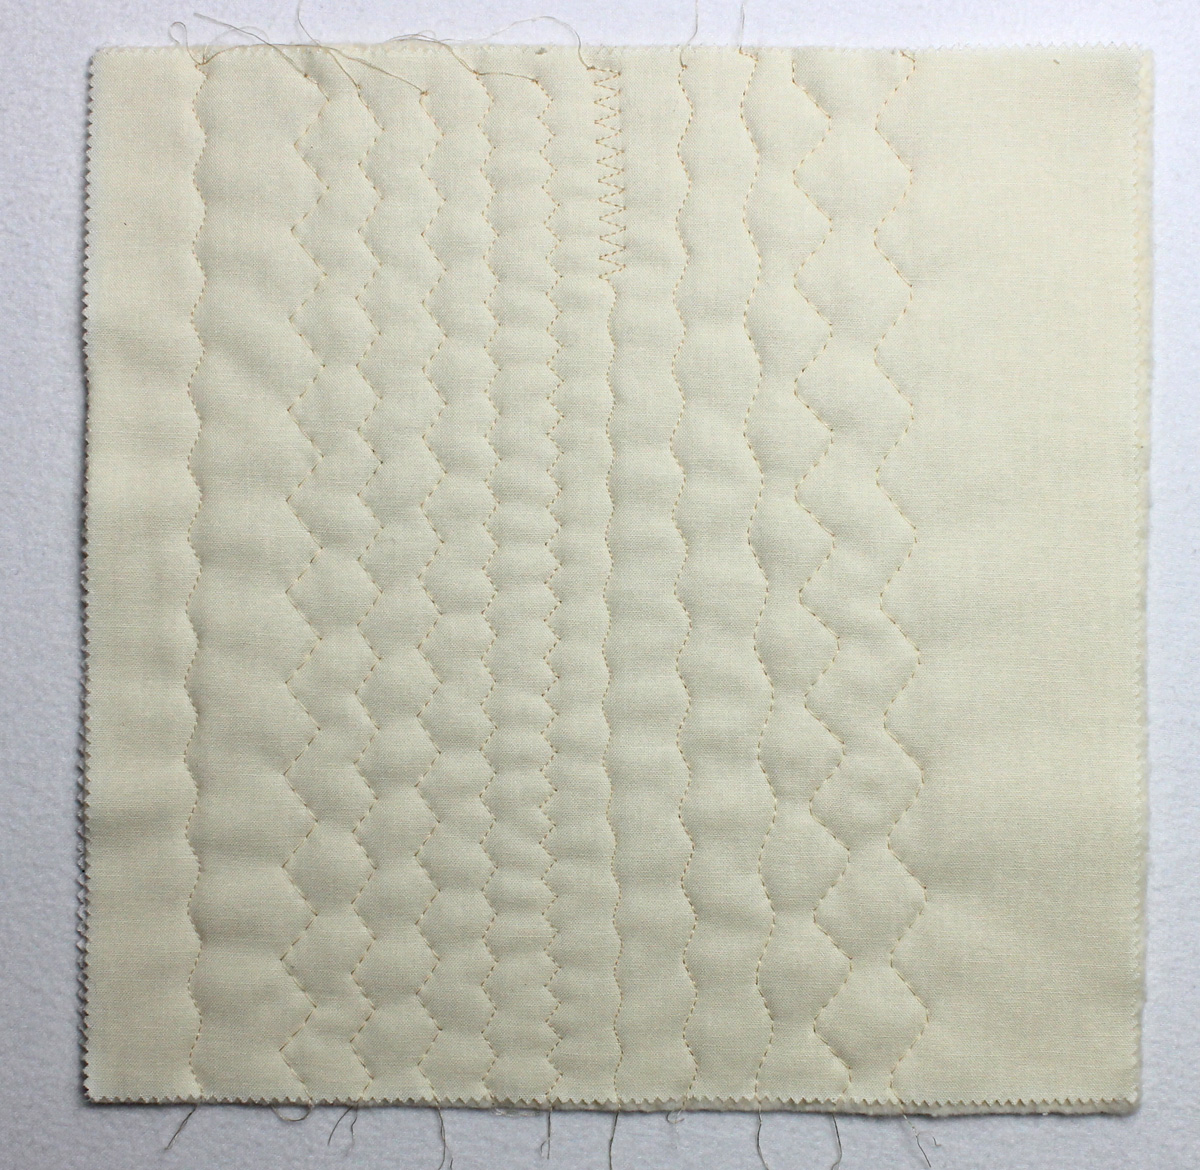
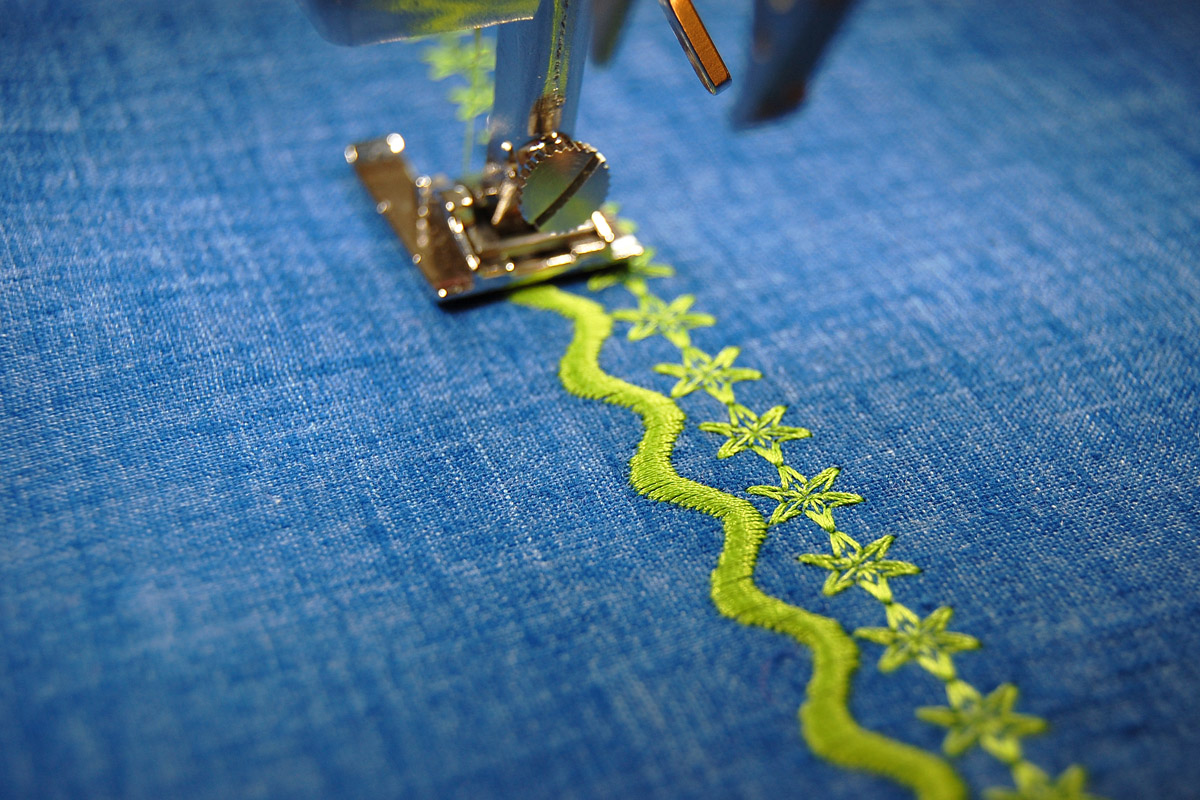
For this quilt we are going to play around with the decorative stitches on our machines. Select one that looks interesting and quilt a single line across the length of your practice sample. Try different stitches and adjust both the length and width until you find one you like. Take note of it, or write it directly on your sample.
Tip: be sure when quilting with a decorative stitch you are using a regular stitch plate that can accommodate the width of your stitches. We don’t want any broken needles!
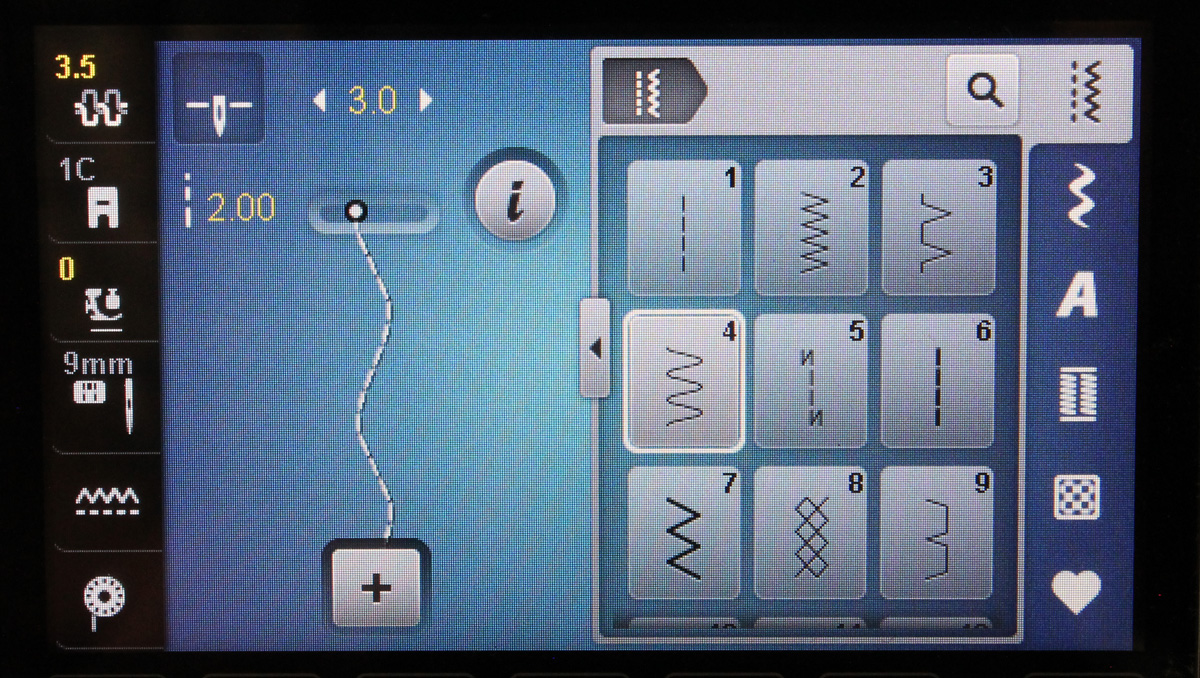
Set Your Machine Stitch
When you have picked the perfect stitch, be sure to set it on your machine and store it in memory if your machine is capable of doing that. On my BERNINA 770 QE, I chose the #4 stitch with a width of 3.0 and a length of 2.0. I also adjusted my tension to 3.5 and turned my pressure foot pressure all the way down to zero. Along with engaging the dual feed, lowering the presser foot pressure will help prevent puckers when stitching perpendicular lines.
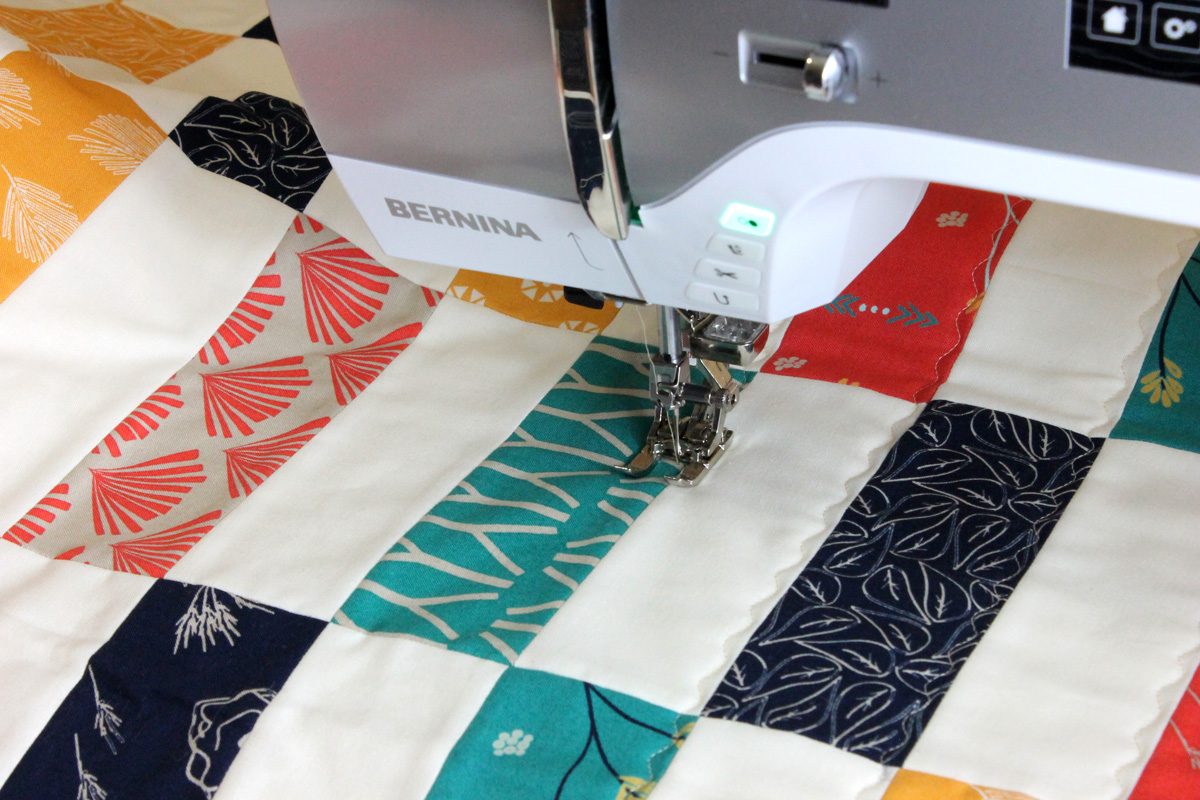
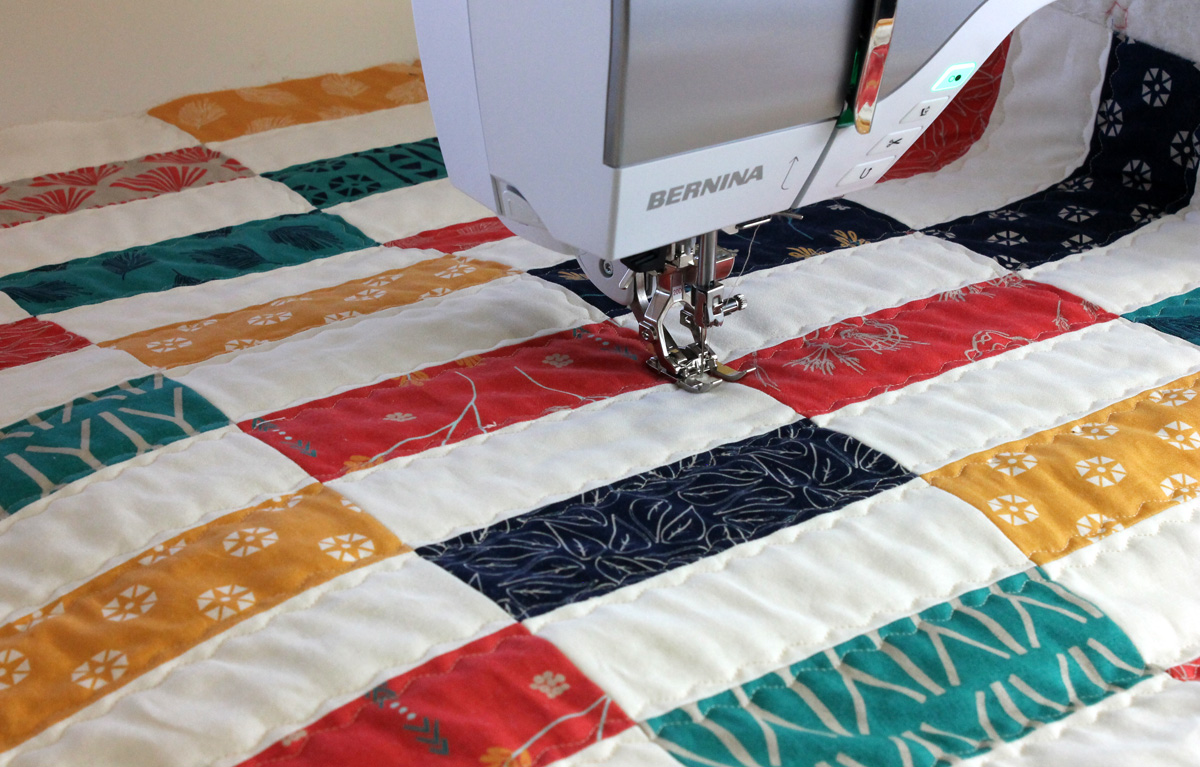
Time to Quilt!
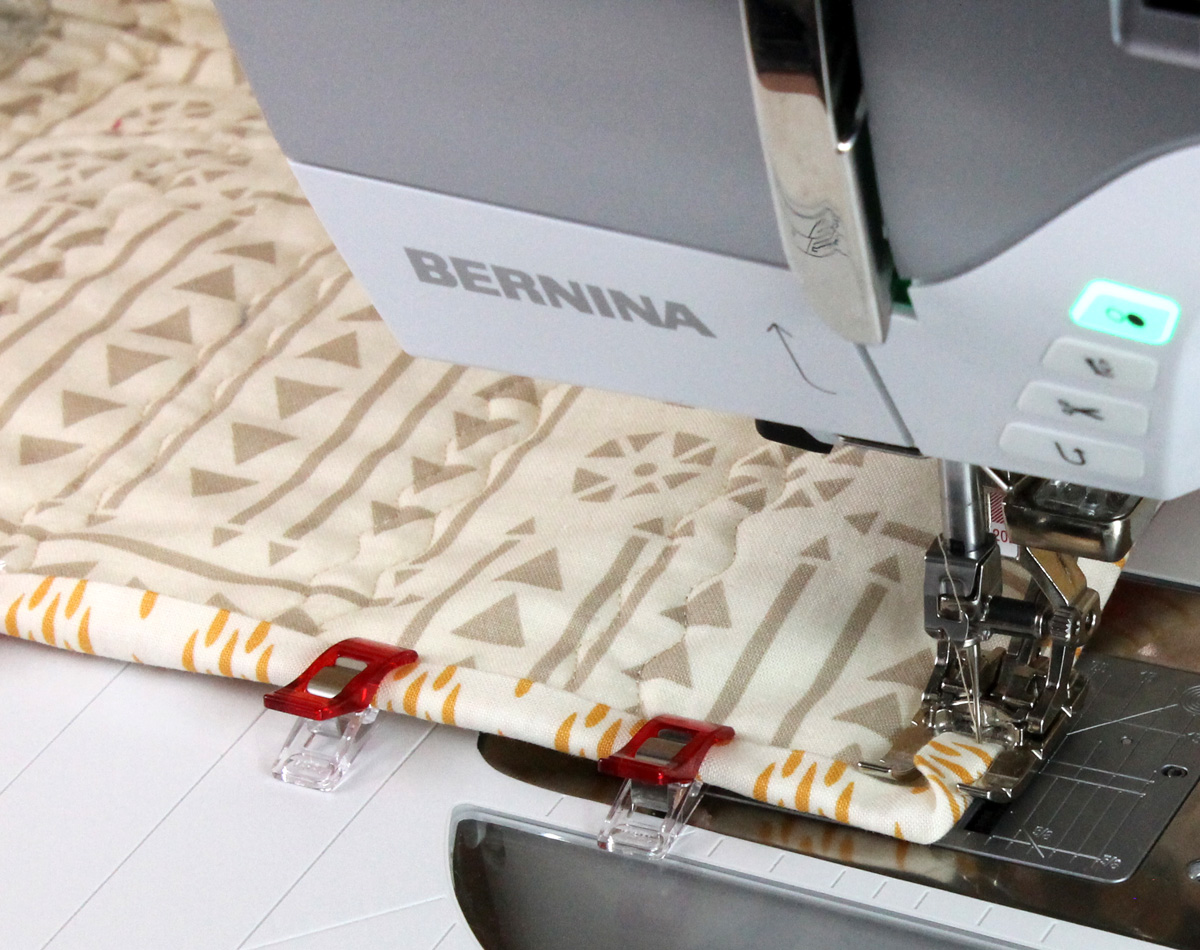
My favorite foot for this type of quilting is the Open embroidery foot #20D with the dual feed engaged. This gives me better visibility to see what I am doing and allows me to easily quilt with the decorative stitch I have chosen. Be sure to go slow and allow the machine to do its work to form each stitch.
Step 1
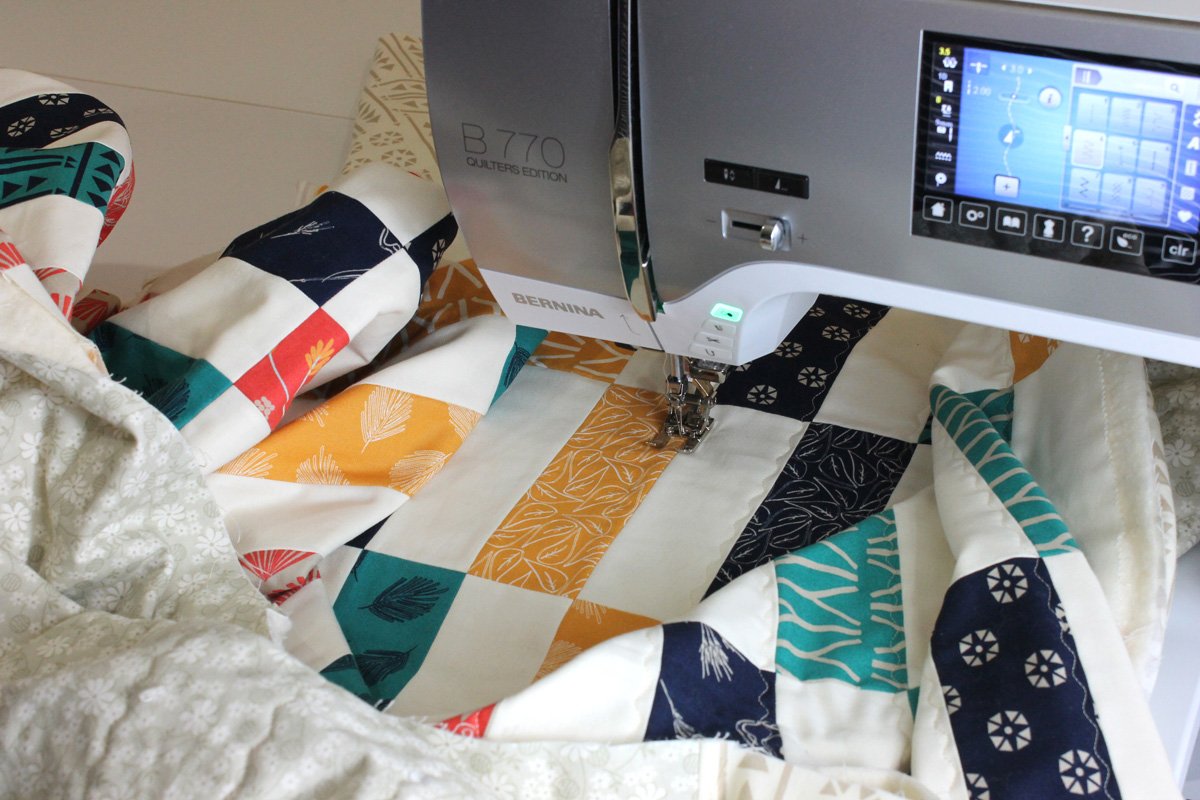
Start quilting on the right side of the quilt and stitch one line at a time, staying to the left of each seam line. Start quilting in the batting, an inch or two before where the quilt stops. Quilt all the way into the excess batting at the end of a line of quilting. Cut your threads after every complete line of stitching. Be sure to quilt in one direction, top to bottom for each line of stitching to prevent distortion of the quilt top.
Scrunch and smoosh your quilt out of the way as needed when it begins to get bulky. If needed, rotate the quilt 180 degrees when you reach the middle, and continuing quilting, line by line until you reach the other side of the quilt.
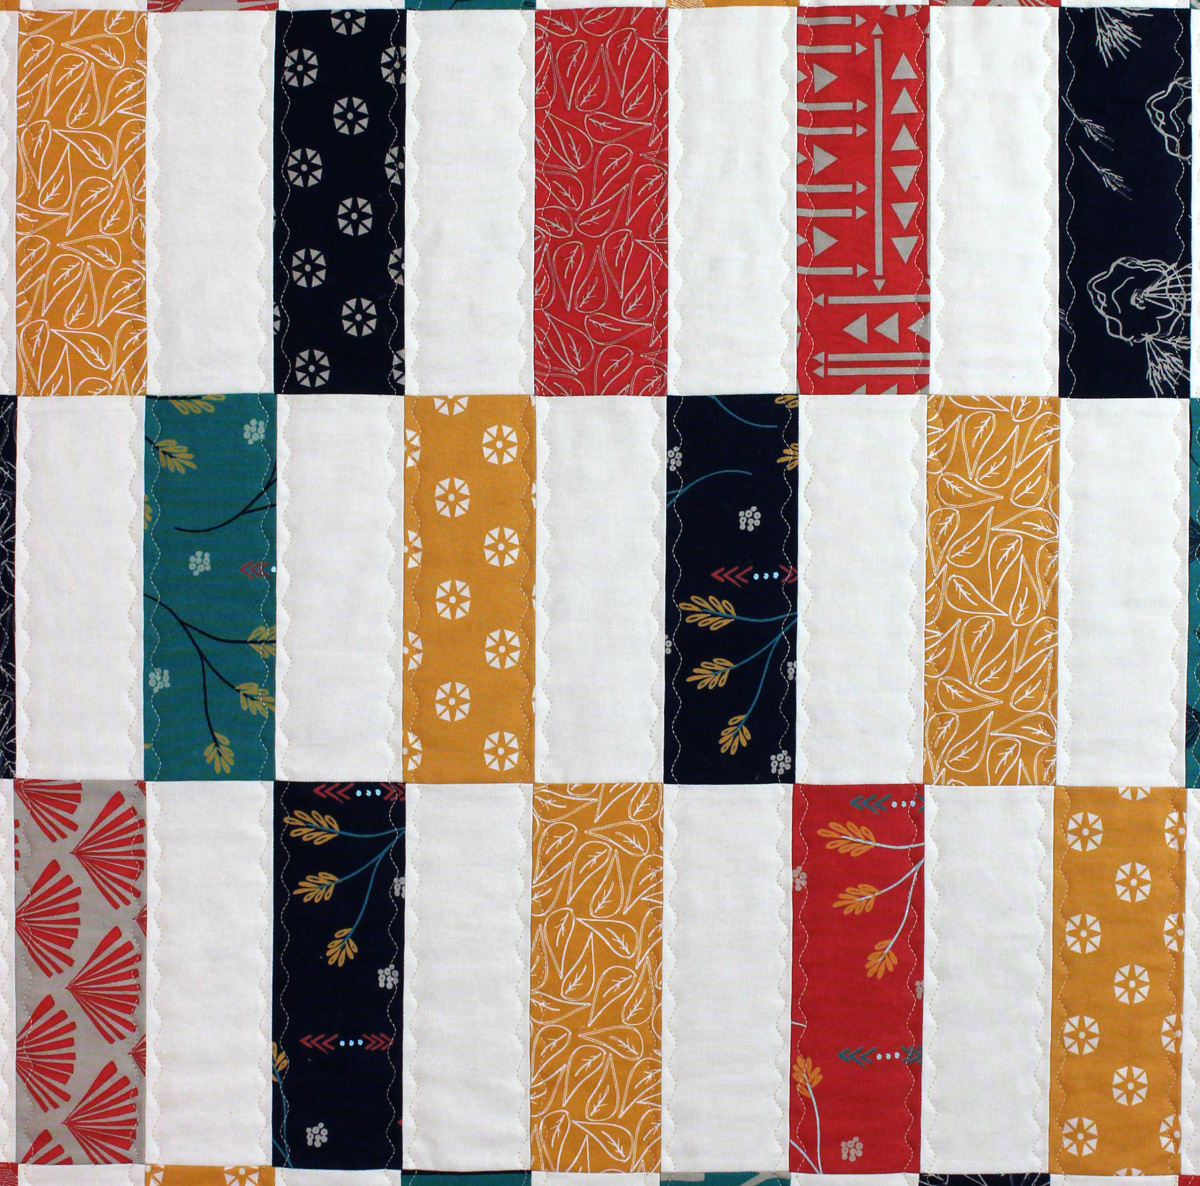
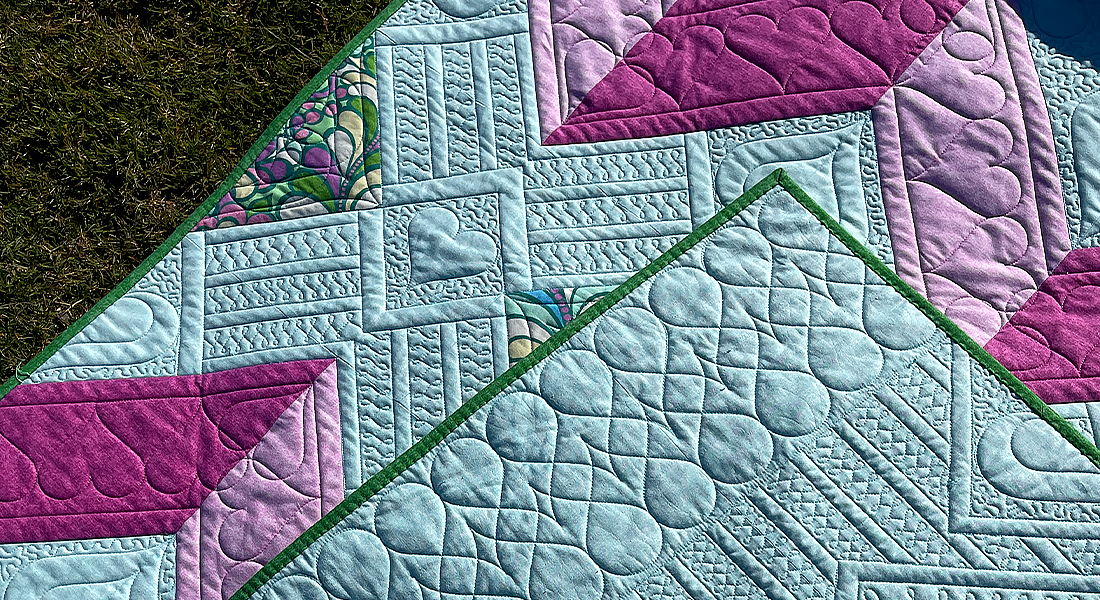
This is what your stitching may look like after one pass across the quilt:
Step 2
Again, start quilting on the right side of the quilt, with the bulk to your left. This time stitch each vertical line of quilting to the right of every seam.
Step 3
Rotate the quilt so that now you will be quilting all of the horizontal lines. Again, start on the right side of the quilt and stitch to the left of every seam line.
Step 4
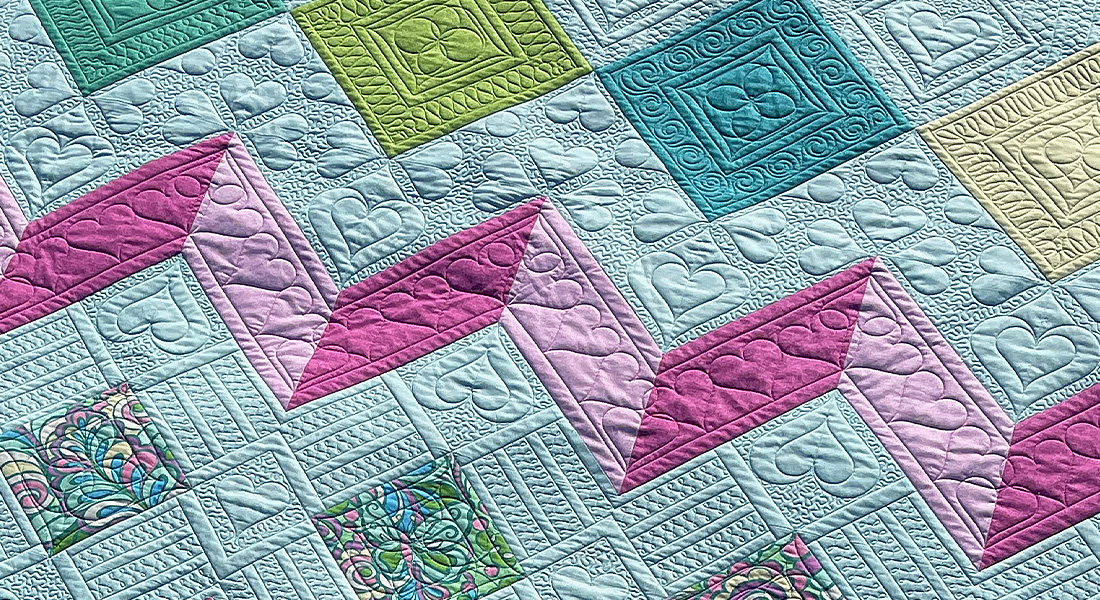
Finally, stitch to the right of every seam line to complete the design!
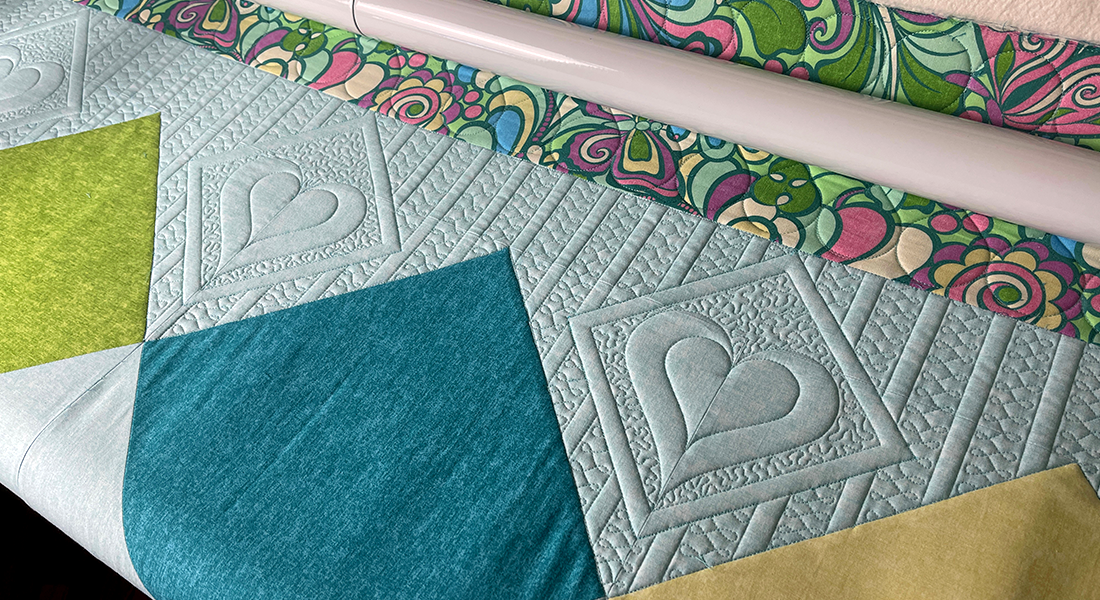
Notice that I did not quilt around any of the quilt edges. The edges will be covered by binding with a decorative stitch that matches the quilting.
Next week we will finish up by squaring up the quilt and binding it by machine! See ya then!
Used Products


What you might also like


11 comments on “Simple Strips Quilt-along Part 4 – Decorative Stitch Machine Quilting”
-
-
You are welcome. I am glad you are enjoying this quilt along.
-
-
This is a great tutorial on using decorative machine stitches for quilting. Thank you especially for mentioning the tension and presser foot pressure changes; I wouldn’t have thought to make those adjustments for quilting. However, I wondered why you were using foot 20D with Dual Feed rather than using the open toe sole on a 50 walking foot? I was told that Bernina recommends the Dual Feed for situations when you have two layers of fabric, but that the walking foot is a better choice for quilting (two layers of fabric plus batting) or for any other sewing task with 3 or more layers?
-
When I first began quilting on a BERNINA without the dual feed, I used the walking foot. However, once I upgraded to the BERNINA 770 QE with the integrated dual feed, I have not needed to use a walking foot when making the adjustments listed in the tutorial. I would encourage you to experiment with both the walking foot and the dual feed to see which one gives you better results. Thank you for stopping by!
-
-
I too, thank you for this great information. Especially the info about stitch and pressure foot settings, etc.
However, I am confused about Step 1, where you instruct “If needed, rotate the quilt 180 degrees when you reach the middle”. I thought that just prior to that we were instructed to stitch in ONE DIRECTION from top to bottom to prevent distortion.
Please clarify for me (and thank-you).-
I’m so glad this is helpful for you! I try to stitch in one direction for as long as possible. If needed, I will only rotate the quilt once in the middle so that there is only one direction change on the quilt. Then I will also quilt the rest of those lines in only one direction.
-
-
These blogs are SO massively helpful. I love my new 770QE, best machine of my whole life, and getting a good understanding off all the settings and how they work together is gold dust. Am getting the embroidery module too soon so hope we shall some blogs for that too.
-
I loved the simplicity of the quilt design. It made it really easy to enlarge into a Queen size quilt.
-
I’d like to attempt using this idea with my dual feed on the Bernina 880. What do you mean about the “integrated dual feed”? The 880 has a dual feed function but am uncertain if it is the same. Would the machine set up be identical? Thank you for the informative tutorial.
-
Yes, it is the same function. “Integrated” just means it is part of the machine, not a separate attachment. This allows you to use any “D” foot you wish while machine quilting. Personally, my favorite is the 20D foot. I can see what I am doing because of the open toe, and it can accommodate the decorative machine stitching.
-
-
I love this blog. I am a beginner, only been quilting/sewing a year now however I have made several quilts. All my quilting is done by me on a domestic machine. Mostly what I call stitch next to the ditch. 1/4 or so from the seam. This year I hope to venture into fmq but until then I will try decorative stitches. Maybe it’ll add that little something more I am craving until I learn fmq. THANK YOU for taking time to do this.
Leave a Reply
You must be logged in to post a comment.
Love this quilting idea!!! Why haven’t I thought of it???? Haha! Will definitely be keeping my mind open to use this idea on one of my own quilts. Thank you!!!!