Color-blocking with Ankara Printed Fabrics
The one thing that you should know about me and my style is that I am a self-proclaimed mix-master of prints. What does this title entail? The ability to not care what people think and doing my own thing when it comes to mixing prints. The myth about color-blocking is that you have to use solid colors. Color-blocking is a great way to mix prints. The simplest way that I like to color-block is to cut each pattern piece out of a different print, or you can cut up your pattern pieces adding seam allowances on each piece you cut, so that when you piece it back together it will be the intended size of the original pattern piece. Color-blocking can be any shape or size, it’s freedom to go crazy as you want or be as simple as you want. I mix prints from the same color family and sometimes I go totally in the opposite direction. Today I’m going to share fabrics, resources and inspiration to mix a print or two, along with a quick and easy DIY.
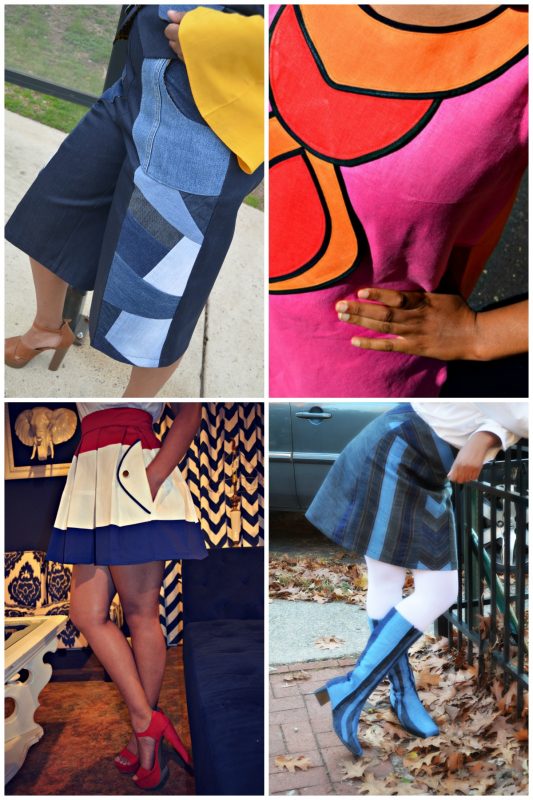
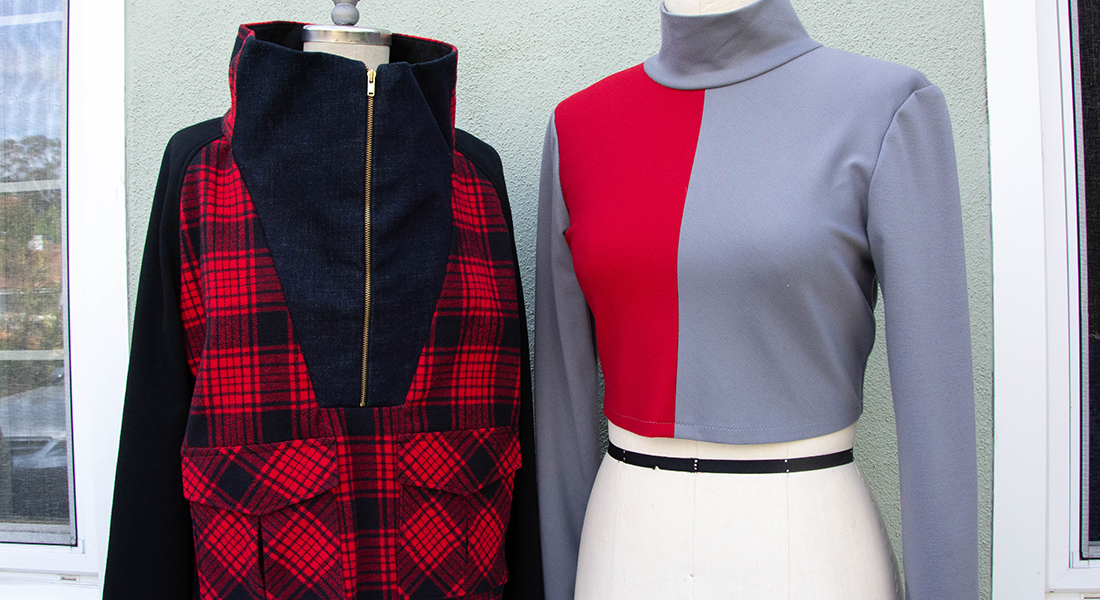
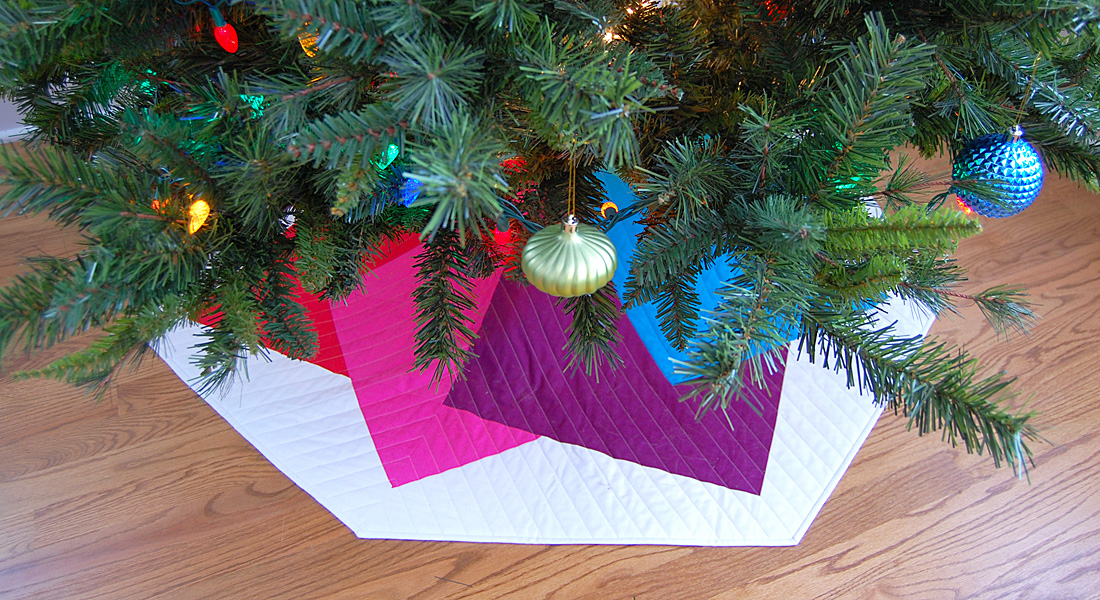
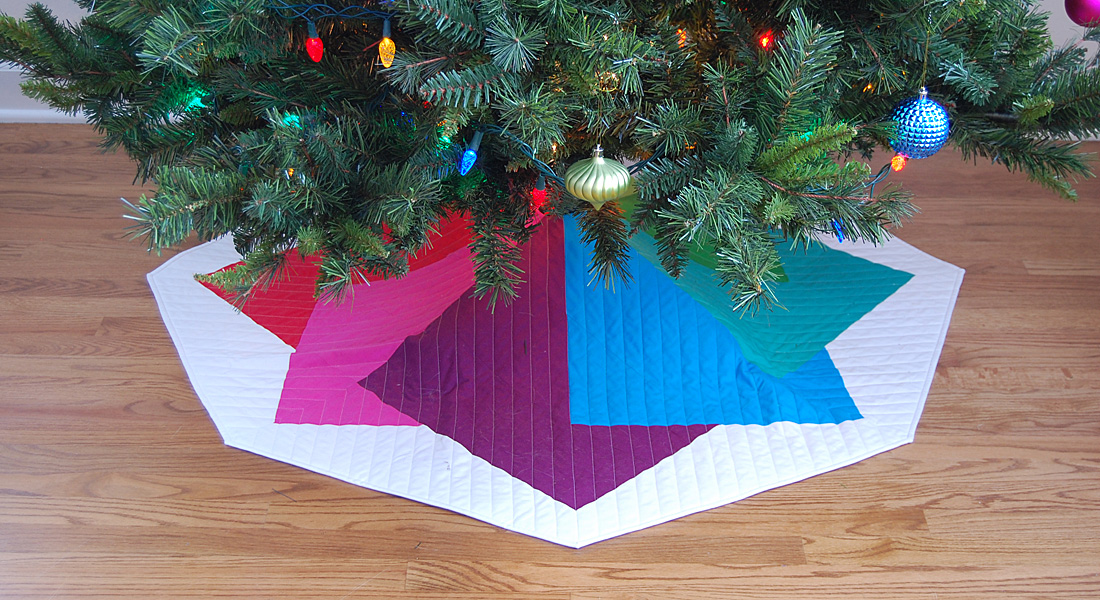
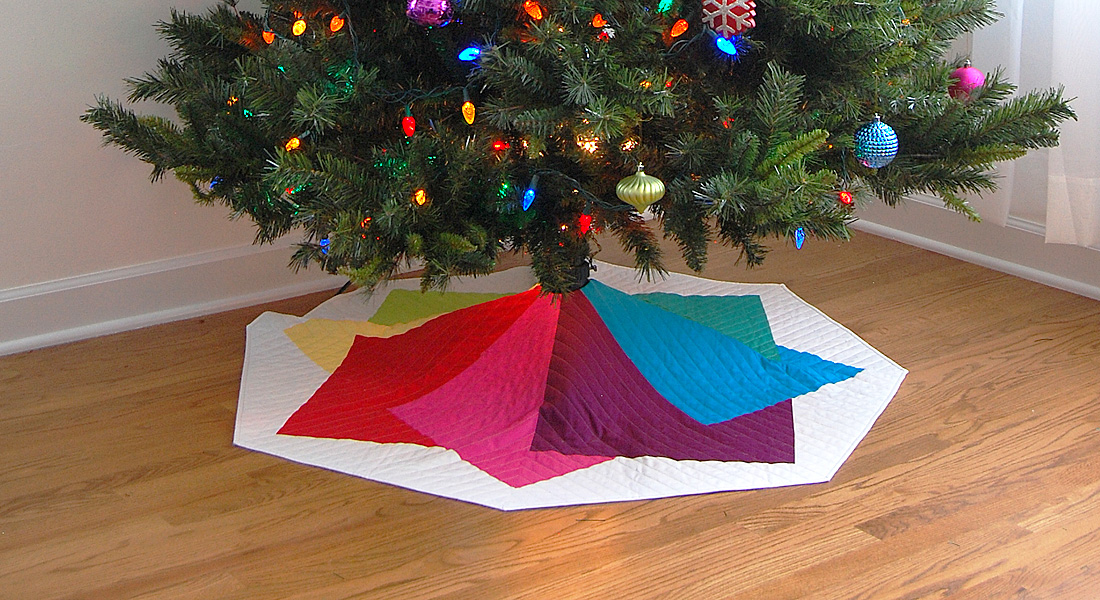
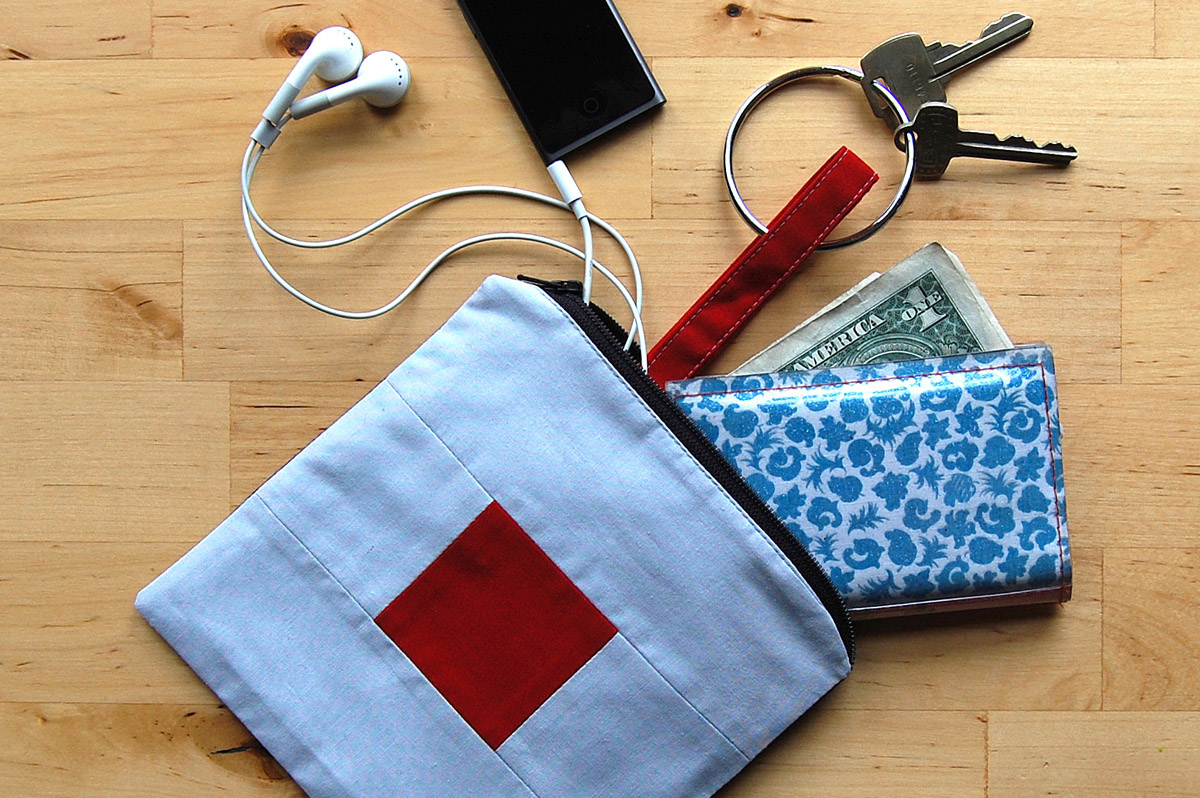
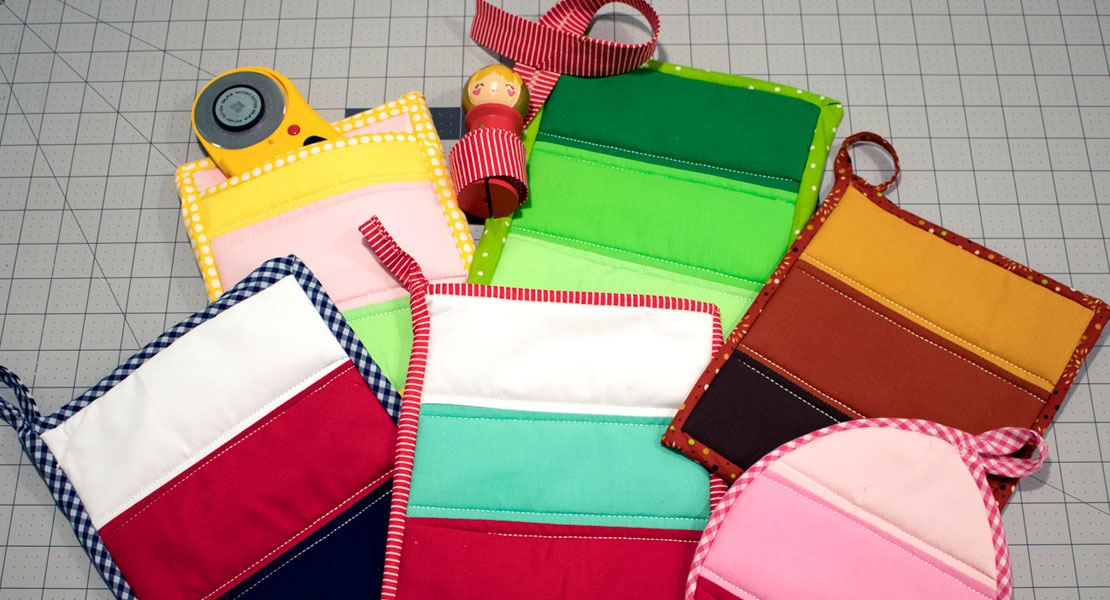
Here are some examples of my color-blocked creations using solid fabrics.
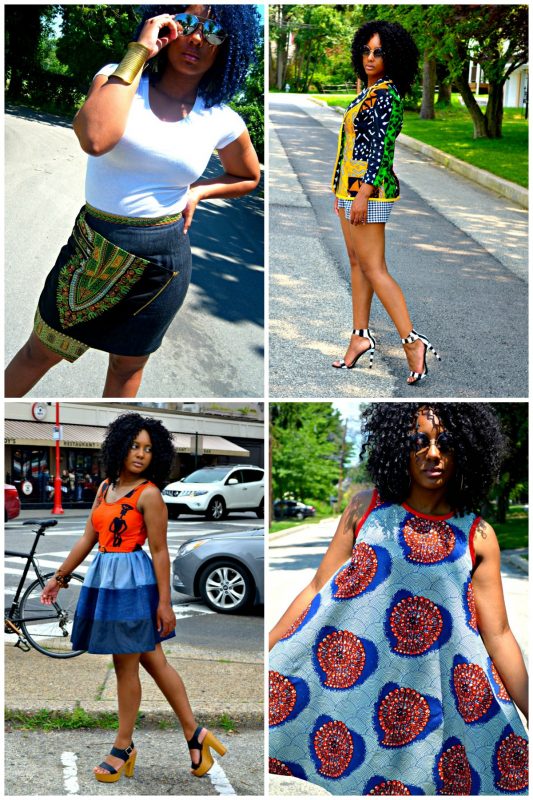
Here are a few of my color-blocking creations using Ankara prints.
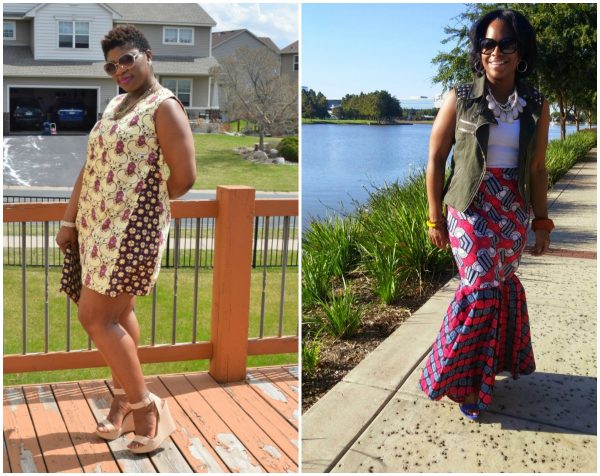
Here are Ankara color-blocked creations by Fabrics of Color and 3DegreesDB.
Here’s a little Ankara history
The African print, popularly known as Ankara, has gained popularity in the global fashion scene since 2010. The material is primarily associated with Africa mainly because of the tribal-like patterns. Since its introduction in global fashion, much talk has focused on whether or not African fabric is authentically African given the fact that the fabric was in fact originally made in Europe.
Ankara was known as Dutch wax print. It was originally manufactured by the Dutch for the Indonesian textile market. But, by mistake or maybe by design, these prints garnered significantly more interest in West African than in Indonesia. Recognizing this opportunity, the Dutch decided to focus on West Africa. As such, the prints changed to reflect African culture and lifestyle more.
Ankara is one of the cheapest traditional fabrics (made even cheaper when Chinese manufacturing of the fabric became widespread). So the question of authenticity of the fabric is still on the tip of everyone’s tongue.
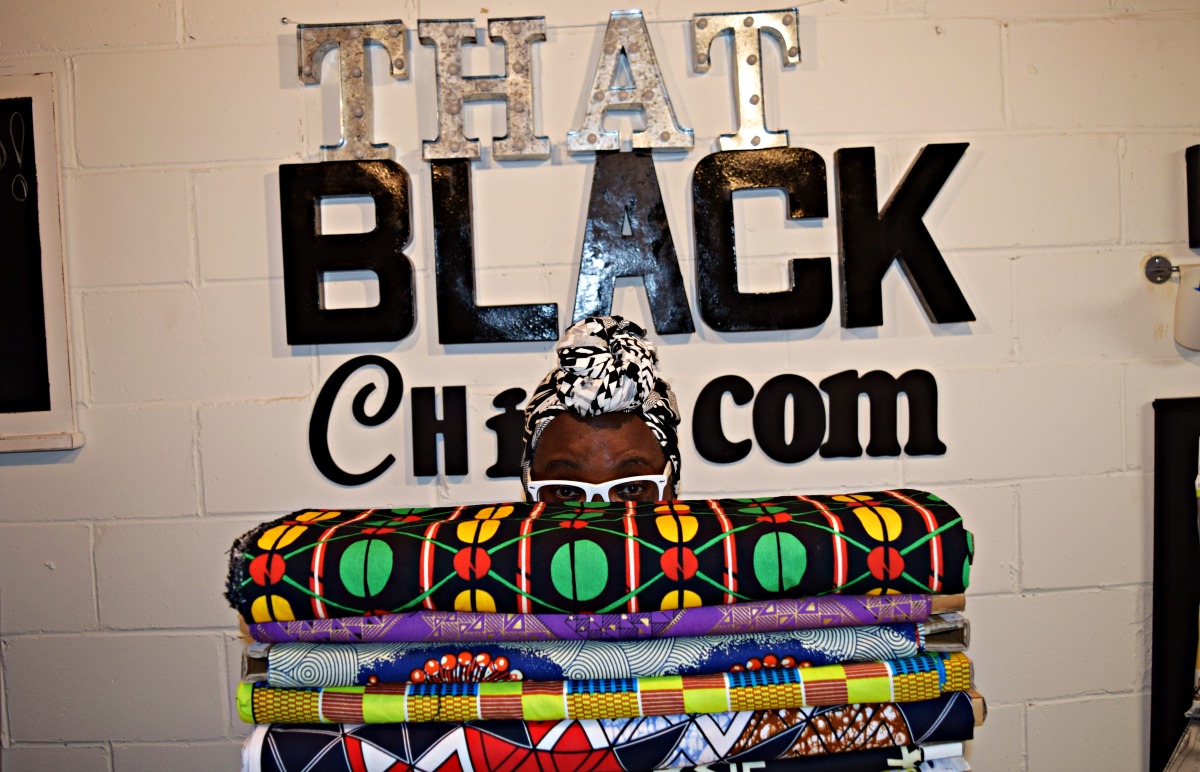
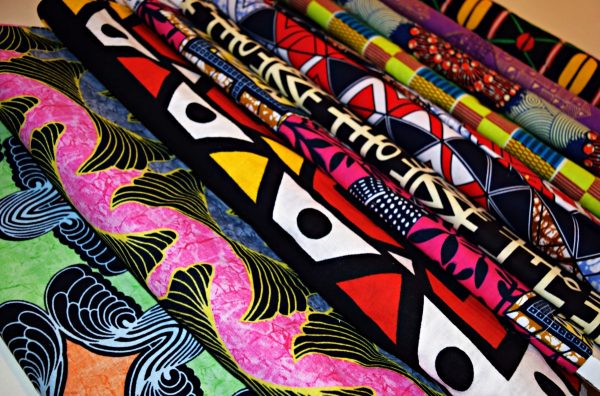
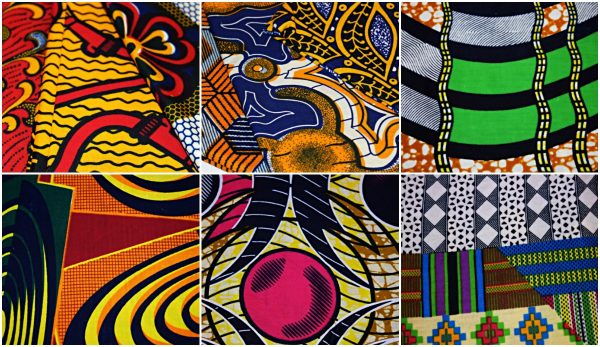
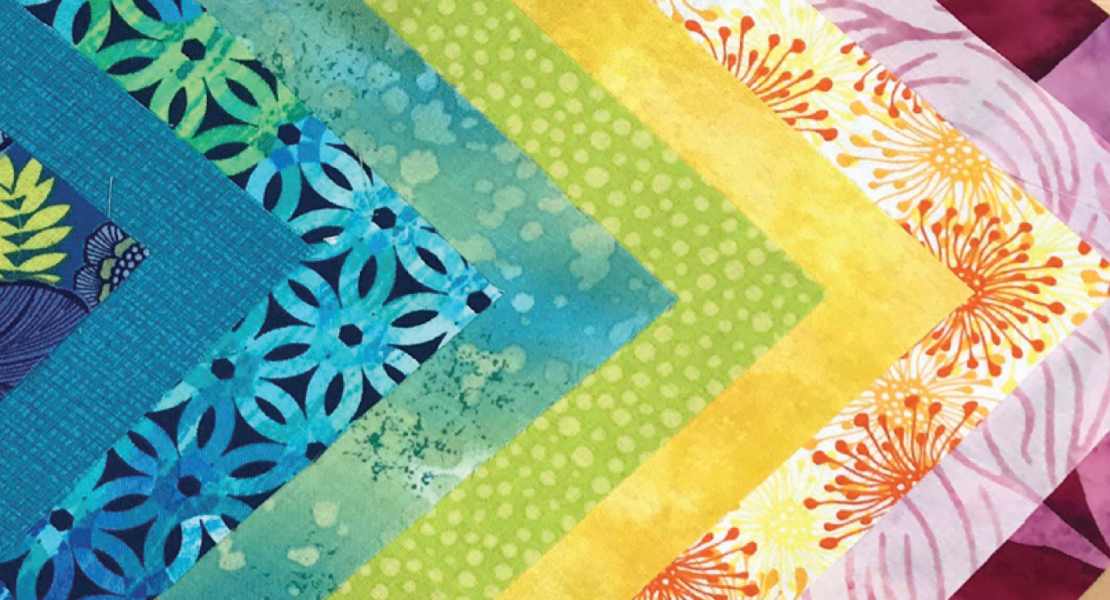
Here are some prints that I have in my fabric collection.
Ankara Fabric Sources [the top three are resources that I use often]
Caring for my Ankara fabrics
- You are advised to hand-wash using a mild soap, bar soaps/liquid soaps. Do not use any harsh chemicals. [I wash my fabrics in Cold water, tide & salt.]
- When using the washing machine ensure to use the quick-wash option. [I wash my fabrics on the quick cycle]
- Avoid using the machine dryer as it could shrink the fabric. Air dry it in the sun the good old traditional way. [I put all my fabrics in the dryer on high. I like to remove all shrinkage and remove the wax coating on my fabrics so that it is not stiff.]
- When Ironing, consider your fabric embellishments. [I iron EVERYTHING!!!!]
- I do use spray starch for pressing after I have washed and dried my African print fabrics.
Now have fun with this quick DIY color-blocked halter top.
Materials to create the DIY halter top
- 3 to 5 different Ankara prints
- Matching thread
- Sewing machine: I’m using “Bebe” my BERNINA 350 PE
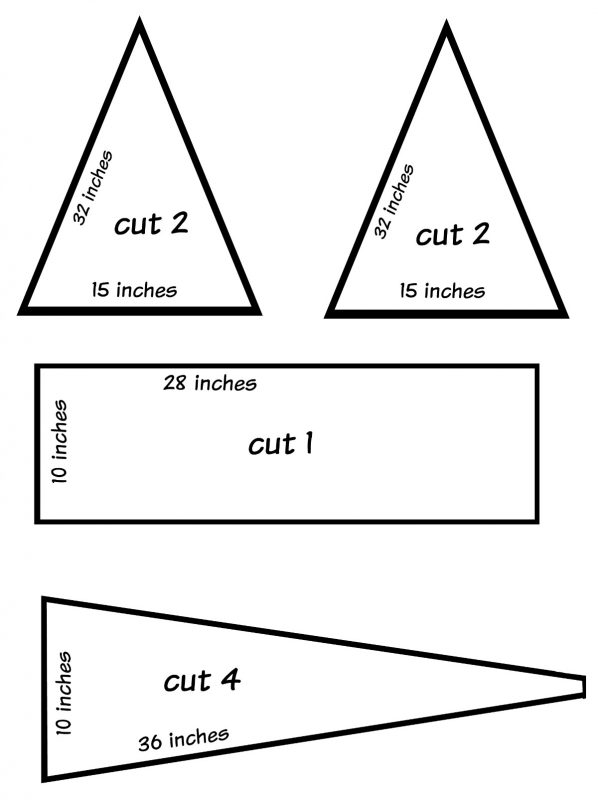
This is going to be a self drafted project. So you will use your own measurements when cutting out your pieces. [The two measurements I used for my top were for a 36 C bust and 29 inch waist]
- Cut four triangle pieces that will be the halter top
- Cut one piece for your waistband
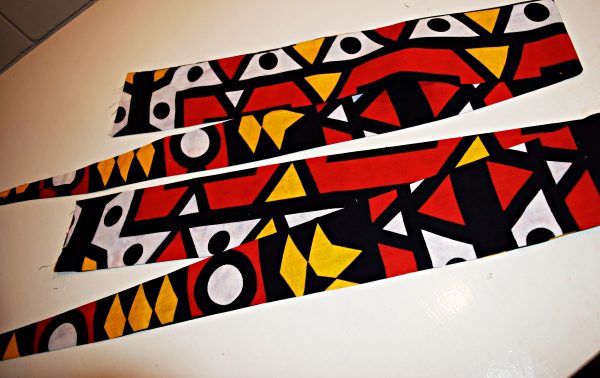
- Cut four pieces for your wrap around belt
My cut pattern pieces along with the measurements used for my pieces. I used four different prints.
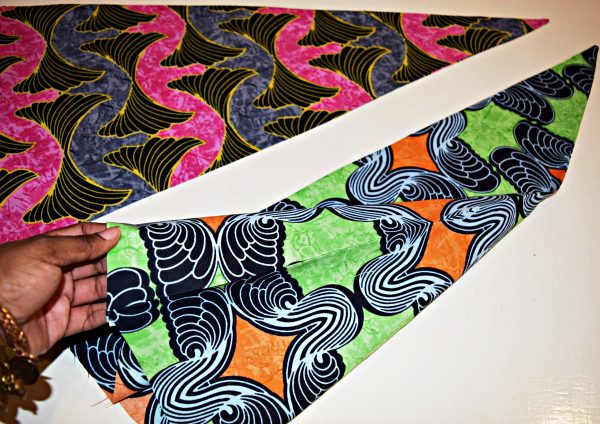
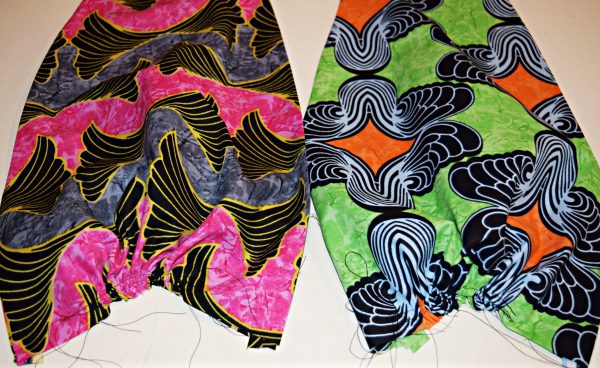
Sew your triangle pieces together, right sides facing each other. Now clip seams at the points and turn over the right-side out and press. I used a half inch seam allowance for this project.
Add two rows of basting stitches to the bottom of the triangle and pull for your gathers. [The BERNINA Gathering foot #16 would have be a bonus for a gathering project but because this was such a small amount of gathering it was not necessary.]
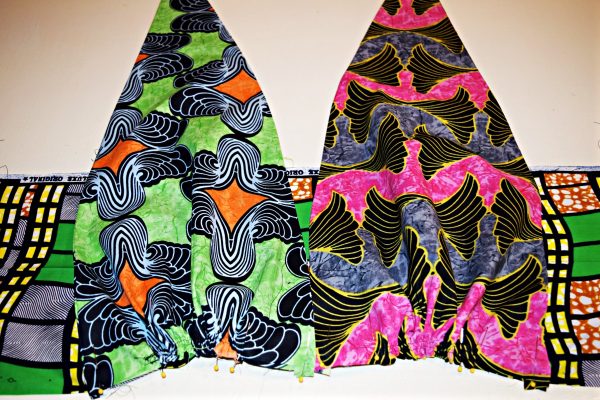
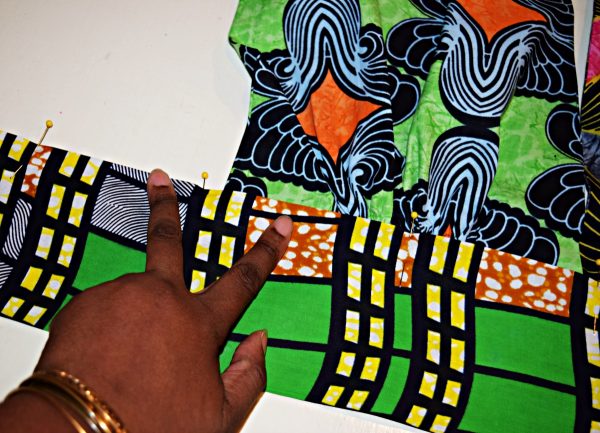
Now pin and sew your triangles to the waistband, right sides together. Make sure your fabric is overlapping a little at the center front. *tip you the wider you spread the bottom of your triangle out the more coverage you will have at the bottom of your top. This is where you want to try it on for placement.
Now that you have attached the triangles fold your open edge of the waistband over half inch, now fold the entire waistband up to cover the seam where the triangles meet the waistband. Pin and sew a quarter inch top-stitch along the waistband.
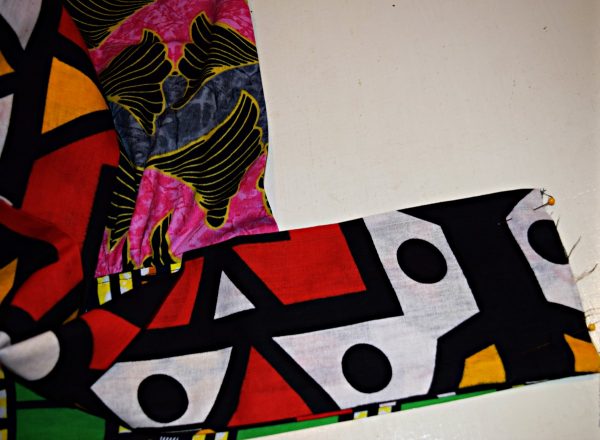
Sew your belt pieces right sides together, clip seams, turn over and press. You need to make sure that the belt ends are the same size as your waistband ends because you will be sewing them together, so make adjustments if necessary at this time.
Match the open end of your belt pieces to the open end of each side of your waistband. Now sew together and top-stitch the seam to the waistband so it will lay flat. Press your garment and you are done!
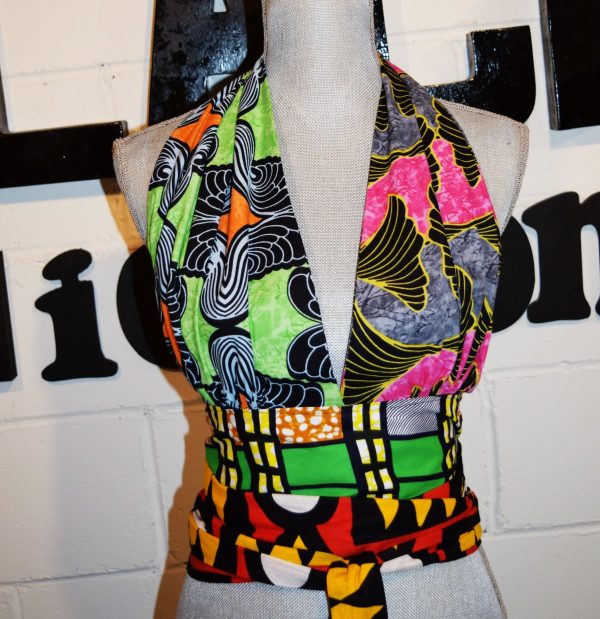
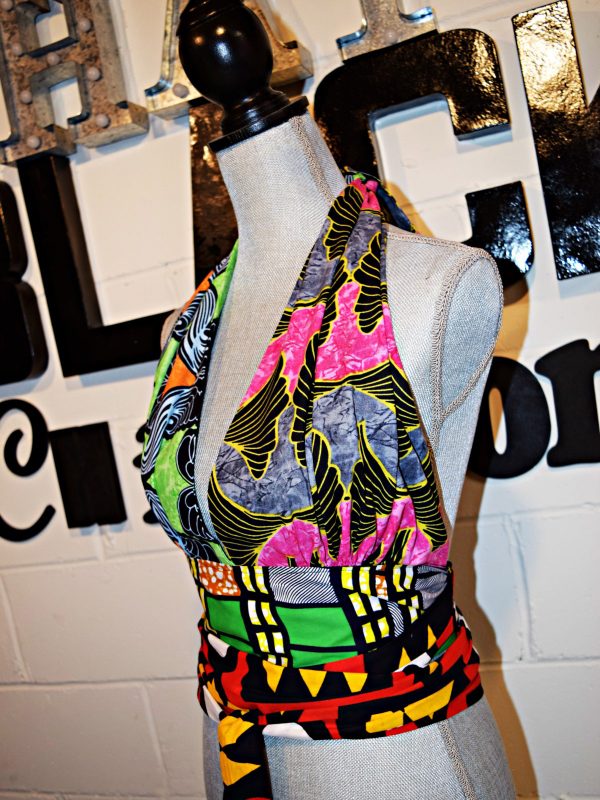
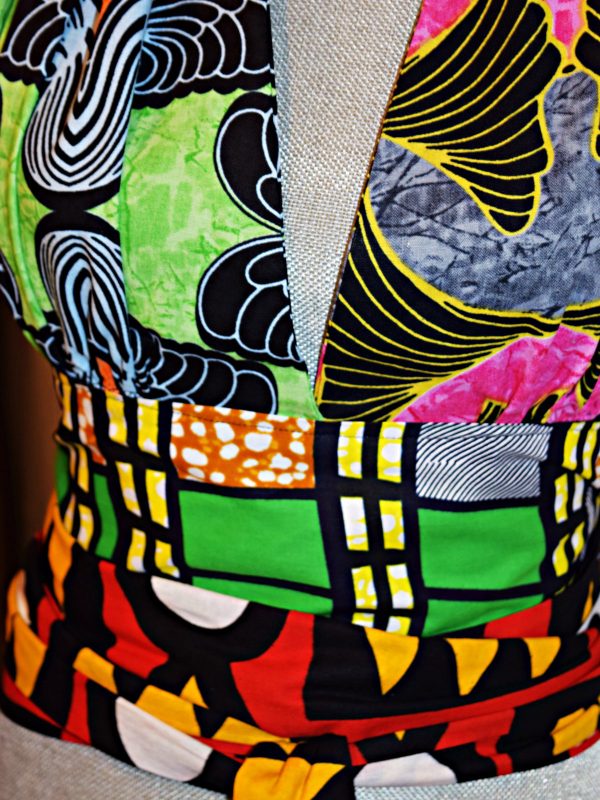
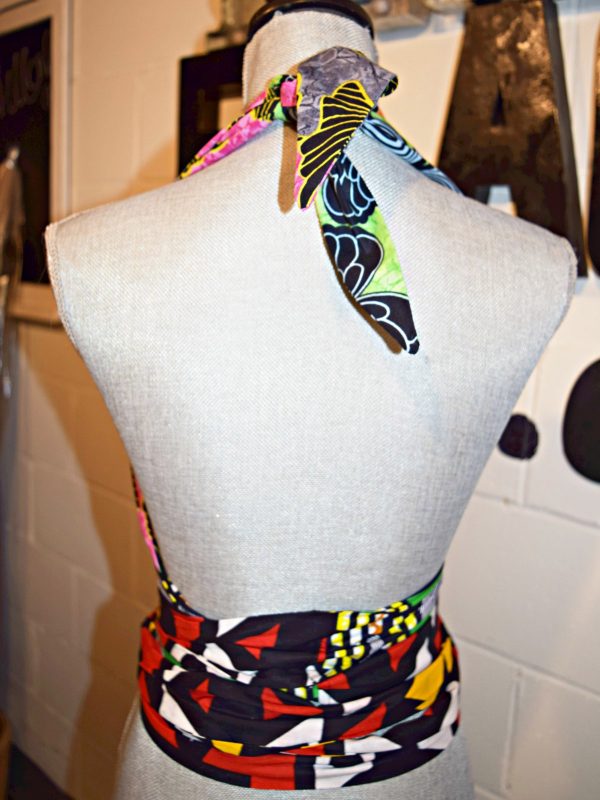
Now look at your fabulous top! There was no rhyme or reason for my fabric choices but somehow they work in this situation.
I hope that you are inspired to give Ankara color-blocking a try!
Until next time you can see me and all my craziness on my blog!
Michelle @ That Black Chic
What you might also like
16 comments on “Color-blocking with Ankara Printed Fabrics”
-
-
AWESOMESAUCE!!! Thanks what I love to hear! definitely share when you make your version,I would love to see it.
-
-
This is awesome..Your color blocking skills are like no other! Thanks for the tutorial also! You Rock!
-
Thanks a bunch!
-
-
I love your work! You are an amazing talent. I am inspired to look at color-blocking in a whole new way.
DeborahC
-
Well Deborah, my mission is complete! Thanks for checking me out.
-
-
Awesome tutorial! I’m ready to try this…..how would I draft the bust triangle for a larger cup( 38DD)?
-
Thanks Tracey. I’m excited that you’re excited! For a larger bust I would just made a bigger or a fatter triangle at the bottom,which would mean more gathering than my top. I would play with some muslin to figure out how much fabric you will need to use. I am not sure if that will give you the coverage your looking for. I was also thinking you probably could add a side strap to the triangle, I may test this theory, when I work it out in my head.
-
-
Love it
-
Thanks a bunch!
-
-
I’m attempting this halter as I type. But I’m confused about my own measurements. If my bust is 34″ & waist 30″ would I cut the triangle that you marked 36″ & 10″ my size 34″ & 10″? What about the triangle 32″ & 15″? Do I keep that the same as yours? Thanks for your reply!!
-
You’re probably done by now but just in case here is what I came up with for your measurements. You are not to far from the size I made and would probably be OK with my measurements. If your bust is 34 I think your pattern would be 32 inches long and the bottom of the triangle would be 14 inches wide. The waistband part should probably be 29 inches across and 10 inches wide. Hope that works for you! Let em know.
-
-
Good article, love the Ankara fabrics. Being from the PNW area I can’t help compare the Ankara motifs with local tribal totem motifs of orca, bear, eagle and fish.
-
I can totally see the comparison in the two. Thanks for stopping by!
-
-
Do you have any planning in future to made same think using African Prints?
-
It is amazing. I just love it. I buy some excellent fabrics from Fabrics World USA in NYC near me which was a nice weight, not too beefy and cheap price.
Leave a Reply
You must be logged in to post a comment.





Love this tutorial and very informative. Time for me to step out of my comfort zone. I’m definitely giving this a try!!!! Thanks so much Michelle!!!!