First-Time Embroiderer: My Machine Embroidery Experience
I have a secret. I was afraid to try machine embroidery.
Whenever someone asked when I was going to start machine embroidery, I would say I wasn’t interested. Oh sure, it looked fun, with some beautiful designs being shared on various projects. But the truth was I thought it looked difficult and was afraid it would be too hard for me to learn.
However, knowing how much I enjoy adding embellishments to my garments, such as the pintucks and decorative stitches on the shirt sleeves or the patchwork heart I added to a jean jacket, I was intrigued at the thought of machine embroidery.
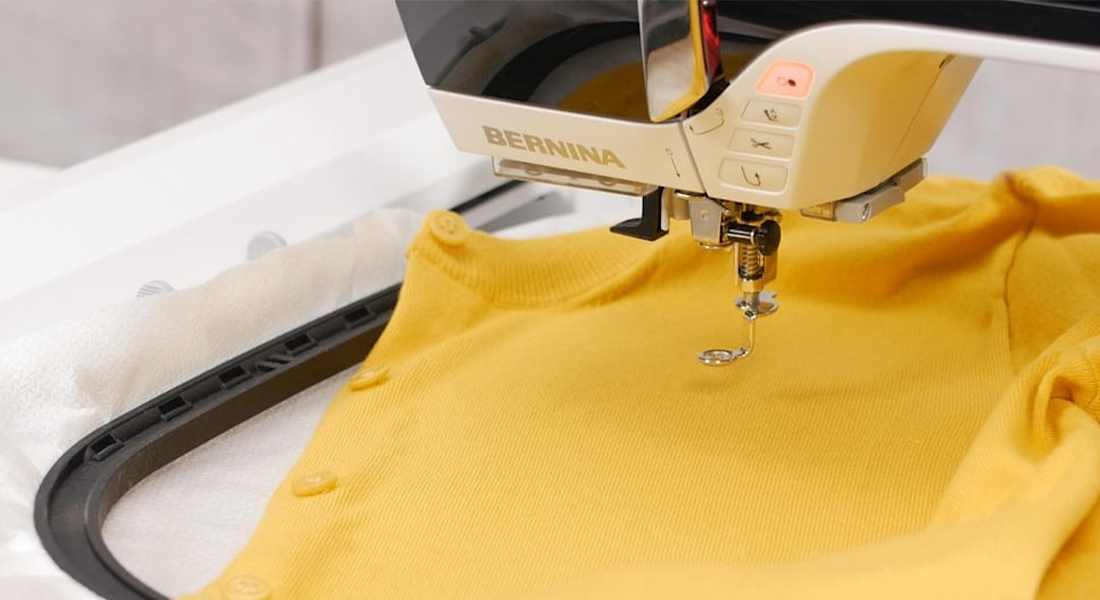
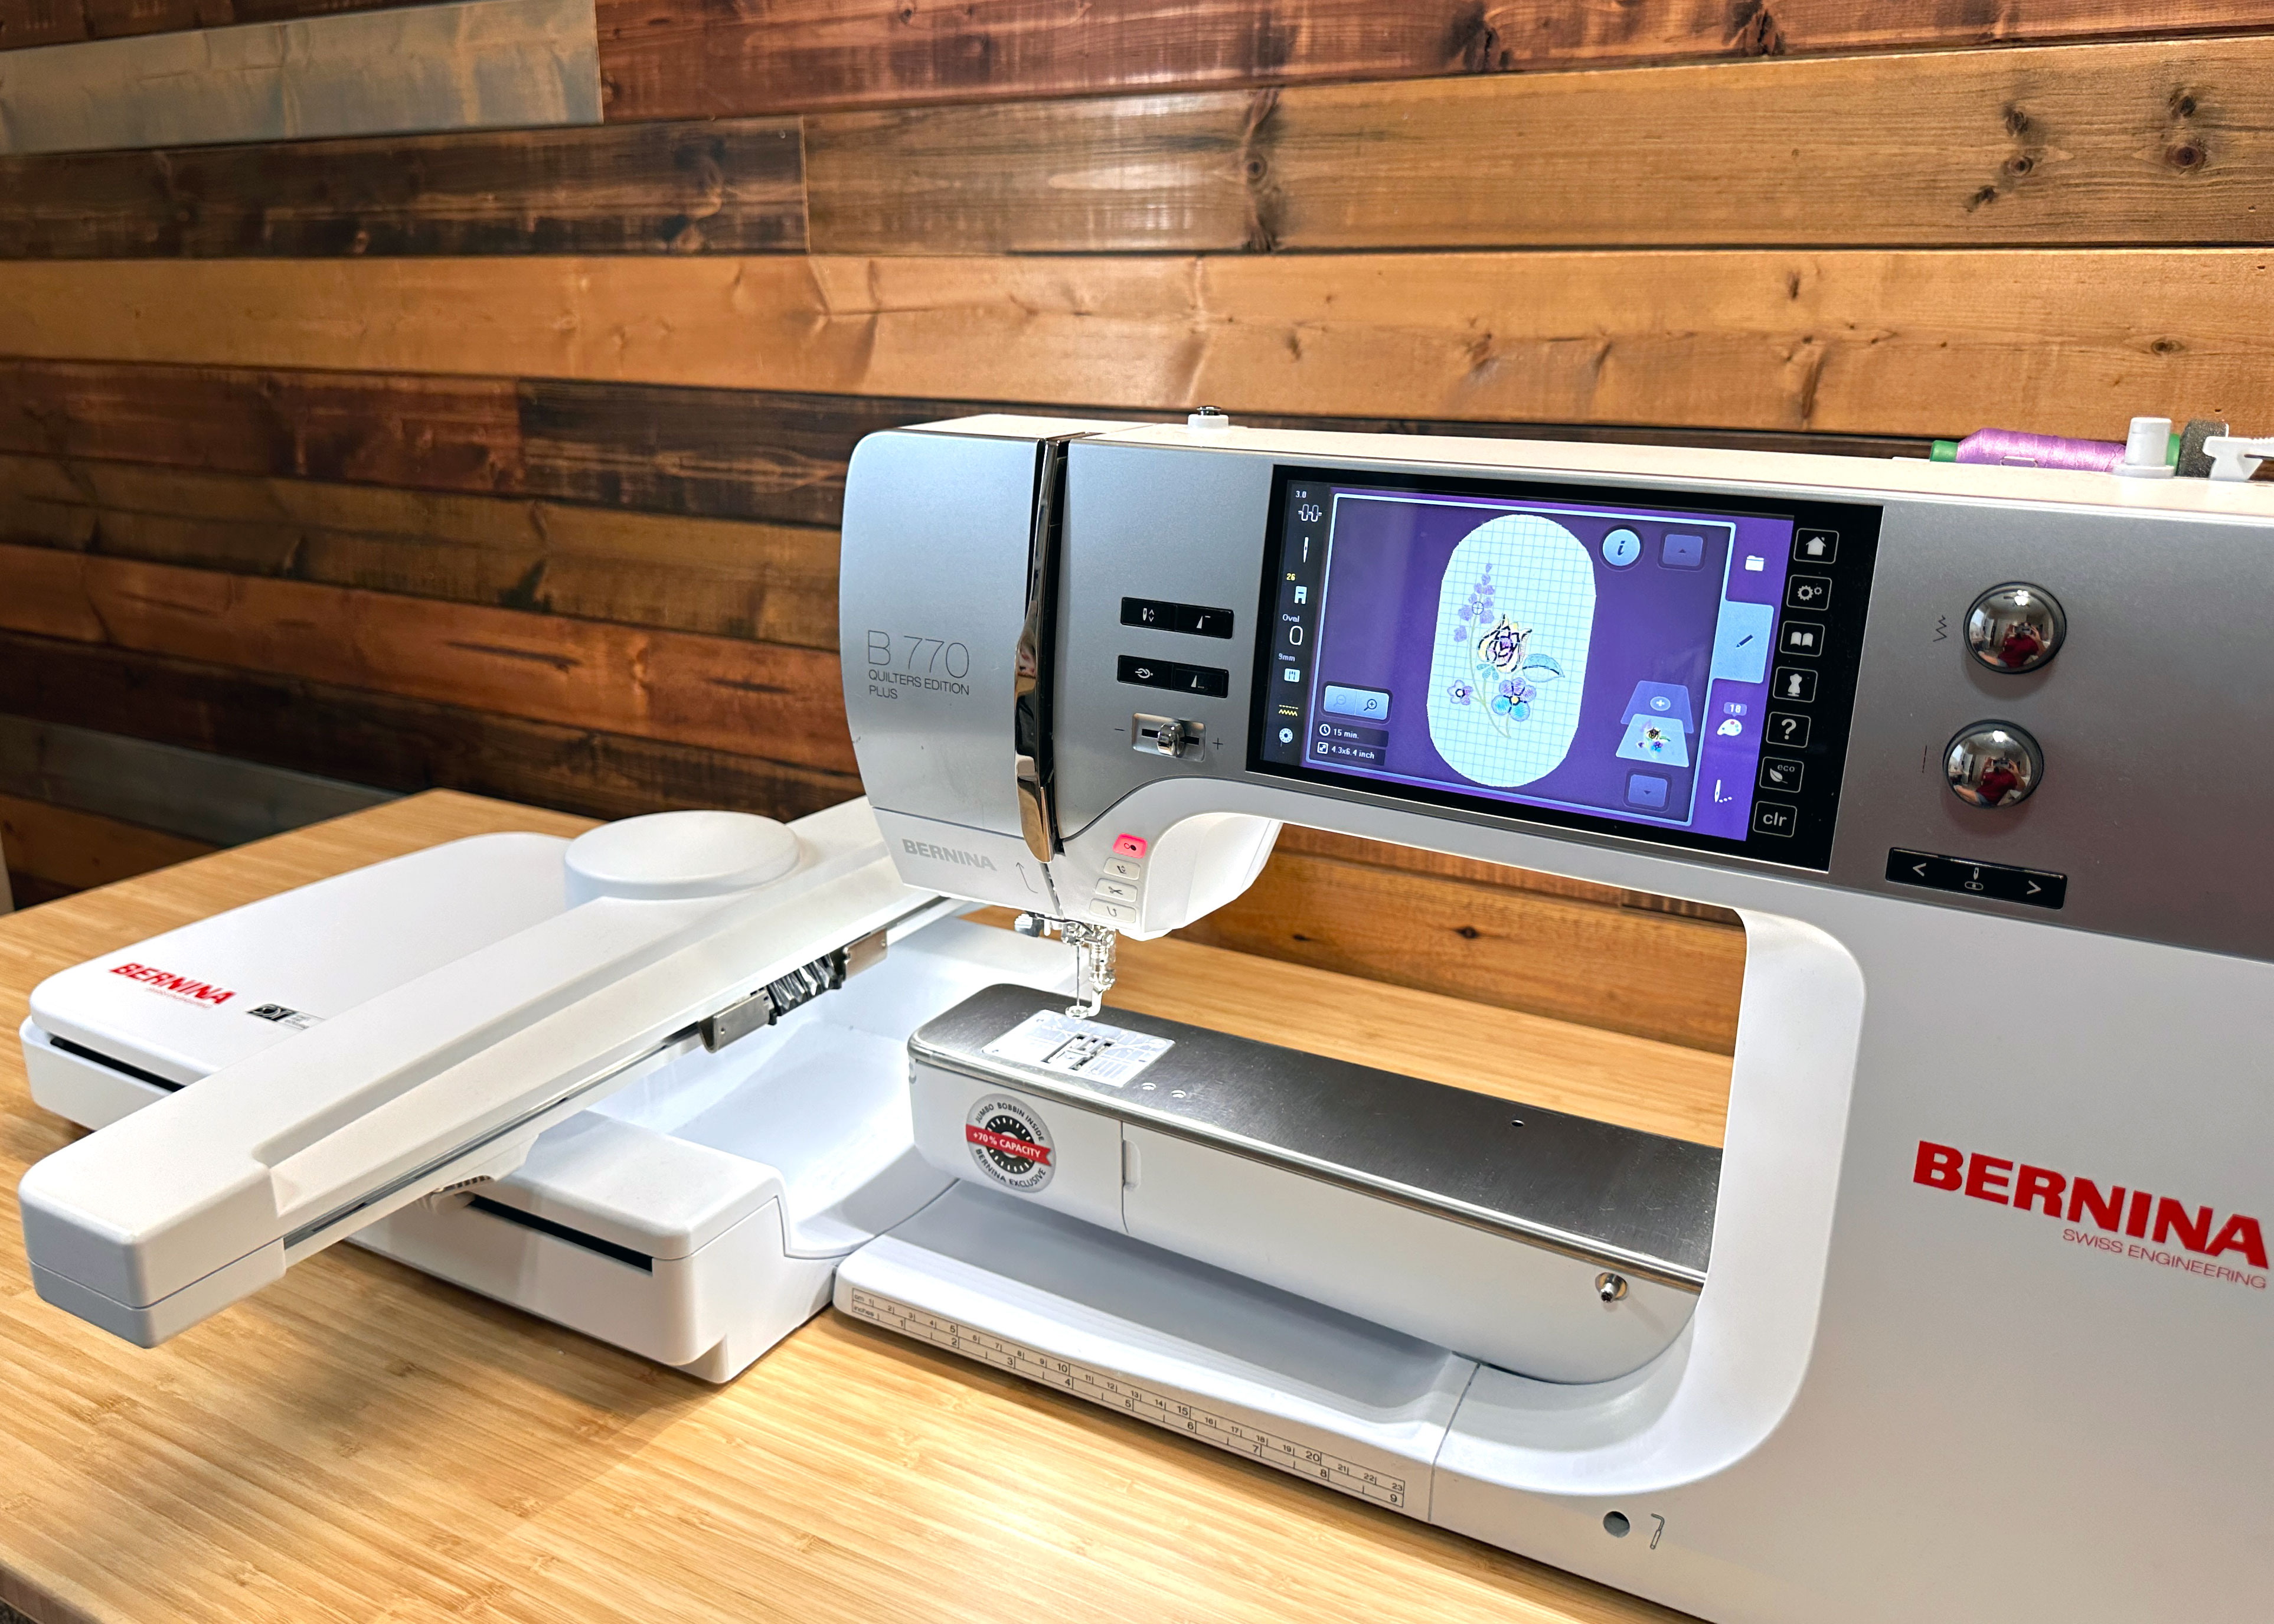
My interest overcame my fear, and I picked up an Embroidery Module L – with Smart Drive Technology for my B 770 QE PLUS from my BERNINA dealer and jumped into the world of machine embroidery.
Hello everyone! It’s Sharon from Sharon Sews. You can connect with me on YouTube, Instagram and my blog, where I share sewing tips, projects, reviews, and fashion sewing ideas.
Overcoming My Self-Doubt
Once my embroidery module was home, self-doubt crept in stealing my initial excitement. Like many adult learners, I set very high expectations for myself. Maybe you can relate?
- “What if I can’t figure it out?”
-
- Well, BERNINA offers a wide variety of support including videos, blog posts, educational books (hello Big Book of Embroidery!) and of course your fabulous BERNINA dealers offer hands-on classes. Plus, it must not be that difficult to master as so many are enthusiastic about machine embroidery!
-
- “What if I mess up my design?”
-
- Just know there will be mistakes as you learn. Give yourself permission to experiment and to fail. Consider it a learning experience and move on.
-
- “Suppose I’m the only one in the sewing world who is unsuccessful at machine embroidery?”
-
- Okay, I know this sounds silly, but it did cross my mind! I’m laughing at myself now, but am sharing with you to let you know how easy it is to talk ourselves out of learning something new for fear of not being perfect.
-
“We all were beginners at one point.” A wise sewing friend (who has mastered machine embroidery) said this to me and it changed my mindset. It reminded me that learning machine embroidery can – and should – be fun. With each project I complete I will be another step closer to mastering machine embroidery myself.
At that point I was pumped and ready to go!
Supplies To Get Started with Machine Embroidery
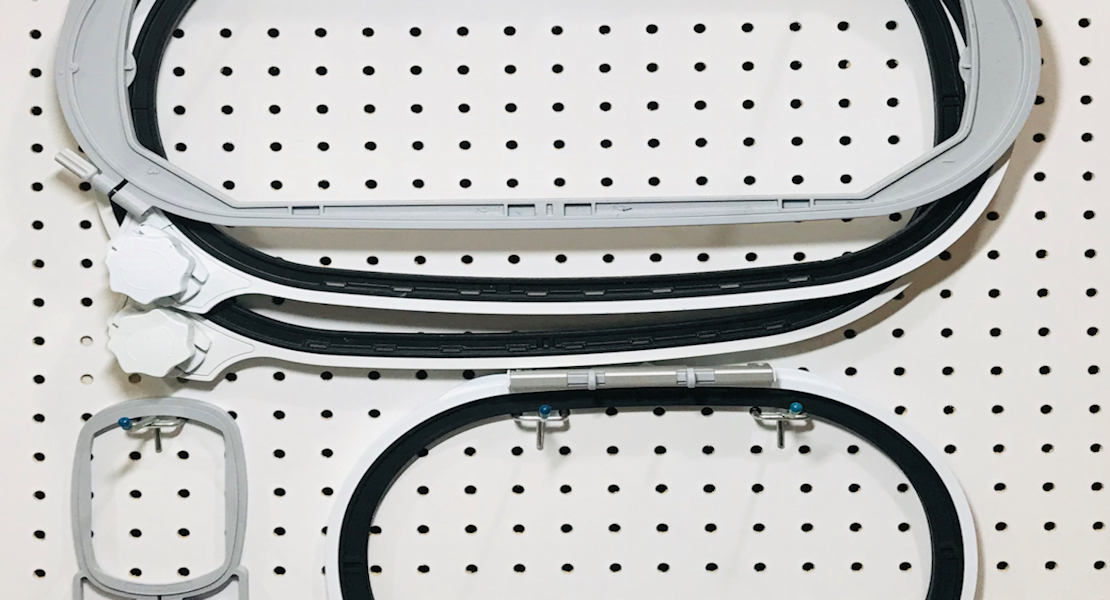
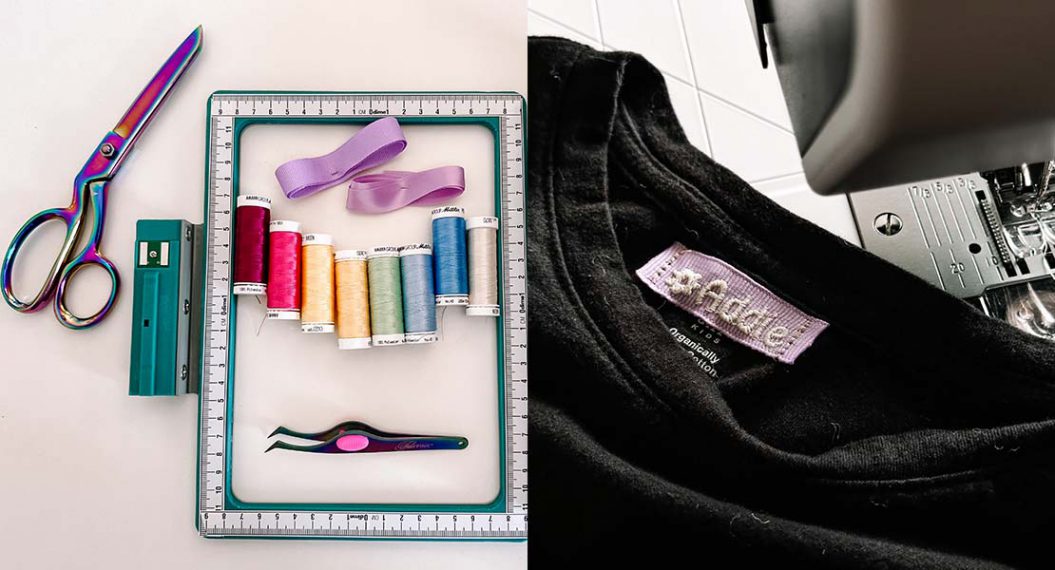
My embroidery module included three hoops – the large oval hoop, the medium hoop, and the small hoop – and the Embroidery Foot #26L. Also included was a sample of OESD stabilizers, four spools of Mettler PolySheen thread, and a pack of Schmetz embroidery needles. Almost everything I needed to try my hand at machine embroidery.
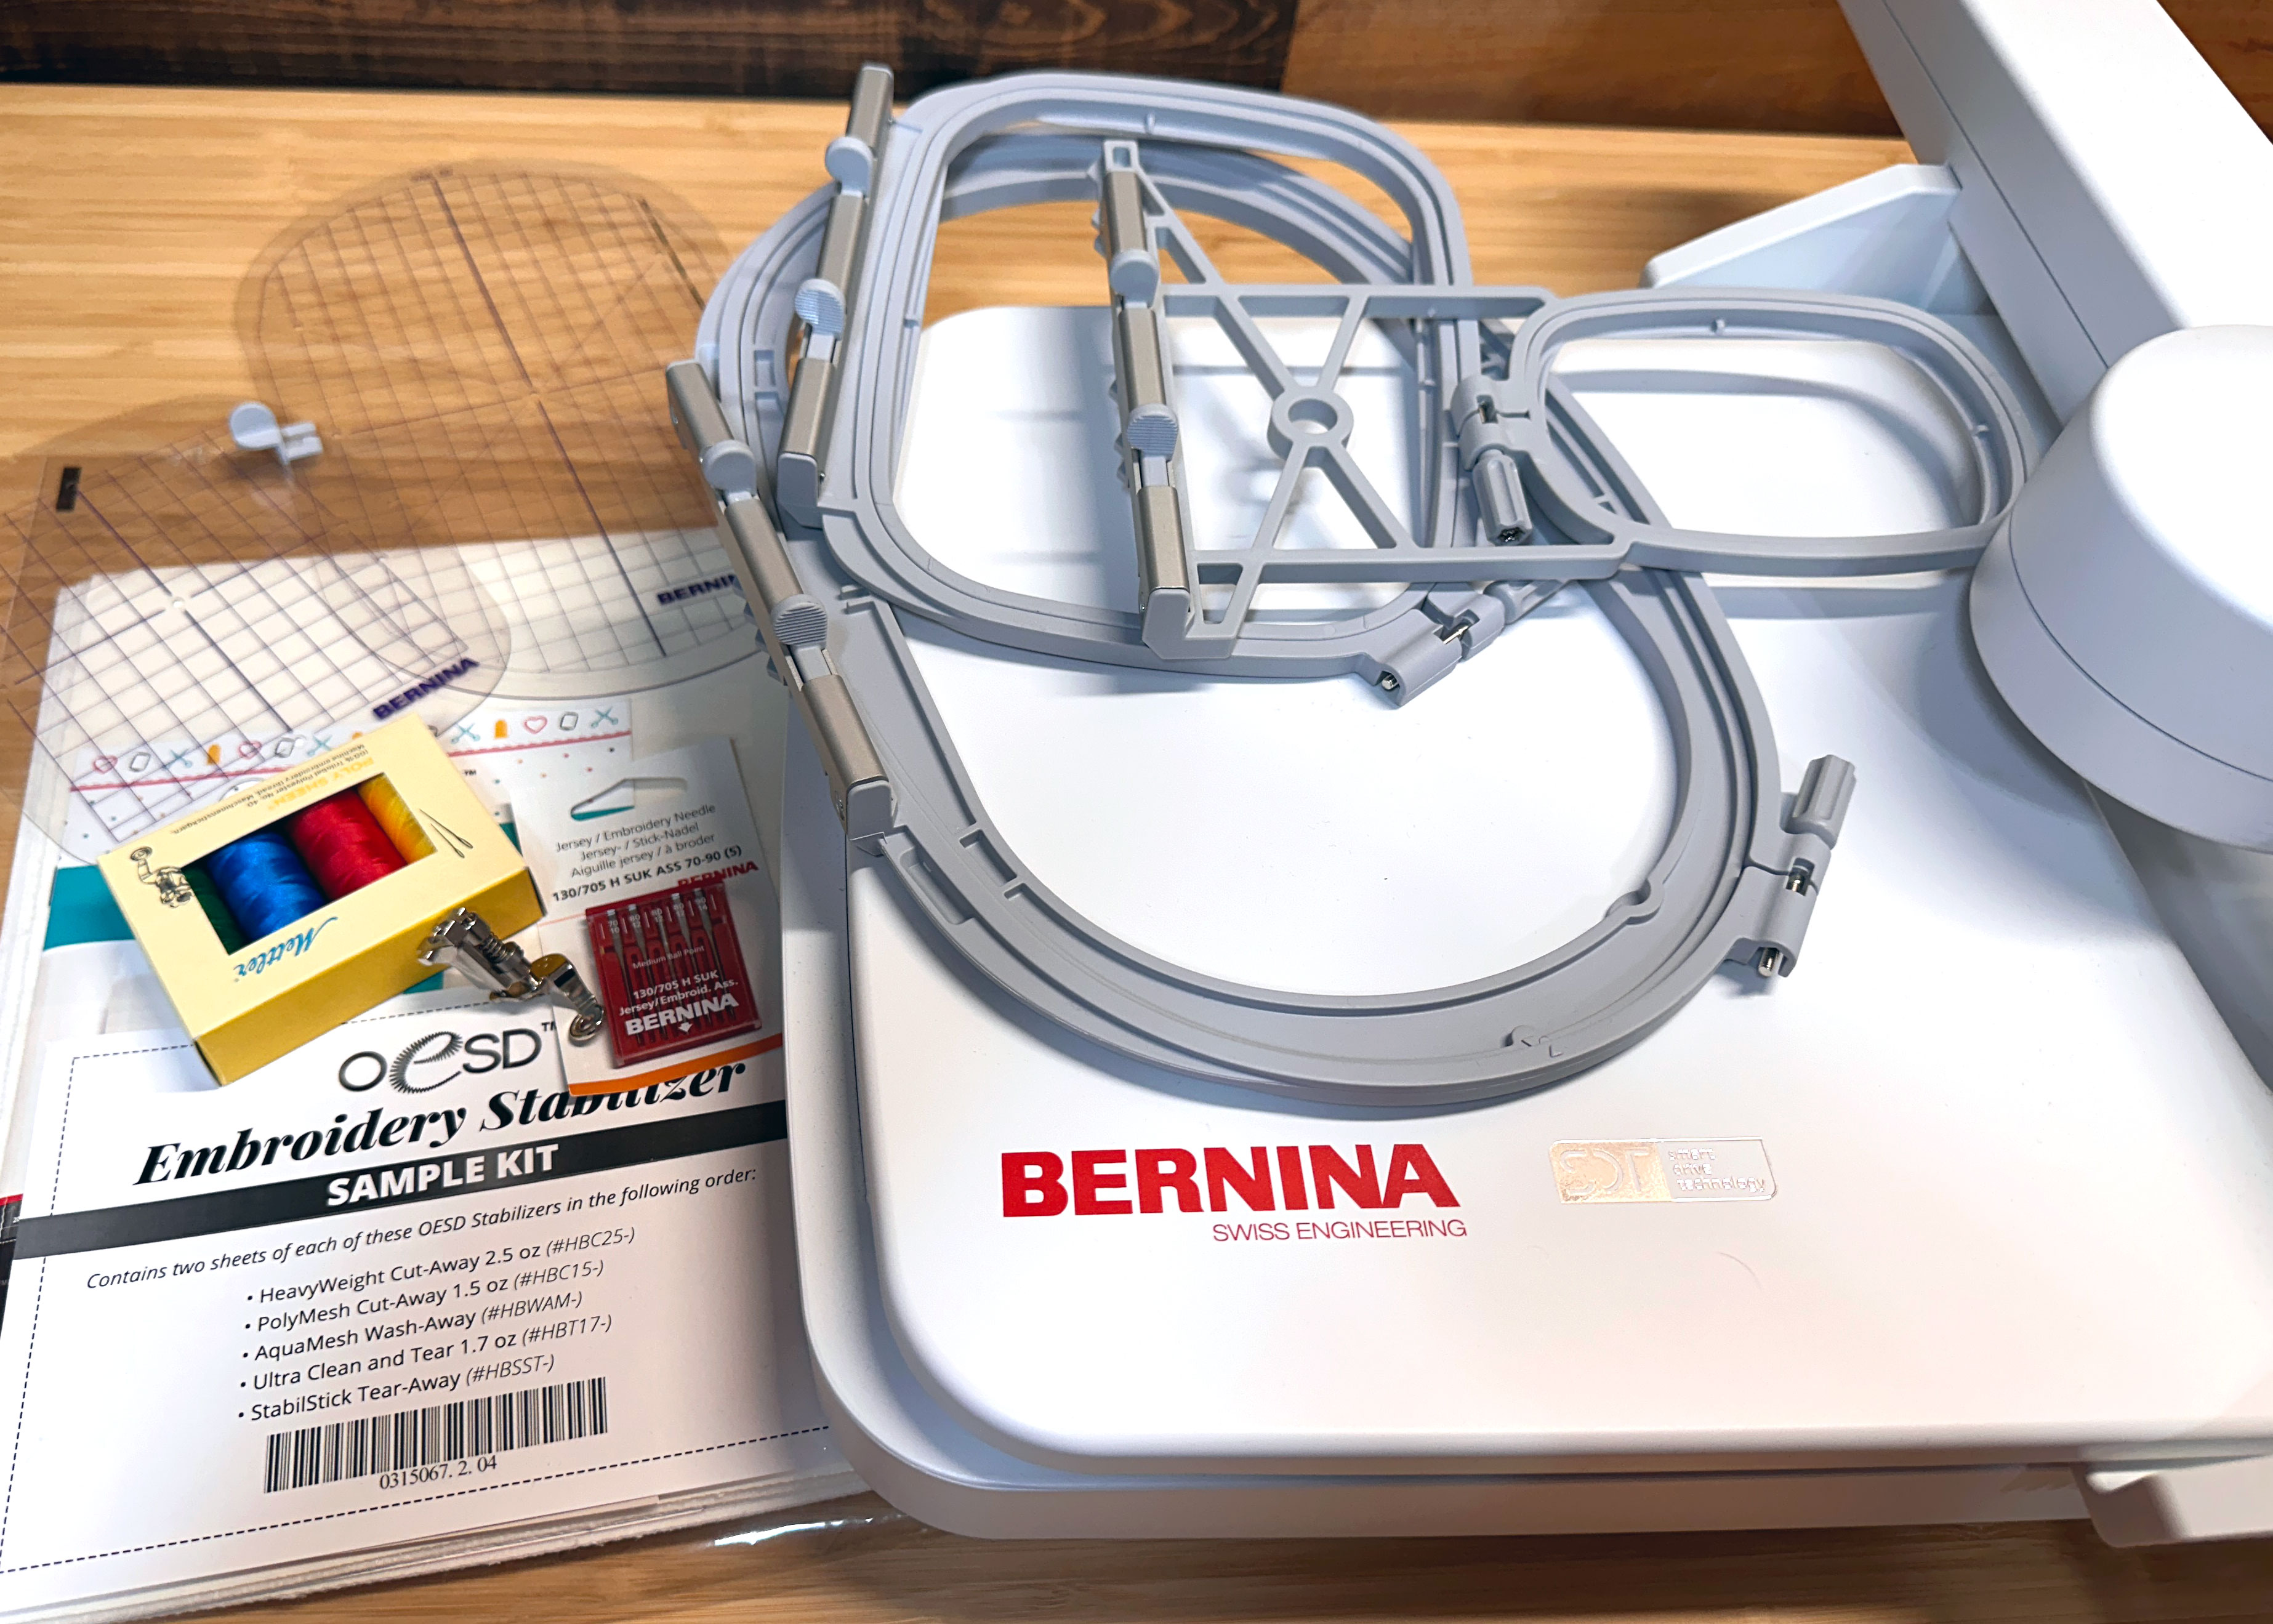
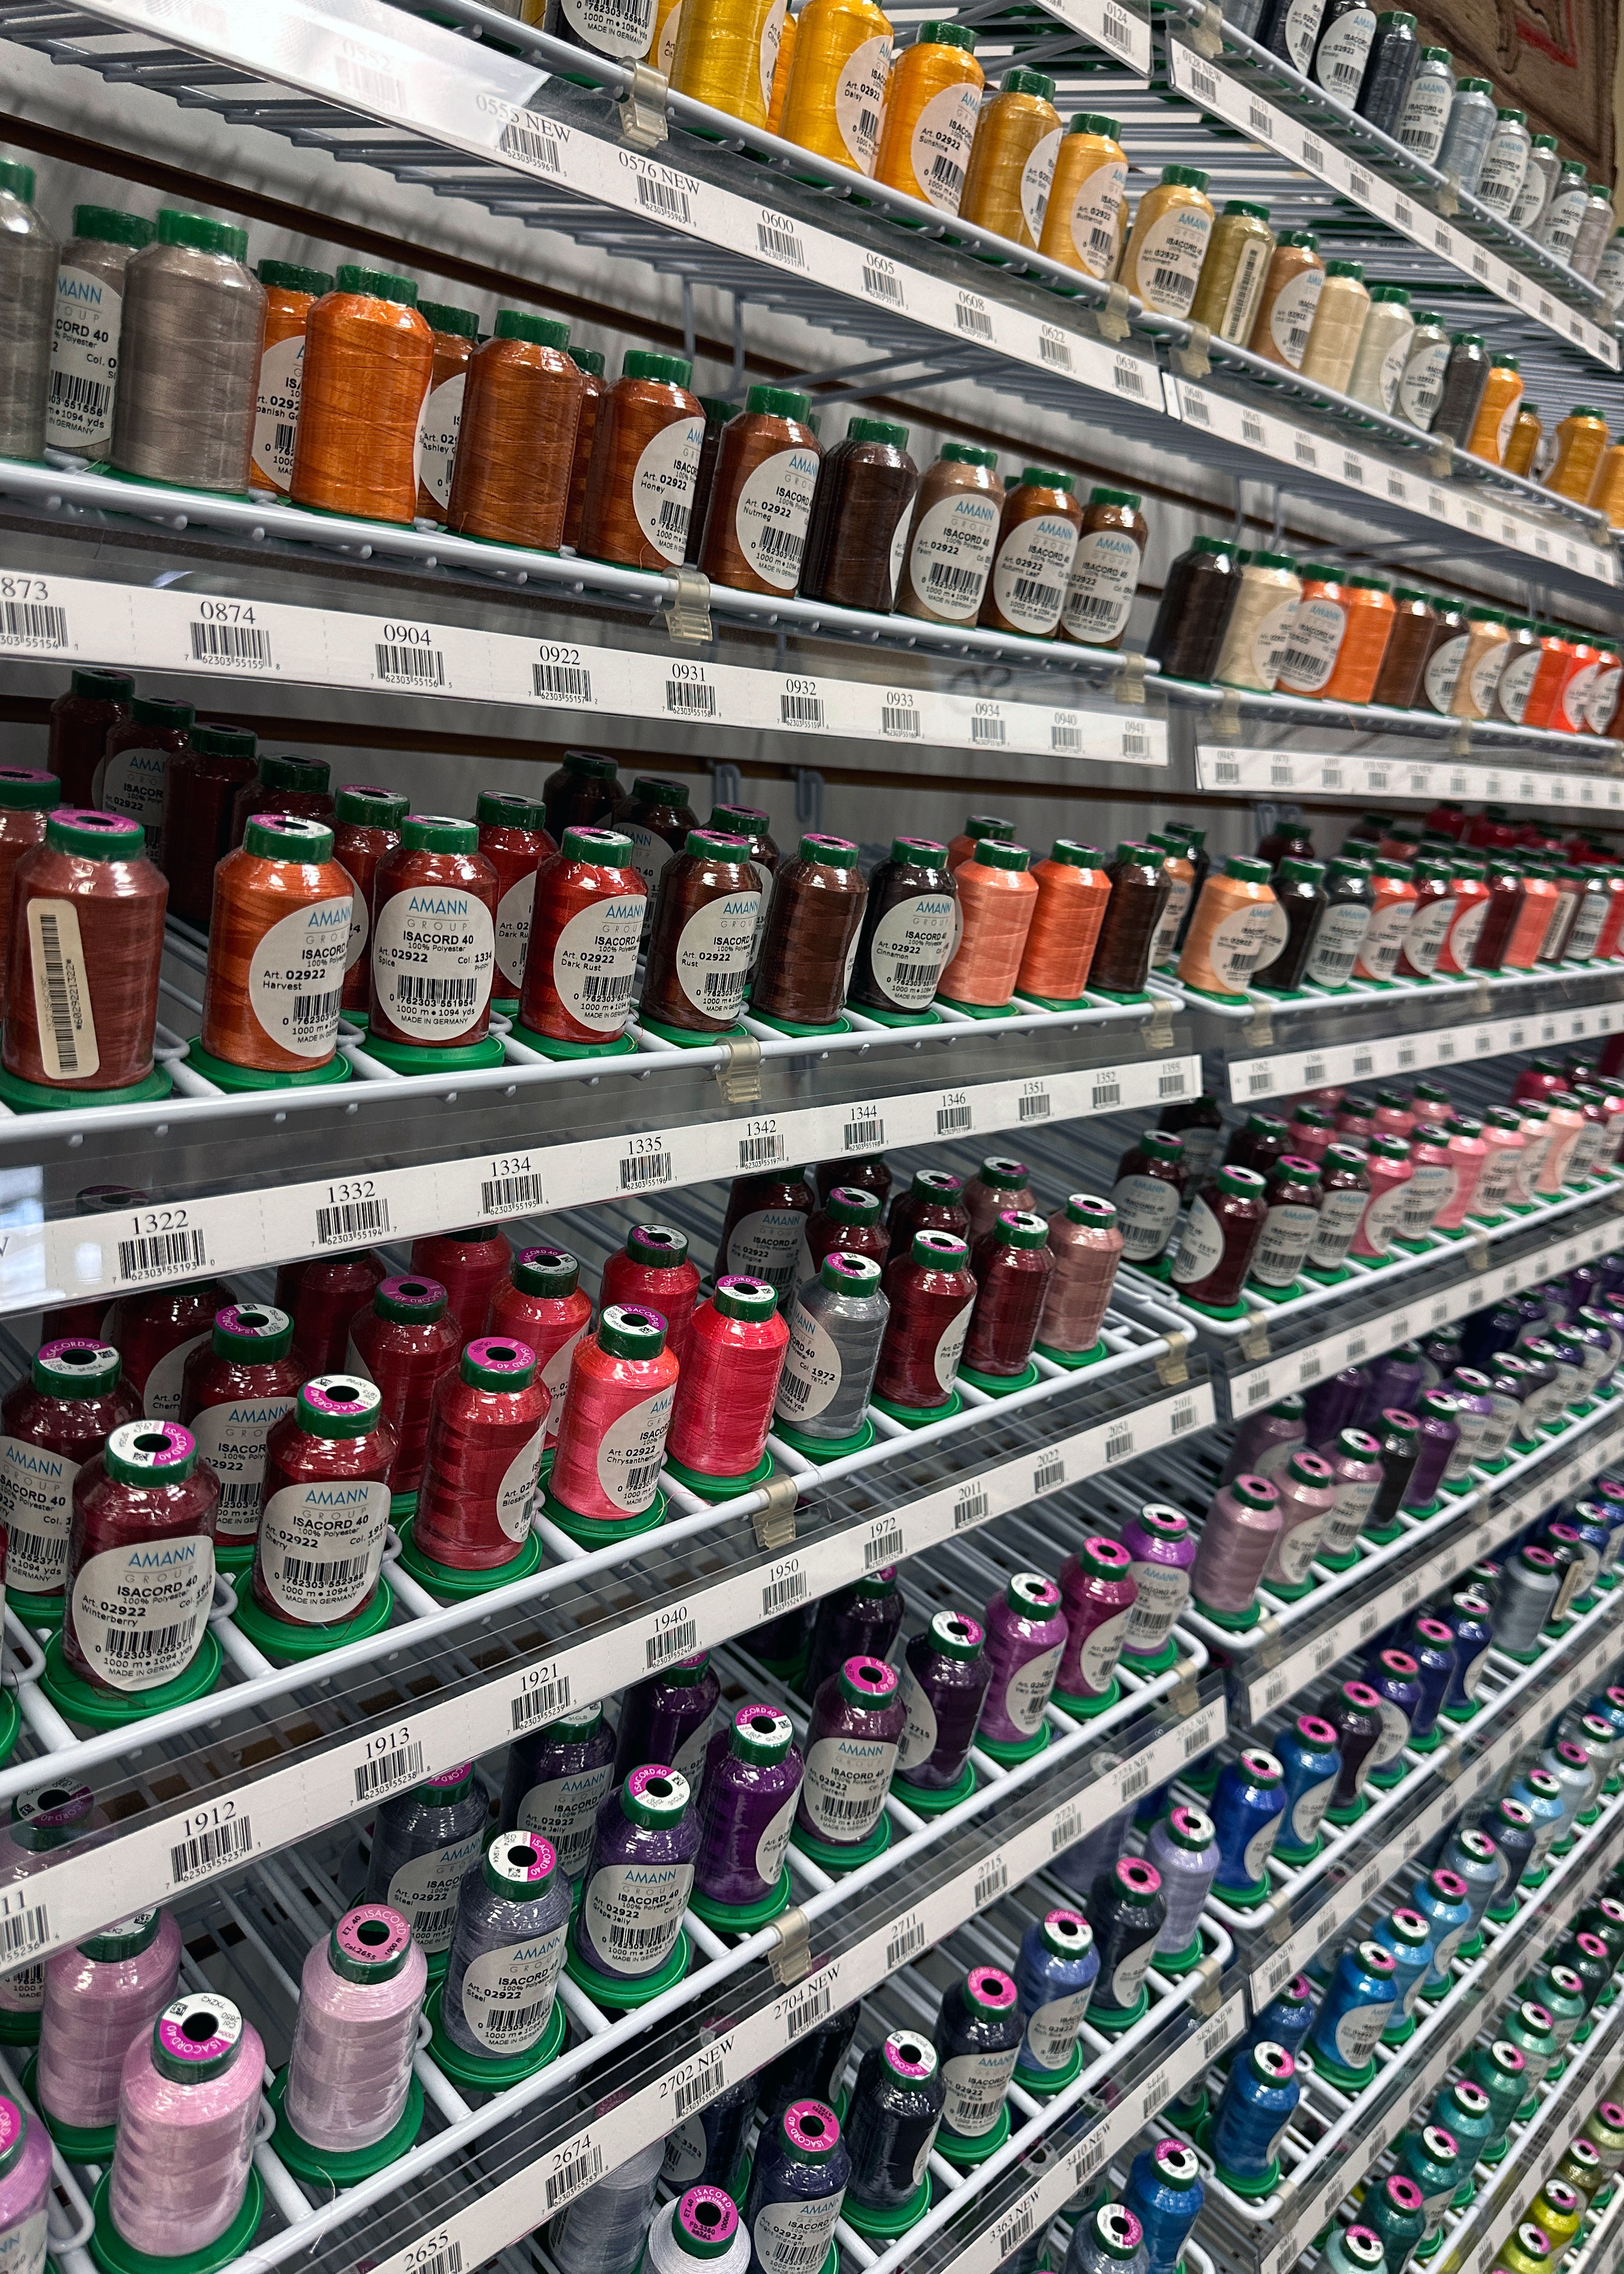
At my BERNINA dealer (A Nimble Thimble in Tyler, TX) I picked up 60-wt bobbin thread and Isacord threads in a variety of colors. I found the wall of thread a bit overwhelming as I had not yet picked out a design, which meant I didn’t know what thread colors I needed. Once I purchased some designs I realized they come with a thread color chart making it easy to pick the colors.
Knowing I needed stabilizer, but not yet knowing what fabric or design I would be embroidering, I simply asked my dealer for her for the most popular one (it was the OESD Ultra Clear & Tear). I also purchased a temporary adhesive spray, which she shared that I should spray on the stabilizer and not my fabric. See? I was already learning tips about machine embroidery 🙂
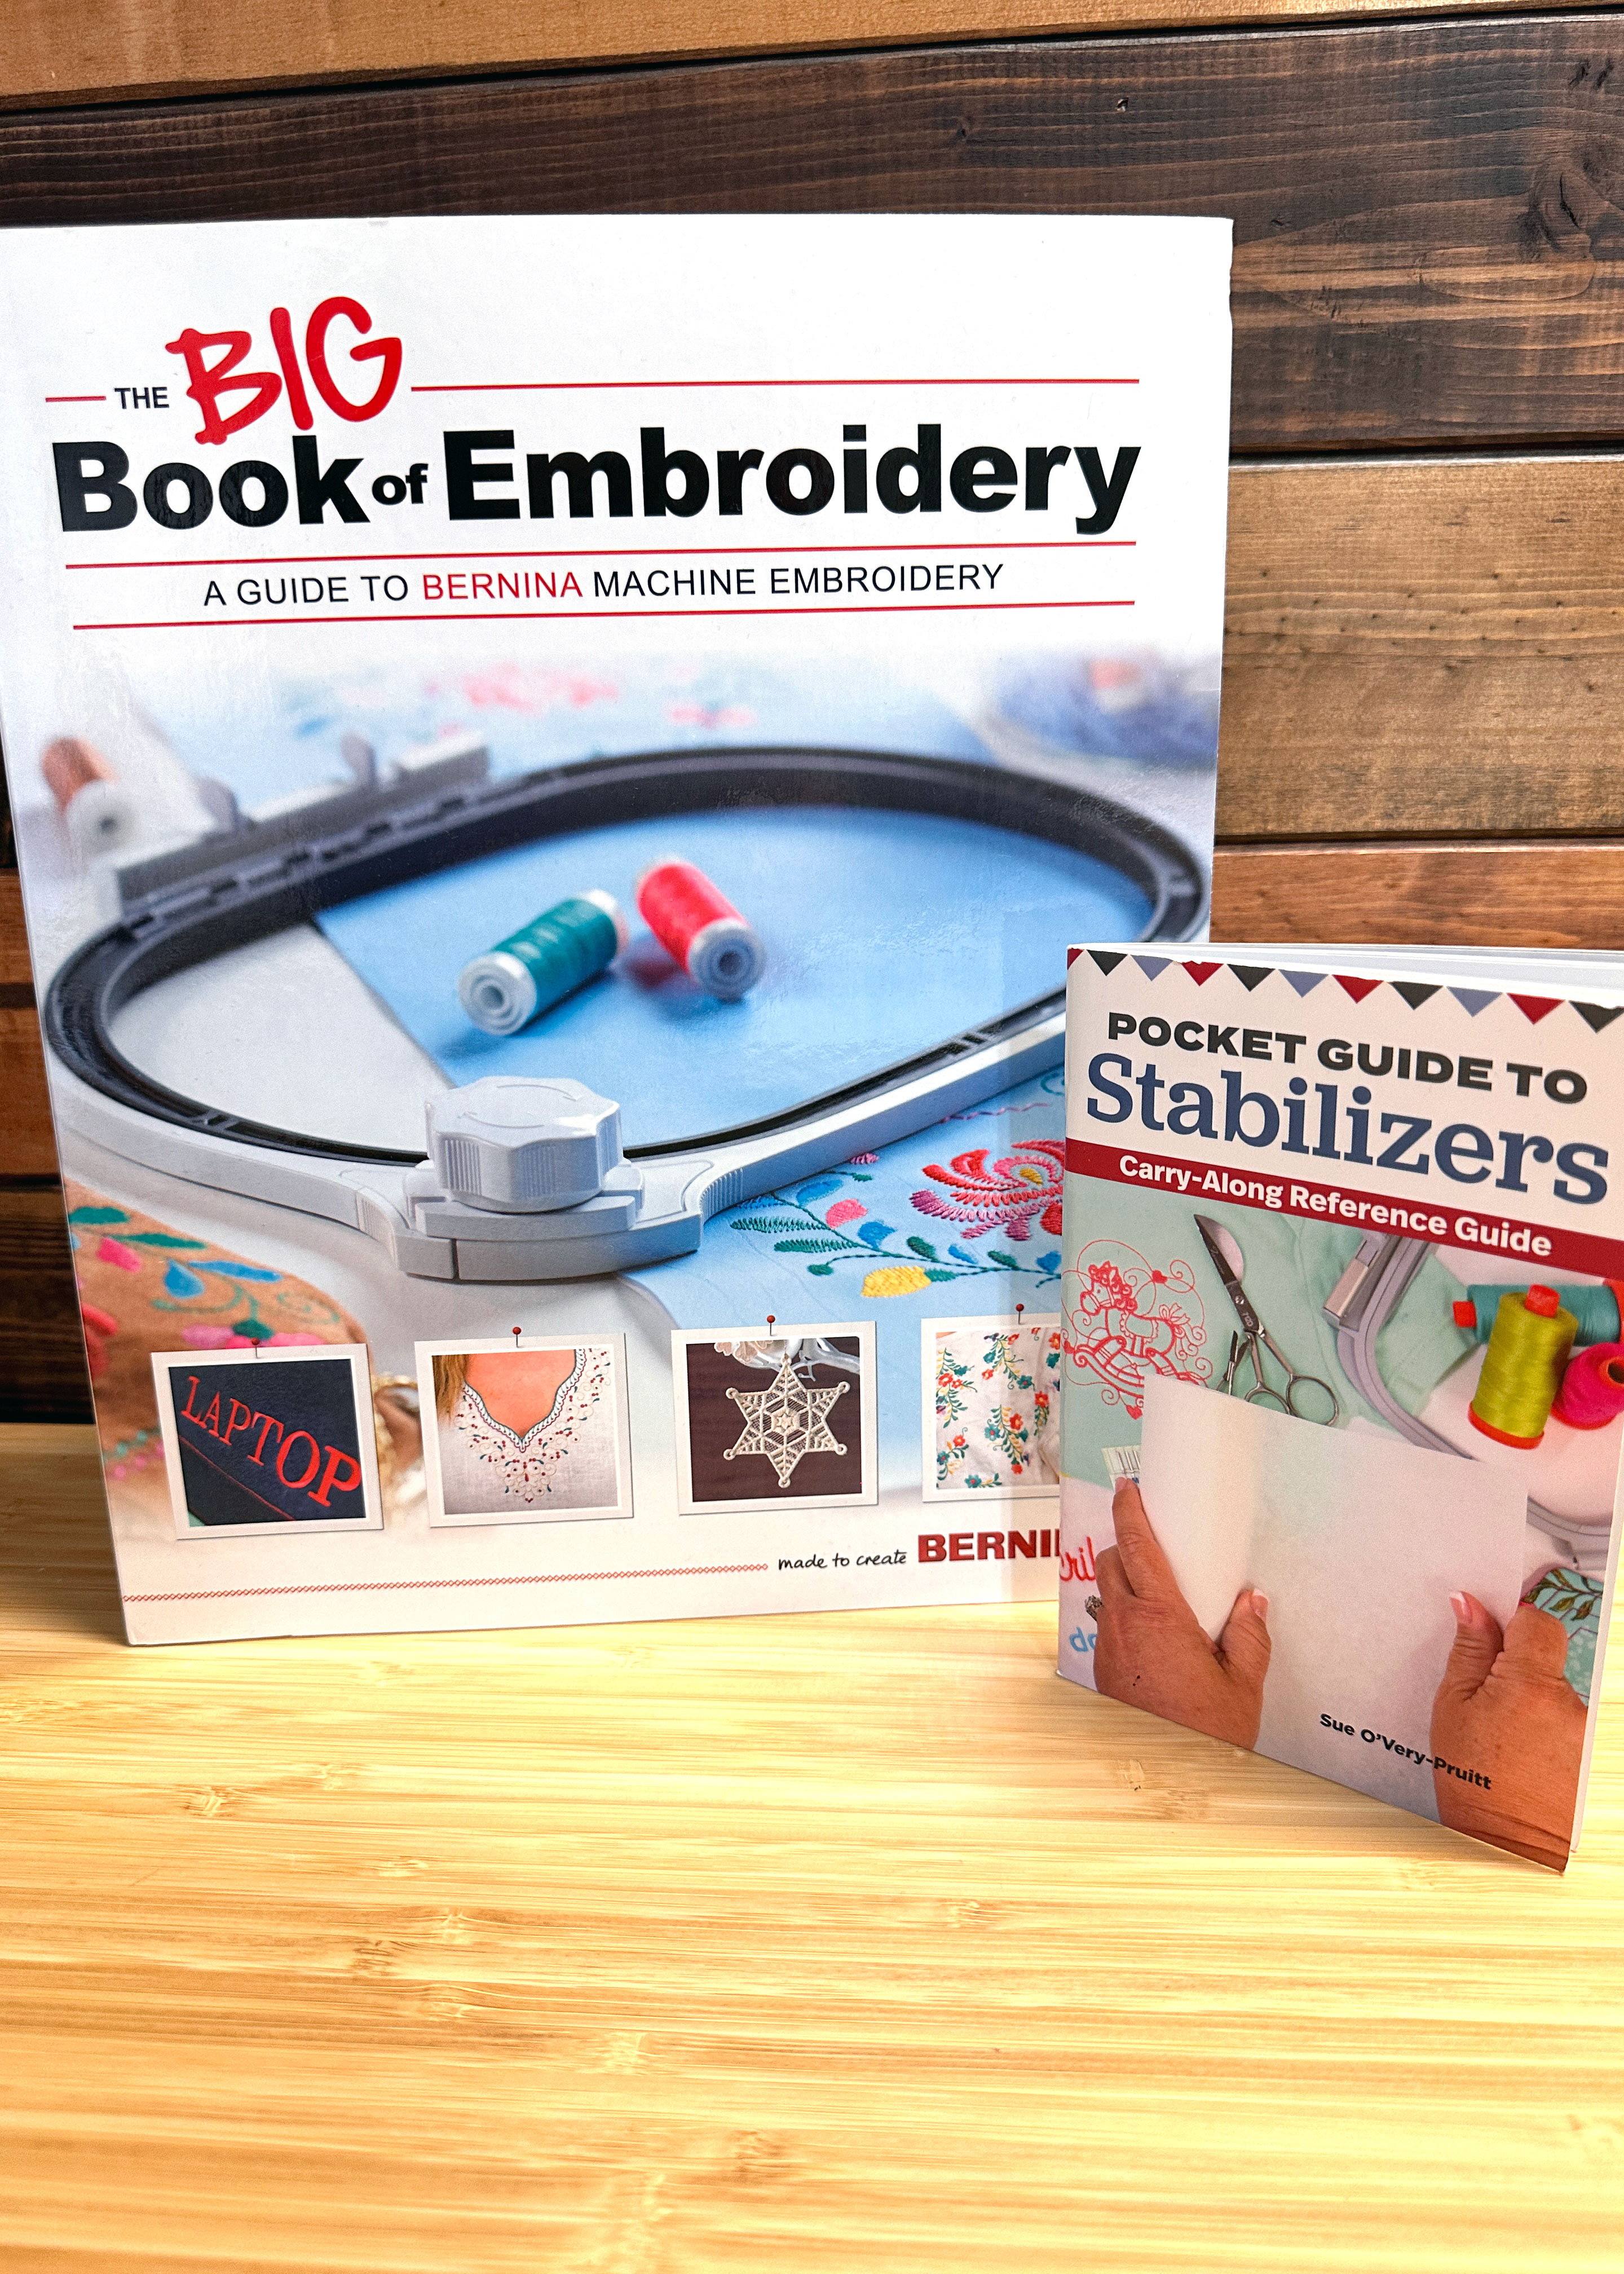
I also had on hand The Big Book of Machine Embroidery and the Pocket Guide to Stabilizers by Sue O’Very (aka Sookie Sews), a fellow BERNINA Ambassador and machine embroidery expert. The BERNINA Big Book series are great and I was excited to add this one to my collection. The pocket guide is great to tuck into your purse and pull out as a reference when you’re not sure what stabilizer to purchase. You should be able to find both of these at your BERNINA dealer.
By the way, on this blog, there is an excellent “Embroider-Along” 12-part blog post by Sookie Sews. She covers everything from stabilizers to needles to threads to hoops to tips for embroidering on a variety of fabrics. It’s worth checking out and bookmarking for future reference.
Stitching My First Machine Embroidery Design
Now came the moment of truth, it was time to actually stitch out a design. I blocked out a chunk of time and set up my machine, keeping my downloaded copy the My BERNINA Embroidery Mastery Book handy. This is the same book used by my BERNINA dealer in the embroidery introduction class.
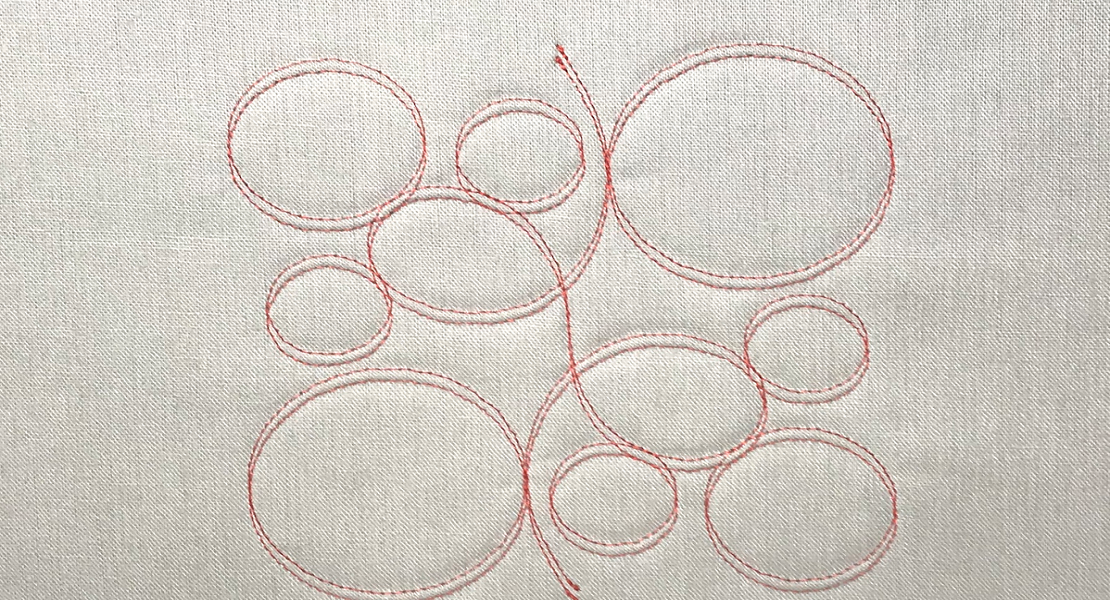
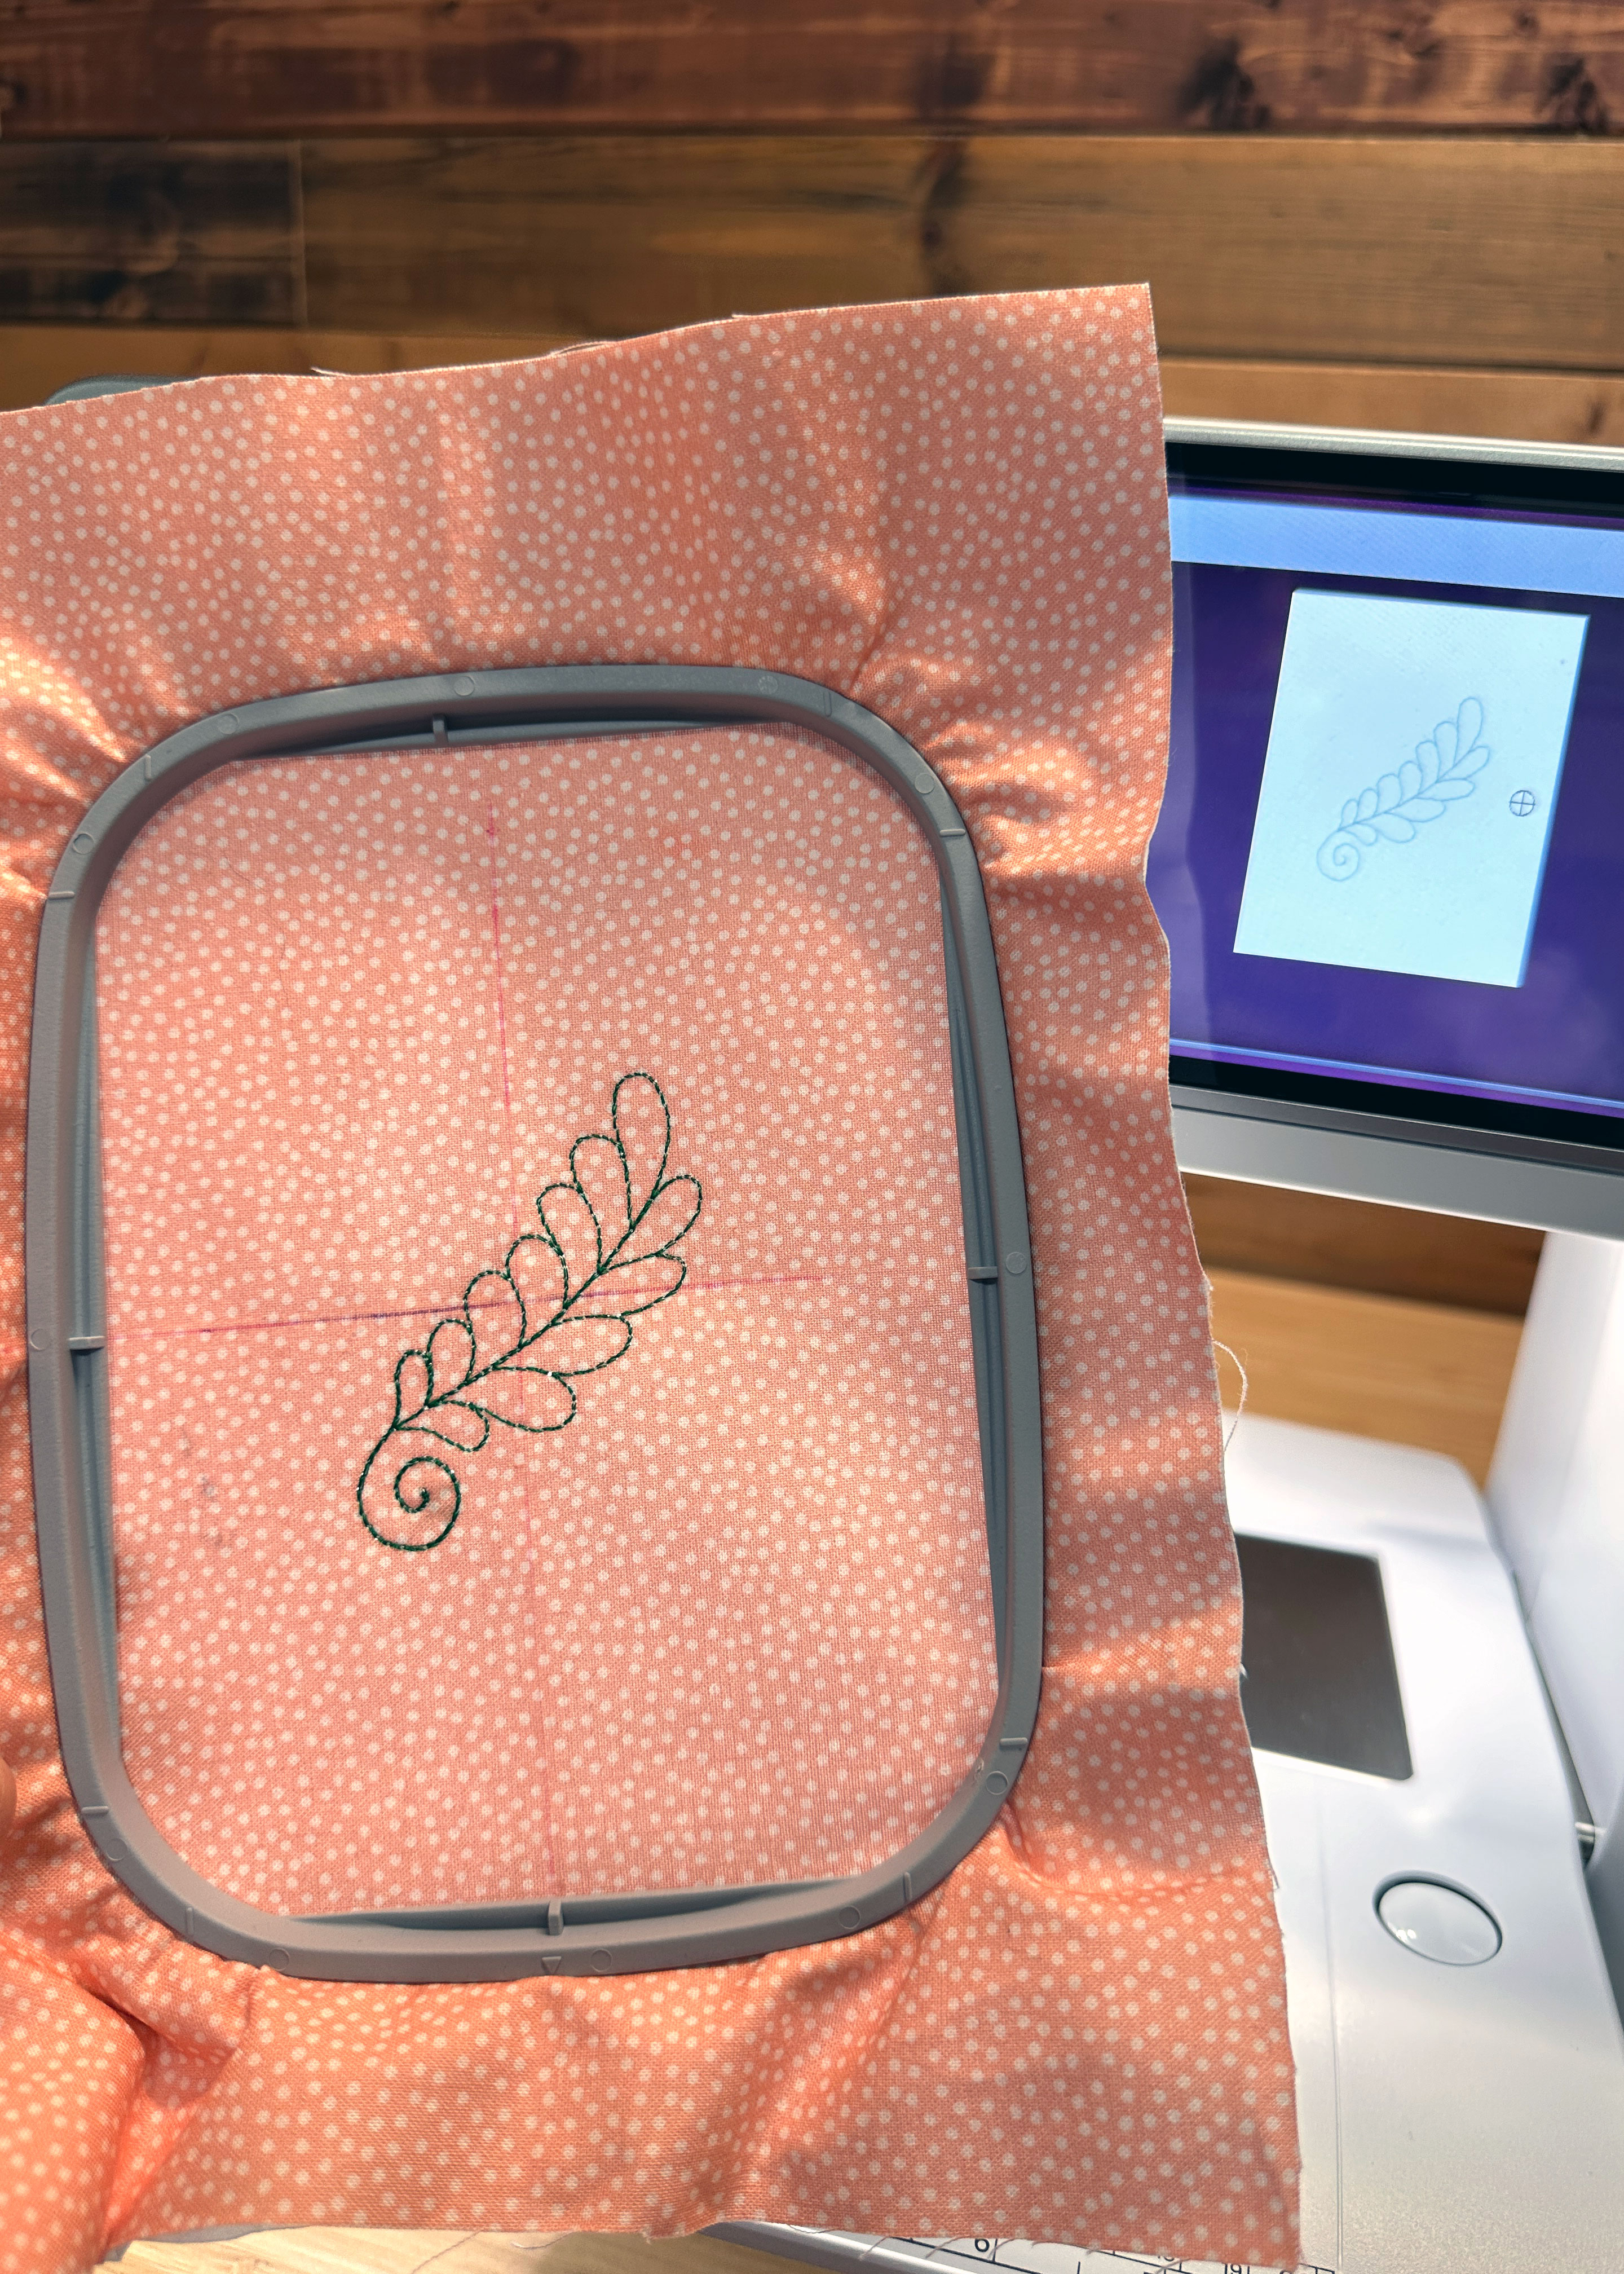
For my first attempt at embroidery, I used quilting cotton and picked a single-color design that was included on my B 770 QE PLUS. It’s actually a quilting motif, but I wanted to start with a simple design that wouldn’t require a thread change.
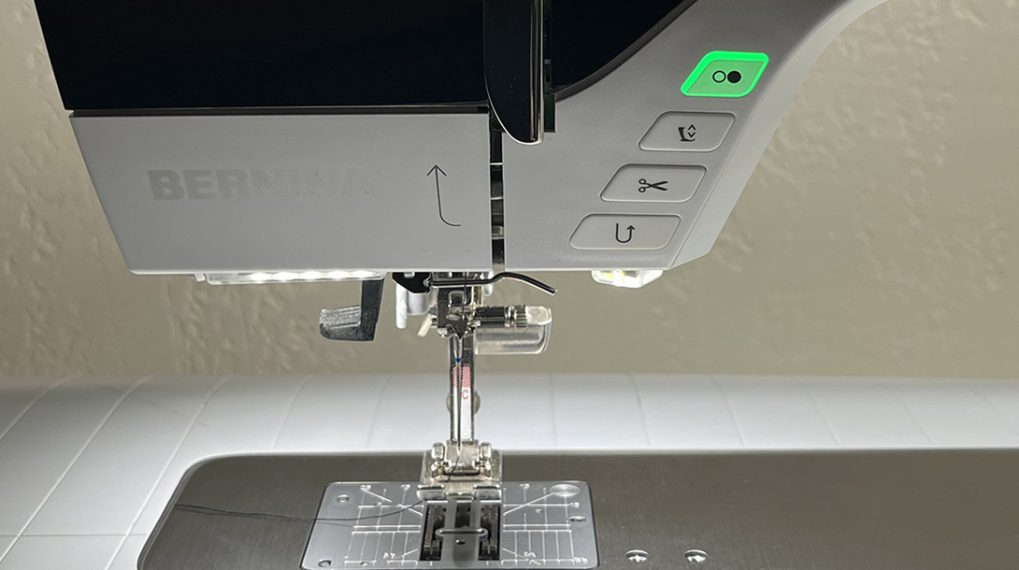
I put on my Straight- and CutWork Stitch Plate, attached the embroidery foot, inserted an embroidery needle and lowered the feed dog. Stabilizer was added to the back of my quilting cotton fabric, which I then hooped. I found this BERNINA video to be a helpful reminder on how to hoop my fabric. The hoop was attached, and with 60-wt thread in the bobbin and the Isacord thread in the machine, I was ready.
I pressed the start button, the machine began stitching and I was mesmerized watching the simple design stitch out.
That’s all it took for me to fall in love with machine embroidery!
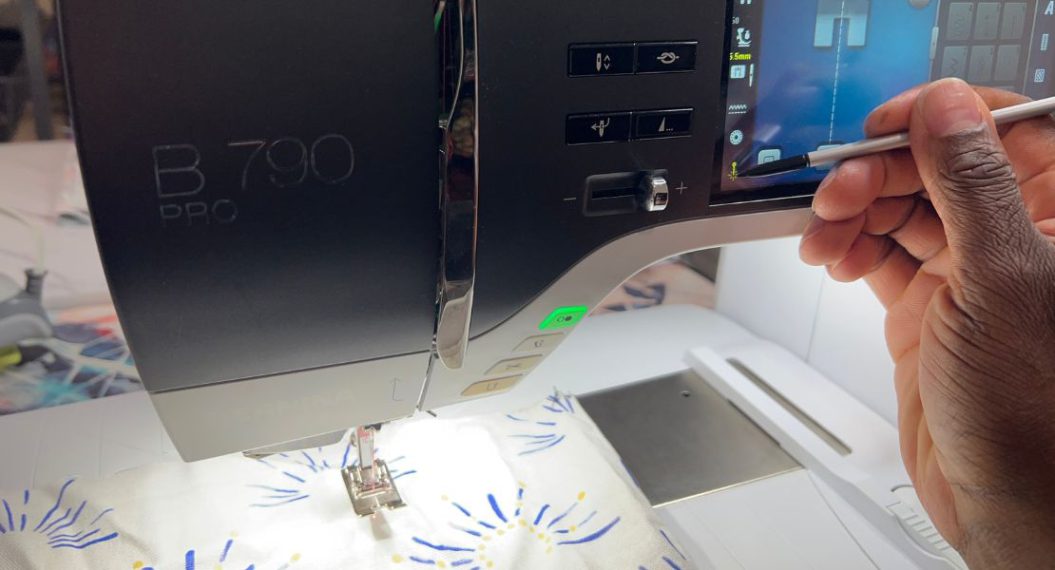
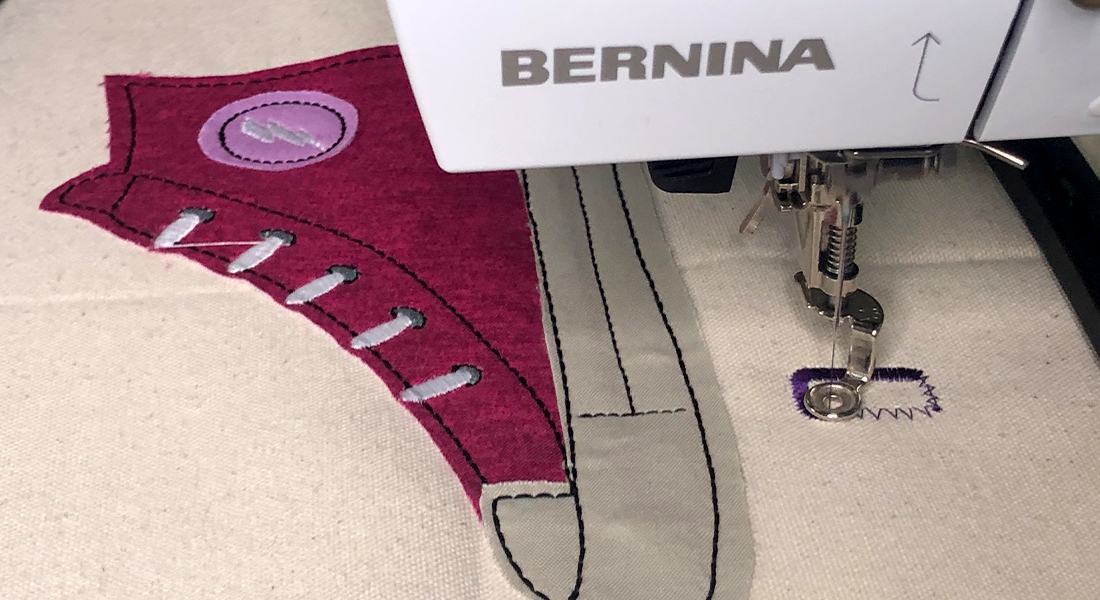
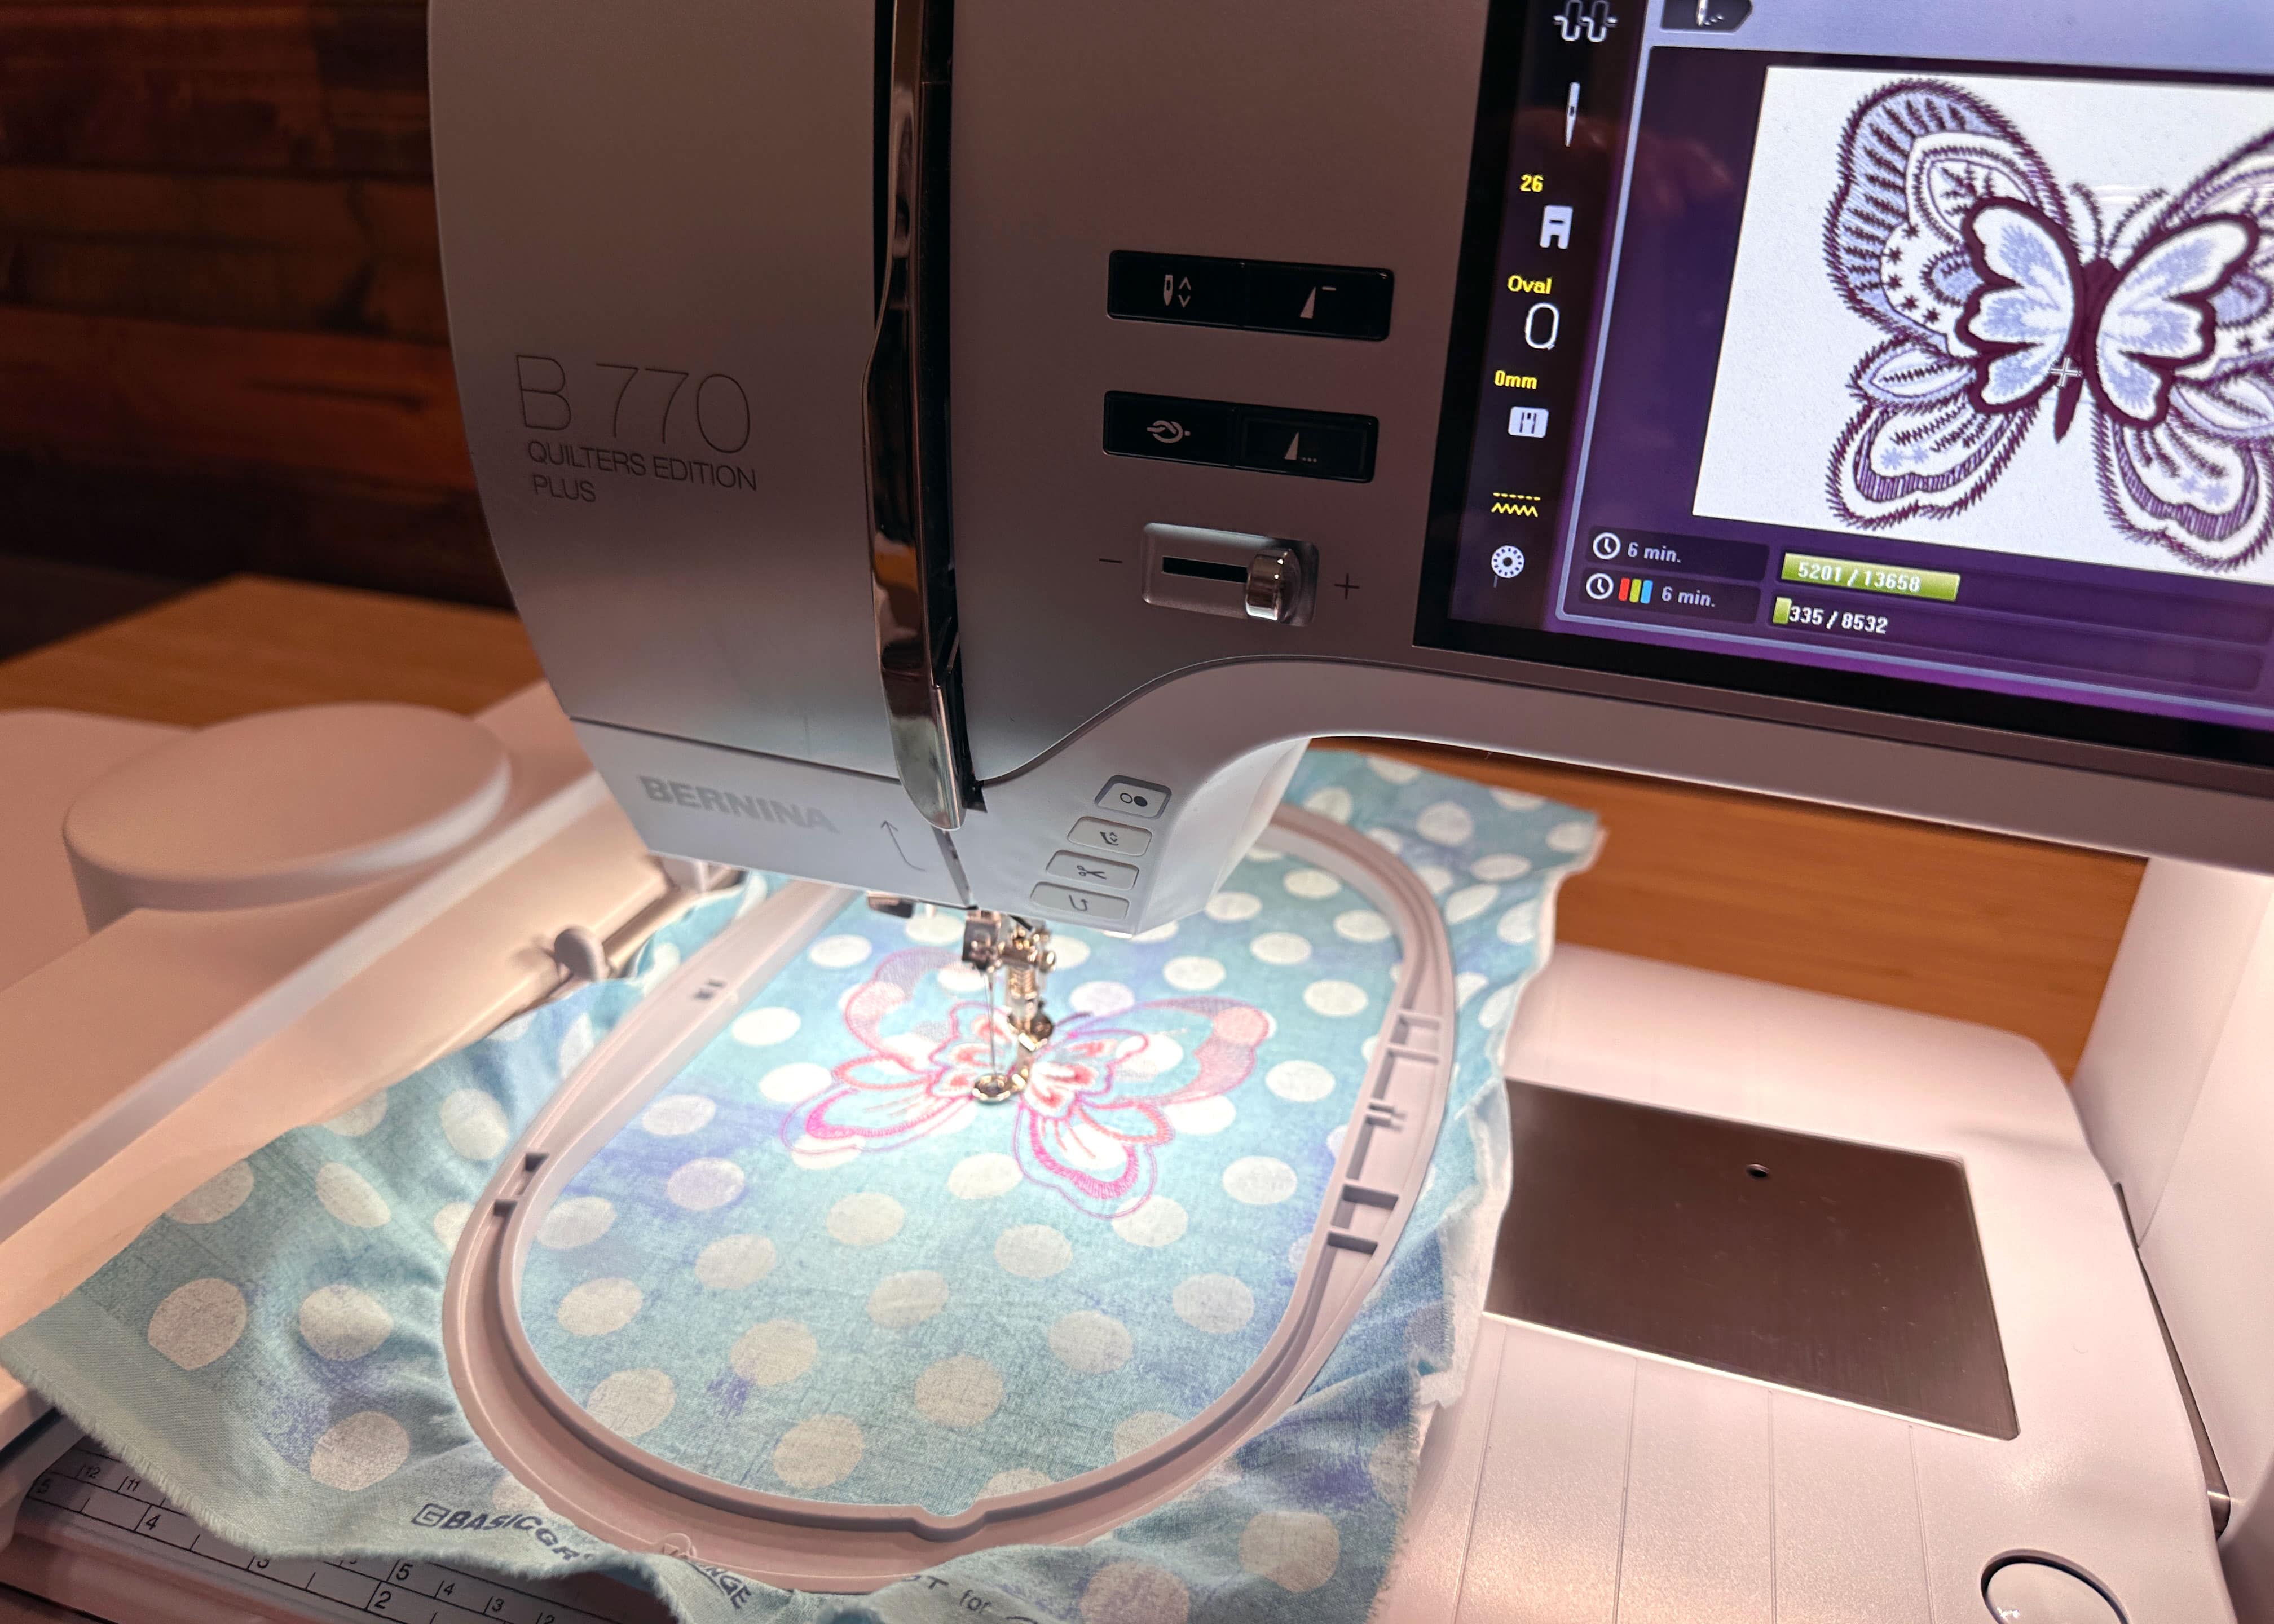
Of course, I immediately wanted to embroider another design. This time I picked a butterfly design included on my machine. It not only required me to make color changes but gave me a chance to practice changing the individual thread colors in my design.
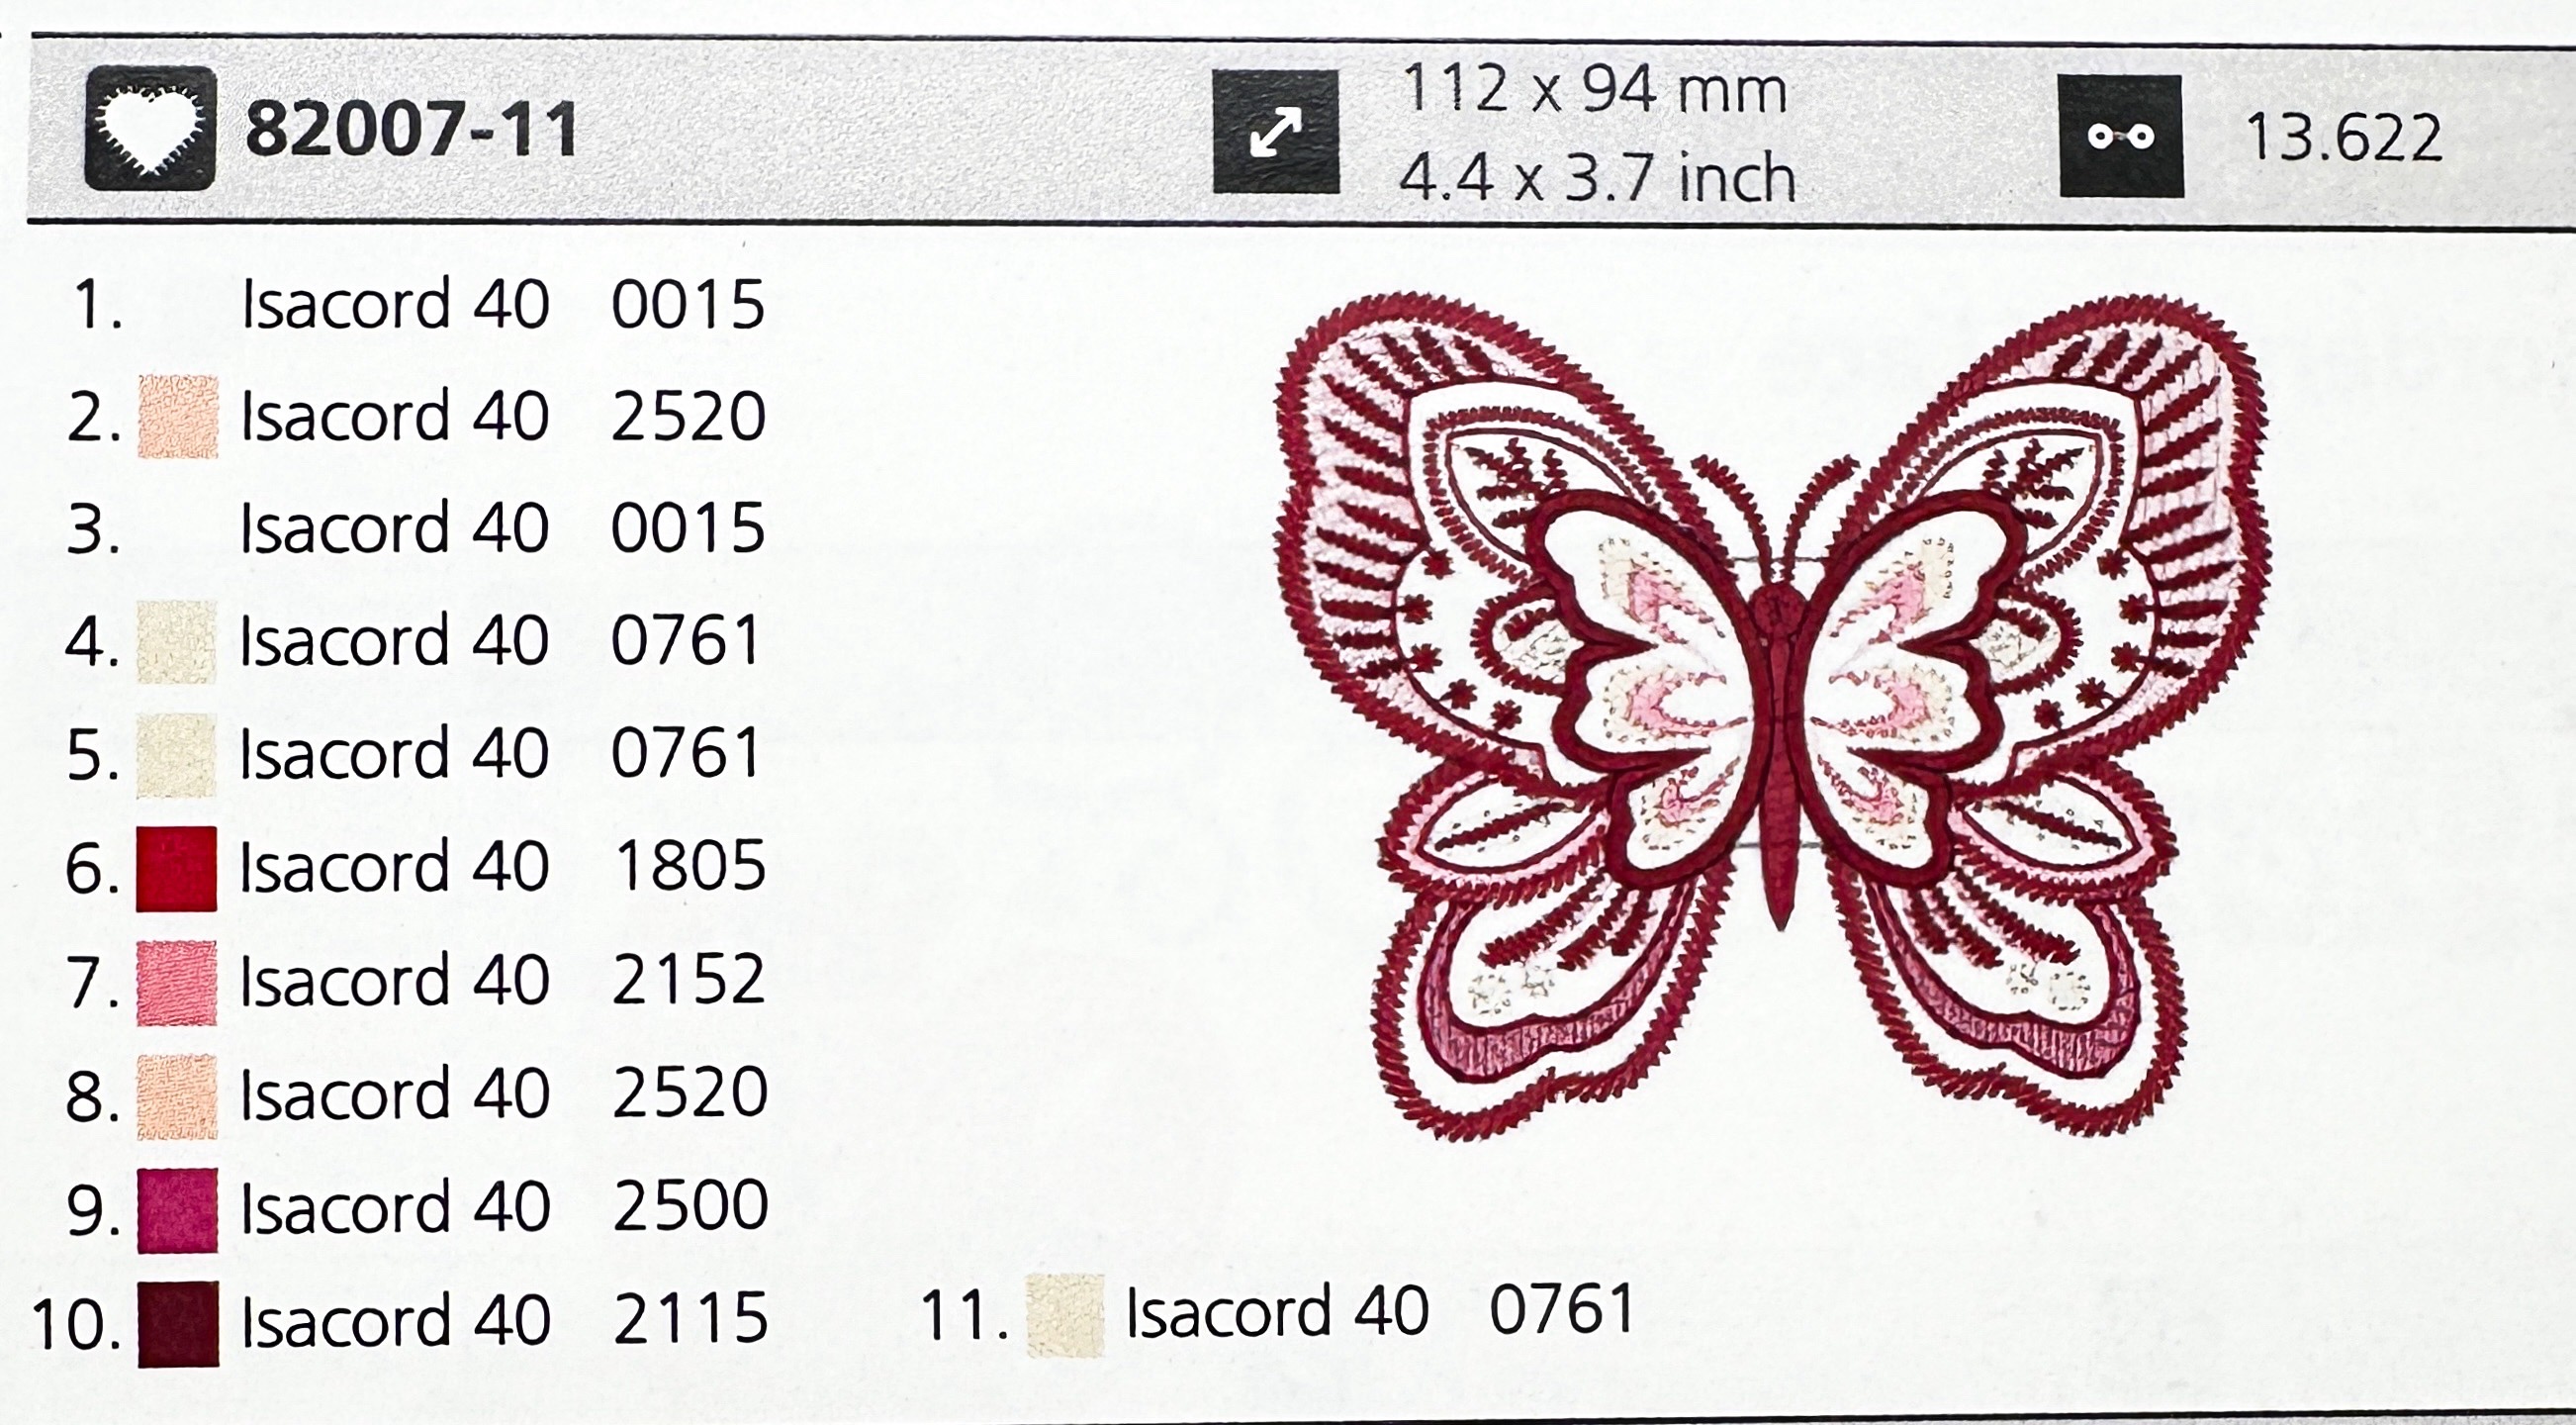
You can see I changed the colors from reds and pinks to purples. Once everything was set up I pressed the go button and watched the machine stitch out my butterfly, stopping when it was time for me to change the thread color. So, so easy.
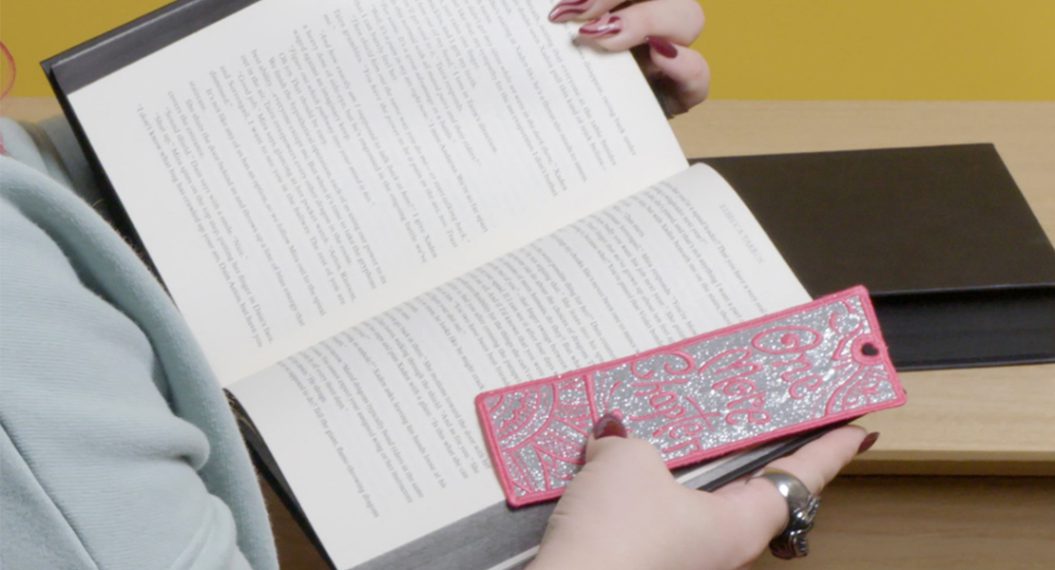
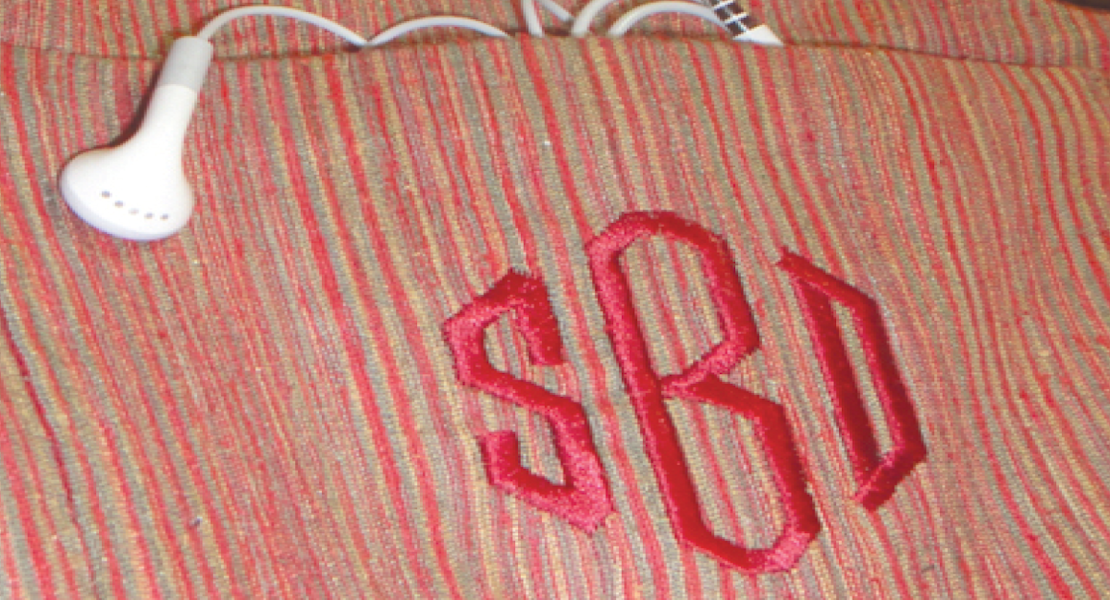
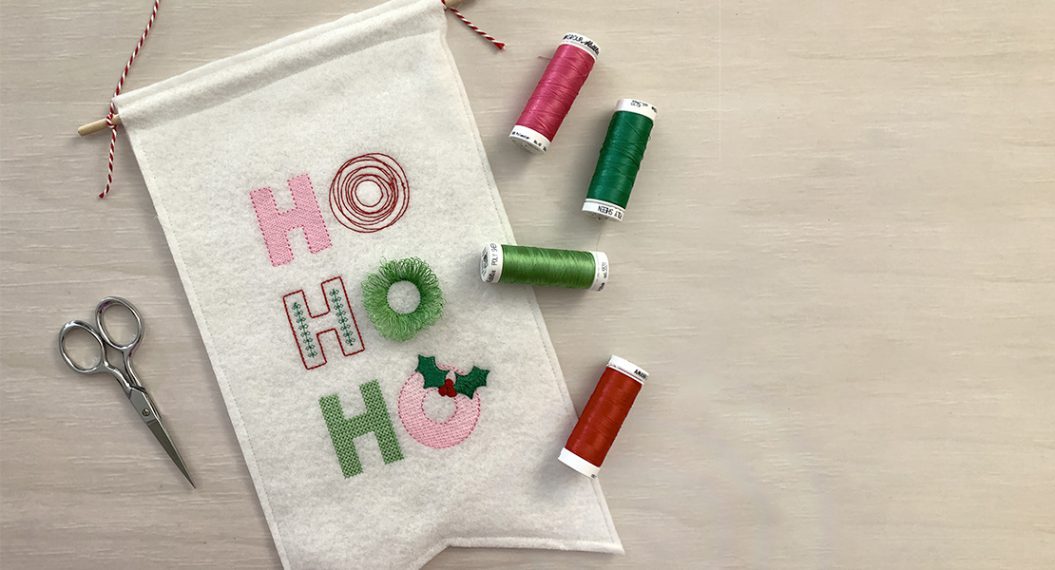
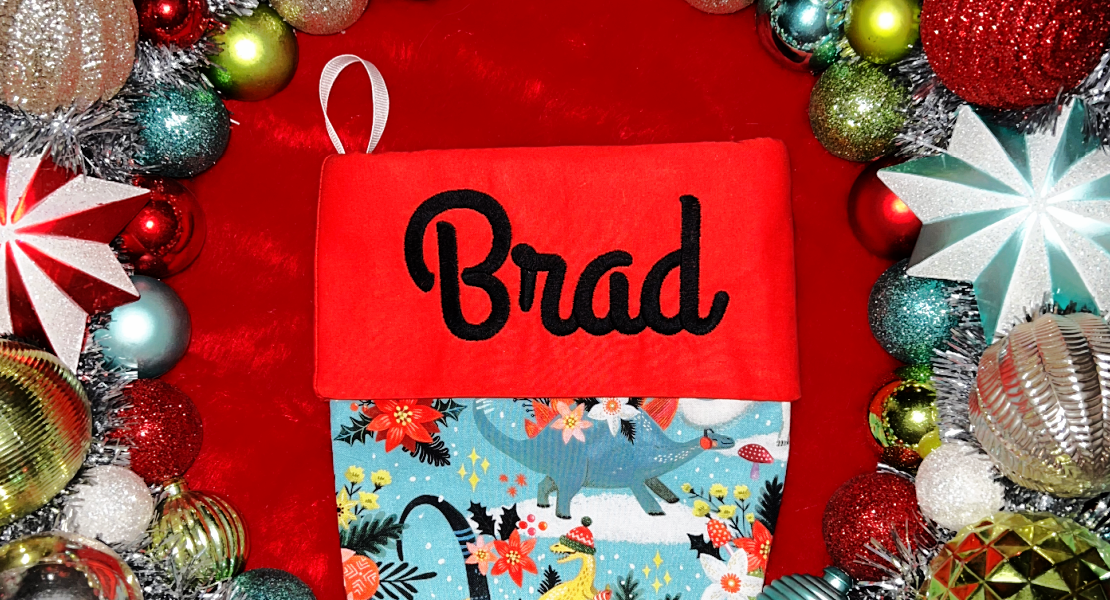
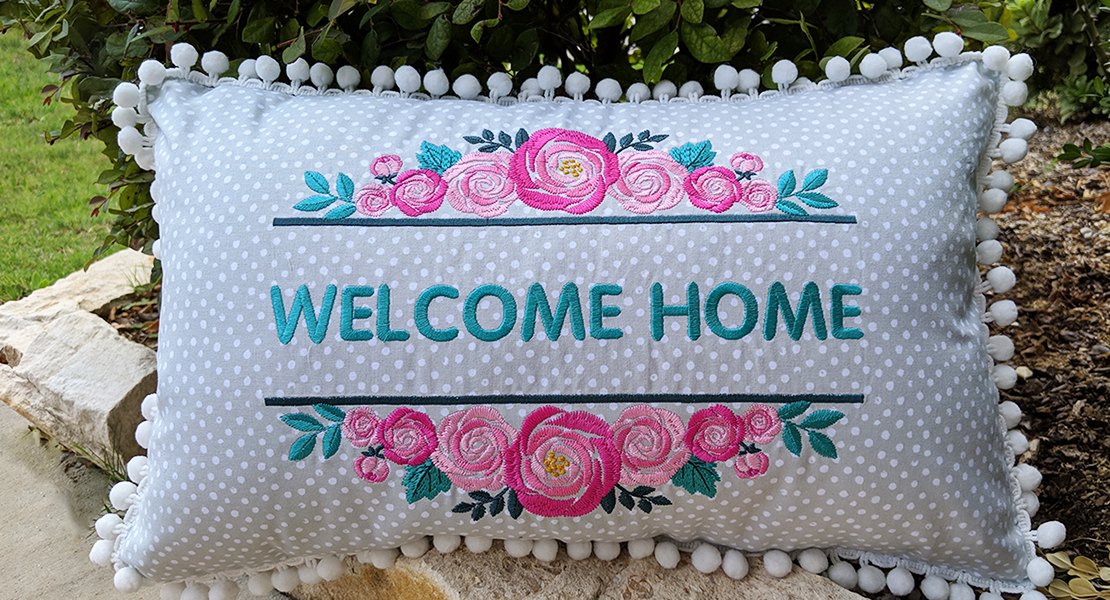
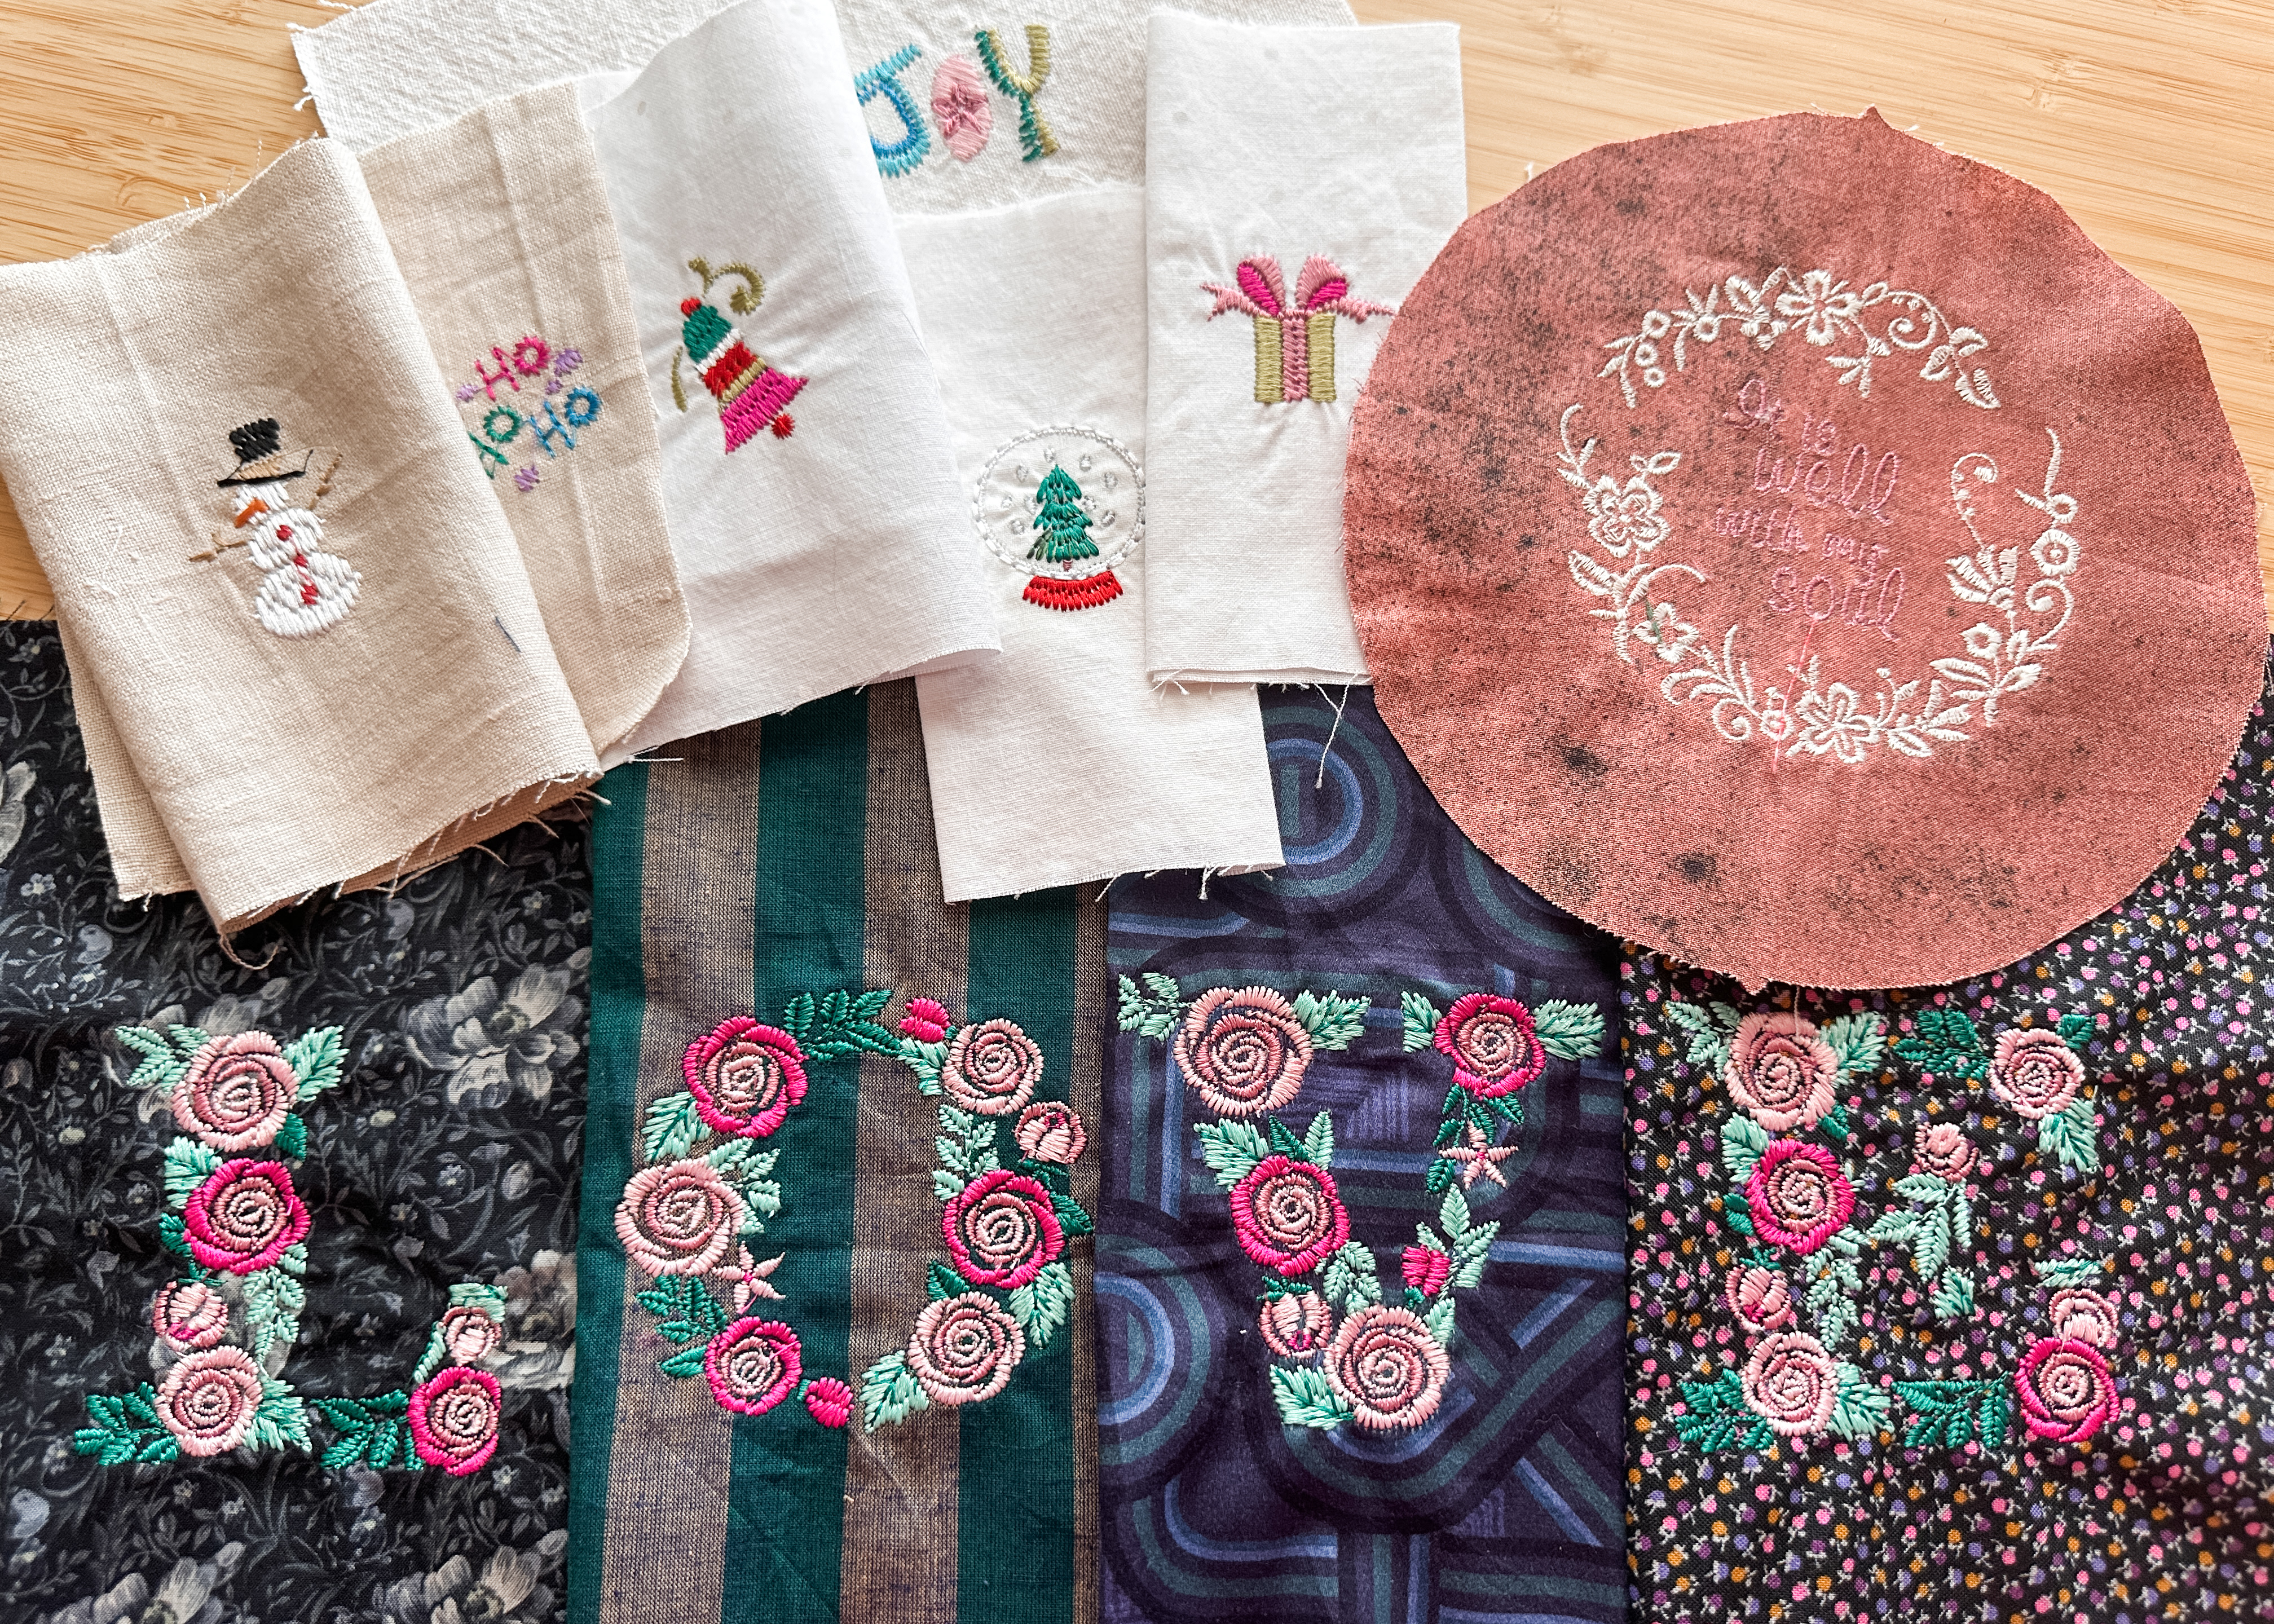
All afternoon I practiced embroidering different designs. That week, whenever I had spare time, I embroidered more designs, changing the size and direction, and well as duplicating and moving the location of the designs. I used different fabrics, stabilizers, and hoops. Here are some of my practice designs, all from OESD: Tiny Holiday, It is Well with My Soul, and the letters L,O,V,E from the Life is Roses collection.
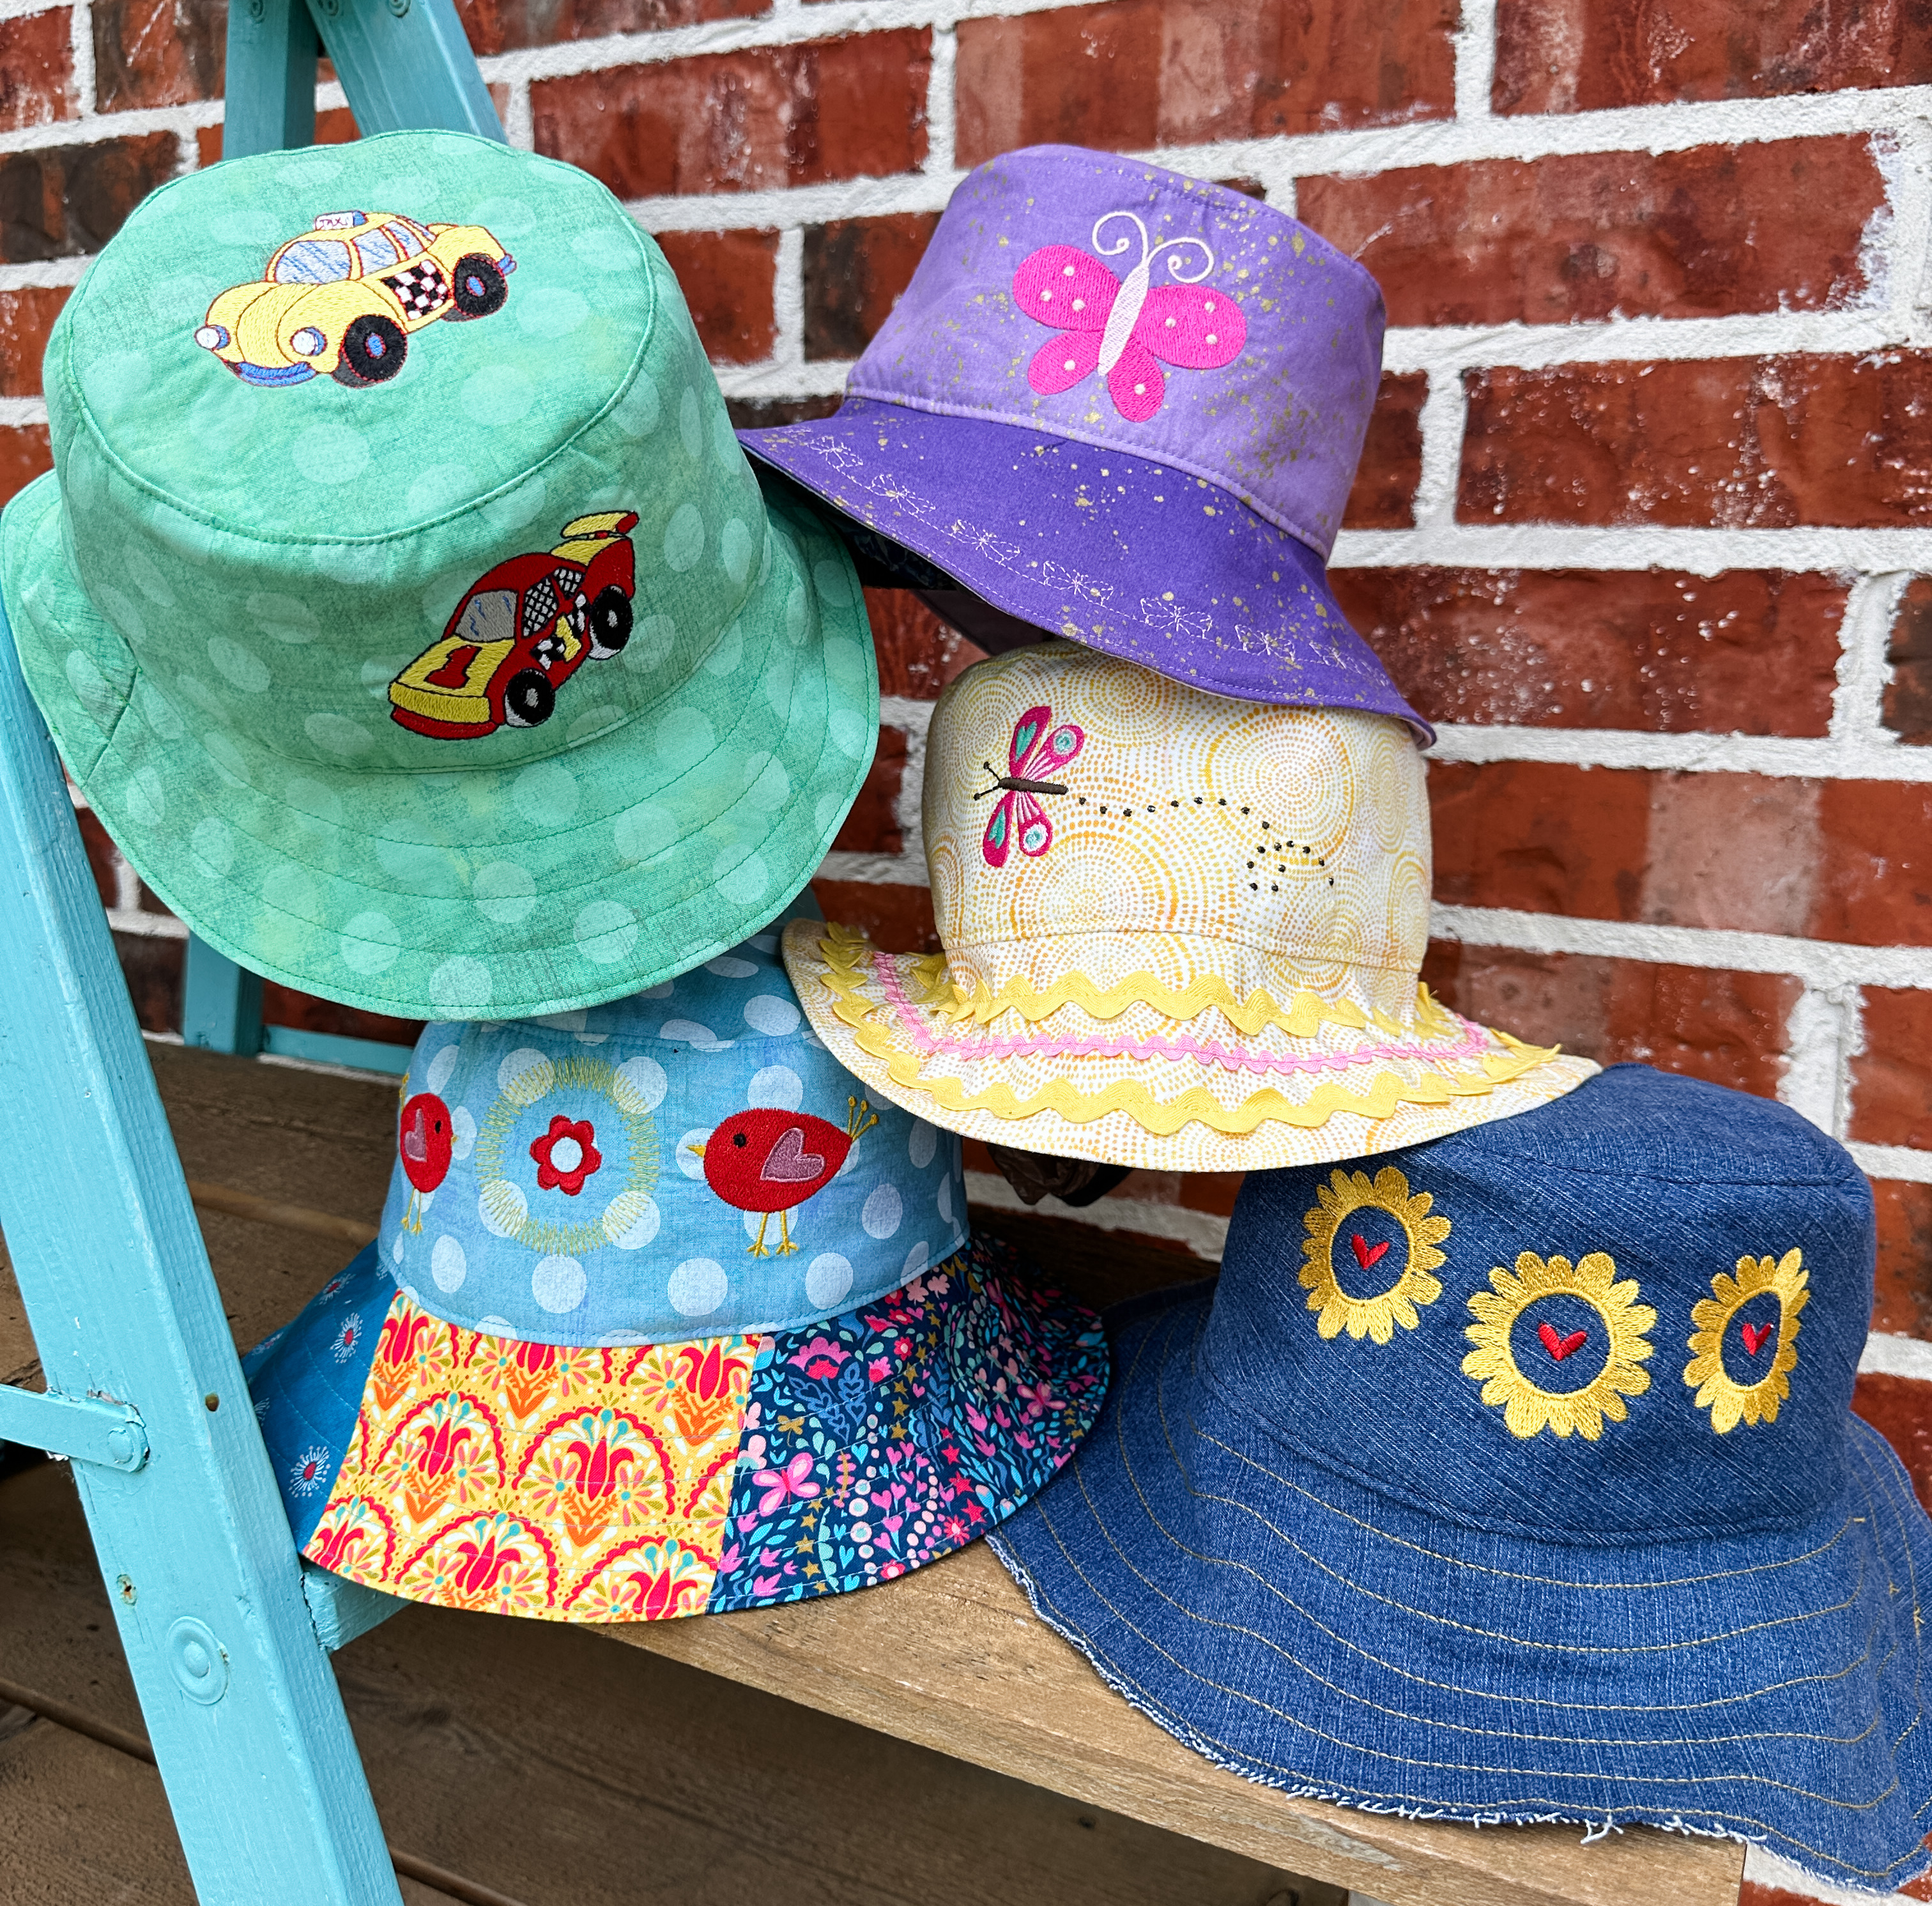
I quickly gained confidence and sewed these personalized bucket hats for some young family members. You can do it too with the step-by-step tutorial on the WeAllSew blog.
What I Learned my First Week of Machine Embroidery
- Practice, Practice, Practice
-
- As much as I would have loved to sit down and master machine embroidery within my first week, that simply was an unrealistic expectation. As with any new skill, there is a learning curve. But that old saying “practice makes perfect” is true. The more I do machine embroidery, the more confidence and skill I gain.
-
- It’s not that hard
-
- I can’t even express to you the joy I felt that afternoon as I stitched my first few designs. I found it exciting and it motivated me to learn even more. Right now, the hardest part has been learning to hoop my fabric and center my design. The first few times I followed a YouTube video from BERNINA Educator Fabian Renteria who demonstrated how to use the pin point feature. Everyone assures me the more I do it, the easier it becomes.
-
- Don’t skimp on the stabilizer
-
- As a beginner, I am still a bit unsure on how much stabilizer to use on my fabric to support the designs I have chosen. I realized the more dense the design, the more stabilizer I needed. I also learned that fabrics with any texture need a top stabilizer. As much as I would like to intuitively know what stabilizer and how much, trial and error has proved to be a pretty good teacher.
-
- Fellow machine embroidery enthusiasts want you to succeed.
-
- I’m sure you already know that the sewing community is friendly and generous. When I shared that I was starting machine embroidery, I had multiple people reach out to me with helpful tips and offers to answer questions I may have. I found some Facebook groups dedicated to machine embroidery where tips and tricks as well as finished projects are shared. They love machine embroidery and want you to love it too!
-
Now if you’ll excuse me, I’m going to go embellish some garments with machine embroidery.