How to Make a Bucket Hat
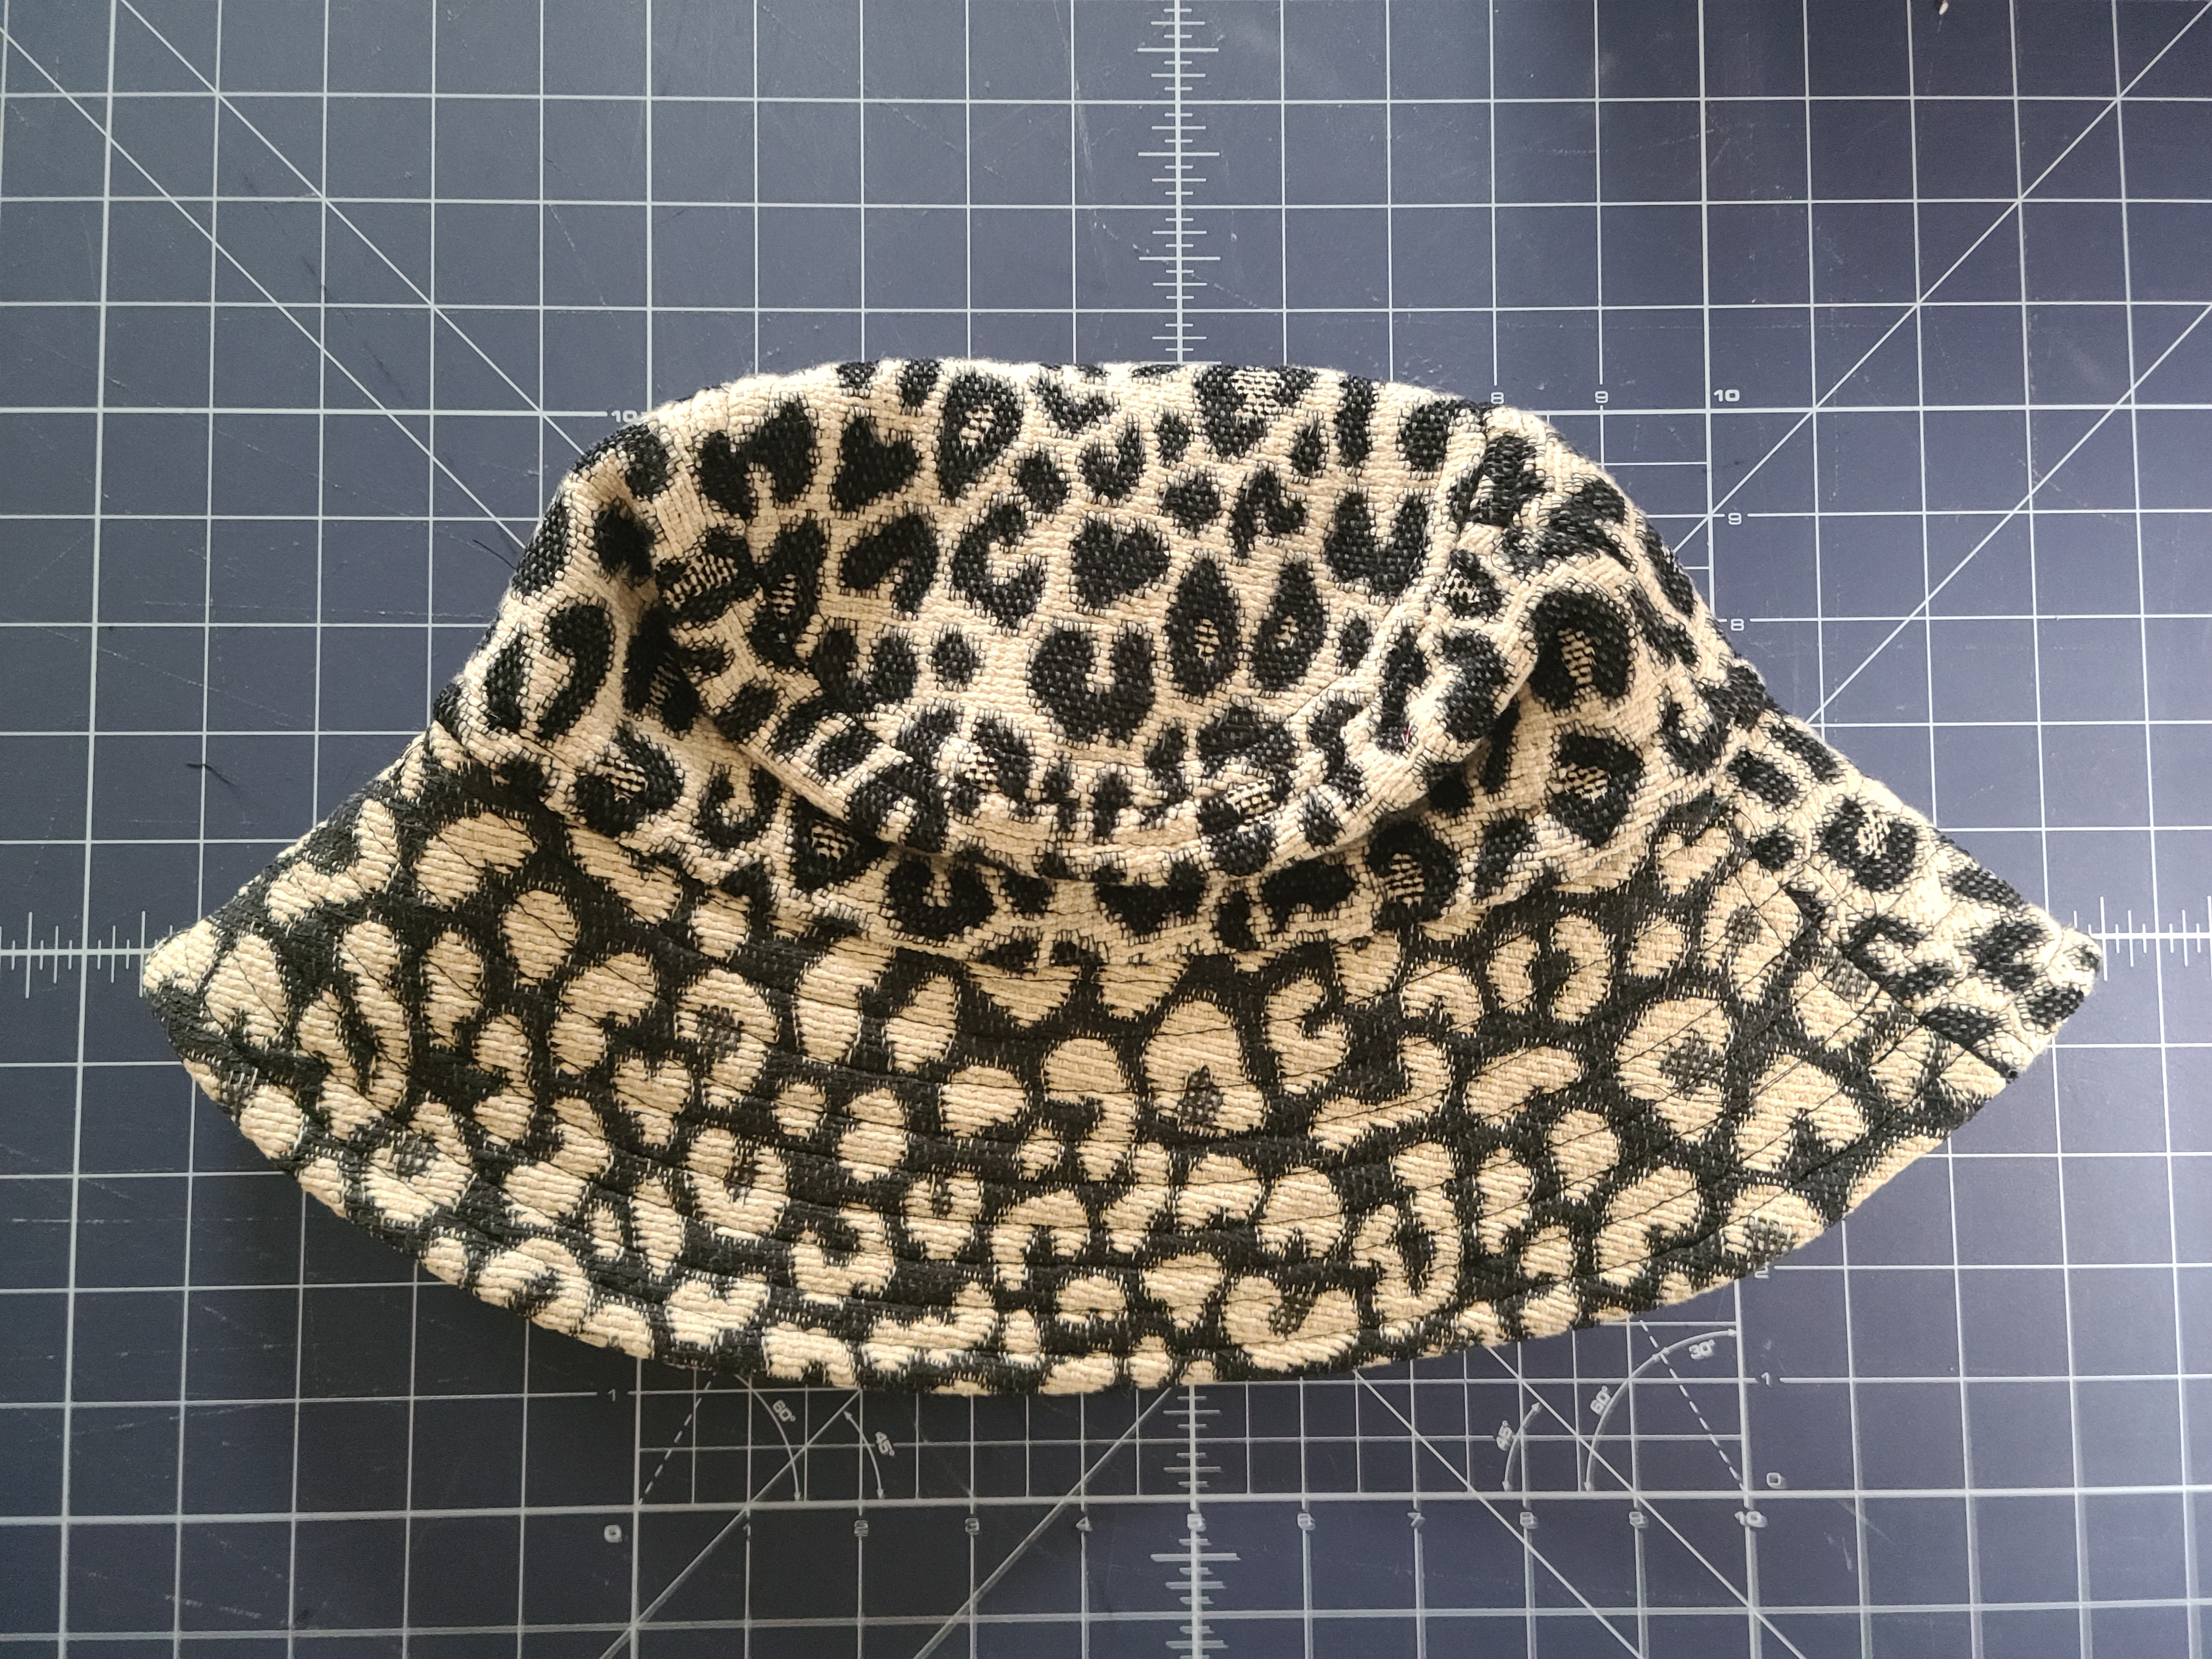
Bucket hats have been popping up with a vengeance for the last couple of months. They are very popular during the summer months but I’m not so ready to let the bucket hat fade out of the picture so I thought creating a Fall version would be a great look! I used the basic Bucket hat pattern for my Fall bucket hat, however, I did widen the brim by about 1” and used a heavier sturdier fabric for cooler weather. I love the final product and I’m sharing all the deets on construction.
Supplies to Make a Bucket Hat
- Glory Allen FREE Bucket Hat Pattern
- ½ yard Fabric
- ¼ yard lining
- ½ yard Pellon fusible interfacing
- 1 yard double fold binding
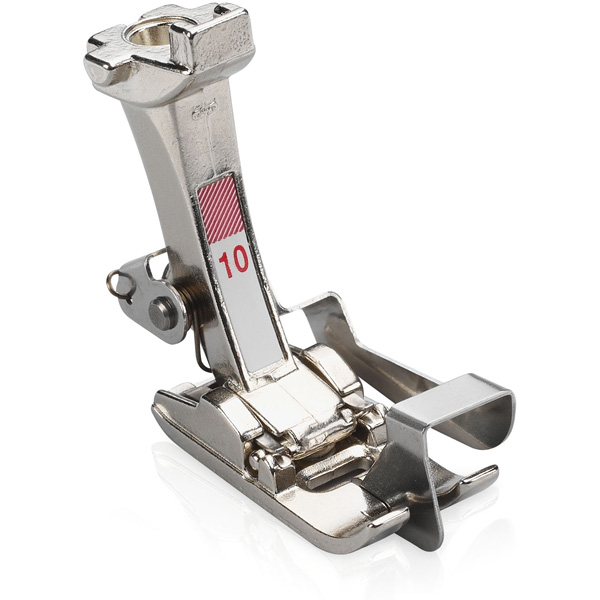
Machine Set Up
Pieces to Cut
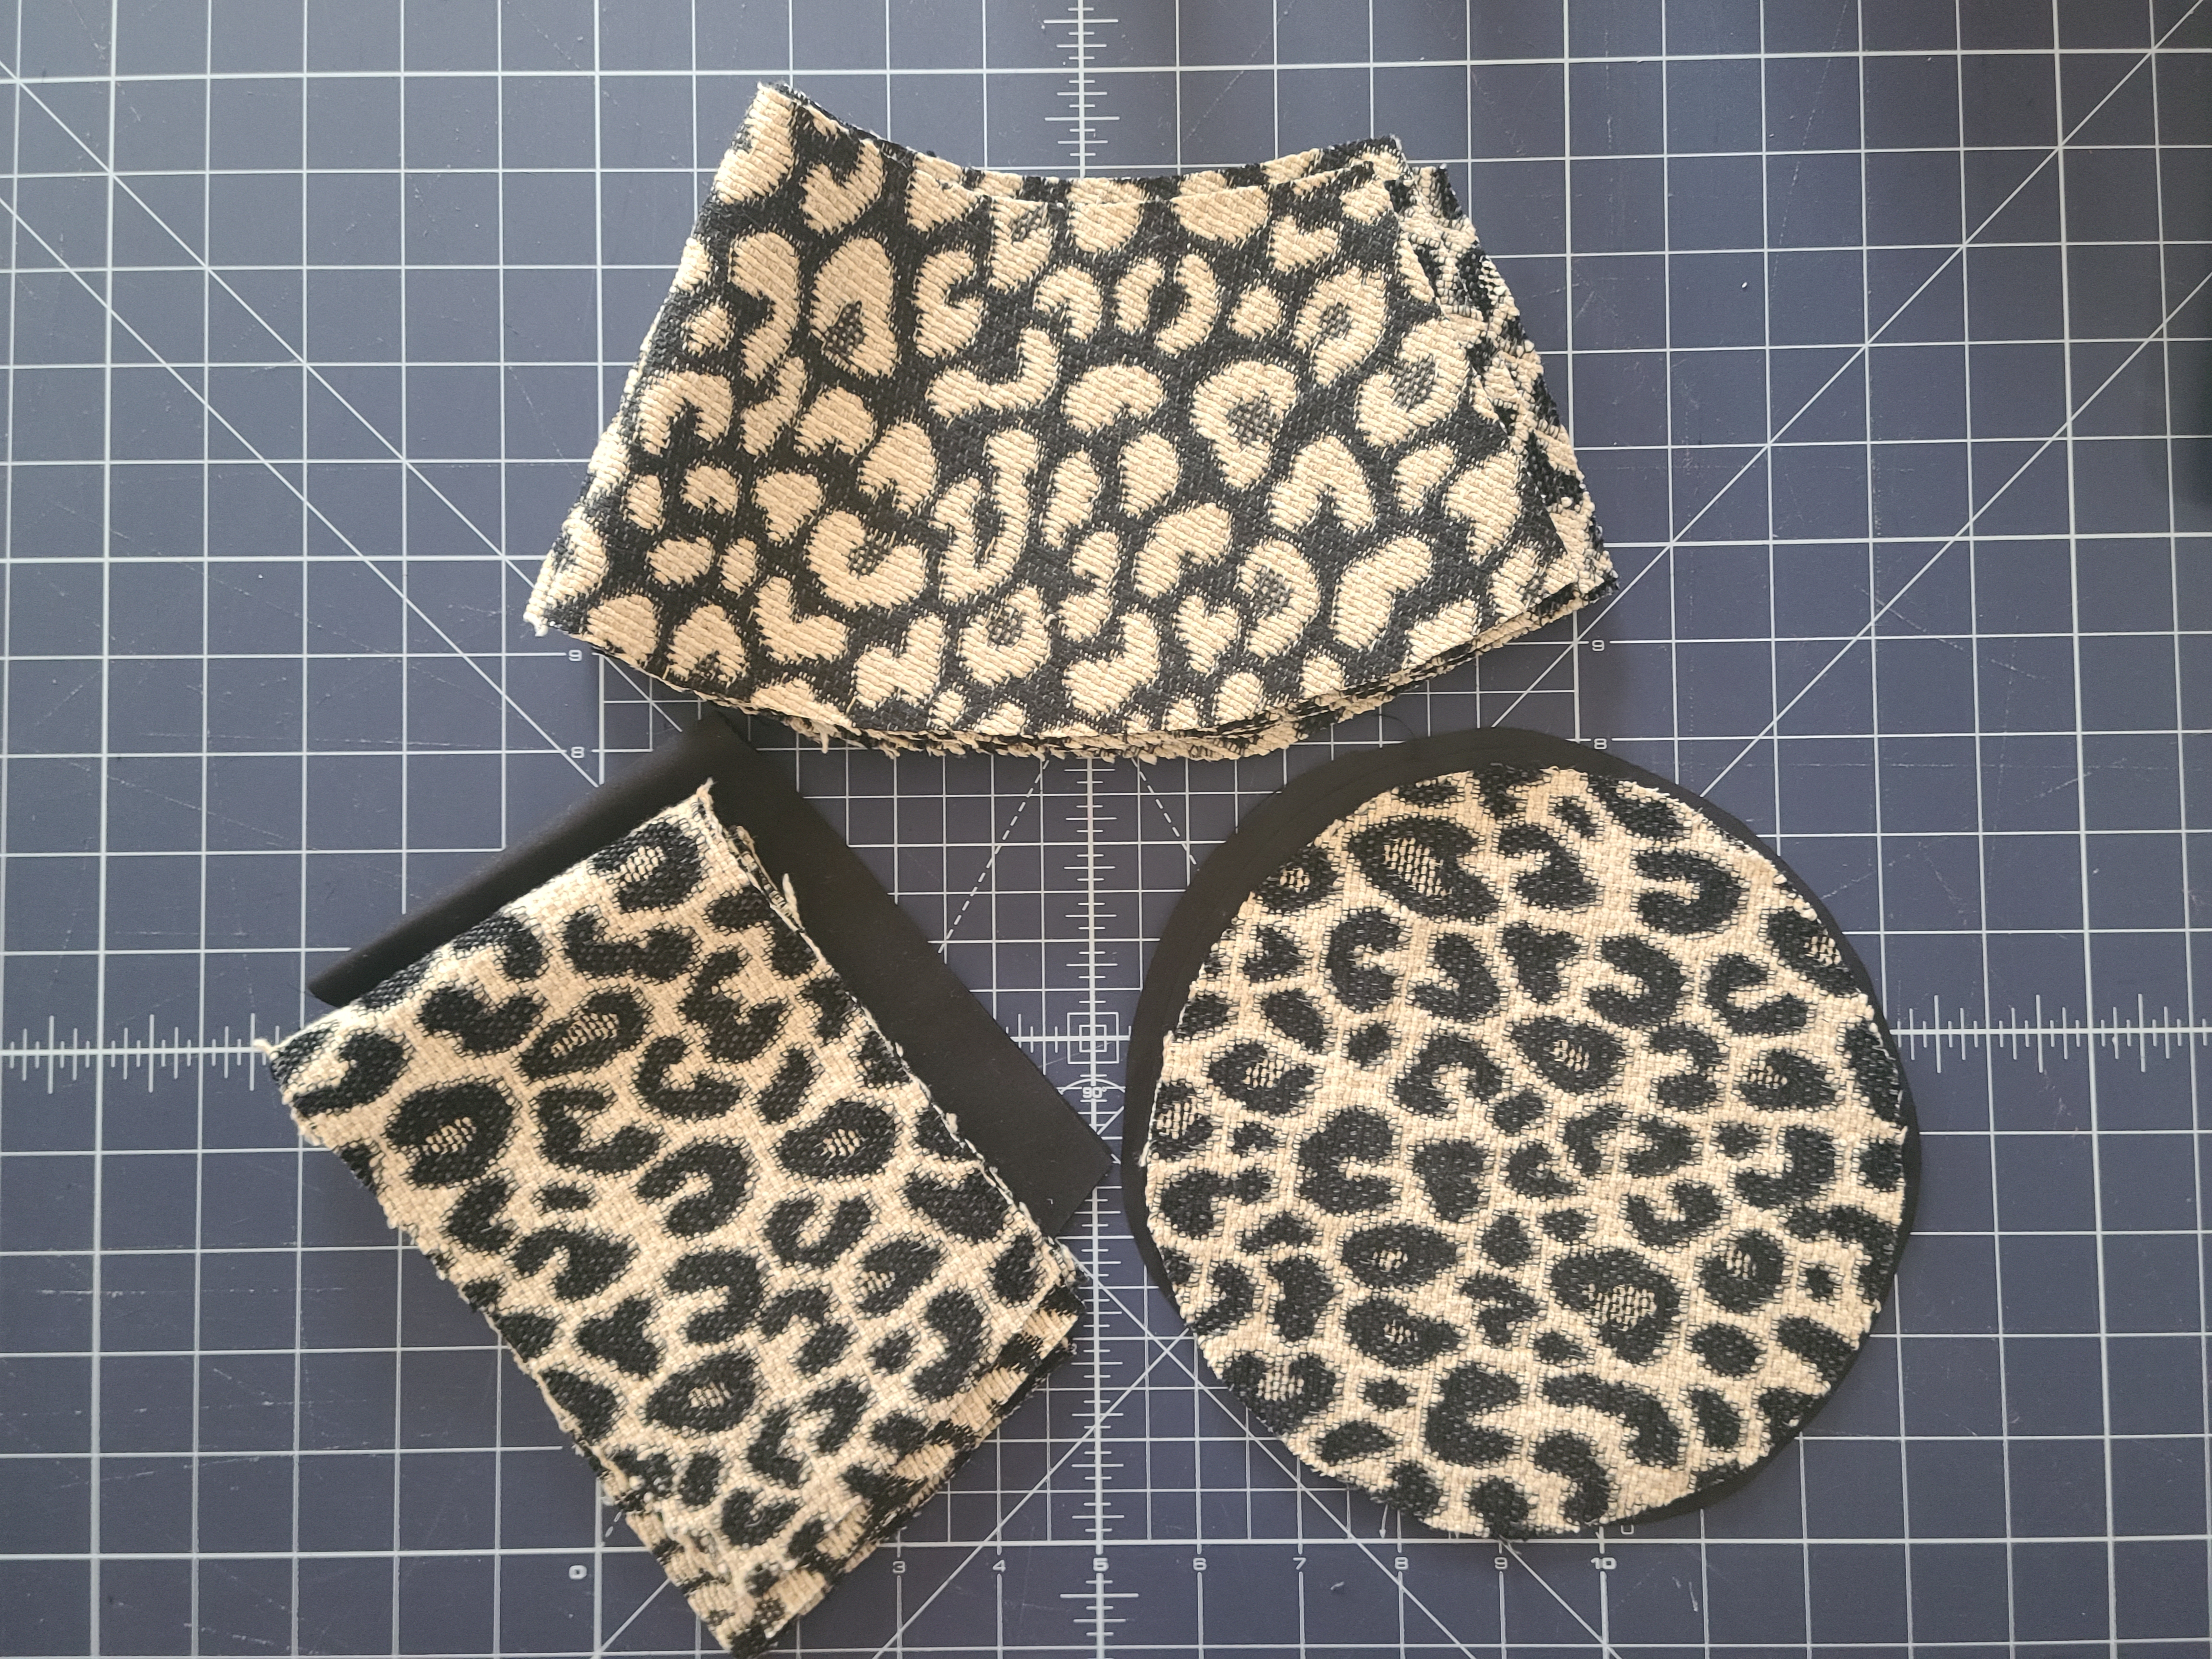
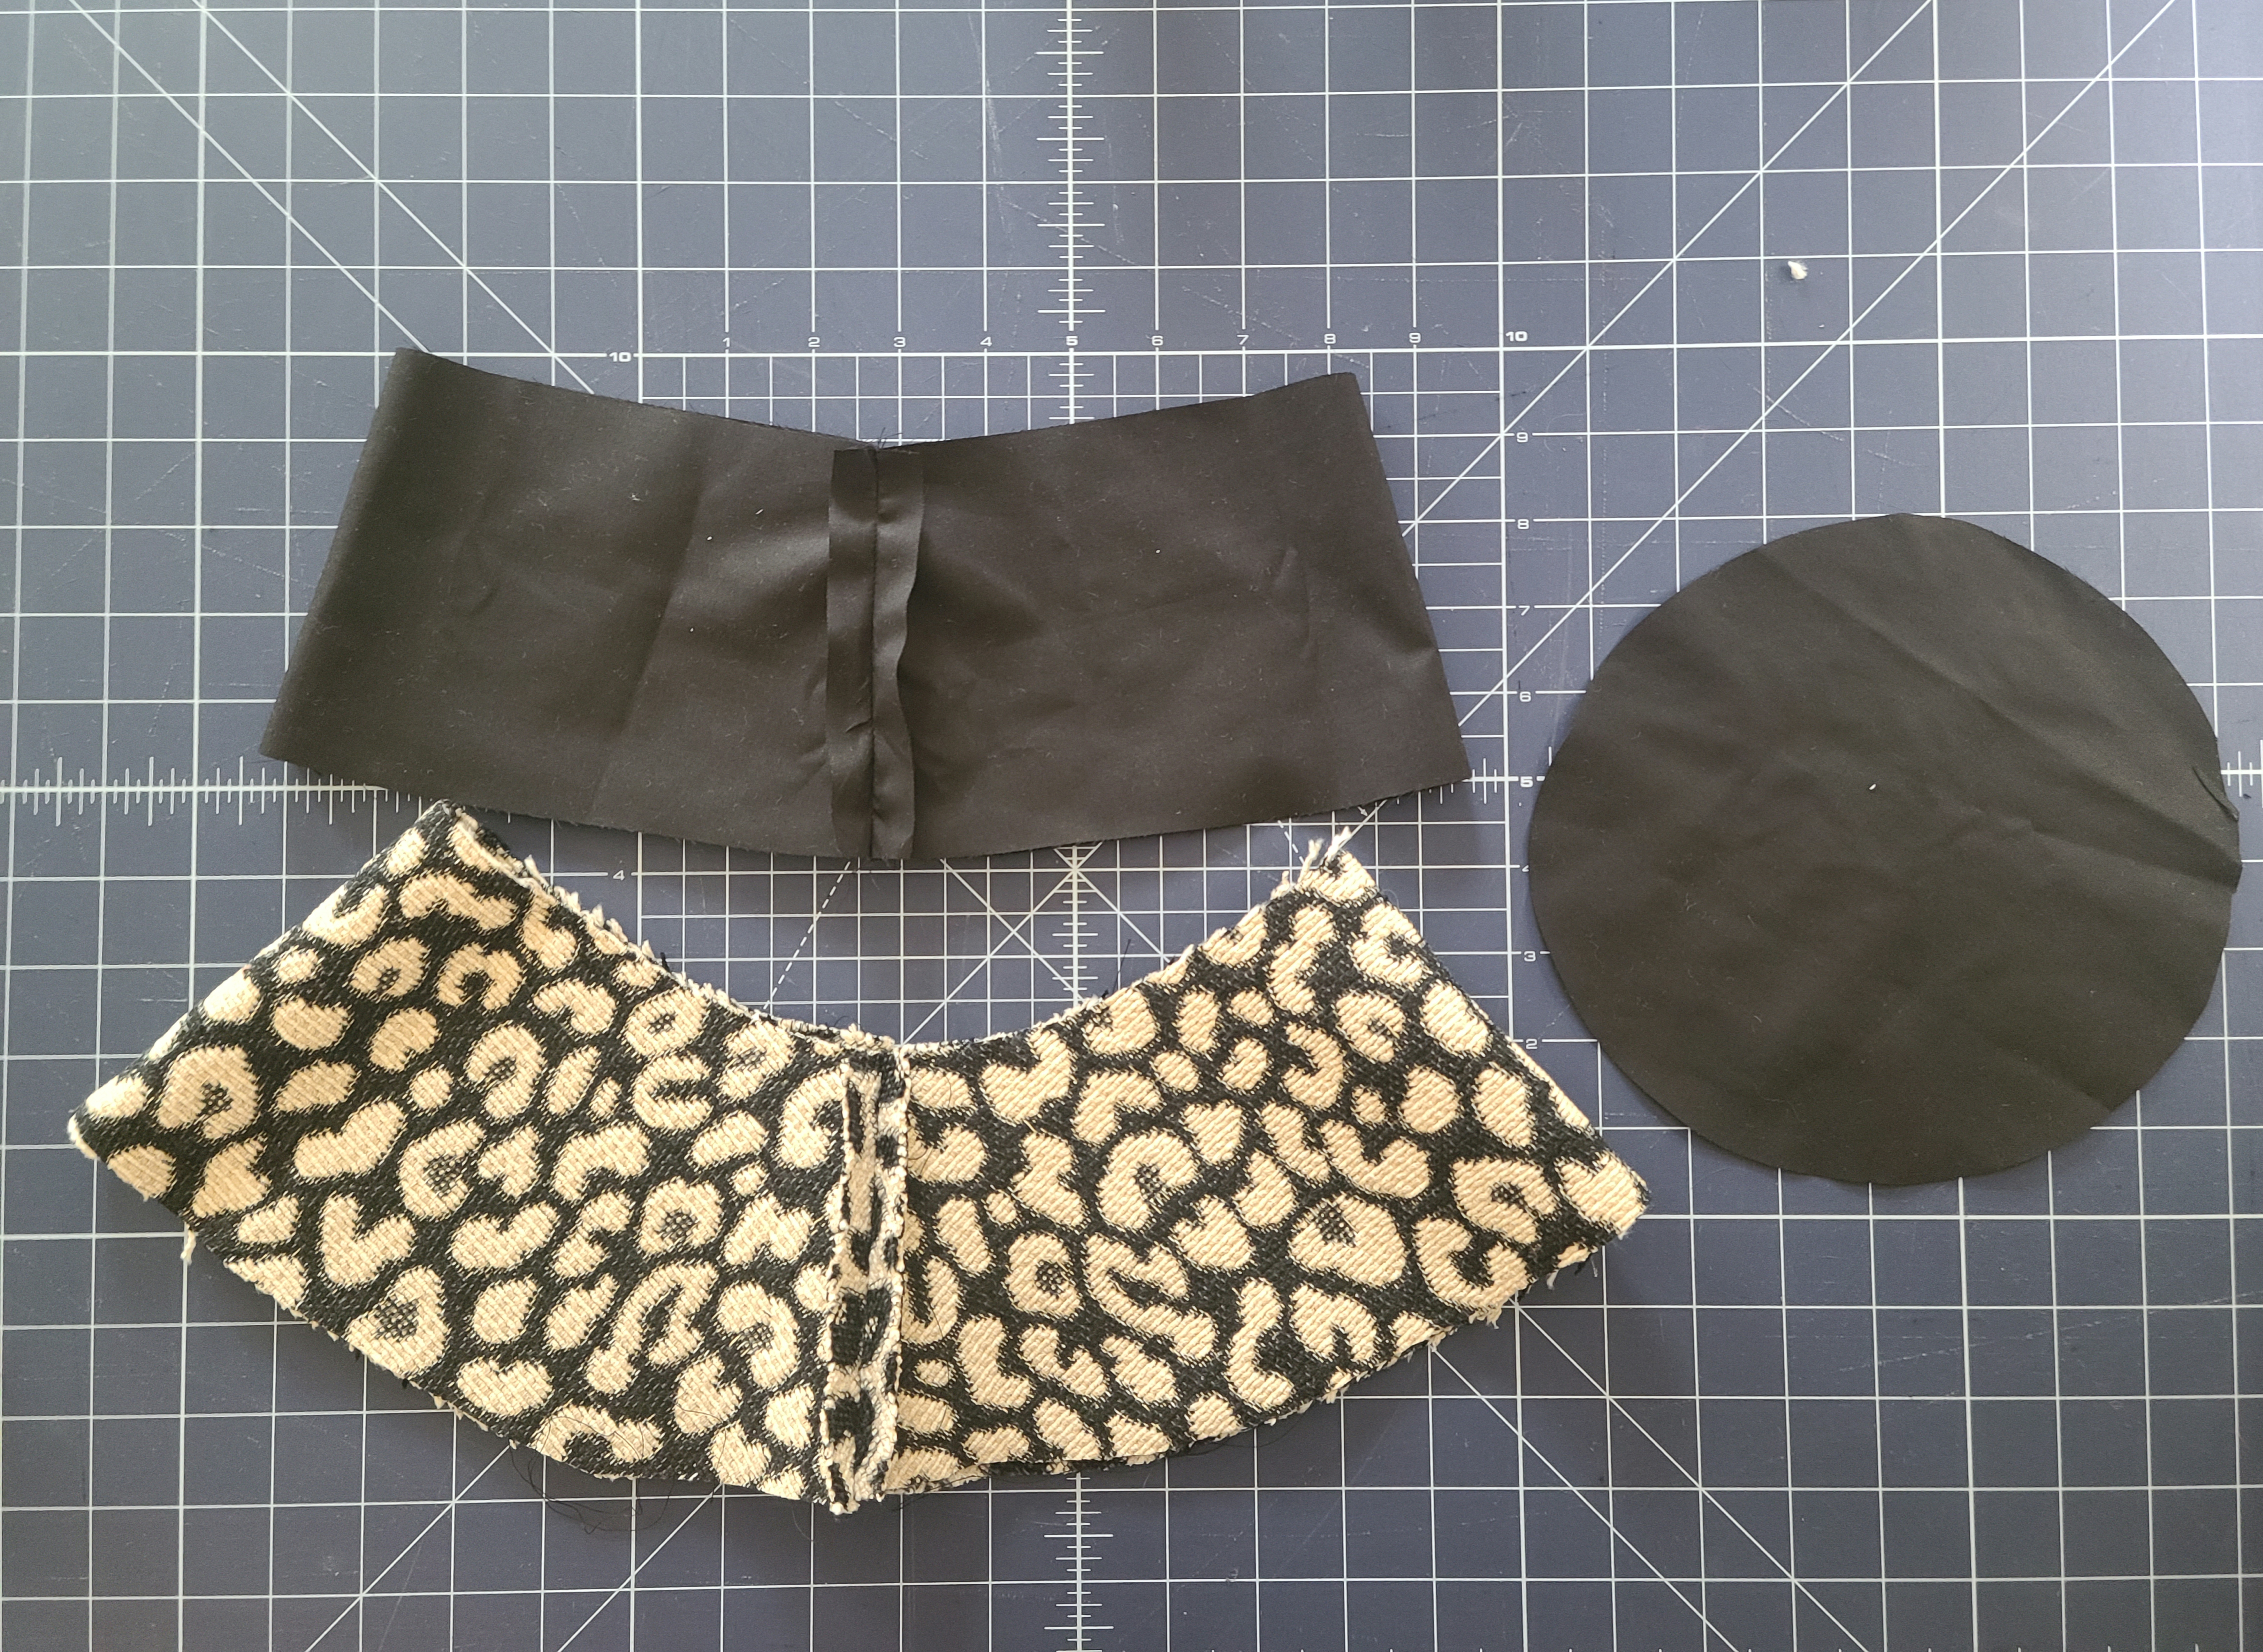
- Hat Top – Cut 1 on fold/Main fabric, Lining, Interfacing
- Hat Side -Cut 2 on fold/ Main Fabric, Lining, Interfacing
- Hat Brim – Cut 4 on fold/ Cut 2 of Interfacing
Steps to Make a Bucket Hat
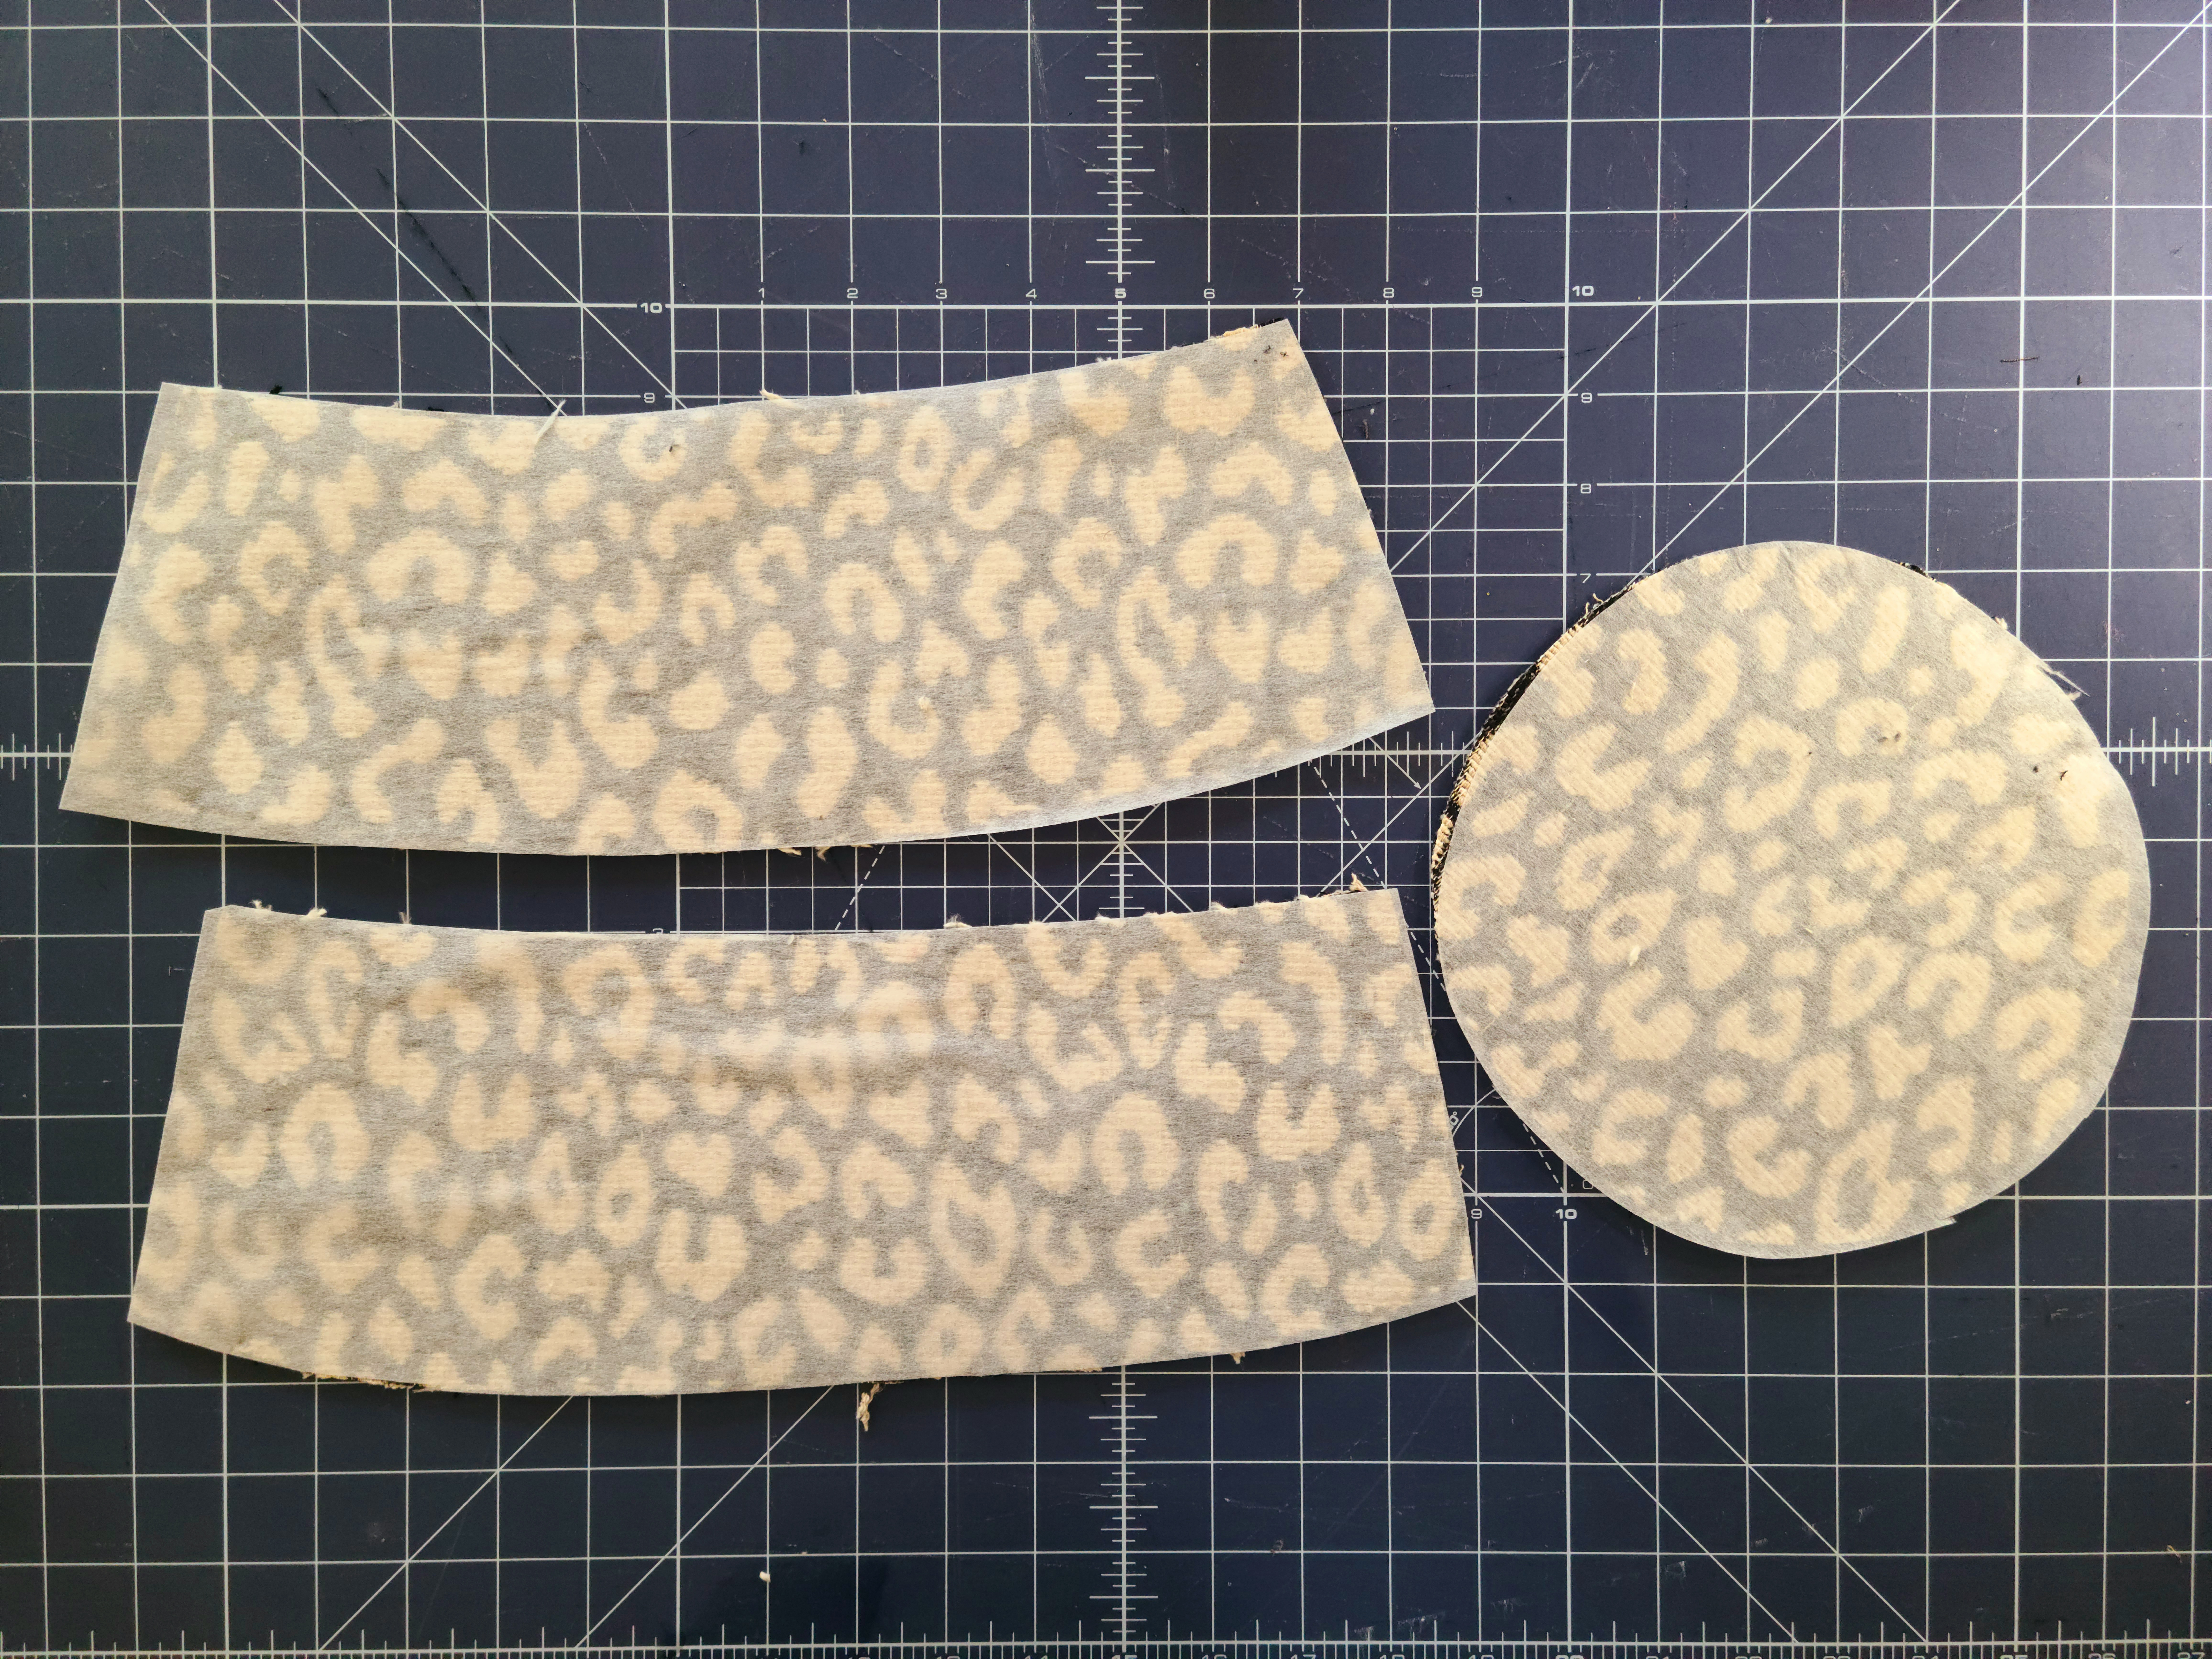
1. First, apply interfacing to wrong side of Hat Top and Side main fabric pieces.
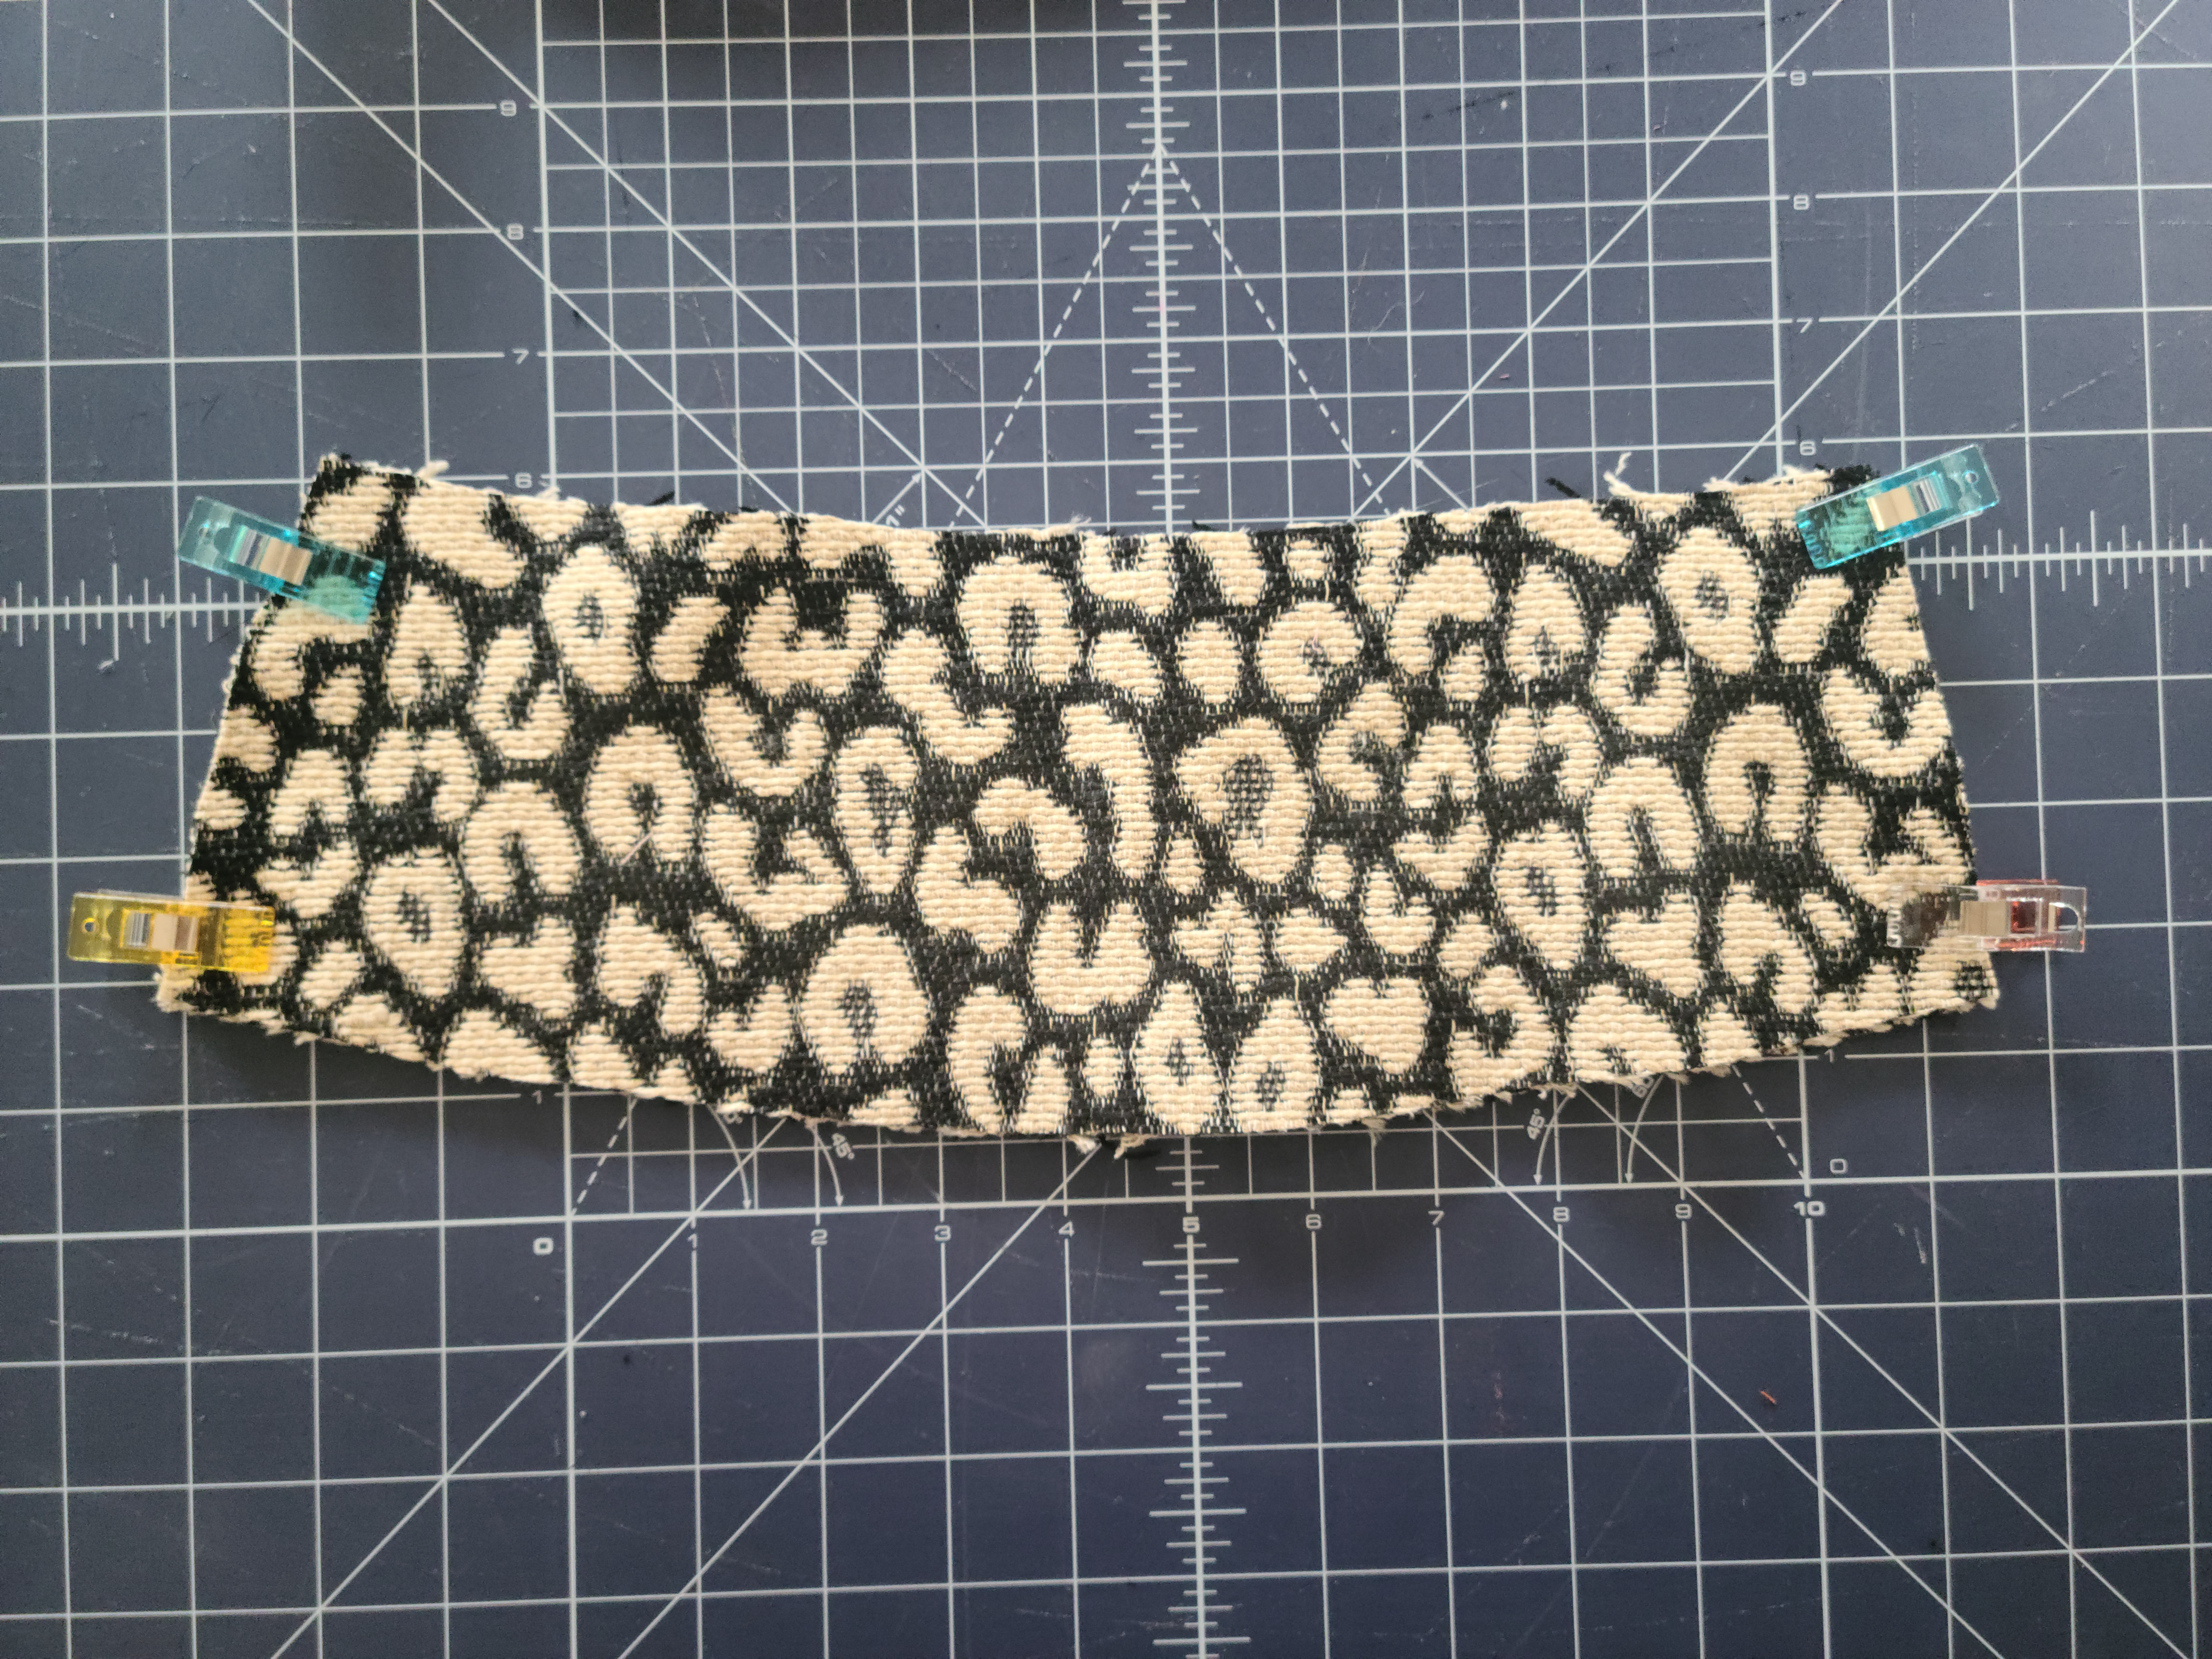
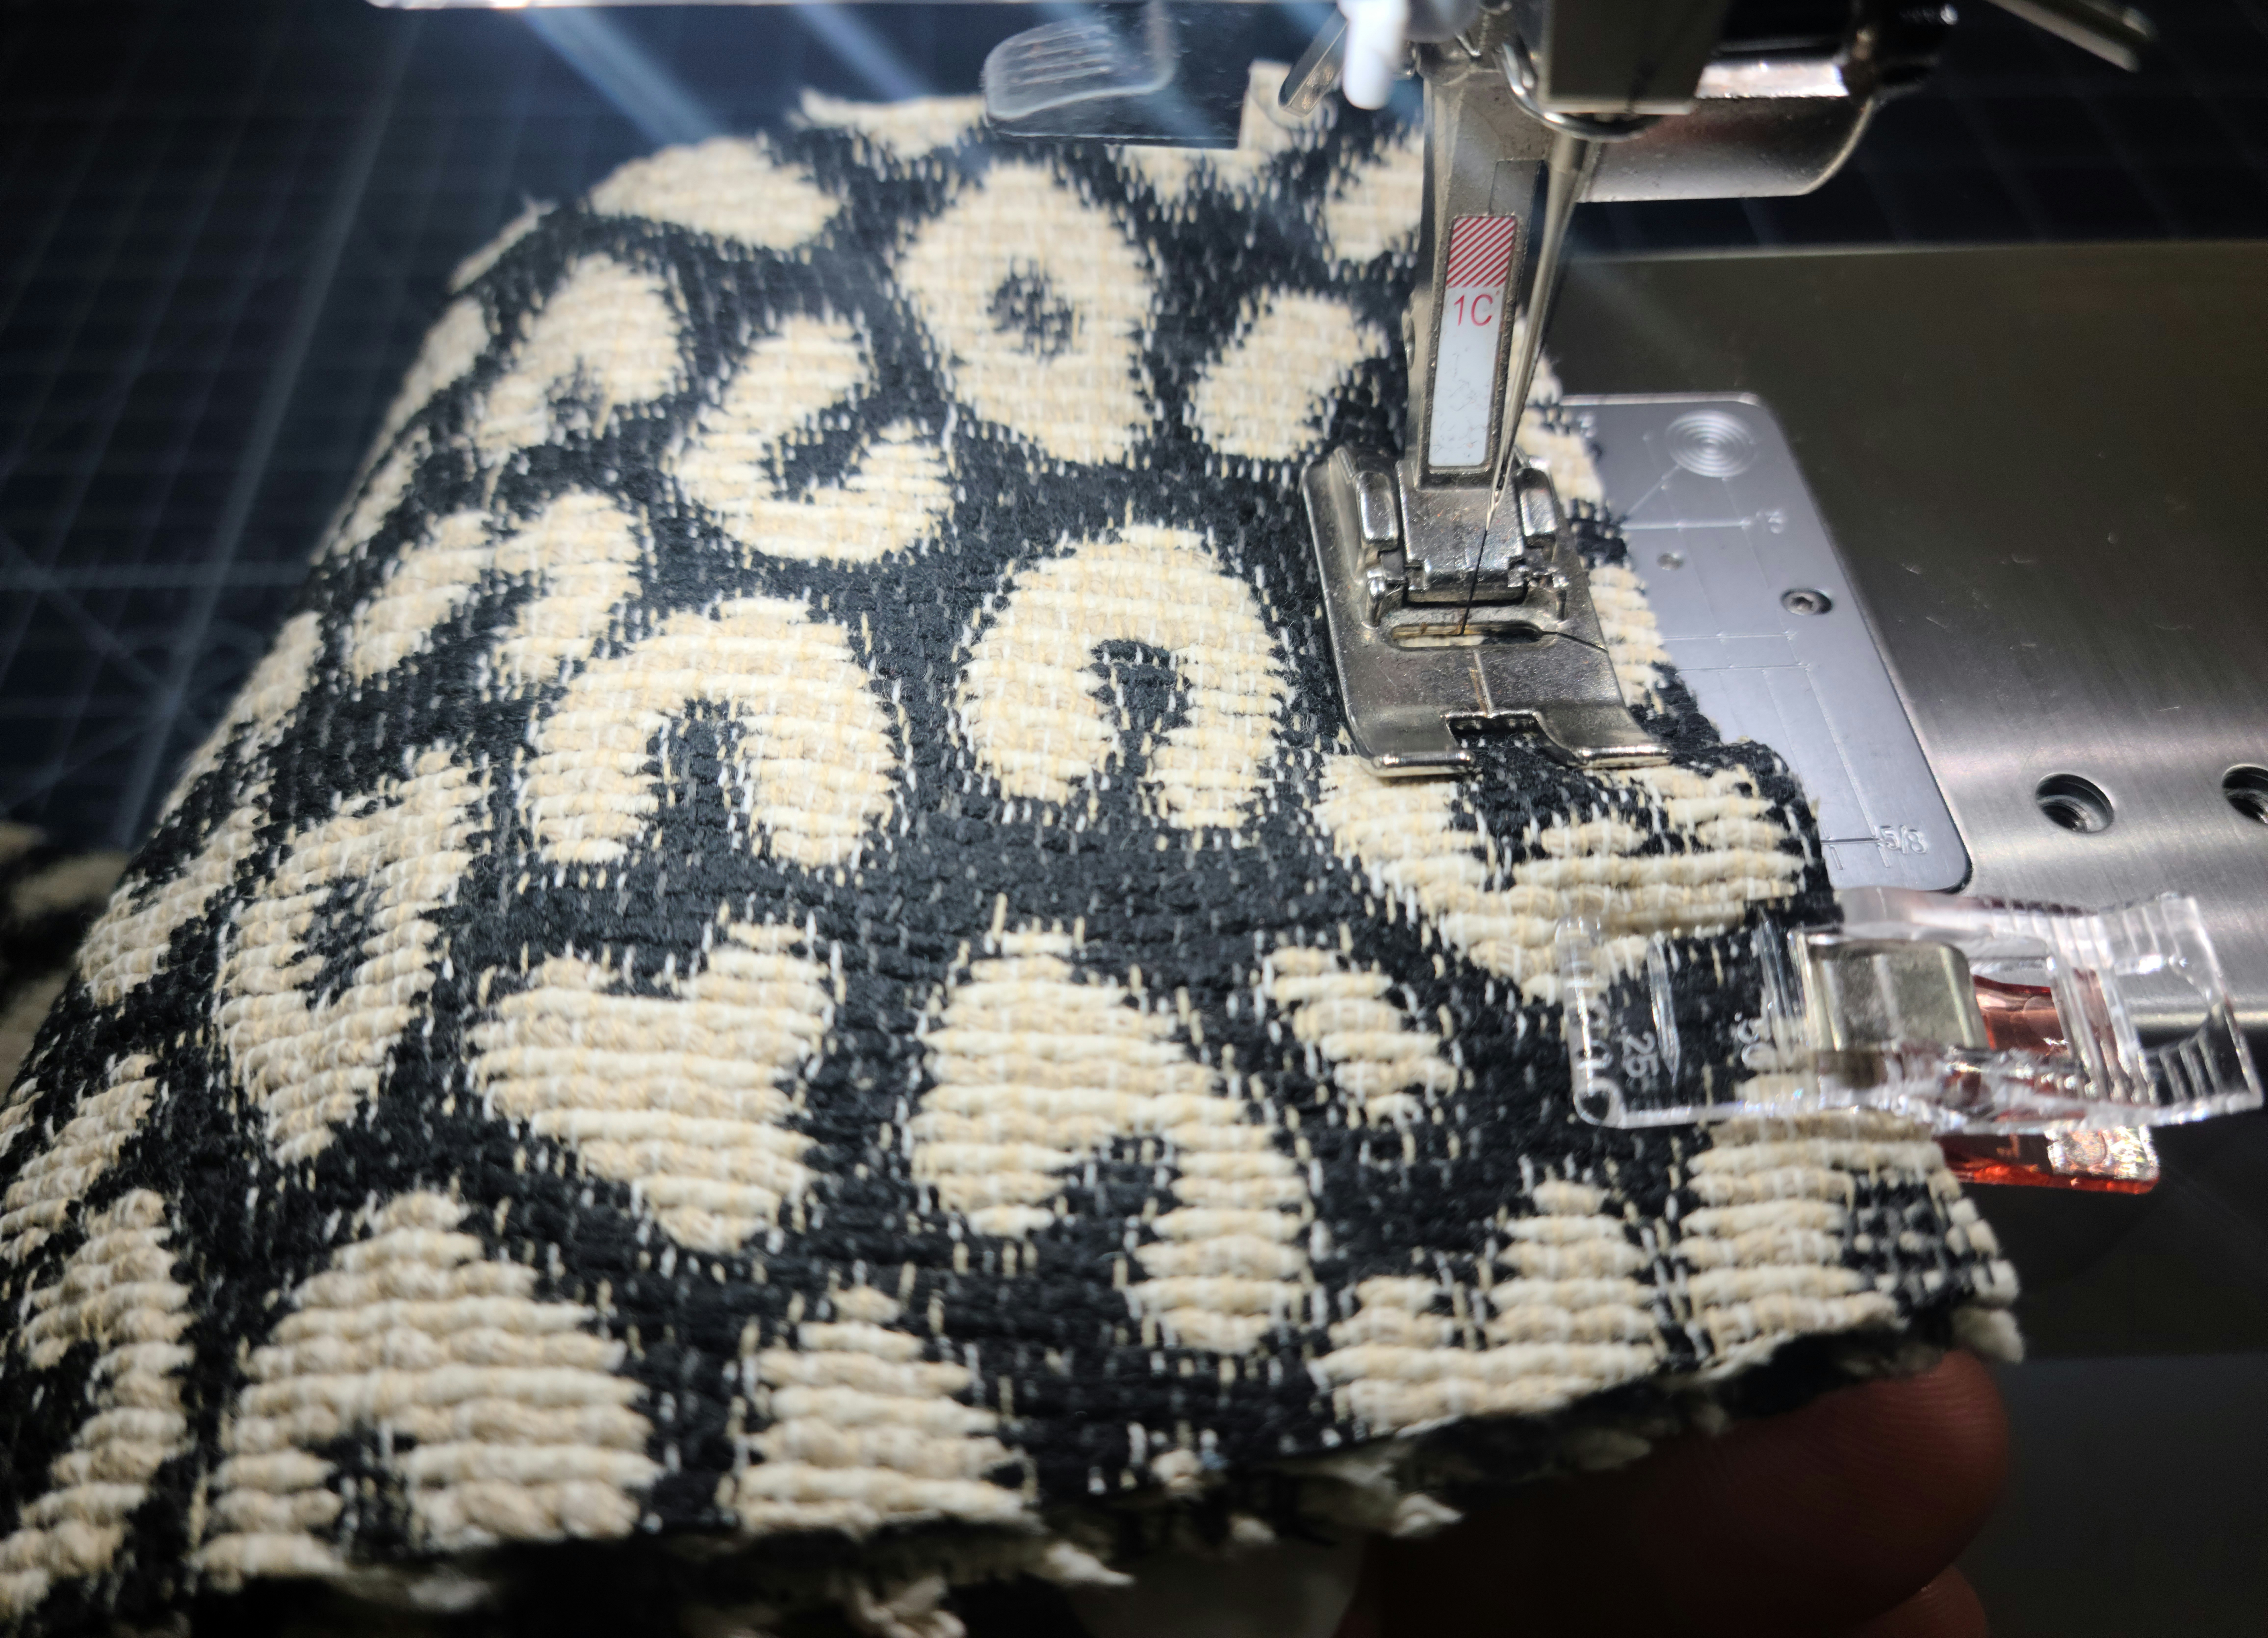
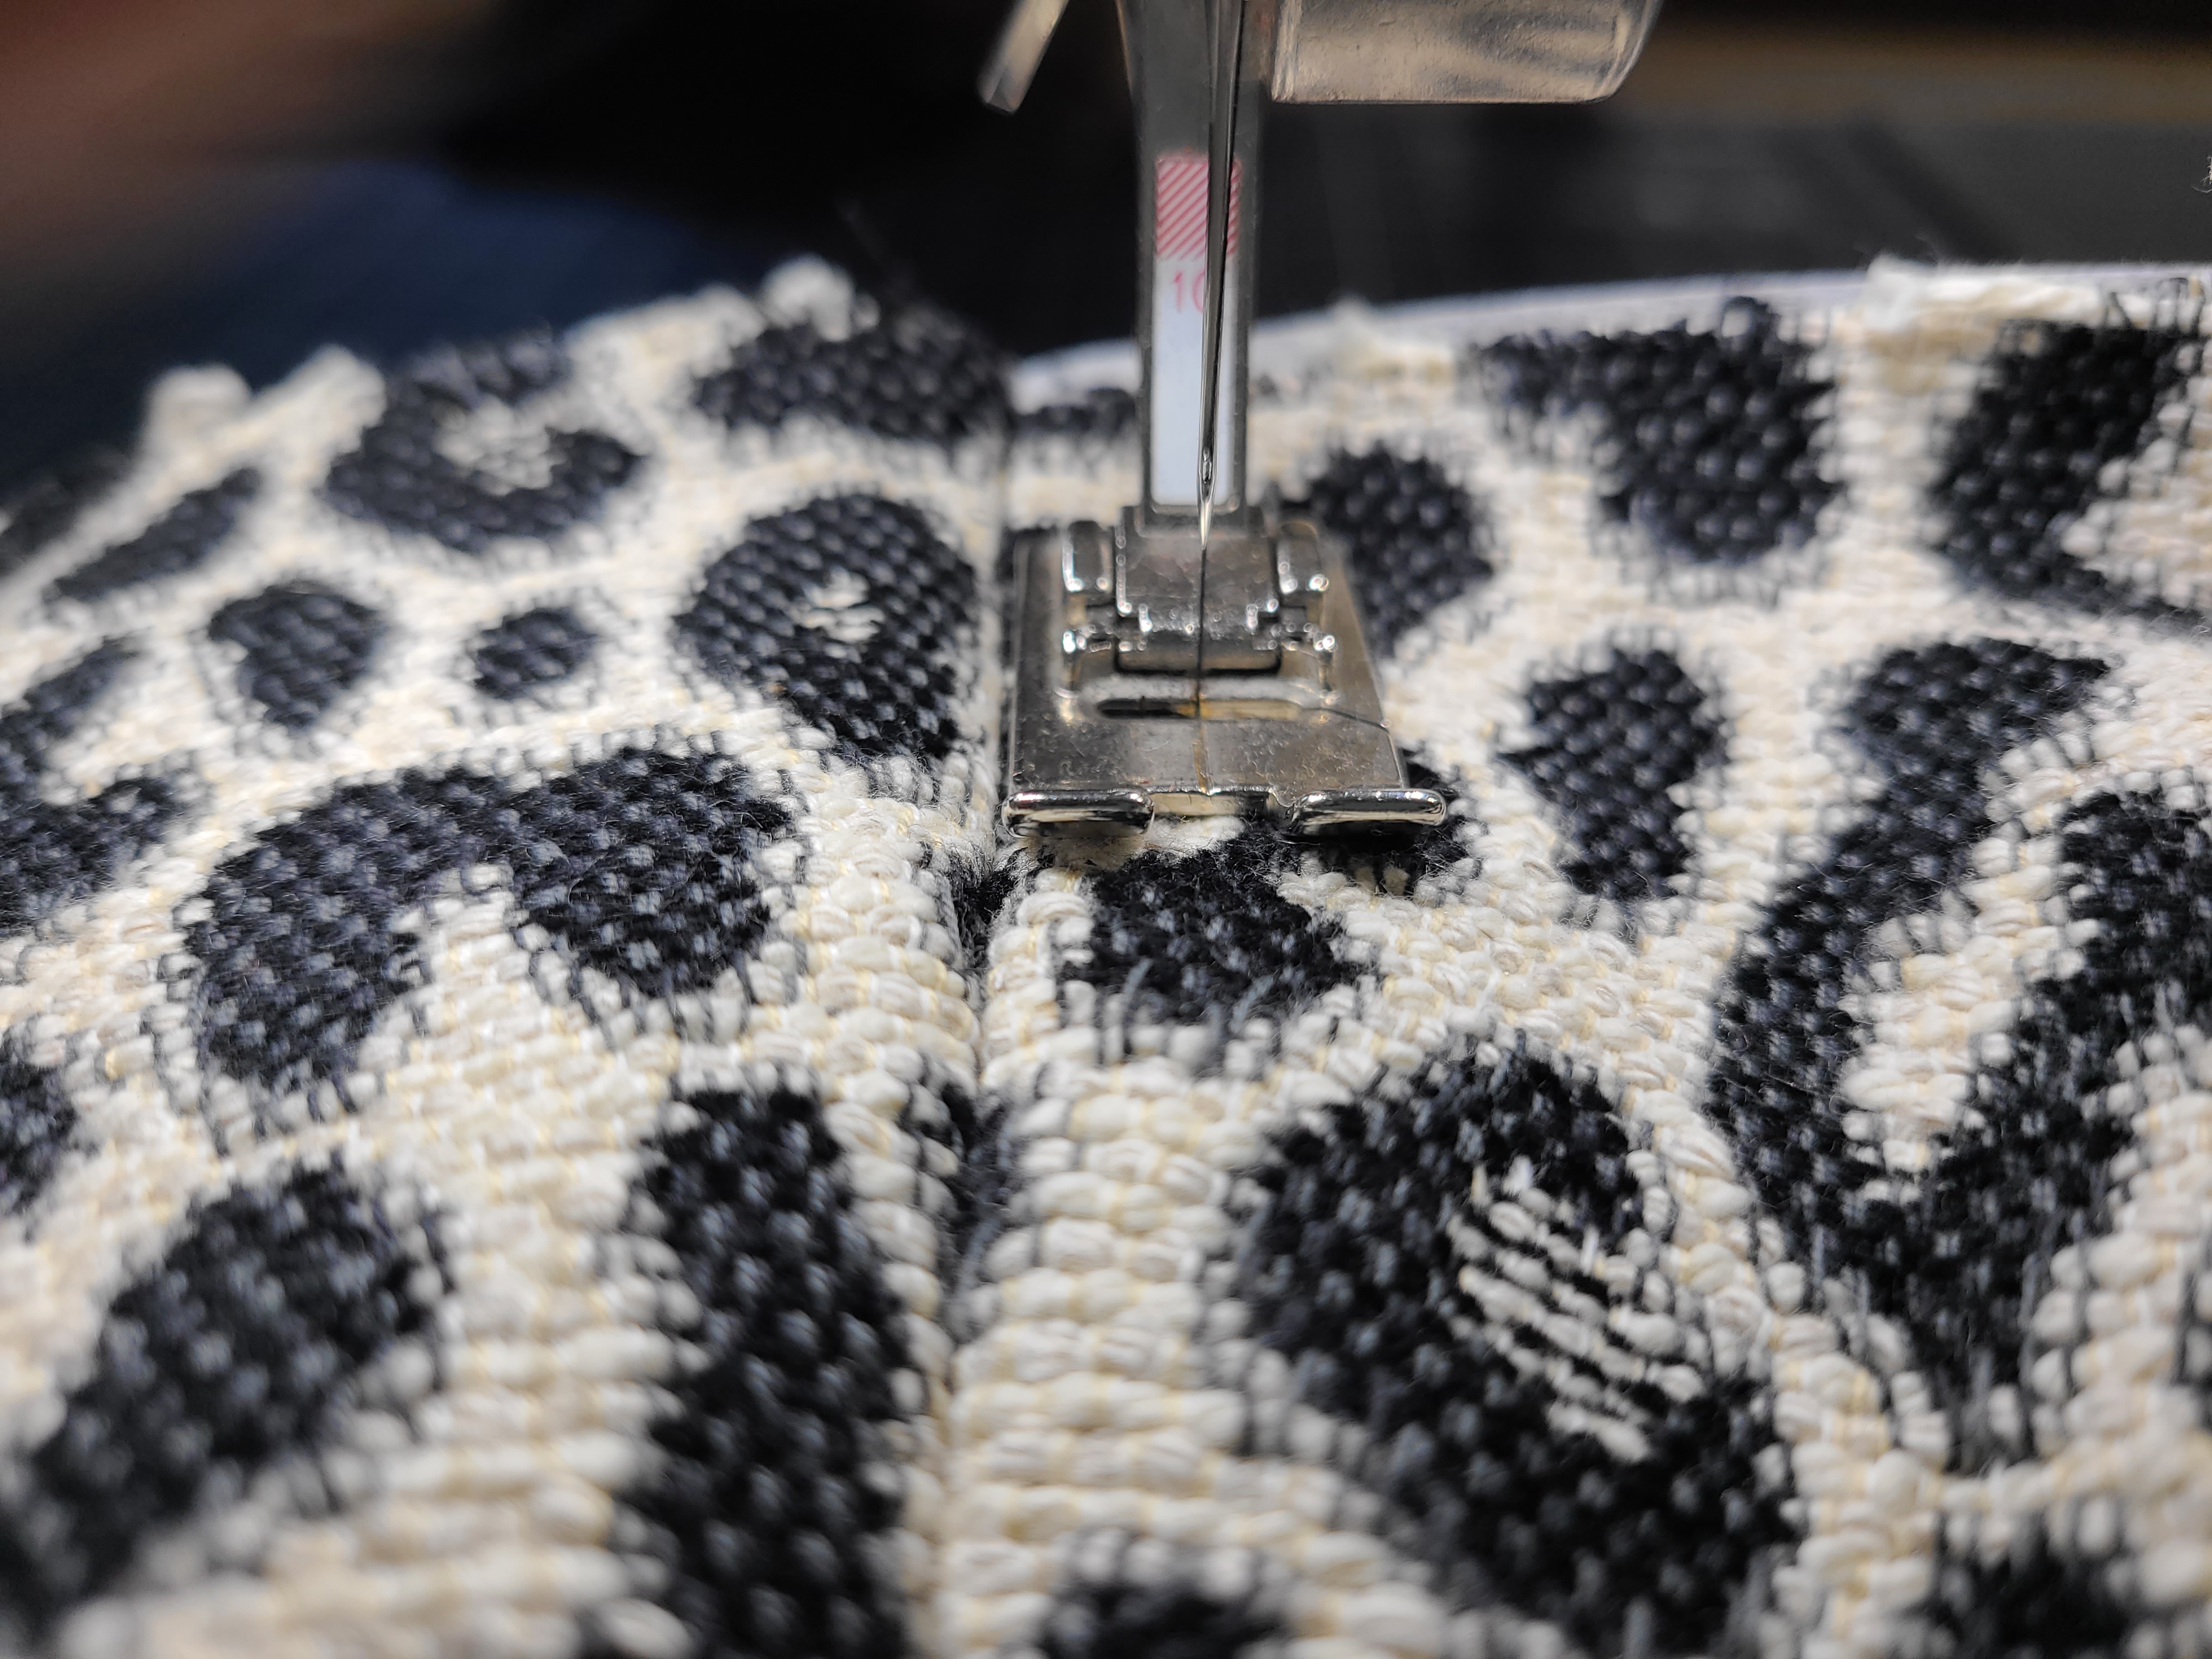
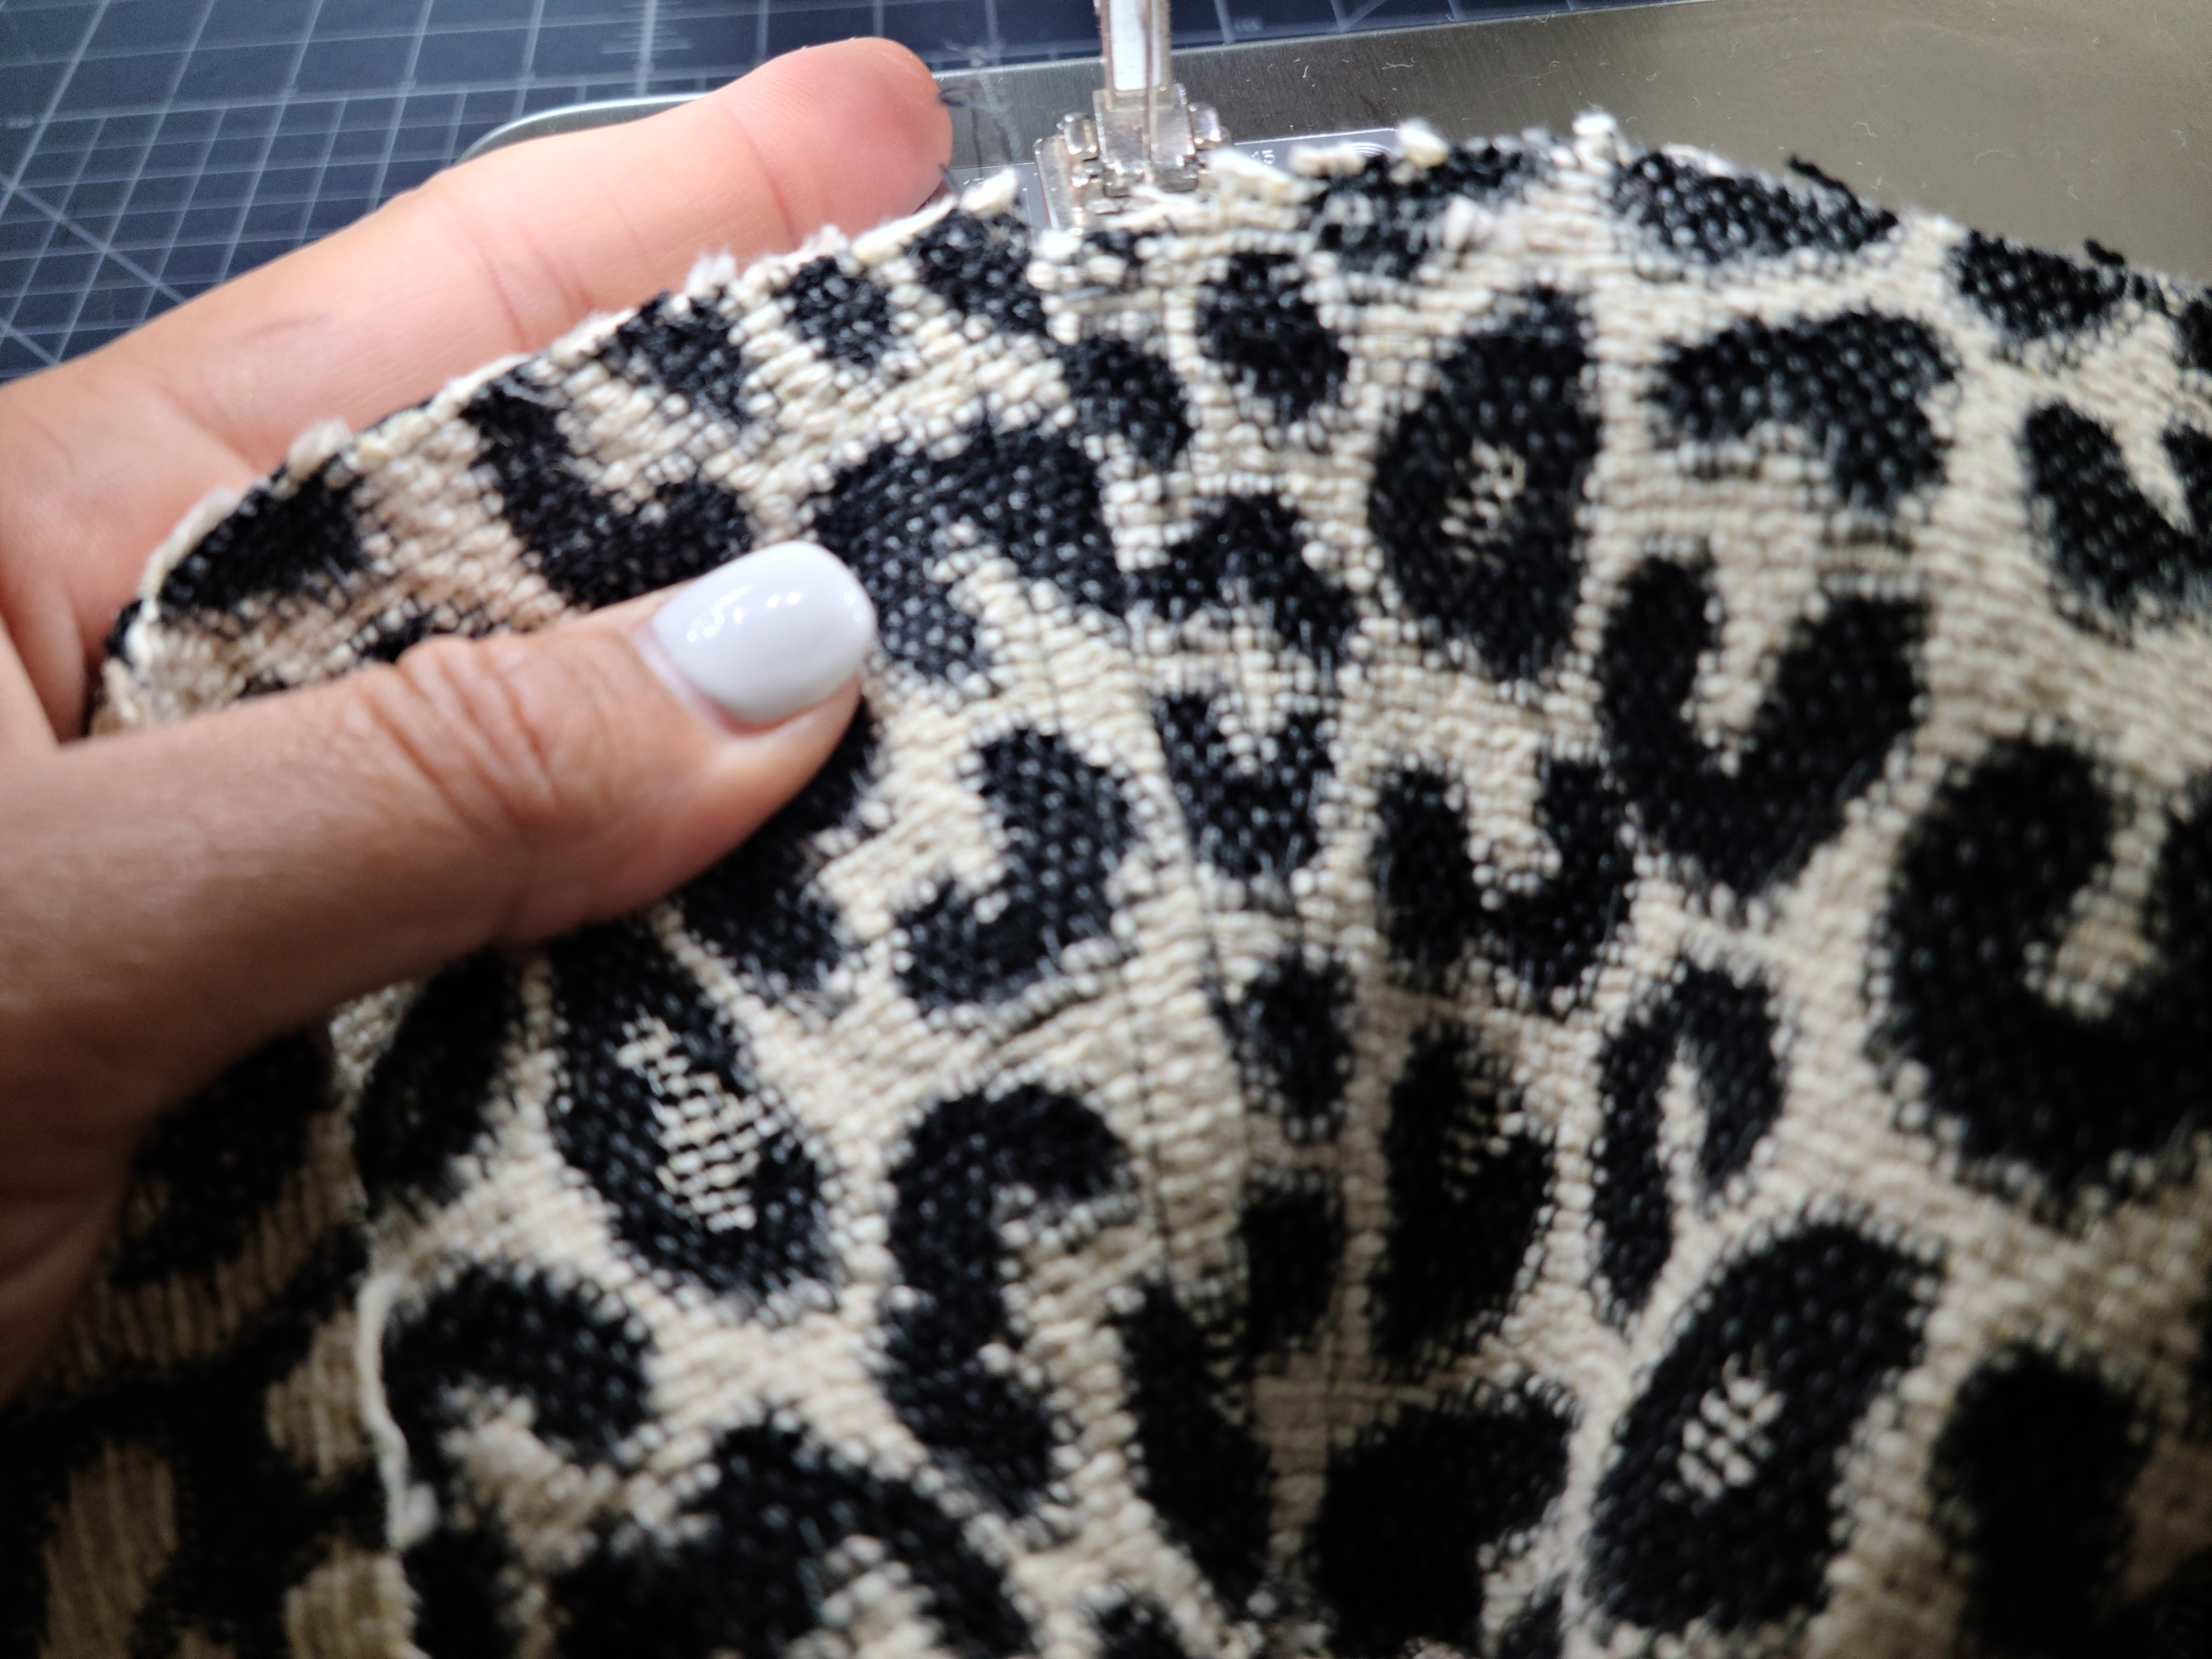
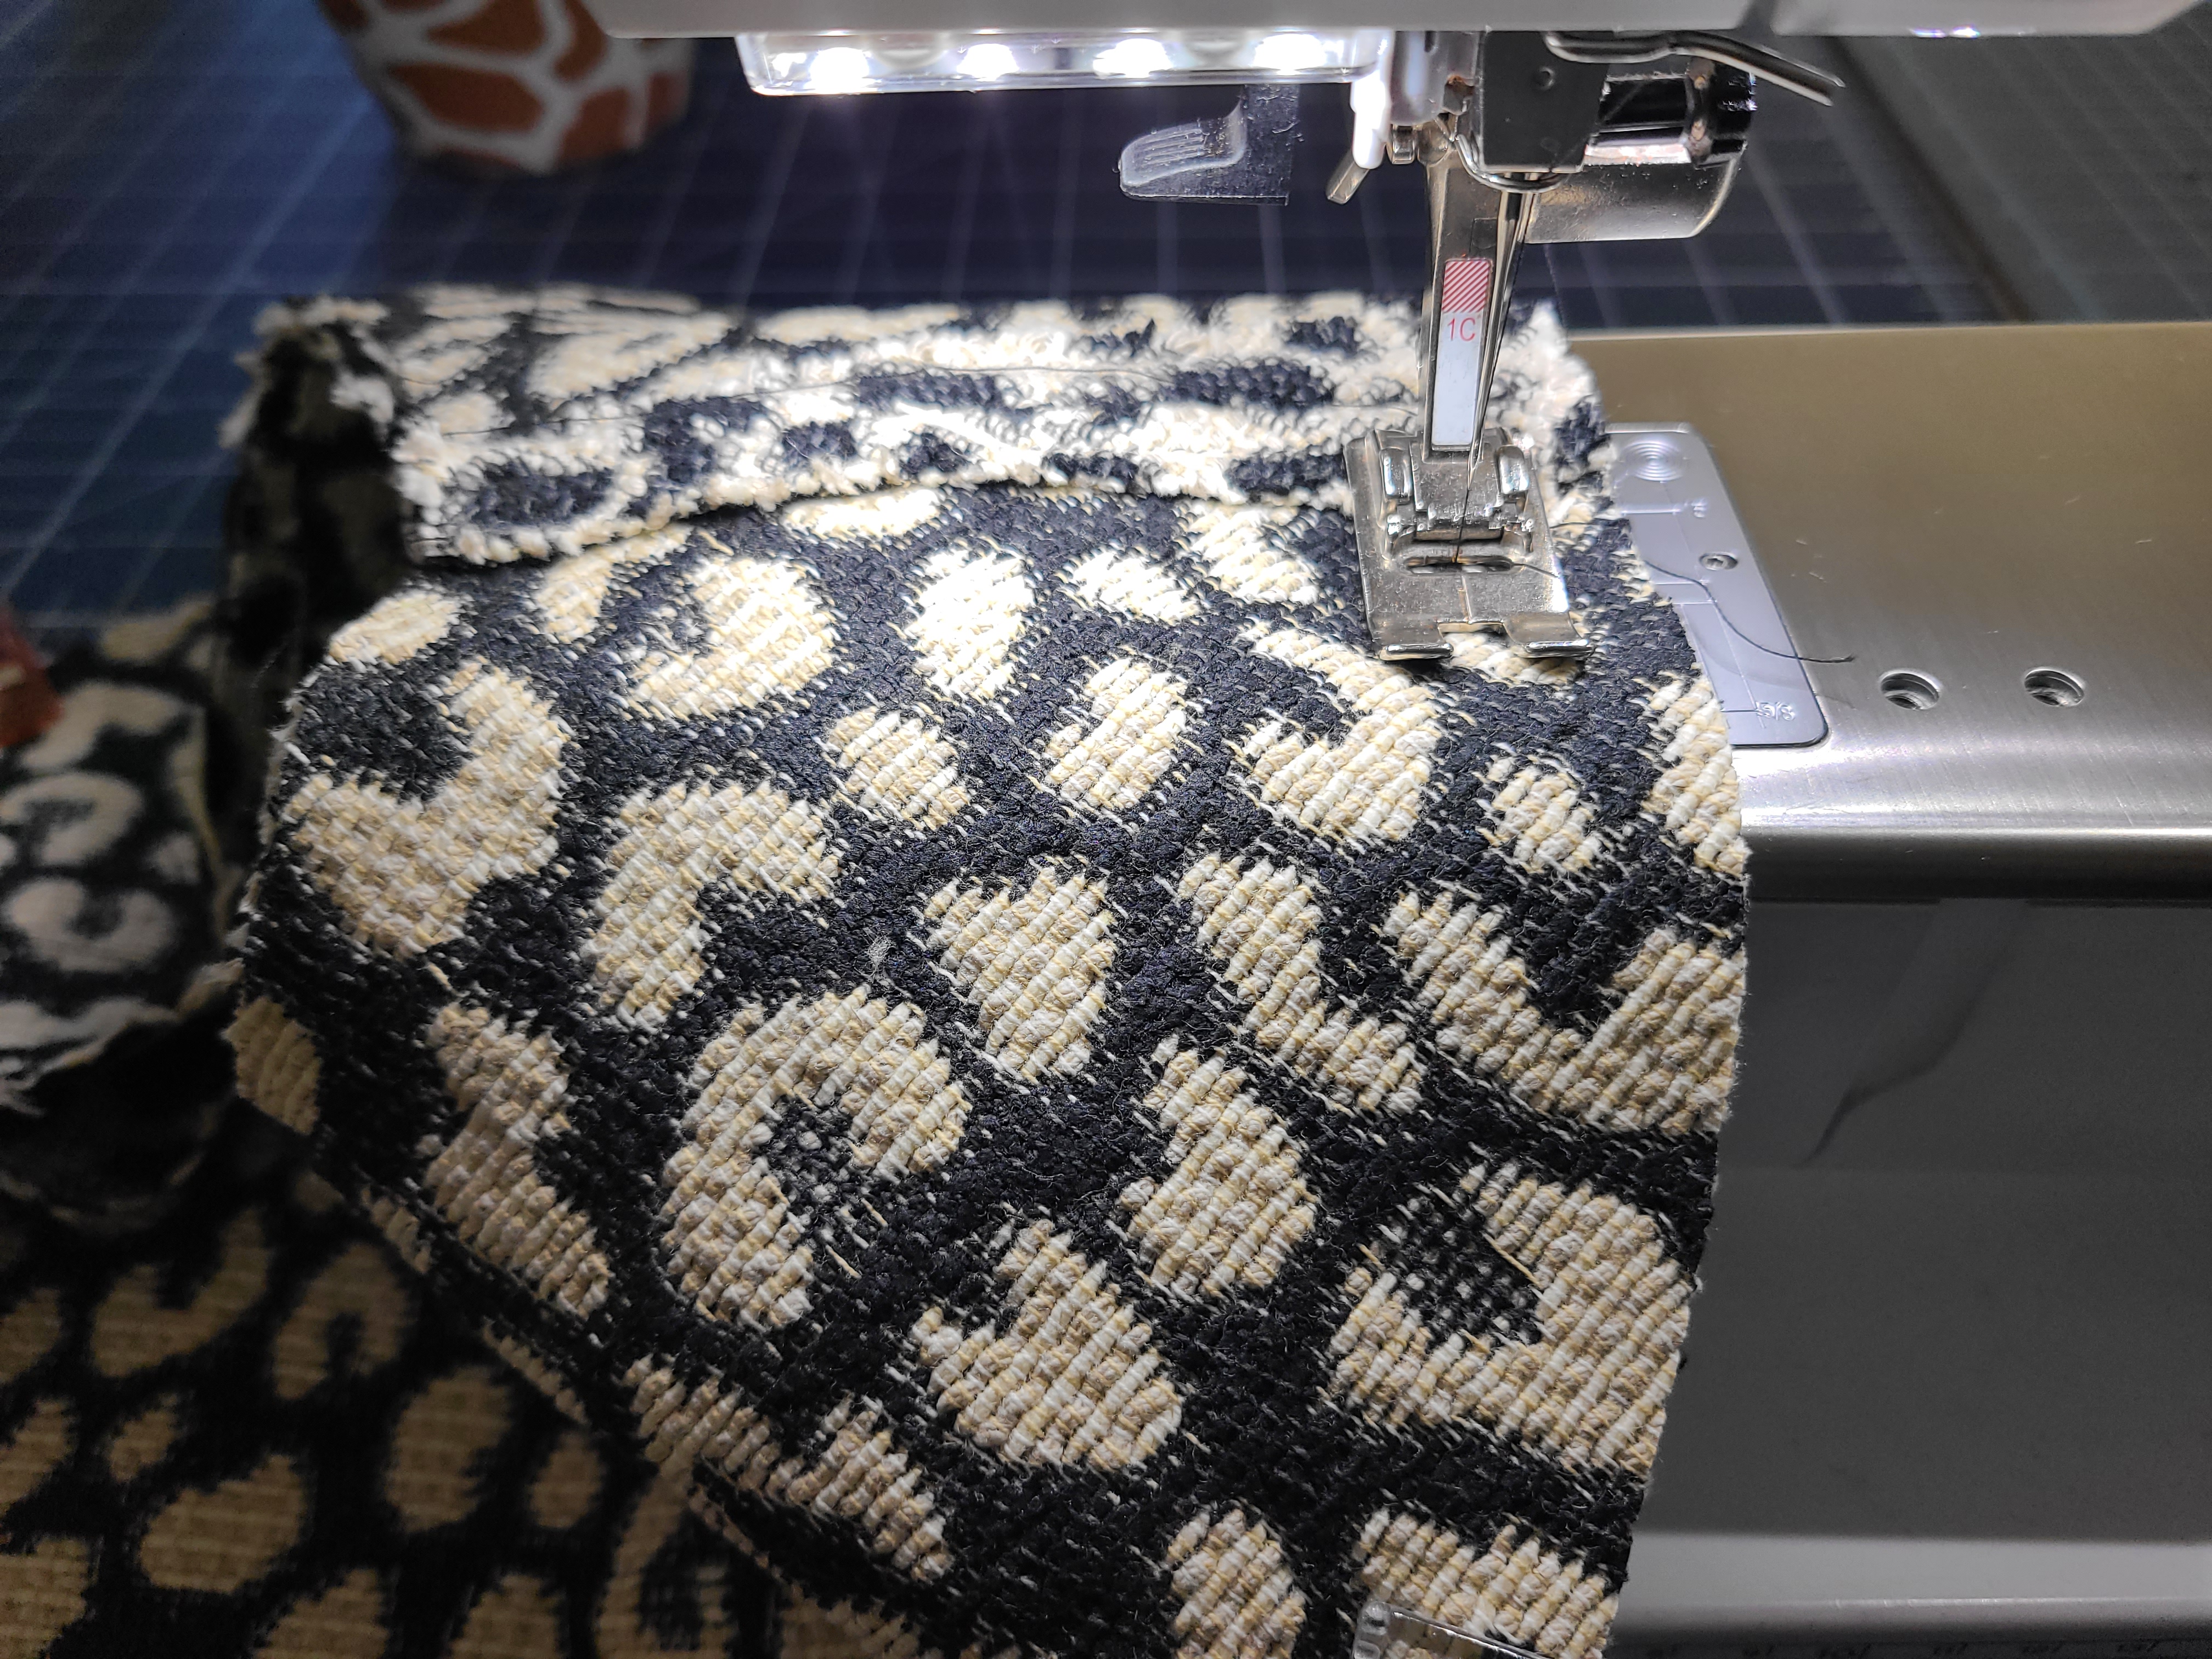
2. With right sides together, pin and stitch hat side pieces together. Lightly press or crease seams flat. With front side up, top stitch seam allowance on both sides of seam about ¼ inch away from seam.
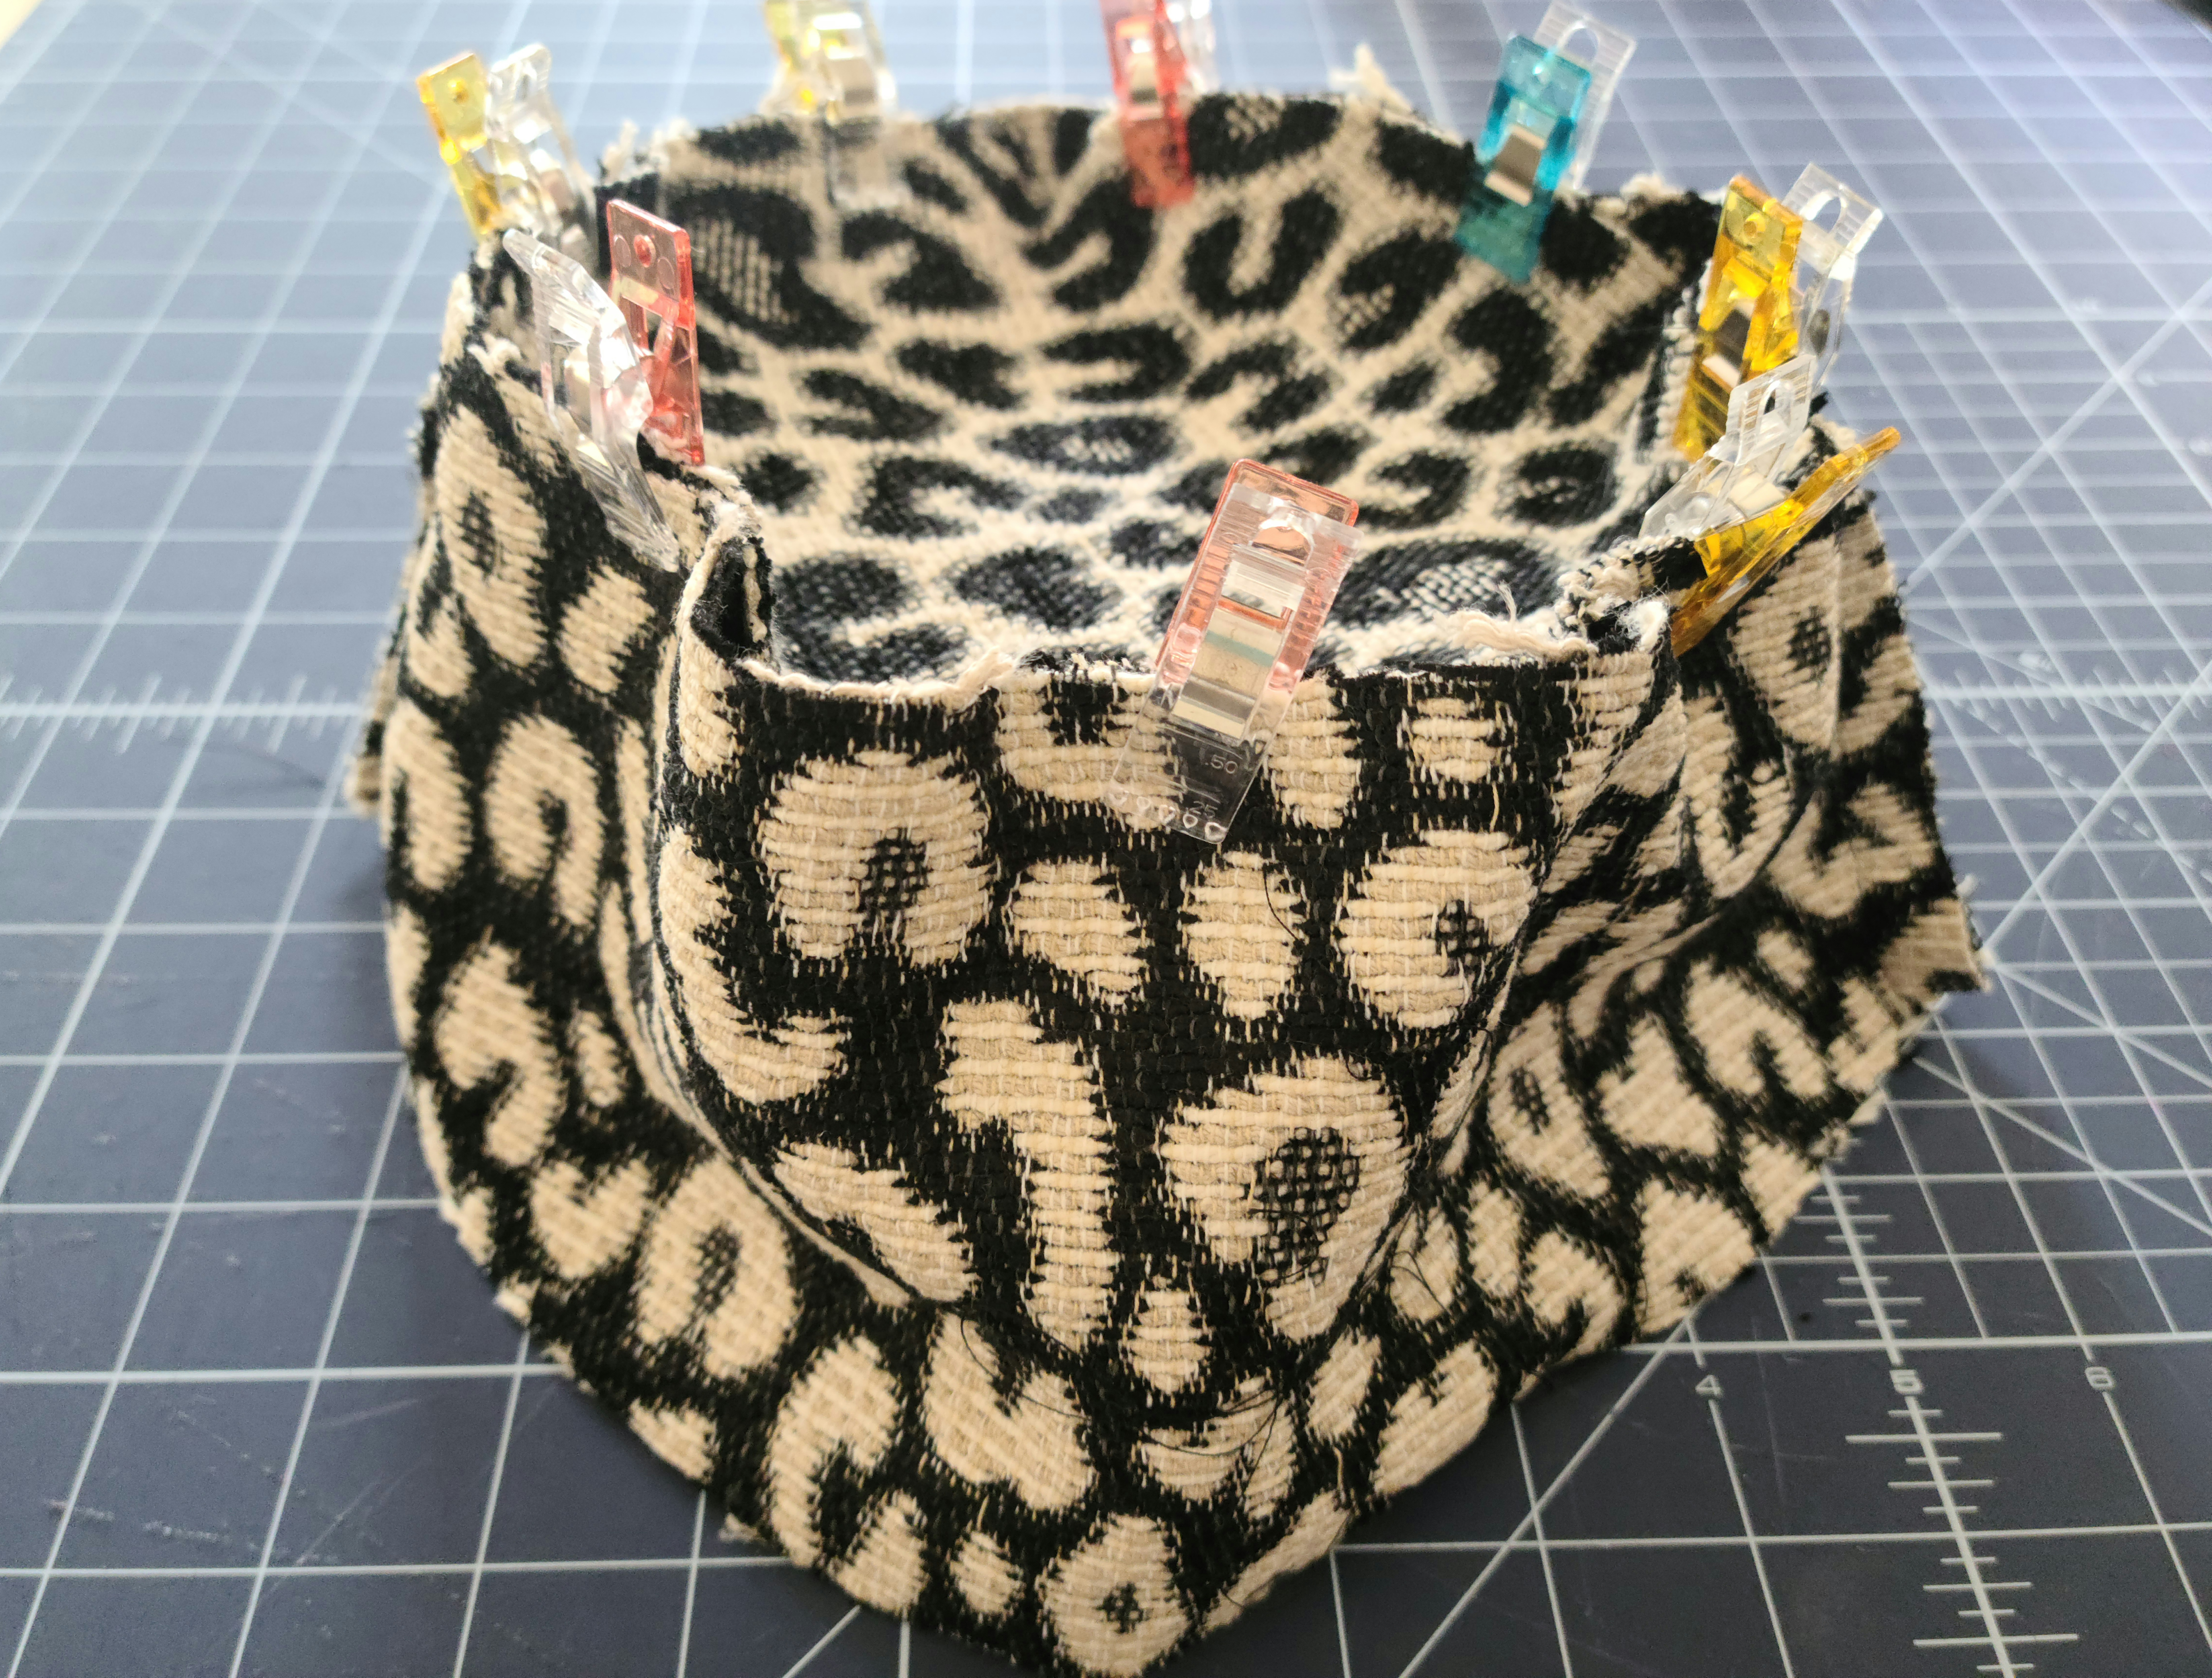
3. With right sides together, pin hat side to hat top matching raw edges. Clip for ease and stitch. Lightly press or crease seams open. With front side up, top stitch seam allowance down on both sides about ¼ inch away from seam.
4. Repeat steps 1-3 for Hat top lining and Hat side lining.
5. With right sides together, pin and stitch Hat brim together and stitch down both sides. Press seams flat and topstitch on both sides of seam about ¼ inch away from seam.
6. Repeat step 5 for remaining Brim pieces.

7. With right side together, pin and stitch Brim front edge together with raw edges matching. Trim. Turn right side out and press seam flat. Create topstitch rows on right side of brim ⅜ inch a part, leaving ⅝ inch at the raw edge.
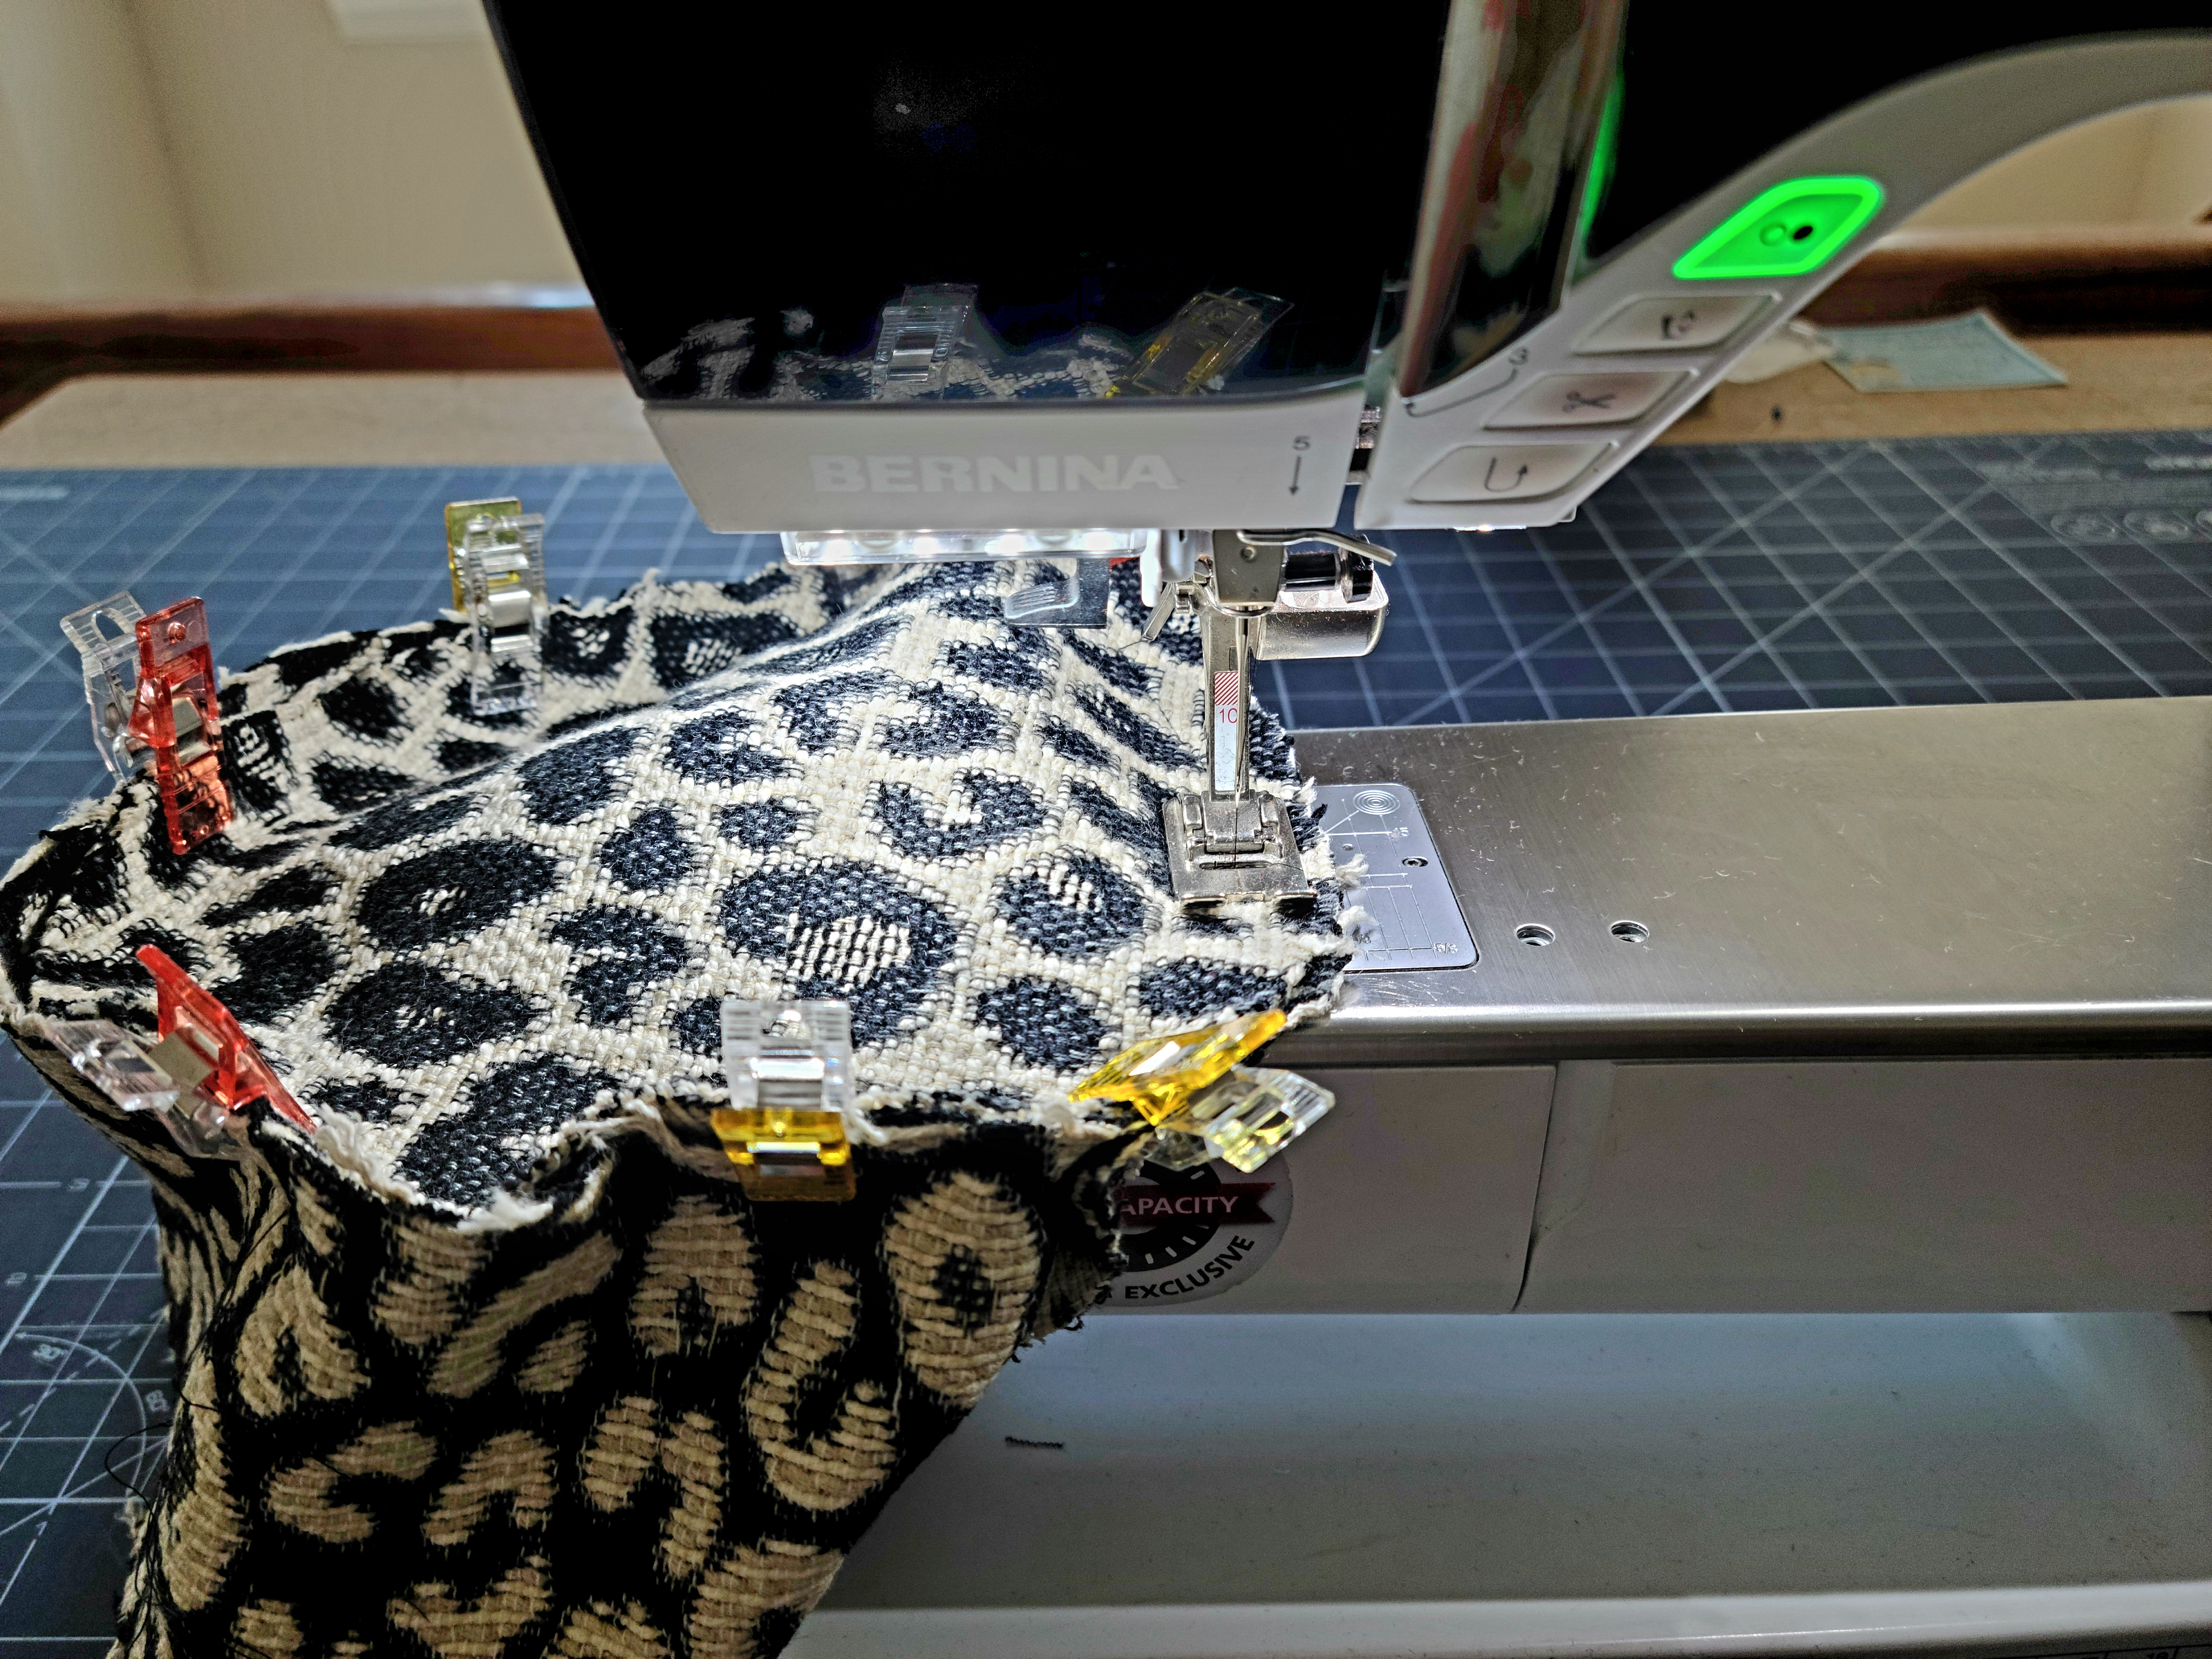
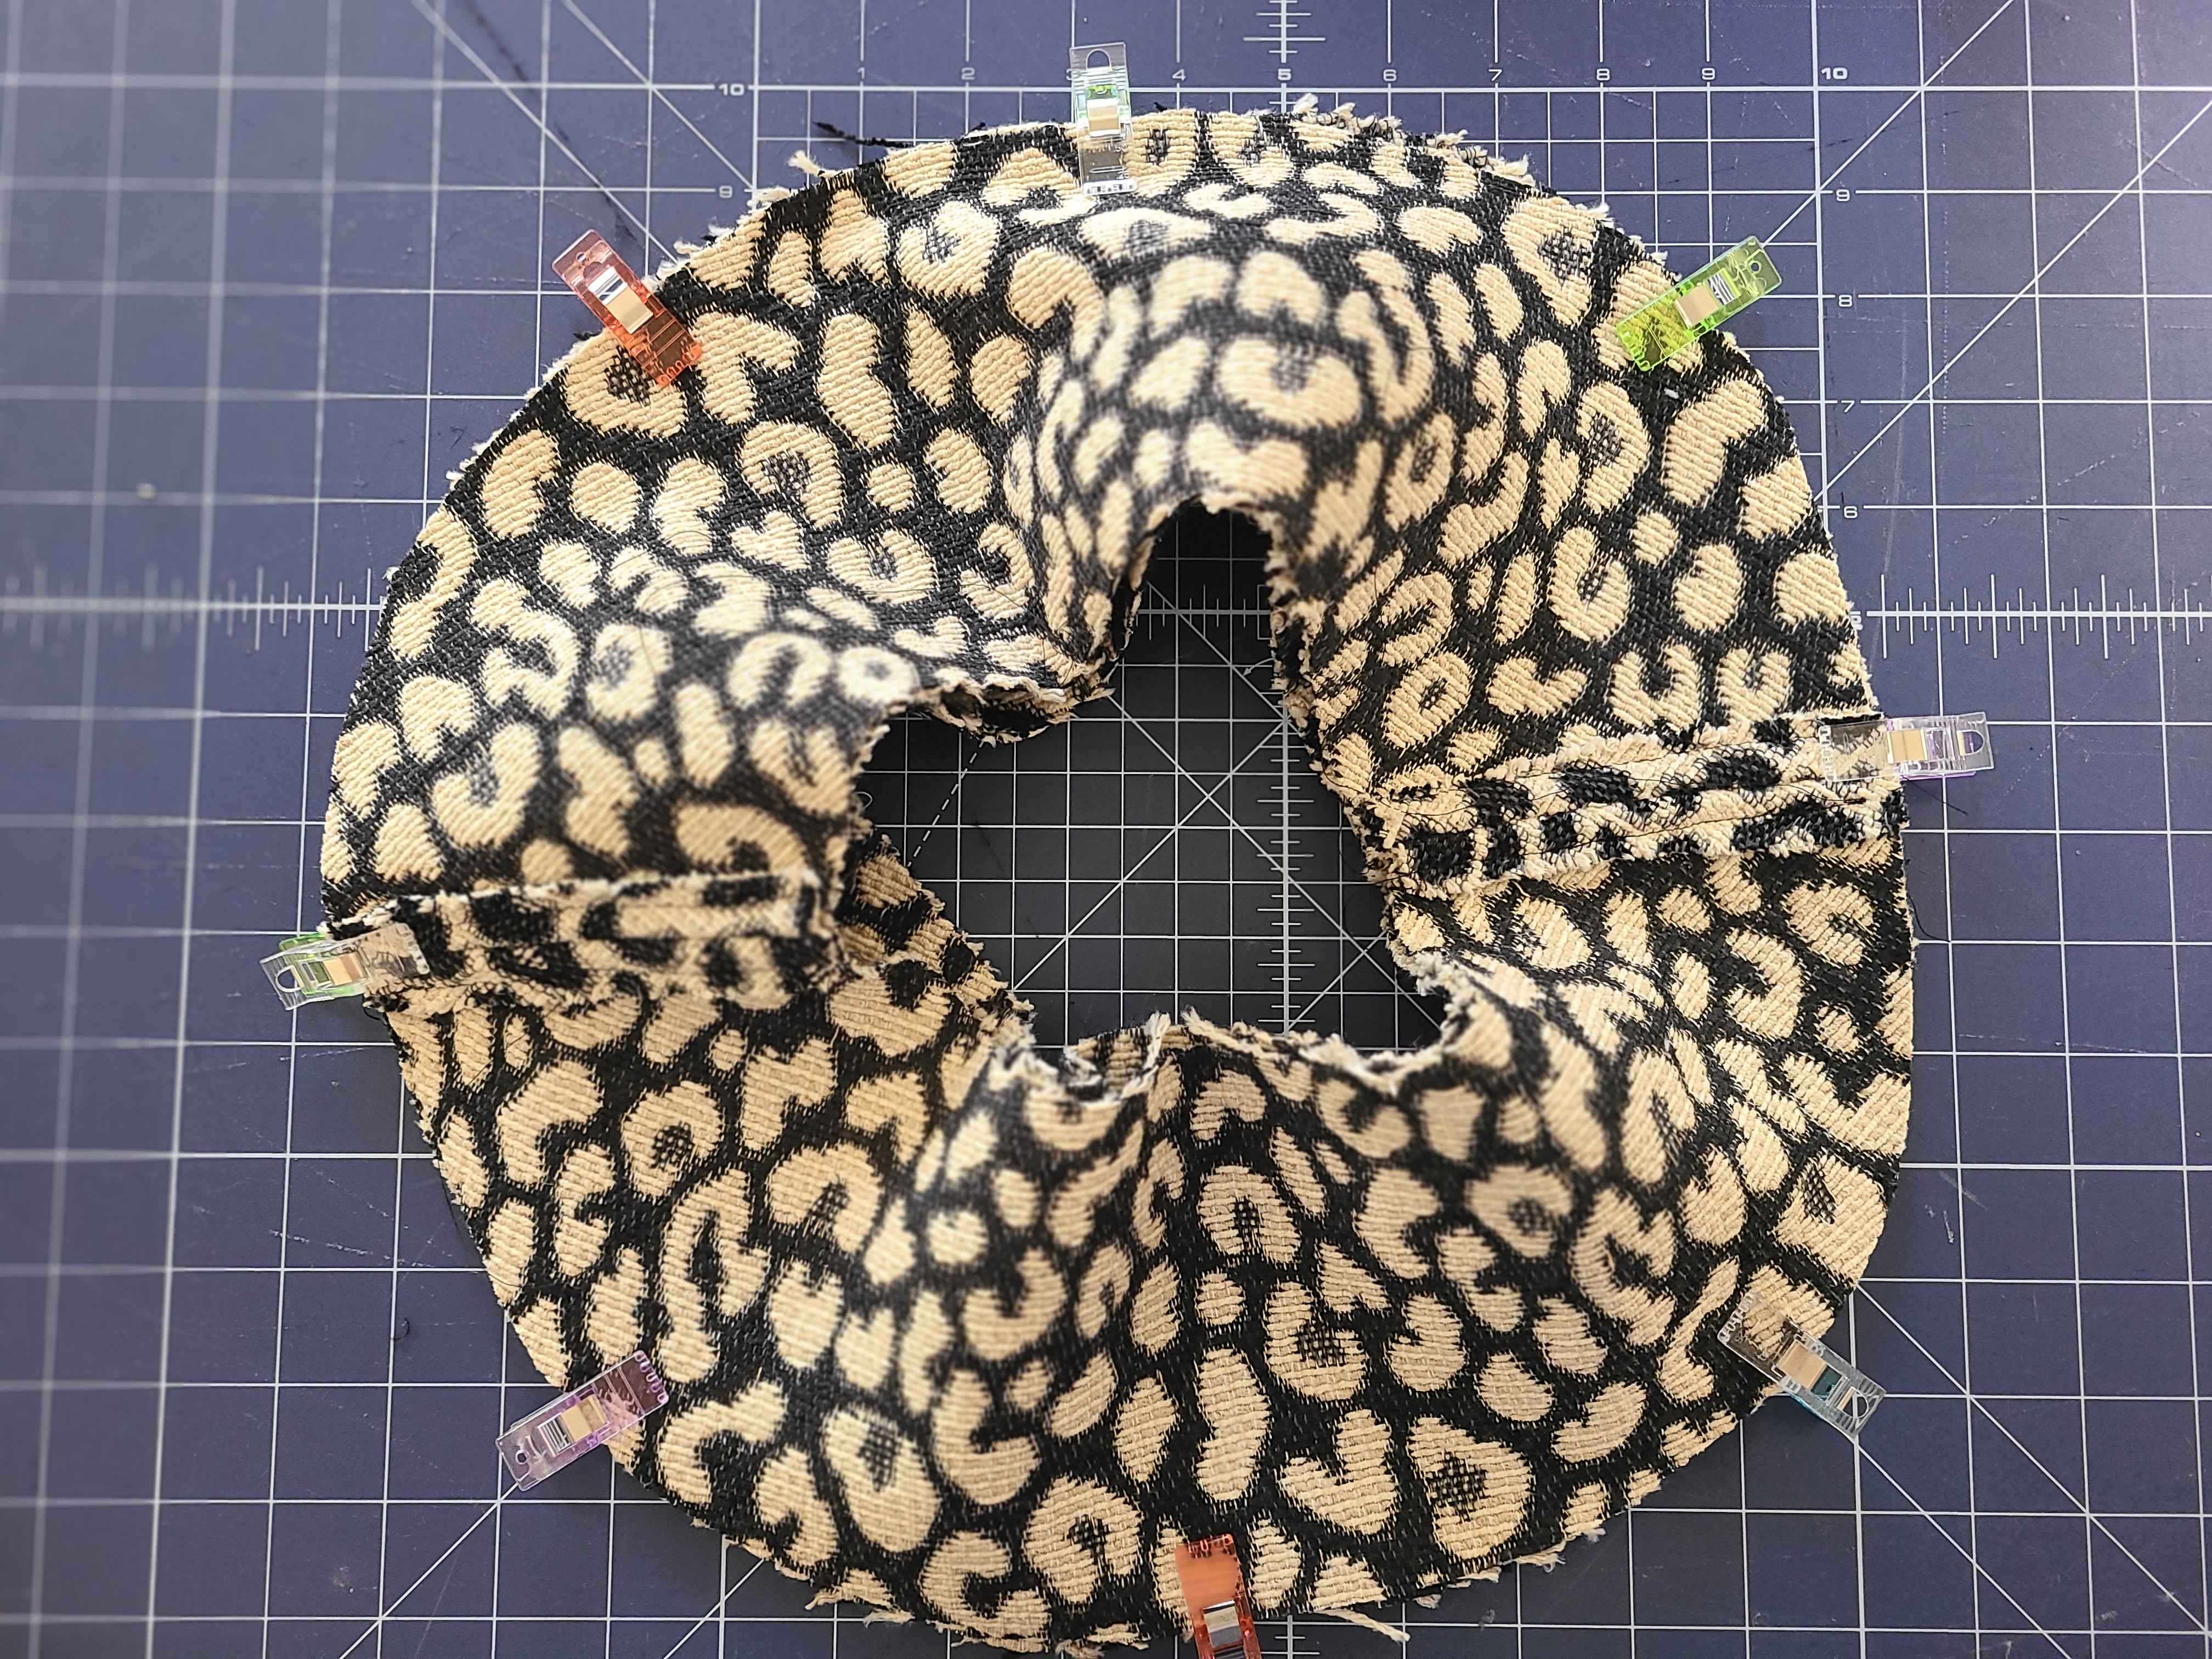
8. With right sides facing pin hat Brim and hat sides together matching raw edges. Pin. Stitch.
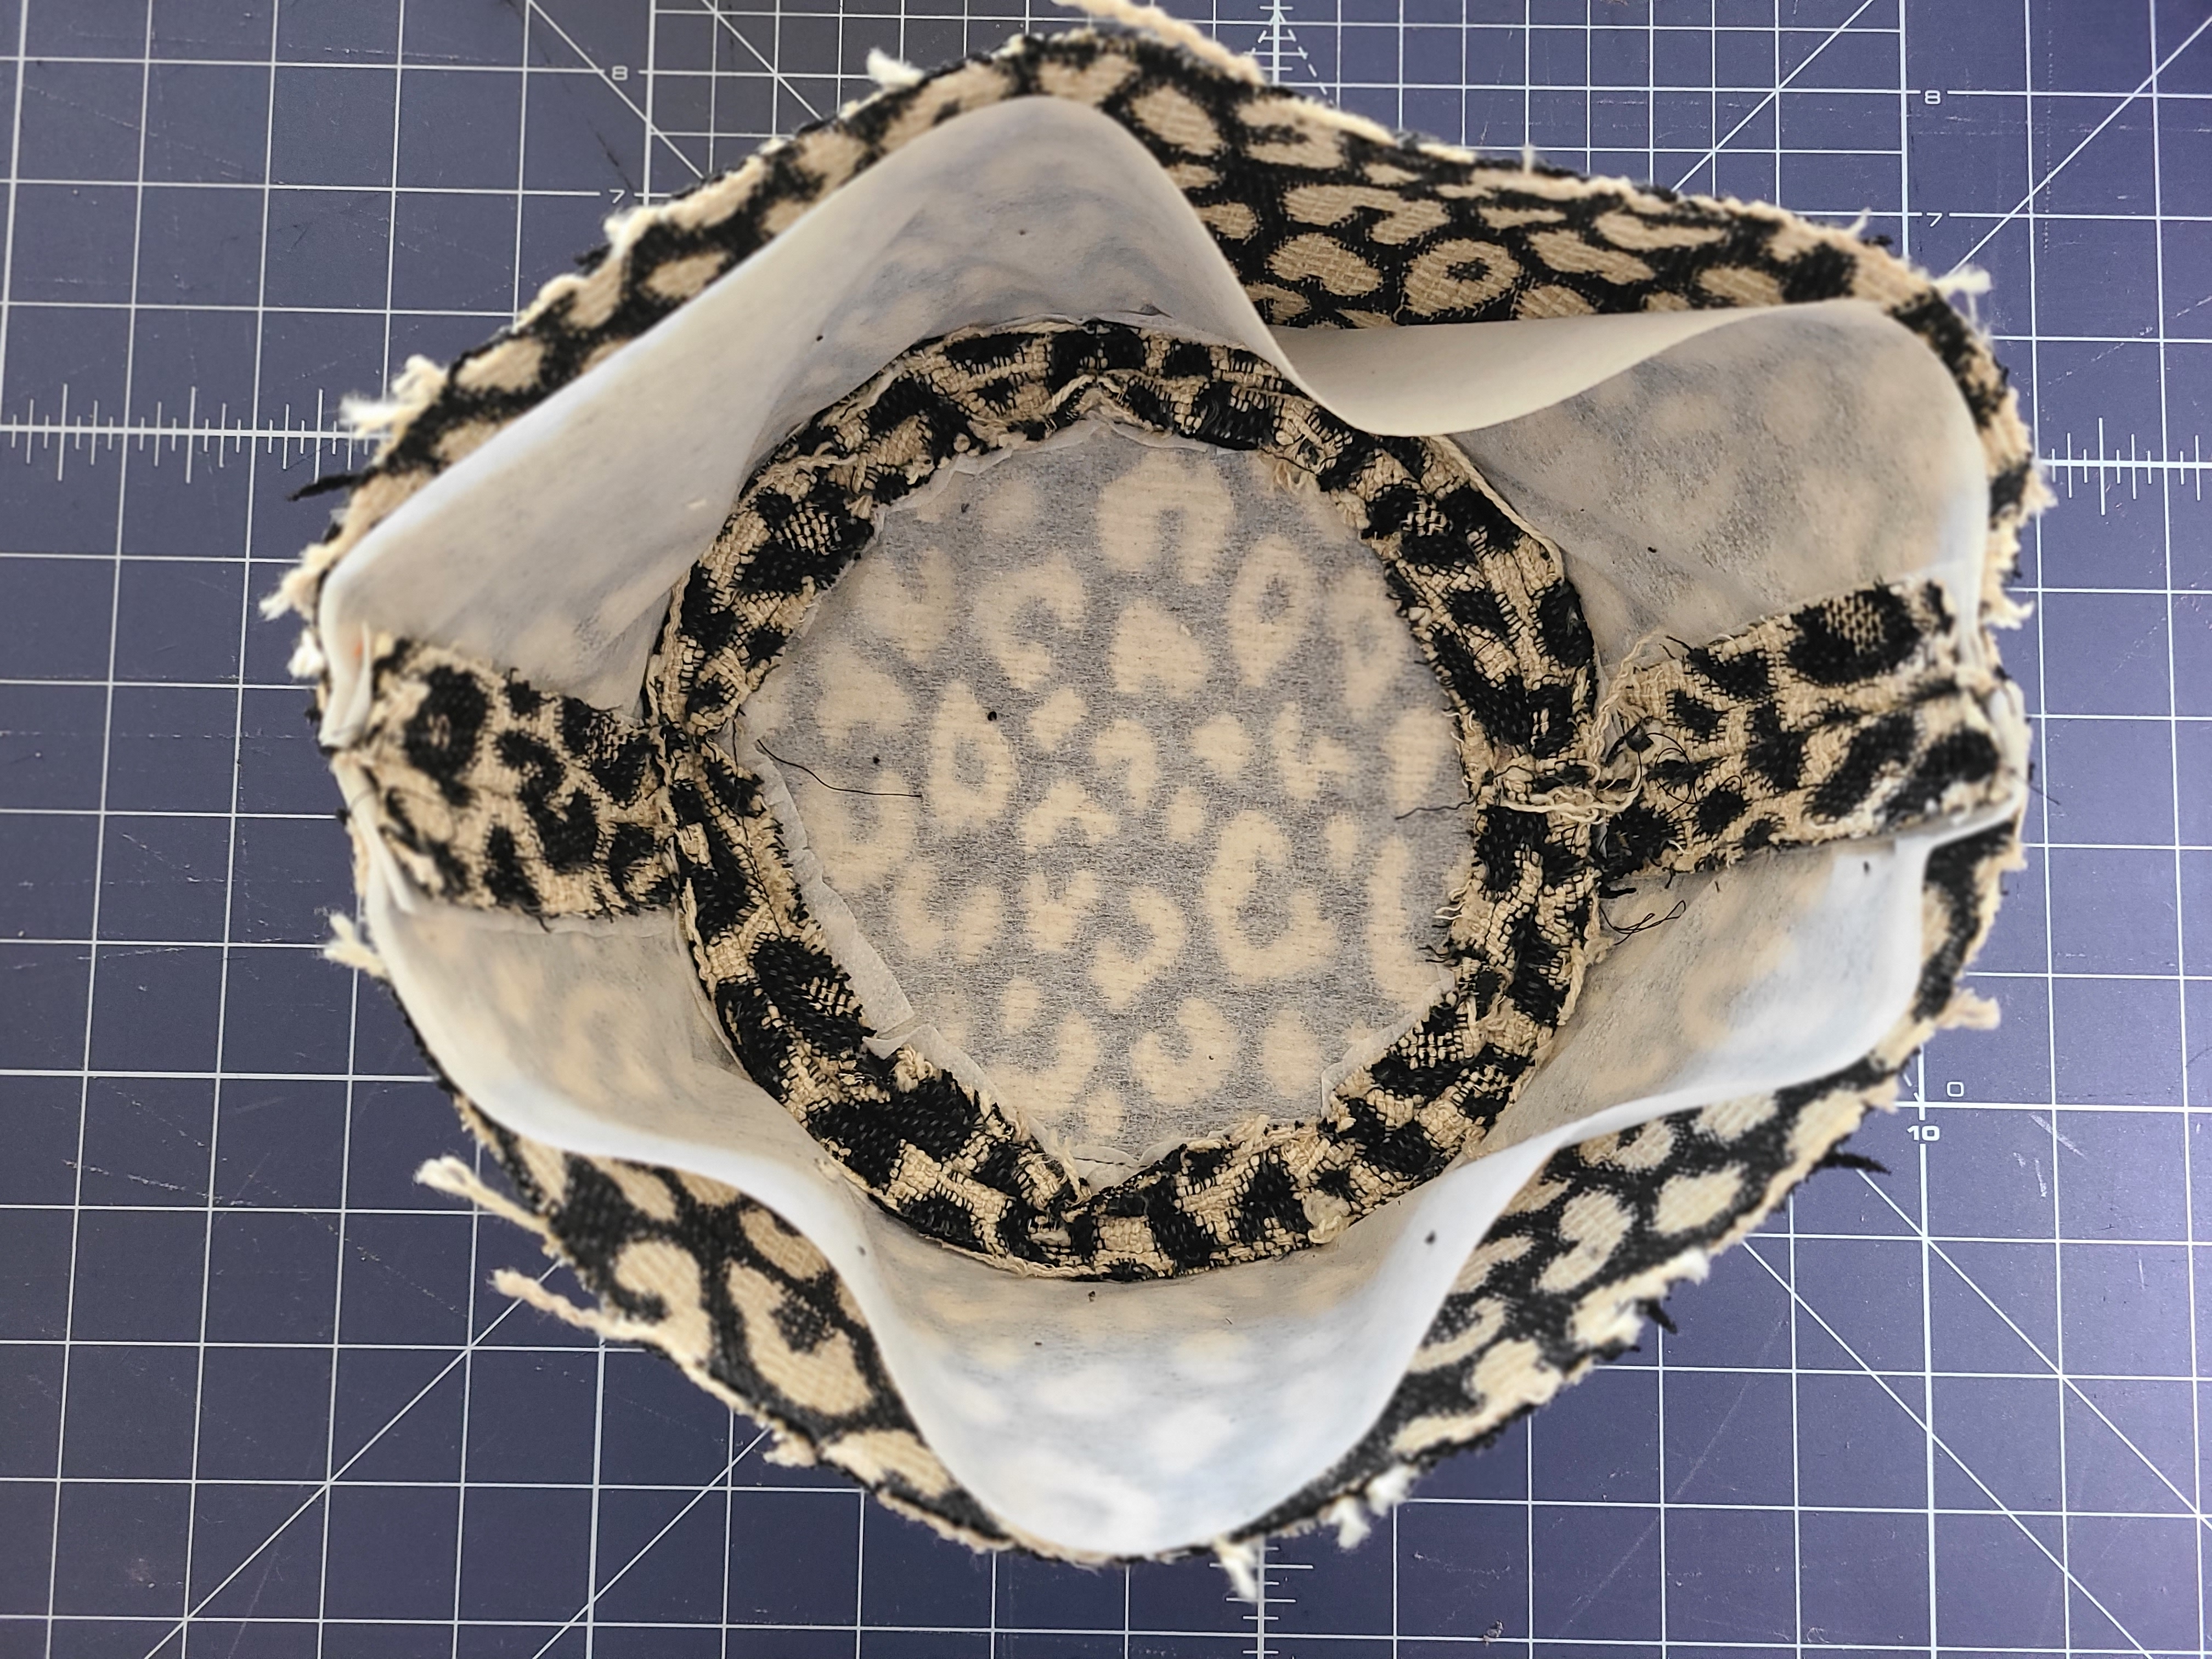
9. Next, insert hat lining into hat wrong sides facing. Pin raw edge to hat seam allowance. Stitch close to hat stitching.
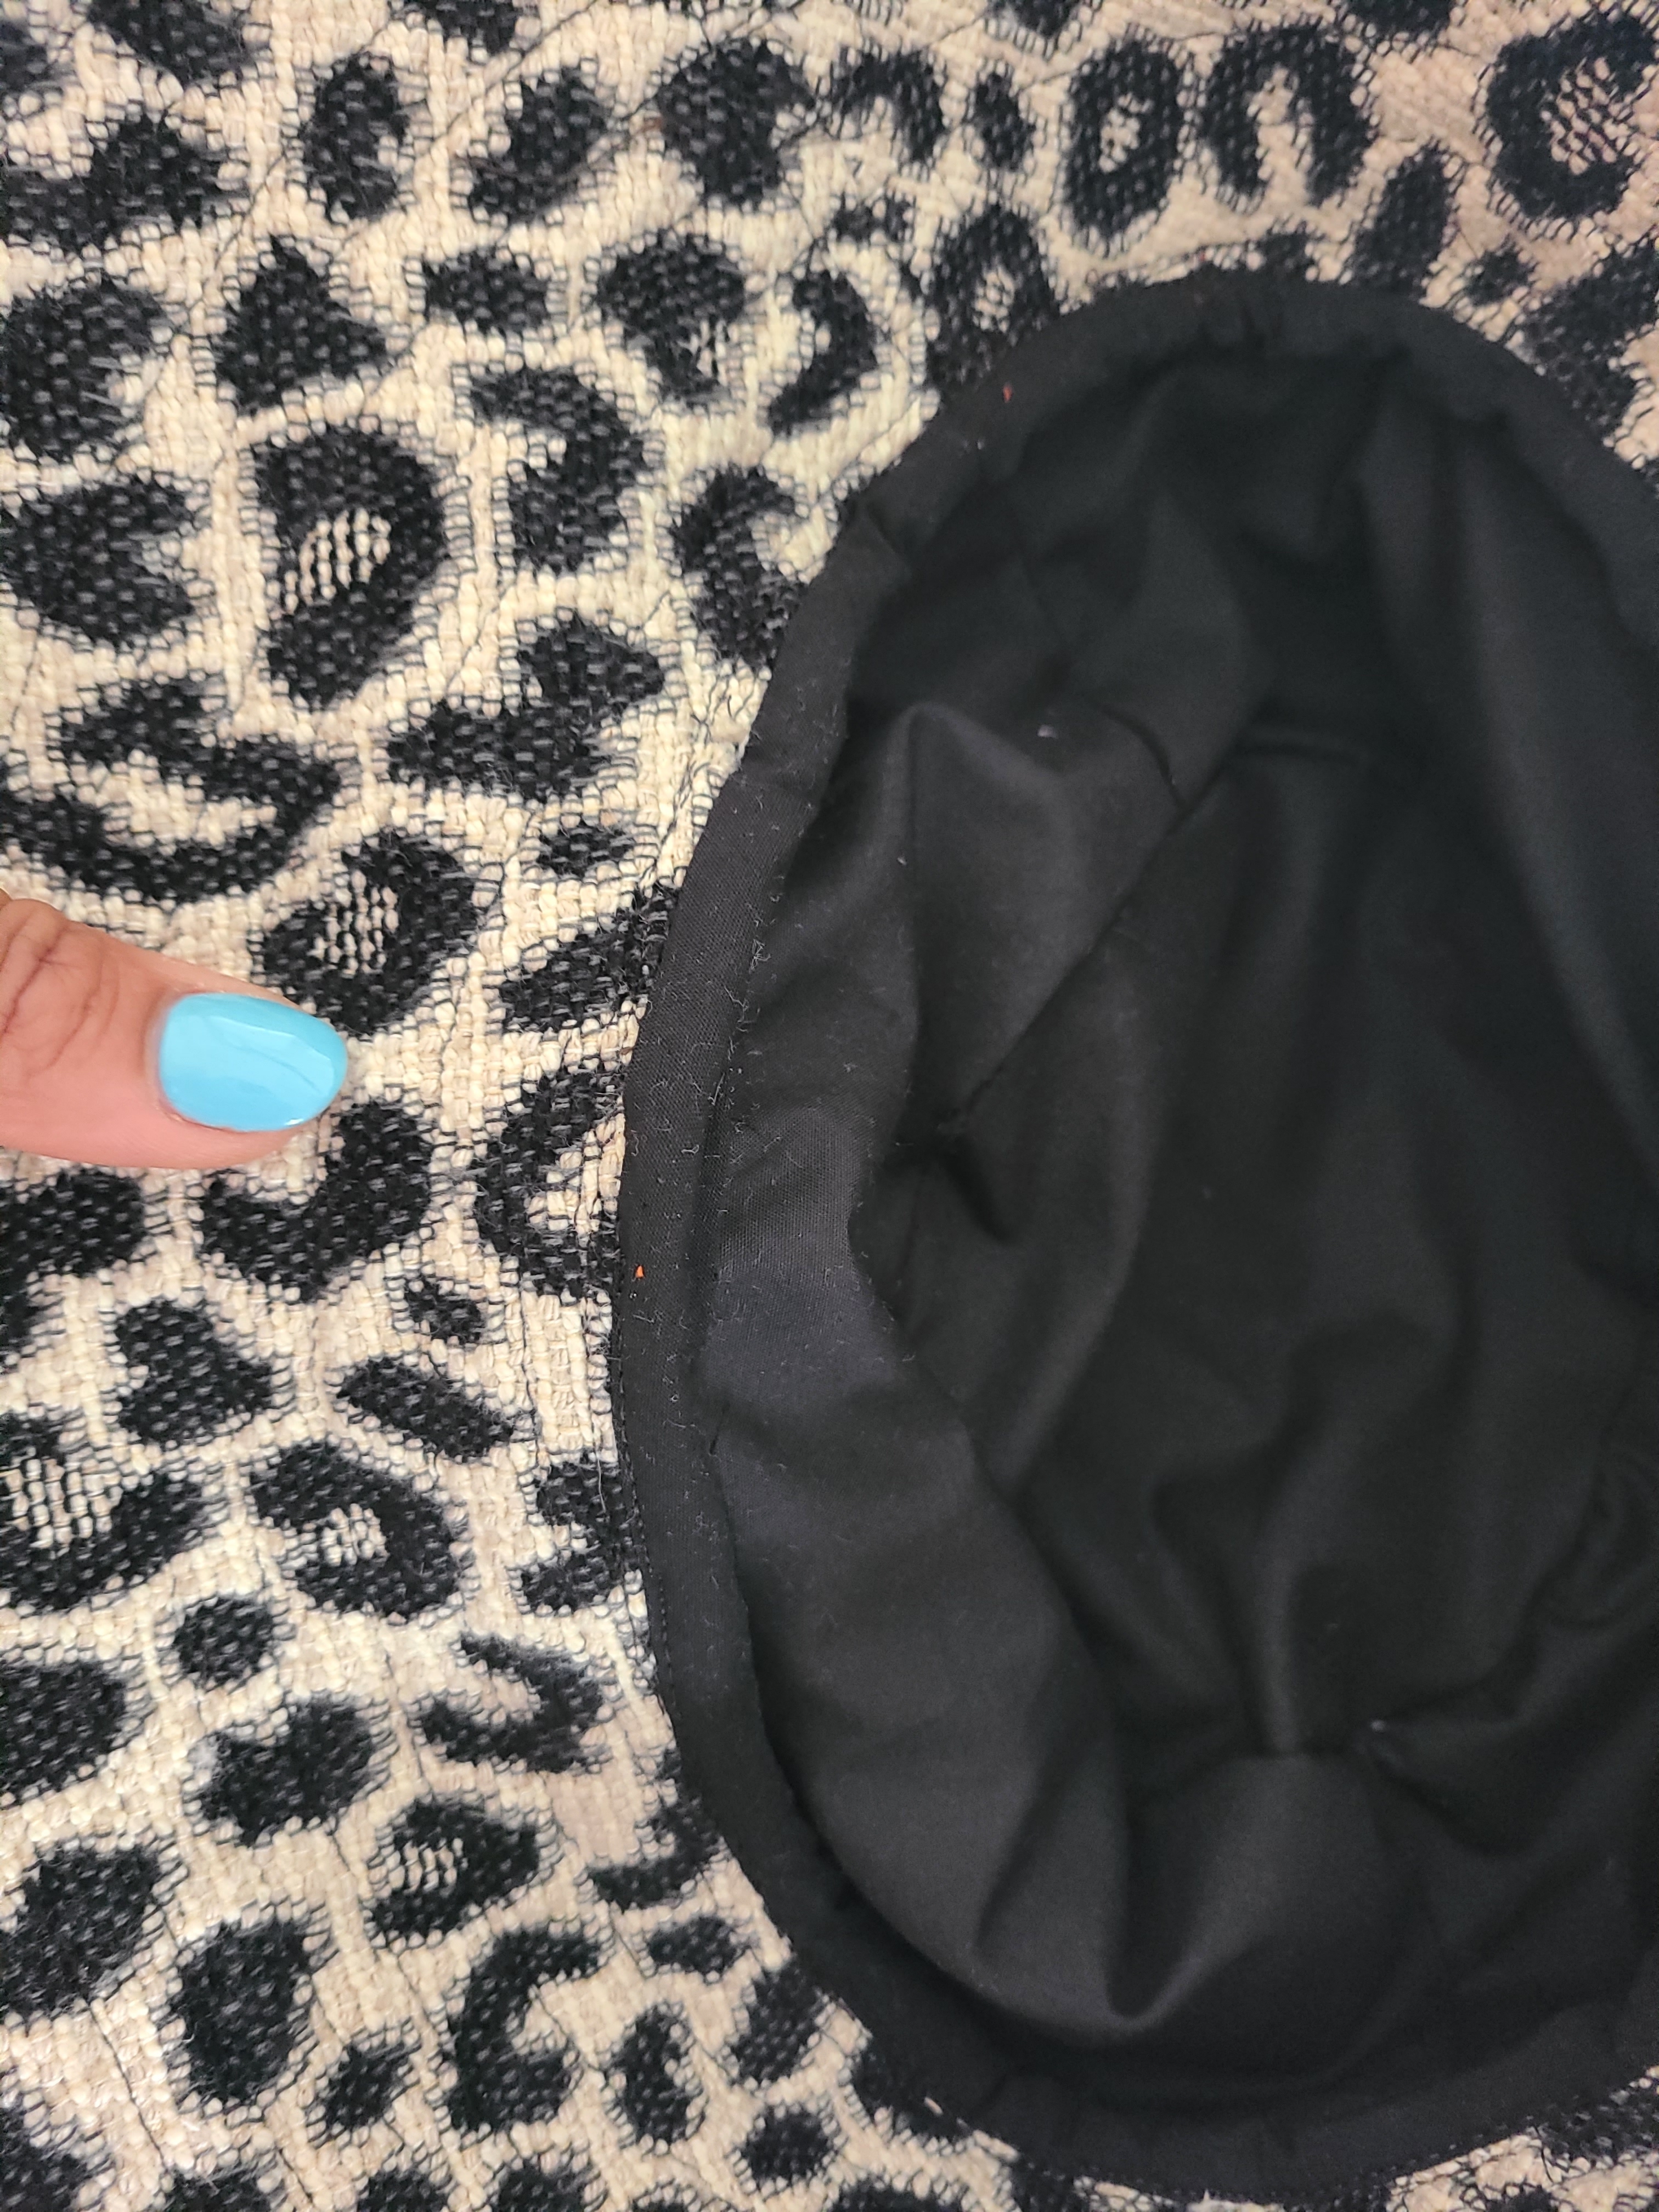
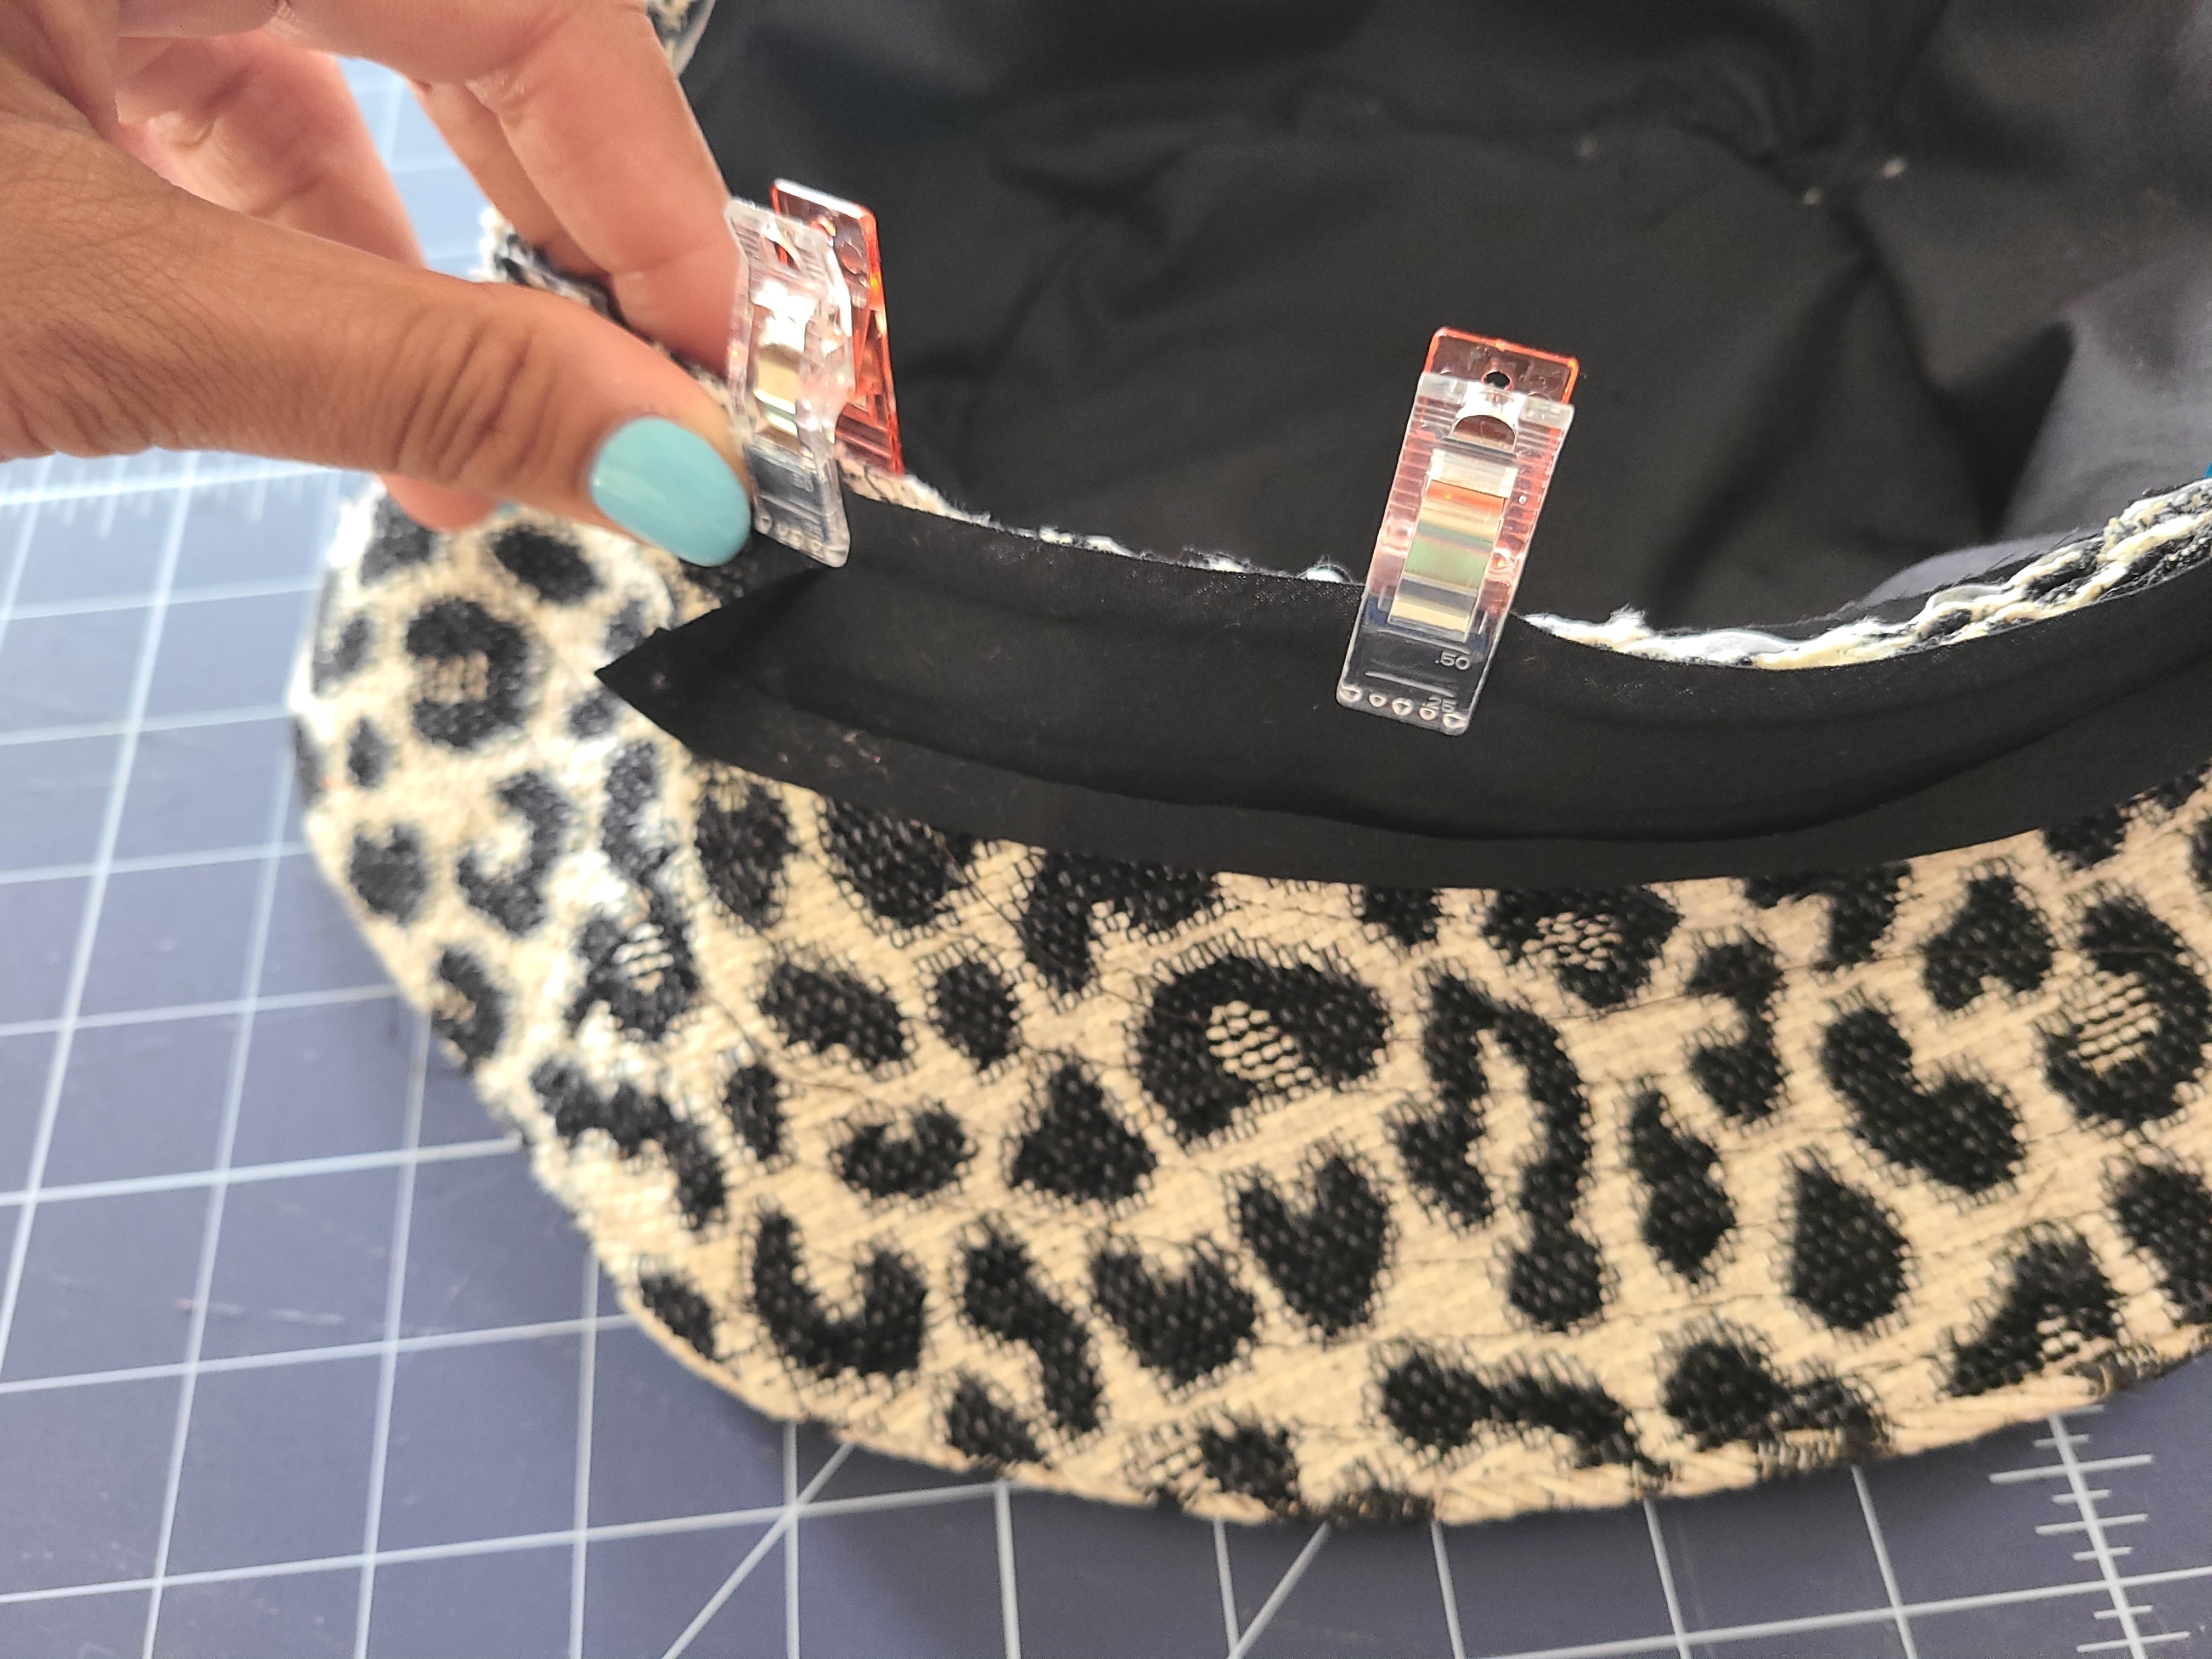
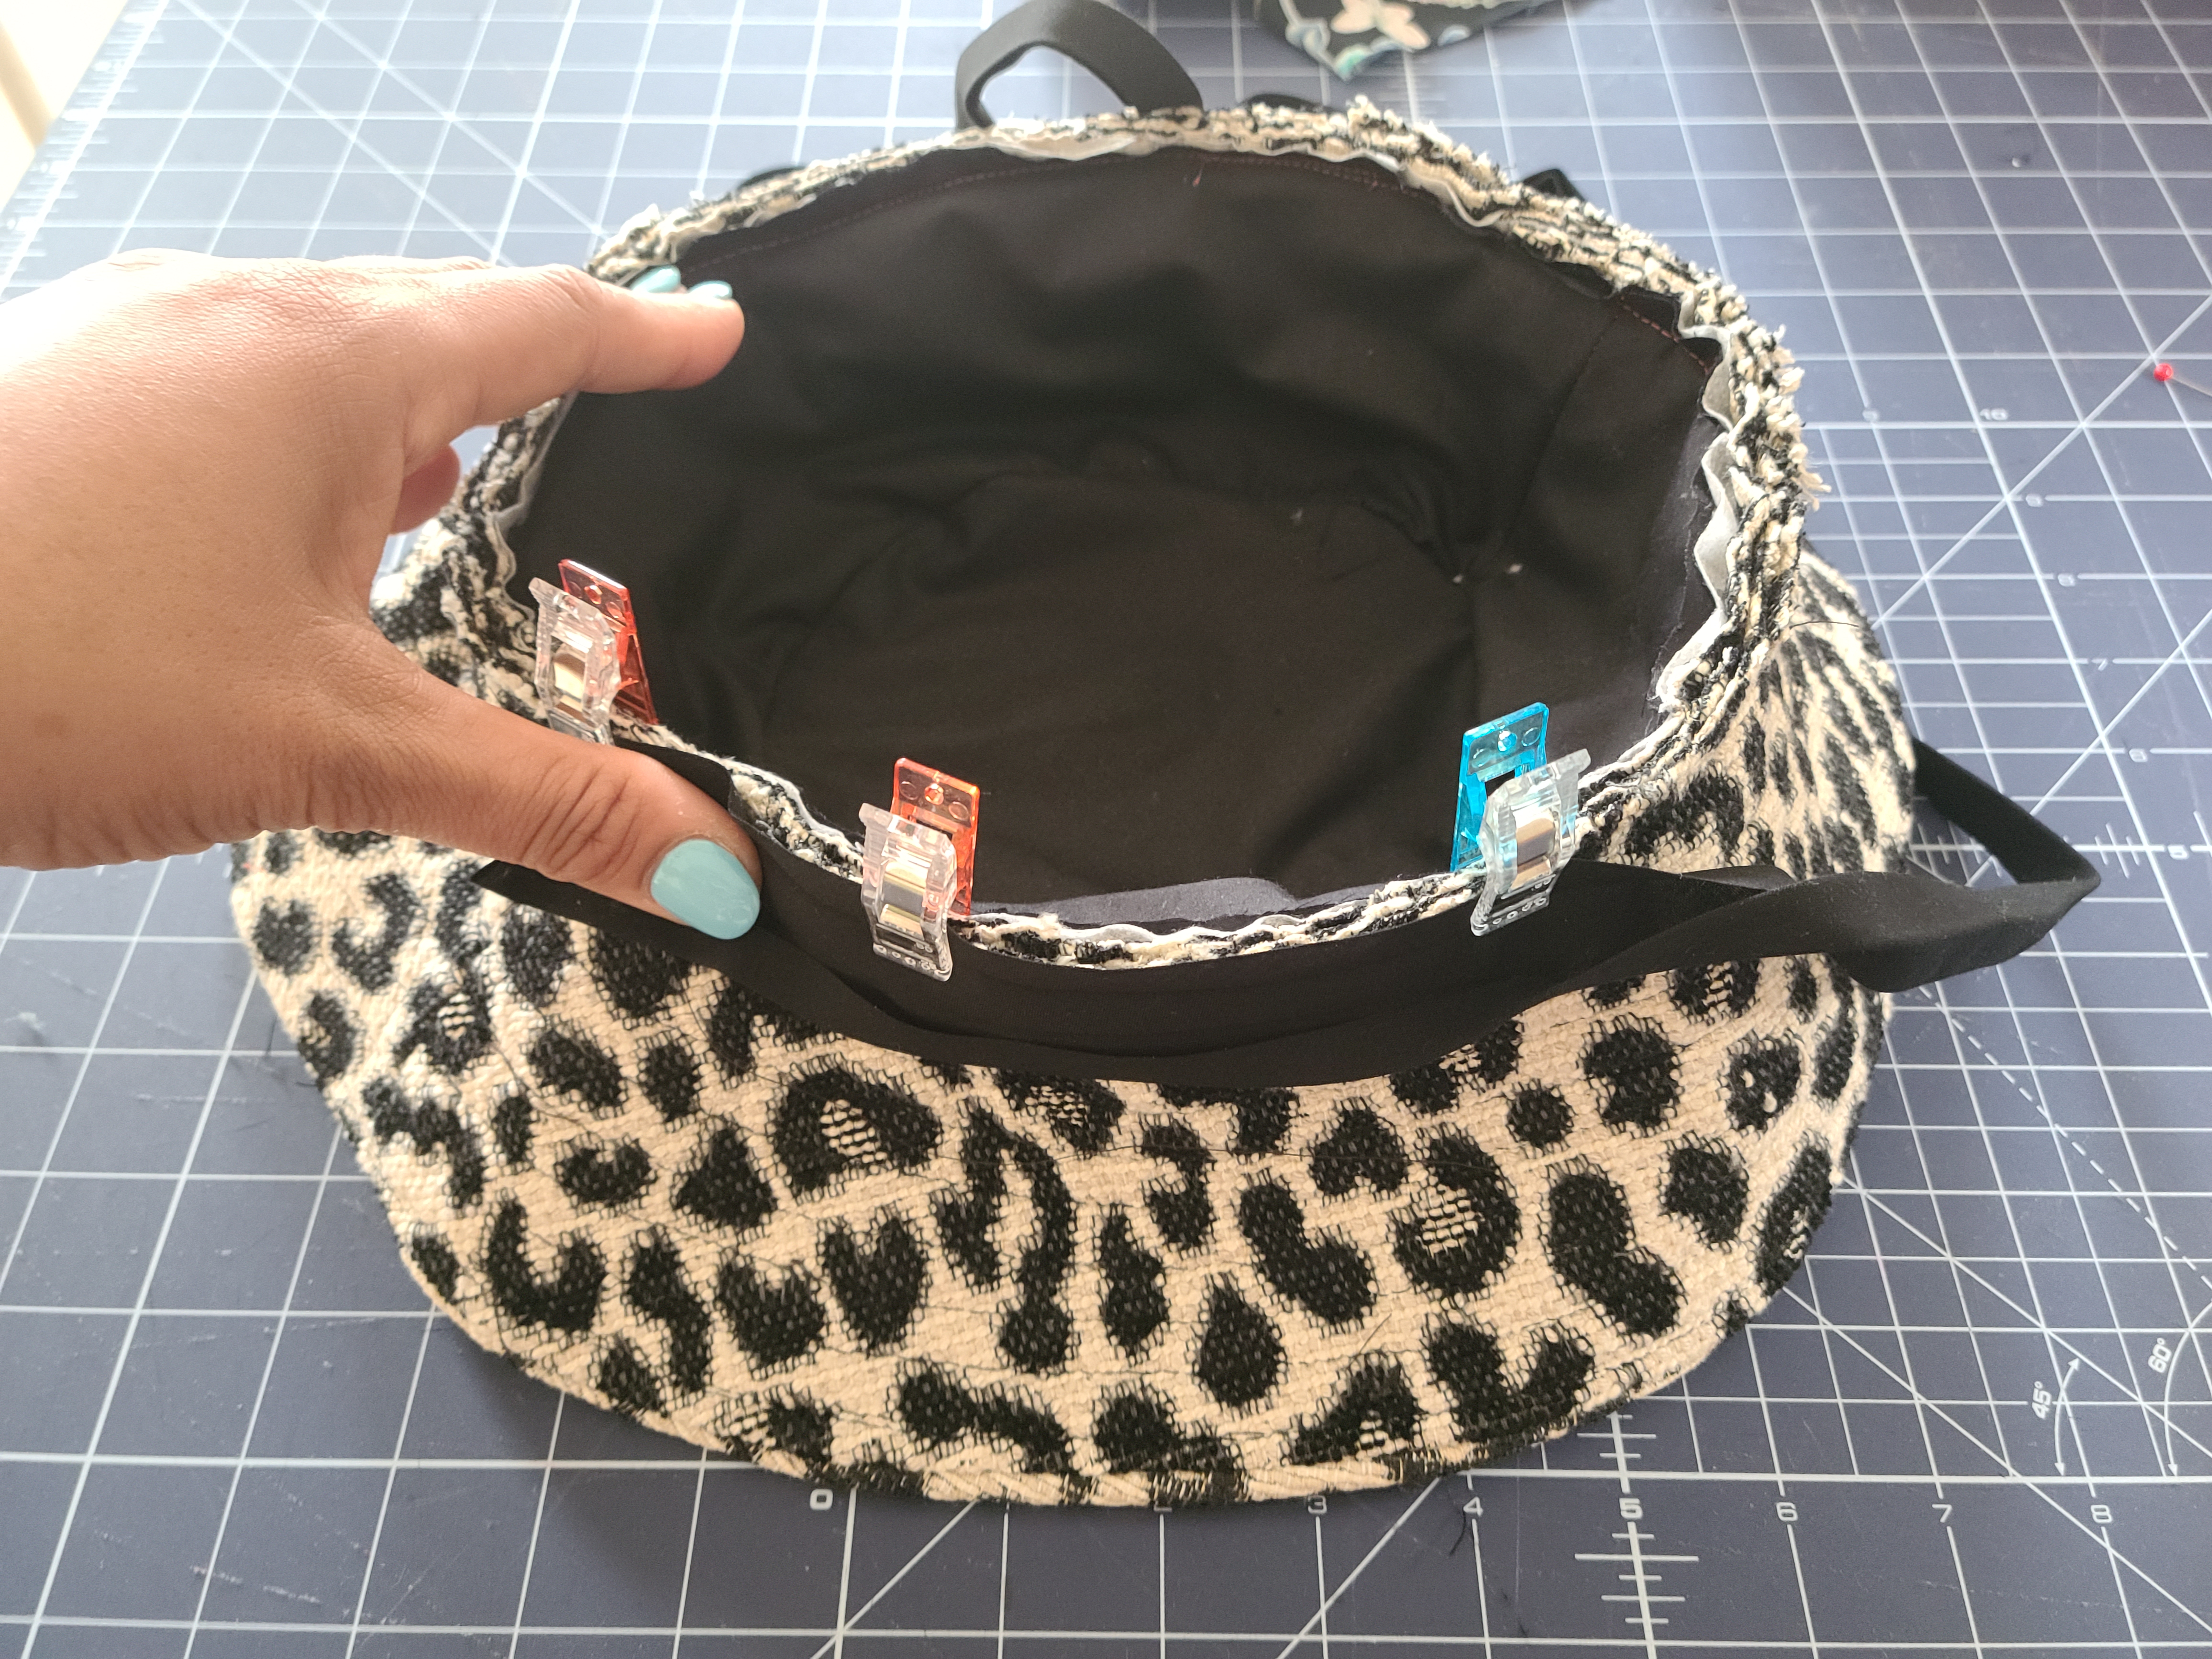
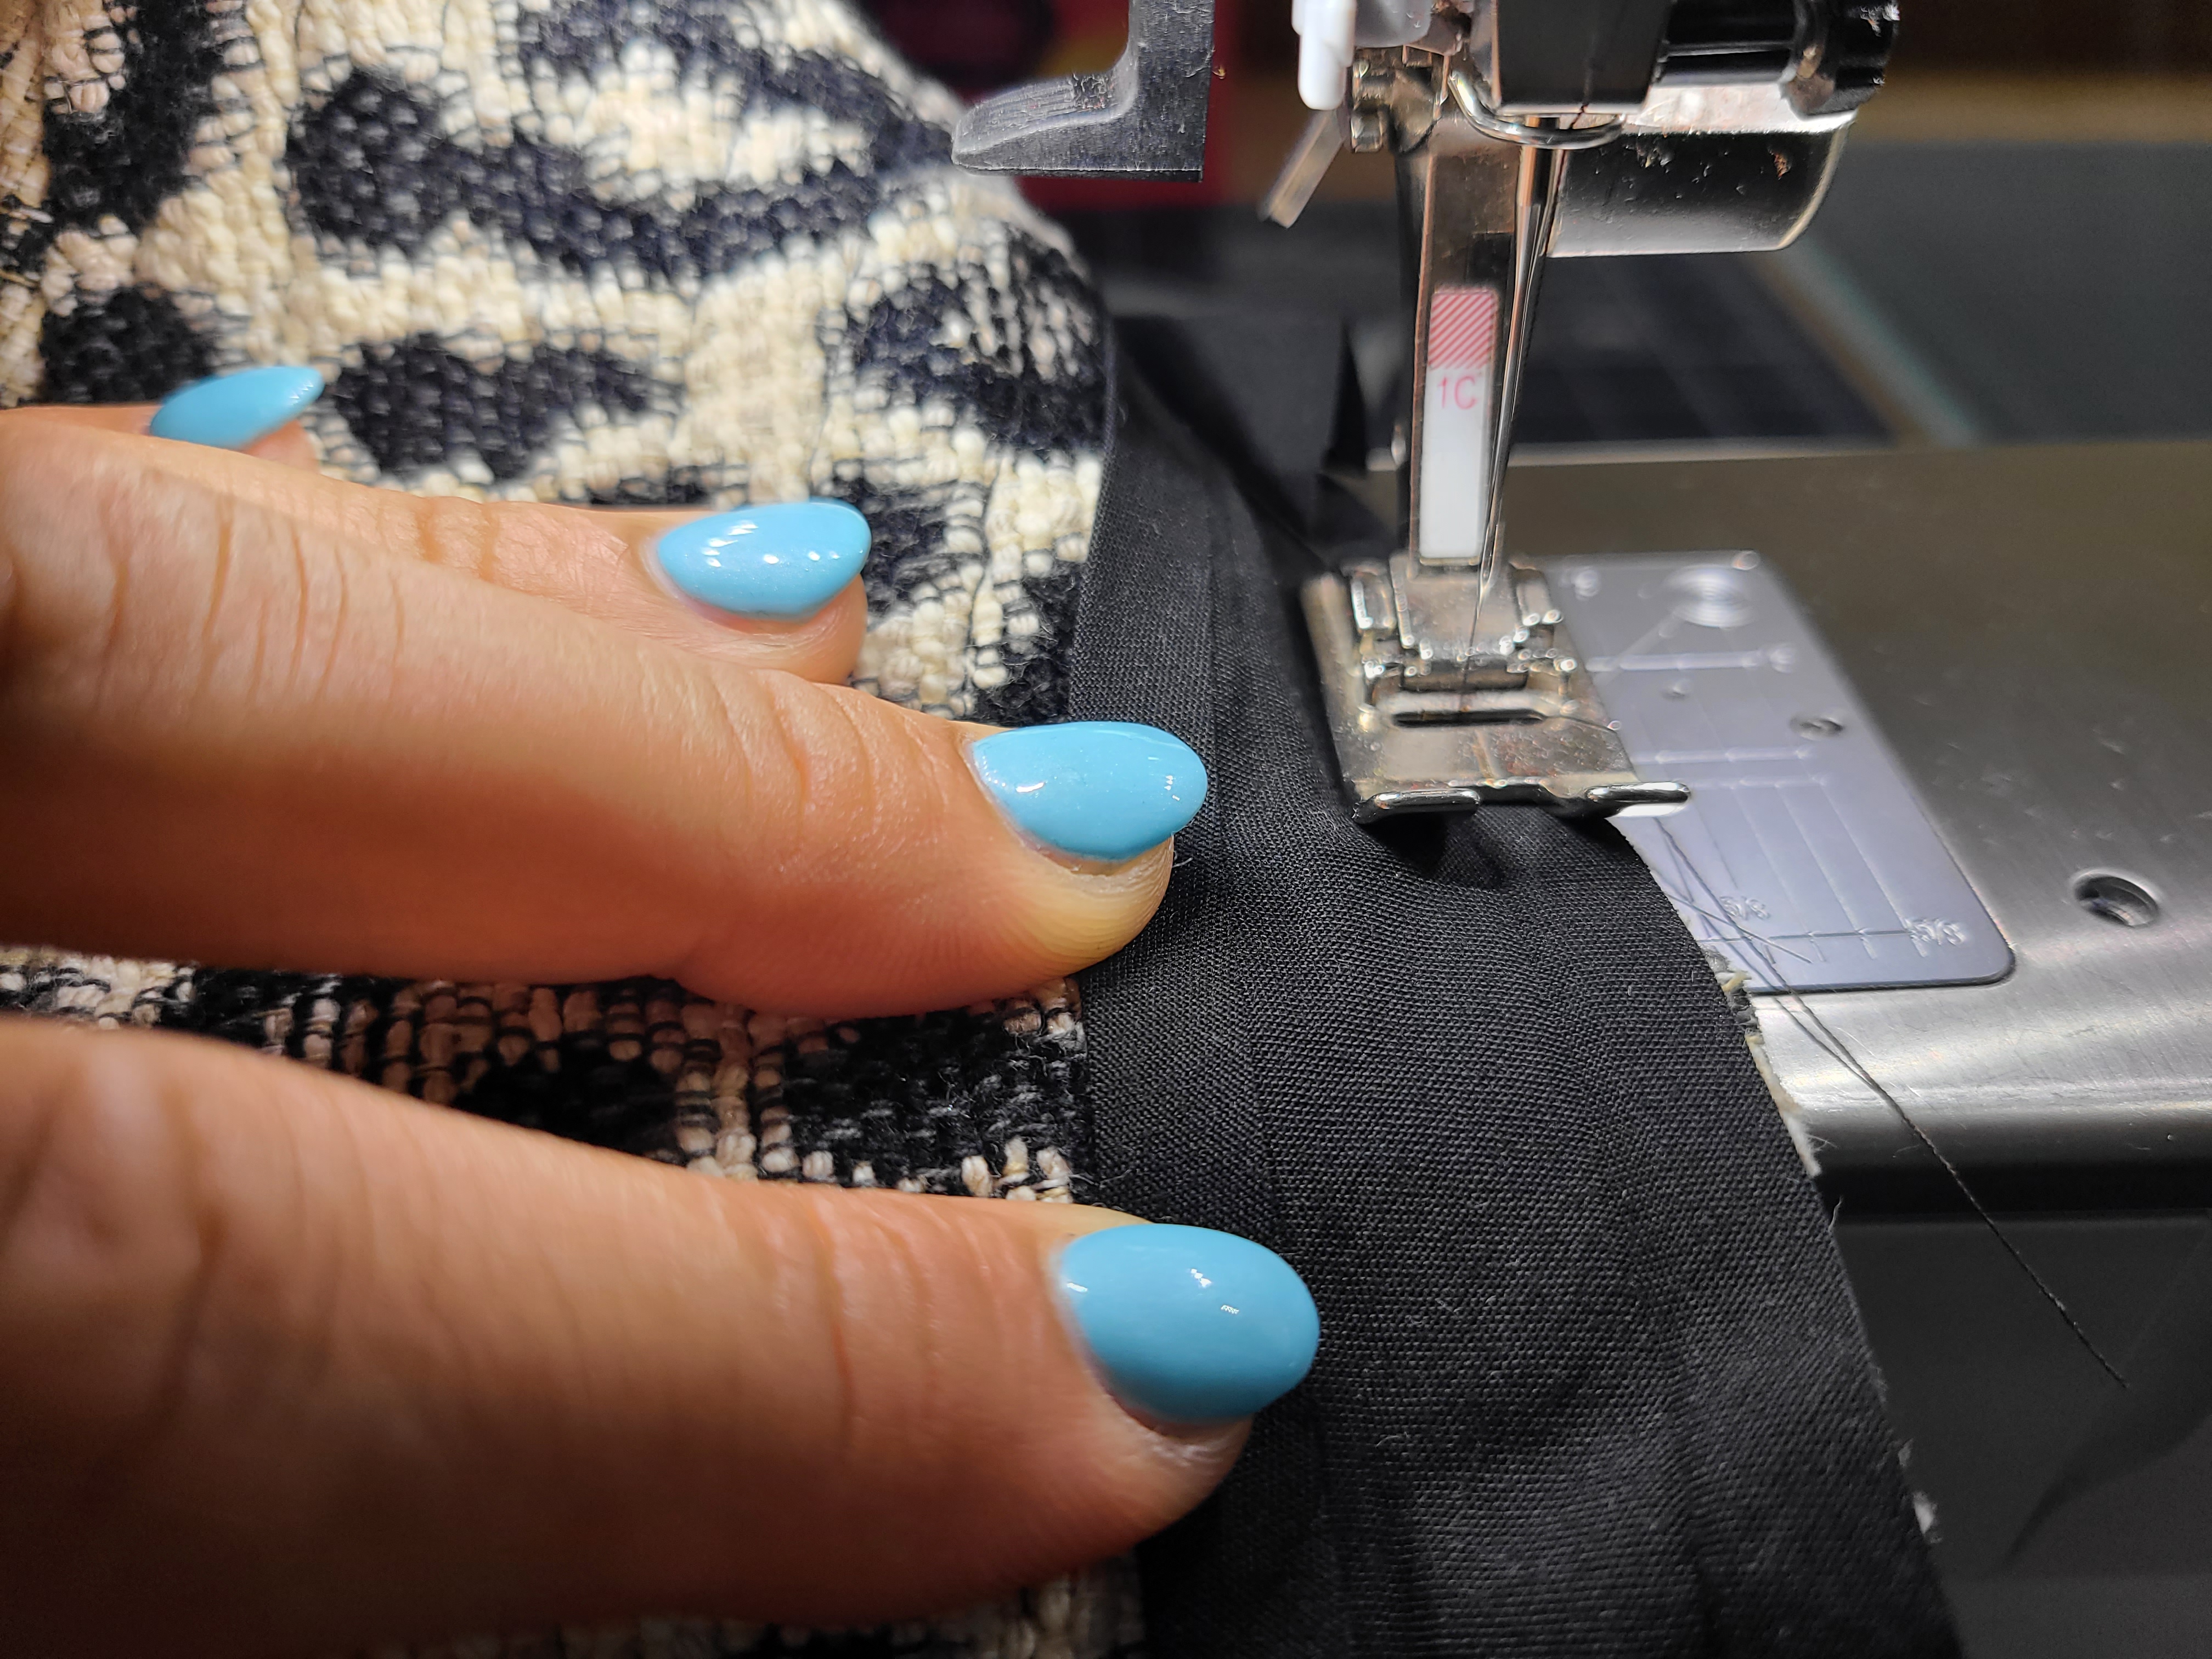
10. Open double fold binding and fold one end ¼ inch in. Pin right side of binding to seam allowance close to stitching along binding fold. Stitch on fold of binding overlap at the end. Fold over remaining binding. Press up. Top stitch on hat front ⅜ from seam through binding.
Voila! All done.
What you might also like
6 comments on “How to Make a Bucket Hat”
-
-
Hi, we’ve updated the pattern link on the blog: https://bit.ly/3Qj3sWW
Thank you!
-
-
The link to the free bucket hat pattern is broken, but pattern pdf can be found here:
https://www.gloryallan.com/products/mirage-bucket-hat-pattern?_pos=1&_psq=mira&_ss=e&_v=1.0 -
when I tried to get the pattern a message came up: page not found. any suggestions on pattern? did I miss something
-
Hi, we’ve updated the pattern link on the blog: https://bit.ly/3Qj3sWW
Thank you!
-
-
The pattern link is not free! Is there another way to download the pattern? I tried all the above links.
Leave a Reply
You must be logged in to post a comment.













Not able to access hat bucket pattern on my iPad! I am getting the page 404 error not found…..