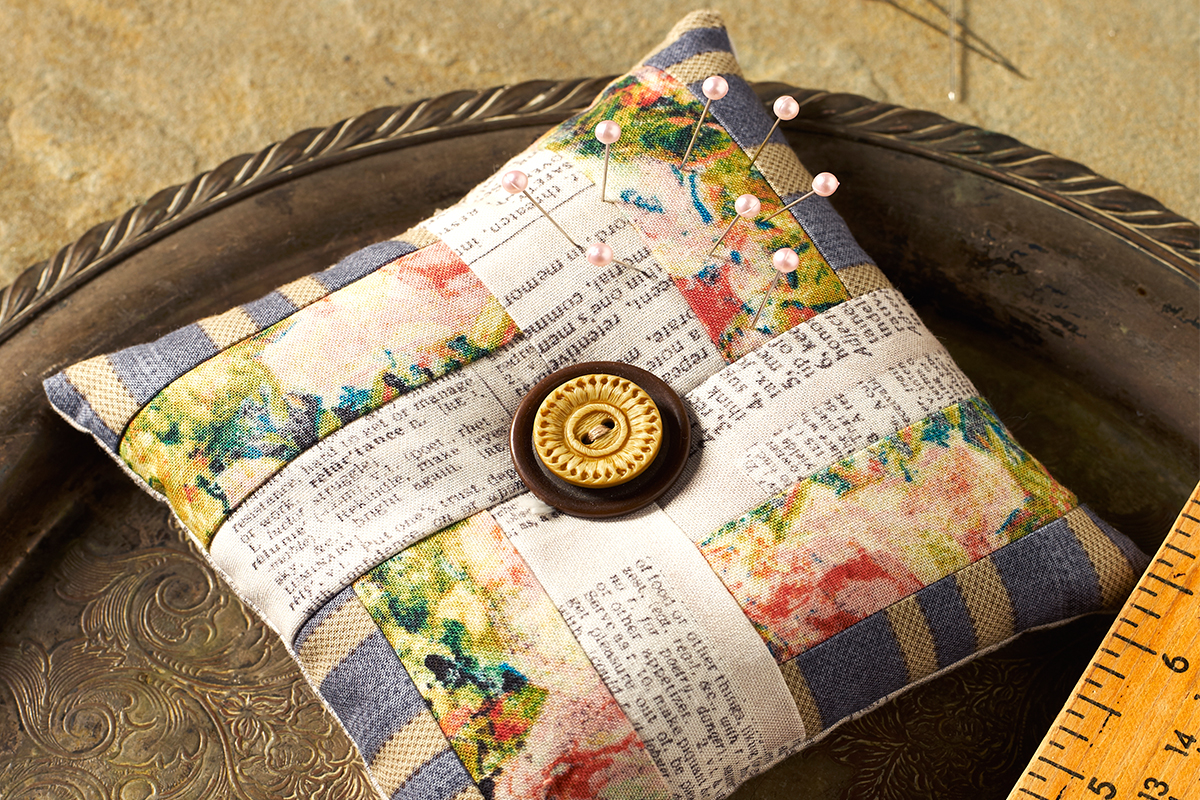
How to Sew a Decorative Pincushion
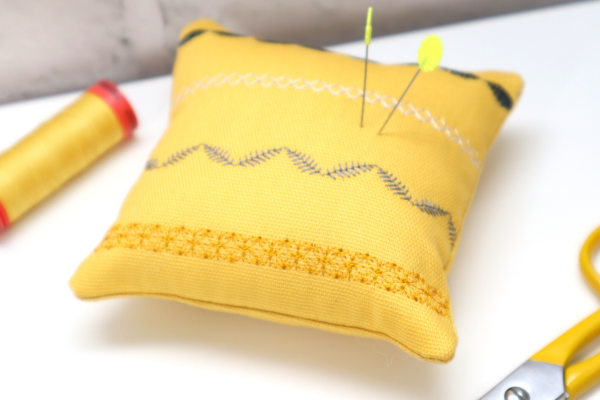
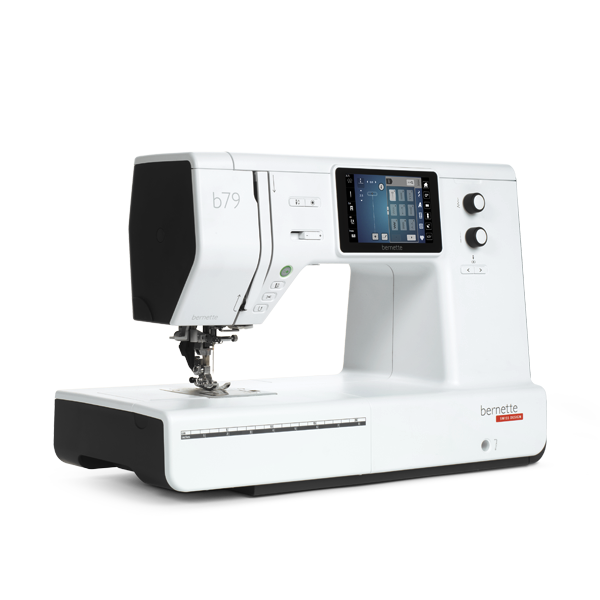
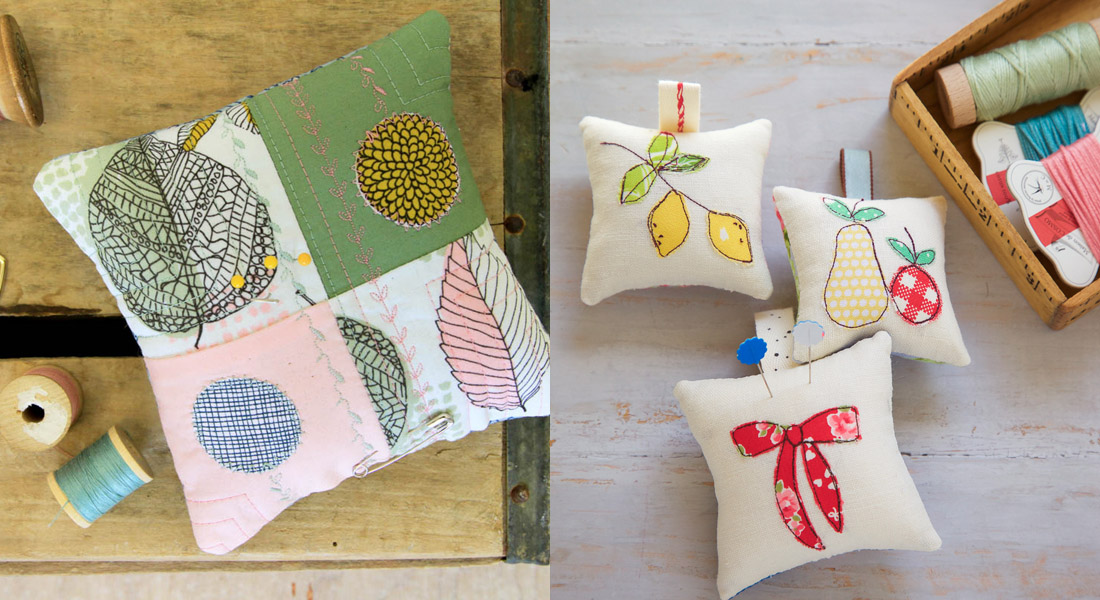
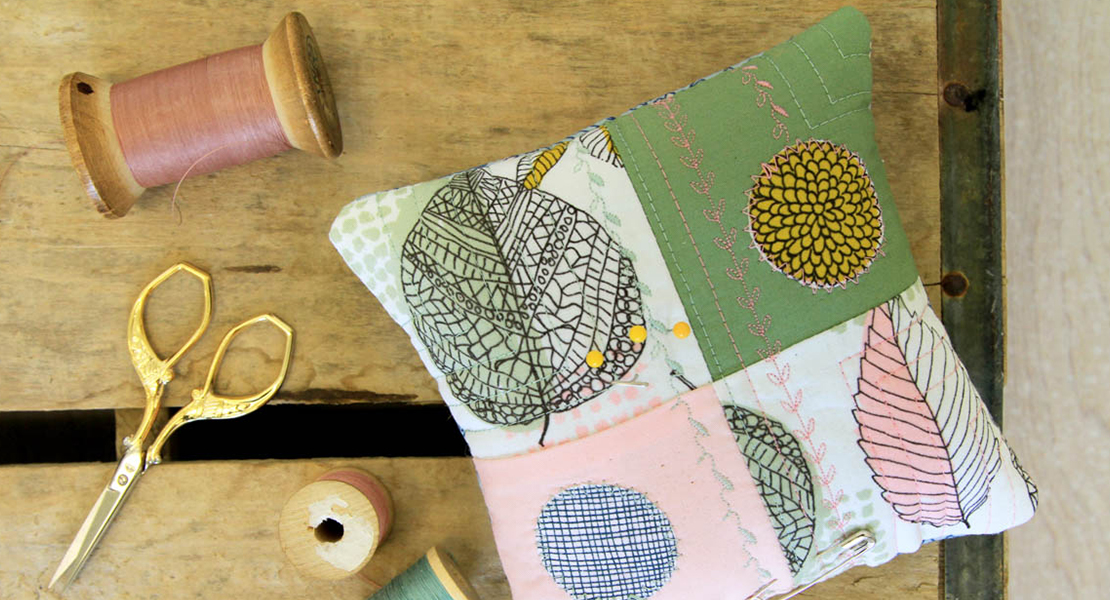
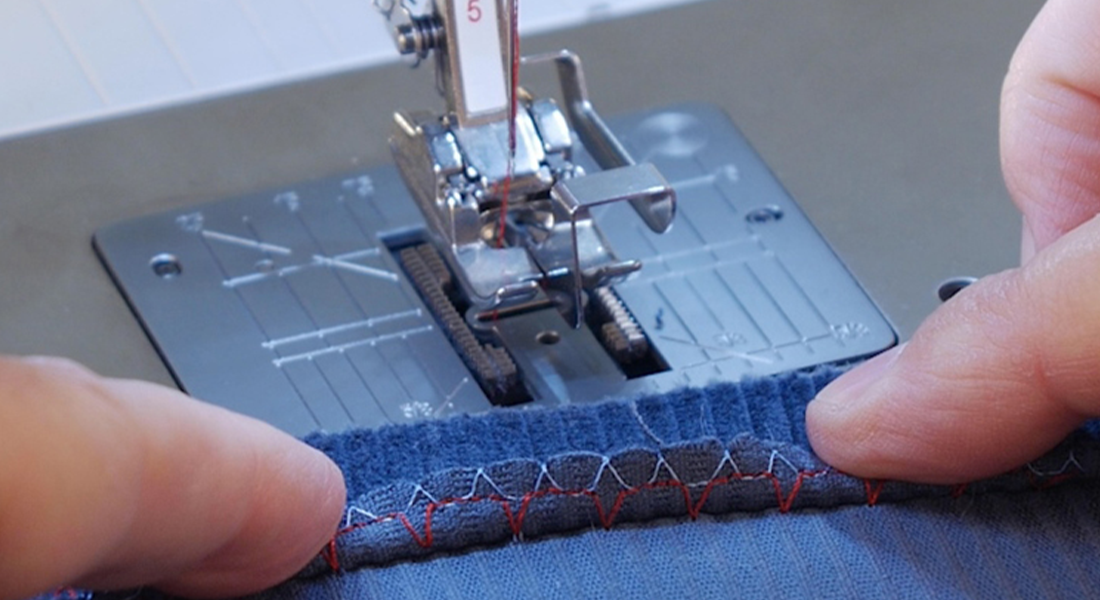
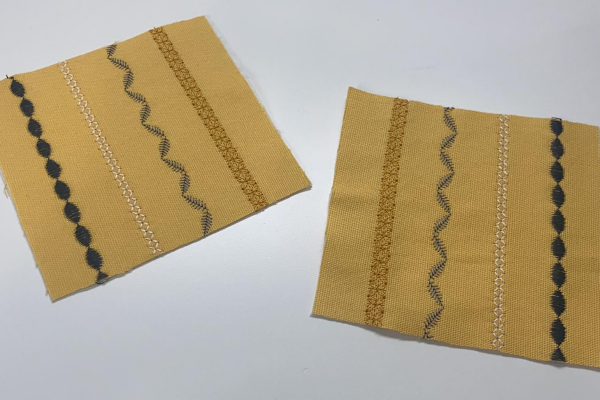
Our machines have so many cool decorative stitches and the best way to see what they look like is to test stitch them onto a piece of fabric. Once you do, you can turn your “test stitch” into a cute pincushion, or in today’s case, two pincushions! For today’s blog, I’m using my bernette 79 which has hundreds of decorative stitches, so the real challenge is going to be deciding on just four to share with you today.
Hello my Sewing Bees, my name is Sue O’Very owner of Sookie Sews and BERNINA Expert. You can find me on Instagram at @SookieSews, my website SookieSews.com, and on my YouTube Channel SookieSewsTV.com where I have hundreds of sewing projects, machine sewing patterns and embroidery designs and In-the-hoop projects. Ok, let’s get stitching!
Materials and Supplies to Sew a Decorative Pincushion
Measurements are Width by Height
Makes two pincushions
- (1) 5″x10″ Thin fusible batting
- (1) 5″x10″ Front (Cotton or Canvas)
- (2) 5″x5″ Back (Cotton or Canvas)
- Poly-fil Fiberfill
- (4) Embroidery threads i.e. Mettler Polysheen Dark Gray, Cream, Medium Gray, Gold
- 60 wt bobbin
- All-purpose sewing thread Mettler Silk Finish with matching bobbin
- Top Stitch 80/12 needle
- Universal 80/12 needle
- 5.5″ All-Purpose Craft Scissors i.e. Sookie Sews
- EZ Hook n Snip i.e. Sookie Sews
- Rotary Cutter, mat, ruler
- Frixion Pen
- Wonder Clips
- Hand Sewing needle
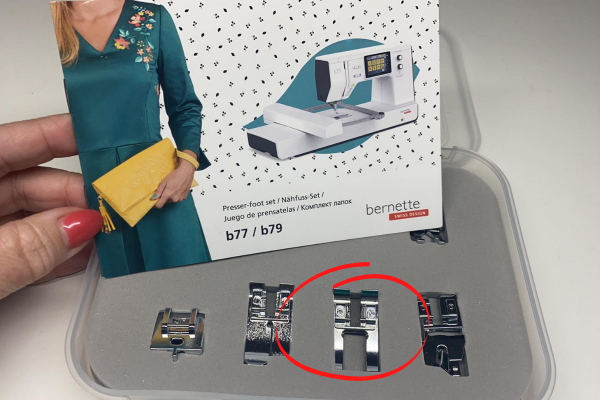
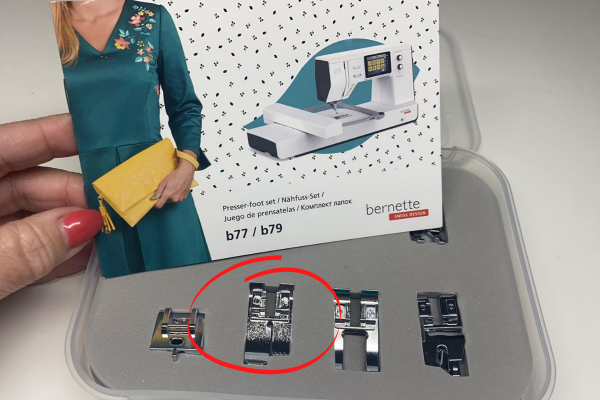
- Open toe foot or Open Embroidery foot for Dual Feed on the bernette b79 or Presser Foot Set b77 / b79
- Standard presser foot or Straight Stitch Foot for Dual Feed
- Iron and pressing station
- EZ Point & Turner
Steps to Sew a Decorative Pincushion
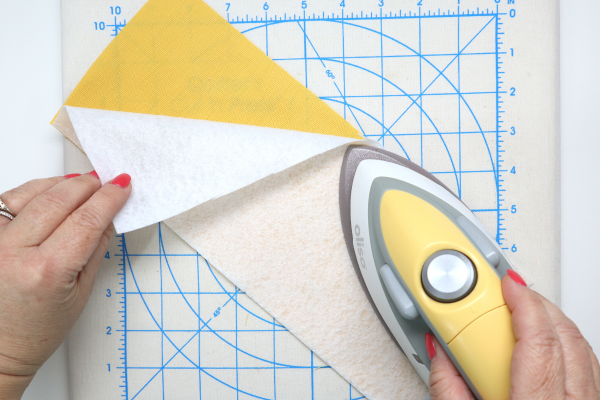
- Press the fusible batting to the wrong side of the Front.
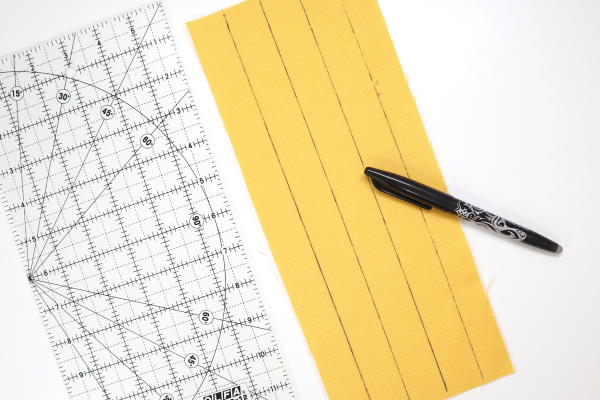
- Mark (4) rows 1″ apart the length of the Front/Batting combo on the Front side.
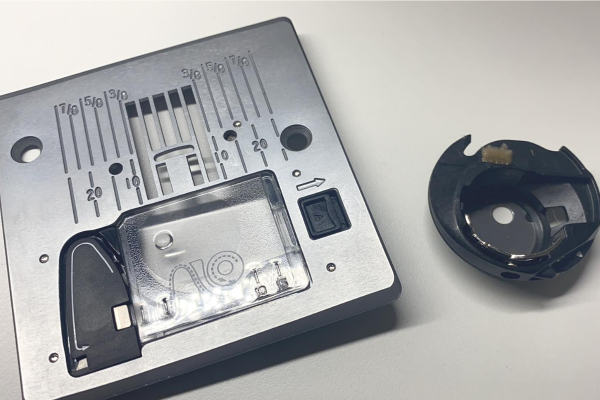
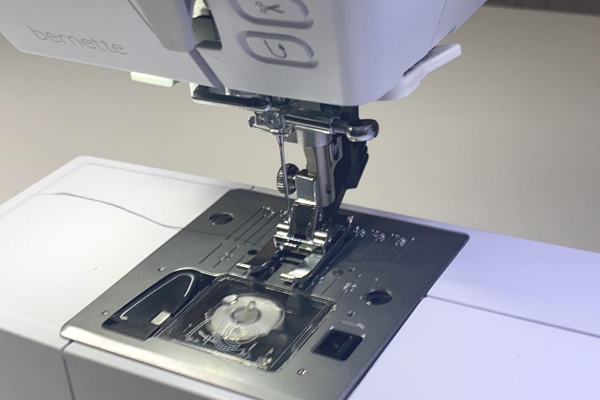
- Set your sewing machine up for sewing with a Top Stitch needle, the sewing throat plate, and the Open Embroidery foot with your duel feet engaged. Begin with the Dark Gray thread in the top and a 60 wt bobbin thread.
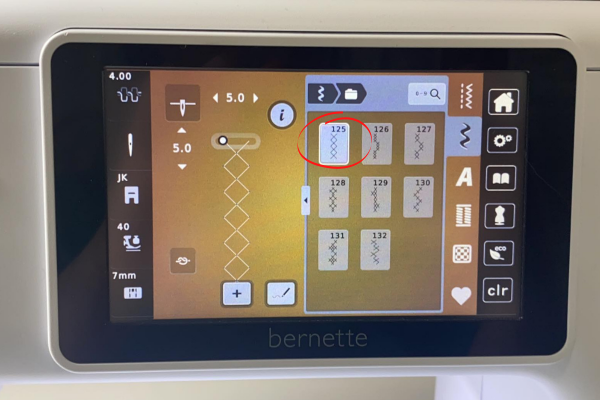
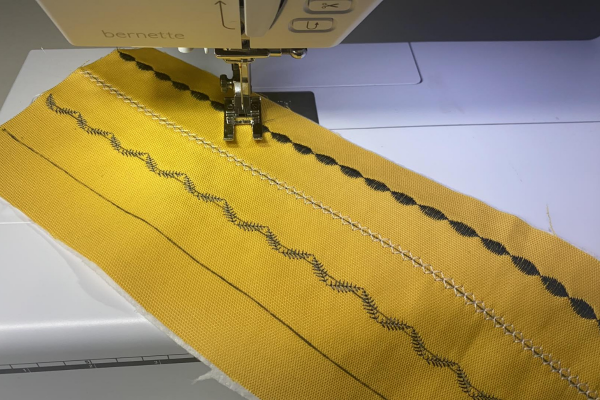
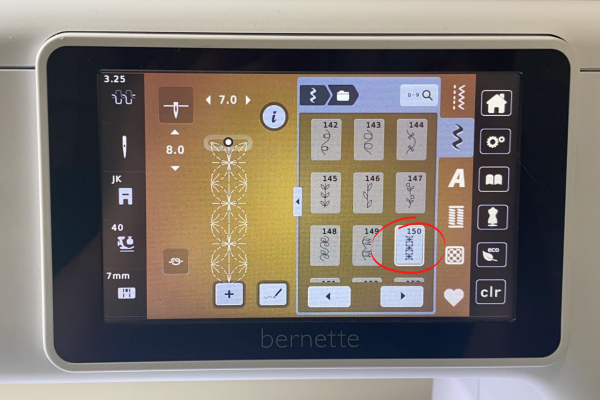
- Choose the decorative stitch tab and select the 101 folder and stitch 109.
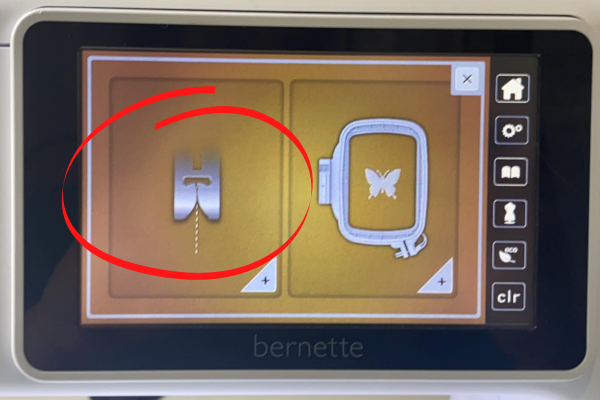
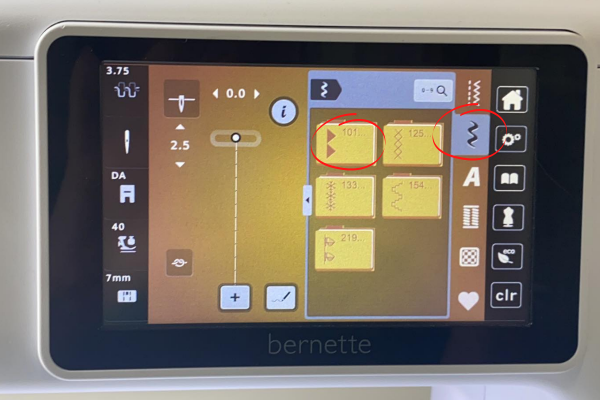
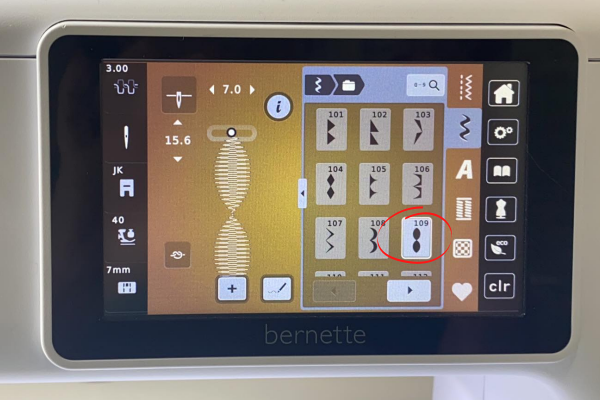
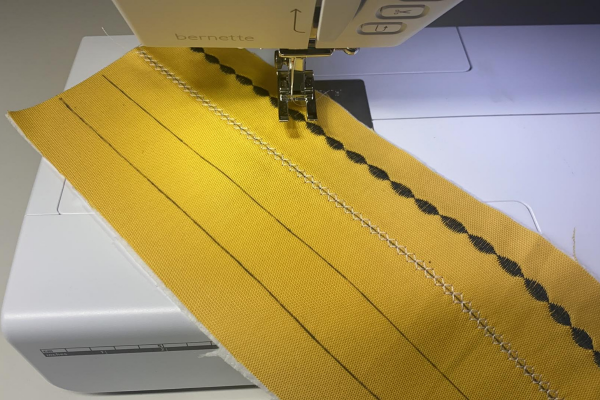
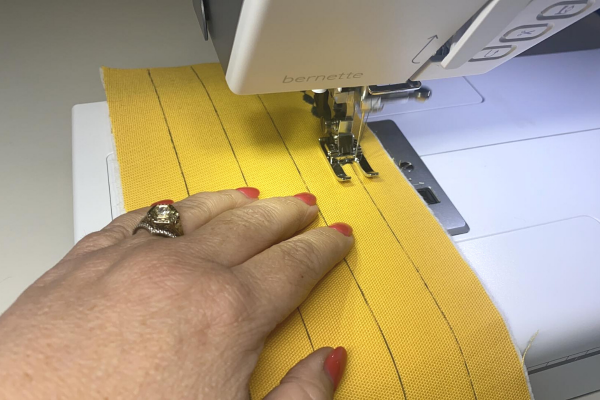
- Line up the far-right row and lower the presser foot so the center mark of the presser foot is directly over the marking. You can either use your foot pedal or press and hold the start button for about 2 seconds which will get the machine sewing.
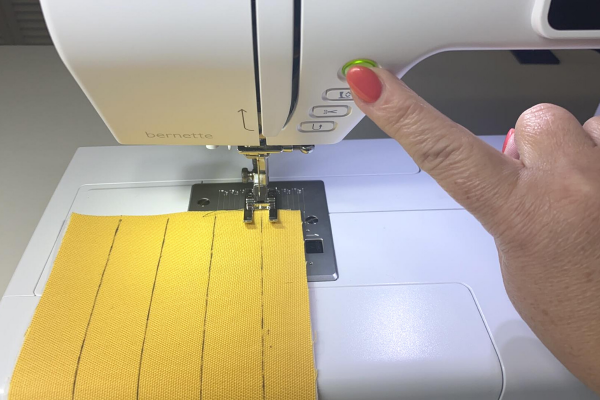
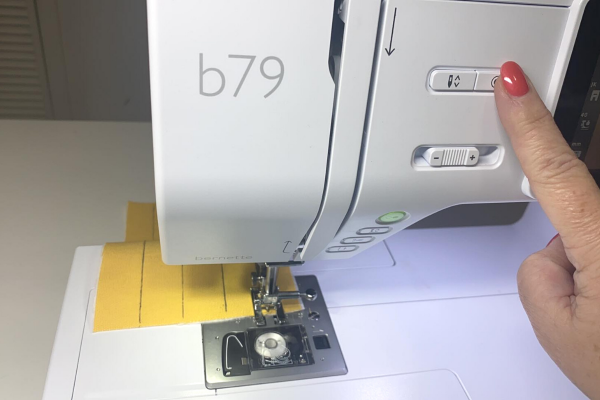
- Once you are close to the end of the material, press the “Circle” button on the front of the machine to complete the decorative stitch pattern.
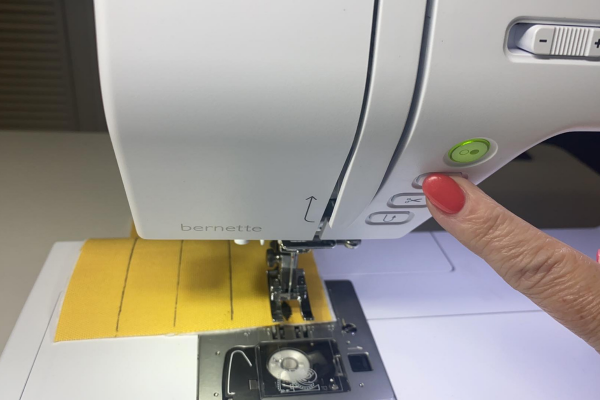
- When the machine finishes stitching press the “Scissor” button on the front of the machine, this will cut the thread in the top and bobbin.
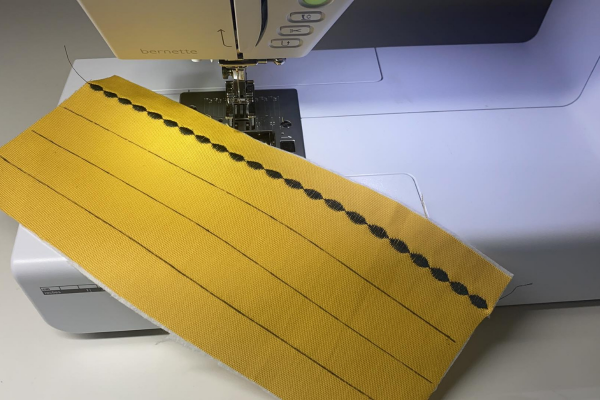
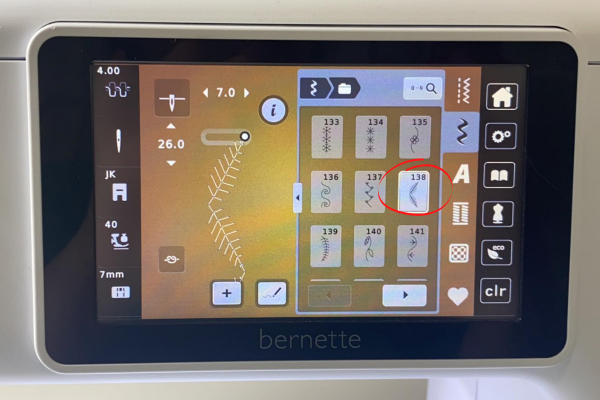
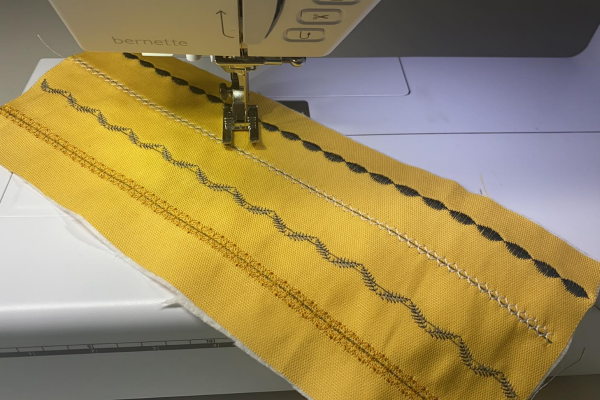
- Repeat the same steps for these three stitches on each row:
- When finished stitching press the top to remove the marking. Cut (2) 5″x5″ blocks from the Front (this will make 2 pincushions).
- Set sewing machine up with the Straight Stitch Foot for Duel Feed DF (with Duel Feed engaged) and center needle position straight stitch at 2.5 length.
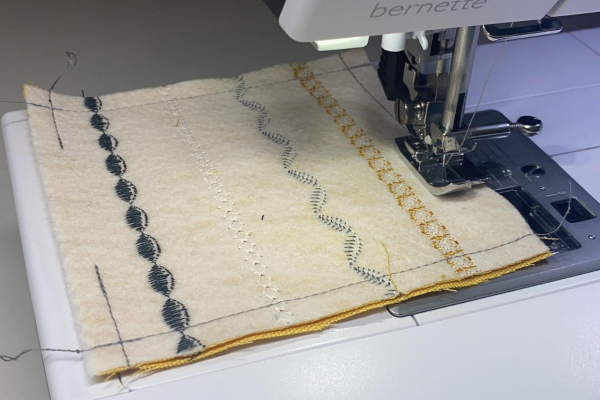
- Place the Front right sides together with the Back. Sew 1/4″ seam allowance on all four sides and leave a 2″ opening.
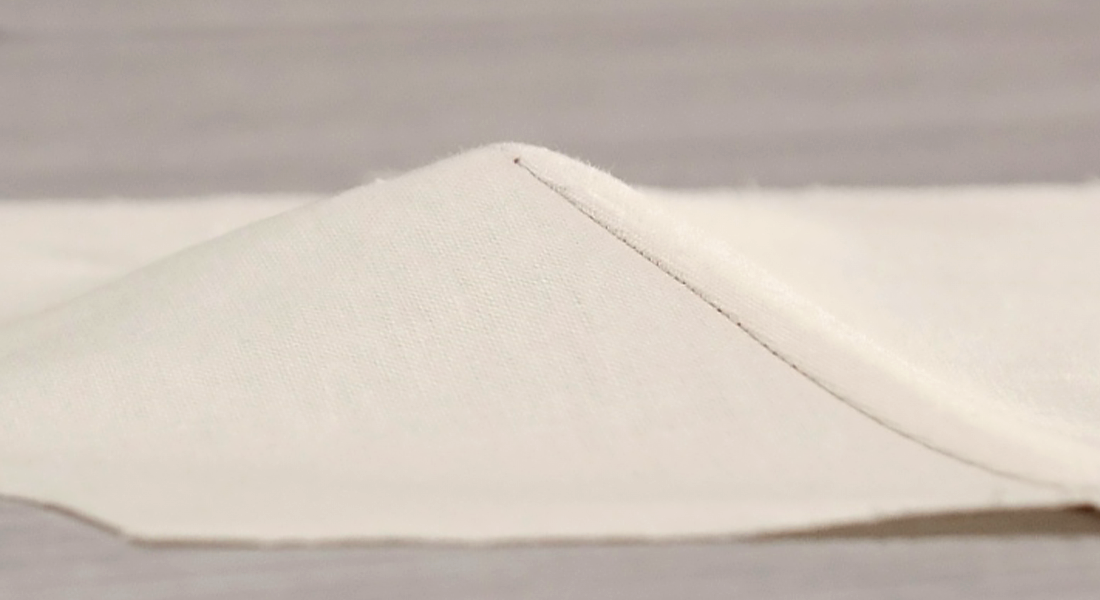
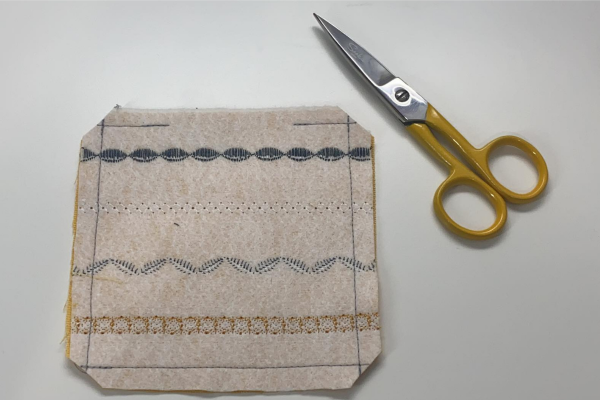
- Miter the four corners to help turning and to reduce bulk in the corners.
- Turn right side out with the EZ Point & Turner and press.
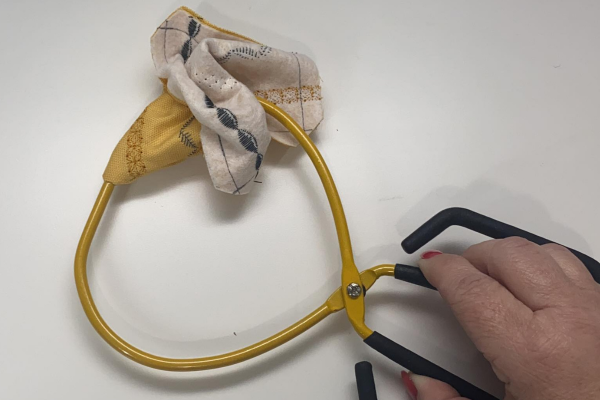
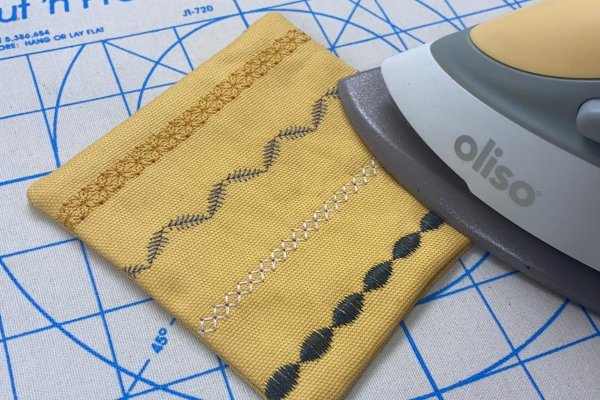
- Fill pincushion with stuffing and hand stitch closed. Repeat for the second pincushion. Now you have two pincushions, one for you and one for a sewing friend.
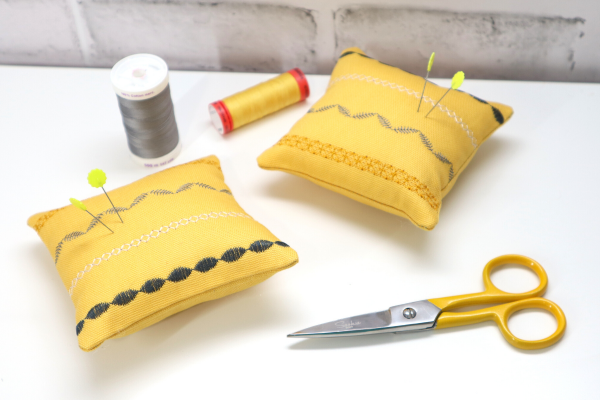
- Add pins and you’re ready to go!
I hope you enjoyed this easy sewing project and make one for yourself, and more for your stitching friends. When you make yours, please snap a shot and tag me @SookieSews and @BERNINAUSA!!
