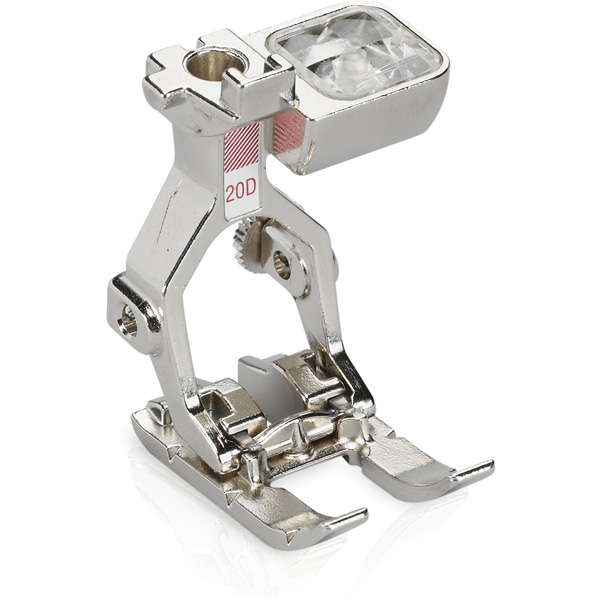
Invisible Applique with Open Embroidery Foot #20/20C/20D
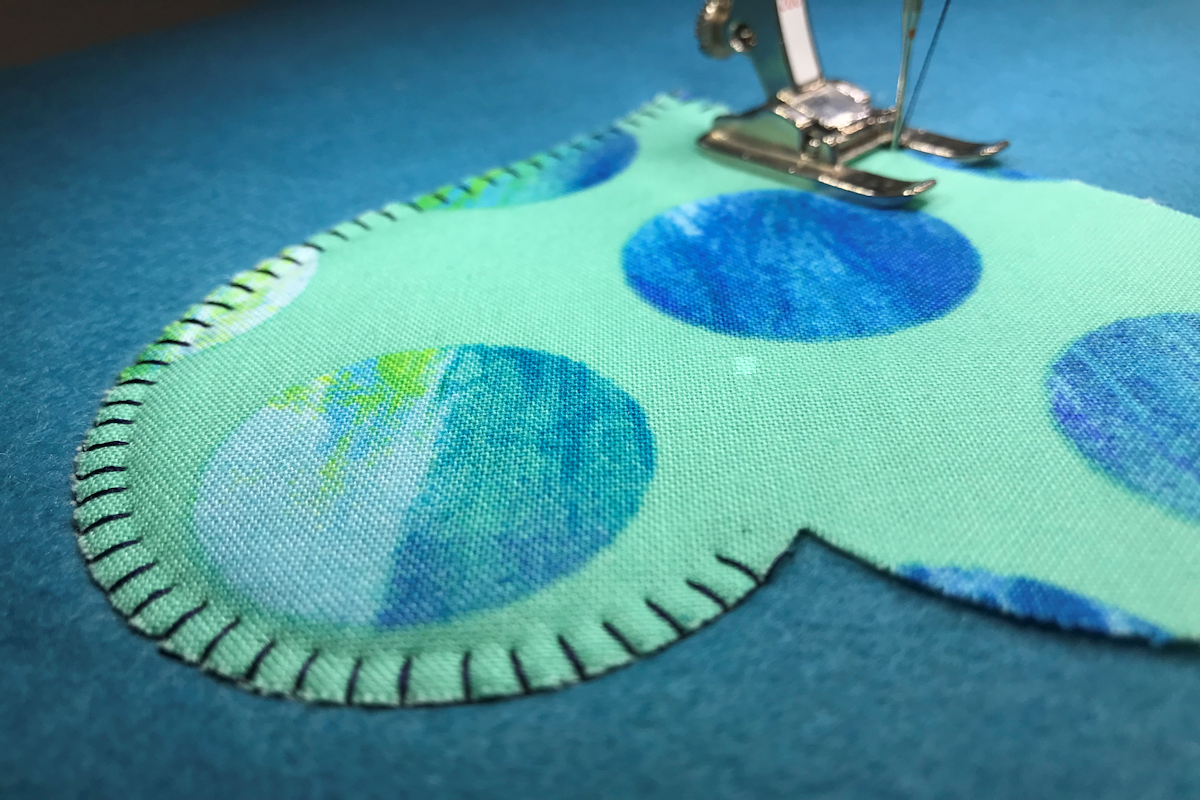
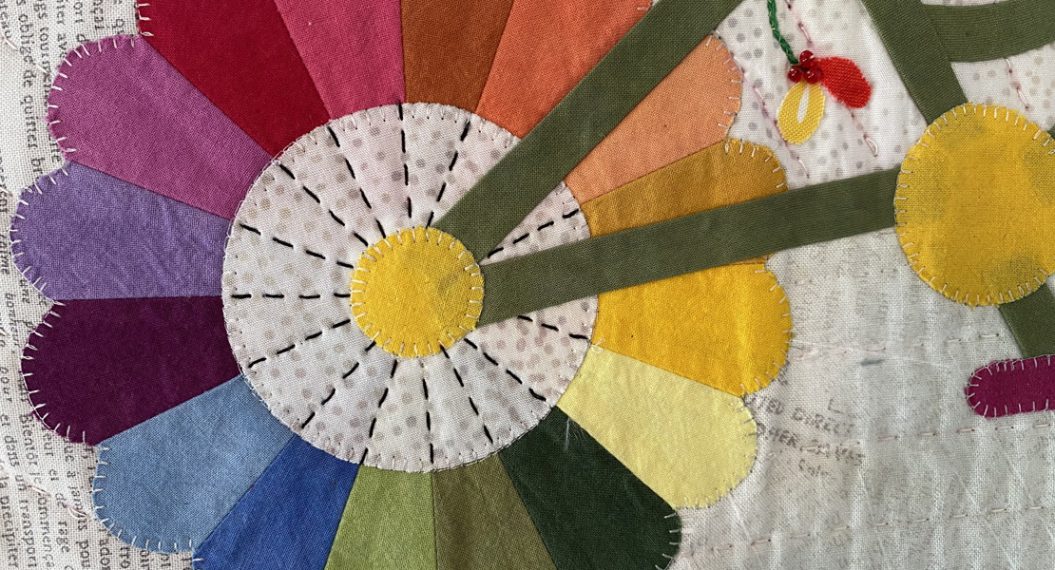
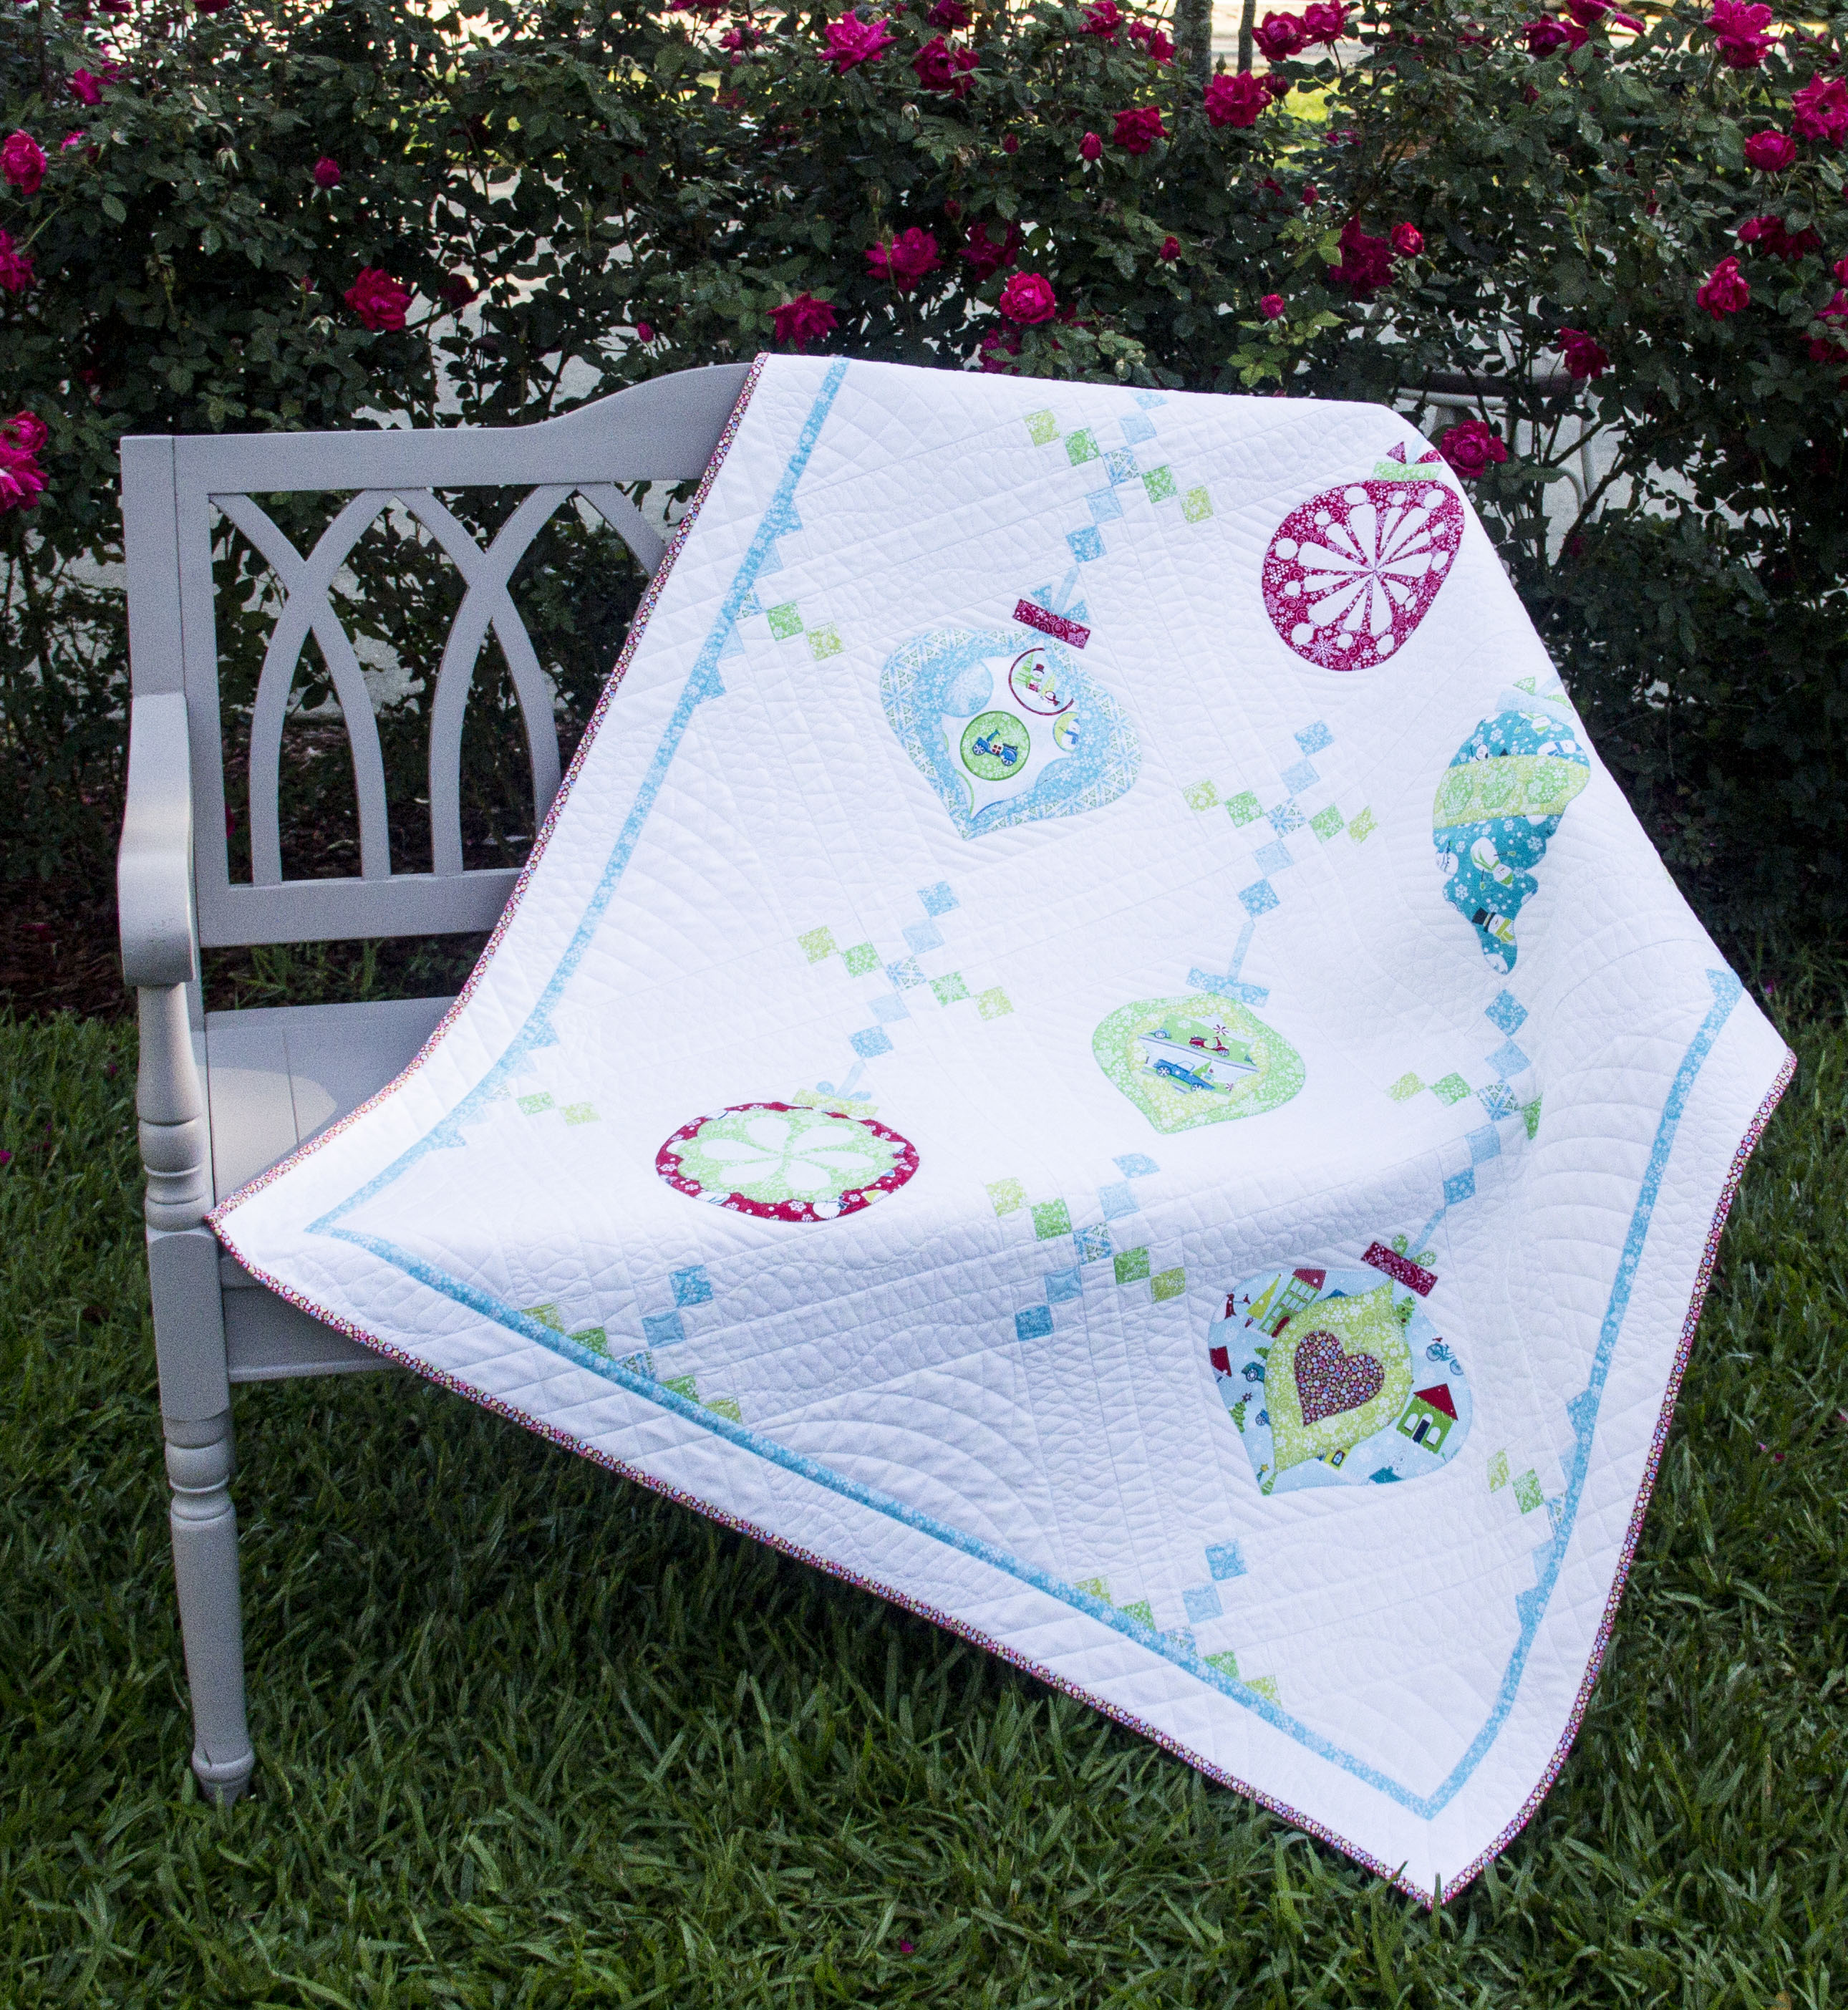
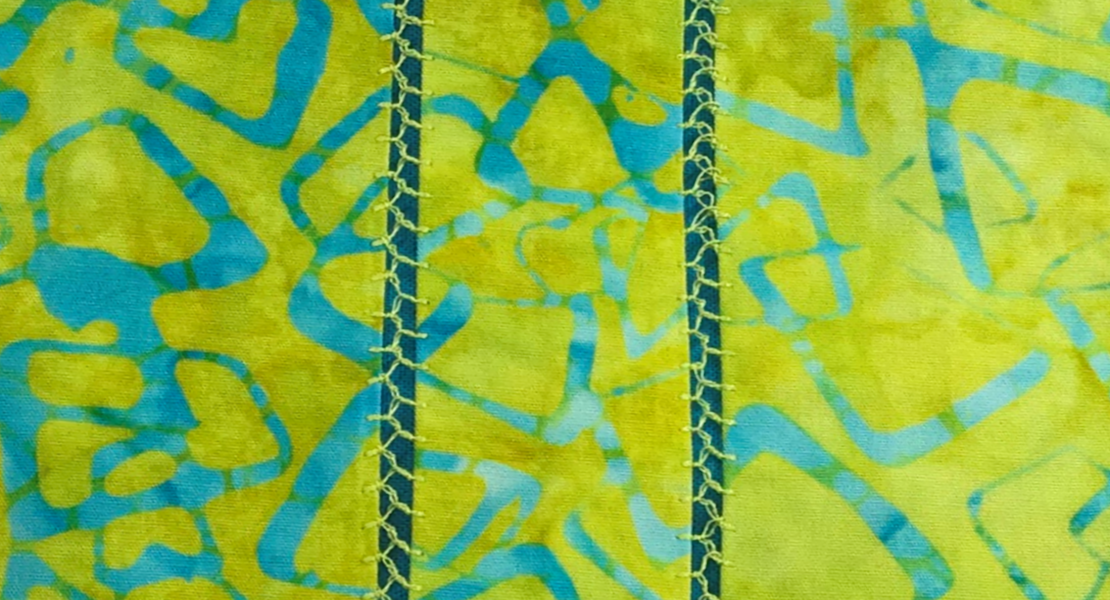
Try this machine appliqué technique that resembles hand stitching. It has several names: Blind Appliqué, Invisible Appliqué, and Hand-Look Appliqué. It gets its names because the stitches are very tiny, and the finished look is similar to hand-sewn appliqué where stitches are barely visible along the edges of the appliqué shapes.
Stitches
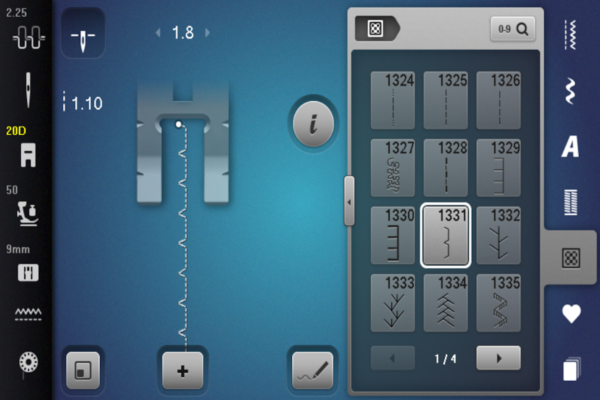
Some BERNINA models have a preprogrammed stitch on the quilt menu (stitch is #1331 on my B 790 PLUS and on most BERNINA models). It is preprogrammed to work for this appliqué technique. If your machine does not have this, select the blindstitch (Stitch #9 on most BERNINA models), normally used for hemming. Adjust the stitch to a length of.75 mm and a width of 1 mm so that it barely takes a bite into the appliqué shape.
Presser Foot
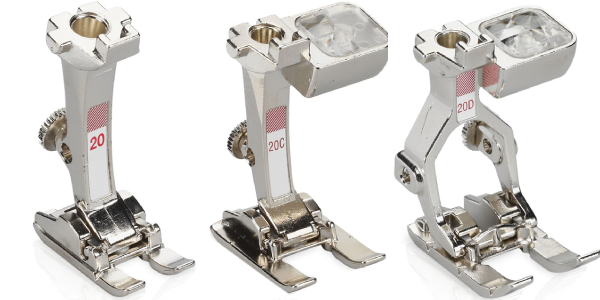
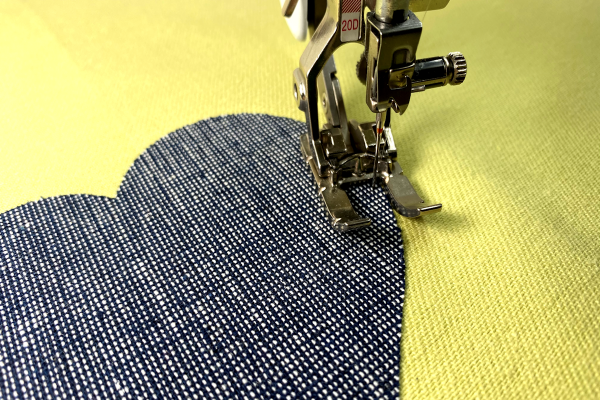
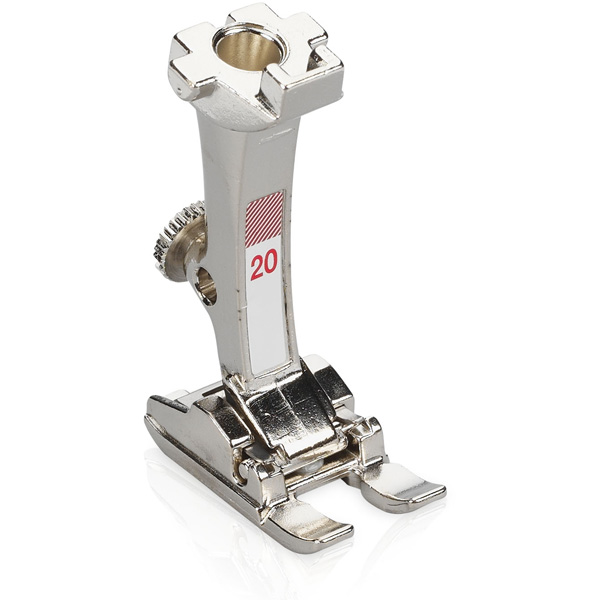
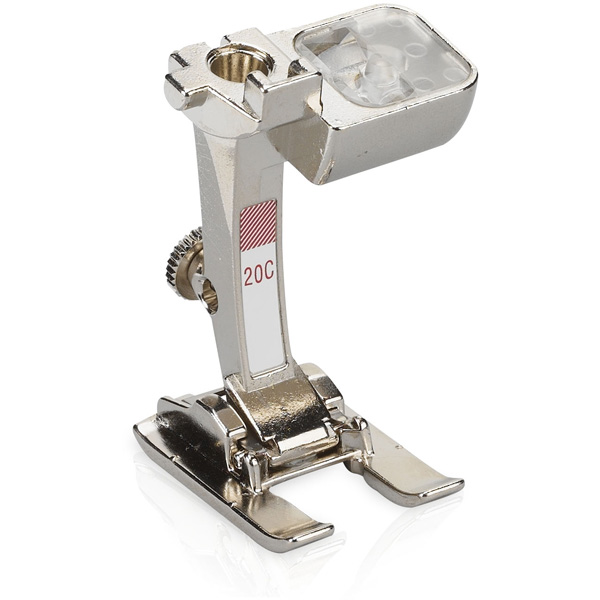
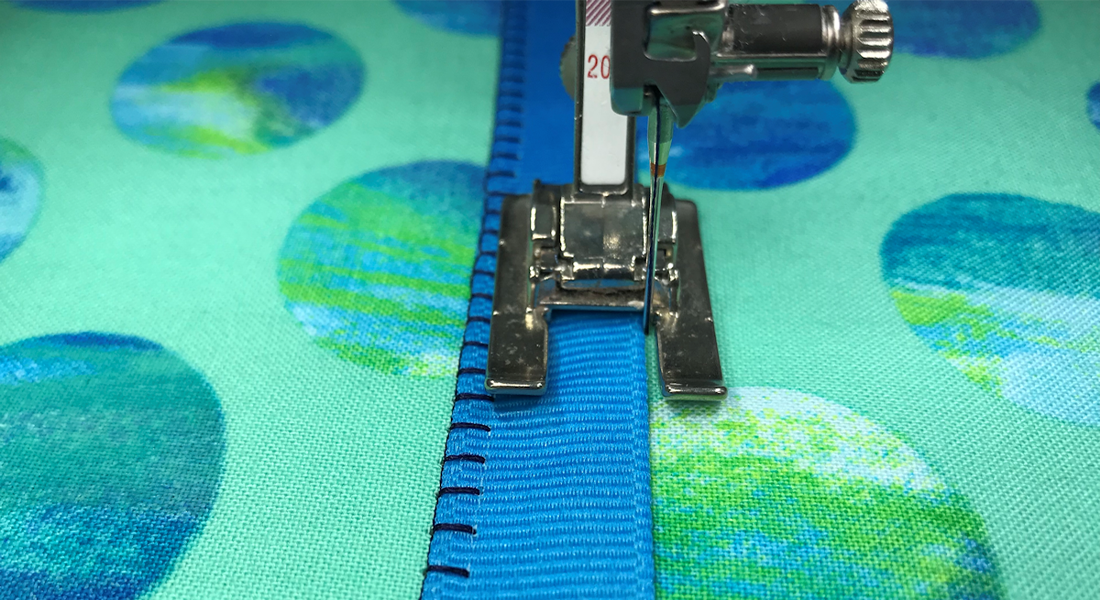
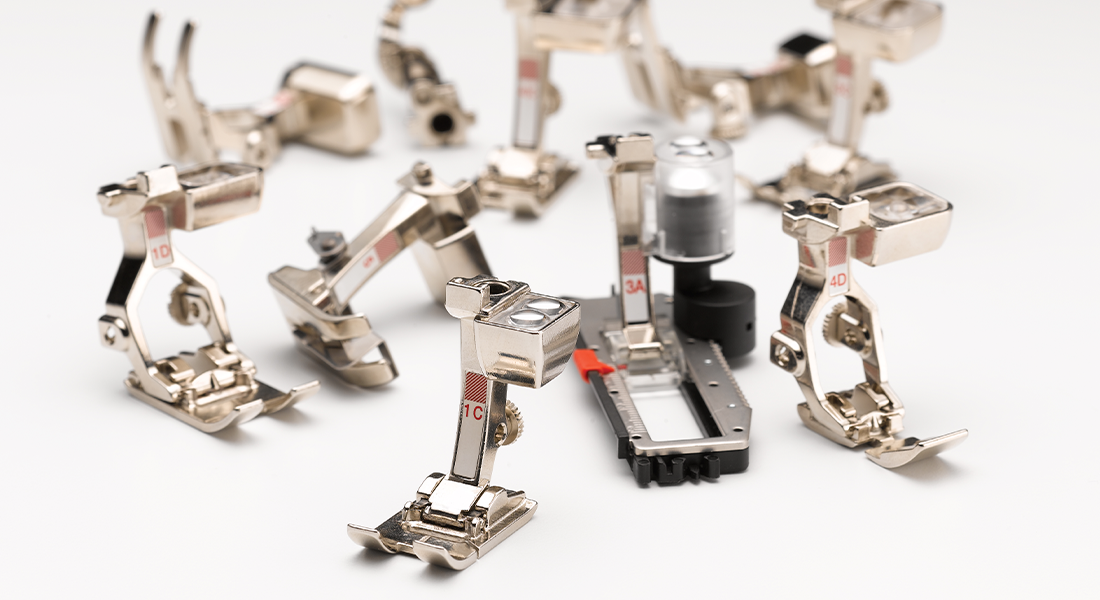
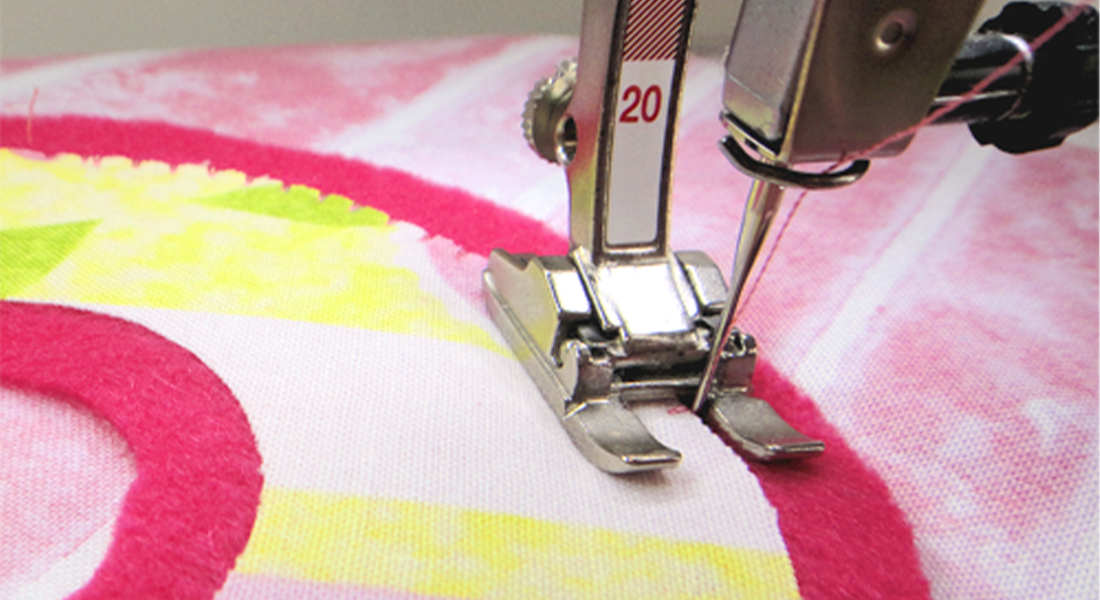
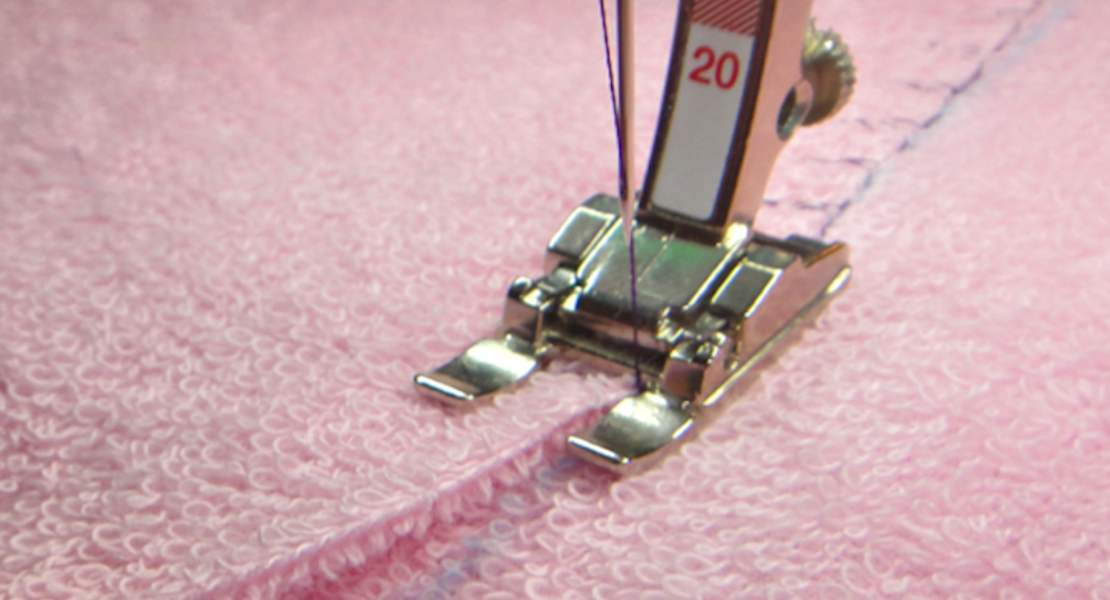
My favorite presser foot to use for appliqué Open Embroidery Foot #20/20C/20D. The open area between the toes lets you see exactly where you are stitching, which is important when you are trying to follow the edges of the appliqué shapes. The foot can also act as a stitch placement guide. When the needle is adjusted to the far right, you can guide the edge you’re following along the inside edge of the right toe and stitch is perfectly placed. If you adjust the needle to the far left, you guide along the inside edge of the left toe.
Thread Choices
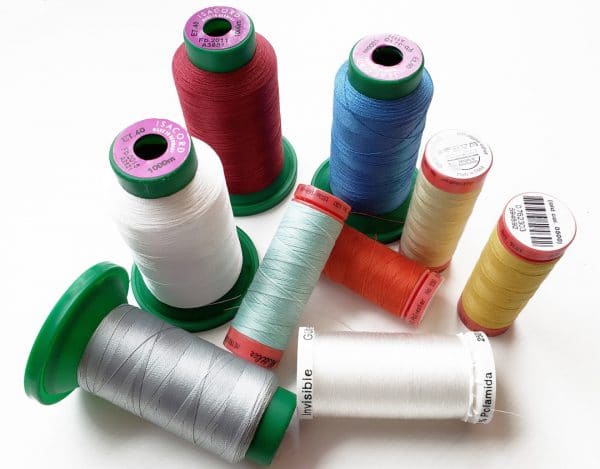
The goal is to make the stitches invisible, and you have two types of thread choices. Using a monofilament thread makes the stitching inconspicuous. A clear nylon or polyester “invisible” thread will work with most fabrics but if you have dark appliqué shapes, you may want to try a smoke-colored monofilament that does not reflect as much light. A second option is to use a thread color that matches the appliqué. It melts into the shapes and is barely noticeable. Using a fine, lightweight thread – 60-100 weight – also makes the thread less visible. These threads are sold as applique, lingerie and bobbin threads. All of these options help you see the indentation of the stitch, rather than the actual thread and this adds to the hand-sewn appearance.
Shape Preparation
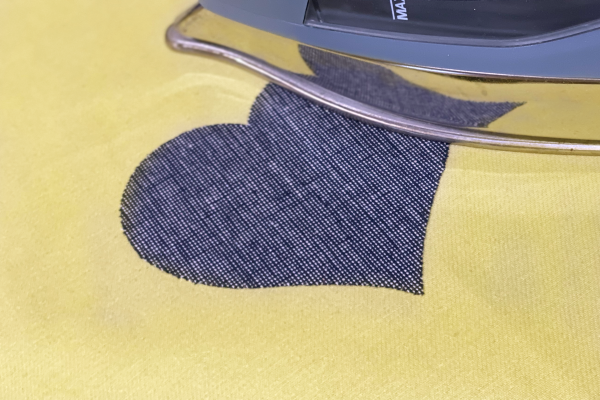
To prepare the fabric for stitching, fuse a paper-backed fusible web to the wrong side of the applique fabric. I use OESD Appliqué Fuse & Fix. Draw the shape on the paper and then cut the shape out. Don’t forget to mirror image the shape when you draw it on the paper so it is oriented the way you want after cutting it out and tuning it over. Peel the paper from the back, which exposes an adhesive side. Position the shape on the background fabric and press into place. You can also fuse this side for a stronger hold but the adhesive is more than enough to hold the shape in place for stitching.
Stitching
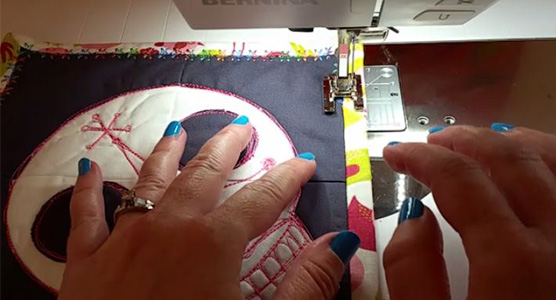
Place 1-2 layers of tear away stabilizer behind the background fabric. Position the fabric under the foot with the edge of the appliqué shape, aligned with the inside right toe of Foot #20. Adjust the needle to the far-right position. Most of the stitch falls on the background fabric, taking small “bites” into the shape as you sew around it. Adjust the stitch width if needed to make the stitch into the shape just enough to secure it to the background fabric. Stitch around the shape, using the Freehand System (knee-activated presser foot lifter) to pivot as needed to go around curves smoothly.
Click here for more WeAllSew posts on other types of appliqué techniques.
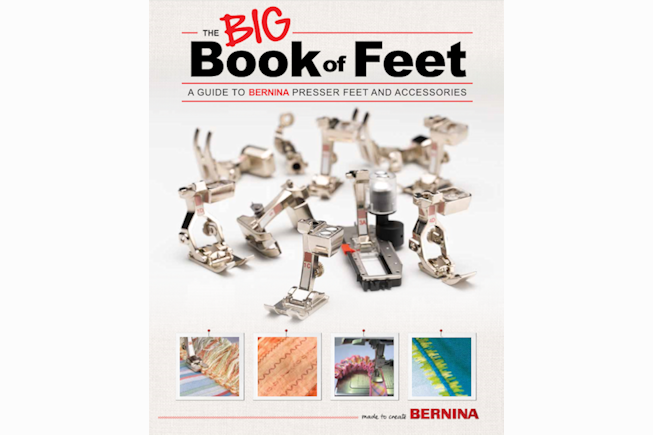
To see more appliqué techniques using BERNINA presser feet, see The Big Book of Feet at your local BERNINA store.
What you might also like
12 comments on “Invisible Applique with Open Embroidery Foot #20/20C/20D”
-
-
Great information and just in time for an elegant applique project I am starting. Do you have a preference on the type of needle to use? I will be appliqueing black satin onto white cotton and want to make sure the needle is fine enough to not show holes but still provide a secure, no-show stitch. Any advice is greatly appreciated and thank you so much for sharing the perfect applique stitch for my project.
-
This idea worked perfectly for what I needed in a mixed pieced and appliqué quilt block (I used it on the stem portion). Since the stem was rather large (1/2”), I didn’t want to distract by using zigzag or blanket stitch on this piece. It came out beautifully. Thank you!
-
Is this like raw edge appliqué? Will it unravel the edges when it’s washed?
-
What thread do you use in the bobbin if invisible thread on top? I have a difficult time with getting the tension correct.
-
I am a total novice so please excuse me in advance. What is the difference between the 20c ( which came with my 770) and the 20D foot?
-
From one novice to another, the D designates that the Dual Feed mechanism is used. It assists in having both top and bottom fabrics feed through at same rate. It helps in no shifting between the fabrics. You should have it on your 770. I forgot I had it and didn’t use it for a good while. There is so much to learn. These are such great machines.
-
-
-
I have had the Bernina app on my Apple iPhone and suddenly the app was disabled. I LOVED it because it was easy to keep track of what feet I owned and which ones were on my wish list while at a dealer. It also had a short video of what each foot could do.
Yes, I know you’ve come out with “The BIG Book of Feet” but it isn’t the same. I own that book but would like Bernina to get on the horn and redesign and offer the Bernina app for our SmartPhones.
Thank you very much!-
Hi karenzink, thank you for that feedback. We will pass it on to our team, but keep your eye out for something coming up in the New Year!
-
-
Is there any trick using the monofilament thread? My 880 balks when I use it and has even created a problem that had to be fixed by the technician! I’ve tried the net, a separate thread holder… I like this look and since I’ve had this machine I can’t do it! Thanks for your help.
-
I would like an answer to this also. My 880 plus balks at any thread finer than 60 weight.
-
-
So pleased your projects and tips cover all Bernina’s.
I have an old 930 and it still sews like a dream, no desires to upgrade it at all! Its brilliant that parts & accessories are still available, a very green policy. Thank you
Leave a Reply
You must be logged in to post a comment.




Happy New Year Susan,
What a great idea !! How would conversion to embroidery software happen? If you digitized
the item to be appliqued how would you import the stitch to a 790 Plus?? New machine for me and serious
eye problems making it difficult to see – am loving being able to let the software see
for me. Many, Many Thanks for all of your posts; this senior has learned soooo much from you !!!
I am going to try and find a print out for importing stitches to embroidery software. Geraldean