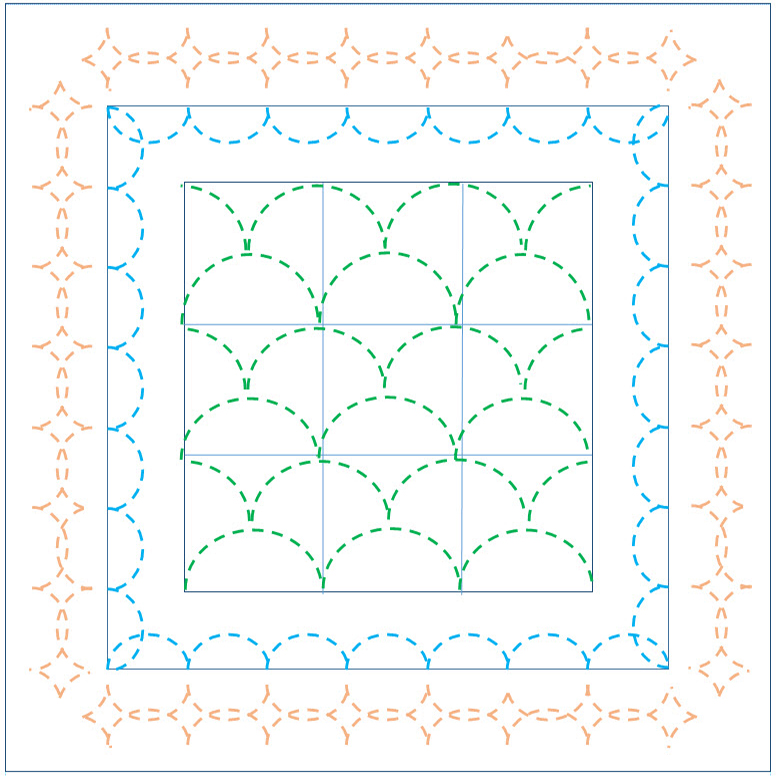
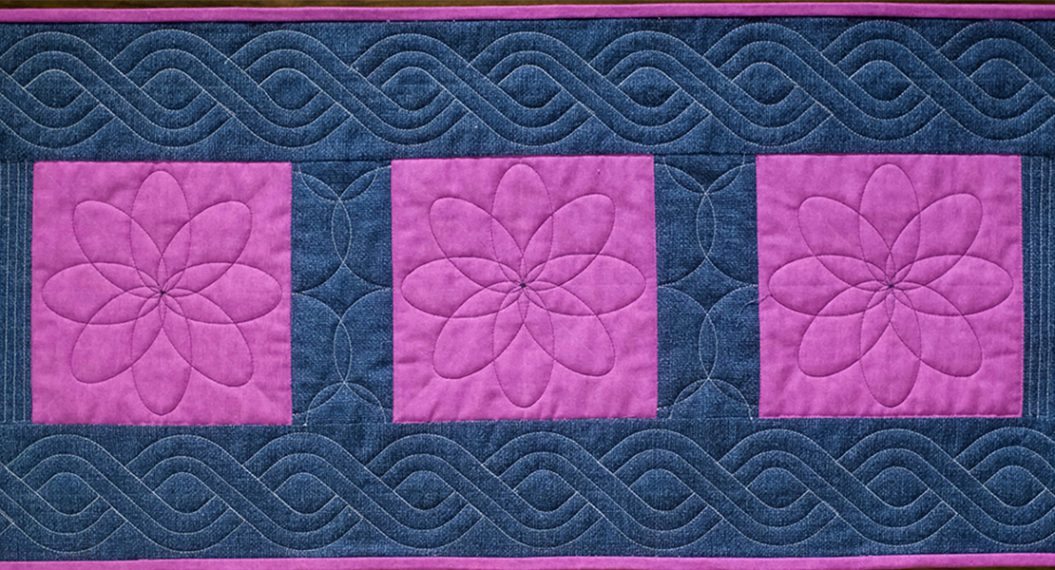
Rulerwork for Beginners, Part 4: Clamshells
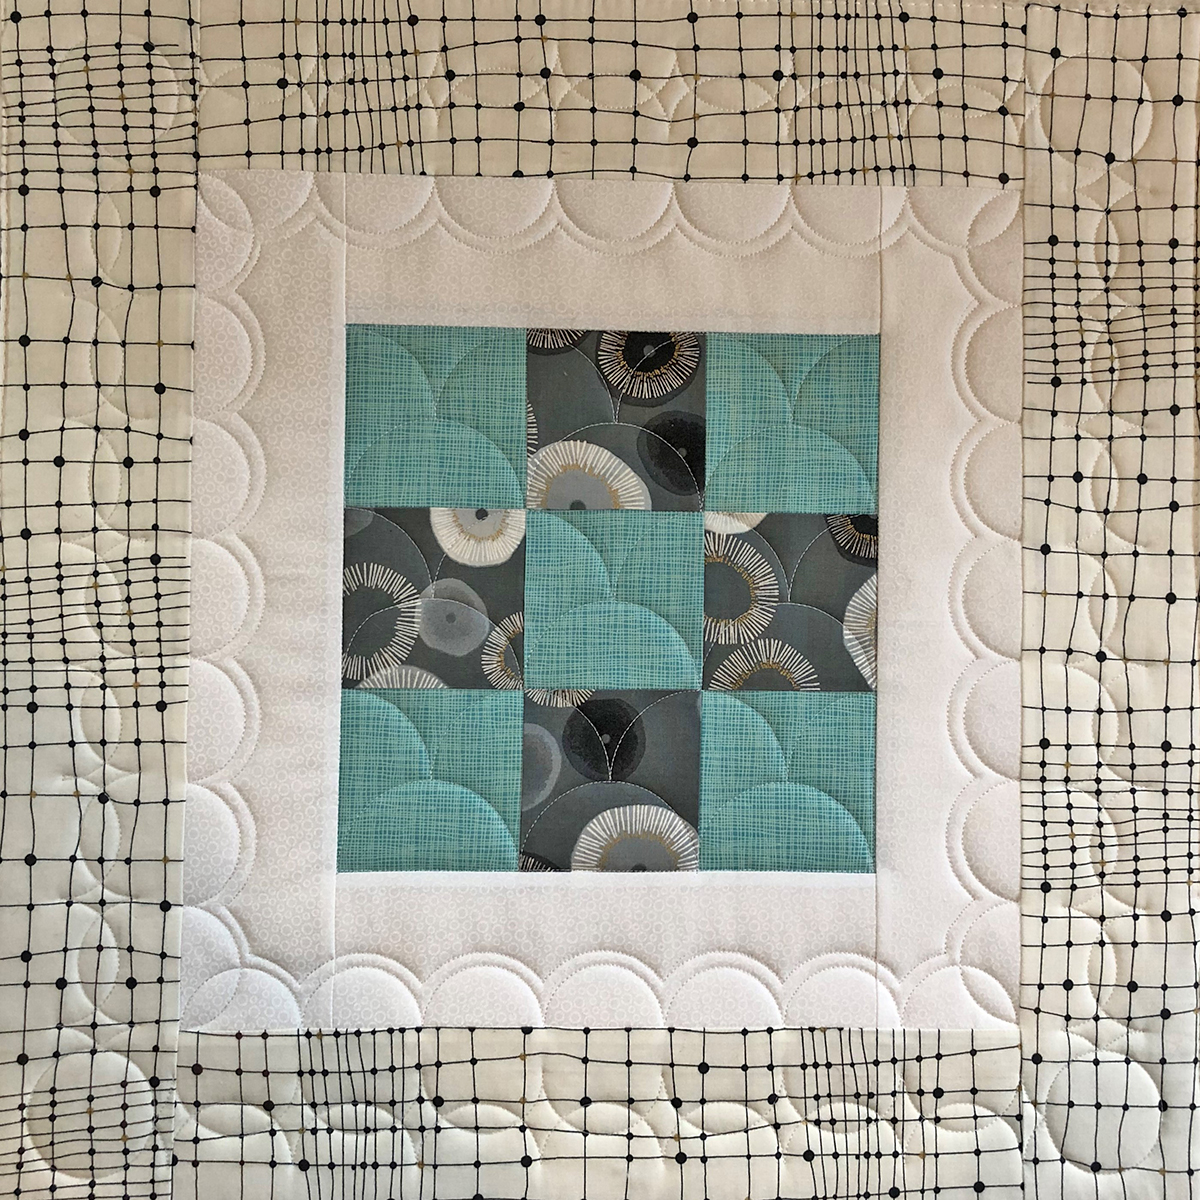
In Month 2 of this Rulerwork for Beginners Series, we did curves. The curves we did were really just half circles done with the rounded end of the BERNINA ruler. This month we are going to be doing a Clamshell. The clamshell is typically an all-over design made up of half circles. We are going to do a traditional clamshell but then explore some other designs using these half circles. Take a look at our Roadmap.
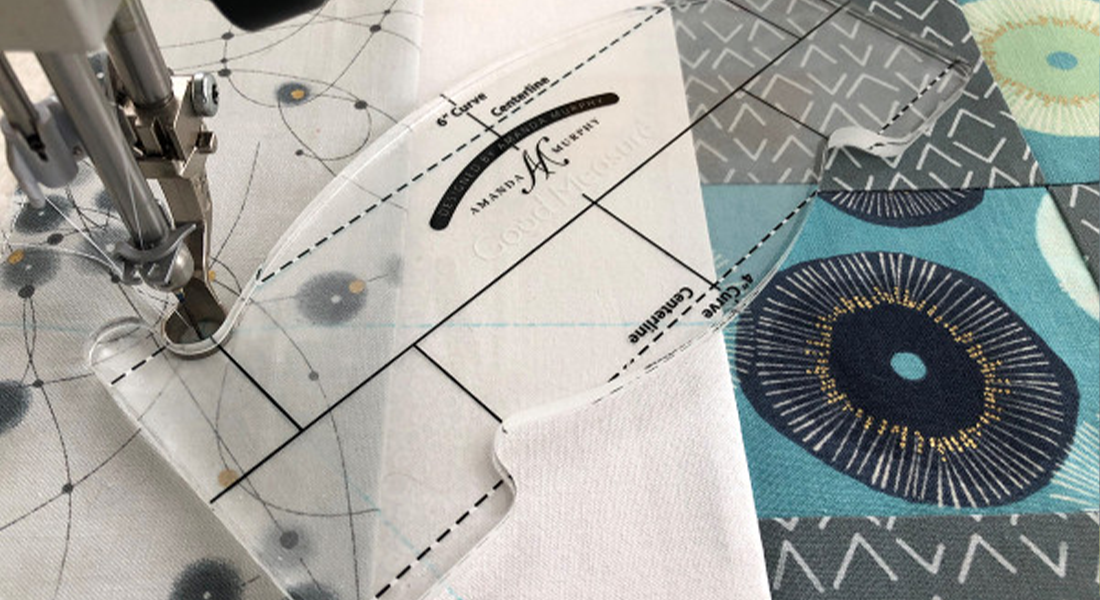
As I said, this can all be done with half circle rulers, but it is really nice to have a Clamshell Ruler. My favorite is Good Measure Amanda Murphy Every Clamshell Set.
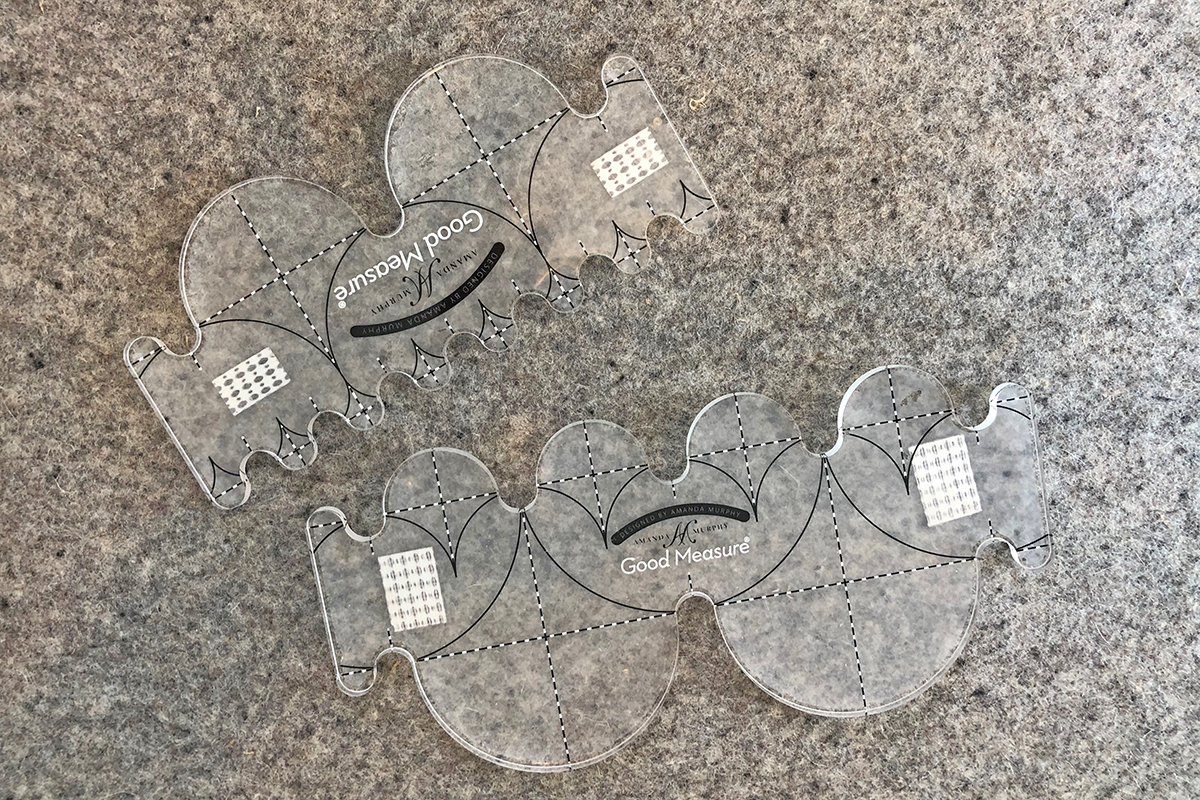
This set of rulers does a 1”, 2”, 3” and 4” clamshell. The markings on these rulers make it easy to line up your rows of designs. And you can stitch several half circles at a time rather than having to move your ruler every time.
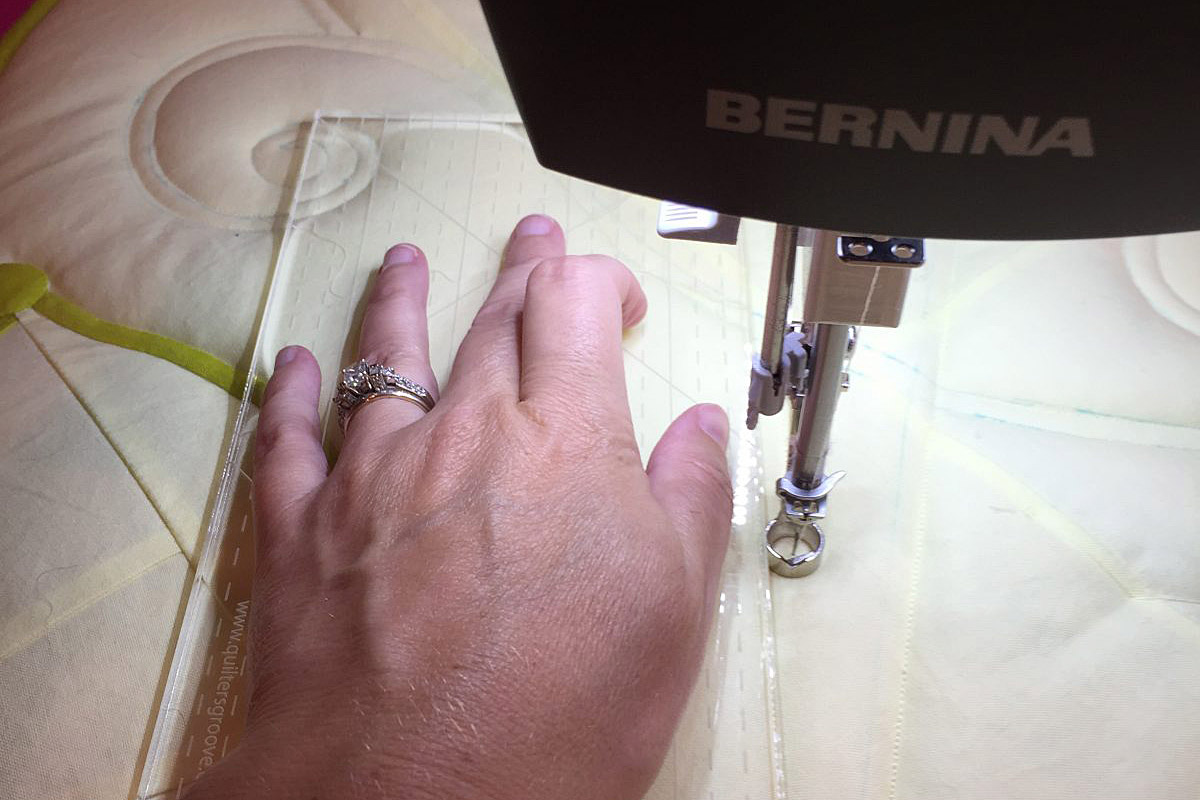
So let’s get started. By now you should know how to set up your machine for rulerwork. If you do not, refer to Month 1 for set-up and Month 2 for a review of the set-up. Alice, please link to these when they are posted.
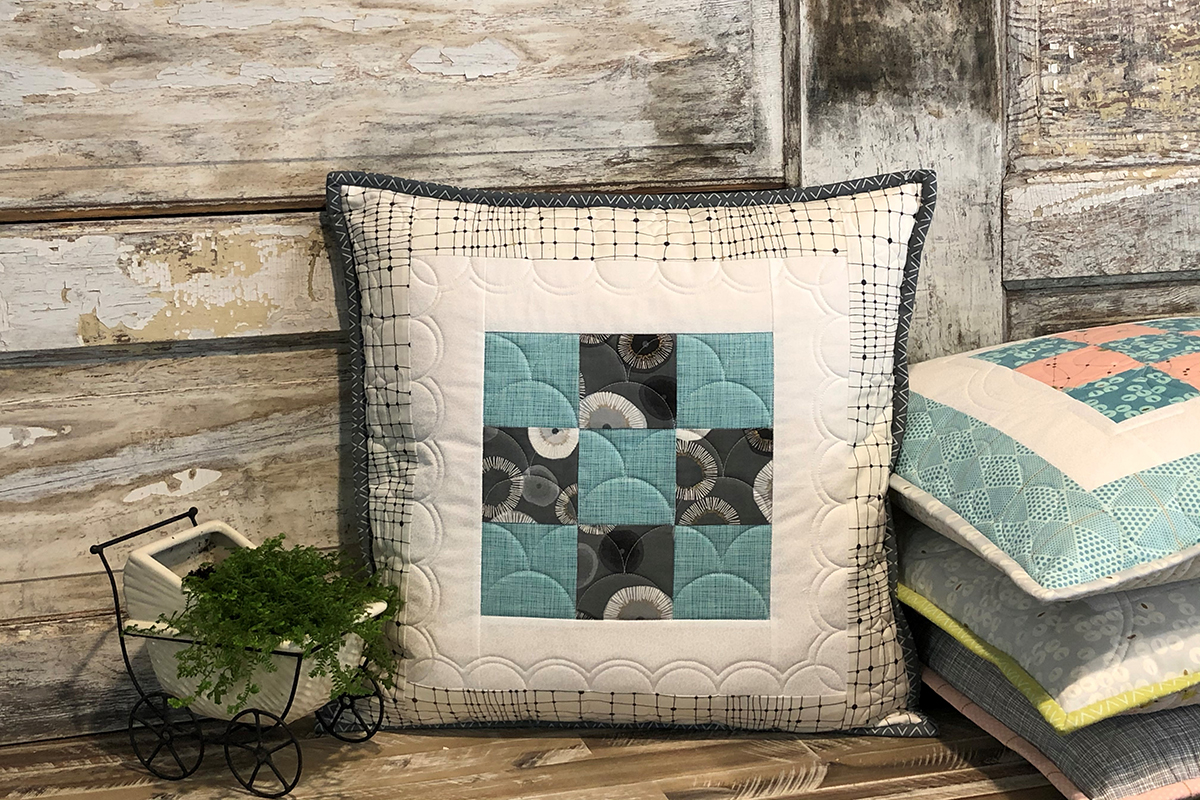
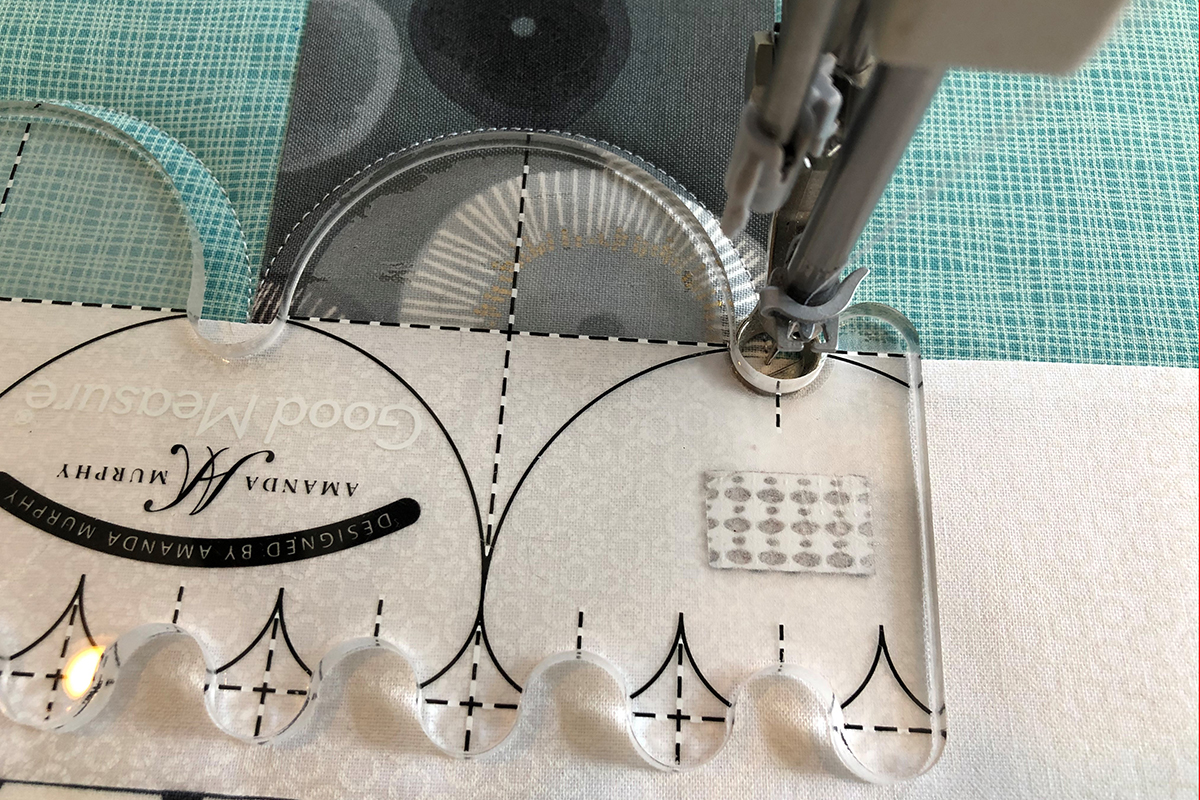
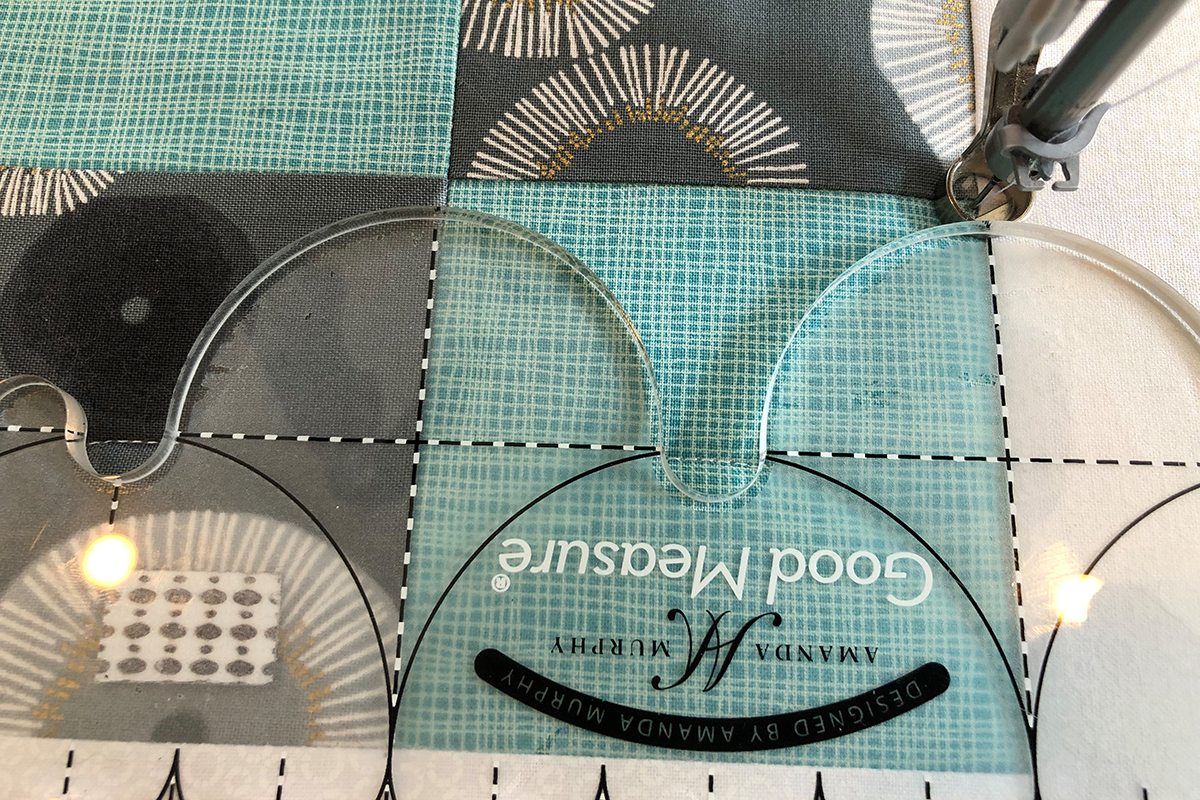
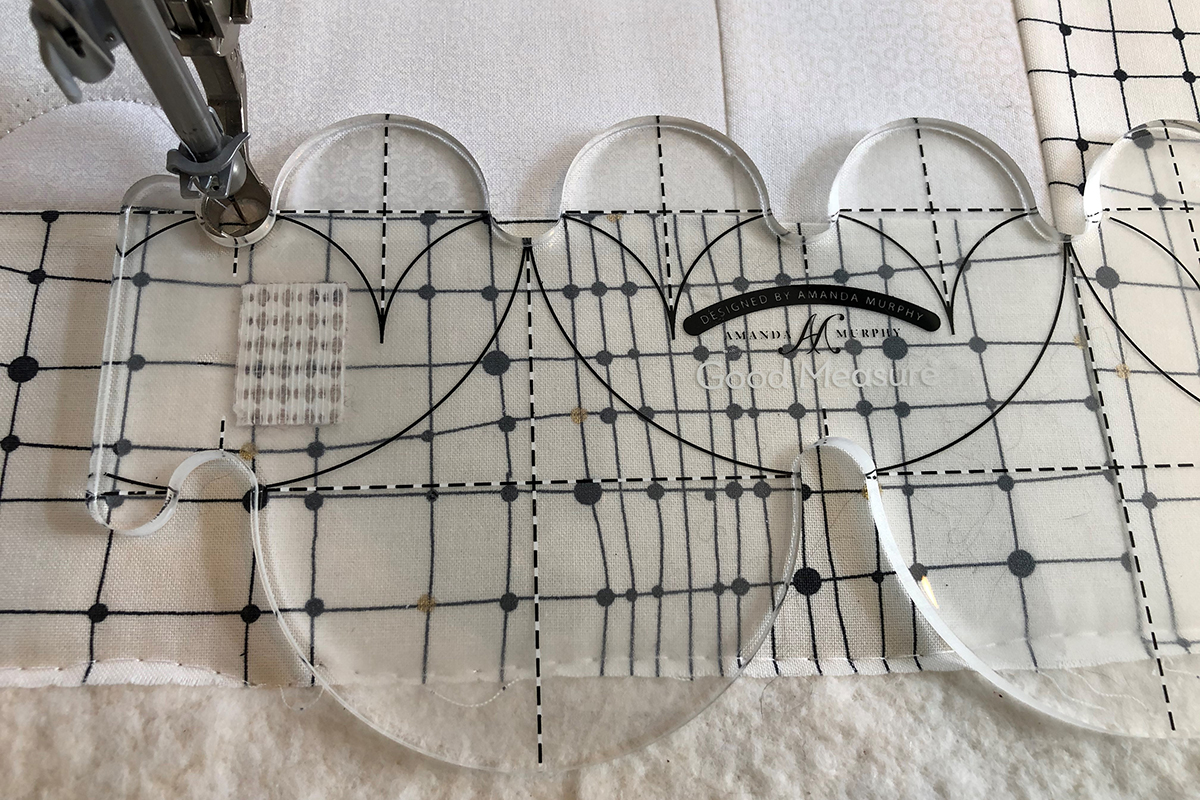
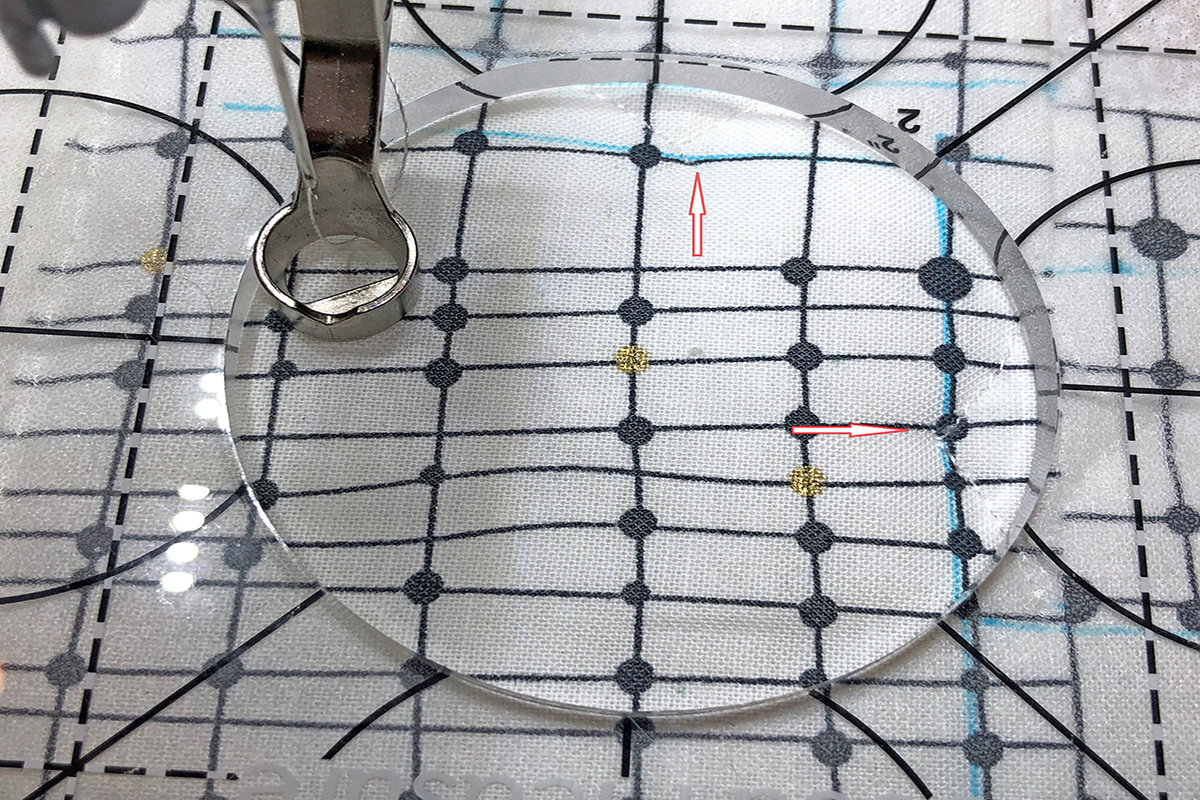
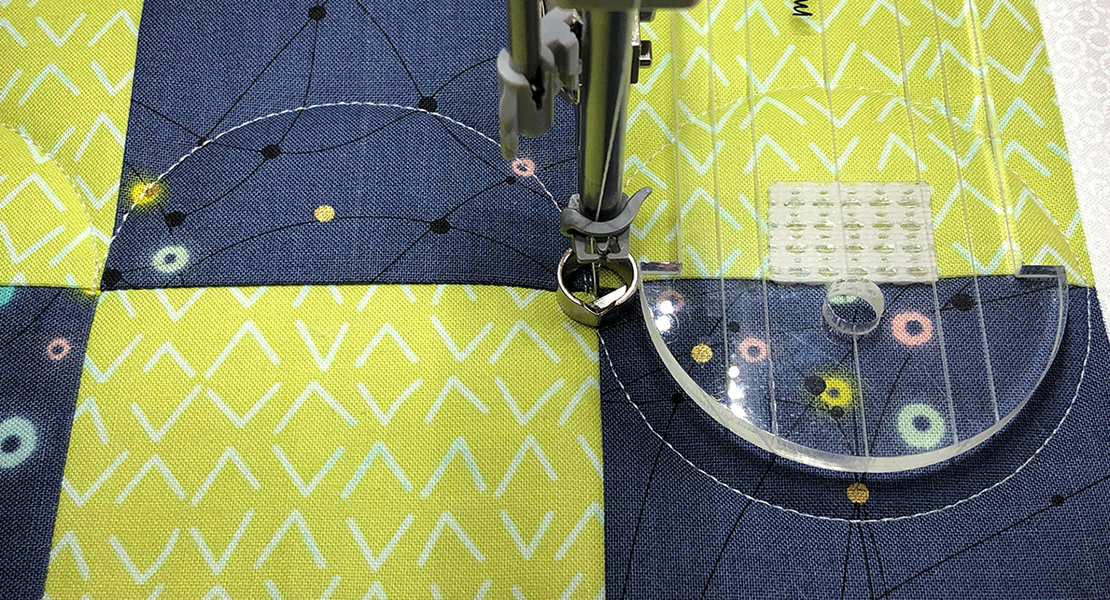
Looking at the green stitching on the Roadmap, you can see we are going to do a traditional clamshell in the center of the block over the 9-Patch. Lower the needle into the bottom left corner of the 9-Patch. Pull up the bobbin thread and lower the foot. The squares in this 9-Patch are 3” squares so we are going to use the 3” Clamshell.
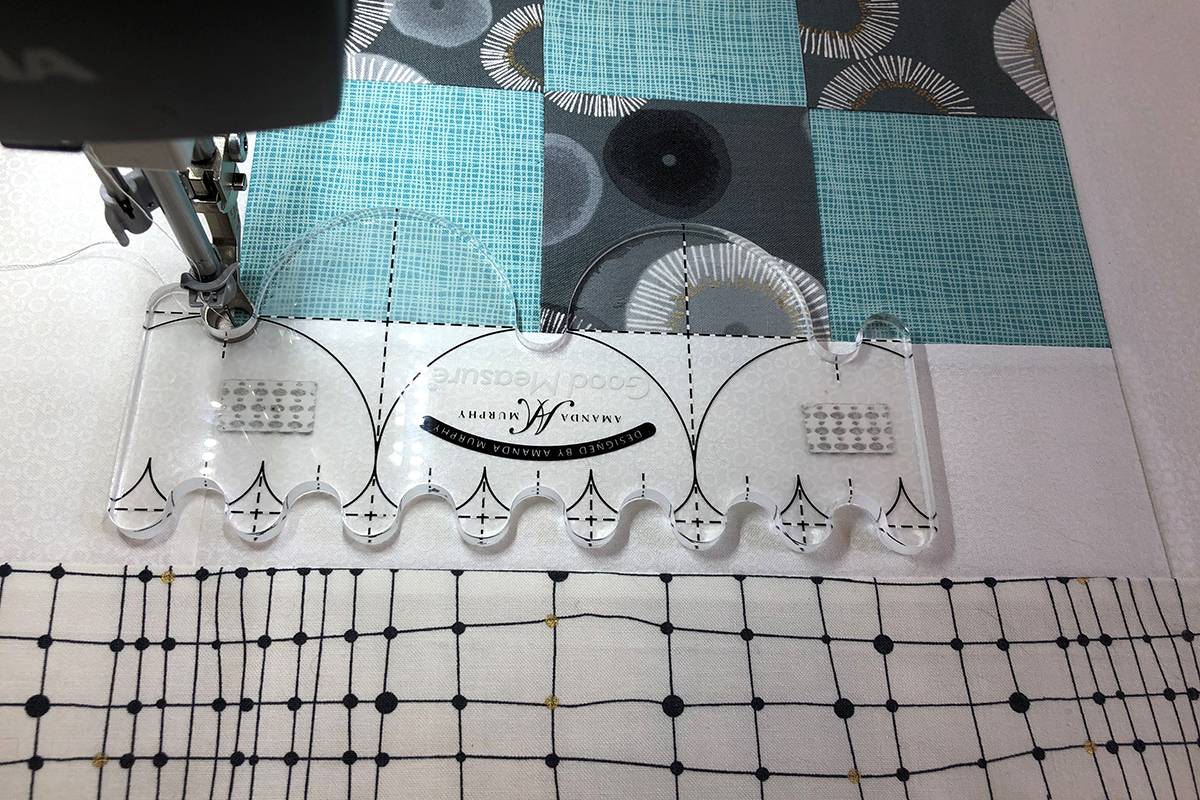
Notice how the horizontal line on the ruler lines up with the horizontal seam line and the vertical lines in the center of each curve line up with the center of each square. Stitch around each curve or “hill” until you get to the end of the ruler (2 clamshells) and stop with the needle down in the “valley”. Ideally, this is at the next seam line.
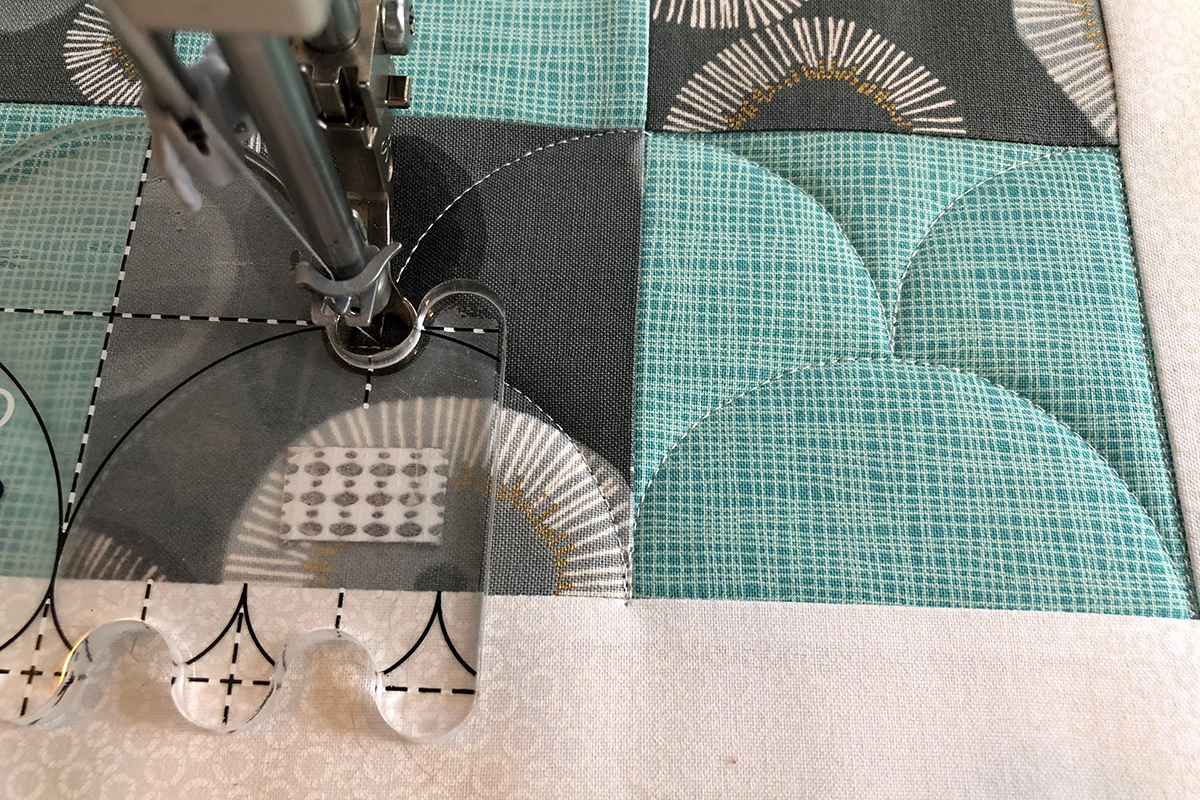
Move the ruler by placing the first “valley” over the foot.
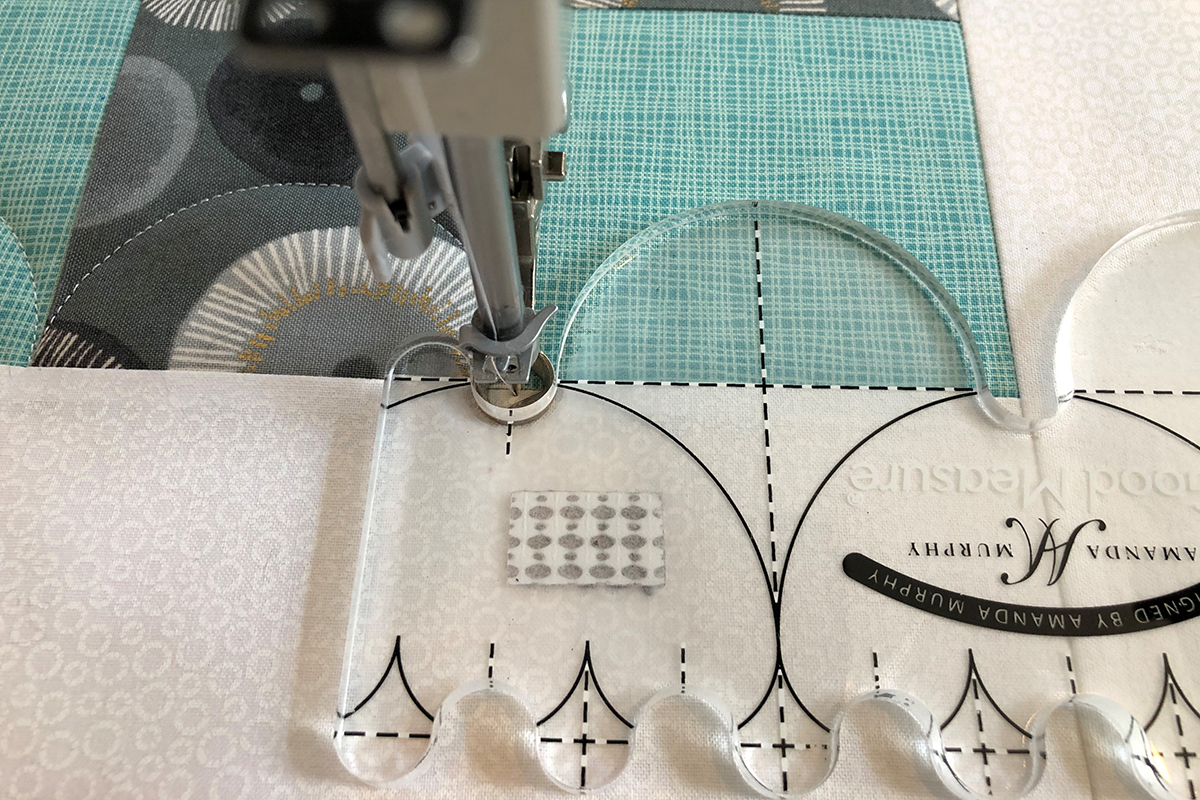
Make sure the ruler is lined up with the seam line and continue to the end of the 9-Patch.
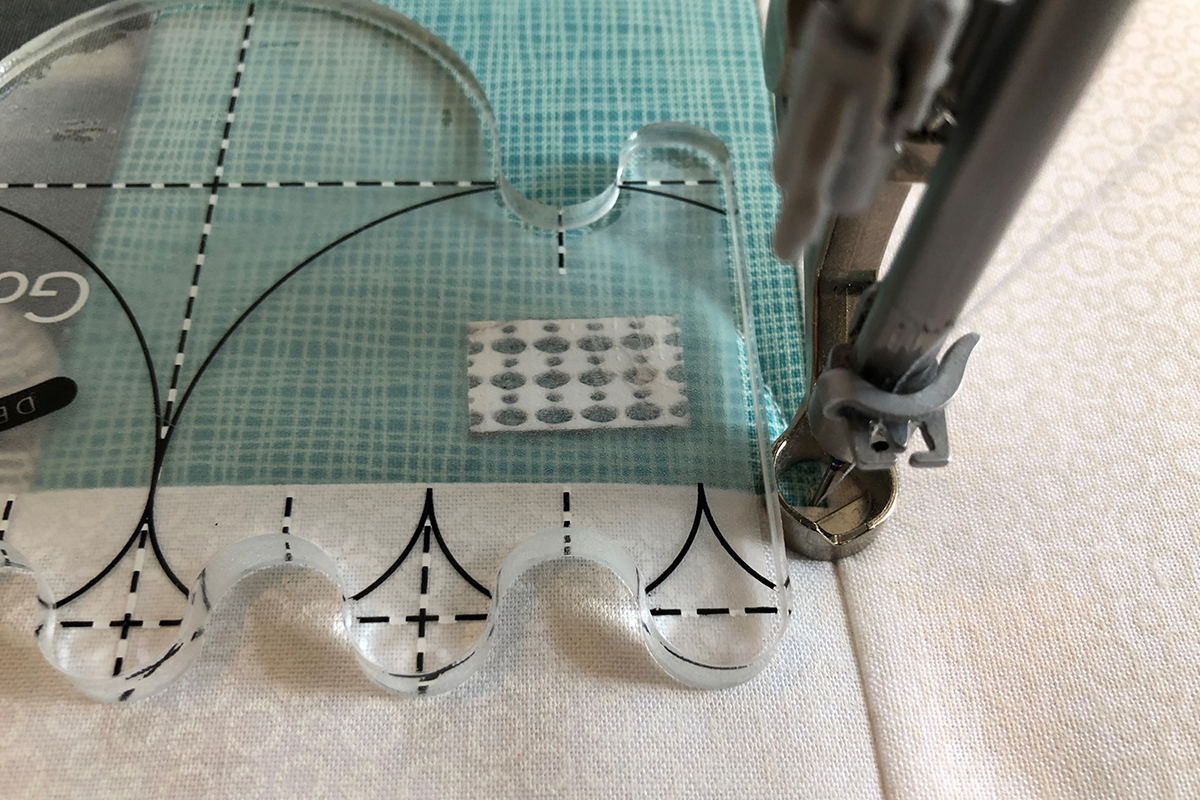
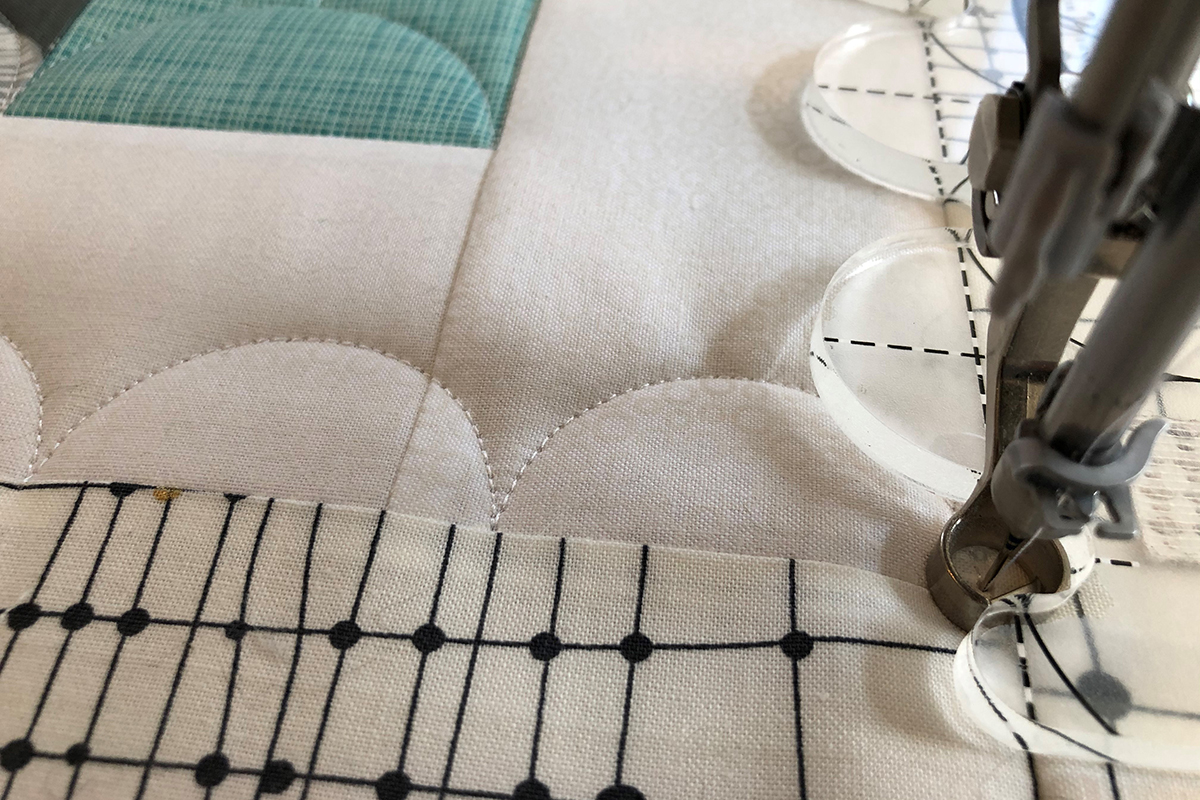
The 3” clamshell row is 1 1/2″ deep. To do the second row of clamshells, you need travel up the 1 1/2″ plus another 1 1/2″ to allow for starting the second row at the top of the “hill”. To do this, you will need to stitch in the ditch to the top of the square you are working on. You can eyeball stitching in the ditch or use a straight edge ruler. You can even use the end of the Clamshell Ruler.
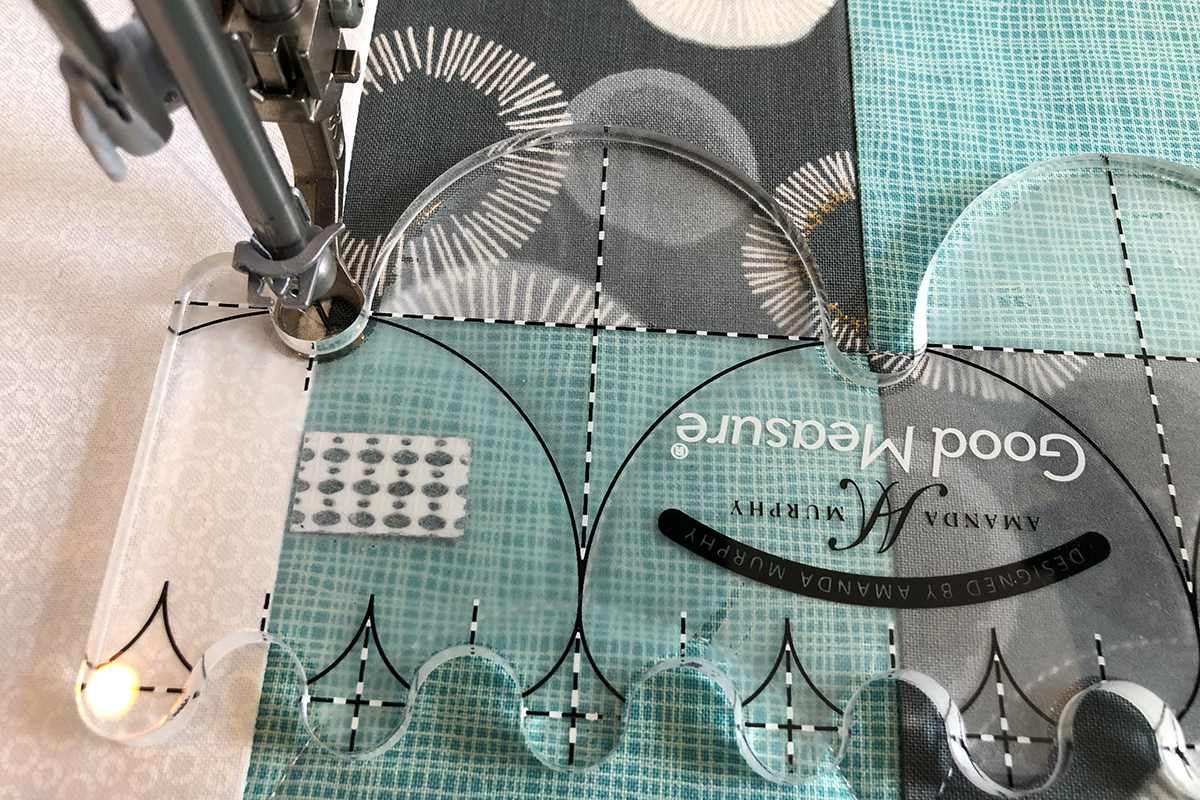
Move the Clamshell Ruler so that the top of one of the “hills” is against the Ruler Foot. The vertical line should line up with the seam line and the needle. Also notice that the horizontal line is even with the stitching from the previous row and the black clamshell lines on the ruler lay over the top of the preciously stitched clamshells. You are now ready to begin the second row.
Stitch the second row moving right to left, moving the ruler as needed. Notice that when the needle stops in the “valley” of the ruler, it is at the top of the “hill” on the previous row.
Stitch across the row ending in the upper corner of the last square.

Start the third row where you ended the second row. Move the ruler and stitch the third row as you stitched the first row.
Continue stitching the rows, alternating between rows one and two until the entire 9-Patch is quilted.
Because I stitched in the ditch to move between rows, I like to stitch in the ditch all the way around the center when I have finished the clamshell motif.
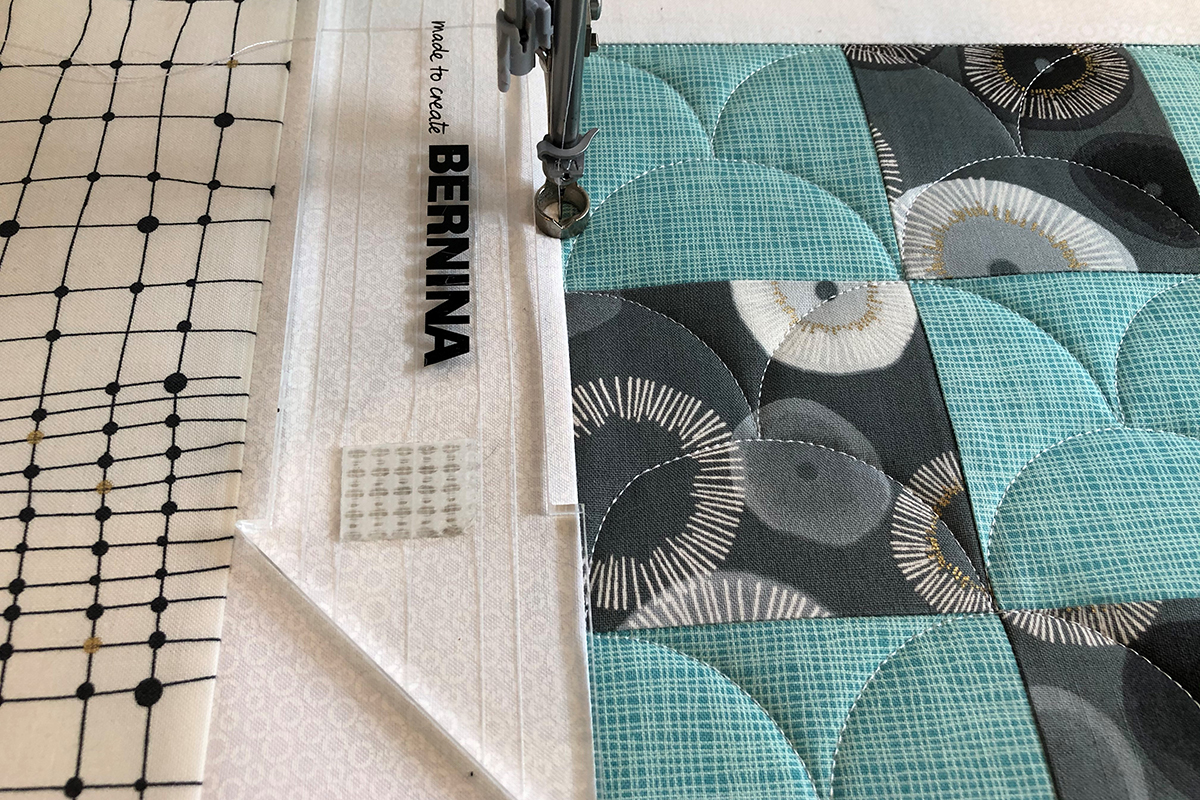
Step back and look at how easy that was to do. The one thing I would say is be conscious of staying along the edge of the ruler, especially when coming out of the “valley”. The tendency is to come straight out and you want to make sure you maintain the curve.

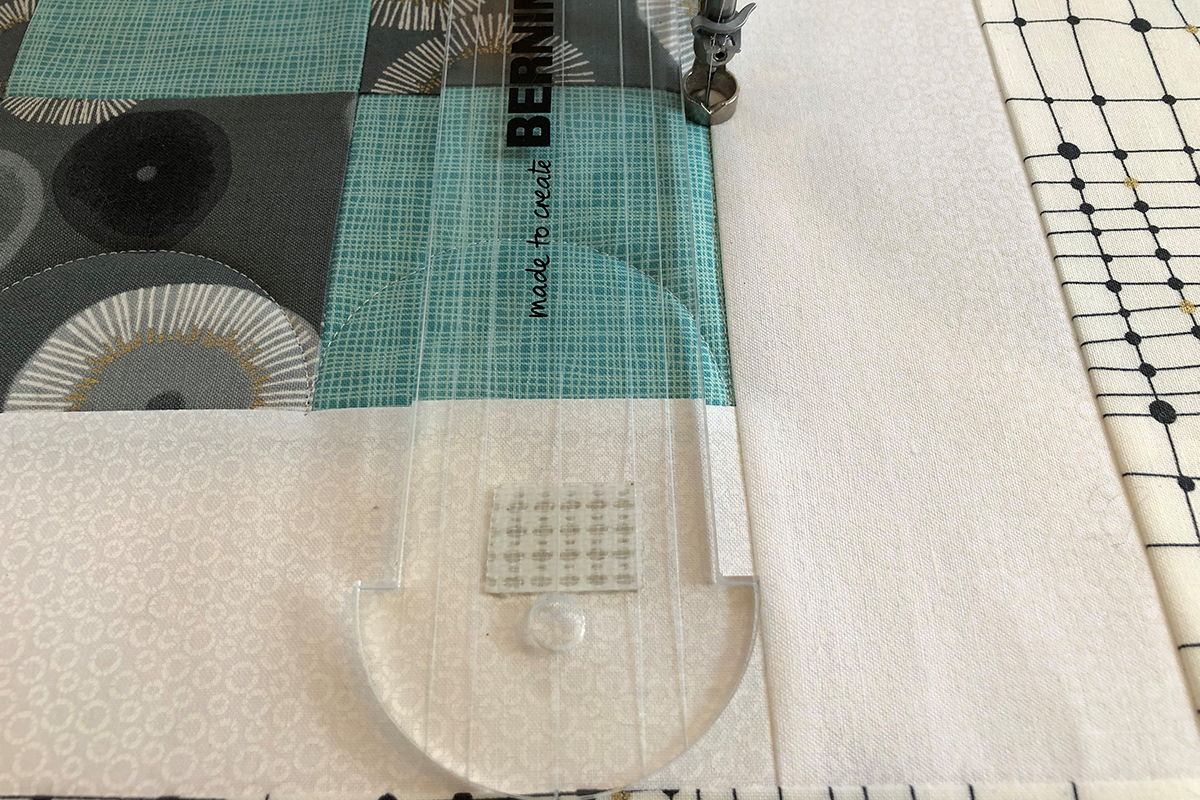
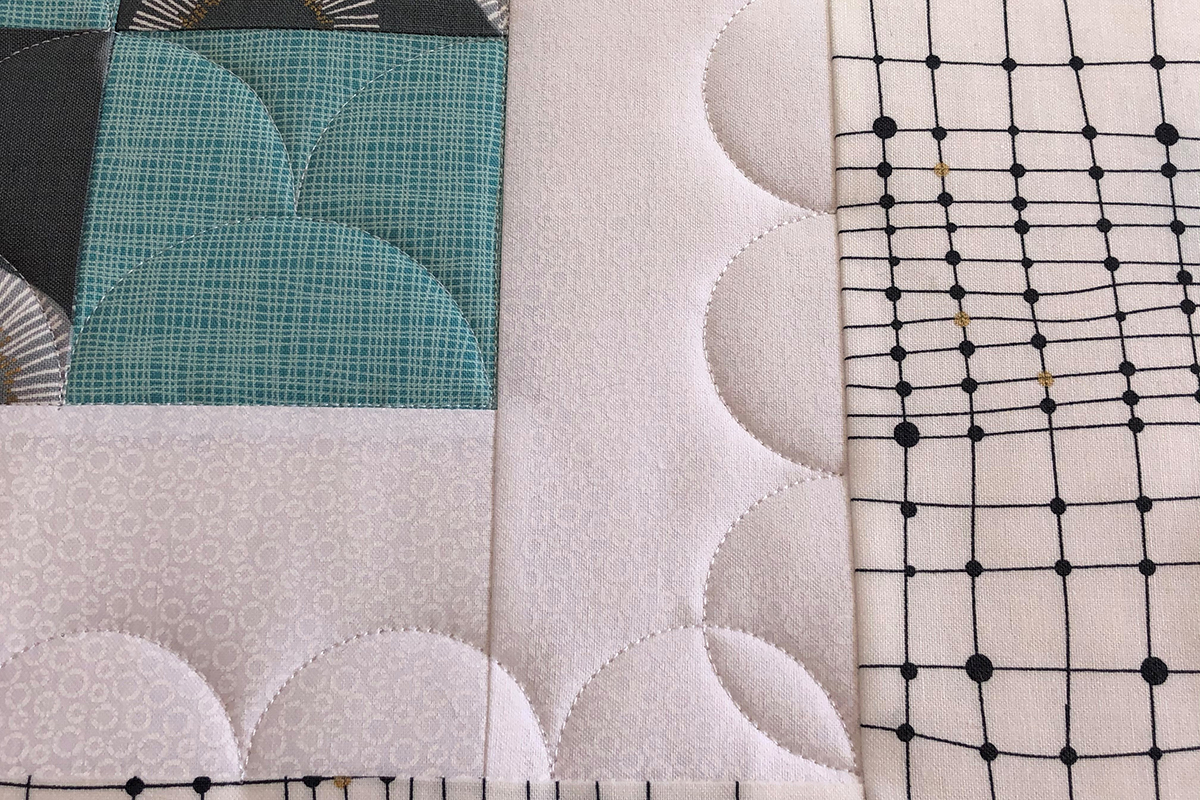
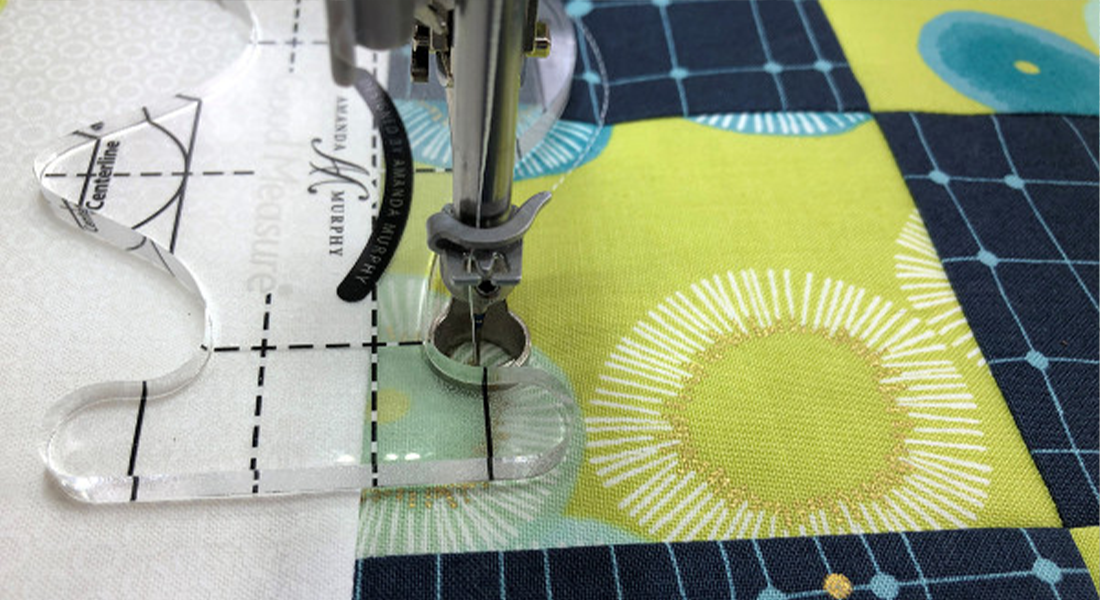
To stitch the scallop around the inner border (blue on the roadmap), we will use the 2” Clamshell. Begin with the needle down in one outer corner of the inside border. Lower the foot. Lay the ruler so the valley of the ruler is against the foot. Once again line up the horizontal lines on the ruler with the seam line.

Move the ruler as needed. The exactness of this is dependent on the block being exact. We know that does not always happen. So make adjustments as needed. It is best to make tiny adjustments at the top of the “hill”. Stitch to the next corner.
Turn the ruler and continue up the side. Remember, if you are at a table model machine not to turn the fabric.
The corners will overlap.
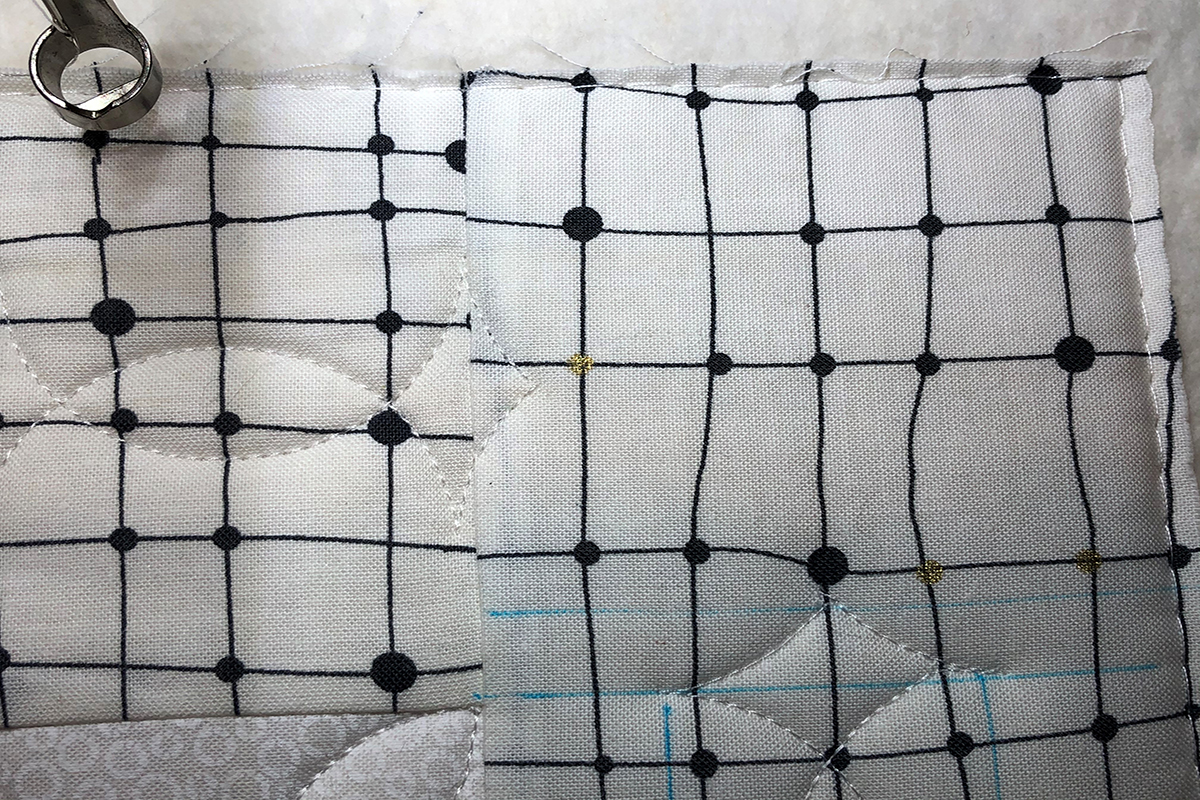
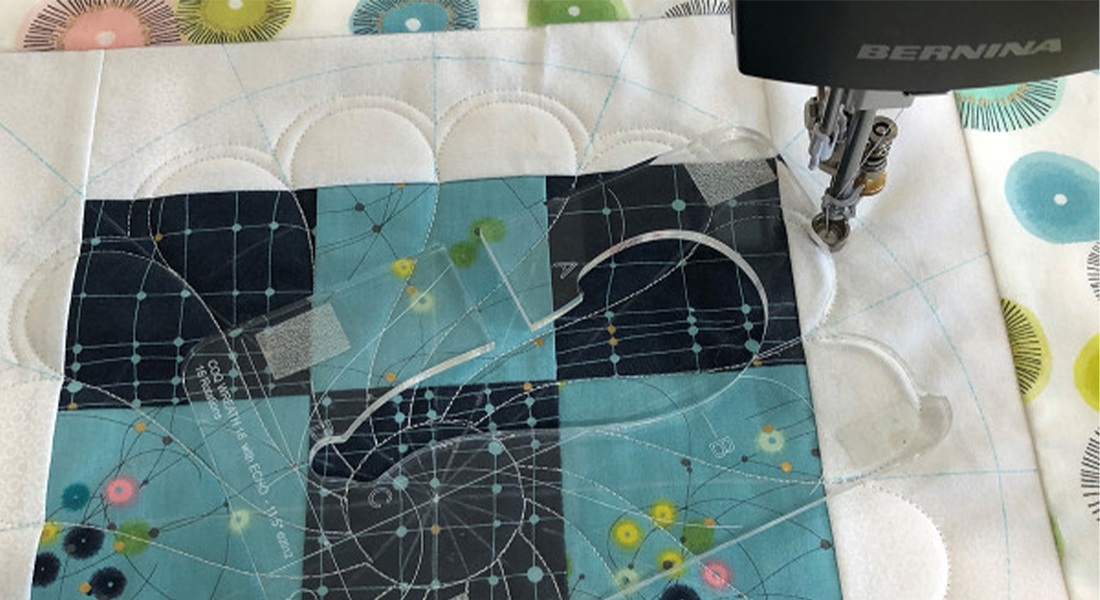
Moving to the outer border, I am going to use the Clamshell ruler to create a great, very useful border design. Hence the versatility of these Clamshell Rulers. Begin by marking a line 1” in from the outer edge all the way around the block. Mark another line 3/4″ from the seam line of the outer border. Mark the end of the two long border strips with a line as though there was a seam like the two short borders. Now mark another line in the corners, 1/4″ from the line you just marked and the seam line. Lay the 2” Clamshell Ruler so the horizontal line is on the marked line 3/4” away from the seam line and the curves facing out. Begin stitching where the ruler intersects the marked line in the corner. (Red Circle) You will only stitch a small portion of the curve to start.

Stitch across the row. After stitching the last full Clamshell, stitch to the marked line just like you did when you began this row, stitching only a portion of a curve. Stop with the needle in the fabric and foot down. Flip the ruler to stitch back in the direction you came, lining up the ruler on the marked line 1” from the outside edge and the curves facing in.

Refer to the orange stitching on the Roadmap to see what the outer border design looks like.
The border designs will just barely come into each corner leaving a space.
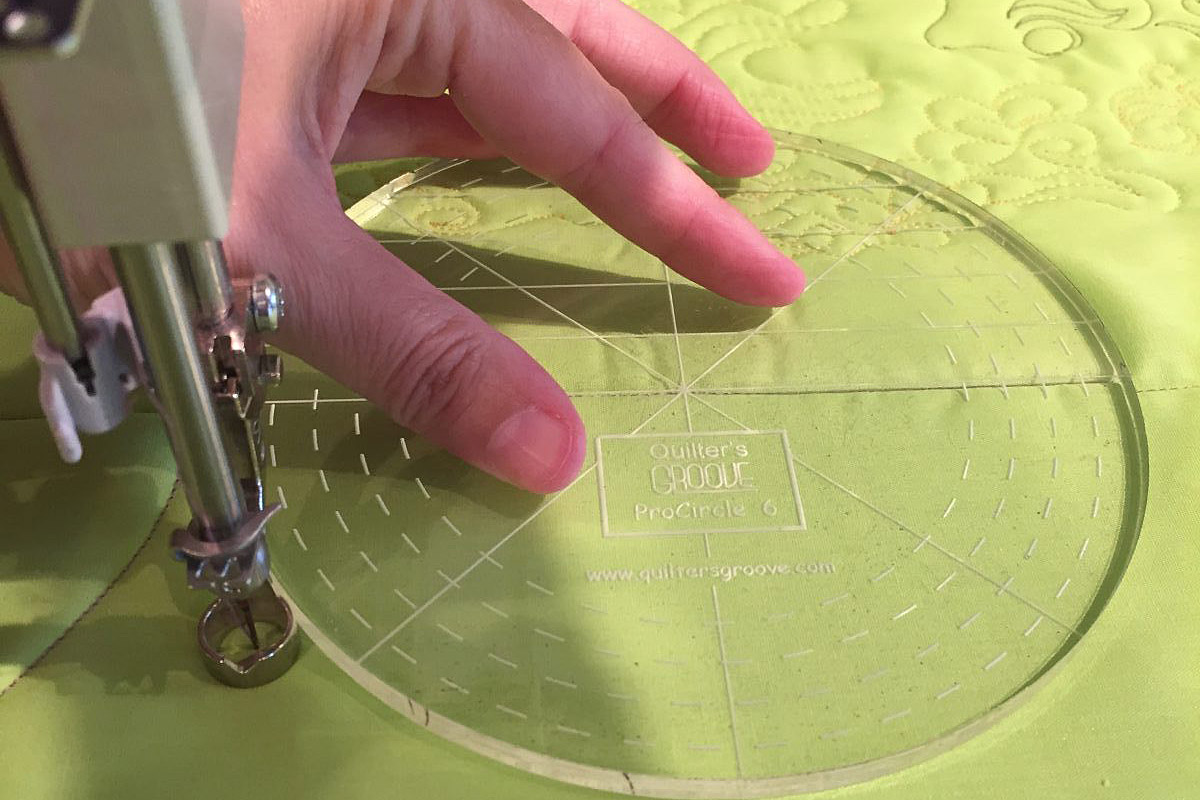
Although the Roadmap does not show it, I decided to stitch a circle in each corner. I determined a 2” circle would fit well. Lay a 2” circle ruler in the corner so the ends of the borders extend into the circle 1/4″.
This way the circle will just touch the end of the borders. The quilted block is now complete.
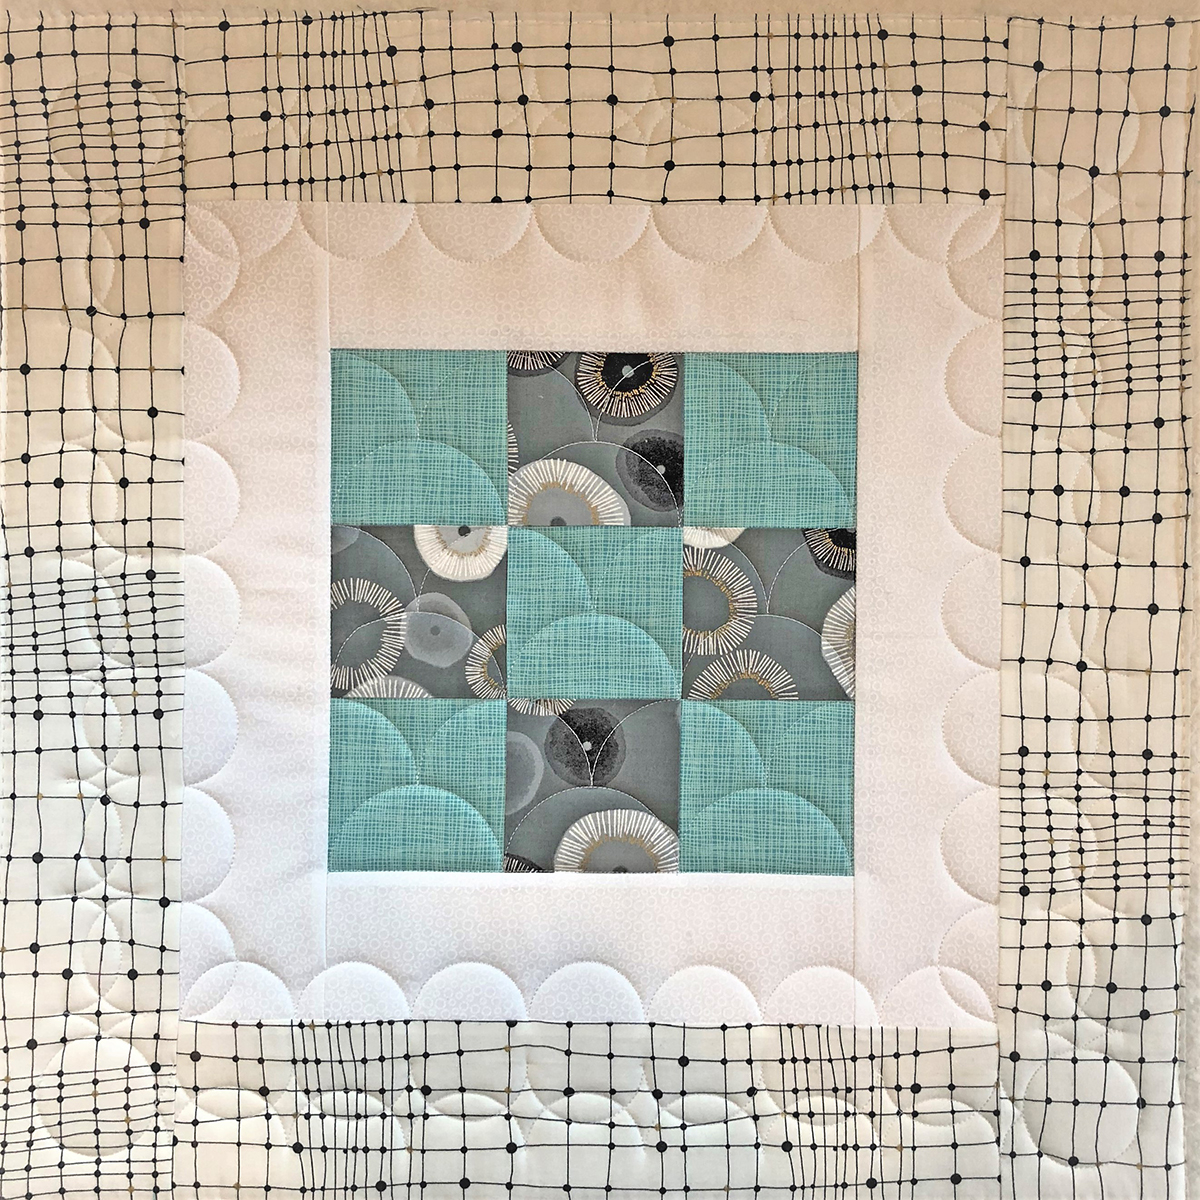
Or is it?! After looking at the quilted block, I decided to use the 1/2” Echo Quilting Clip and add the echo around the inner border!
This block went from a very simple clamshell in the center to a little more complicated border. You don’t have to stitch it the way I did. Use the rulers in a way that is comfortable for you.
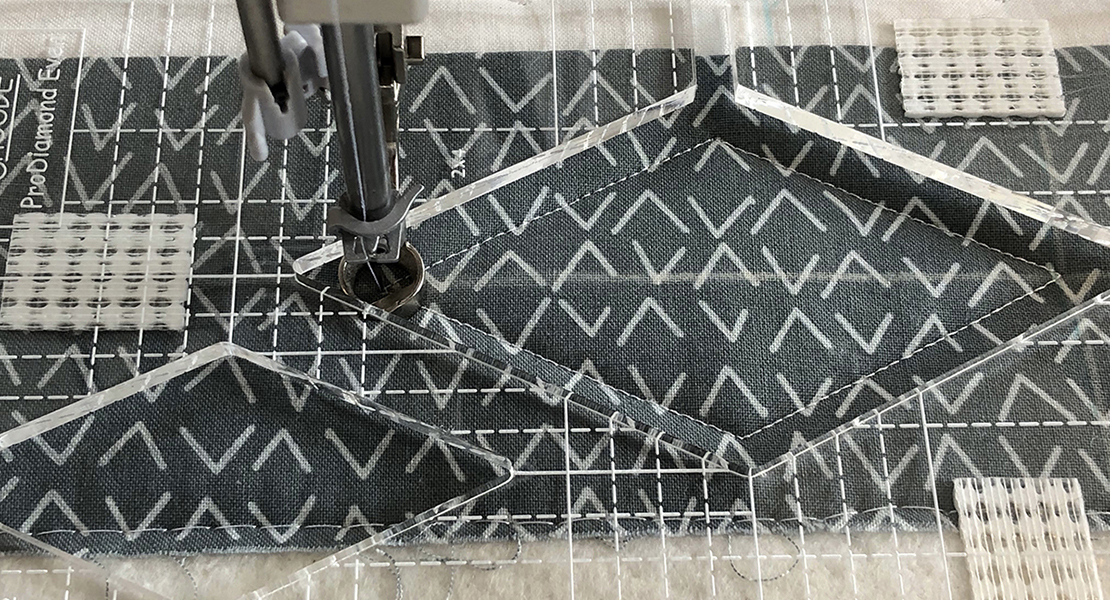
Next month I will be going completely away from curves and circles and play with diamond designs. I will use the ProDiamond Even Ruler and the ProDiamond Odd Ruler from Quilters Groove.
Used Products


What you might also like


7 comments on “Rulerwork for Beginners, Part 4: Clamshells”
-
-
Why can/t I print the pictures? I like to print the lesson and take it to my sewing room to practice, but the last 2 lessons won’t print the pictures.
-
Betti Linn, my comment is under vegiehead, see below.
-
-
I am hoping at the end of the project there will be directions on how to complete as a full quilt?? Please say Yes !
This is the first ‘quilt as you go’ style quilt I have ever attempted. Thanks very much.-
HI Betty Linn, I, too, was having issues. Finally, I went to the end of the lesson. Right clicked on my mouse, commands came up, I chose Print, and Voila! This would not work at the beginning of the lesson, only at the end.
-
Yes, at the end of the first month she said that in the last lesson, month #9 there would be directions to join all 9 blocks into a 60×60 quilt or to make 9 pillows.
-
-
I would like to find a grouping of rulers for ruler work to use with my 750 QE. The clamshell one was nice, and would like to find a grouping of circles for more versatile ruler work. What does Bernina Have or suggest?
Thank you for any information you can share with me.
Mary Ann Browne
Leave a Reply
You must be logged in to post a comment.
Wish a more solid fabric was used in the borders, as I found it hard to figure out what was what with the blue lines, seam lines and ruler lines.
Initially, I was so excited to see Bernina lessons on Bernina rulers. However, the inclusion of Amanda Murphy and Quilters’s Grove rulers, has exceeded my ruler budget.
I will just have to take what I can from the lessons, sans rulers.
Thanks.