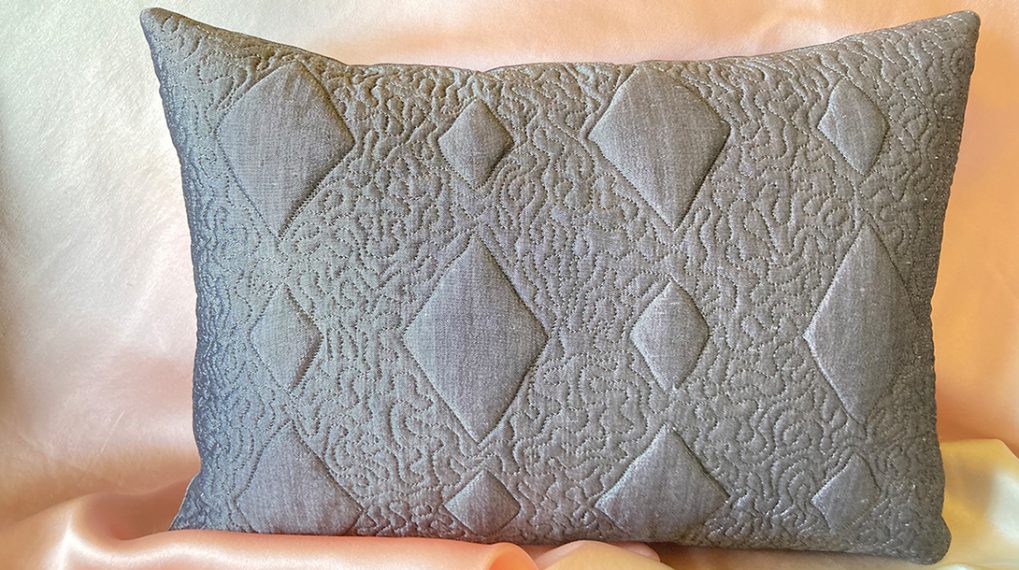
Diamond Wedding Anniversary Pillow
I met Gina Butler years ago, when she was designing heirloom stitches that could be programmed into the Stitch Designer of the 1630. (The top-of-the-line sewing machine at the time.) That must have been, oh, 20 years ago? (That sounds like such a long time, but neither of us have aged a day!) BERNINA published a booklet, “Heirloom Stitches,” with twenty-five of her designs, and featured her hemstitched blouse in the “1630 Library.” Needless to say, she’s a wonderful heirloom sewer and teacher. Anyhow… She left a comment here at WeAllSew a while back, and I sent her an e-mail asking, “Are you the same Gina Butler…?” And she was 🙂 She has a blog, “Gina’s Stylized Stitching… and Tatting, Too,” which I love not just for the heirloom sewing tips and tricks, but for her tatting instructions and patterns. (Bet you didn’t know I tatted, did you?) She has a lovely pattern for a tatted USB-stick fob that’s high on my “List of Things to Make.”
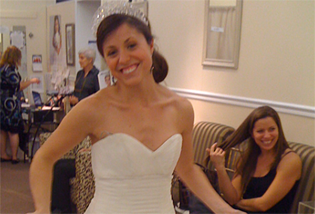
A few months ago Gina sent this photo of a gorgeous pillow she made as a gift for her aunt and uncle’s 60th wedding anniversary. Here’s her story of how the pillow came to be.

The photo started out as a tiny 3″ x 5″ group shot of my husband’s Dad and his siblings. His Uncle Carroll and Aunt Joyce were newlyweds of two weeks. My MIL thought she was helping and had the picture enlarged at a copy shop – of course, it was grainy. By scanning the original and using software to enlarge and crop the image of the couple, I was able to get a usable print.


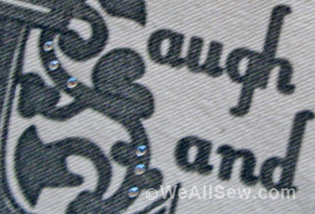
Using BERNINA Embroidery Software, I added a basting circle in the middle the pillow front for the placement of the fabric-printed photograph to the embroidery design. I used Edwardian Script that is a TT TrueType font on my computer for their names. I used TT Monotype Corsiva for all other lettering.
After printing the photo I placed it wrong sides together on a piece of water-soluble stabilizer, stitched around the edges of the circle, then cut a slit in the backing and turned the circle right side out. I cut a round piece of headliner foam the exact size as the finished circle and inserted it through the slit between the stabilizer and the fabric. (Annie’s Soft and Stable would also work well.)
Of course, the faux trapunto was an afterthought – that is why I did not stitch it at the same time I was turning the circle. I used adhesive basting tape to hold the photo in place on the embroidered pillow. I used the open toe embroidery foot #20 and a tiny but open applique stitch to closely stitch the fabric photo to the pillow. I glue-basted headliner foam to the front and back fabrics for extra body. (Again, Annie’s Soft and Stable would be a good substitute.)